The Ultimate Game Day Delight: Easy Philly Cheesesteak Sliders
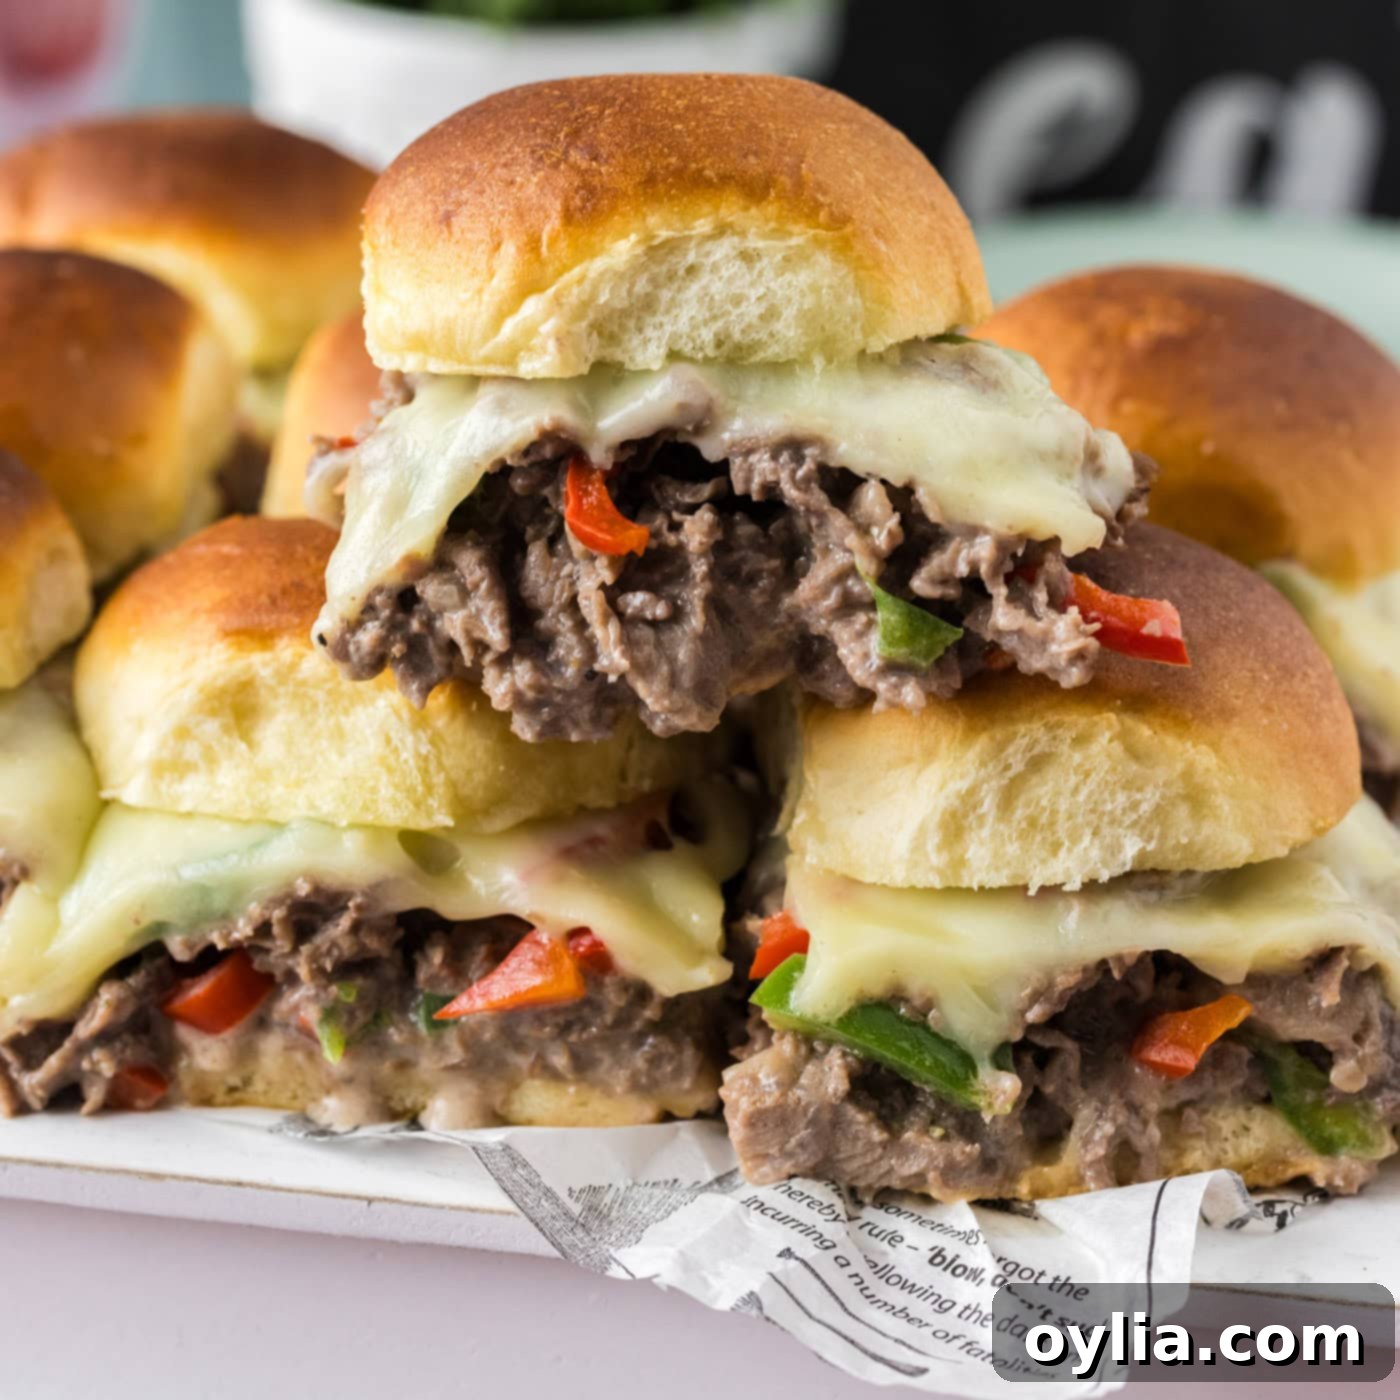
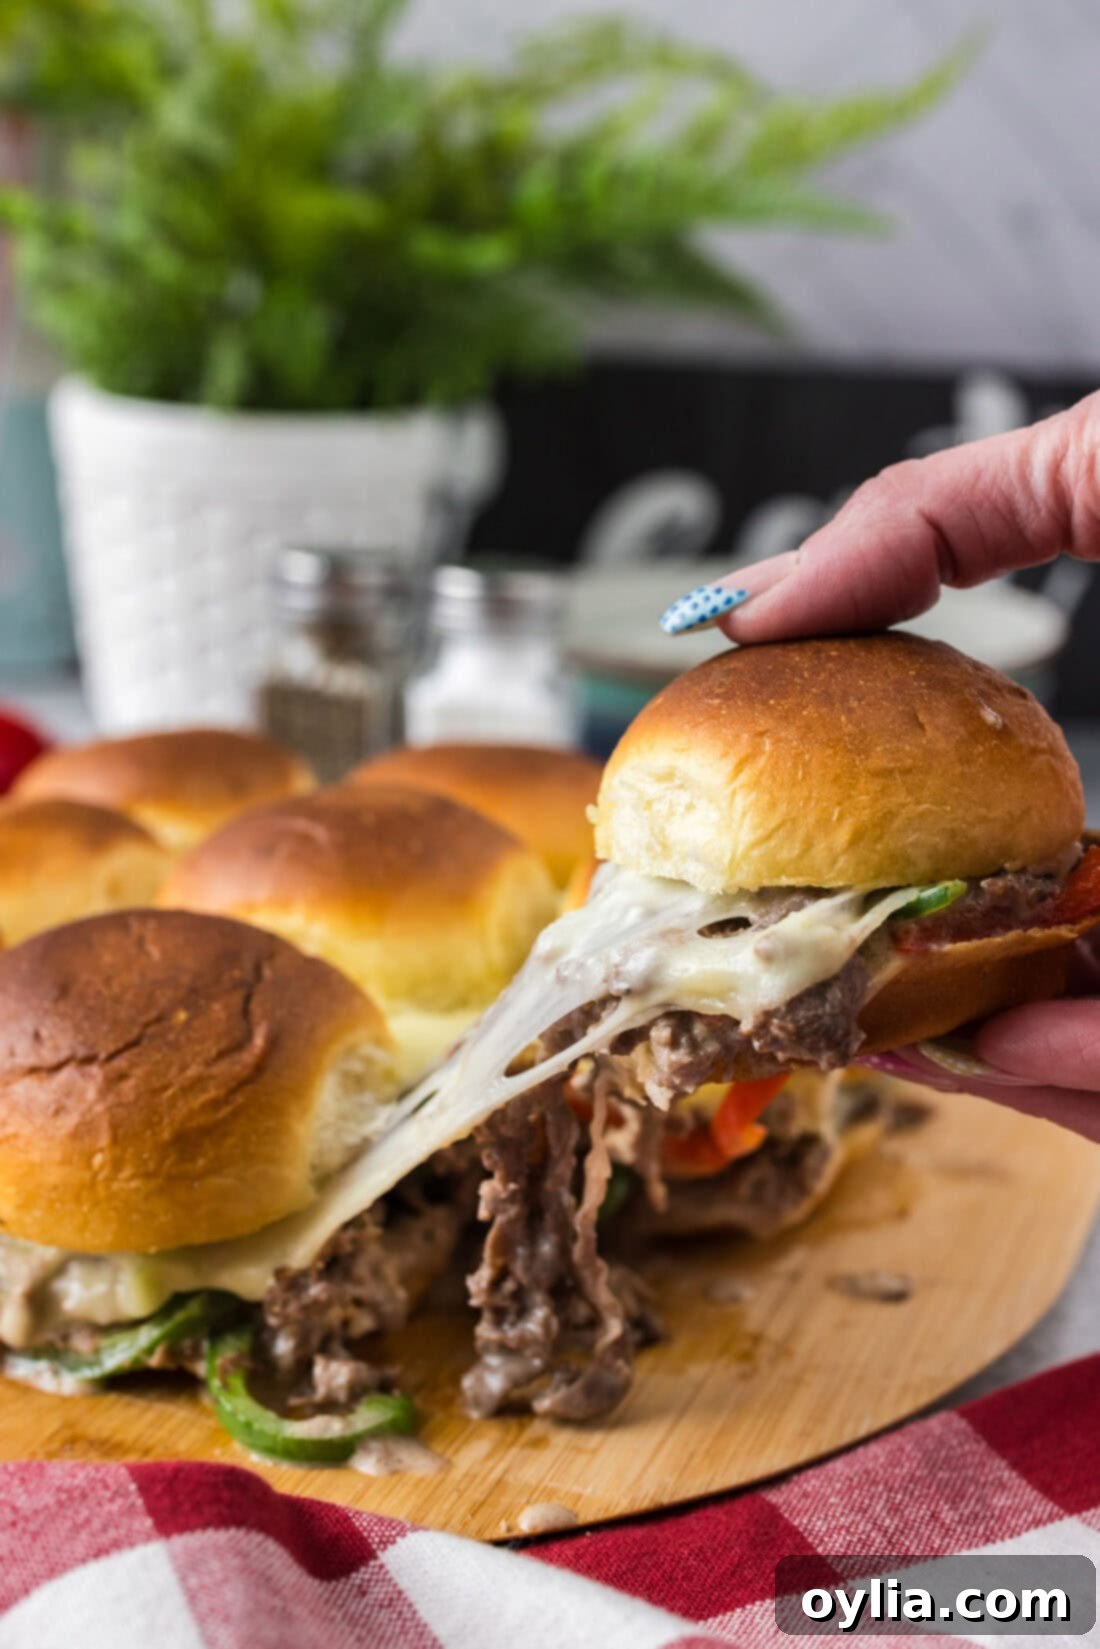
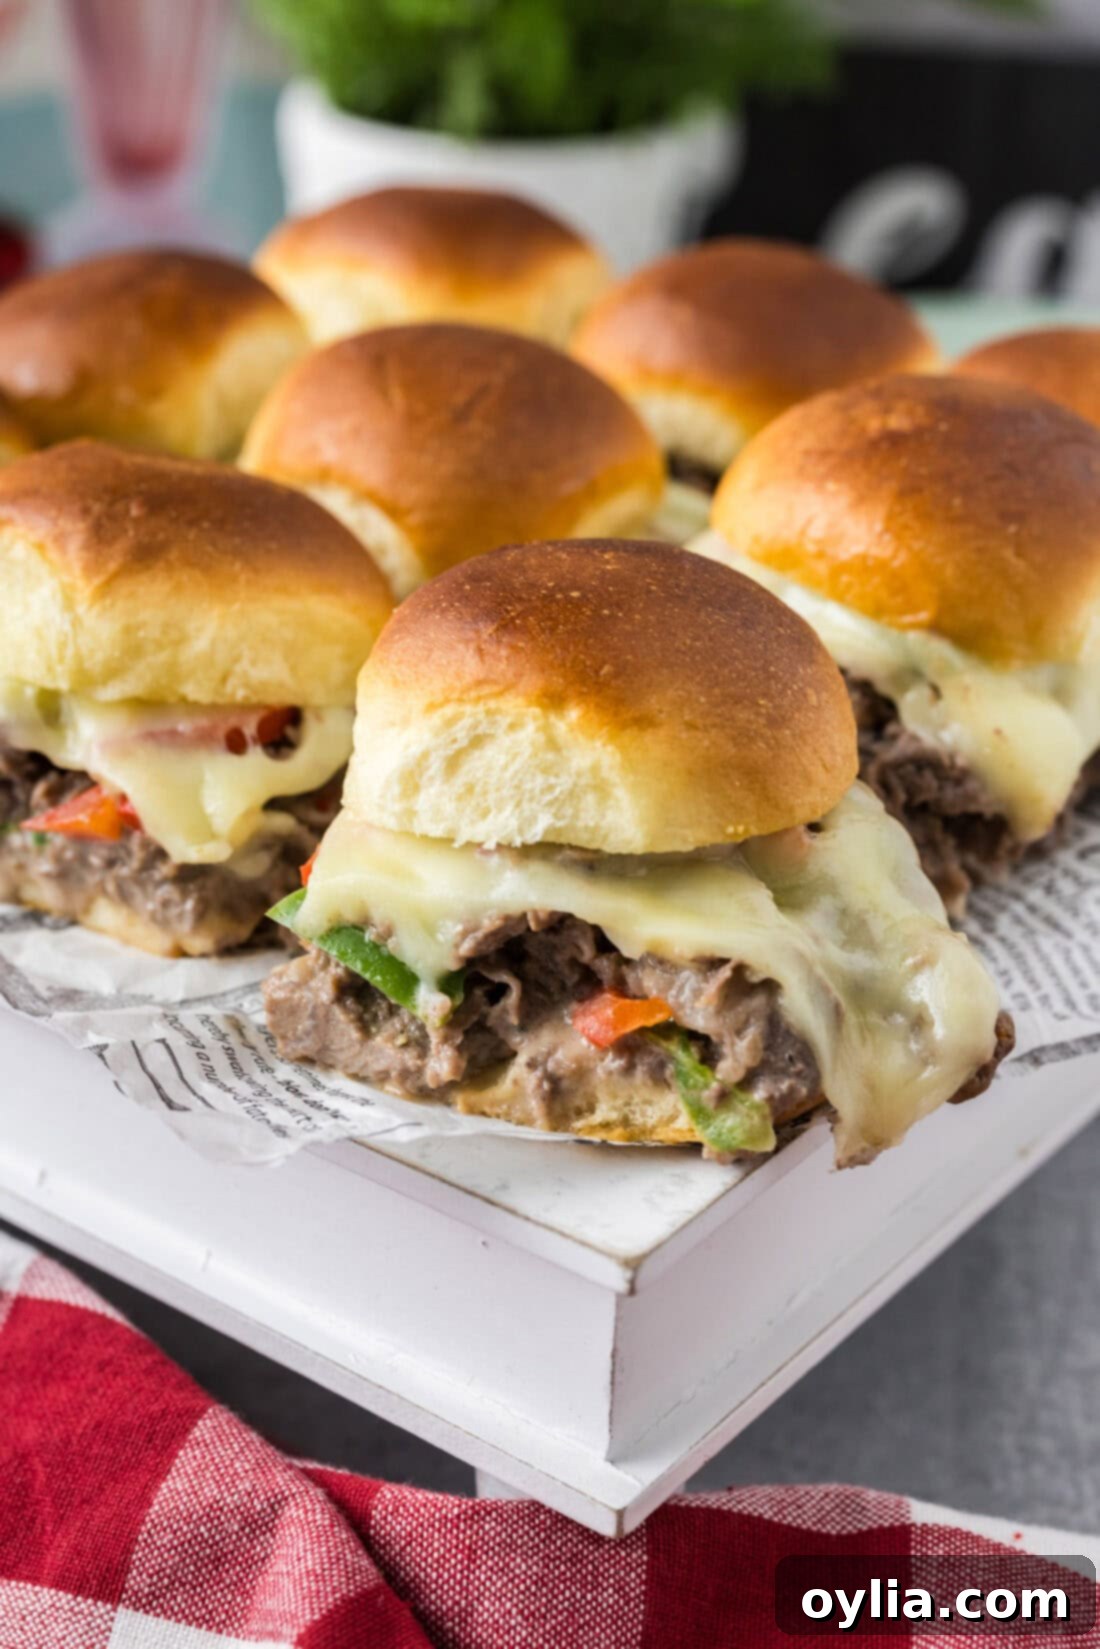
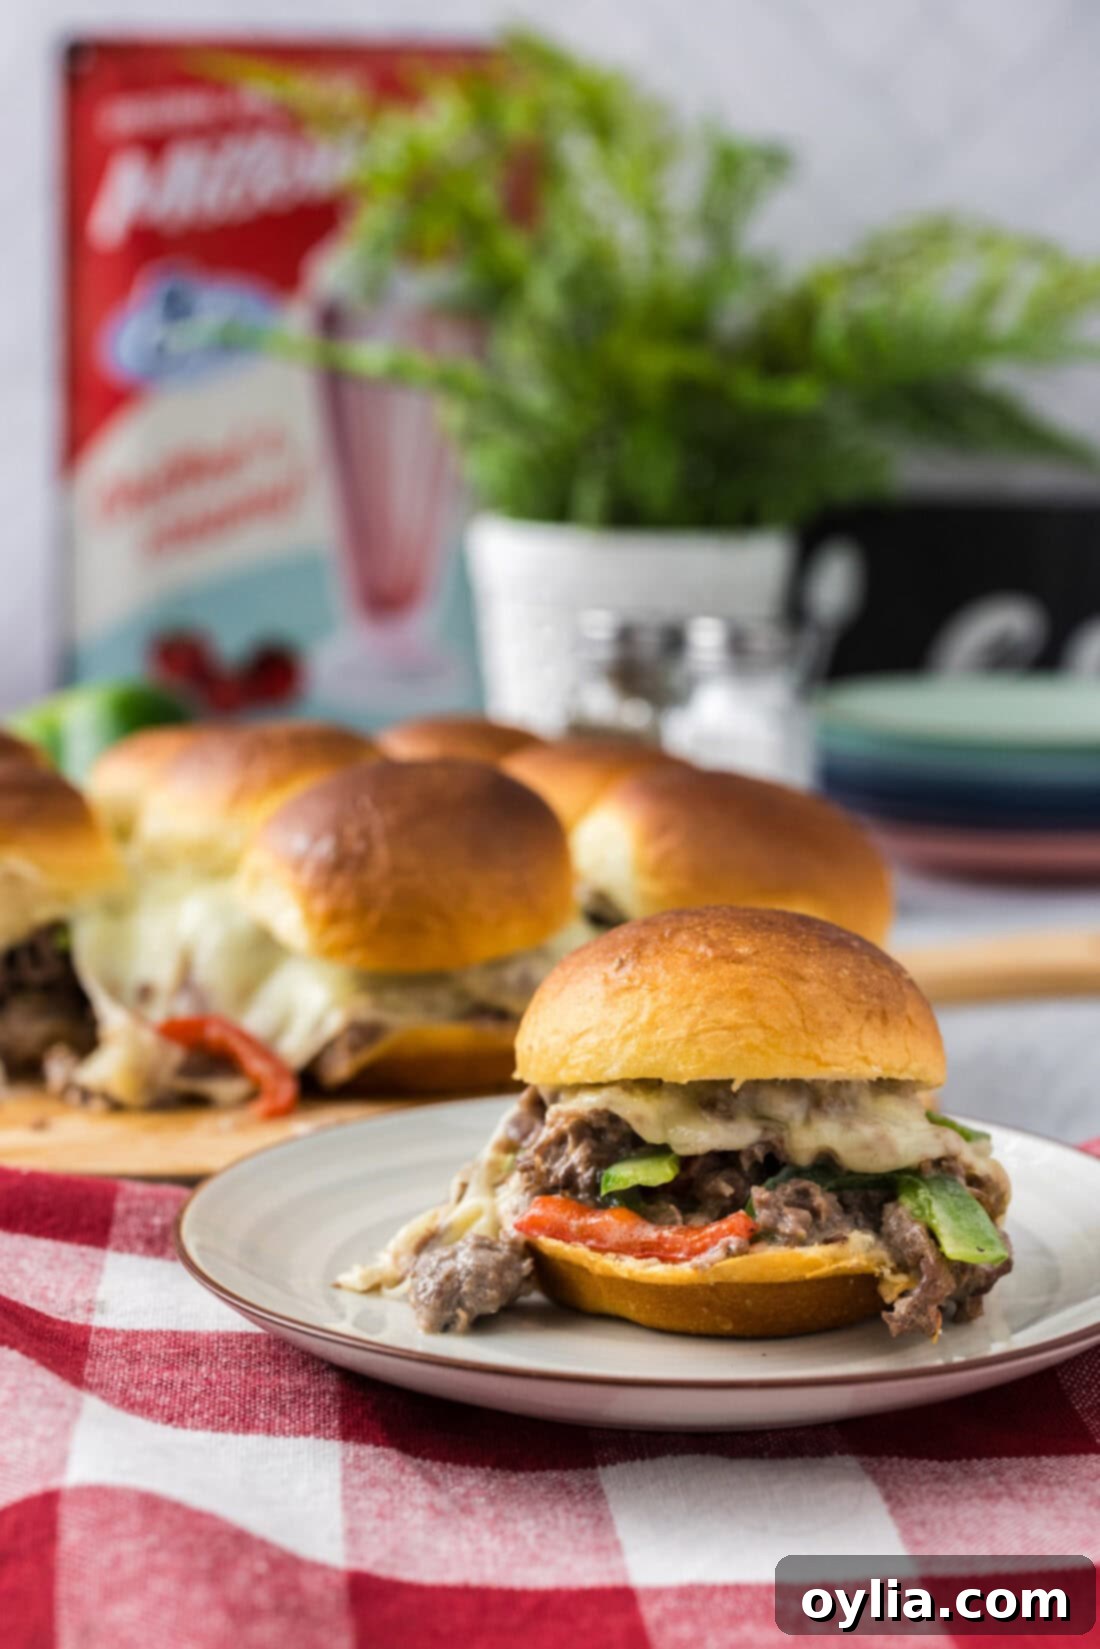
Philly cheesesteak sliders are truly a game day staple, and a crowd-pleasing appetizer that brings the iconic flavors of Philadelphia right to your fingertips, in a miniature, shareable format. Imagine sinking your teeth into warm, golden-brown mini slider buns, generously loaded with creamy queso blanco, layers of irresistibly melty provolone cheese, perfectly seasoned, thinly shaved beef, and a vibrant medley of colorful, sautéed bell peppers. Each bite is a symphony of textures and flavors, making these sliders an absolute hit for any gathering or a delicious weeknight dinner.
Why These Philly Cheesesteak Sliders Are a Must-Try
These Philly cheesesteak sliders offer a delightful miniature version of the beloved classic Philly cheesesteak sandwich, packed with succulent beef, tender bell peppers, and an abundance of gooey, melted cheese. What makes this recipe truly exceptional is its incredible versatility and ease. Sliders are inherently perfect for a wide array of occasions, from lively football watch parties and spirited game day gatherings to a simple, satisfying weeknight dinner when you need to feed multiple hungry mouths without a fuss.
Beyond their crowd-pleasing appeal, these sliders are also a fantastic make-ahead option. You can effortlessly prepare the beef and pepper mixture in advance, saving you valuable time on the day of your event or when dinner time rolls around. This prep-ahead flexibility means less stress and more enjoyment, allowing you to focus on entertaining or simply relaxing with your family. The combination of convenience, incredible flavor, and their bite-sized format makes them an undeniable win for any meal plan.
Our kitchen is absolutely enamored with all things cheesesteak-inspired. This classic flavor profile has been a source of endless creativity for us, leading to fan favorites like our indulgent Philly Cheesesteak Dip, perfect for parties, and our hearty Cheesesteak Casserole, which has become a massive hit among our readers and my own family. Given our passion for these flavors, it’s only natural that these irresistible Philly Cheesesteak Sliders would be the next delicious addition to our recipe arsenal. So, let’s dive right into crafting these little bundles of joy!
Essential Ingredients for Your Philly Cheesesteak Sliders
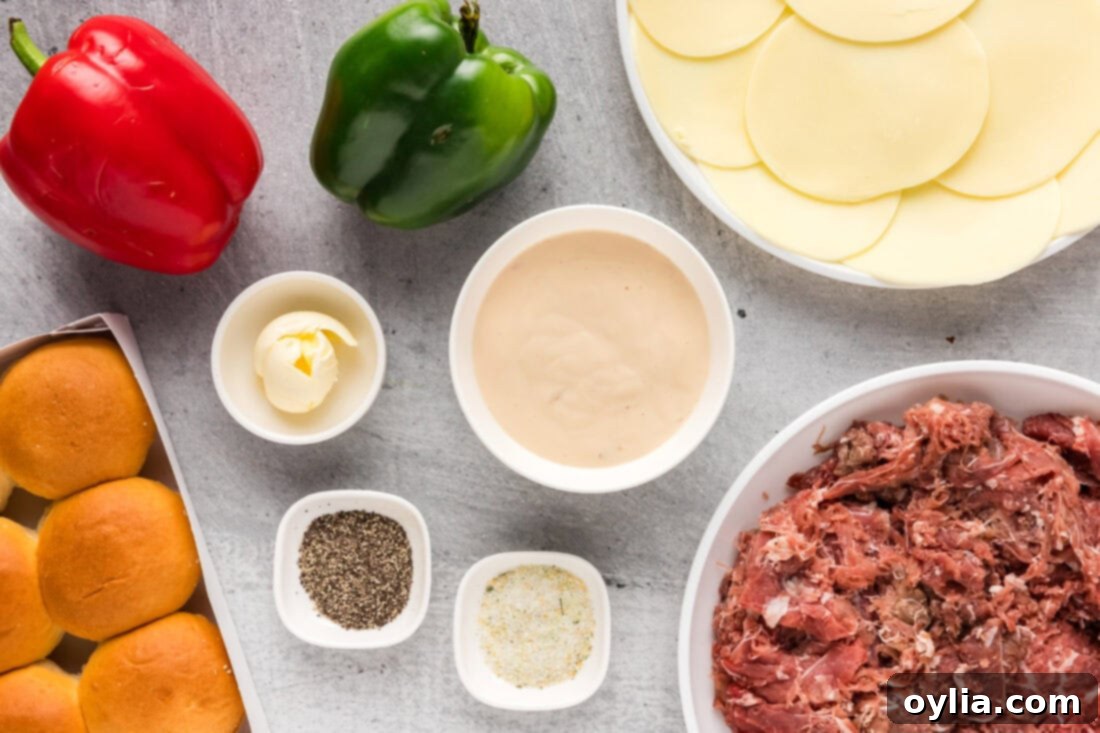
To embark on your culinary journey and create these delectable sliders, you’ll need a selection of fresh, high-quality ingredients. The beauty of this recipe lies in its relatively simple list, allowing the core flavors to truly shine. For precise measurements and step-by-step instructions, please refer to the comprehensive printable version of the recipe card located at the conclusion of this post.
Ingredient Spotlight: Tips & Substitutions
Let’s take a closer look at the key components of these mouthwatering sliders and explore some tips and substitution ideas to help you customize them to your liking.
BUNS – For that perfect sweet and savory balance, we highly recommend King’s Hawaiian slider buns, which typically come in a convenient 9-pack. Their soft, slightly sweet texture perfectly complements the rich filling. If King’s Hawaiian aren’t available, a 12-pack of regular dinner rolls or any brand of slider buns will work wonderfully. For those who enjoy baking, consider elevating your sliders even further by making our homemade Hawaiian rolls – they are incredibly delicious and add a special touch!
CHEESE – To achieve that irresistible gooey, cheesy core, we used Tostitos brand Queso Blanco dip. This creamy, flavorful cheese sauce melts beautifully and coats the beef and peppers with a decadent layer. Feel free to experiment with your favorite queso or cheese sauce; a good quality nacho cheese sauce or even a homemade cheese sauce made with white American or cheddar cheese would be excellent alternatives. The key is a smooth, meltable cheese that will bind the filling together.
BEEF – The star of any authentic Philly cheesesteak is the beef. For this recipe, you’ll need high-quality shaved steak. This thinly sliced beef cooks quickly and becomes incredibly tender, mimicking the texture of a traditional cheesesteak. If you’re looking for a specific recommendation, this is the type we used. When preparing, ensure your pan is hot enough to achieve a nice sear on the beef before it releases too much moisture, locking in those savory flavors. For the best results, avoid overcrowding the pan to allow the beef to brown properly.
BELL PEPPERS – We’ve opted for a vibrant combination of red and green bell peppers, julienned for even cooking and a beautiful presentation. These add a touch of sweetness and a pleasant crunch that contrasts with the tender beef. You can use any color bell pepper you prefer, or even add a touch of finely sliced onion for a more traditional cheesesteak flavor profile.
BUTTER – Melted butter is brushed over the top of the slider buns before baking, giving them a rich, golden-brown finish and an added layer of flavor. Don’t skip this step – it makes a noticeable difference in the final product.
Crafting Your Philly Cheesesteak Sliders: A Step-by-Step Guide
These step-by-step photos and instructions are here to help you visualize how to make this recipe. You can Jump to Recipe to get the printable version of this recipe, complete with measurements and instructions at the bottom.
- Begin by preheating your oven to a cozy 350°F (175°C). This ensures your oven is ready to perfectly toast those buns and melt all that delicious cheese.
- Prepare your slider buns. If they aren’t already conveniently pre-sliced, carefully cut them in half horizontally. Arrange the bottom halves of the buns snugly onto a baking sheet.
- Heat the olive oil in a large skillet over medium-high heat. Wait until the oil is shimmering gently, indicating it’s hot enough to cook the beef efficiently.
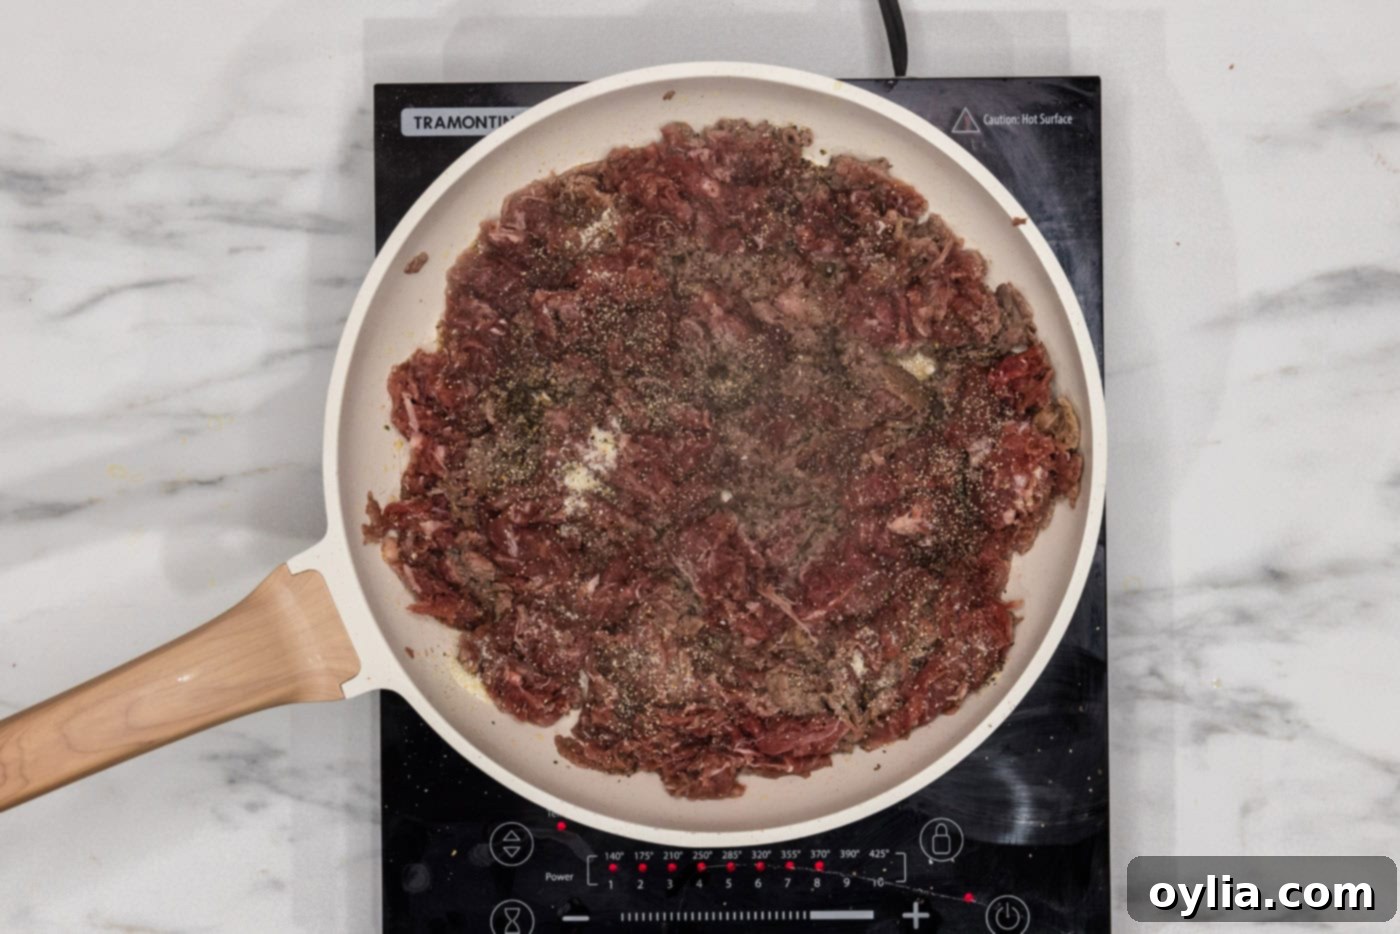
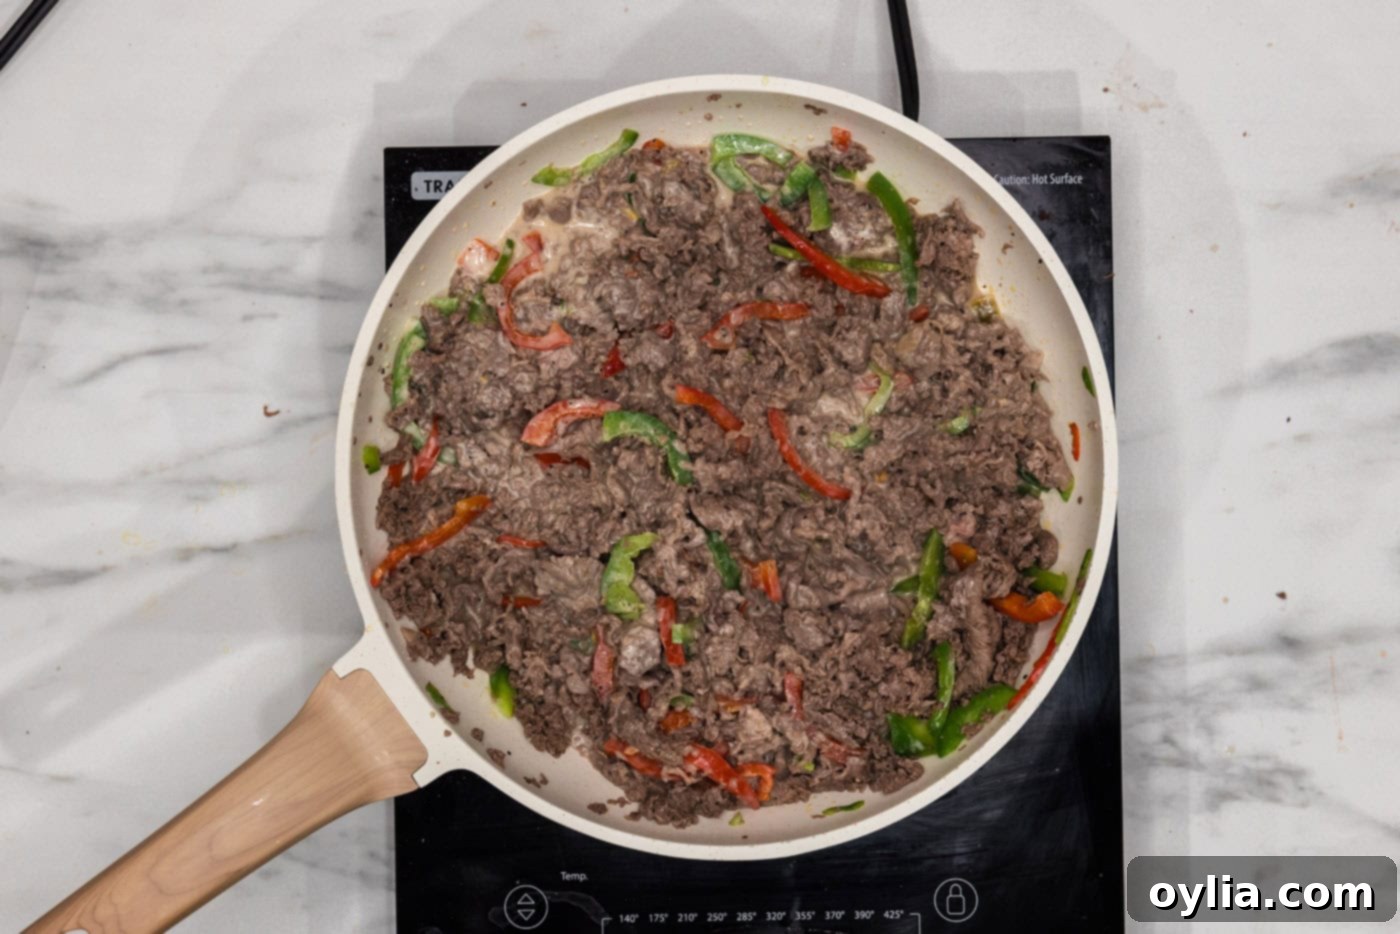
- Add the shaved beef to the hot skillet. Cook, turning it occasionally with tongs, until it’s beautifully browned on all sides and cooked through. Avoid overcrowding the pan to ensure proper browning rather than steaming.

- Season the cooked beef generously with garlic salt and black pepper to your taste, ensuring every strand is infused with flavor.
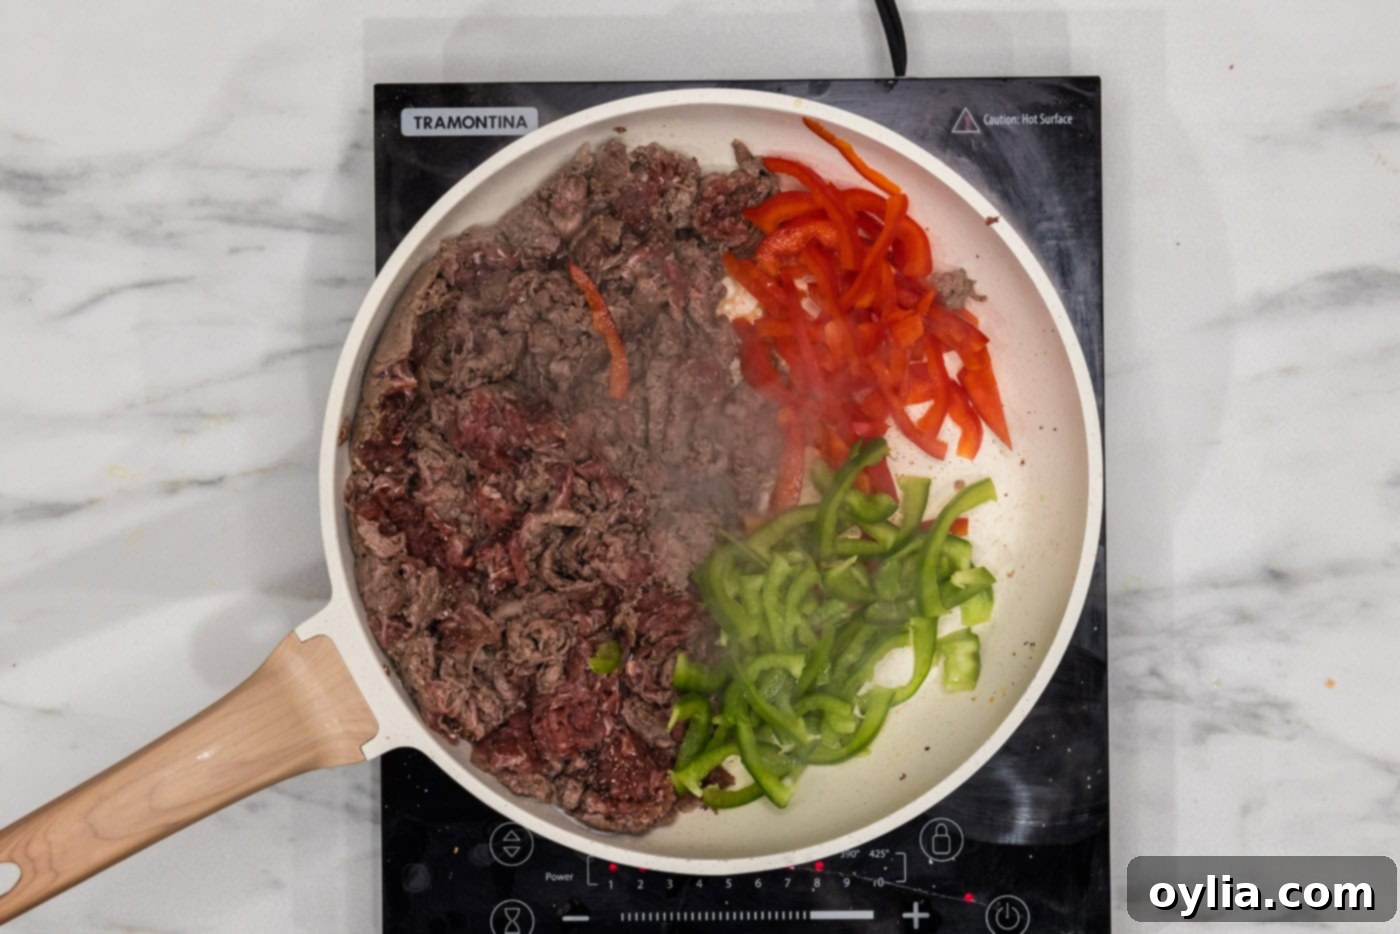
- Carefully push all the seasoned beef to one side of the skillet, creating space for your vegetables. Add the julienned bell pepper strips to the empty side of the pan. Cook, turning them occasionally, until the peppers become tender and slightly softened, about 5-7 minutes.

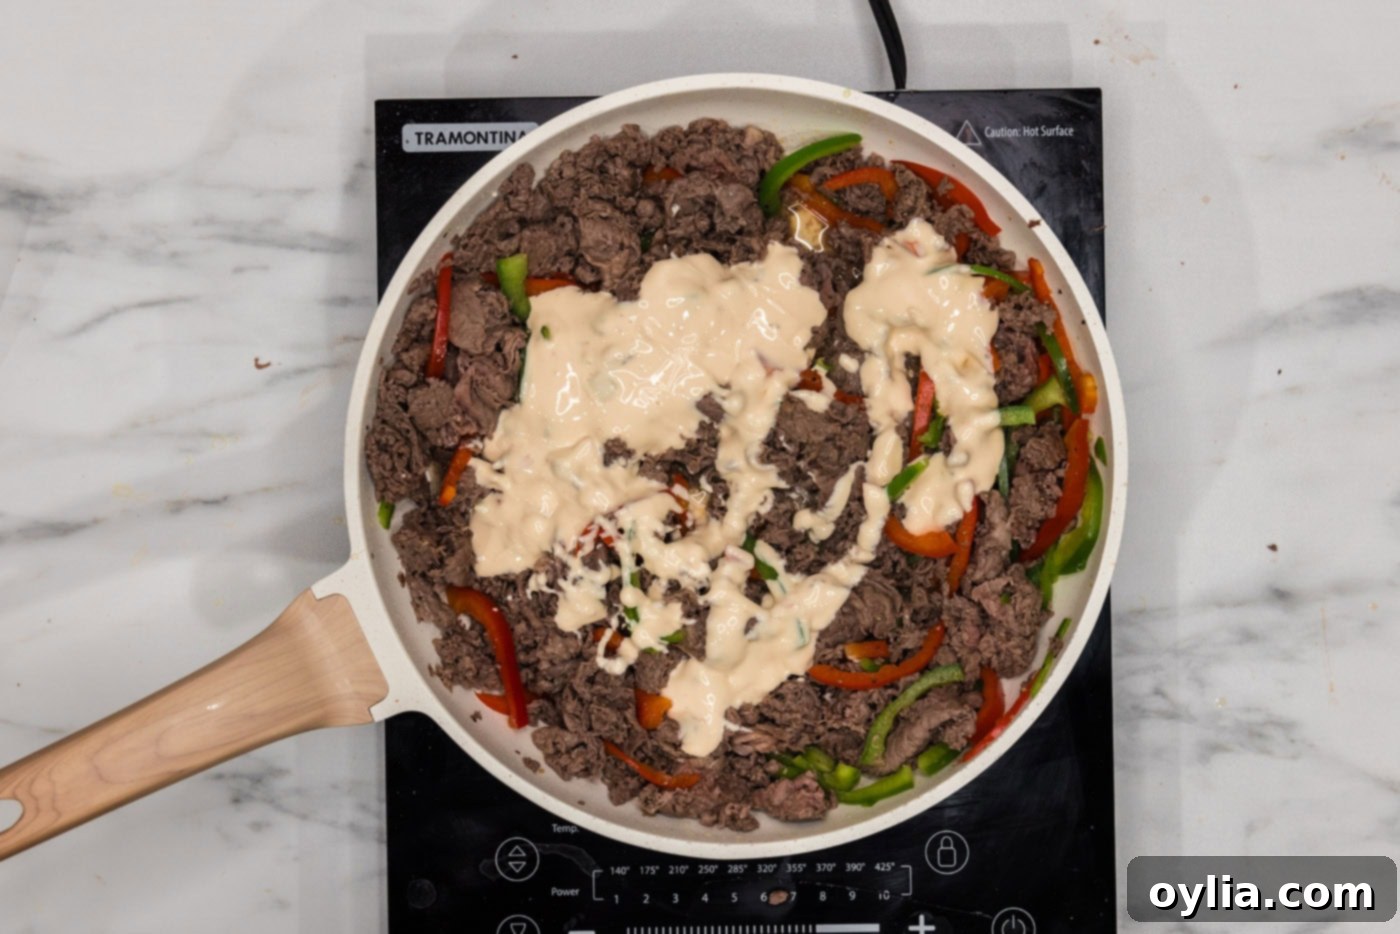
- Now for the magic touch: Add the queso dip to the pan with the beef and peppers. Stir everything together thoroughly, ensuring the creamy queso coats all the ingredients. Continue heating until the mixture is warmed through and beautifully melty.


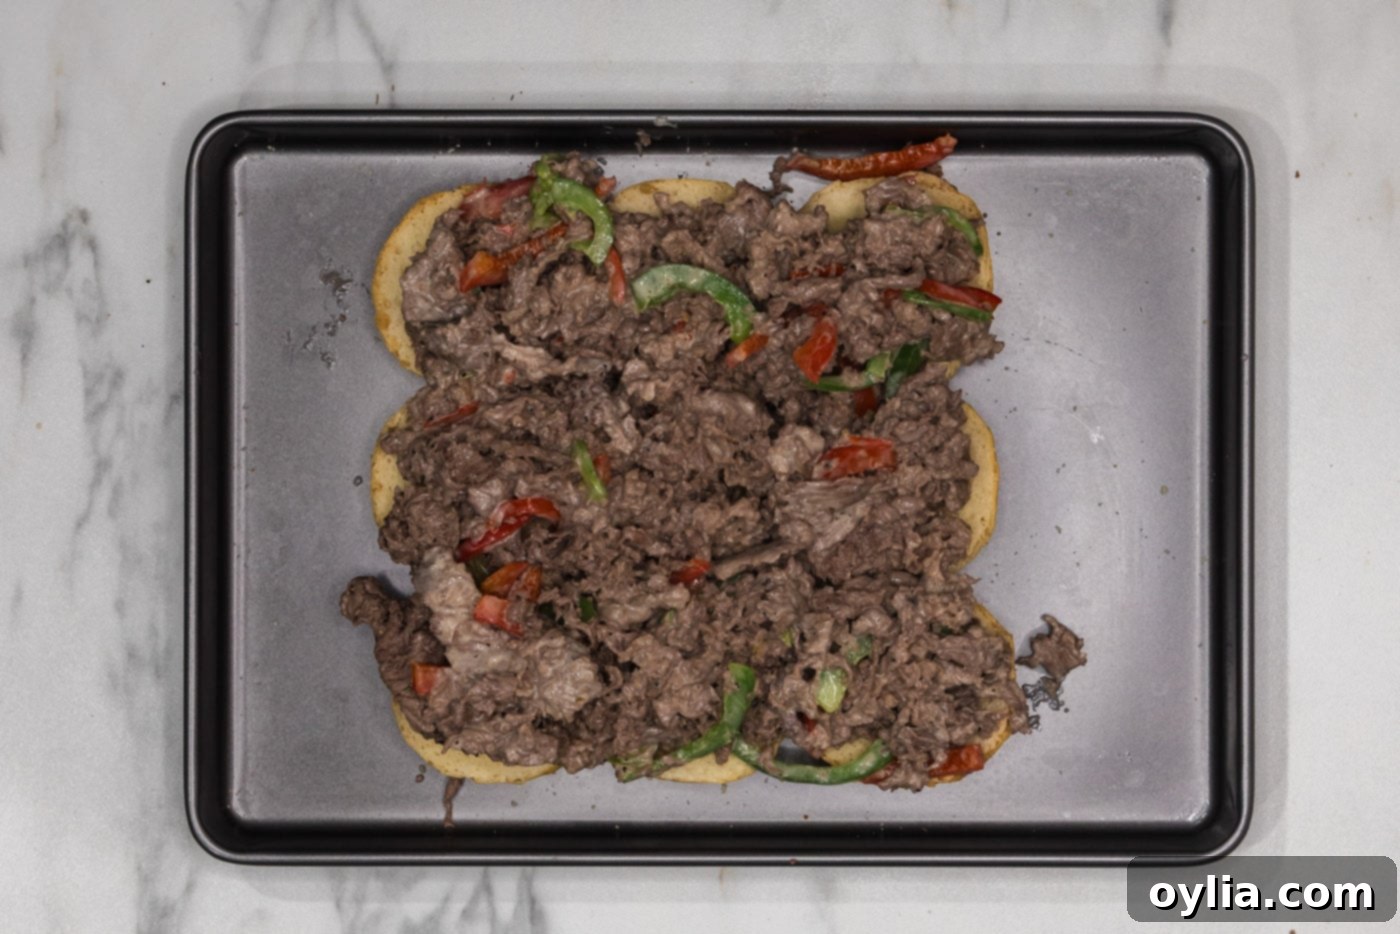
- Using your trusty tongs, generously portion the rich beef and pepper mixture onto the bottom halves of your slider buns. Don’t be shy – pile it up nice and thick for a truly satisfying slider!

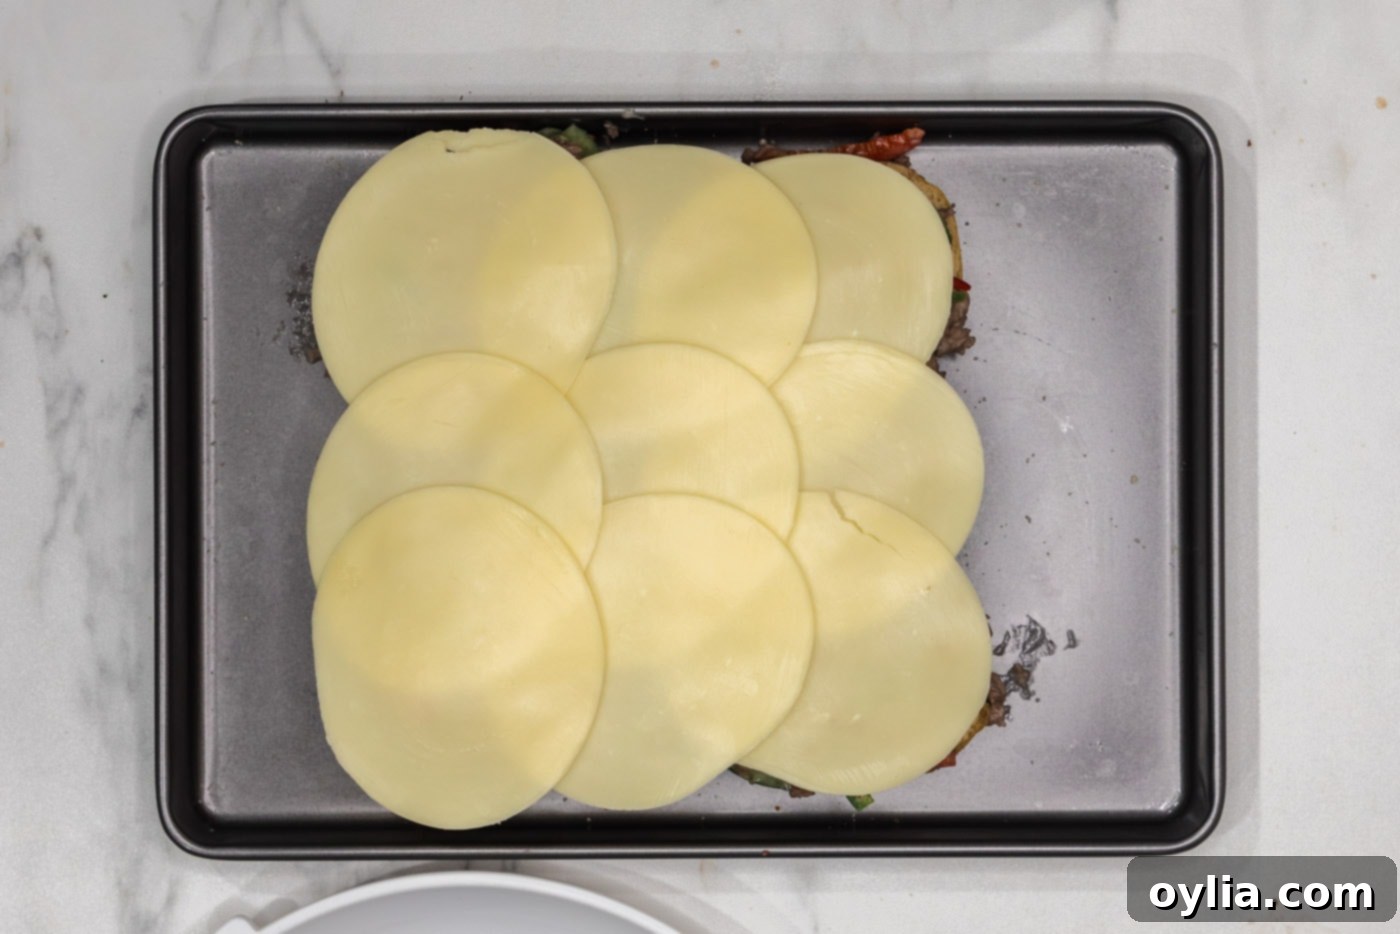
- Crown each slider with a slice of provolone cheese. As it bakes, this cheese will melt into a gloriously gooey layer, complementing the savory beef and peppers.

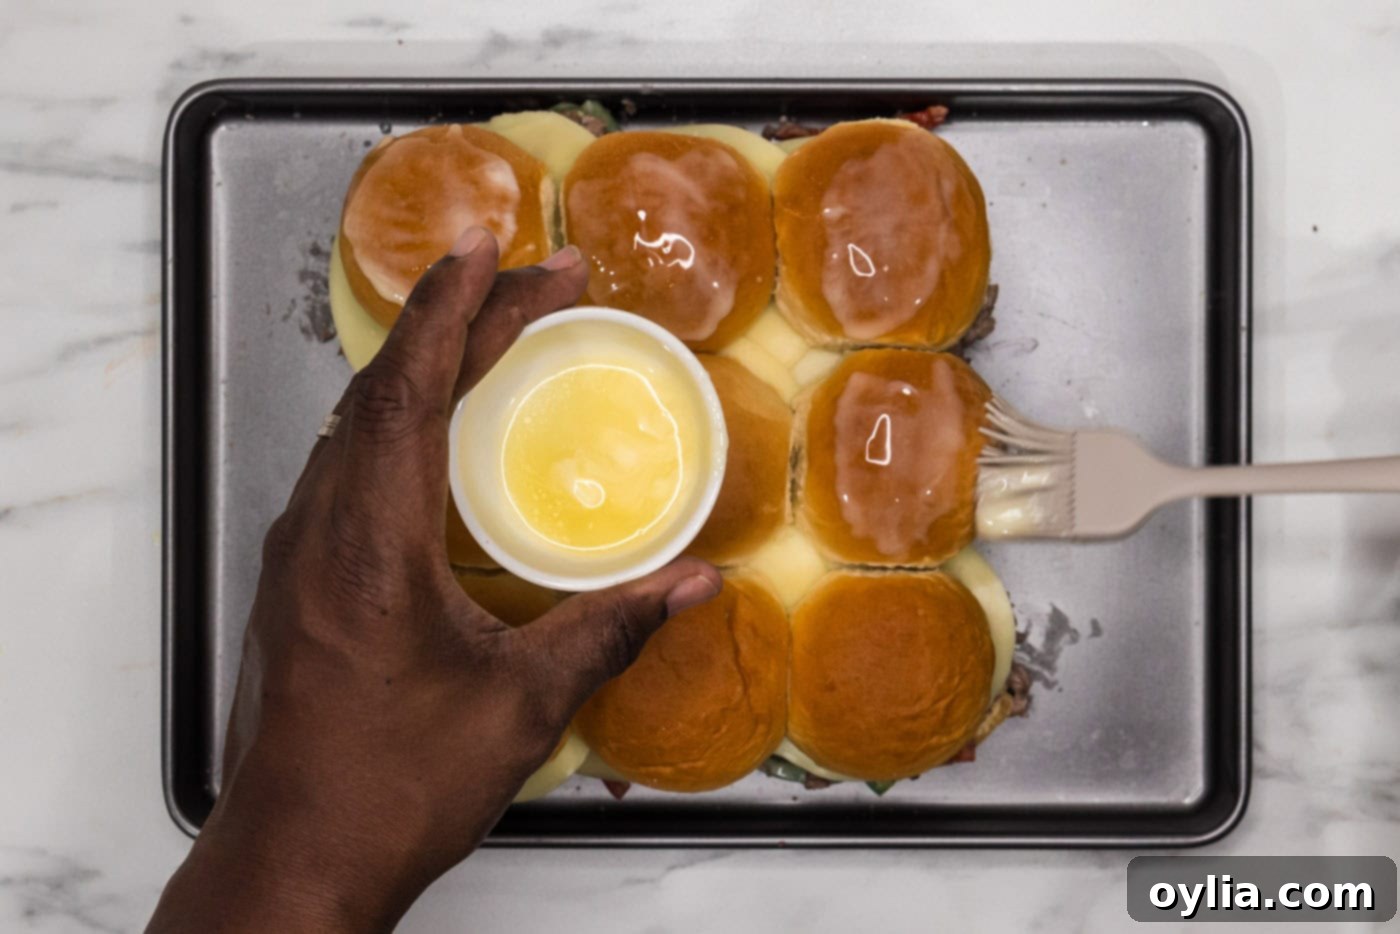
- Place the top halves of the slider buns over the cheese. Then, using a basting brush, generously coat the tops of the buns with melted butter. This will ensure they bake to a beautiful golden perfection.

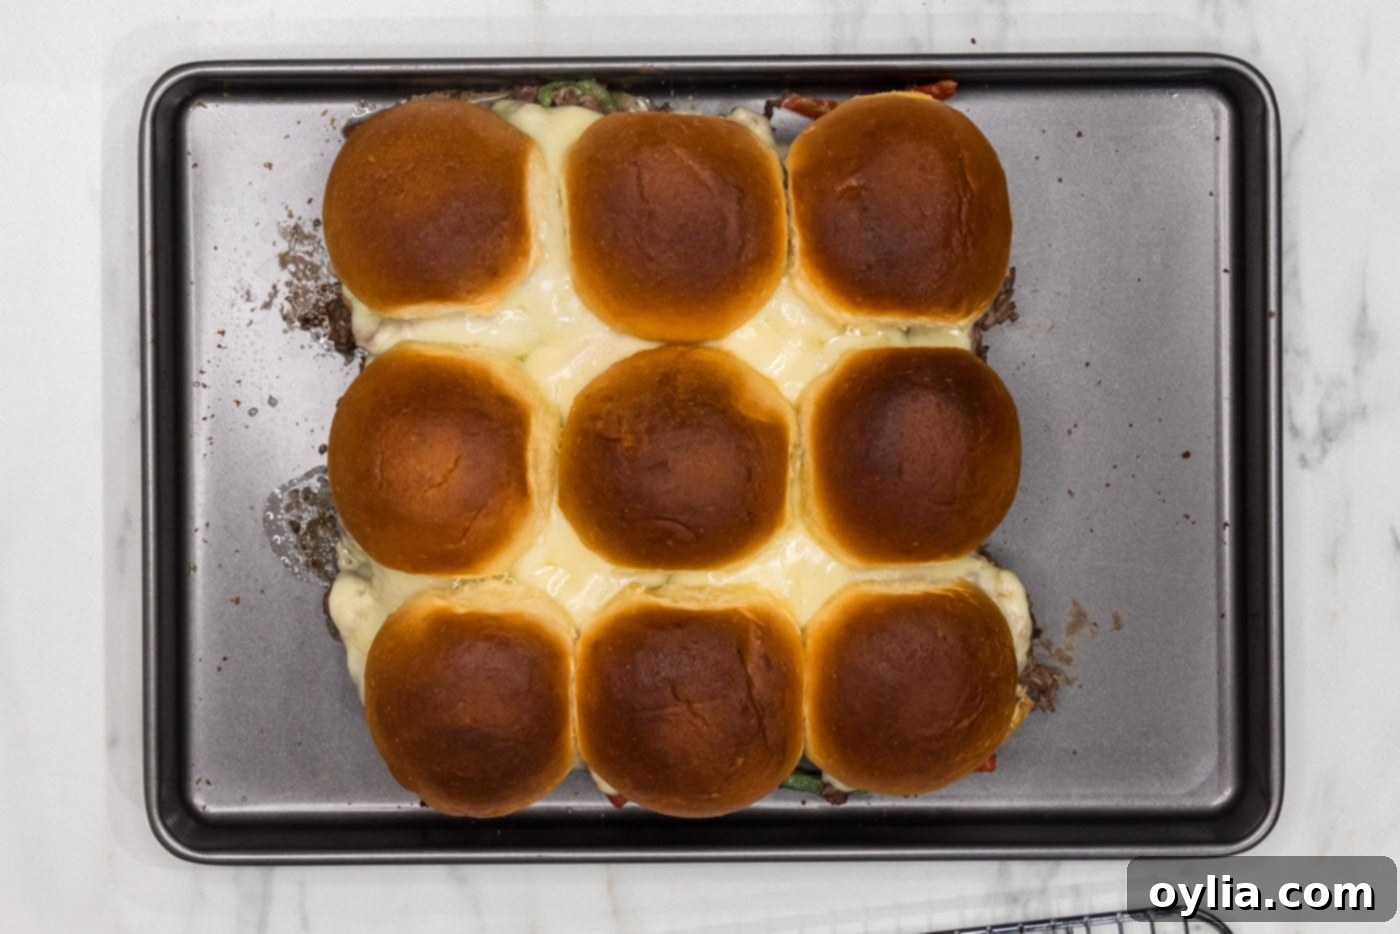
- Finally, bake your assembled sliders in the preheated oven for approximately 20 minutes, or until the cheese is bubbling and melted, and the buns are beautifully golden and lightly toasted. Serve immediately and enjoy!

Frequently Asked Questions & Expert Tips for Perfect Sliders
Absolutely! One of the fantastic advantages of this recipe is its make-ahead potential. You can cook the beef and pepper mixture entirely ahead of time. Once cooked, allow it to cool completely before transferring it to an airtight container. Store it safely in the refrigerator for up to 2-3 days. When you’re ready to serve, simply reheat the mixture gently on the stovetop or in the microwave, then proceed with assembling the sliders on the buns as directed in the recipe, and pop them into the oven to bake until hot and melty.
If you happen to have any leftover Philly cheesesteak sliders (a rare occurrence, we know!), they can be stored in an airtight container in the refrigerator for 3-4 days. To reheat them, place the sliders on a baking sheet or in a baking pan. For best results, cover them loosely with aluminum foil to prevent the buns from drying out. Bake in a preheated 350°F (175°C) oven for approximately 10-15 minutes, or until they are warmed through and the cheese is soft and gooey again. You can also quickly reheat individual sliders in the microwave, though the buns might not be as crispy.
For authentic Philly cheesesteak flavor and texture, thinly shaved steak (often labeled “shaved beef,” “sandwich steak,” or “chip steak”) is ideal. This cut is designed to cook quickly and achieve that classic tender, melt-in-your-mouth consistency. Ribeye is traditionally used for full-sized cheesesteaks, but for sliders, the shaved variety is more practical and equally delicious. If you can’t find shaved steak, you can thinly slice a lean cut of beef like sirloin or flank steak against the grain, but ensure it’s sliced as thin as possible for the best results.
Absolutely! Many traditional Philly cheesesteaks feature sautéed onions. If you love them, finely slice half a yellow or white onion and add it to the skillet along with the bell peppers. Cook them together until the onions are translucent and caramelized, adding another layer of savory depth to your sliders.
While we use queso blanco and provolone in this recipe for their excellent melting properties and mild flavor, traditional Philly cheesesteaks often use American cheese or Cheez Whiz. Provolone offers a sharper, more classic taste, while queso blanco provides a creamy, indulgent base. Feel free to use a combination, or stick to one type of cheese you love. Sharp cheddar can also be a delicious alternative if you prefer a bolder cheese flavor.
Serving Suggestions for Your Delicious Sliders
These Philly cheesesteak sliders are incredibly satisfying on their own, but pairing them with the right side dishes can elevate your meal or party spread even further. For a classic American diner feel, consider serving them alongside crispy potato chips, golden tater tots, or perfectly seasoned french fries. The salty crunch of these sides provides a wonderful contrast to the rich, savory sliders.
If you’re looking for something a bit heartier, a side of warm baked beans adds a touch of sweetness and depth. For those who enjoy a bit of tang, a refreshing coleslaw offers a cool, crisp counterpoint to the warm, cheesy beef. And let’s not forget about onion rings – their sweet, crispy texture pairs beautifully with the savory flavors of the cheesesteak. No matter what you choose, these sliders are guaranteed to be the star of the show!
Explore More Irresistible Slider Recipes
If you’ve fallen in love with the convenience and deliciousness of sliders, you’re in luck! We have a whole collection of fantastic slider recipes that are perfect for any occasion. From savory meats to cheesy vegetarian options, there’s a slider for every taste bud. Be sure to check out some of our other popular creations:
- Italian Sliders
- Roast Beef Sliders
- Cheeseburger Sliders
- Mississippi Pot Roast Sliders
- Reuben Sliders
I love to bake and cook and share my kitchen experience with all of you! Remembering to come back each day can be tough, that’s why I offer a convenient newsletter every time a new recipe posts. Simply subscribe and start receiving your free daily recipes!
Philly Cheesesteak Sliders
IMPORTANT – There are often Frequently Asked Questions within the blog post that you may find helpful. Simply scroll back up to read them!
Print It
Pin It
Rate It
Save ItSaved!
Ingredients
- 9 slider buns we used Kings Hawaiian slider buns
- 1.75 pounds shaved beef
- 2 Tablespoons olive oil
- garlic salt to taste
- black pepper to taste
- ½ large red bell pepper julienned
- ½ large green bell pepper julienned
- 1 cup queso blanco dip
- 9 slices provolone cheese
- 2 Tablespoons melted butter
Things You’ll Need
-
Large heavy bottomed skillet
-
Tongs
-
Baking sheet
-
Basting brush
Before You Begin
- We used Kings Hawaiian slider buns which come in a 9-pack. A 12-pack of buns would work as well. You can also use Hawaiian rolls or make our homemade Hawaiian rolls!
- We used Tostitos brand Queso Blanco dip. You can use any queso or cheese sauce you like.
- This is the type of beef we used.
Instructions
-
Preheat the oven to 350 F.
-
If slider buns are not already cut in half, do this now. Place the bottom half of the buns onto a baking sheet.
-
Heat olive oil in skillet over medium-high heat until shimmering.
-
Add shaved beef and cook, turning occasionally with tongs, until browned completely.
-
Season beef to taste with garlic salt and pepper.
-
Move all the beef to one side of the skillet and add in the bell pepper strips. Cook, turning occasionally, until peppers are tender.
-
Add queso dip to the pan and stir to combine. Heat through.
-
Using tongs, portion the beef and pepper mixture onto the bottom halves of the buns. The meat will be piled pretty thick.
-
Top with the sliced Provolone cheese.
-
Add the tops the of the slider buns. Baste the buns with the melted butter.
-
Bake in preheated oven for 20 minutes.
Expert Tips & FAQs
- Make Ahead – You can cook the beef and peppers mixture ahead of time and store it in the refrigerator until you are ready to serve. When ready, assemble the sliders as recipe states and pop them in the oven to bake.
- Storage – Store leftover Philly cheesesteak sliders in an air-tight container kept in the refrigerator for 3-4 days. To reheat, place the sliders on a baking sheet or baking pan and cover with aluminum foil. Bake in a 350F oven until warmed through, around 10-15 minutes.
Nutrition
The recipes on this blog are tested with a conventional gas oven and gas stovetop. It’s important to note that some ovens, especially as they age, can cook and bake inconsistently. Using an inexpensive oven thermometer can assure you that your oven is truly heating to the proper temperature. If you use a toaster oven or countertop oven, please keep in mind that they may not distribute heat the same as a conventional full sized oven and you may need to adjust your cooking/baking times. In the case of recipes made with a pressure cooker, air fryer, slow cooker, or other appliance, a link to the appliances we use is listed within each respective recipe. For baking recipes where measurements are given by weight, please note that results may not be the same if cups are used instead, and we can’t guarantee success with that method.
