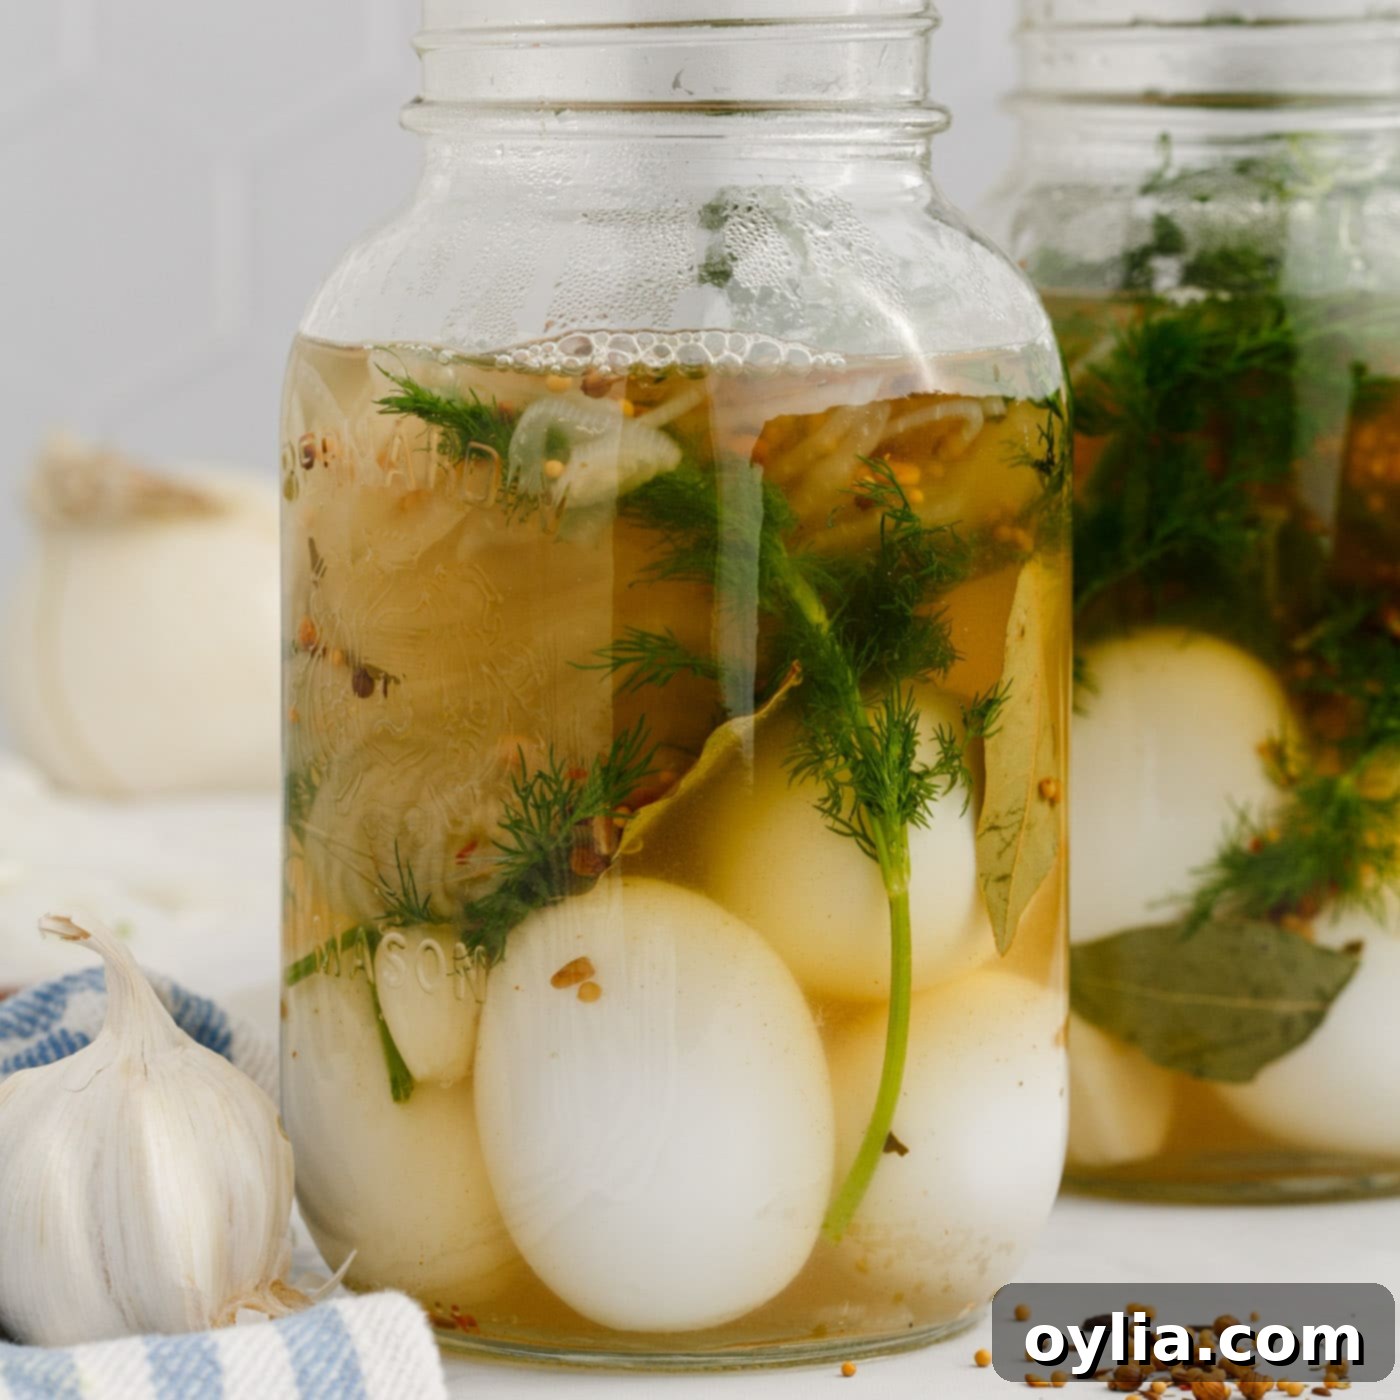
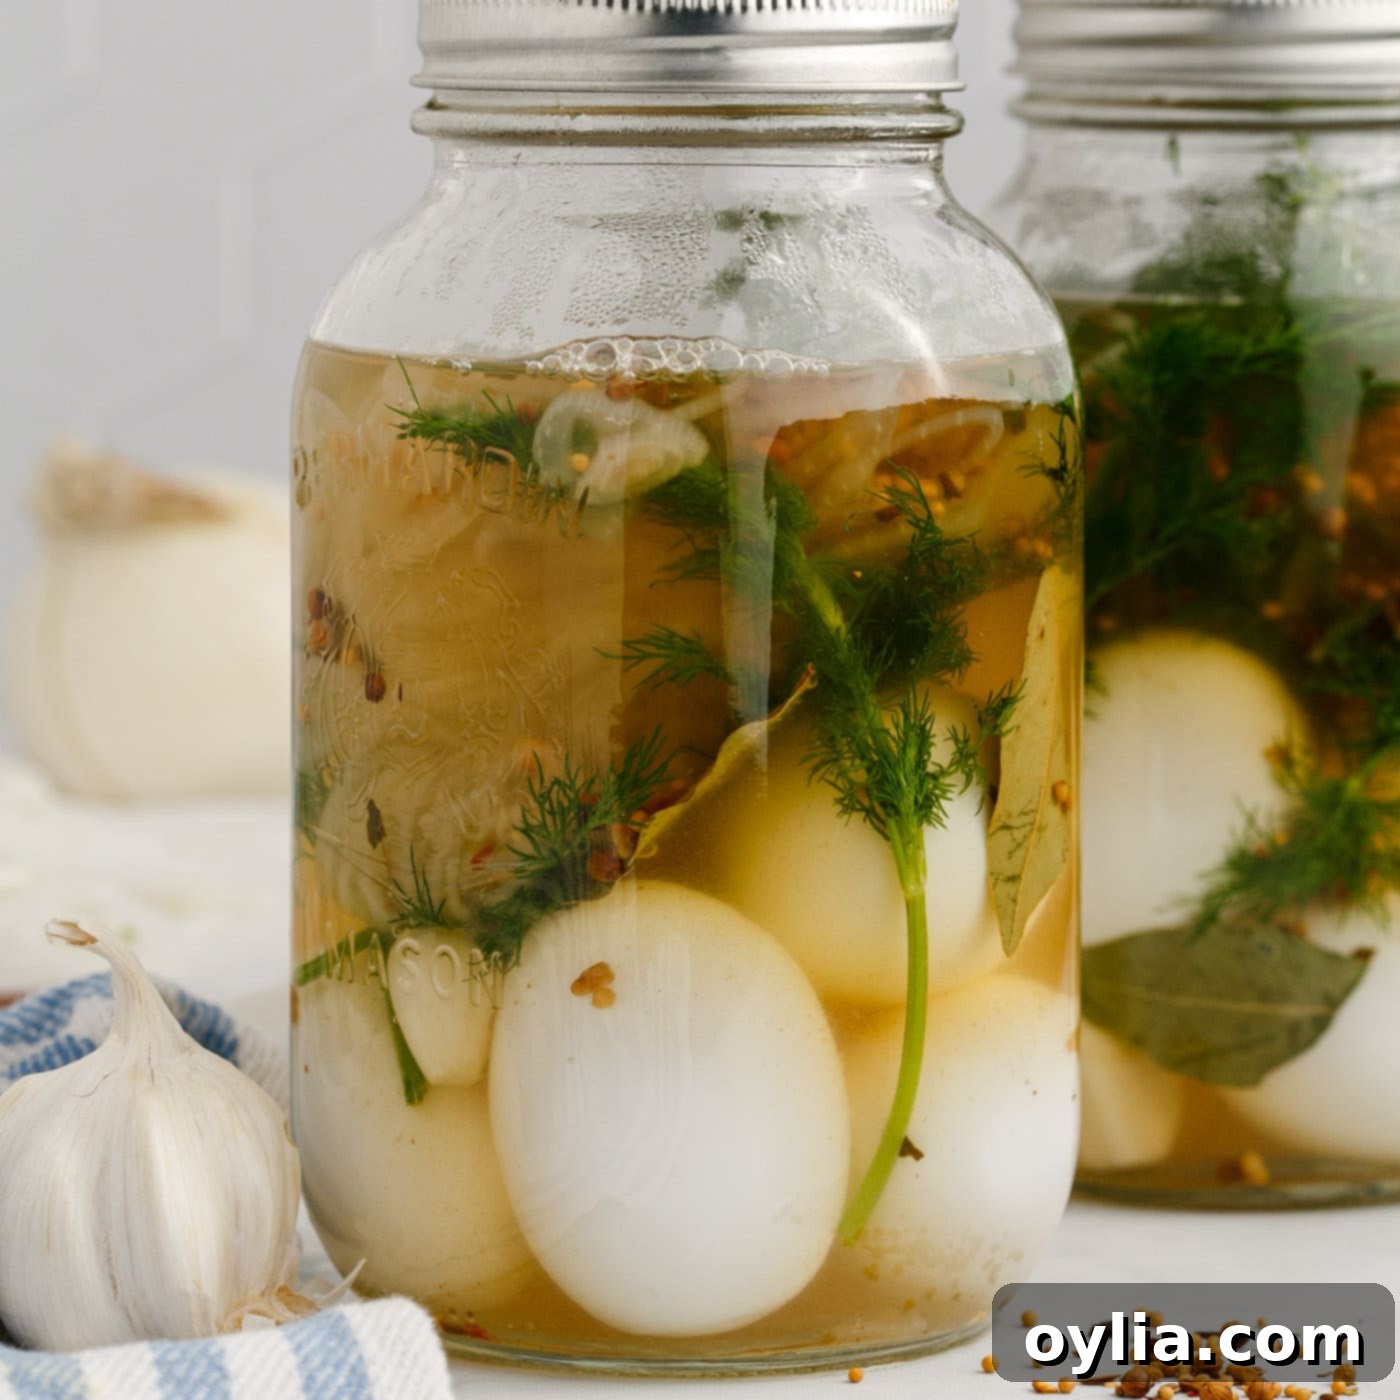
Easy Homemade Pickled Eggs: A Tangy, Flavorful Snack Recipe
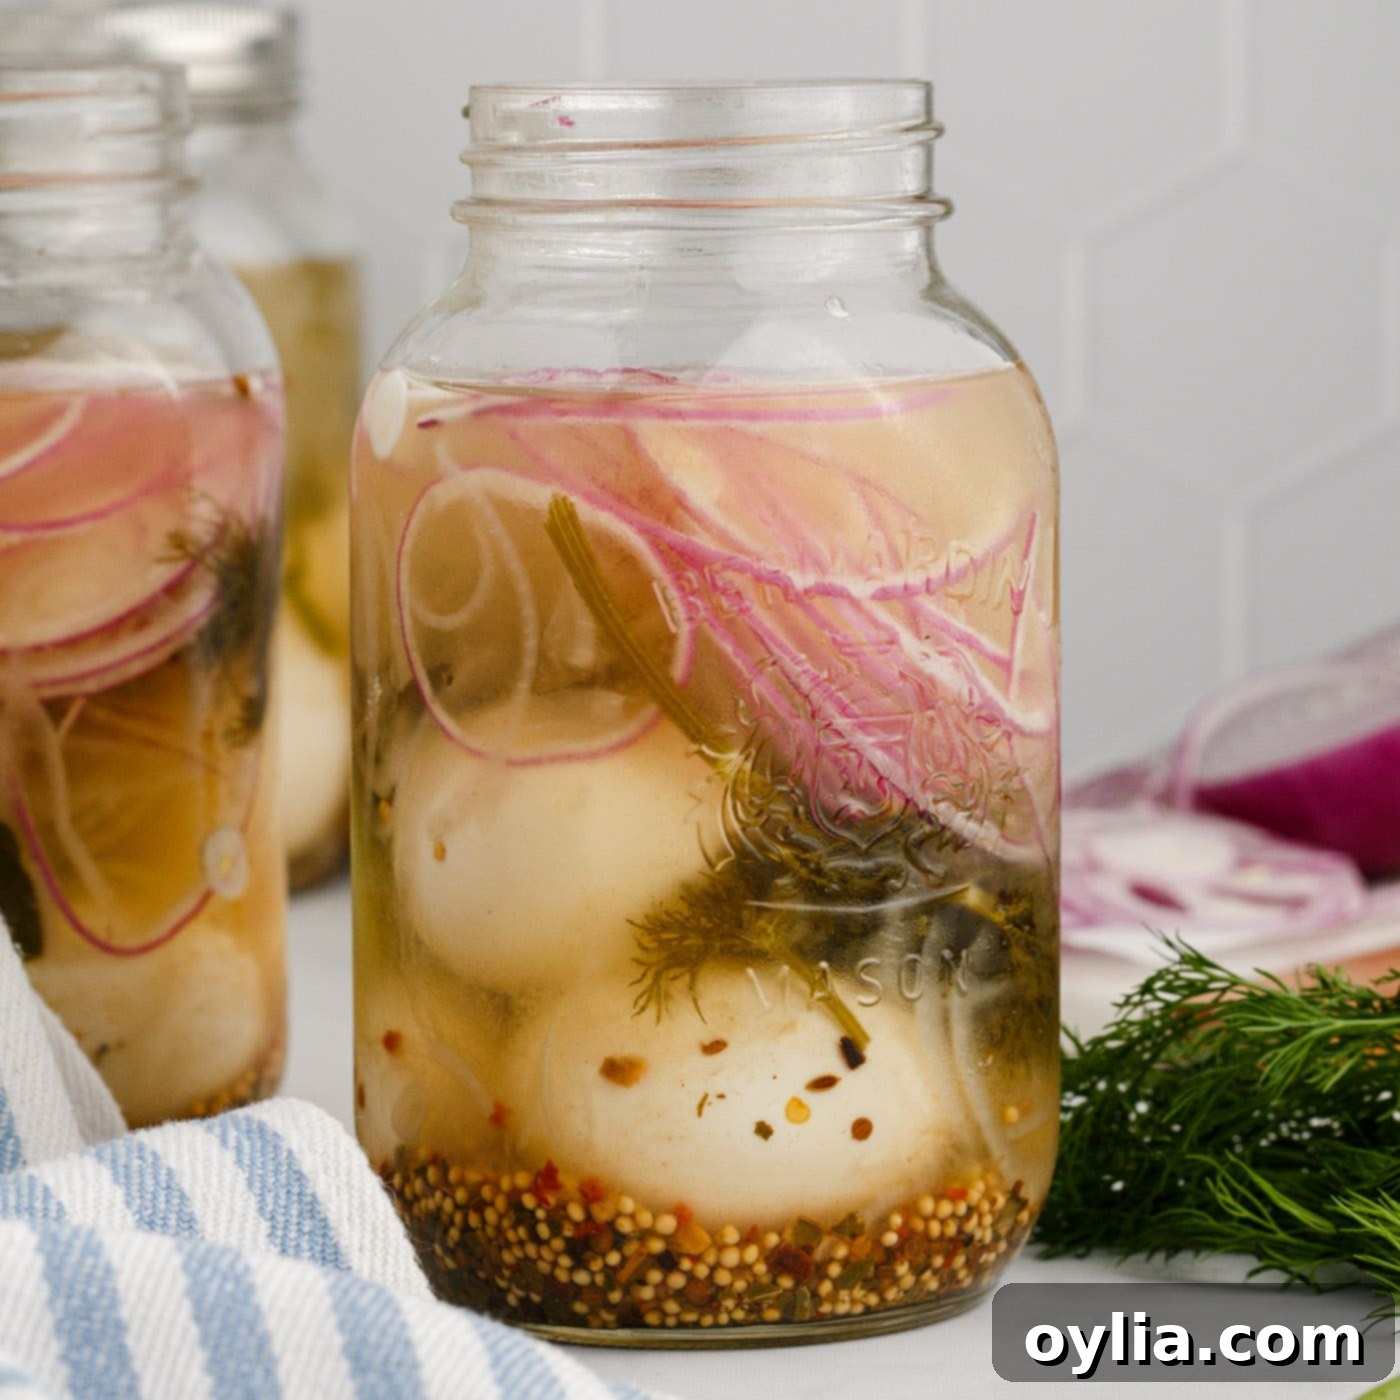
These incredibly flavorful homemade pickled eggs are a culinary delight, soaked in a tangy, aromatic brine that truly elevates the humble hard-boiled egg. Our recipe crafts a perfect balance of sweet, sour, and savory notes, featuring a vibrant blend of vinegar, sliced onion, fresh garlic, fragrant dill, earthy bay leaves, and a medley of classic pickling spices. The result is an utterly addictive snack that’s perfect for casual munching, adding a zesty kick to salads, or transforming into unique deviled eggs. Get ready to impress your taste buds with this simple yet sophisticated treat!
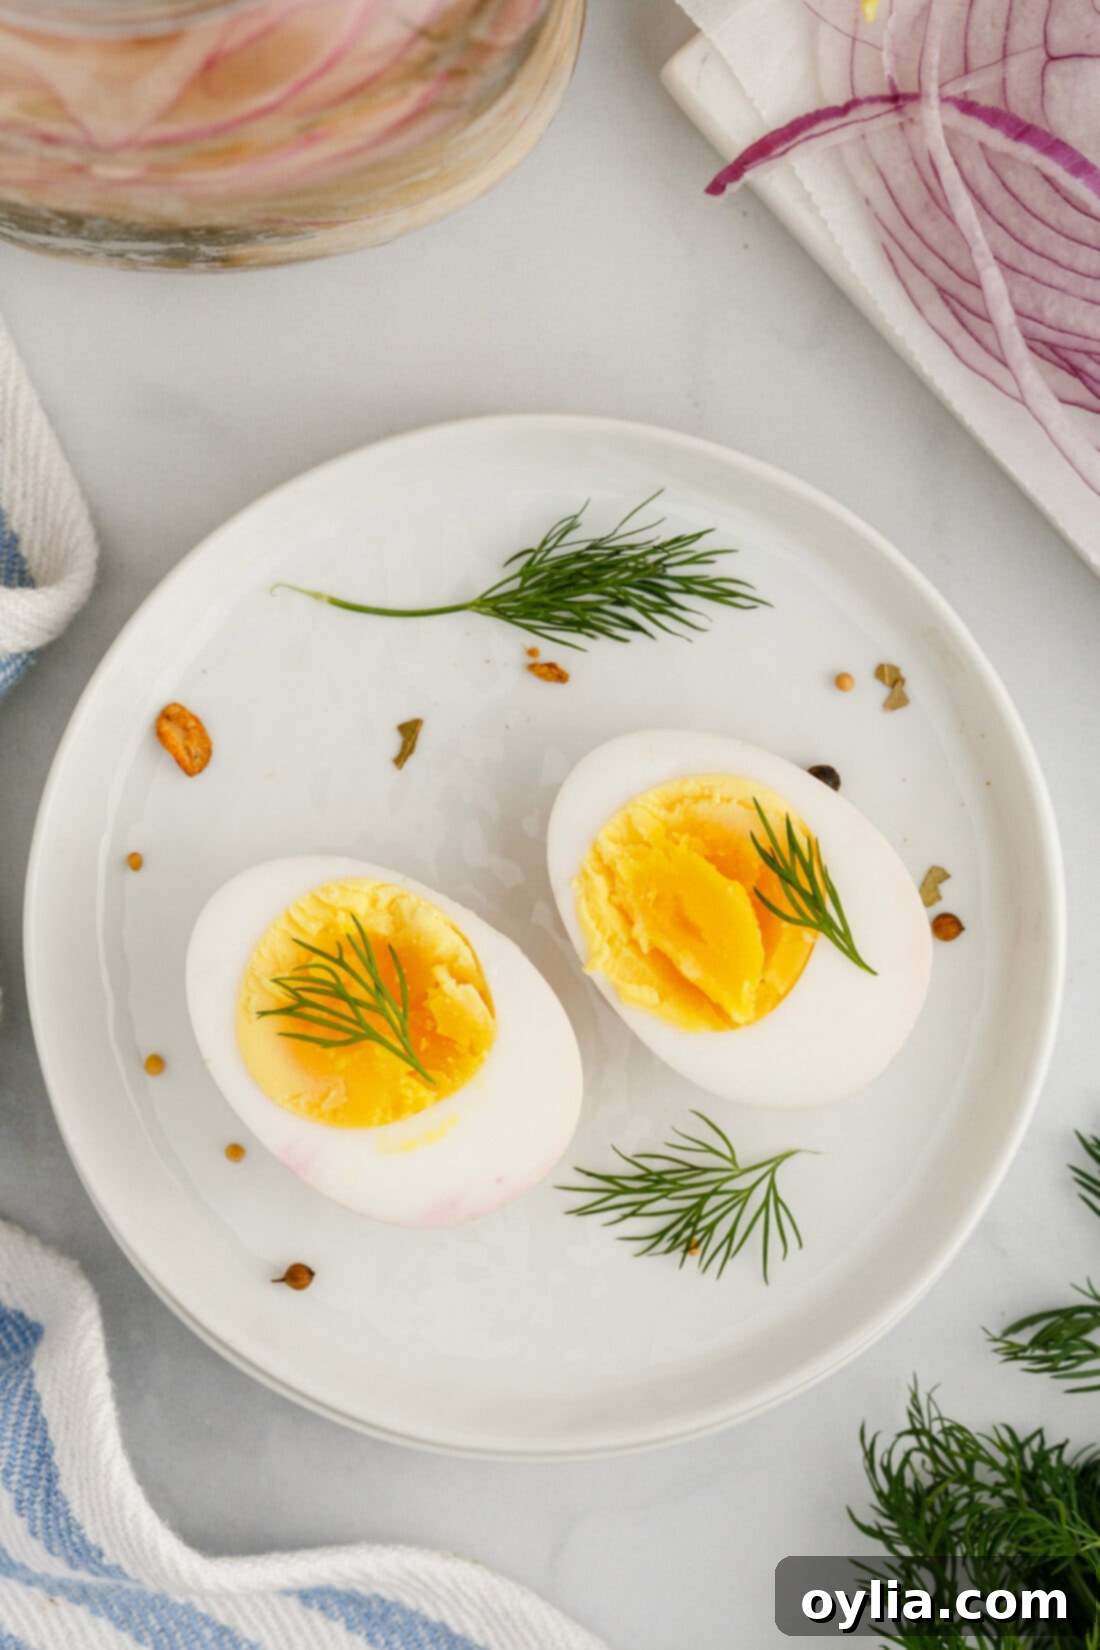
Why This Homemade Pickled Egg Recipe Works So Well
This pickled eggs recipe isn’t just easy; it’s a triumph of flavor infusion. The magic truly happens when fresh herbs, pungent spices, and thinly sliced onions cozy up with your perfectly hard-boiled eggs in a vibrant, vinegar-based brine. As they rest peacefully in the refrigerator, these simple ingredients undergo a remarkable transformation, absorbing the brine’s complex flavors and developing that signature sweet-salty-sour profile that is utterly irresistible.
Unlike many store-bought varieties, our homemade version shines with the bright zest of fresh dill, the subtle warmth of whole garlic cloves, the herbaceous depth of bay leaves, and the aromatic punch of pickling spices. Each component plays a crucial role, creating a harmonious blend that penetrates deep into the egg white and yolk. The extended resting period in the fridge is key here, allowing ample time for the flavors to meld and intensify, transforming your eggs into a gourmet snack that’s hard to stop eating once you start. It’s this thoughtful combination and patient infusion that makes this recipe consistently deliver exceptional results.
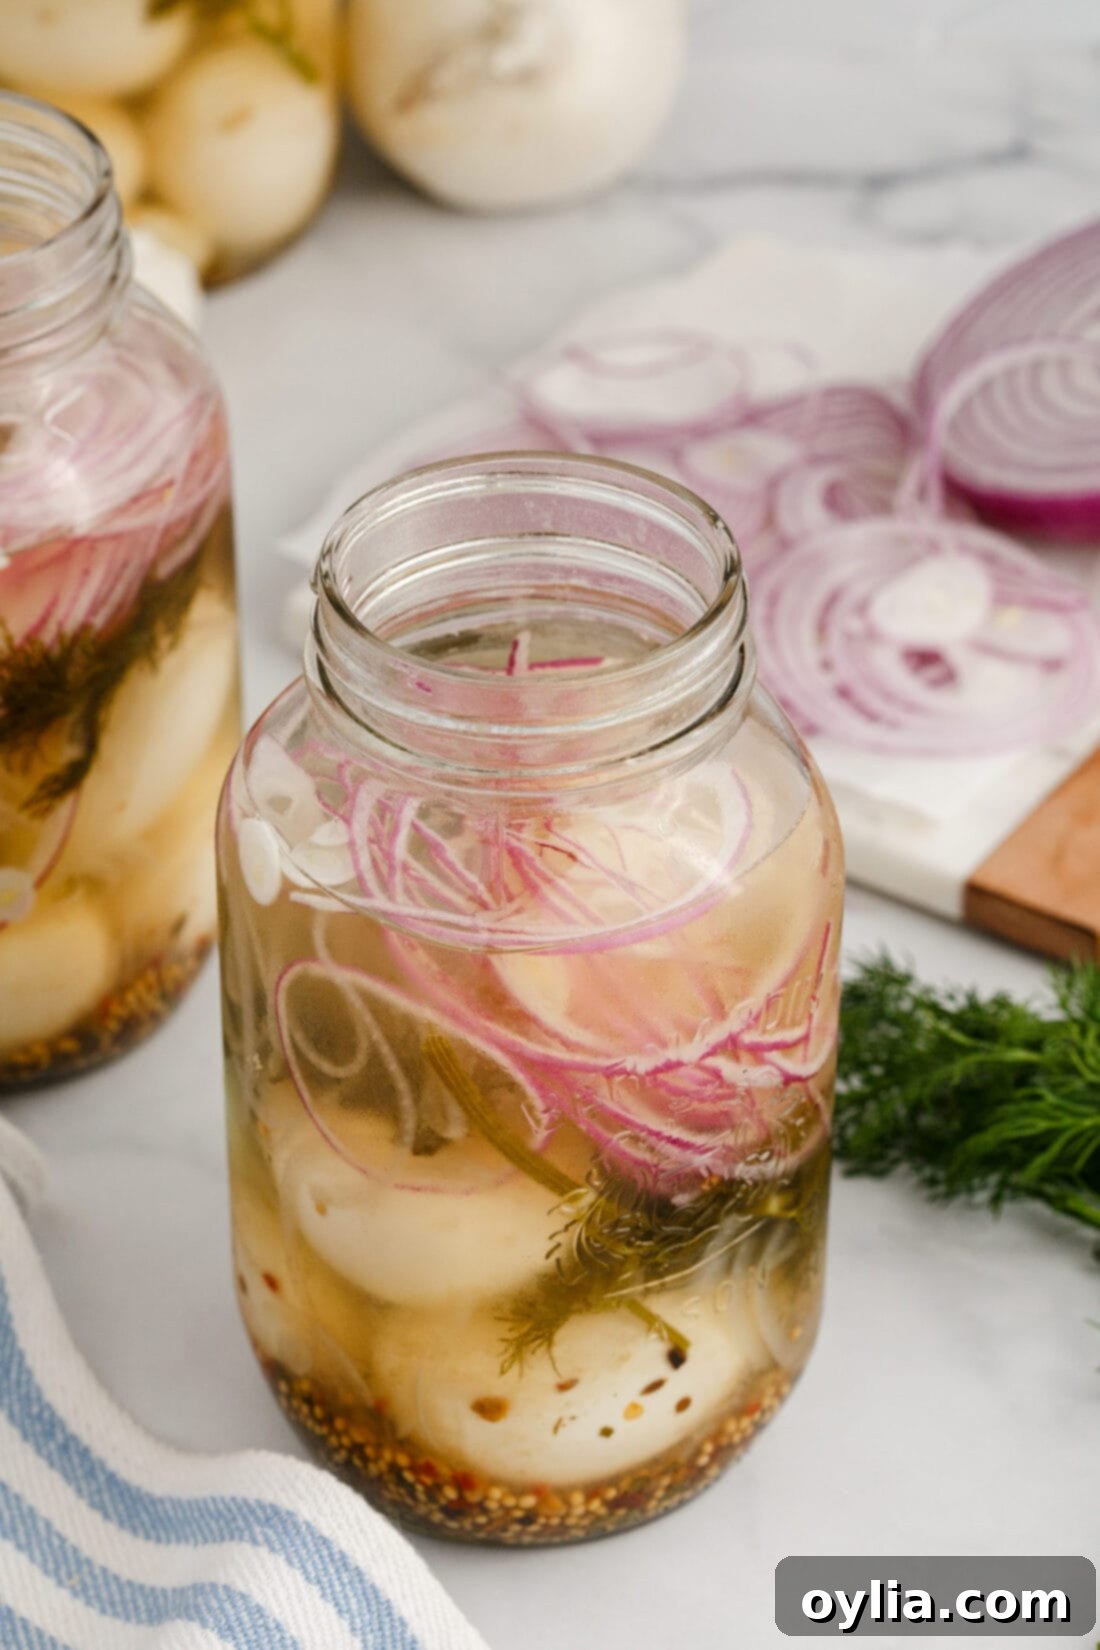
Gather Your Ingredients for Perfectly Pickled Eggs
To embark on your pickled egg adventure, you’ll need a selection of fresh and pantry staples. While the full list with precise measurements is available in the printable recipe card at the end of this post, here’s a visual overview of the key components you’ll be working with:
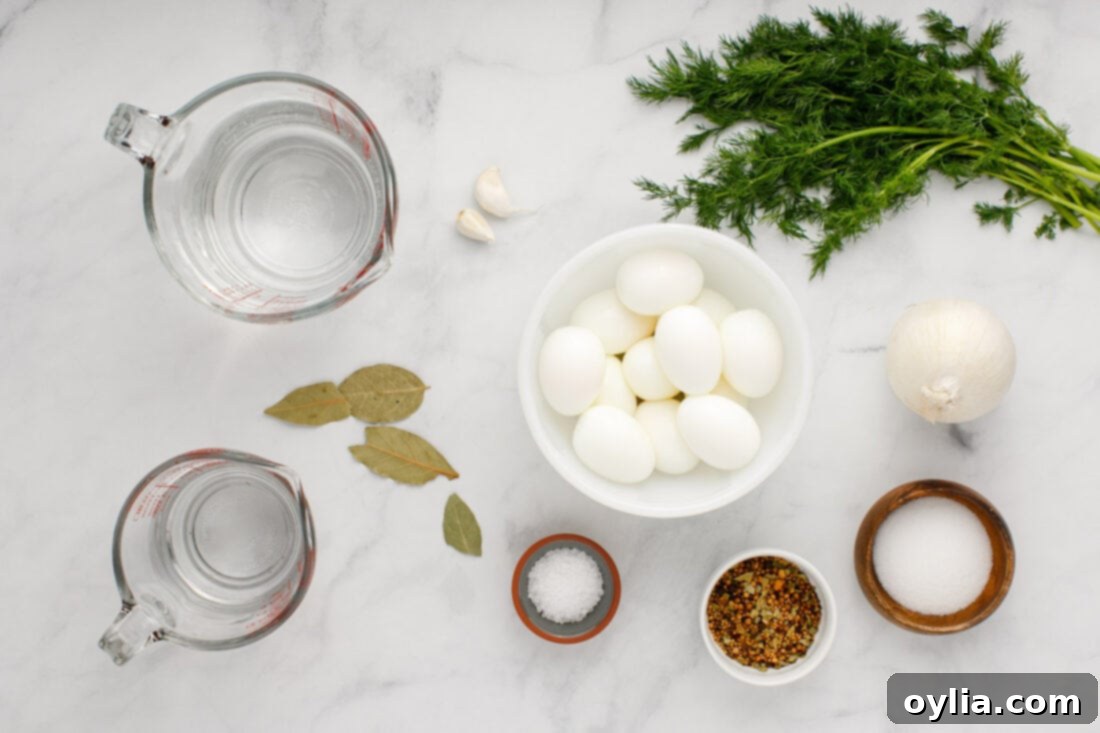
Ingredient Spotlight & Expert Substitution Tips
Understanding each ingredient’s role is key to mastering this recipe and customizing it to your taste. Here’s a closer look at what goes into our tangy pickled eggs and how you can adapt it:
For the Brine: Vinegar, Water, Salt, Sugar, Onion, and Spices
- Vinegar: We primarily use distilled white vinegar for its clean, sharp acidity that perfectly preserves and flavors the eggs. If you prefer a slightly milder, sweeter, and fruitier note, you can absolutely substitute it with apple cider vinegar. This will impart a more rounded flavor profile and may slightly tint your eggs a light amber hue. Experiment to find your favorite!
- Water: Use good quality filtered water to ensure the purest flavor for your brine.
- Salt: Coarse sea salt is our go-to. It dissolves well and provides a clean, essential salty component. Avoid iodized table salt, which can sometimes result in a cloudy brine or off-flavors. Salt is crucial not just for taste, but also for its preservative qualities.
- Sugar: Granulated white sugar helps to balance the sharpness of the vinegar, creating a more harmonious sweet-sour-salty profile. It’s not just about sweetness; it rounds out the overall flavor, making the pickled eggs more palatable and addictive. Don’t skip it, even if you prefer savory over sweet, as it plays a vital balancing act.
- Onion: We’ve successfully tested this recipe with both red onion and white onion, and both work wonderfully. Red onions offer a slightly sweeter, zestier flavor and will, over time, impart a beautiful pinkish tint to your brine and eggs, adding to their visual appeal. White onions provide a classic, robust onion flavor. The choice is yours, and neither will negatively affect the quality or taste.
- Pickling Spices: This pre-mixed blend is a shortcut to complex flavor. It typically includes ingredients like mustard seeds, peppercorns, coriander seeds, dill seed, and bay leaves. You can find pickling spice blends in most grocery stores. If you don’t have a pre-made blend, you can create your own by combining whole mustard seeds, black peppercorns, a pinch of red pepper flakes for heat, and a few coriander seeds.
The Eggs: Achieving Perfection
The foundation of great pickled eggs starts with perfectly cooked and peeled hard-boiled eggs. Here’s our recommended method:
- Starting Cold: Place your eggs in the bottom of a large saucepot and fill with cold water, ensuring about one inch of water covers the eggs. Starting with cold water helps prevent cracking and ensures even cooking.
- Boil and Rest: Heat the pot on high until it reaches a vigorous, rolling boil. Immediately turn off the heat, cover the saucepot with a lid, and allow the eggs to sit in the hot water for 10-12 minutes. The exact timing depends on your preferred yolk consistency – 10 minutes for a slightly creamier yolk, 12 minutes for a fully firm yolk.
- Ice Bath for Easy Peeling: As soon as the resting time is up, transfer the eggs to a bowl of ice water (an ice bath) for at least 15 minutes. This rapid cooling halts the cooking process, makes the eggs easier to peel by causing the egg white to contract and pull away from the shell, and prevents a greenish ring around the yolk.
- Peeling: Once thoroughly chilled, gently tap and roll the eggs to crack the shell, then peel under cool running water. Older eggs (about a week or two old) tend to peel more easily than very fresh ones.
- Alternative Cooking Method: For ultimate convenience, you can also air fry your eggs! Check out our air fryer hard-boiled eggs recipe for a hands-off approach to perfect eggs every time.
Step-by-Step: Crafting Your Delicious Pickled Eggs
These step-by-step photos and instructions are here to help you visualize how to make this recipe. For a quick reference with precise measurements and a printable version, you can Jump to Recipe at the bottom of this post.
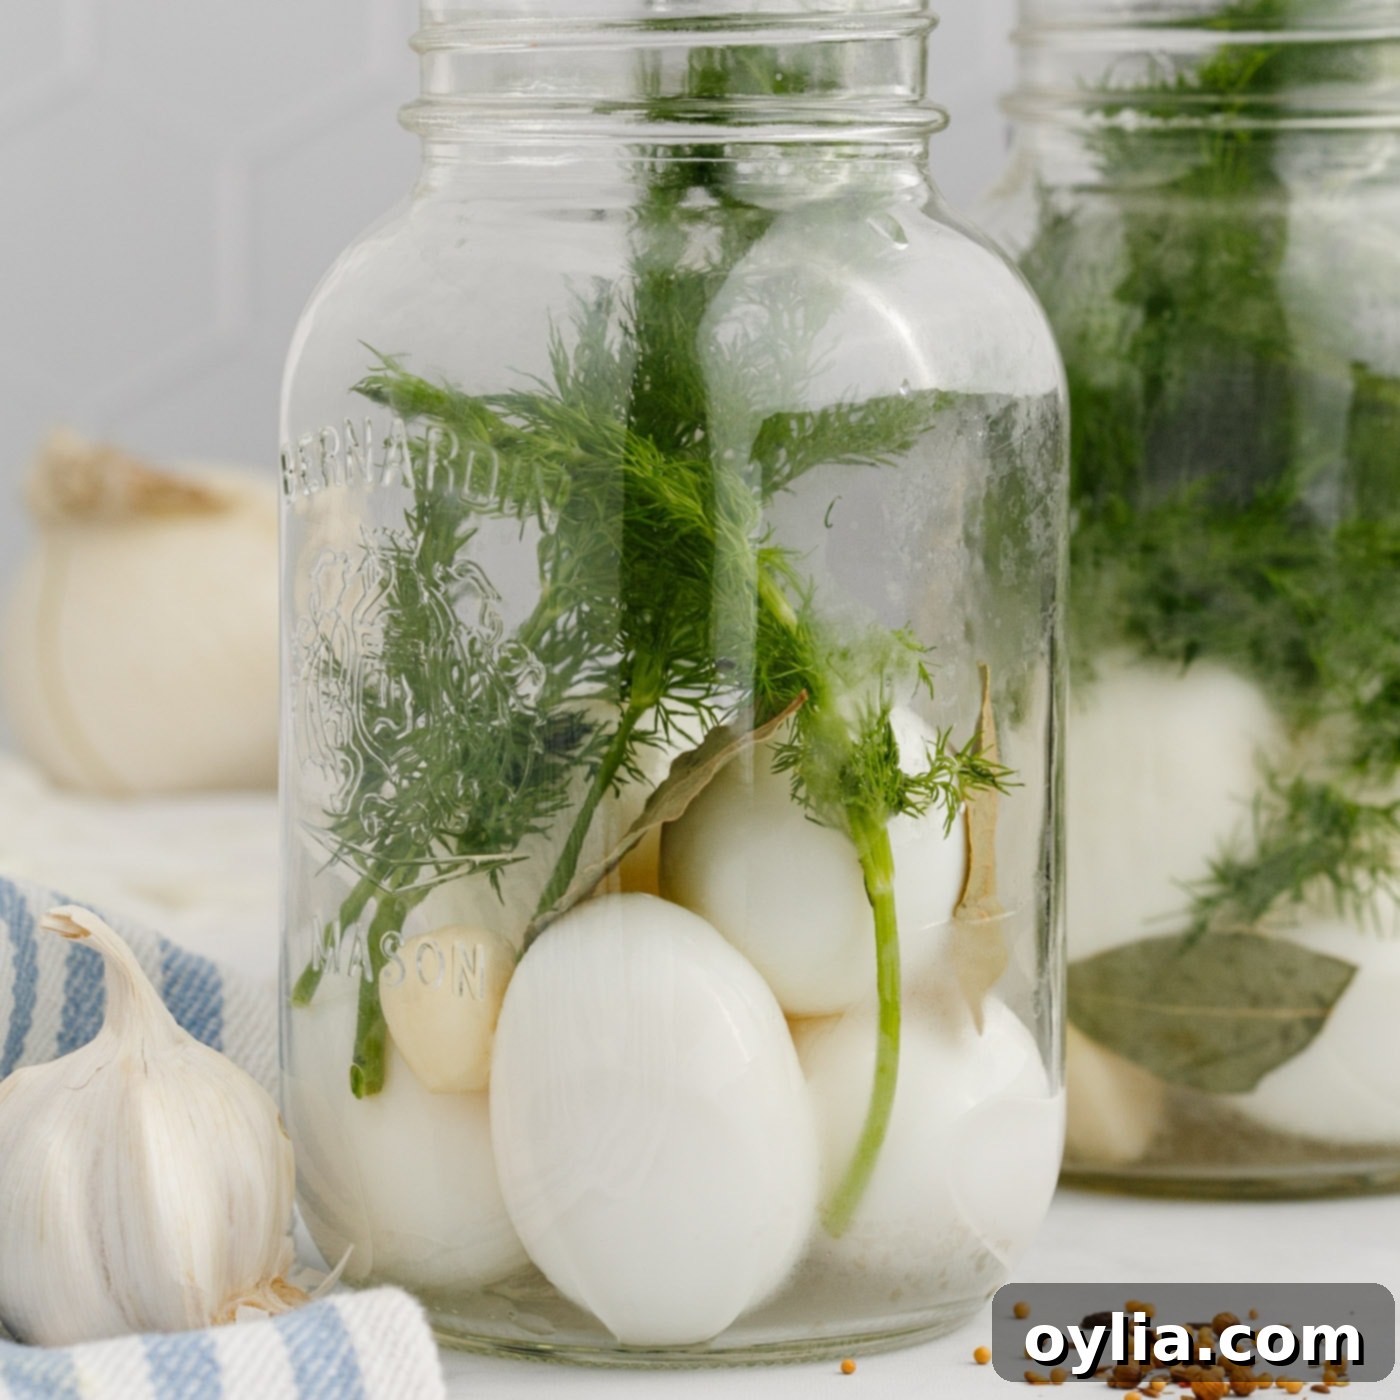
- Prepare Your Jars: Begin by prepping two 1-liter mason jars (approximately 34 ounces each). Into each clean jar, carefully place 6 peeled hard-boiled eggs. Then, add 3-4 sprigs of fresh dill, one whole peeled garlic clove, and 1-2 bay leaves (adjusting the quantity based on their size). Distribute these aromatics evenly between the two jars. Ensure your jars are clean and sterilized to prevent spoilage.

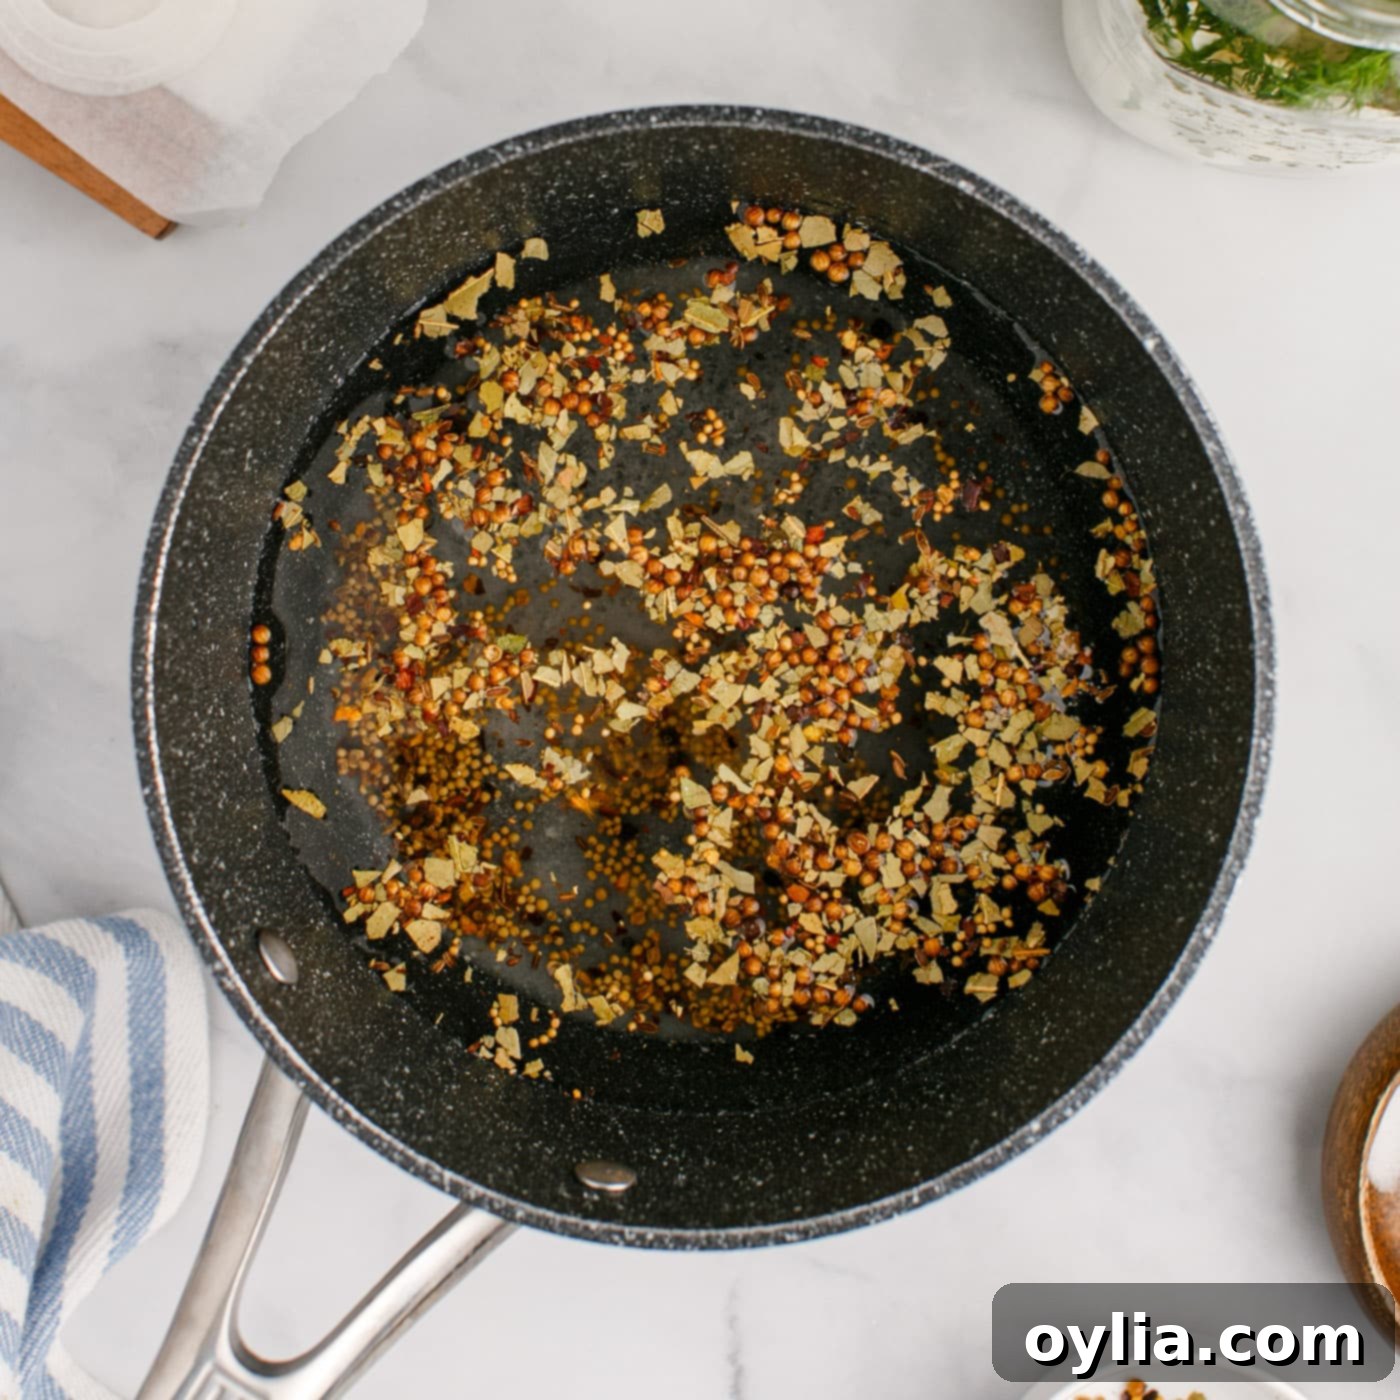
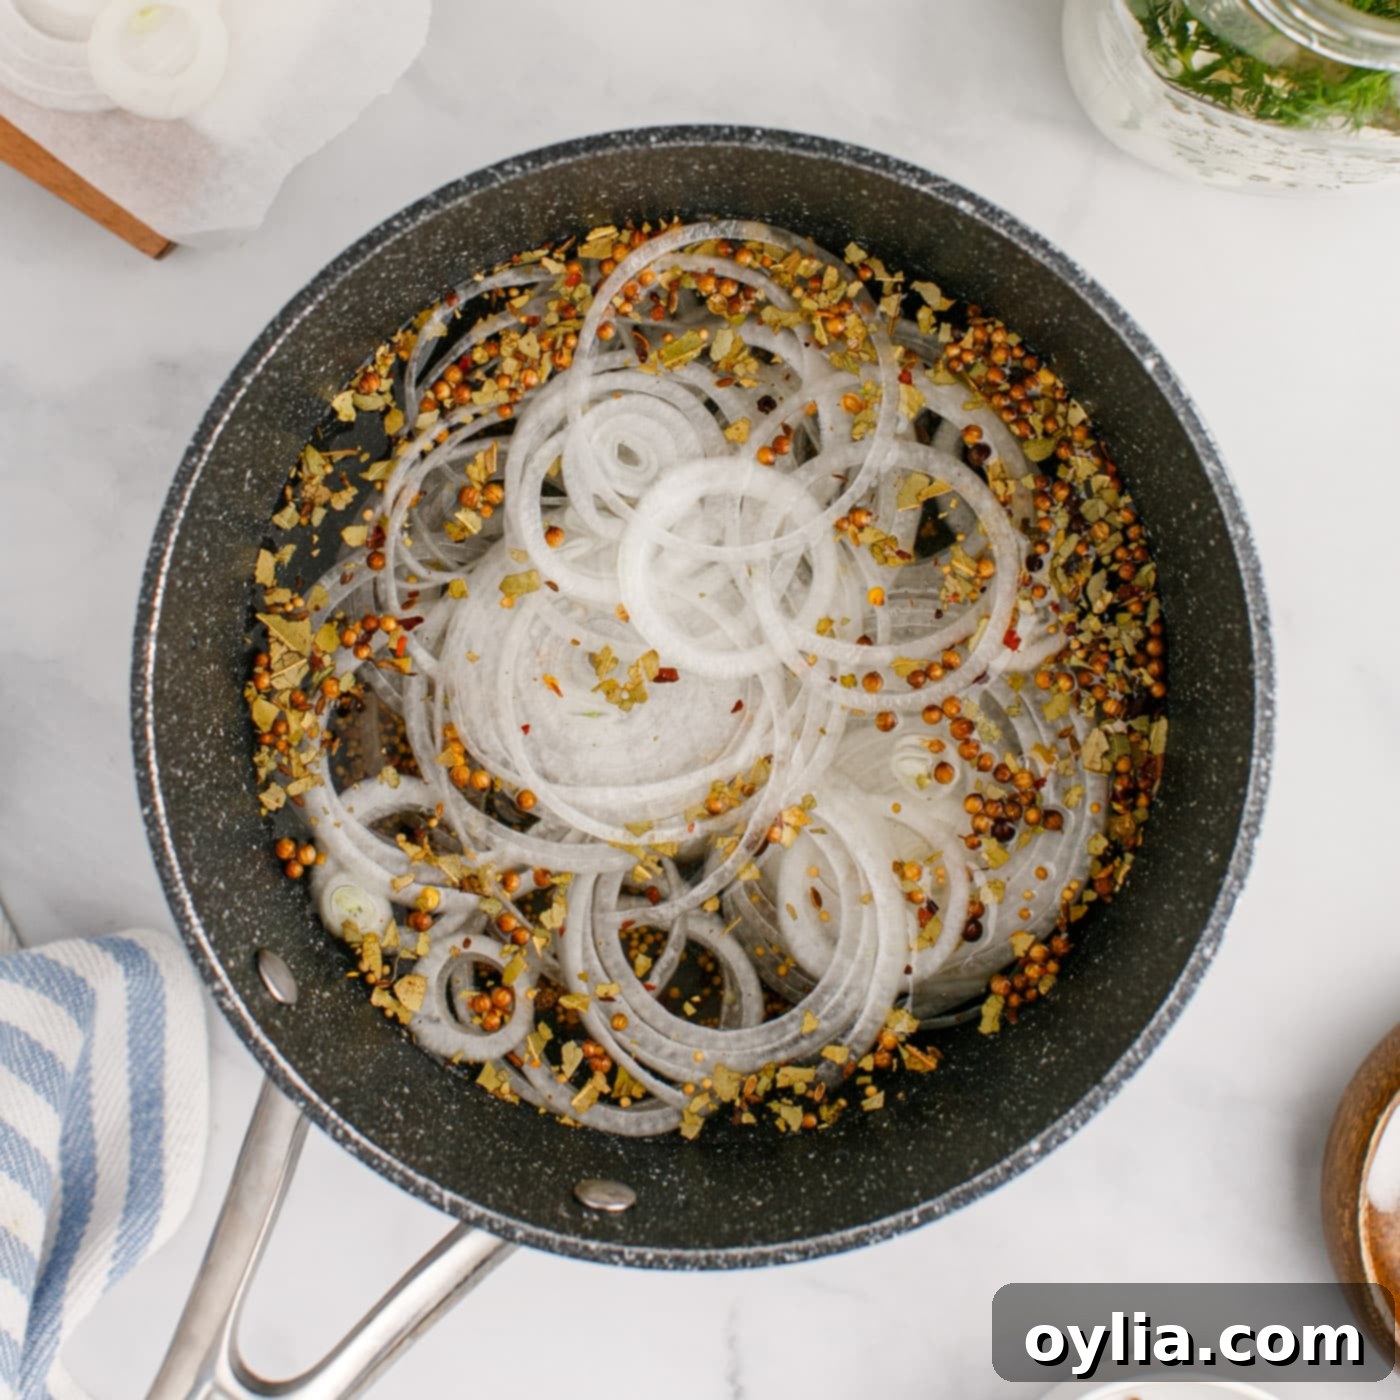
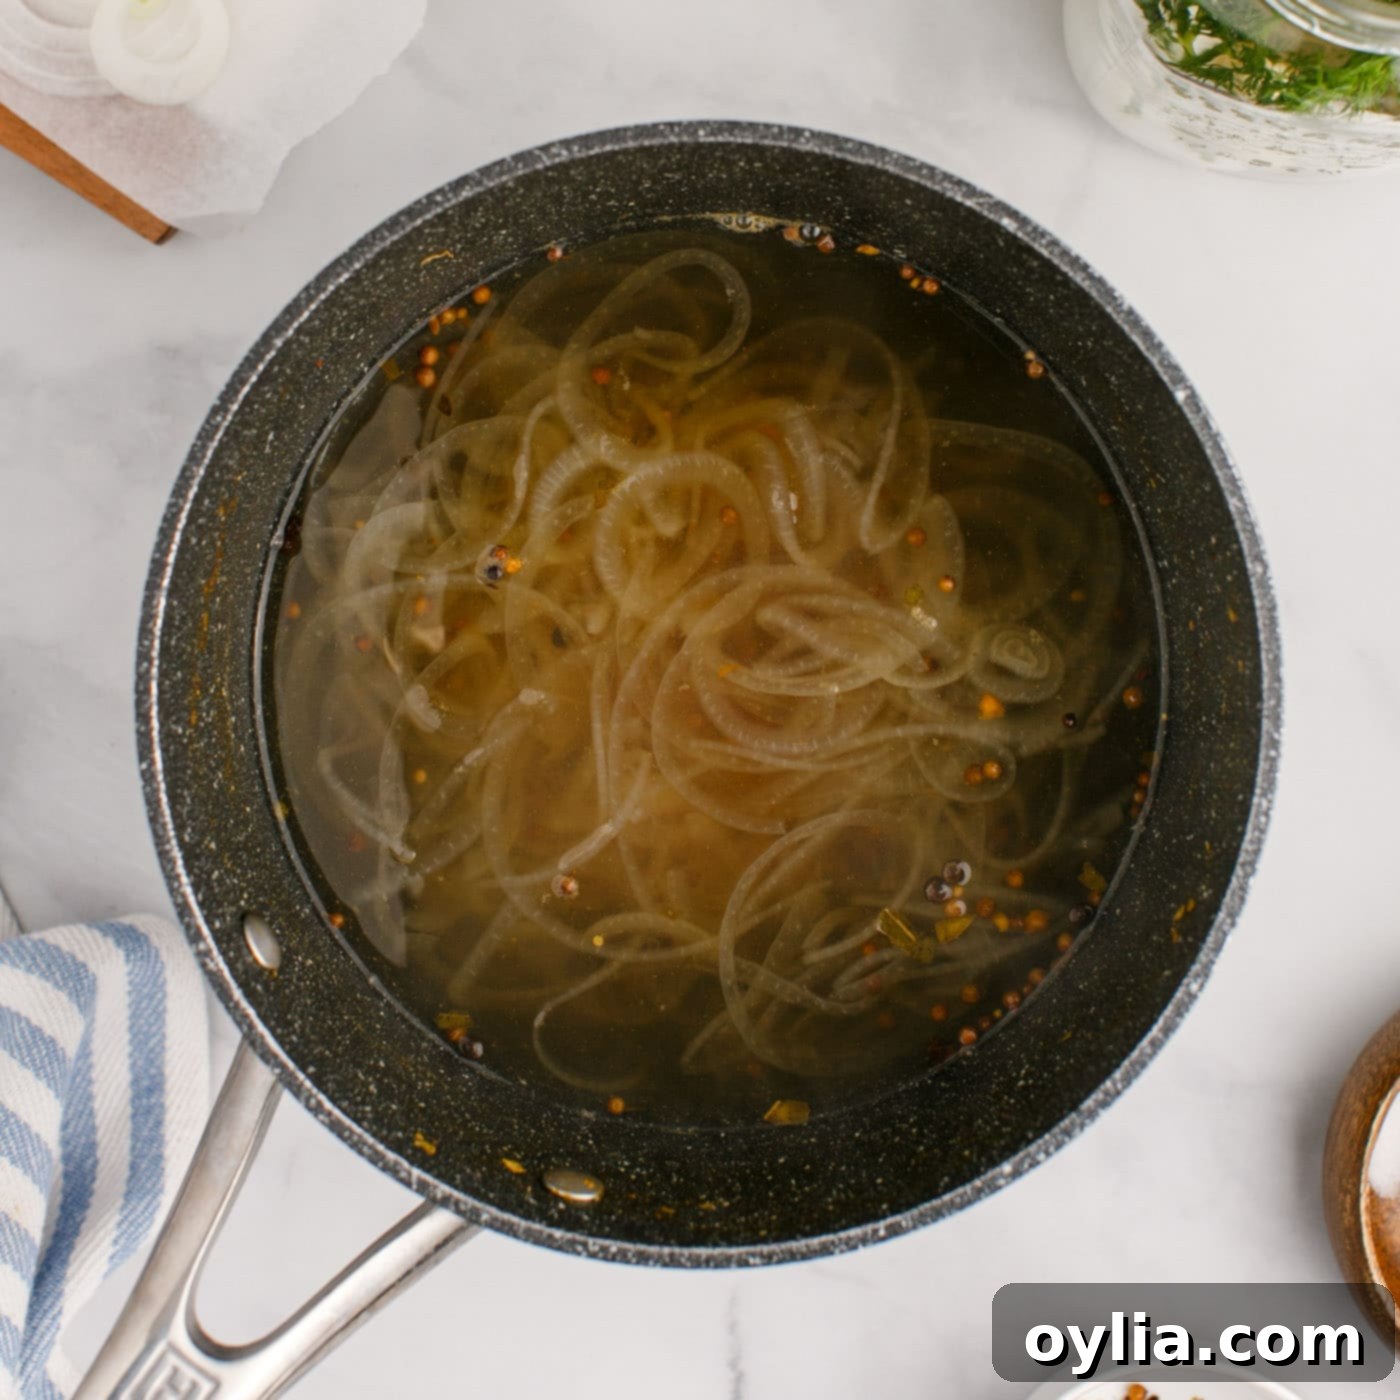
Layering hard-boiled eggs with fresh dill, garlic, and bay leaves in a mason jar. - Simmer the Brine: In a medium-small saucepan, combine all the ingredients for your brine: vinegar, water, coarse sea salt, thinly sliced onion, granulated sugar, and pickling spices. Bring this mixture to a rolling boil over high heat. Once boiling, reduce the heat to low and allow the brine to gently simmer for about 10 minutes. This simmering process is crucial as it allows the flavors from the spices and onion to properly infuse into the vinegar solution, creating a rich and aromatic brine.

Adding pickling spices to the vinegar and water base. 
Sliced onion joining the brine ingredients in the saucepan. 
The brine gently simmering, allowing flavors to infuse. - Pour the Brine: Carefully and evenly pour the hot brine into each prepared mason jar, ensuring all the eggs are fully submerged. You may find it helpful to use a ladle or a heat-resistant funnel for this step. As you pour, try to distribute the sliced onions and pickling spices somewhat evenly among the jars to maximize flavor distribution.

Hot brine being poured over eggs and herbs in a mason jar. - Cool and Store: Once the brine has been added, screw the lids onto the jars. Allow the jars to cool completely to room temperature on your countertop. This can take several hours. Once cooled, transfer the jars to your refrigerator. For the absolute best and most intense flavor, let them rest in the fridge for 5-7 days before devouring. While they are edible after 24 hours, the flavors truly deepen and meld beautifully with a longer chill time.

Sealed jars of pickled eggs cooling down before refrigeration.
Frequently Asked Questions & Expert Tips for Pickled Eggs
When stored properly in an airtight jar and kept continuously in the refrigerator, these homemade pickled eggs will last for up to 3 months. It is critical to understand that these are refrigerator-pickled eggs, not shelf-stable canned pickled eggs. They have not undergone a traditional canning process (like a hot water bath or pressure canning) to create a vacuum seal, which would allow for extended unrefrigerated storage. Therefore, this recipe must always be refrigerated to ensure safety and prevent spoilage. Discard immediately if you notice any off-smells, mold, or changes in texture or color. For optimal flavor, we recommend consuming them within the first month.
Absolutely! While distilled white vinegar provides a classic, crisp tang, you can experiment with other vinegars. As mentioned, apple cider vinegar adds a subtle sweetness and fruity note. For a darker, richer flavor, some people enjoy using malt vinegar. Just be aware that darker vinegars will significantly change the color of your eggs. The key is to maintain the proper vinegar-to-water ratio to ensure adequate acidity for preservation.
Difficult-to-peel eggs are a common frustration! The best tip is to use eggs that are a bit older, ideally about 7-10 days past their packing date, as fresher eggs cling more tightly to their shells. Always use an ice bath immediately after cooking to shock the eggs and help the membrane separate from the egg white. Cracking the shell all over before peeling under cool, gently running water can also aid in the process.
Certainly! This recipe is a fantastic base for customization. Consider adding a few red pepper flakes for a spicy kick, a teaspoon of whole black peppercorns for more peppery notes, or even a few sprigs of fresh thyme or rosemary for an earthy twist. For a beautiful pink hue, you can add a slice of cooked beet to the jar (it will also impart a subtle earthy sweetness). Fennel seeds or celery seeds can also be lovely additions to the pickling spice blend.
Cooling both the eggs and the brine to room temperature before placing them in the refrigerator is essential for several reasons. Firstly, putting hot jars directly into a cold refrigerator can significantly raise the internal temperature of your fridge, potentially compromising the safety of other foods. Secondly, rapid temperature changes can cause glass jars to crack. Thirdly, allowing the brine to cool slowly helps the flavors to continue developing and permeating the eggs more effectively before the cold fully slows down the infusion process.
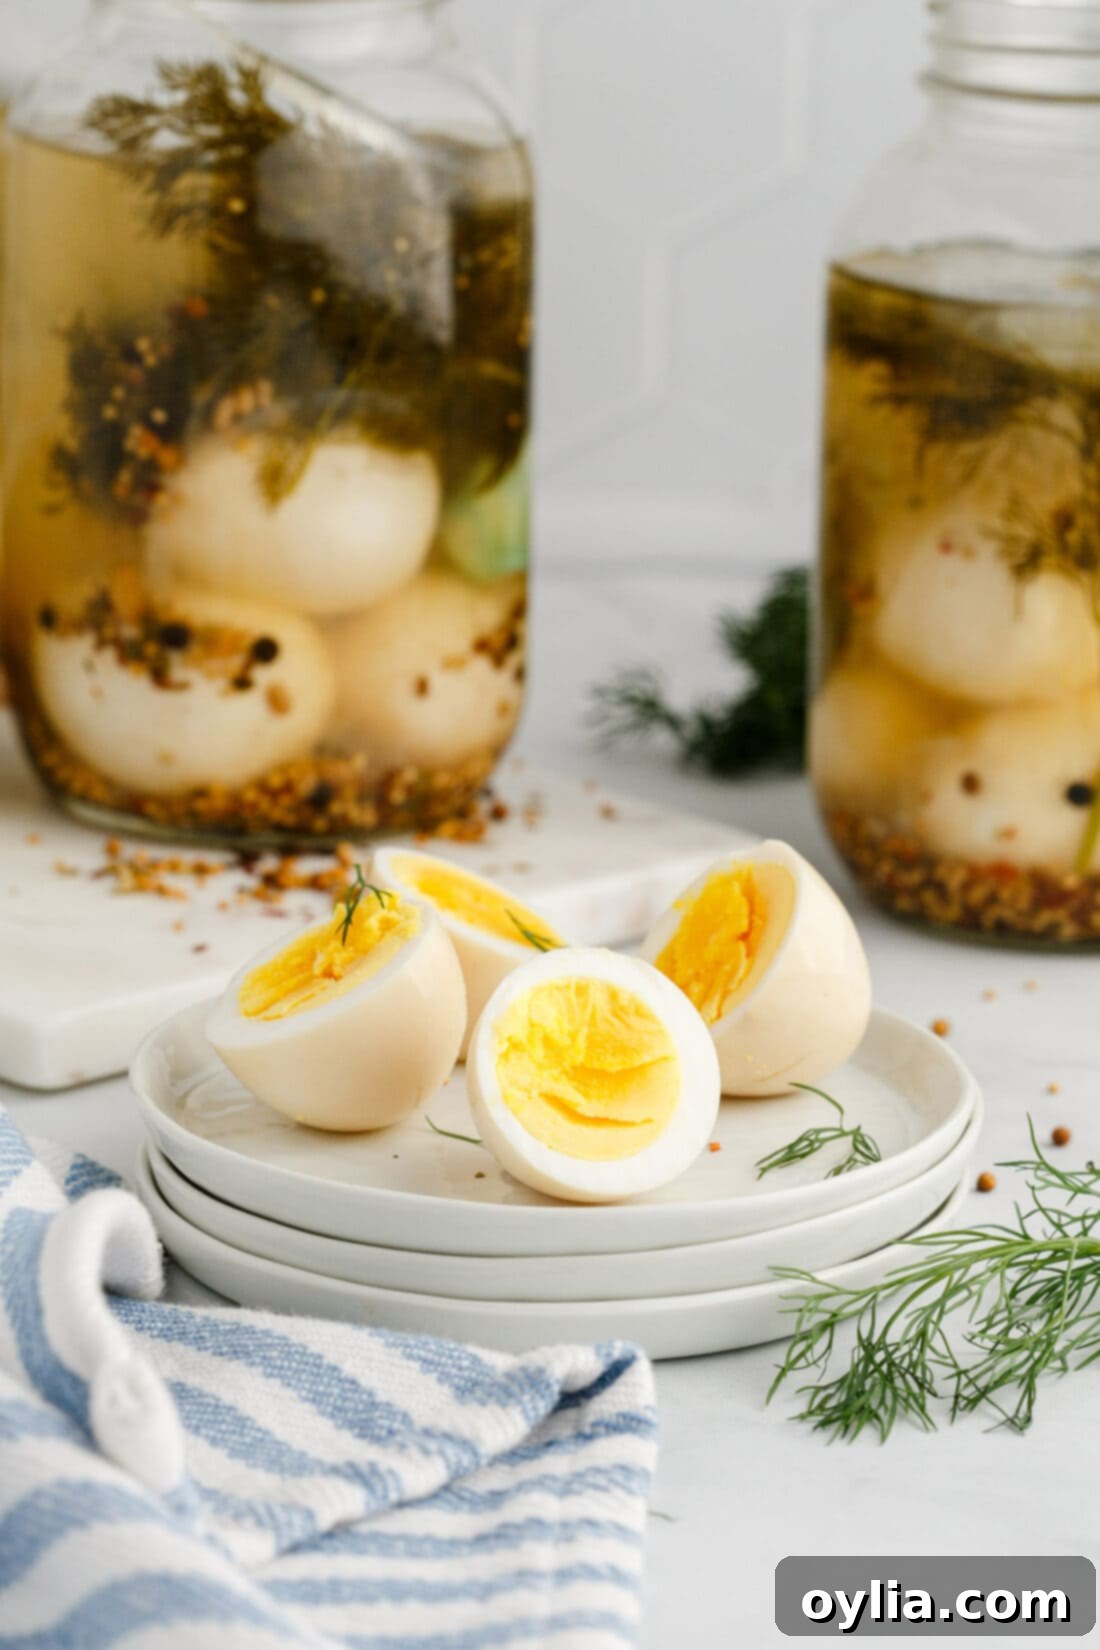
Creative Ways to Enjoy Your Pickled Eggs
While a pickled egg is a delightful snack all on its own, there are countless ways to incorporate these tangy treats into your meals and appetizers. Here are some serving suggestions to get your culinary creativity flowing:
- Classic Snack: Simply slice them in half or quarters and enjoy them straight from the jar for a protein-packed, flavorful bite.
- Elevated Deviled Eggs: Replace standard hard-boiled eggs with pickled eggs for a zesty, unexpected twist on this classic appetizer. The tang from the pickling adds an incredible depth of flavor to the yolk filling.
- Salad Enhancer: Chop pickled eggs and toss them into green salads, potato salads, or macaroni salads for a burst of briny flavor and a satisfying texture.
- Sandwiches and Wraps: Slice them thinly and layer into your favorite sandwiches or wraps, adding a bright counterpoint to rich meats or creamy fillings. They’re particularly good in egg salad sandwiches!
- Charcuterie Boards: Arrange whole or halved pickled eggs on a charcuterie or cheese board alongside cured meats, cheeses, crackers, and olives for a rustic, flavorful addition.
- Garnish for Soups and Stews: A chopped pickled egg can make an excellent and surprising garnish for hearty soups or stews, adding a touch of acidity and richness.
- Pub Fare Pairing: Historically a staple in bars, pickled eggs pair wonderfully with a cold beer or your favorite pub-style snacks.
Discover More Tangy Pickled Delights
If you love the zesty kick of homemade pickled goods, you’ll be thrilled to explore these other fantastic recipes from our collection:
- Pickled Beets
- Pickled Onions
- Pickled Asparagus
- Homemade Claussen Pickles
I love to bake and cook and share my kitchen experience with all of you! Remembering to come back each day can be tough, that’s why I offer a convenient newsletter every time a new recipe posts. Simply subscribe and start receiving your free daily recipes!
Pickled Eggs
IMPORTANT – There are often Frequently Asked Questions within the blog post that you may find helpful. Simply scroll back up to read them!
Print It
Pin It
Rate It
Save ItSaved!
Ingredients
- 12 hard boiled eggs peeled
- 6-8 sprigs fresh dill
- 2 cloves garlic whole and peeled
- 2-4 bay leaves depending on the size
Brine
- 3 cups distilled white vinegar
- 1 ½ cups water
- 1 ½ Tablespoons coarse sea salt
- 1 small-medium onion thinly sliced, about 1 cup
- 2 Tablespoons granulated white sugar
- 2 Tablespoons pickling spices
Things You’ll Need
-
two 34 ounce mason jars two liters total
-
Saucepan
Before You Begin
- You can enjoy these pickled eggs after 24 hours of chill time, however, we suggest letting them rest for 5-7 days to really absorb all the flavor from the brine.
- Hard boil and peel your eggs before beginning. Place the eggs on the bottom of a large saucepot and fill with cold water (you want about 1 inch of water covering the eggs). Heat on high until it reaches a roiling boil. Once boiling, turn off the heat on the burner and cover the saucepot with a lid. Allow the eggs to sit in the hot water for around 10-12 minutes, depending on how you like the yolk. Rinse with cold water, or let them sit in an ice bath for about 15 minutes before peeling.
- We used distilled white vinegar. You can substitute with apple cider vinegar if desired, this will add a little more sweetness to the brine.
- We have tested this recipe with both red onion and white onion, both work well. The red onion may tint the color of your brine after sitting for a few days in the refrigerator, but it will not affect the quality or taste.
- The sugar called for helps counteract the sharpness of the vinegar.
- If stored properly in an air-tight jar kept in the refrigerator, these pickled eggs will last for up to 3 months. These are refrigerator-pickled eggs, not canned pickled eggs, so they are not shelf-stable nor will they last for an extended period of time. This recipe must be refrigerated.
Instructions
-
Prep two 1-liter mason jars each with 6 peeled hard-boiled eggs, 3-4 sprigs of fresh dill, 1 whole peeled garlic clove, and 1-2 bay leaves depending on size, then prep your brine.
-
In a medium-small saucepan add all ingredients to make your brine and bring to boil. Once boiling, reduce the heat to low and allow it to simmer for about 10 minutes.
-
Carefully pour the brine evenly among each container. Note: you may want to spoon some of the onions and spices in individually to divide more evenly.
-
Allow them to cool with the lids on until they’re at room temperature, then store in the fridge for 5-7 days for best flavor.
Nutrition
The recipes on this blog are tested with a conventional gas oven and gas stovetop. It’s important to note that some ovens, especially as they age, can cook and bake inconsistently. Using an inexpensive oven thermometer can assure you that your oven is truly heating to the proper temperature. If you use a toaster oven or countertop oven, please keep in mind that they may not distribute heat the same as a conventional full sized oven and you may need to adjust your cooking/baking times. In the case of recipes made with a pressure cooker, air fryer, slow cooker, or other appliance, a link to the appliances we use is listed within each respective recipe. For baking recipes where measurements are given by weight, please note that results may not be the same if cups are used instead, and we can’t guarantee success with that method.
