Easy No-Bake Layered Jello Pie: Your Go-To Festive Dessert Recipe
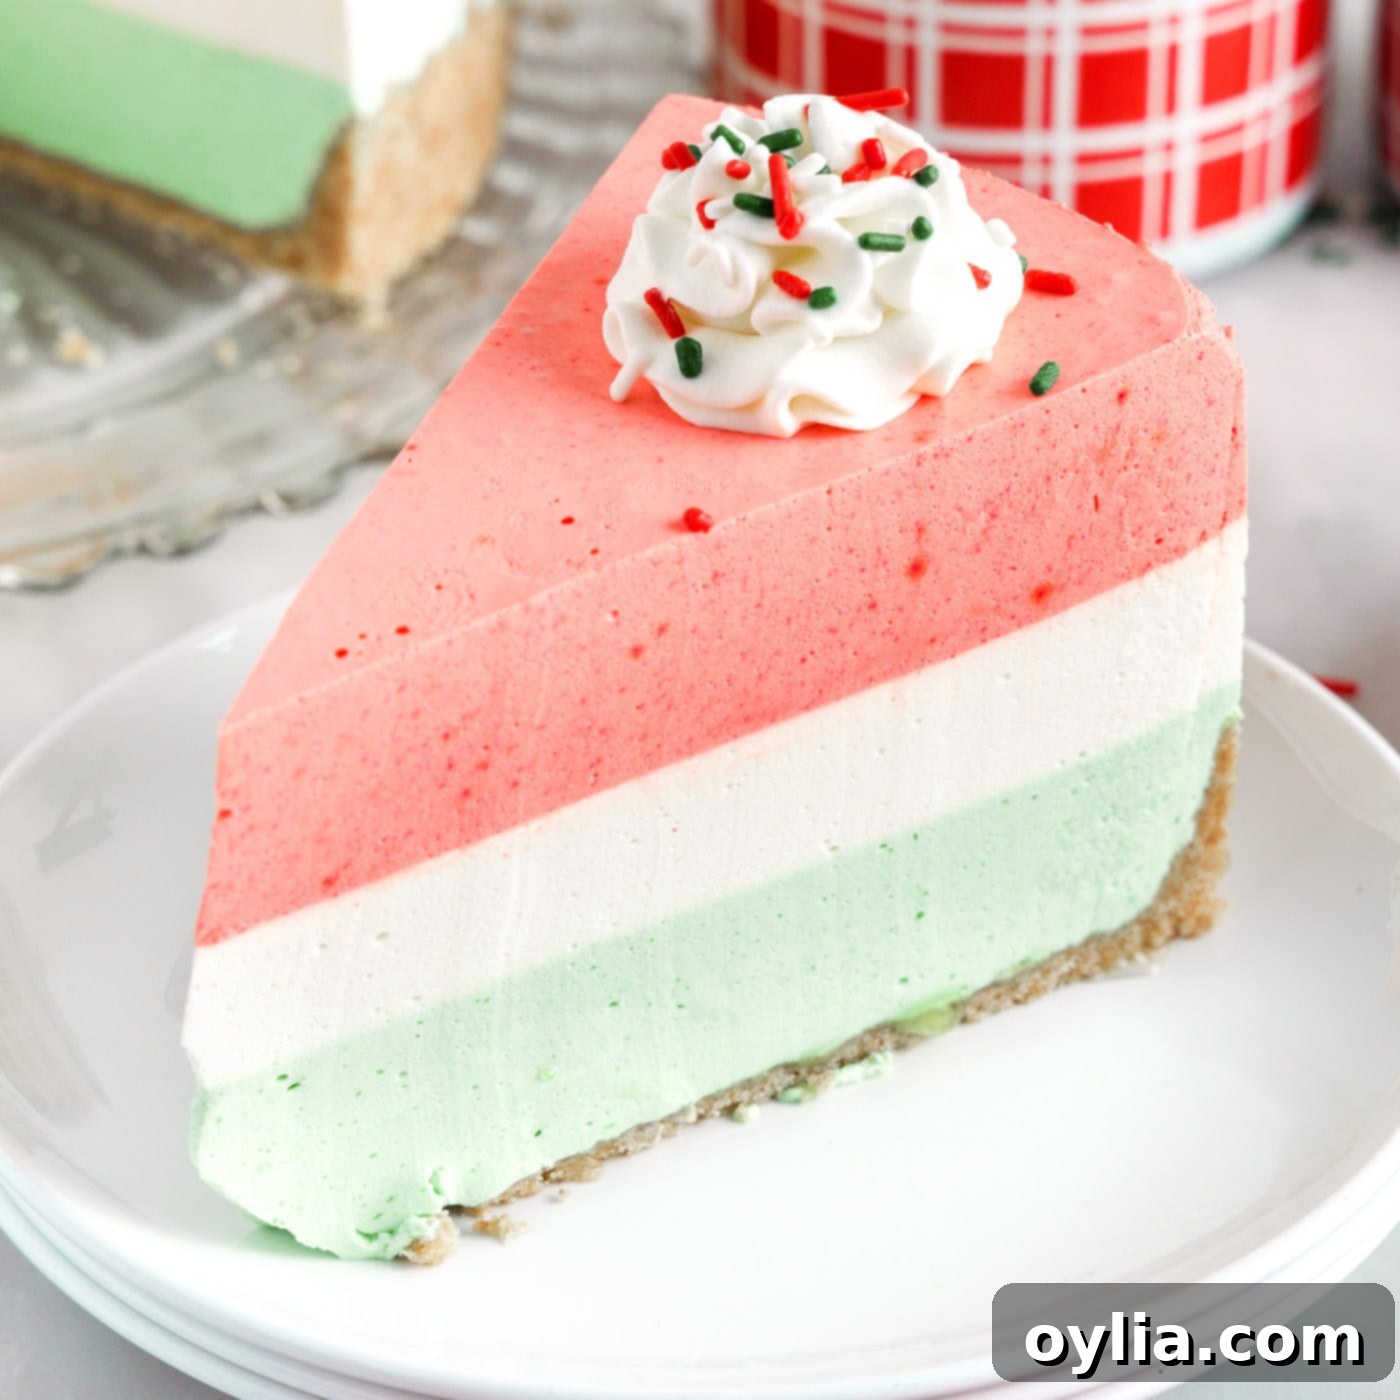
Get ready to impress with this incredibly fun and effortlessly festive no-bake layered jello pie! It’s the perfect dessert to brighten up any holiday gathering or special occasion. Imagine vibrant layers of creamy, whipped jello nestled on top of a perfectly buttery and sweet graham cracker crust. This dessert isn’t just a treat for the taste buds; it’s a feast for the eyes, offering a light, fluffy, and refreshingly fruity experience that stands out on any dessert table.
Why This Layered Jello Pie Recipe is a Must-Try
Our layered jello pie isn’t just another dessert; it’s a versatile masterpiece designed for ease and enjoyment. The beauty of this recipe lies in its adaptability. You can craft this stunning pie using virtually any color and flavor combination of jello imaginable, making it ideal for theme parties, seasonal celebrations, or simply indulging your favorite fruity cravings. The magic happens when you gently whisk the jello with creamy Cool Whip, transforming it into ethereal, fluffy layers of pure deliciousness.
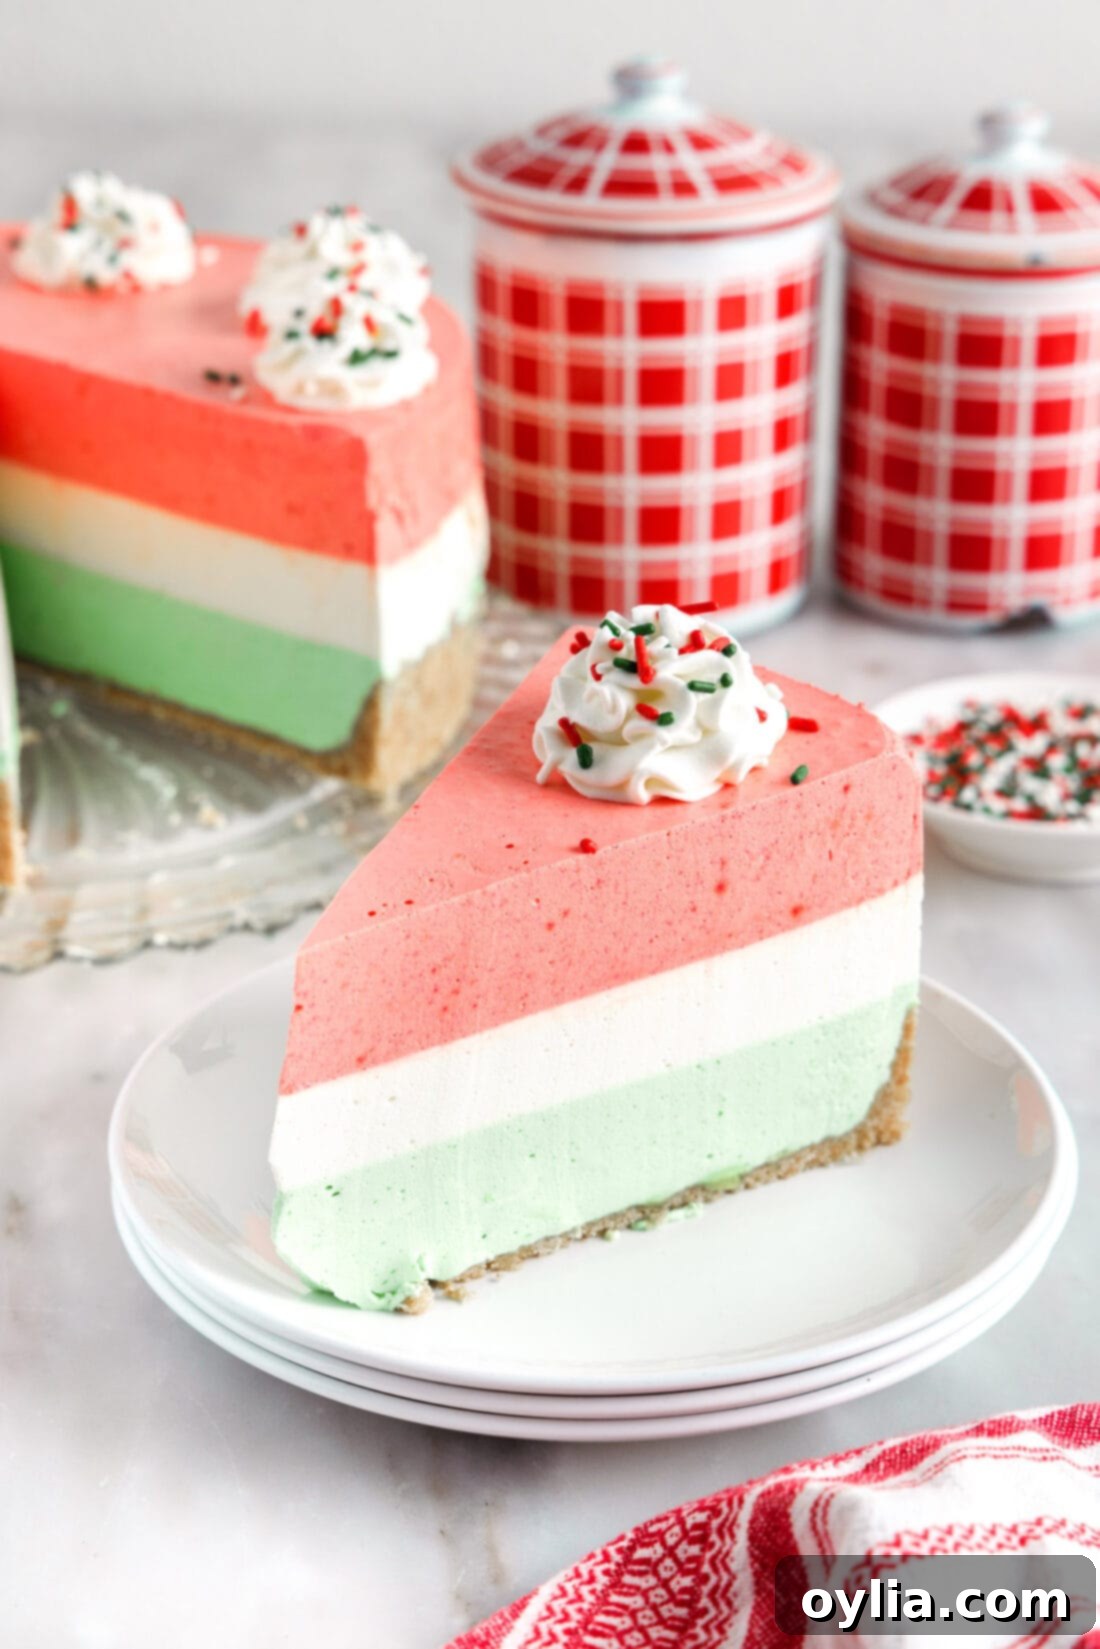
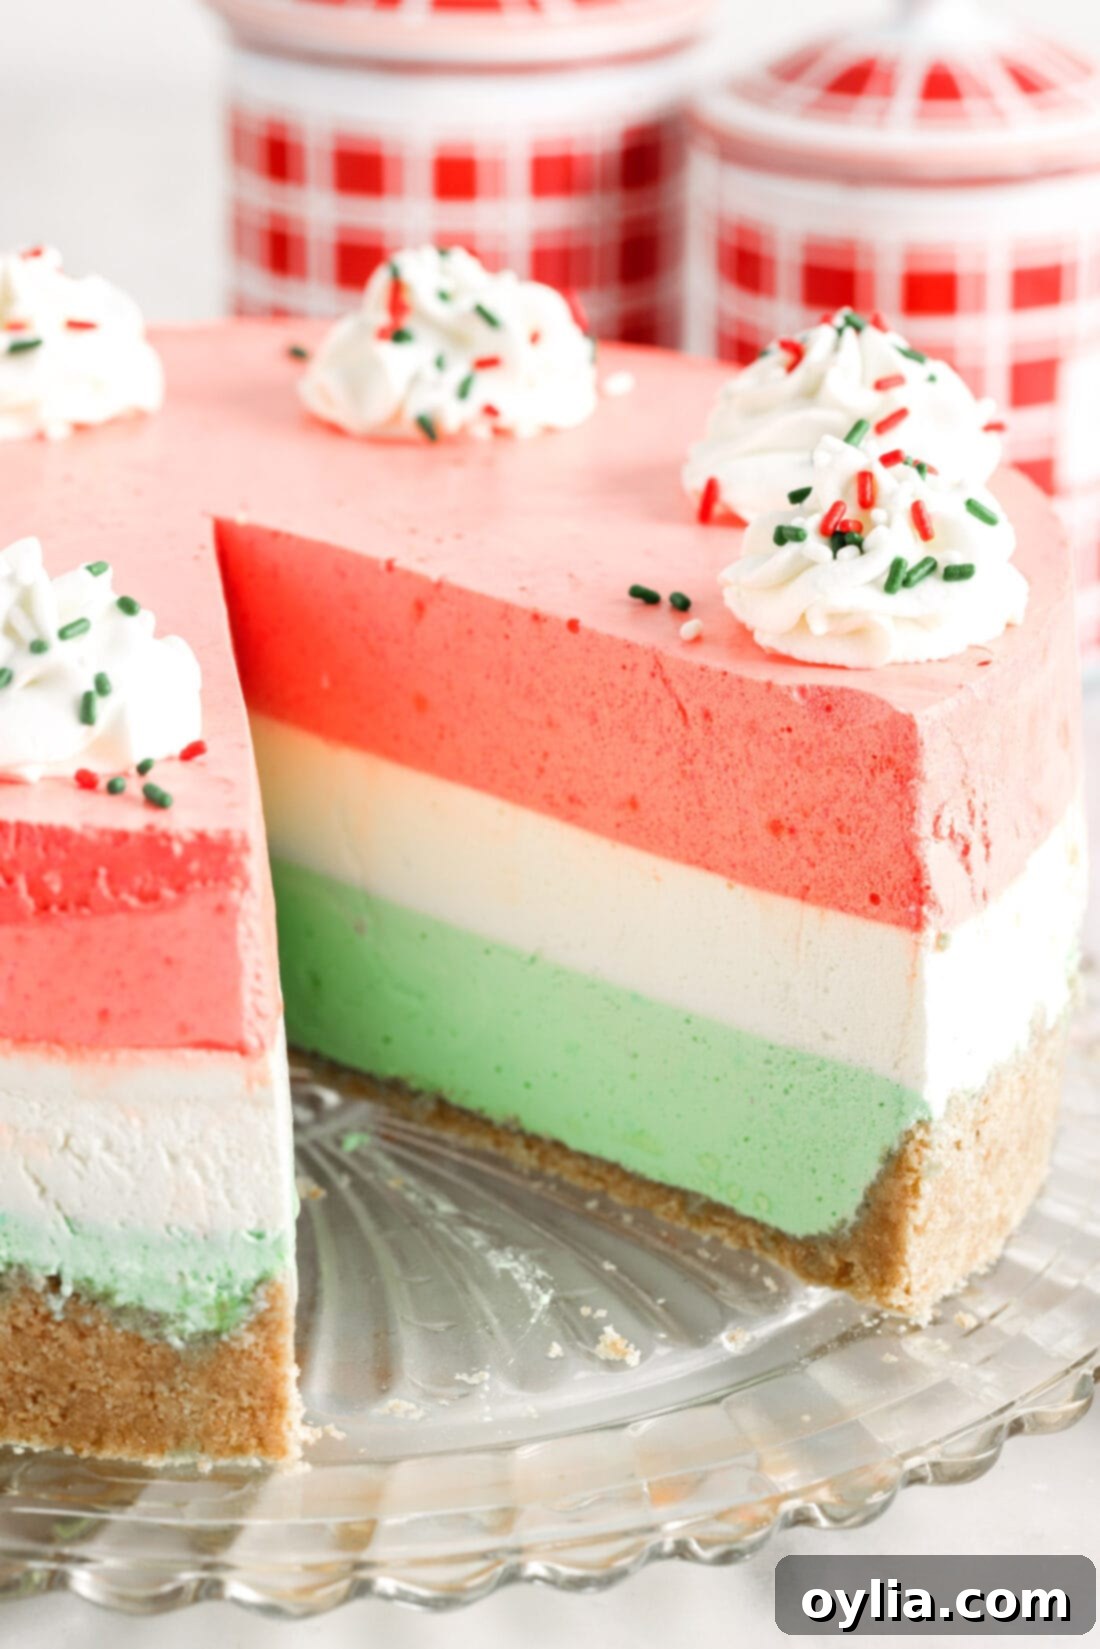
For a classic holiday presentation, like our Christmas jello pie, we’ve carefully chosen cherry, lime, and lemon jello. The combination yields not only festive colors but a delightful interplay of sweet and tart flavors that are incredibly refreshing after a rich holiday meal. It’s light, airy, and offers a sweet, creamy, fruity switch-up that is always a welcome addition to any dessert spread.
Beyond its fantastic taste, this jello pie slices incredibly smoothly, revealing distinct, beautifully stacked layers of pastel colors. Each slice is a work of art, guaranteeing a pretty presentation that will draw oohs and aahs from your guests. Plus, who can resist the playful charm of a whipped jello creation? It’s a nostalgic treat made modern, combining the familiar comfort of jello with an elevated, creamy texture.
The “no-bake” aspect of this recipe is a true game-changer, especially during busy holiday seasons when oven space is precious. It frees you from the complexities of baking, allowing you to focus on the fun of layering and decorating. This means less stress and more time to enjoy with your loved ones, all while serving a dessert that looks and tastes like it took hours of effort.
Key Ingredients for Your Layered Jello Pie
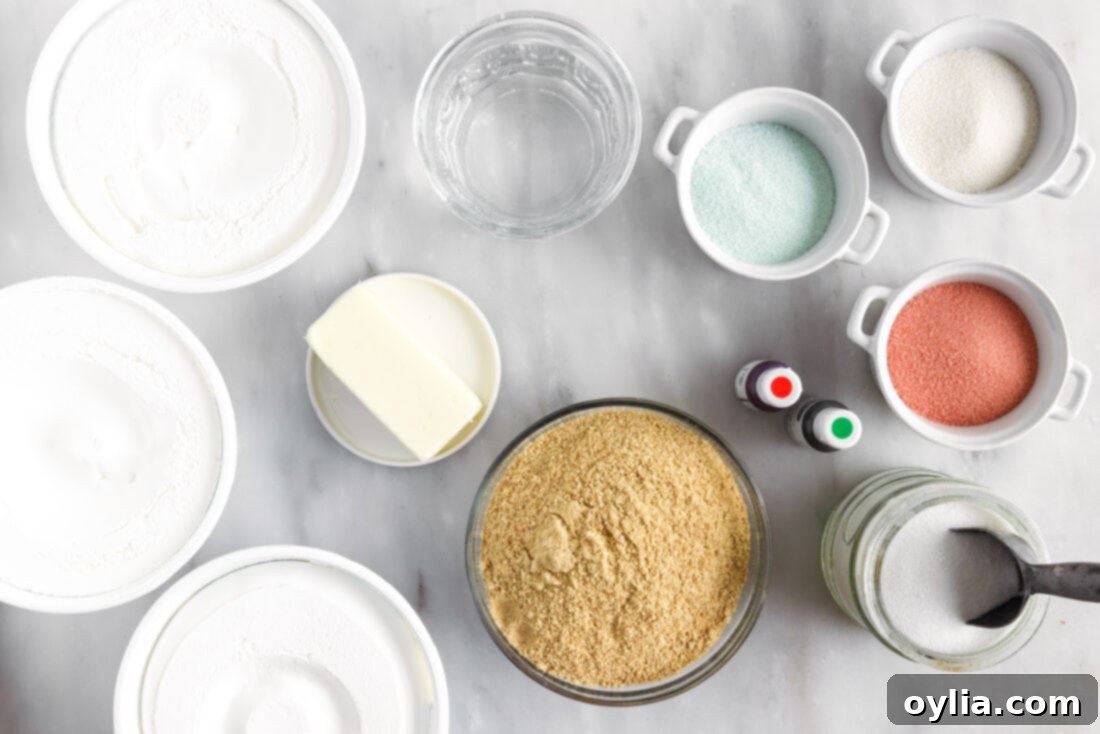
To create this magnificent layered jello pie, you’ll need a handful of readily available ingredients. All precise measurements, ingredients lists, and detailed instructions can be found in the printable recipe card located at the very end of this blog post. Make sure to check it out for a comprehensive guide!
Ingredient Spotlight & Smart Substitutions
Let’s dive deeper into the ingredients and discuss how you can adapt this recipe to suit your preferences and what you have on hand.
CRUST – The foundation of our delicious pie is a classic graham cracker crust, made with finely crushed graham cracker crumbs, rich melted butter, and a touch of granulated sugar. You can often find convenient prepackaged graham cracker crumbs in the baking aisle of most grocery stores. If they’re not available, don’t fret! You’ll need approximately 12 full sheets of graham crackers to yield the required 1½ cups of crushed crumbs. Simply place them in a food processor for a quick pulverization or in a large zip-top bag and crush them with a rolling pin for a bit of stress relief. For ultimate convenience, a premade graham cracker crust from the store will also work wonderfully, saving you an entire step!
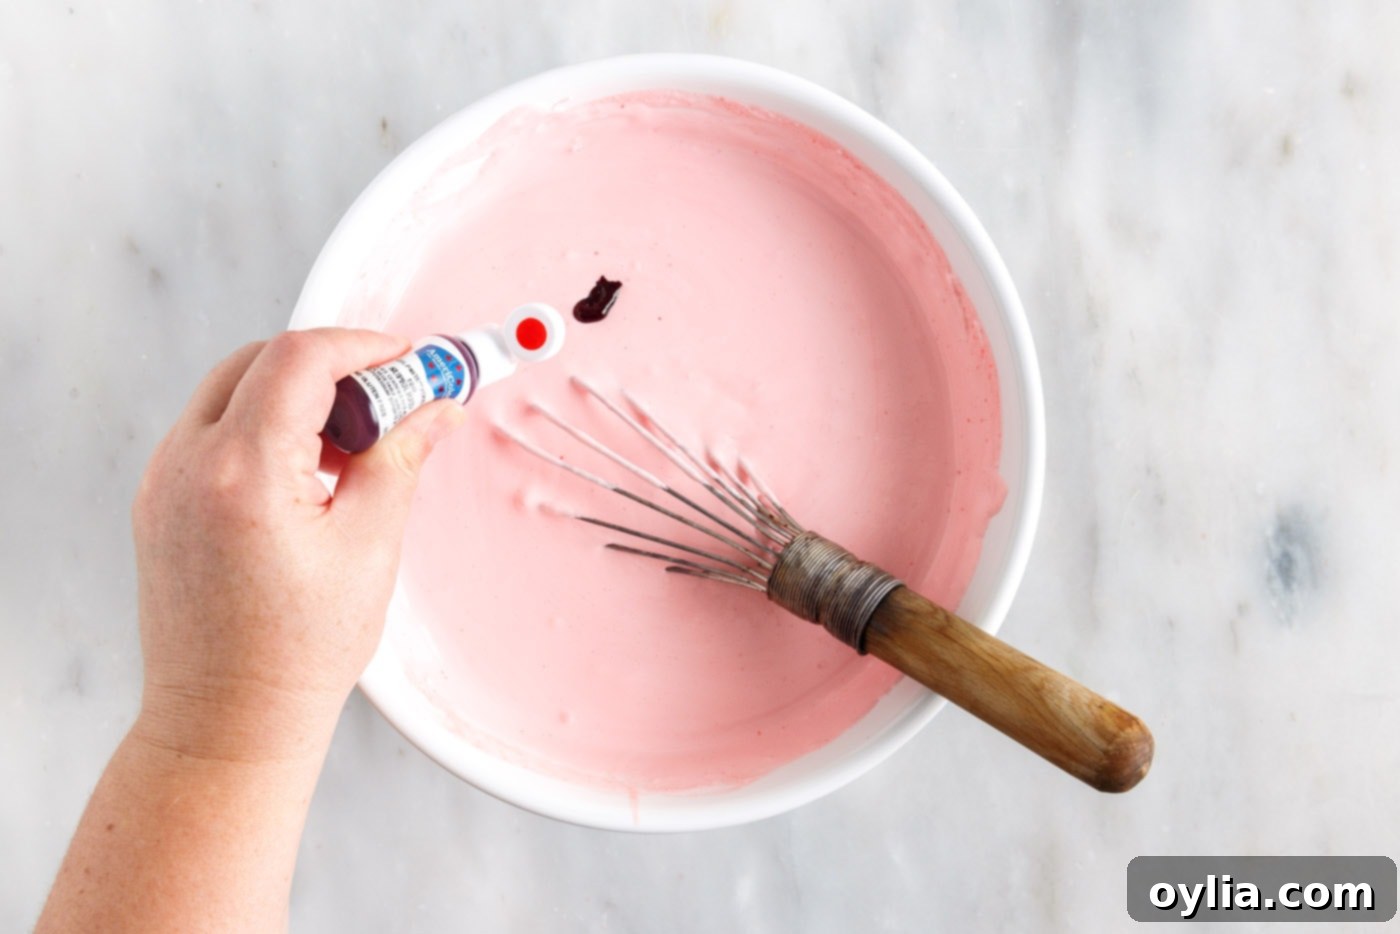
FILLING – For our festive Christmas-themed pie, we’ve selected lime jello for its vibrant green hue, cherry jello for a rich red, and lemon jello for a lovely, subtle yellow that appears almost white when mixed with Cool Whip. The key to the light, pastel colors of the layers is mixing the dissolved jello with Cool Whip. If you desire a more intensely saturated color for any of your layers, feel free to enhance it with a drop or two of gel food coloring. We recommend adding the food coloring before the jello sets with the Cool Whip to ensure even distribution. Remember, the color won’t deepen significantly after setting, so tint it to your desired final shade.
This recipe is incredibly flexible. For other occasions, consider patriotic red and blue jello for the 4th of July, pastel pink and blue for a baby shower, or orange and purple for Halloween! The possibilities are endless, allowing you to tailor this layered jello pie to any theme or celebration.
COOL WHIP – Cool Whip is a fantastic shortcut for achieving that fluffy, creamy texture. However, if you prefer a homemade alternative, you can absolutely substitute it with freshly whipped cream. You’ll need 3 cups of heavy whipping cream and about 3 tablespoons of powdered sugar. Beat them together on medium-high speed with a whisk attachment until stiff peaks gloriously form. This homemade option provides a richer, dairy-forward flavor that some prefer.
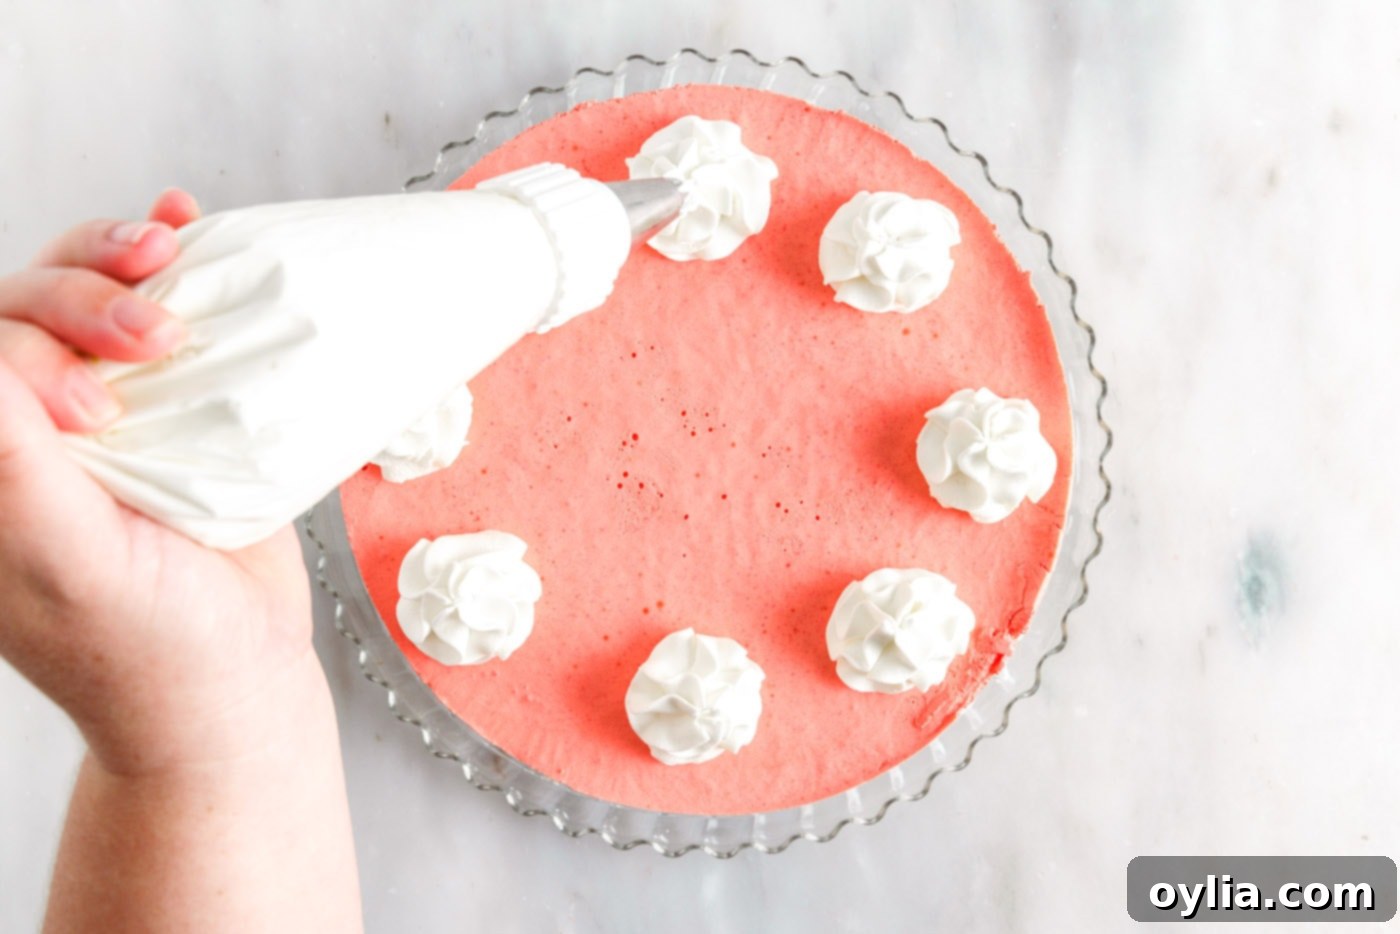
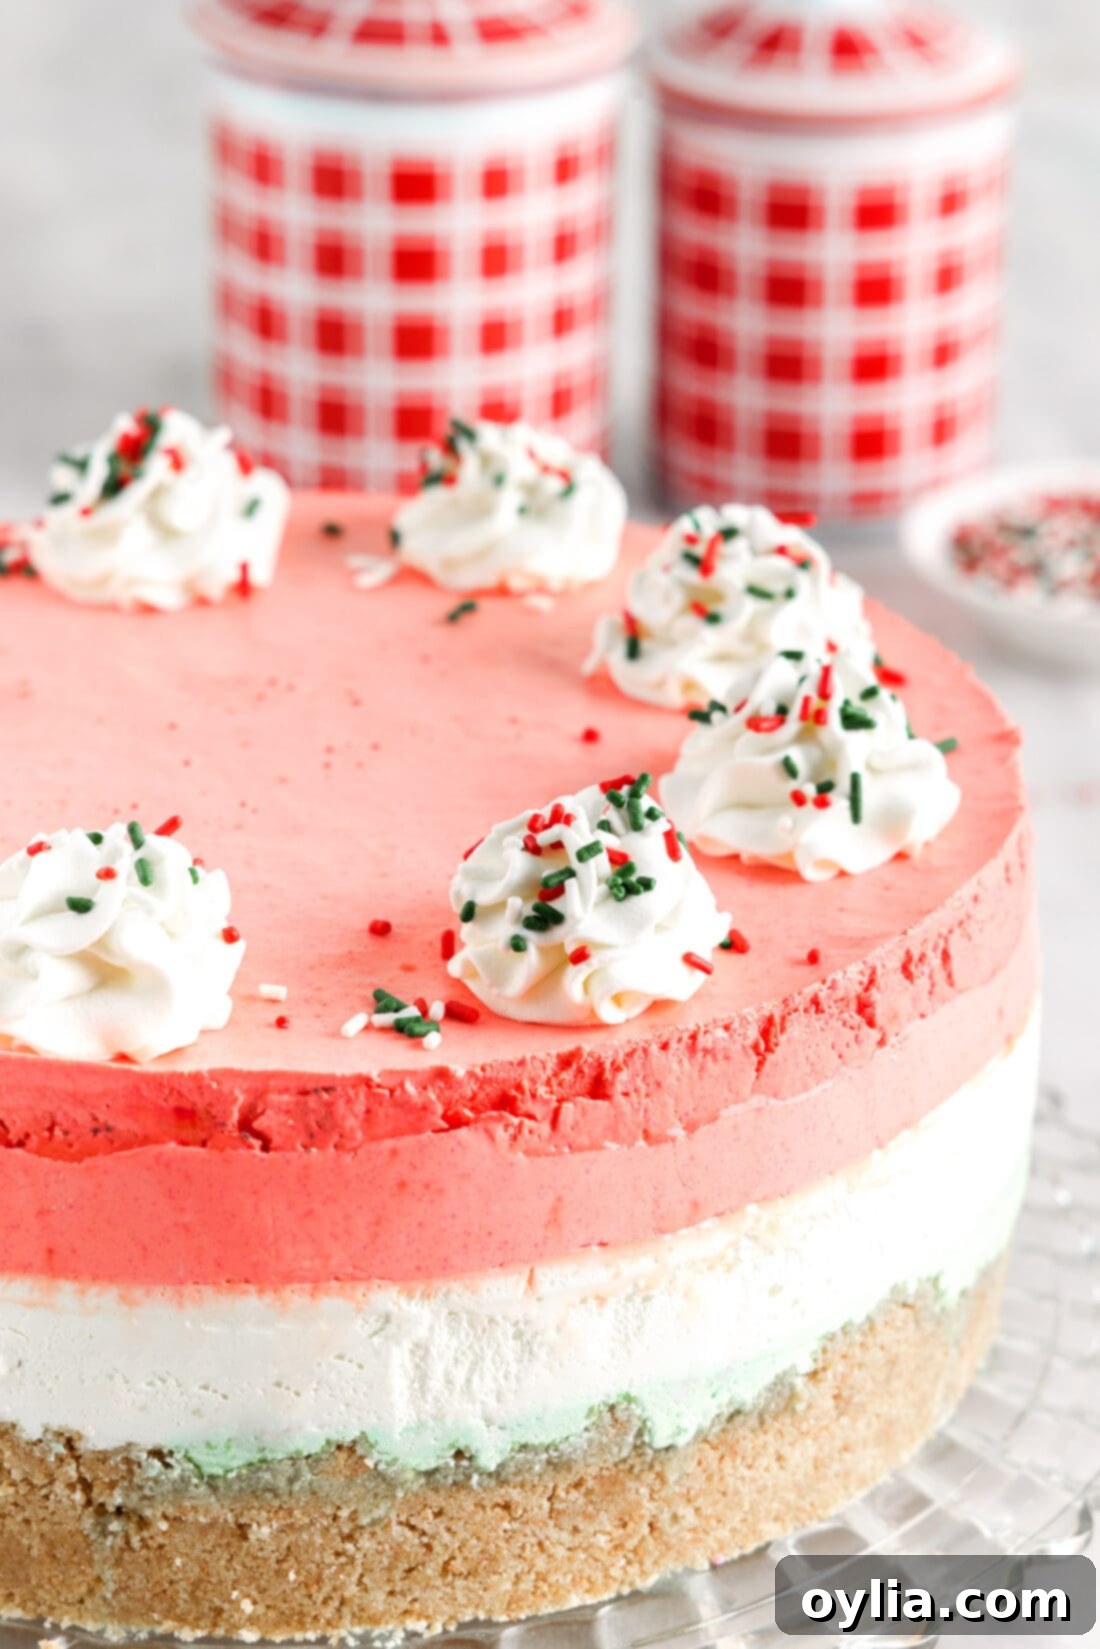
GARNISH – A beautiful garnish can elevate your layered jello pie from delightful to dazzling. To make your own elegant whipped cream for decorating, whip 1 cup of cold heavy cream until soft peaks just begin to form. Then, gradually add 2-3 tablespoons of powdered sugar and continue whipping until stiff peaks are achieved. This homemade whipped cream holds its shape beautifully. For an extra touch of artistry, pipe pretty swirls onto your chilled jello pie using a piping bag fitted with a piping tip (we love tip #1M for classic rosettes). Beyond whipped cream, consider garnishing with fresh berries (strawberries, raspberries, blueberries), citrus zest, chocolate shavings, or festive sprinkles that match your chosen holiday theme. A sprig of fresh mint can also add a pop of color and freshness.
Step-by-Step: Crafting Your Perfect Layered Jello Pie
These step-by-step photos and detailed instructions are here to help you visualize each stage of making this incredible dessert. For a convenient printable version of this recipe, complete with precise measurements and instructions, simply jump to the recipe card at the bottom of this post.
-
Prepare Your Pan: Begin by preparing a deep dish springform pan. For easy removal, line the bottom with a sheet of parchment paper. This simple step ensures your beautiful layers remain intact when serving.
-
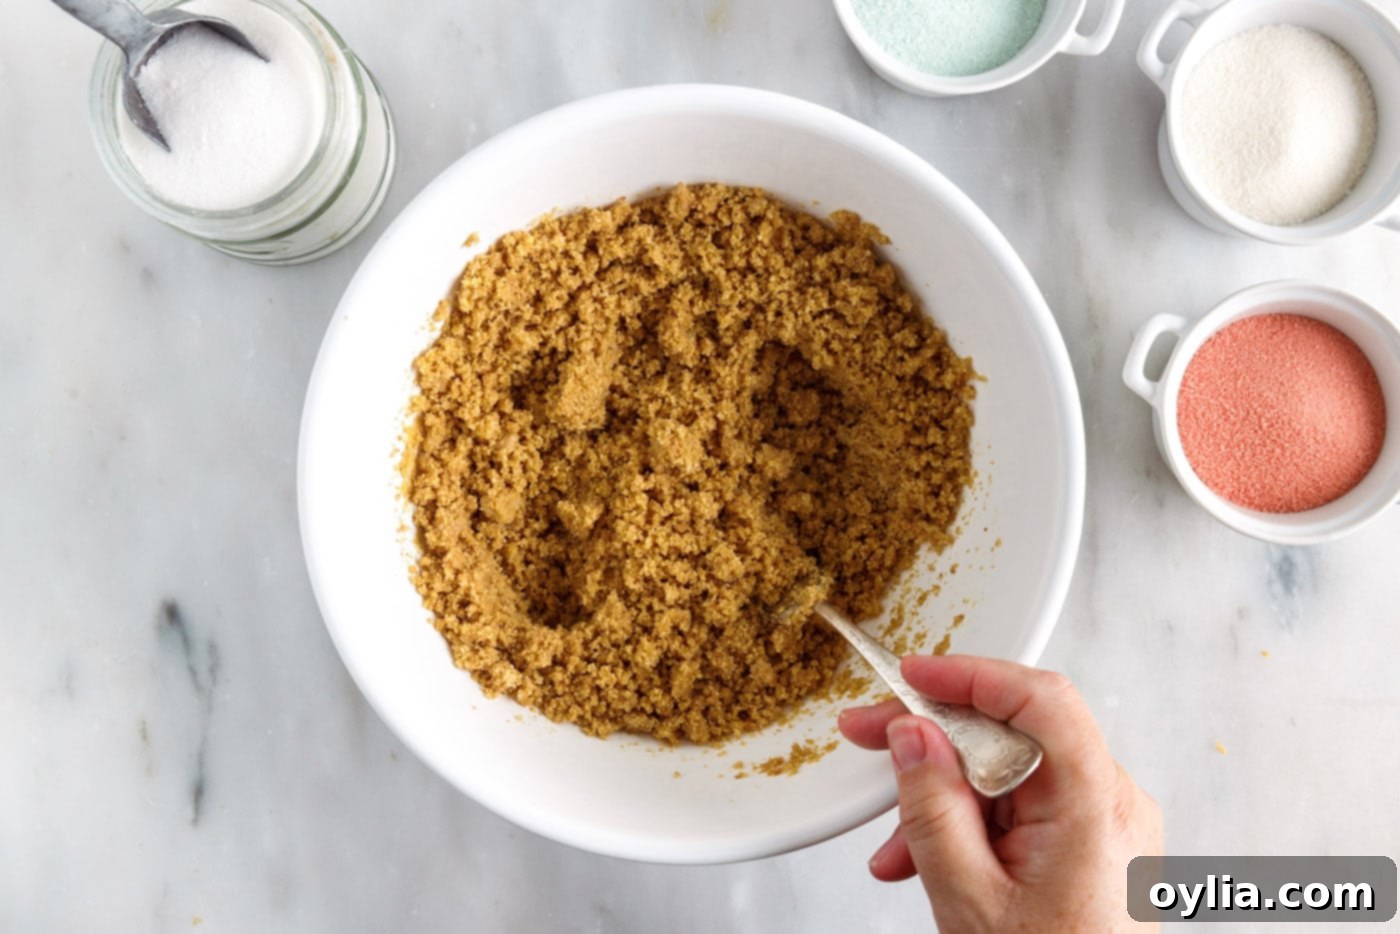
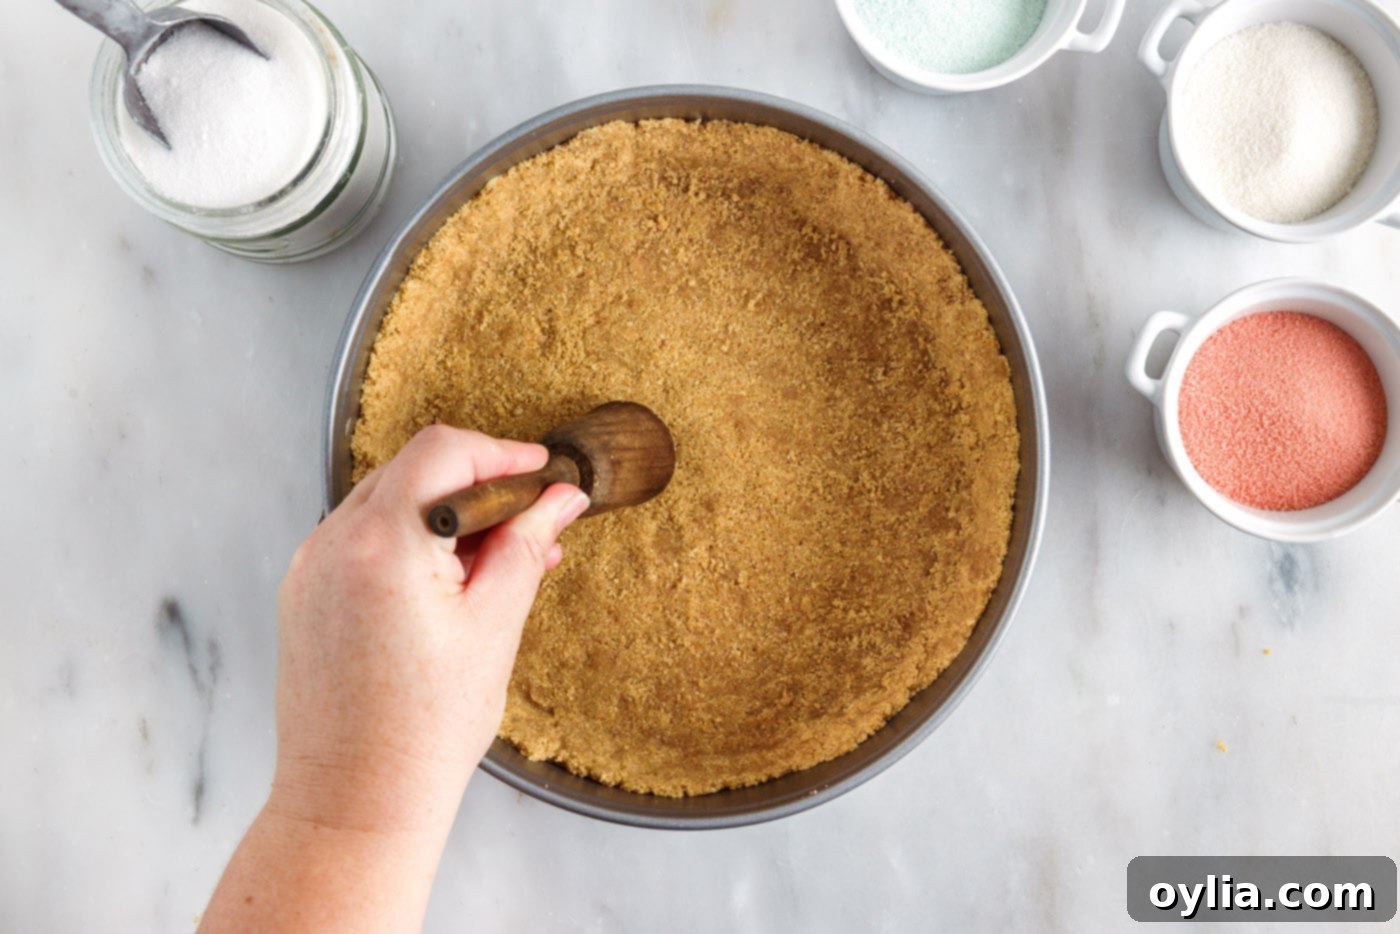
Craft the Crust: In a medium bowl, stir together your graham cracker crumbs, melted butter, and granulated sugar until they are thoroughly combined and resemble wet sand. Press this mixture firmly and evenly into the bottom of your prepared springform pan, extending it up the sides by about 1 to 1½ inches to create a sturdy rim. Once formed, place the pan into the freezer to chill the crust while you prepare your jello layers. This helps the crust set firmly and prevents it from crumbling when sliced.


-
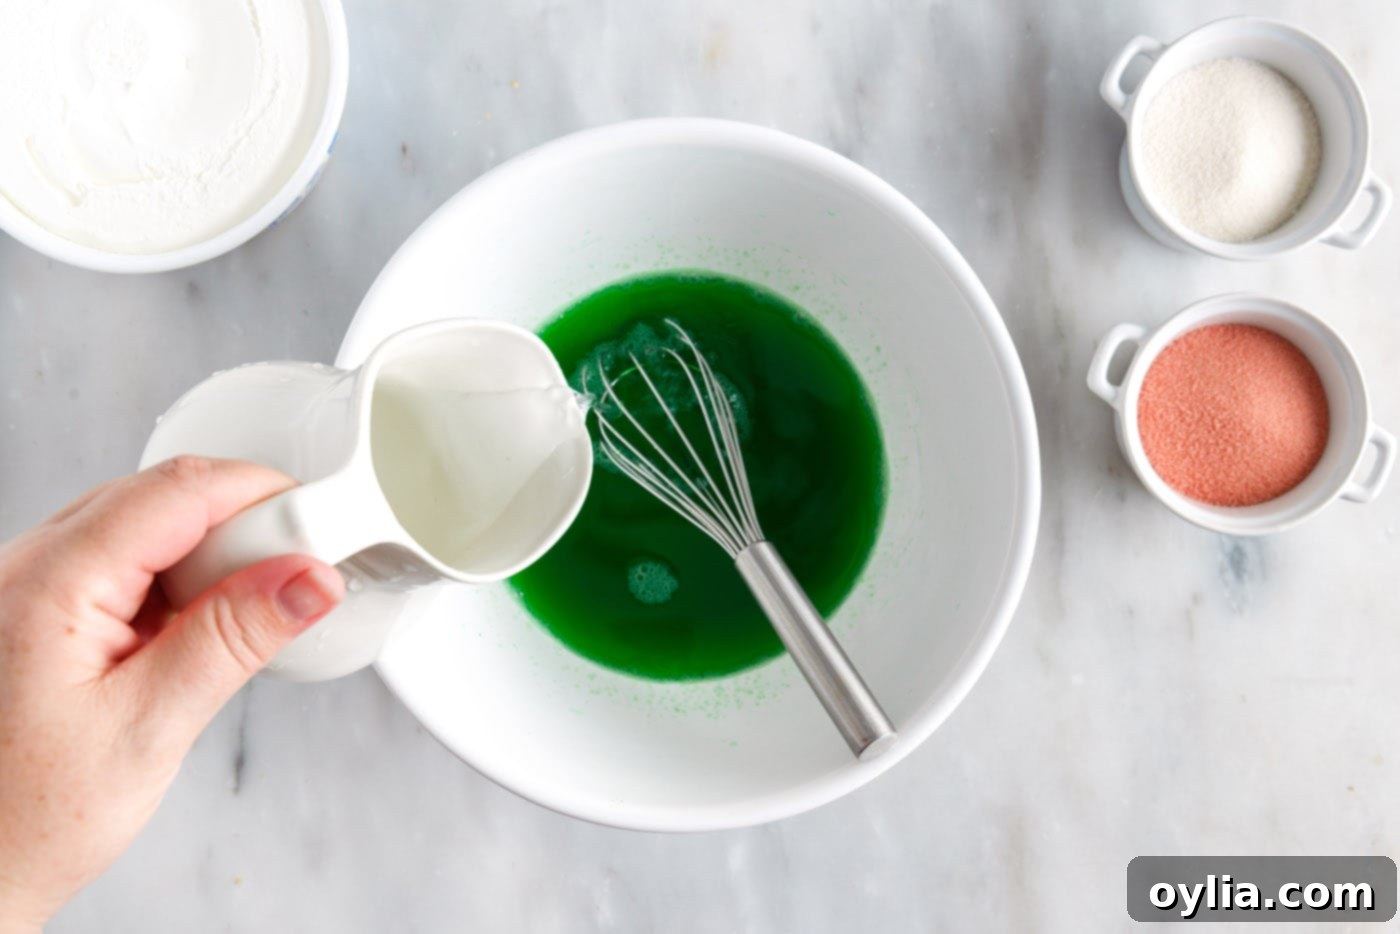
First Jello Layer (Lime): In a separate medium mixing bowl, combine 1 cup of boiling water with the packet of lime jello mix. Stir continuously until the jello powder is completely dissolved, ensuring a smooth, lump-free base. Then, stir in 1 cup of cold water. Place this jello mixture into the refrigerator for 30-45 minutes. It needs to cool and thicken slightly but not fully set – it should have the consistency of unbeaten egg whites or thin syrup.

-
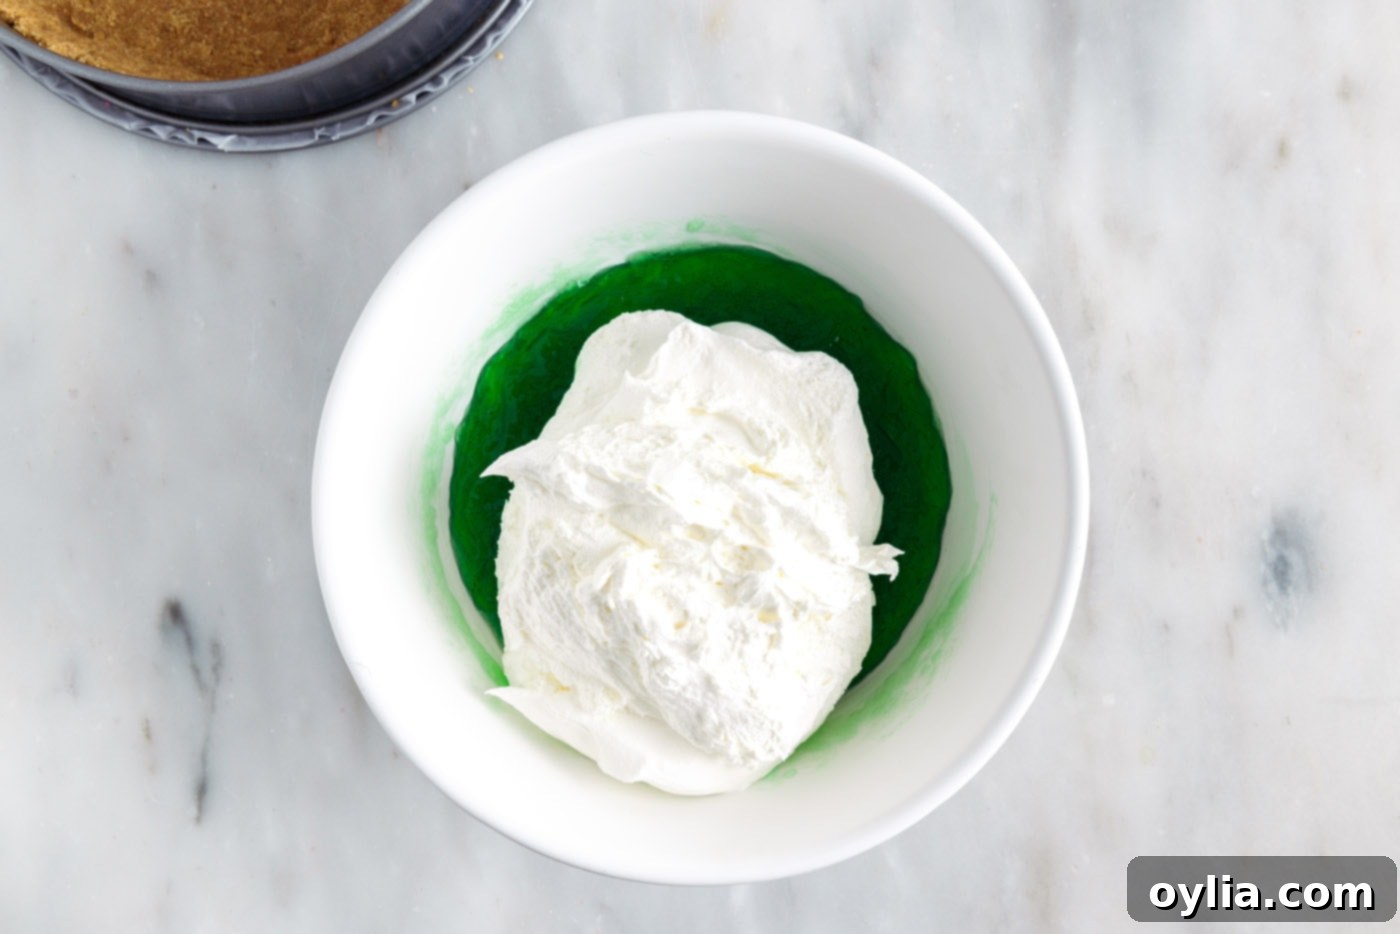
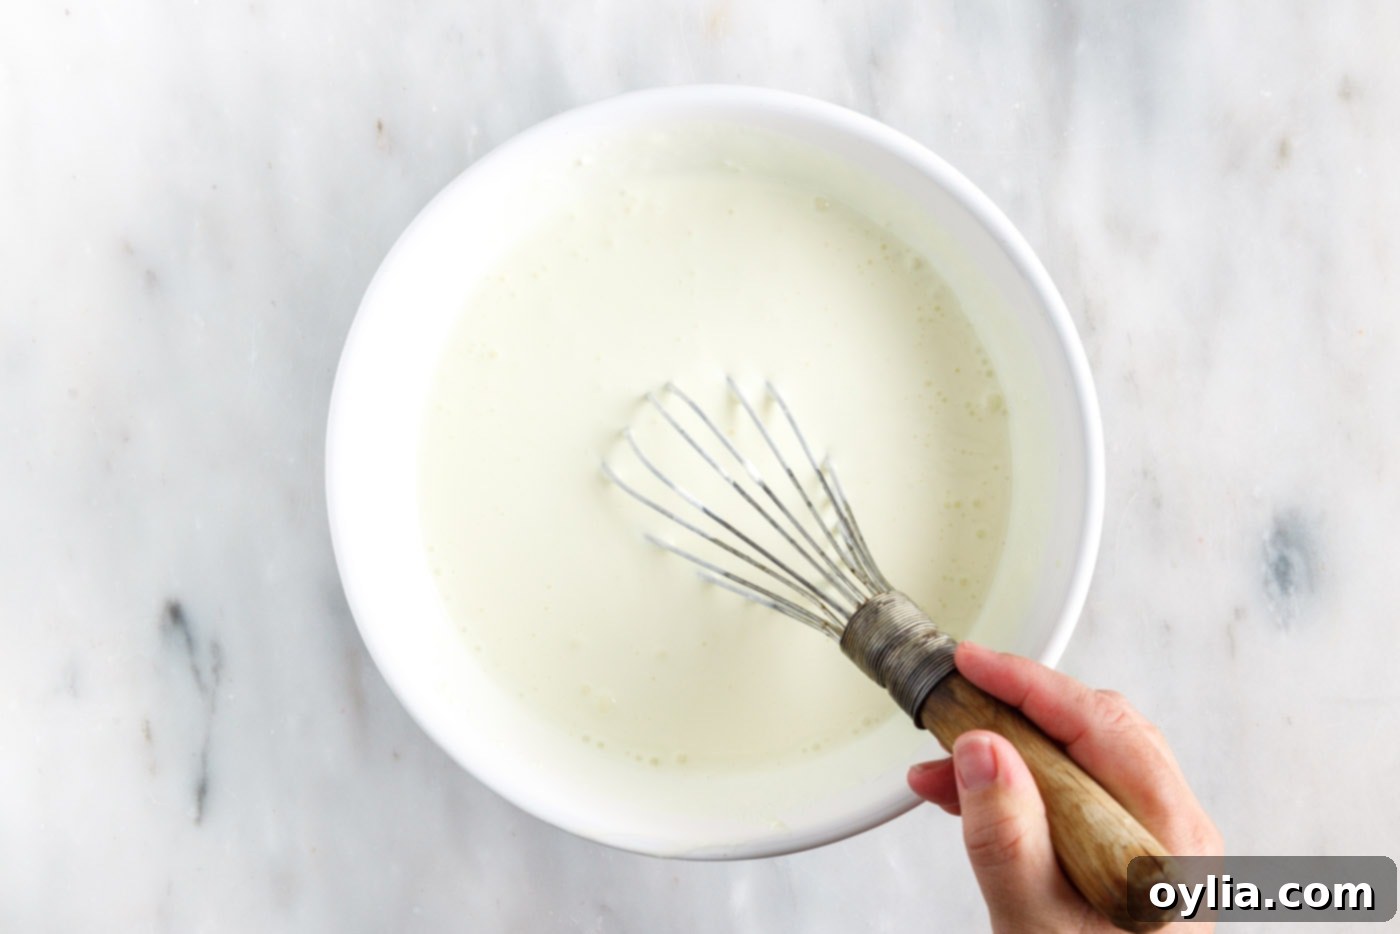
Whip It Up: Once the lime jello has cooled and thickened to the ideal consistency – no longer liquid but not yet solid – whisk in one entire container of Cool Whip. The jello should be just slightly thickened so that it combines smoothly with the Cool Whip, creating a light and airy mixture. If your jello seems too thick or has started to set, you can microwave it in short 10-second bursts to gently loosen it up before adding the Cool Whip.

-
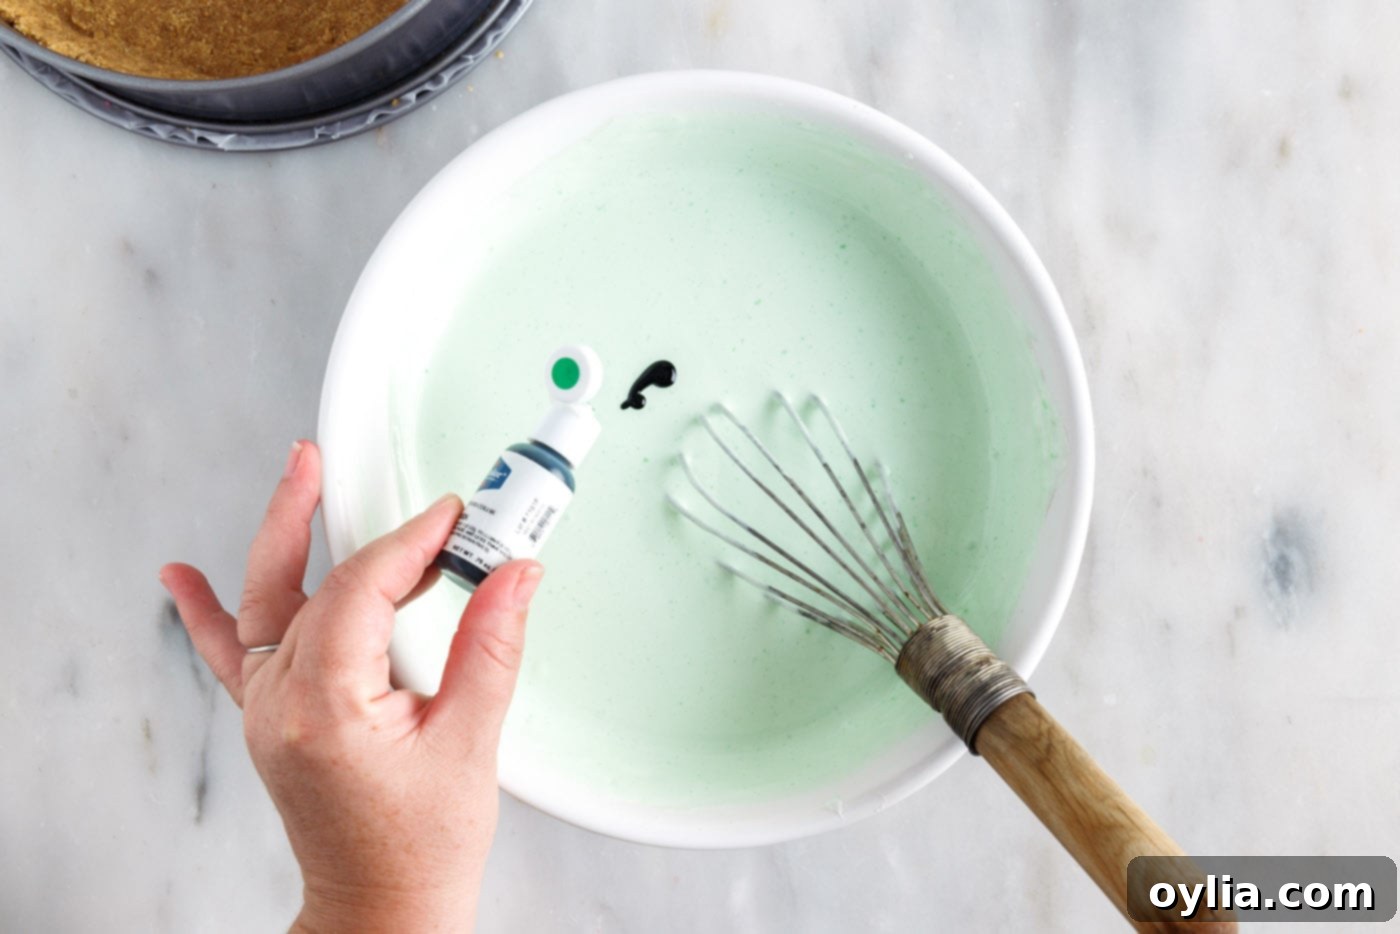
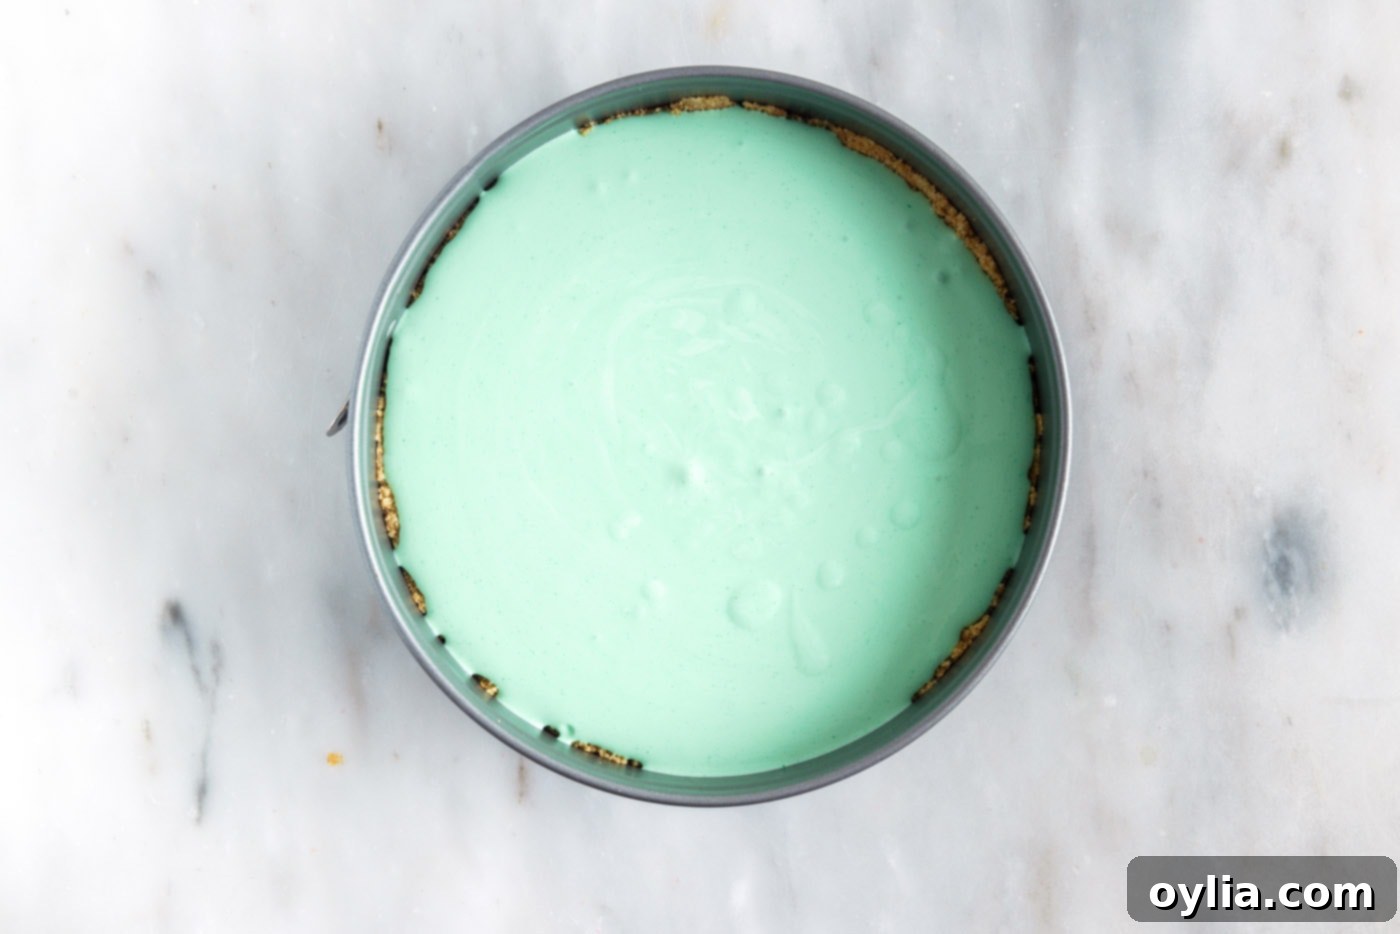
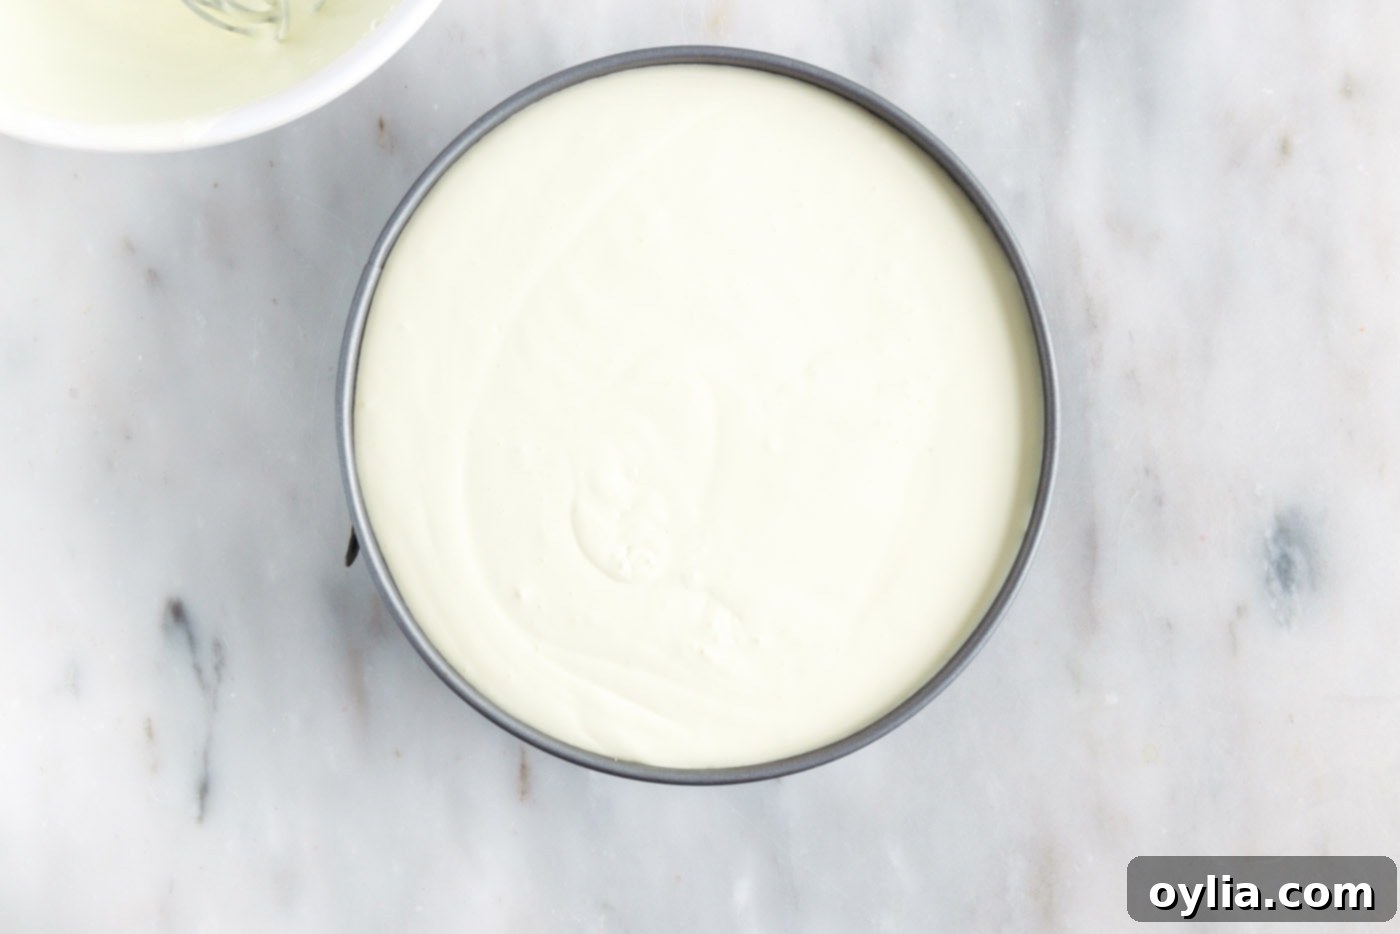
Color and Chill (Lime): If you desire a deeper green color, add a drop or two of green gel food coloring to the jello mixture and whisk until the desired shade is achieved. Carefully transfer this creamy lime jello mixture to your chilled crust in the springform pan, spreading it evenly. Immediately return the pan to the refrigerator. This layer needs to chill and firm up for at least 30-45 minutes before adding the next layer to prevent them from bleeding into each other.


-
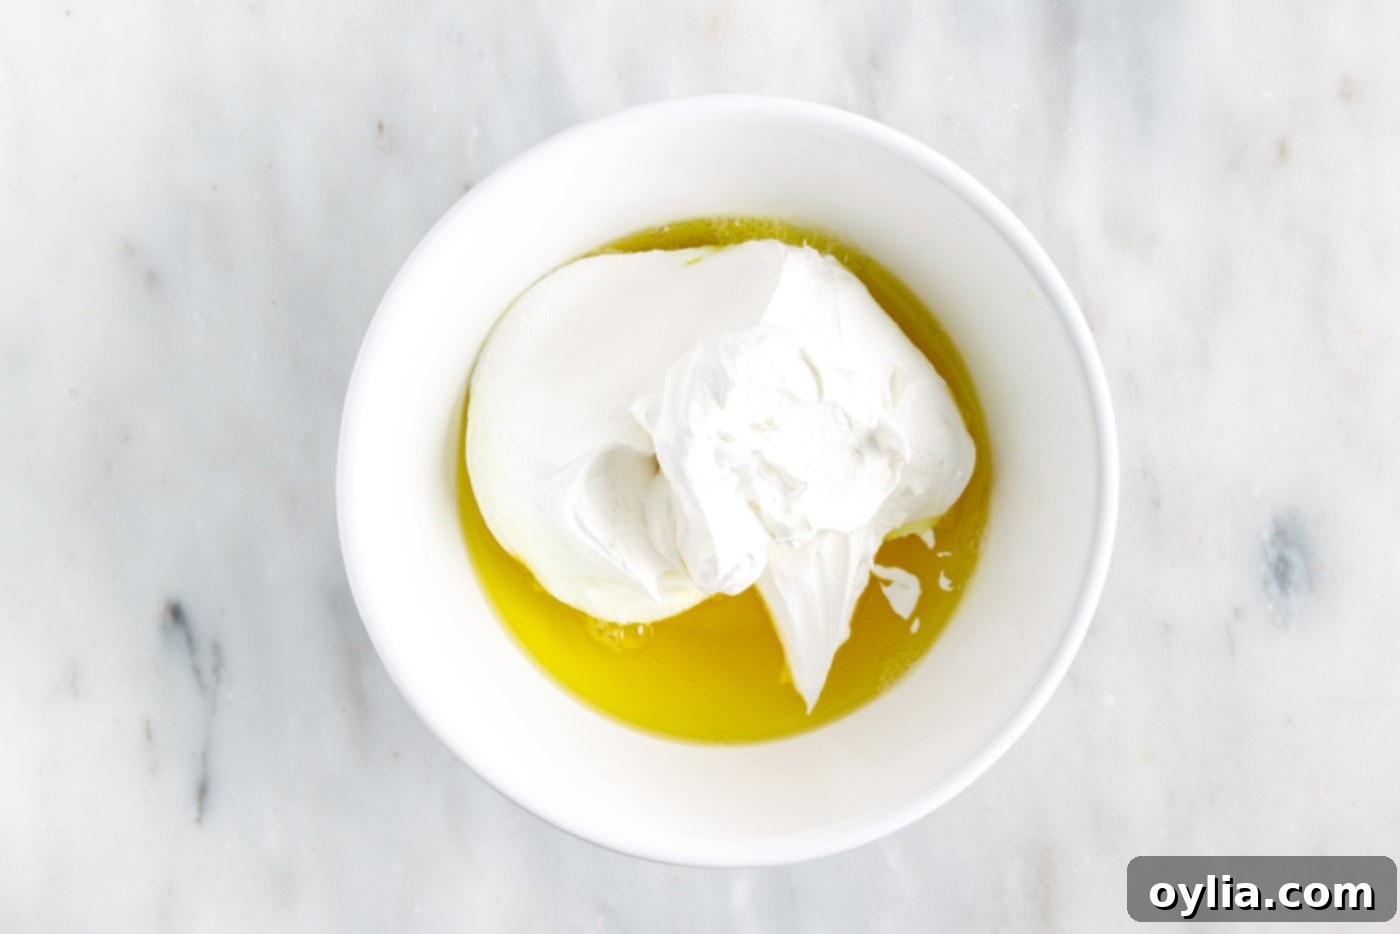
Second Jello Layer (Lemon): Follow the exact same steps (steps 3-4) to prepare the lemon jello mix. Once it has cooled, thickened, and been mixed with Cool Whip, pour it gently over the green layer that has been chilling and setting in the fridge. For this layer, we typically do not add food coloring, as the natural yellow becomes a very light, almost white hue when combined with Cool Whip, creating a perfect middle layer for our festive theme.


-
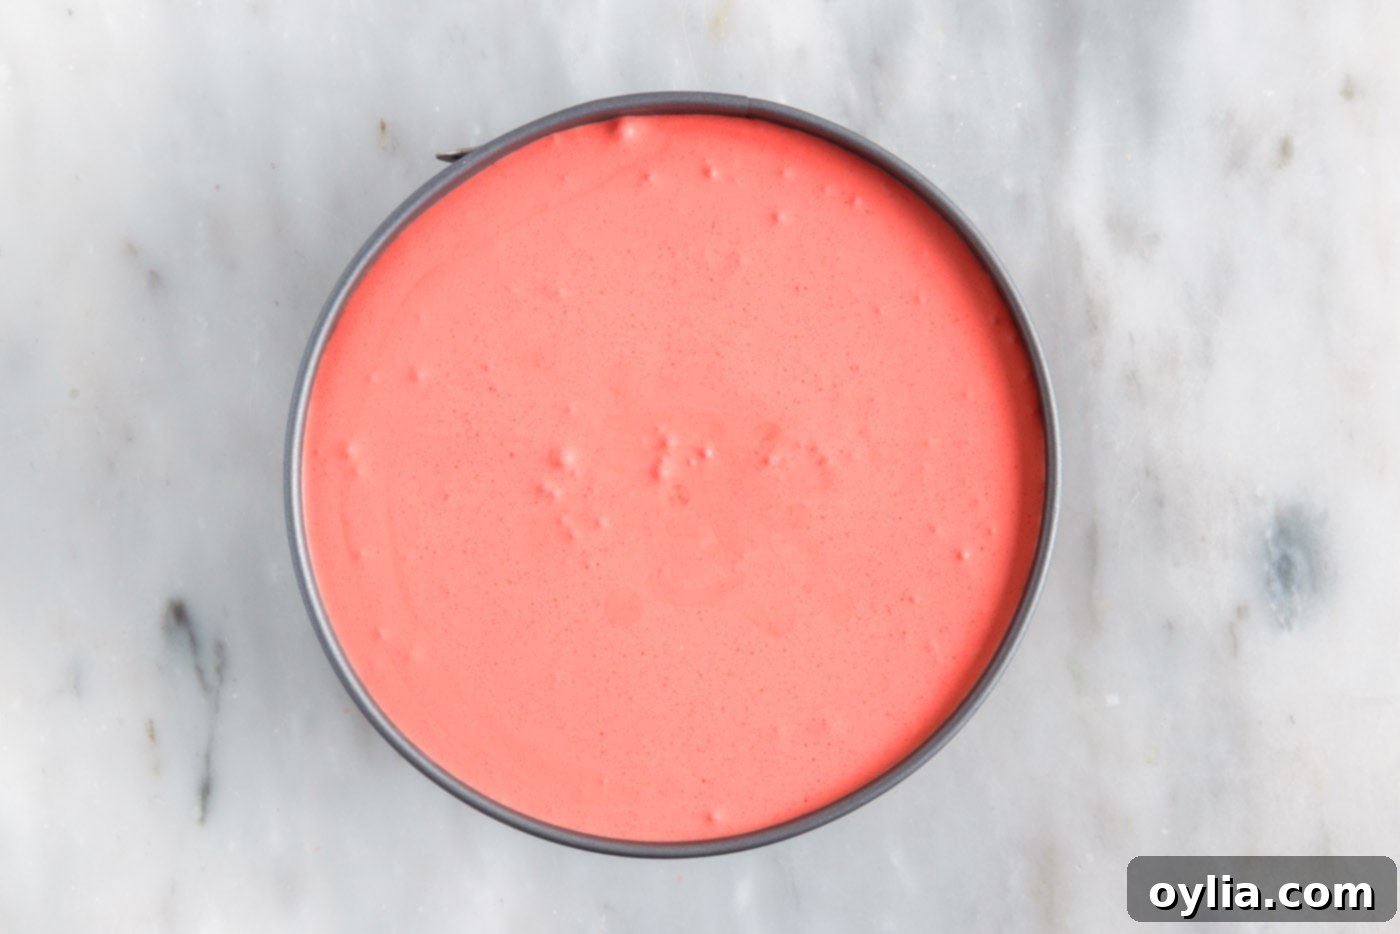
Final Jello Layer (Cherry): Repeat steps 3-5 for your final “red” layer of cherry jello, adding red gel food coloring if you desire a deeper shade. Carefully pour this over the lemon layer and place the pie back into the refrigerator.


-
The Final Chill & Serve: Allow the assembled jello pie to chill in the refrigerator for a minimum of 3-4 hours to set completely. For best results and the firmest layers, chilling overnight is ideal. Once fully set, decorate with freshly whipped cream and festive Christmas sprinkles, if desired. To serve, gently loosen the pie from the springform pan (running a thin knife around the edge can help if needed). Cut into beautiful slices and serve immediately, chilled.

Frequently Asked Questions & Expert Tips
Absolutely! Adding fresh fruit can enhance both the flavor and visual appeal of your jello pie. You can gently fold small pieces of fruit into the jello filling before pouring it into the crust, or arrange fresh fruit artfully on top as a vibrant garnish. Berries like sliced strawberries, raspberries, or blueberries work wonderfully. Sliced mandarins or kiwi can also be delightful. Just be mindful that certain fresh fruits, such as pineapple, kiwi, fig, and papaya, contain enzymes that can prevent gelatin from setting properly. If you wish to use these, make sure they are canned or cooked first to neutralize the enzymes.
Yes, this no-bake layered jello pie is an excellent make-ahead dessert! You can easily prepare the entire pie a day in advance. This allows ample time for all the layers to set perfectly, making for cleaner slices and an even more stable dessert. Just ensure it’s stored properly in the refrigerator until you’re ready to serve. For the freshest presentation, we recommend holding off on any garnishes, such as whipped cream or sprinkles, until just before serving.
When stored correctly in the refrigerator, covered loosely to prevent it from drying out, your layered jello pie will maintain its delightful taste and texture for up to 4 days. After this period, the texture of the jello may start to change slightly, becoming less firm or a bit watery.
We generally do not recommend freezing this particular jello pie. Gelatin-based desserts, when frozen and then thawed, tend to “weep” or release water, which can significantly alter the texture, making it less appealing and somewhat watery. The delicate, creamy layers may also become grainy or separate. It’s best to enjoy this pie fresh from the refrigerator. If you need to prepare it well in advance, making it a day ahead and storing it chilled in the refrigerator is the best approach for optimal results. Leftovers should always be stored in the refrigerator.
Creative Serving Suggestions
This layered jello pie is incredibly versatile, making it a fantastic dessert to serve year-round. You can easily switch up the jello flavors and colors to match any holiday or celebration – think vibrant spring colors for Easter, patriotic red, white, and blue for summer barbecues, or warm autumnal hues for Thanksgiving. Always serve this pie well chilled to maintain its refreshing taste and firm structure.
Beyond the classic whipped cream, get creative with your garnishes! A piping of fresh whipped cream and a sprinkle of festive edible glitter or sprinkles instantly elevates its look. For a natural touch, arrange fresh fruit like sliced berries, kiwi, or mandarin orange segments on top. A drizzle of chocolate sauce or a few chocolate curls can add a decadent twist. Pair slices with a warm cup of coffee, a soothing herbal tea, or a festive sparkling cider for a complete dessert experience. Enjoy this delightful, easy-to-make dessert with family and friends!
Explore More Delightful Jello Recipes
If you love the versatility and fun of jello desserts, you’re in luck! Here are some other fantastic jello-based recipes you might enjoy trying:
- Jello Trifle
- Jello Cookies
- Broken Glass Jello
- Creamy Raspberry Jello Parfaits
- Whipped Jello Mandarin Orange Mousse
I absolutely adore baking and cooking, and I find immense joy in sharing my kitchen experiences and delicious recipes with all of you! Remembering to check back every day for new recipes can be tricky, which is why I offer a convenient newsletter. Every time a new recipe is posted, you’ll receive it directly in your inbox. Simply subscribe today and start enjoying your free daily recipes!
Layered Jello Pie
IMPORTANT – There are often Frequently Asked Questions within the blog post that you may find helpful. Simply scroll back up to read them!
Print It
Pin It
Rate It
Save It
Saved!
Prevent your screen from going dark
Ingredients
- 1 ½ cups graham cracker crumbs
- ½ cup salted butter melted
- ½ cup granulated sugar
- 3 ounces lime jello mix
- 3 ounces lemon jello mix
- 3 ounces cherry jello mix
- 3 cups boiling water divided
- 3 cups cold water divided
- 24 ounces Cool Whip 3 – 8 ounce containers
- red and green gel food color
- whipped cream and sprinkles optional as garnish
Things You’ll Need
-
Deep dish springform pan
-
Whisk
Before You Begin: Important Notes for Success
- Pan Choice is Key: To ensure all those beautiful layers fit, you will need a very deep springform pan for this recipe. We recommend a 9-inch springform pan that is at least 3 3⁄8” high, or a 10-inch springform pan with walls that are at least 3 inches high. A taller pan is crucial for achieving distinct, generously sized layers.
- Crust Customization: While prepackaged graham cracker crumbs are a great time-saver and widely available, if you prefer to make your own, you’ll need about 12 full sheets of graham crackers to yield 1½ cups crushed. A food processor makes quick work of this, or you can use a large zip-top bag and a rolling pin for a more hands-on approach. Alternatively, a store-bought premade graham cracker crust is a perfectly acceptable and convenient substitution.
- Homemade Whipped Topping: If Cool Whip isn’t your preference, you can easily create a luscious homemade whipped topping. Combine 3 cups of cold heavy whipping cream with 3 tablespoons of powdered sugar. Beat on medium-high speed with a whisk attachment until firm, stiff peaks form. This offers a rich, fresh cream flavor.
- Perfect Piping Cream: For decorating your pie, whip 1 cup of cold heavy cream until soft peaks just start to appear. Incorporate 2-3 tablespoons of powdered sugar and continue whipping until stiff peaks are achieved. This ensures your decorative swirls hold their shape beautifully. We often use a piping bag with a piping tip, such as the #1M star tip, for elegant finishes.
- Layering Strategy for Perfection: For the most visually stunning and stable layers, it’s essential to allow each layer of jello to chill and set adequately before adding the next. While you can prepare all the jello colors at once (they won’t set at room temperature if mixed with Cool Whip), the pie itself requires at least 30-45 minutes in the refrigerator between each layer addition. A smart approach is to prepare your first jello-Cool Whip layer, pour it into the crust, and while it begins to set, prepare and chill your next jello mixture until it reaches the right consistency for whisking with Cool Whip. This ensures smooth, distinct layers.
Instructions
-
Prepare a deep dish springform pan (see note above for pan choice) by lining the bottom with a sheet of parchment paper for easy release.
-
Stir together the graham cracker crumbs, melted butter, and sugar until fully combined and moist. Press this mixture firmly and evenly into the prepared springform pan, extending it up the sides about 1-1½ inches. Place the pan in the freezer to chill the crust while you prepare the jello layers.
-
In a medium mixing bowl, combine 1 cup of boiling water with the packet of lime jello. Stir until the jello is fully dissolved. Once dissolved, stir in 1 cup of cold water. Place this jello mixture in the refrigerator for 30-45 minutes to cool and slightly thicken (it should be the consistency of thin syrup, not fully set).
-
Once the jello has cooled and thickened—but not set firm—whisk in one container of Cool Whip. The jello should be just slightly thickened to combine smoothly with the Cool Whip. If it seems too thick, microwave it in 10-second increments to loosen it a bit.
-
Add a drop or two of green gel food coloring to the lime jello mixture until the desired color is achieved. Transfer this mixture evenly to the chilled crust in the springform pan. Place the pan back into the refrigerator to chill and set for at least 30-45 minutes before proceeding.
-
Mix up the lemon jello mix following the same steps as you did for the lime jello (steps 2-3). Once it has thickened and you mix it with Cool Whip (do not tint this one, as the yellow will be very light once mixed with Cool Whip and will give you the desired white layer), carefully pour it on top of the green layer that has been setting in the fridge. Return to the refrigerator for another 30-45 minutes.
-
Repeat the process for the final “red” layer of cherry jello (following steps 2-4), adding red food coloring if a deeper hue is preferred. Carefully layer it on top of the lemon layer and chill again.
-
Allow the entire jello pie to chill in the refrigerator for a minimum of 3-4 hours to set completely. For best results and easiest slicing, chilling overnight is recommended. Decorate with whipped cream and Christmas sprinkles, if desired. Gently loosen the pie from the springform pan (run a thin knife around the edge if necessary), cut into beautiful slices, and serve chilled.
Nutrition
The recipes on this blog are tested with a conventional gas oven and gas stovetop. It’s important to note that some ovens, especially as they age, can cook and bake inconsistently. Using an inexpensive oven thermometer can assure you that your oven is truly heating to the proper temperature. If you use a toaster oven or countertop oven, please keep in mind that they may not distribute heat the same as a conventional full sized oven and you may need to adjust your cooking/baking times. In the case of recipes made with a pressure cooker, air fryer, slow cooker, or other appliance, a link to the appliances we use is listed within each respective recipe. For baking recipes where measurements are given by weight, please note that results may not be the same if cups are used instead, and we can’t guarantee success with that method.
