The Best Red Velvet Cake Balls Recipe: Easy, Decadent & Irresistible
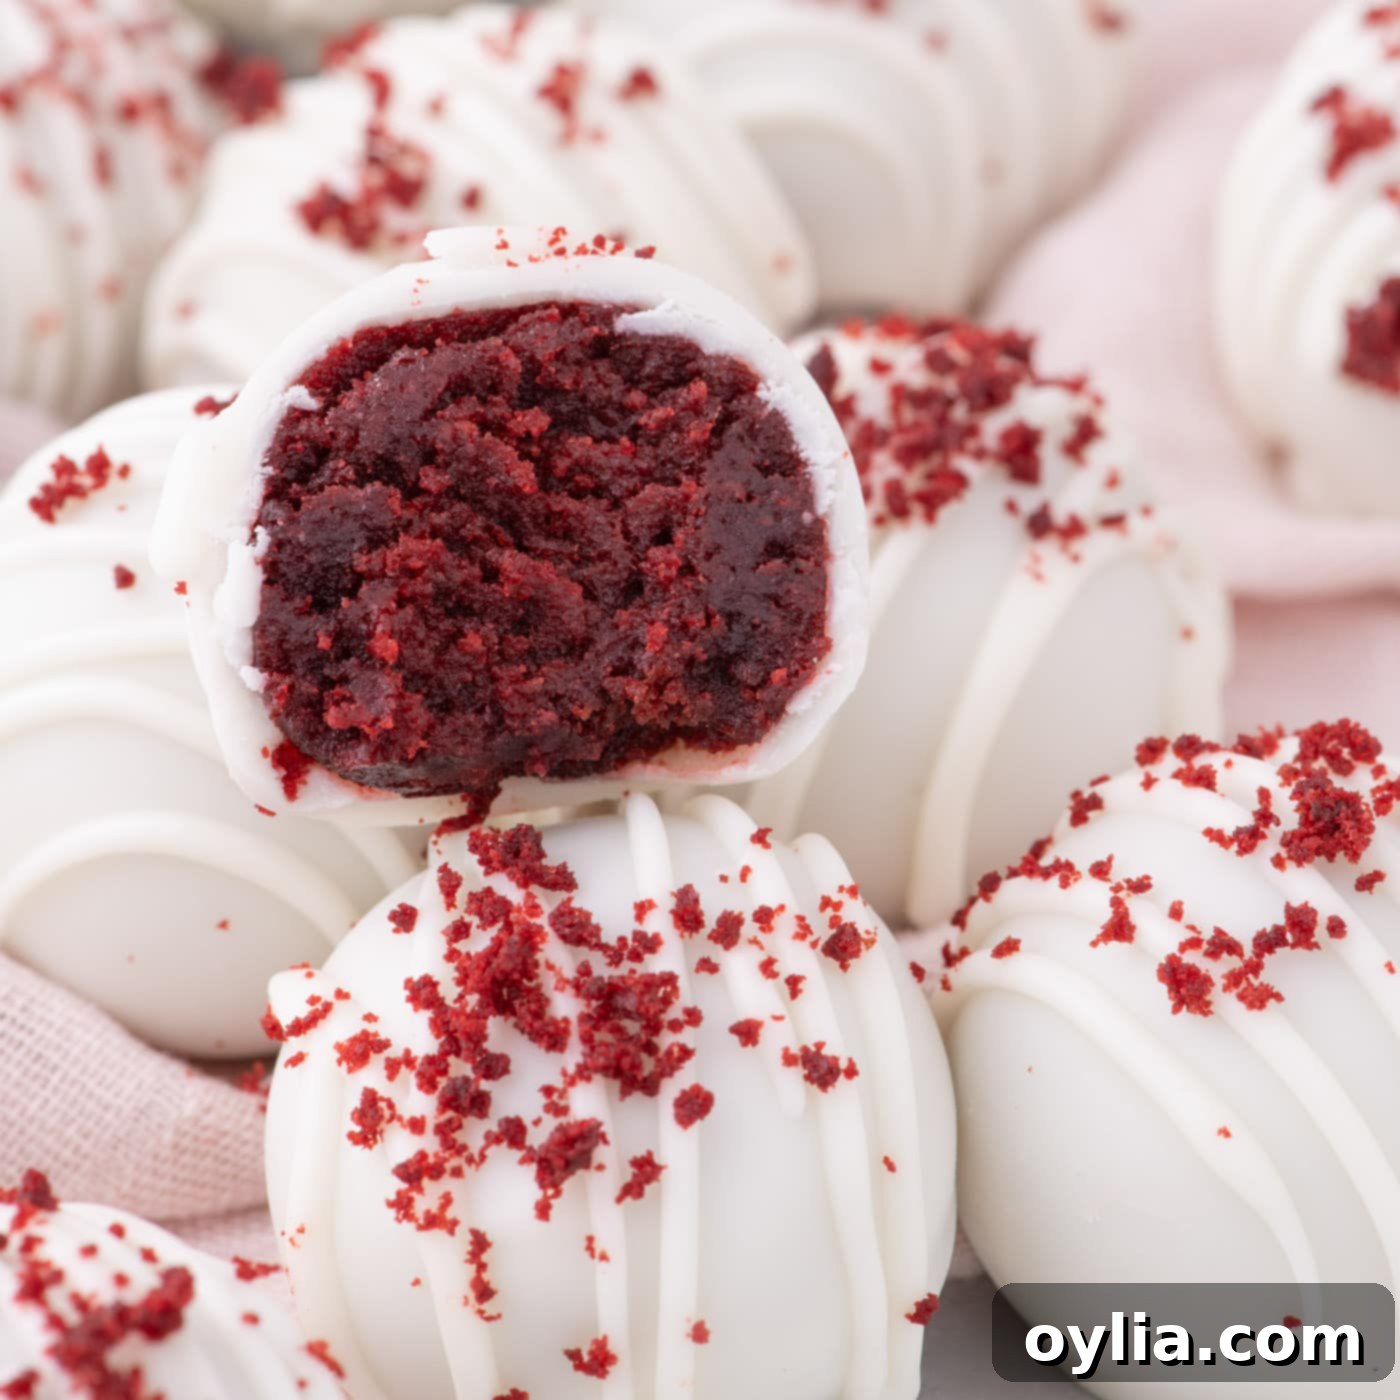
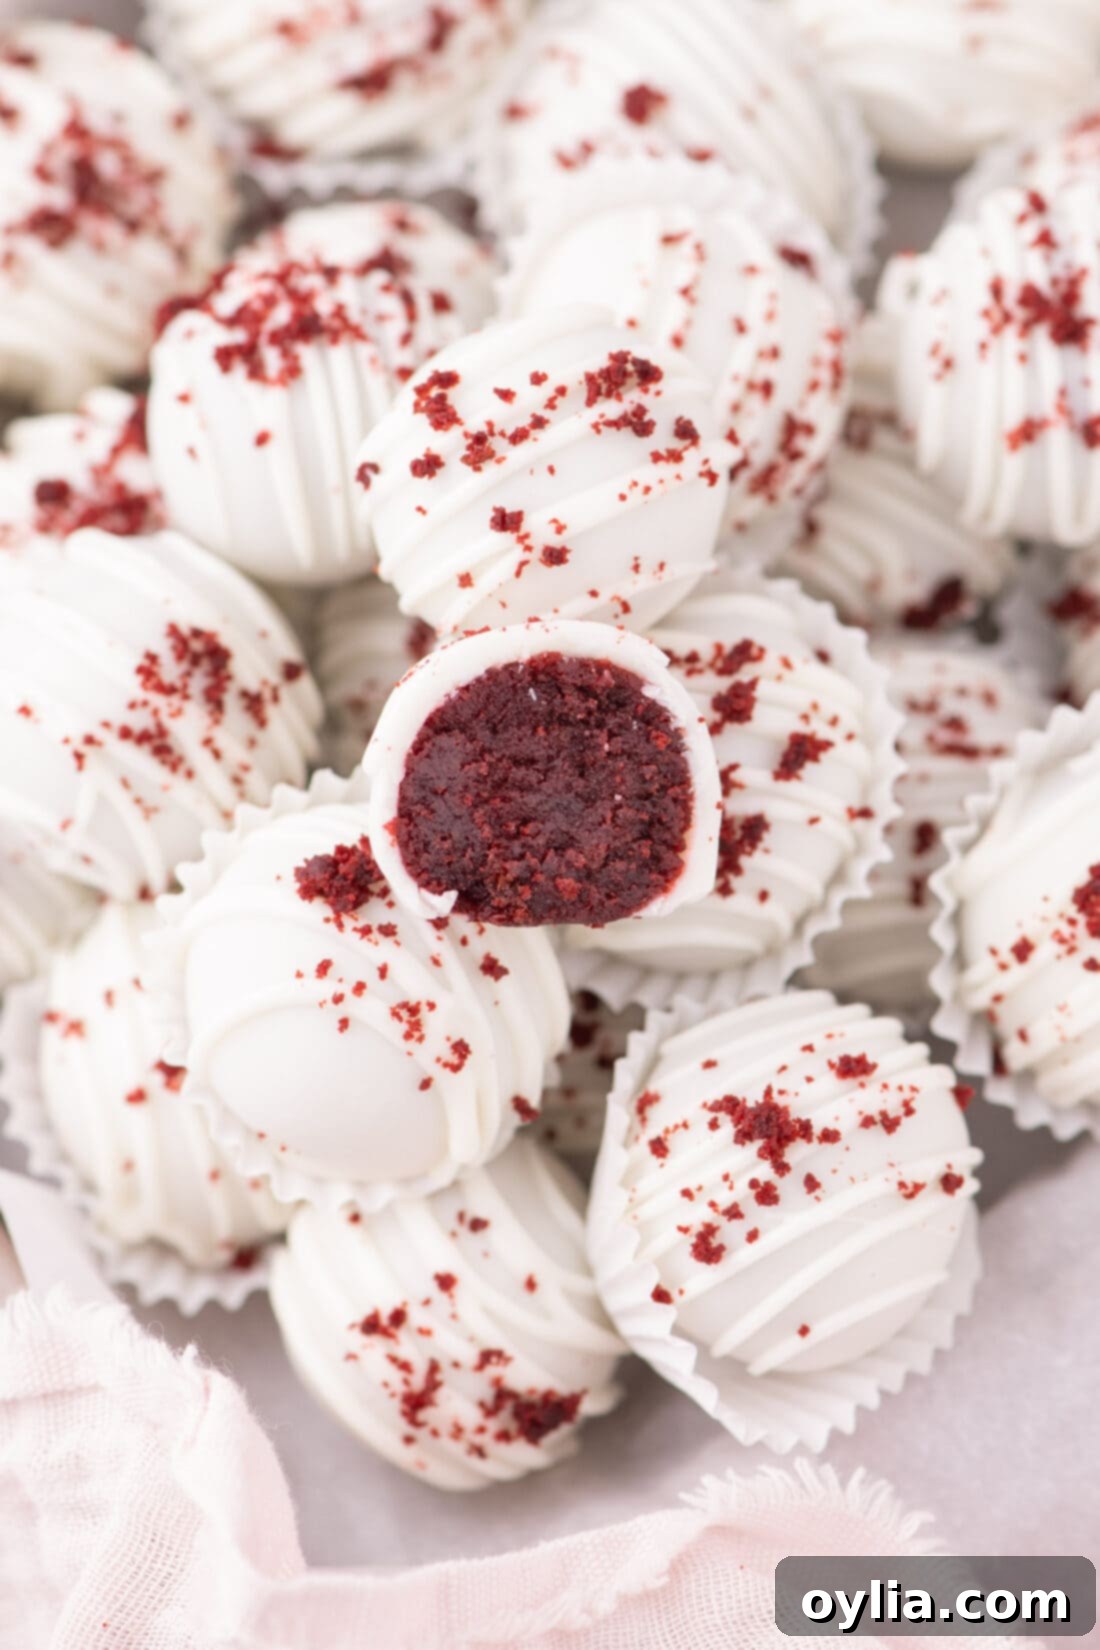
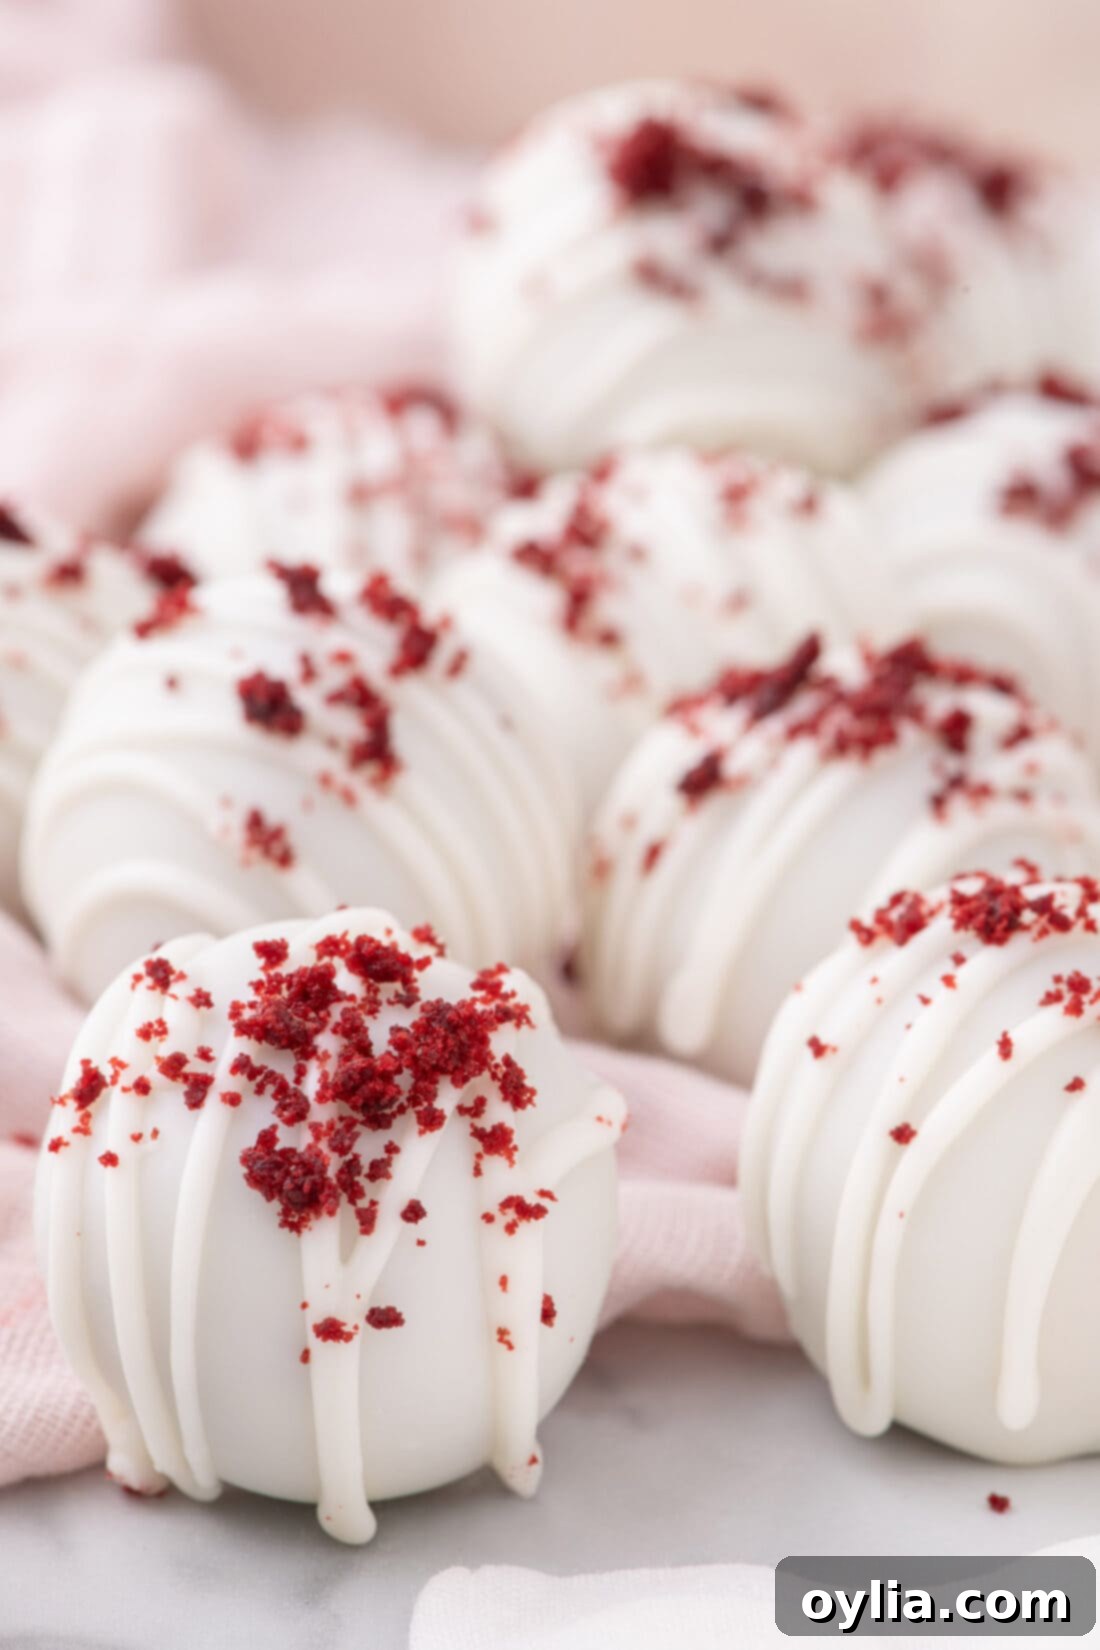
Prepare to be enchanted by these unbelievably delicious red velvet cake balls! Each bite offers a delightful contrast: a satisfying crunch from the sweet vanilla candy coating gives way to a supremely moist cake interior, elevated to pure decadence with a homemade sweet and tangy cream cheese frosting. These bite-sized treats capture all the magic of a classic red velvet cake in a fun, portable form, making them an instant crowd-pleaser for any occasion.
Why This Red Velvet Cake Ball Recipe Works Wonders
This recipe truly is a match made in dessert heaven, skillfully blending the rich, cocoa-kissed goodness of classic red velvet cake with the delightful simplicity of chocolate-coated cake balls. The result is a collection of perfect little morsels that pack all the beloved flavors and textures of a grand red velvet cake into a convenient, bite-sized package. You get the signature moist red velvet cake crumb, generously mixed with a luscious cream cheese frosting, all enveloped in a crisp candy shell.
What makes this recipe particularly brilliant for home bakers is its incredible ease. Starting with a boxed cake mix streamlines the baking process significantly, saving you time and effort without compromising on flavor. This means you can whip up a batch of these impressive red velvet truffles for parties, holidays, or just a sweet craving, even on a busy schedule. The combination of a moist cake base and the tangy cream cheese frosting creates a harmonious balance that is truly irresistible. Plus, the bite-sized format makes them ideal for sharing, gifting, or simply enjoying as a perfectly portioned indulgence.
Essential Ingredients for Your Red Velvet Cake Balls
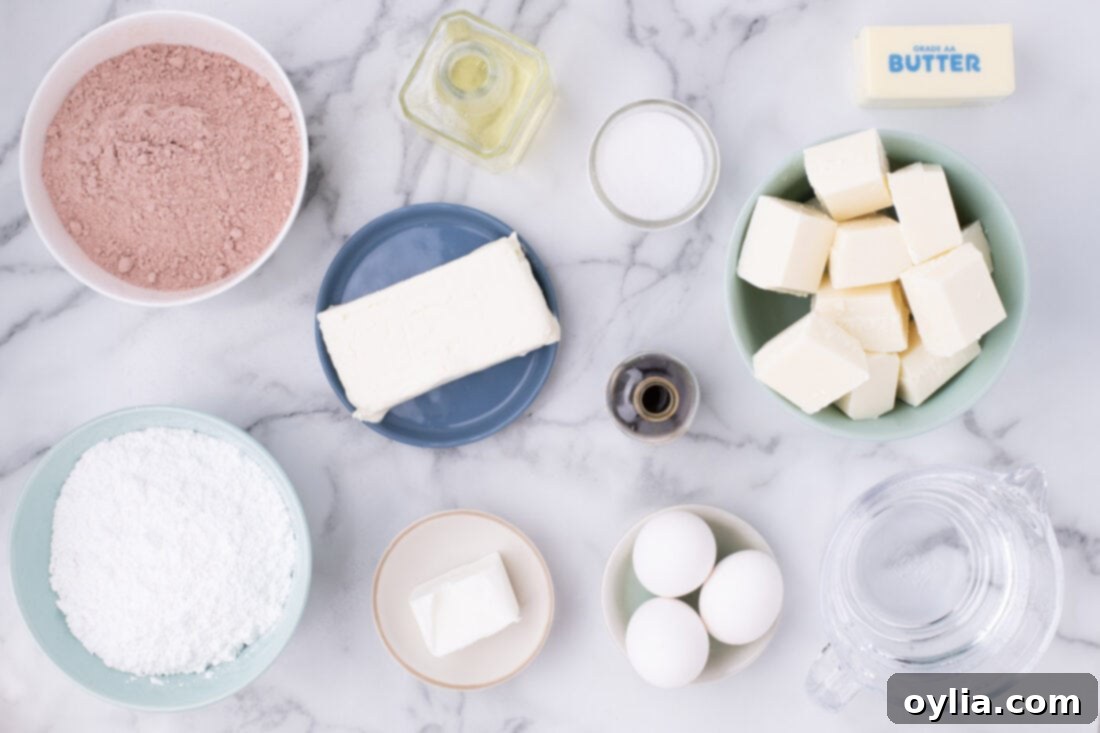
To create these delectable red velvet cake balls, you’ll need a few key components. While the full, precise measurements and step-by-step instructions are available in the printable recipe card at the very end of this post, here’s an overview of the star ingredients:
Ingredient Insights and Smart Substitutions
Understanding each ingredient and knowing your options can make all the difference in achieving perfect results and adapting this recipe to your preferences.
CAKE – Our recipe simplifies things beautifully by using one 13.25-ounce box of red velvet cake mix, along with the additional ingredients specified on the package. This is a fantastic time-saver, ensuring a consistently moist and flavorful cake base every time. However, if you’re a purist or simply enjoy the process, feel free to bake a red velvet cake from scratch. Just ensure it’s completely cooled before crumbling.
FROSTING – The magic of these cake balls truly lies in the homemade cream cheese frosting. It’s surprisingly simple to make and provides that essential sweet and tangy counterpoint to the rich red velvet. You’ll need softened butter, cream cheese, powdered sugar, vanilla extract, and a pinch of salt. The secret to an ultra-smooth and fluffy frosting? Make sure both your cream cheese and butter are at proper room temperature before you start mixing. This ensures they cream together beautifully, preventing lumps and creating the ideal consistency for blending with the cake crumbs.
CHOCOLATE COATING – For that perfect crisp outer layer, we prefer white almond bark. It melts smoothly and sets quickly, creating a professional-looking finish. Vanilla candy wafers (often called candy melts) are another excellent alternative, offering similar melting and setting properties. While white chocolate chips can technically be used, we highly recommend almond bark or candy wafers instead. White chocolate chips tend to be thicker when melted and are not specifically formulated for dipping, which can make achieving a smooth, even coating challenging. To help achieve an even more fluid and smooth consistency for dipping, a touch of vegetable shortening is added to the almond bark. Feel free to experiment with regular milk chocolate, dark chocolate, or even colored candy melts if you want to customize your red velvet truffles for specific holidays or events!
Step-by-Step Guide: How to Make Red Velvet Cake Balls
These step-by-step photos and instructions are here to help you visualize how to make this recipe a success. For the complete, printable version of this recipe, including all precise measurements and detailed instructions, simply Jump to Recipe at the bottom of this post.
- Preheat your oven to 350° F (175°C). Lightly grease a 9×13-inch baking dish. This prevents the cake from sticking and ensures easy removal.
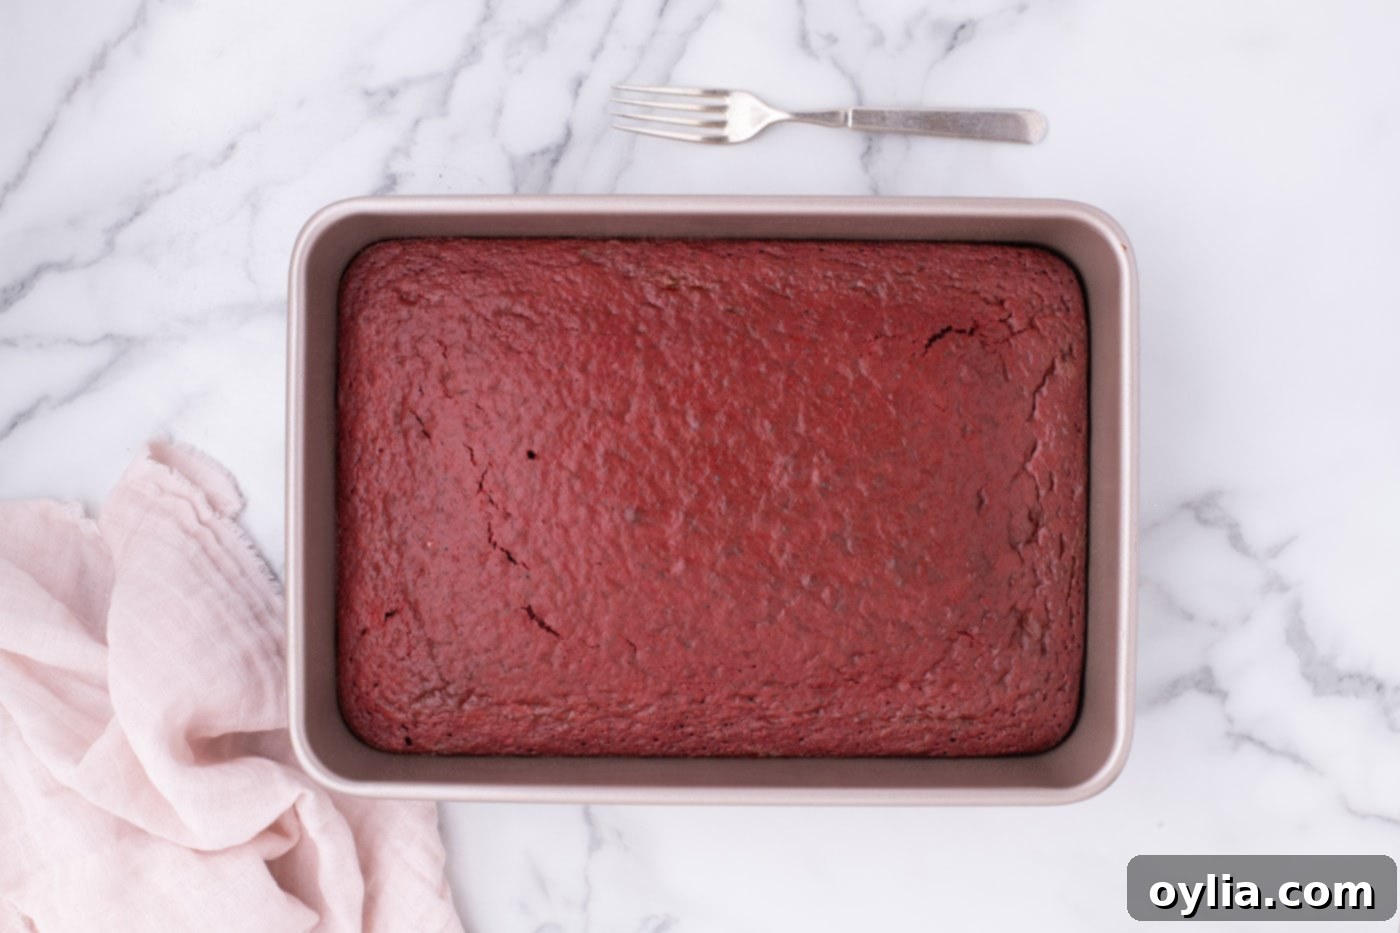
- Prepare and bake the red velvet cake mix precisely according to the package instructions. This typically involves adding eggs, oil, and water. Avoid overbaking, as a slightly moist cake is ideal for cake balls.
- Once baked, remove the cake from the oven and let it cool completely on a wire rack. Cooling is crucial; working with warm cake can result in a messy, overly soft mixture. While the cake cools, you can begin preparing your cream cheese frosting.

Crafting the Perfect Cream Cheese Frosting
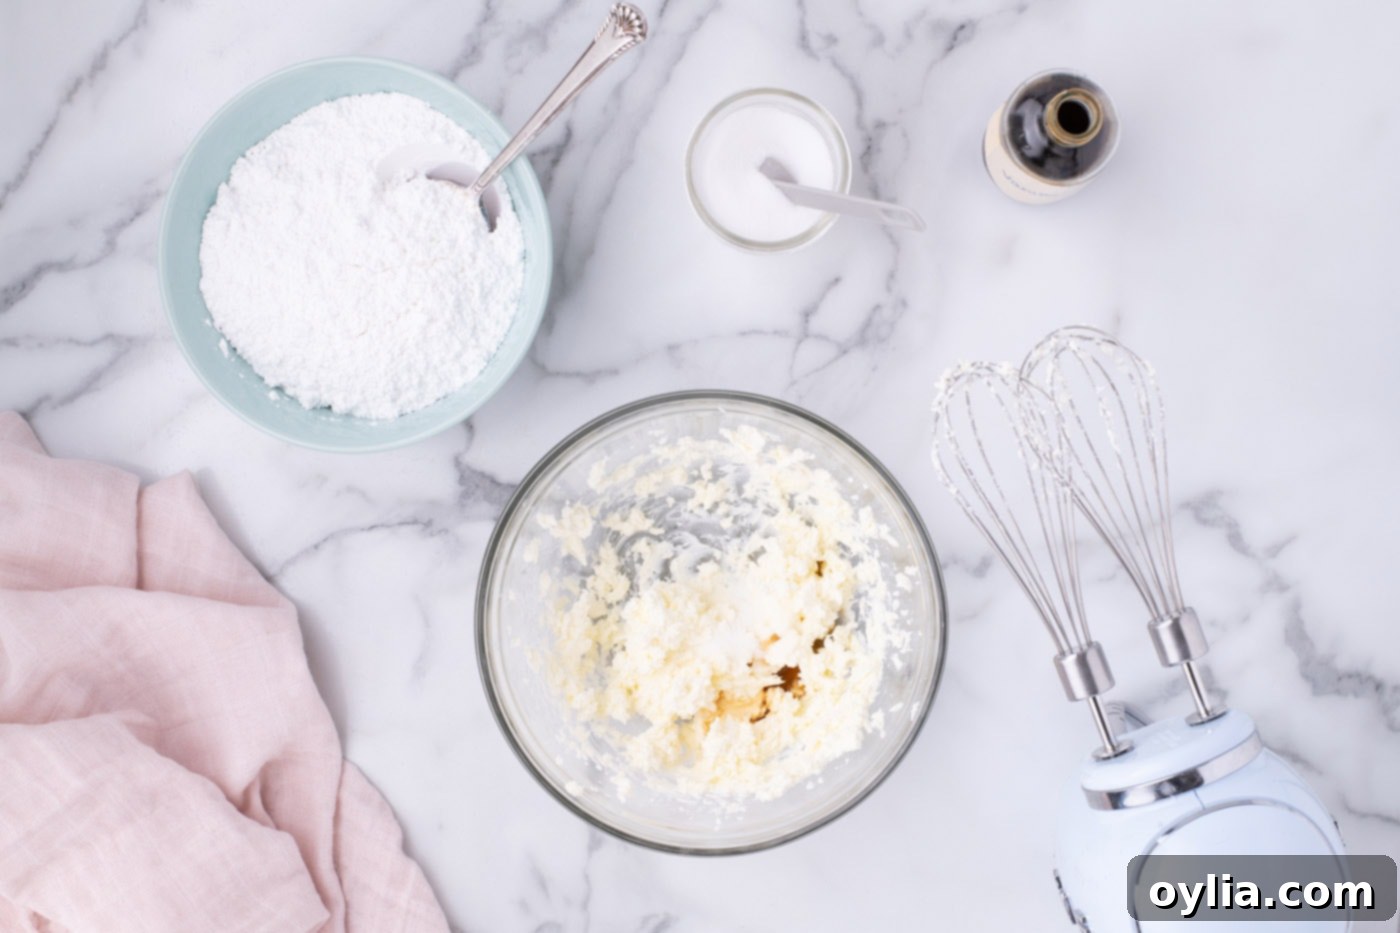
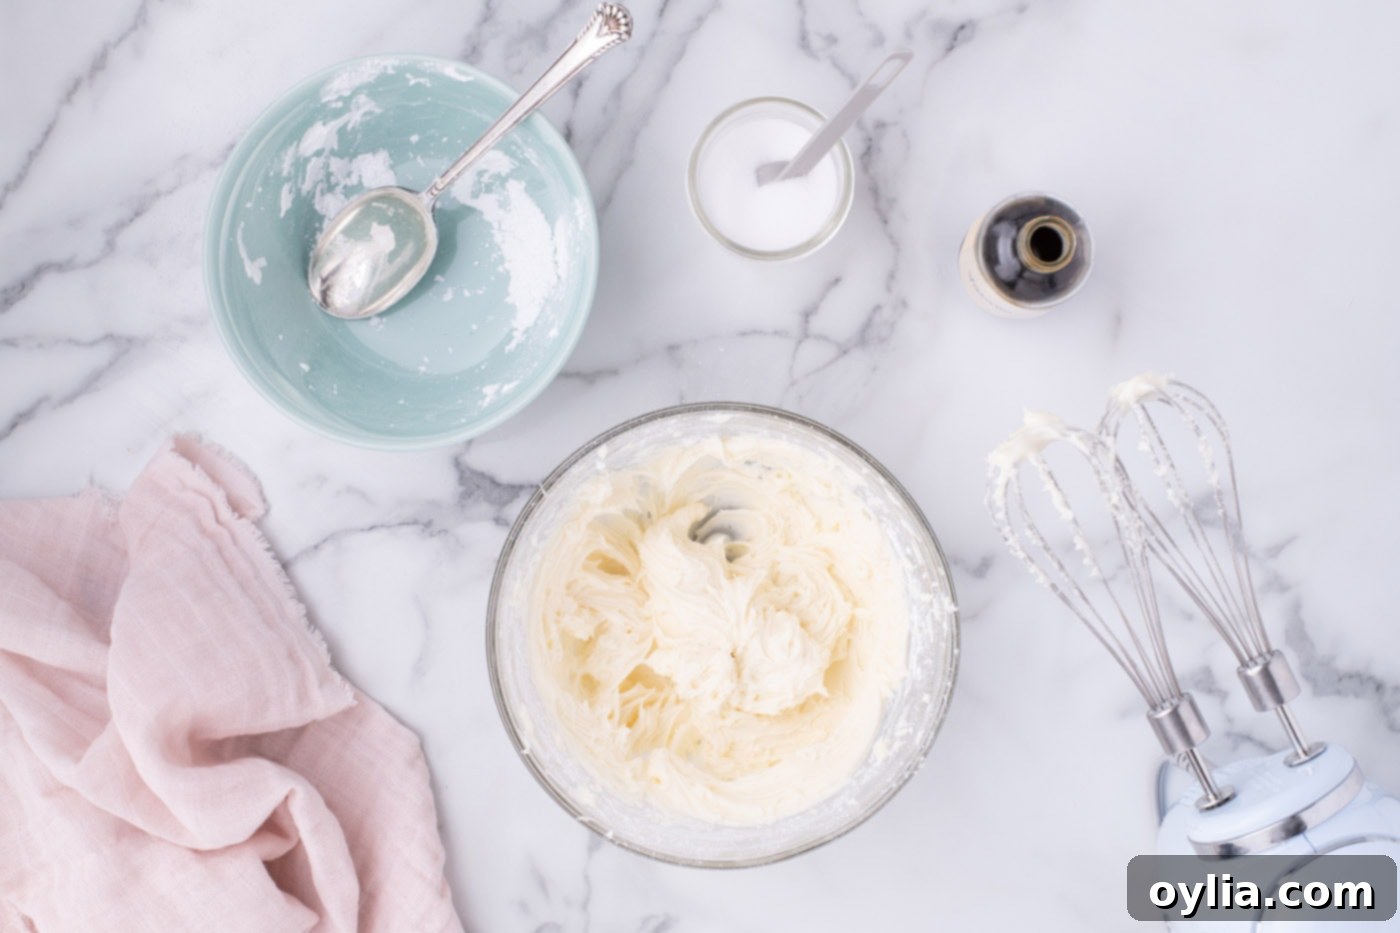
- In a large mixing bowl or the bowl of a stand mixer fitted with a paddle attachment, beat together the softened butter and cream cheese until the mixture is light, airy, and fluffy. This can take 2-3 minutes on medium speed. Ensure there are no lumps of butter or cream cheese.
- Stir in the vanilla extract and salt. These ingredients enhance the flavor profile of the frosting, adding depth and balance.

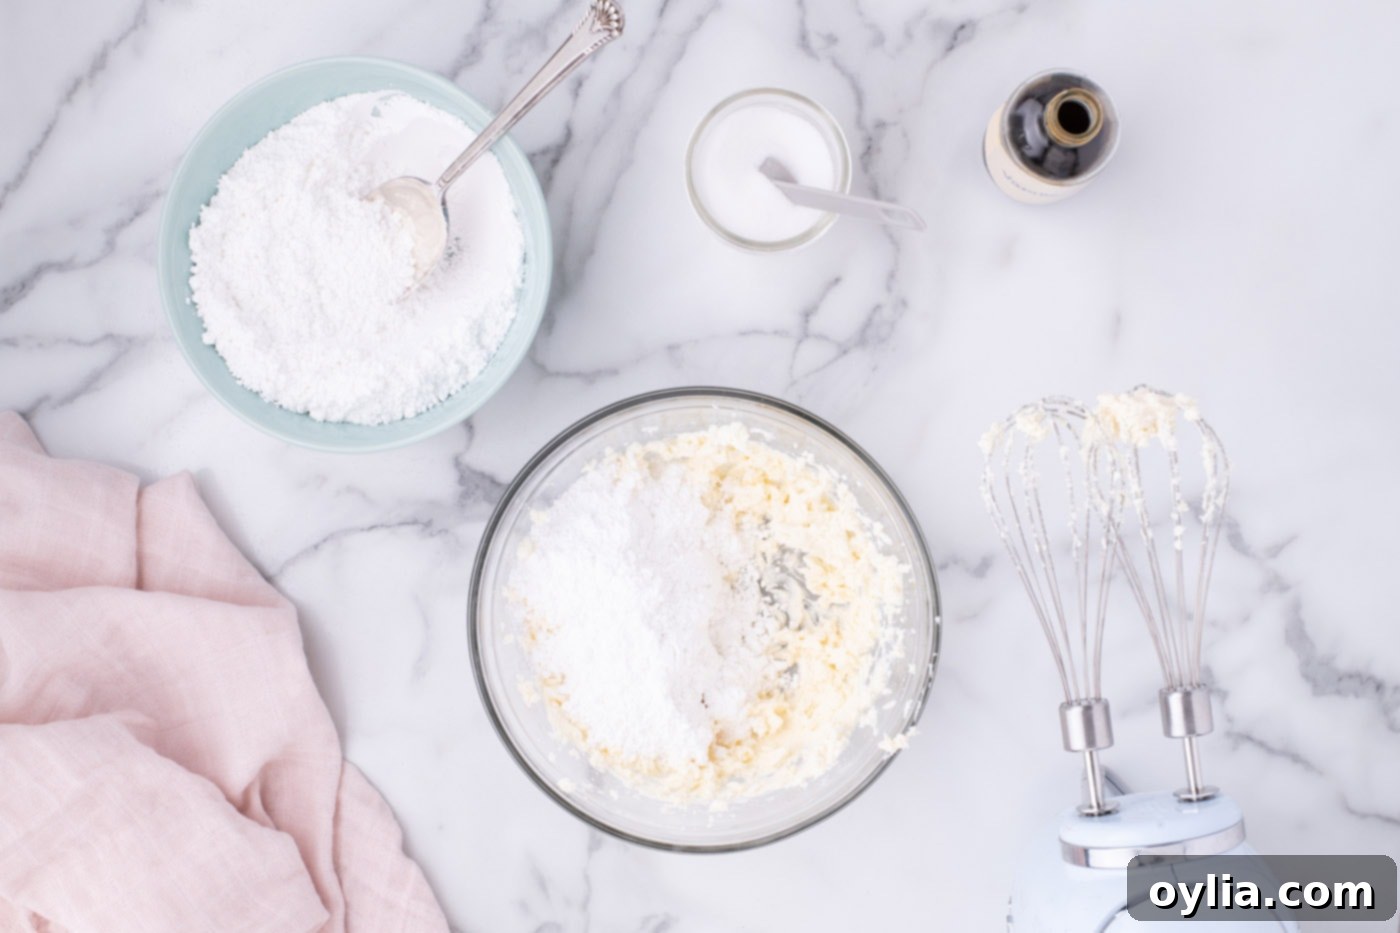
- Gradually add the powdered sugar, about ½ cup at a time, mixing well after each addition. Continue to beat until the frosting is completely smooth, thick, and has a spreadable consistency. Set this delectable frosting aside.


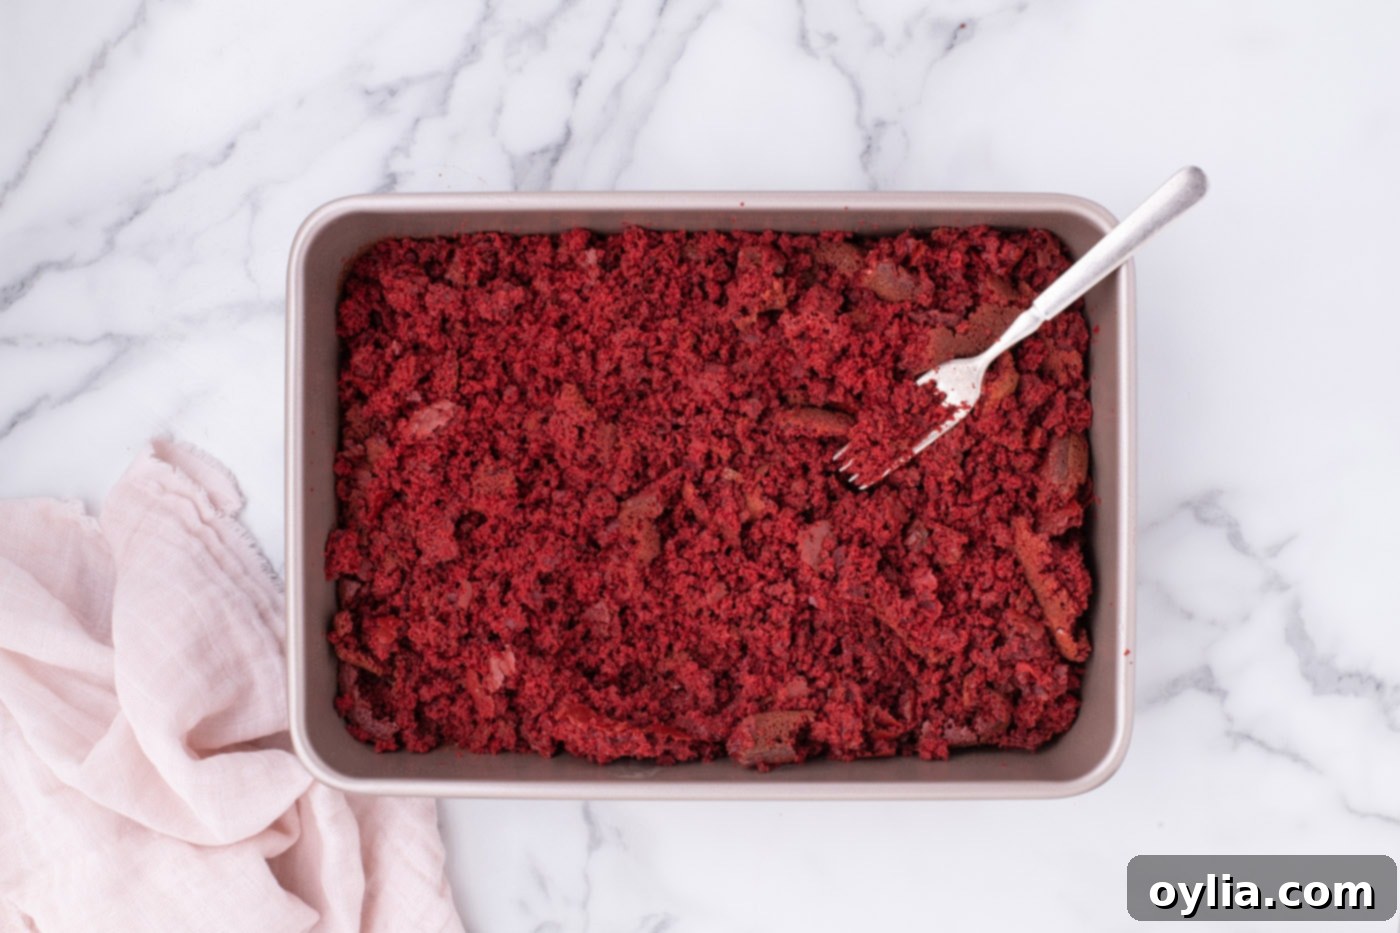
- Once your cake is fully cooled, use a fork to crumble it thoroughly within the baking dish. Aim for fine, even crumbs, similar to sand. Transfer these crumbs to a large mixing bowl. Set aside about 1/3 of a cup of these crumbs; these will be used later as an elegant topping for your finished cake balls.

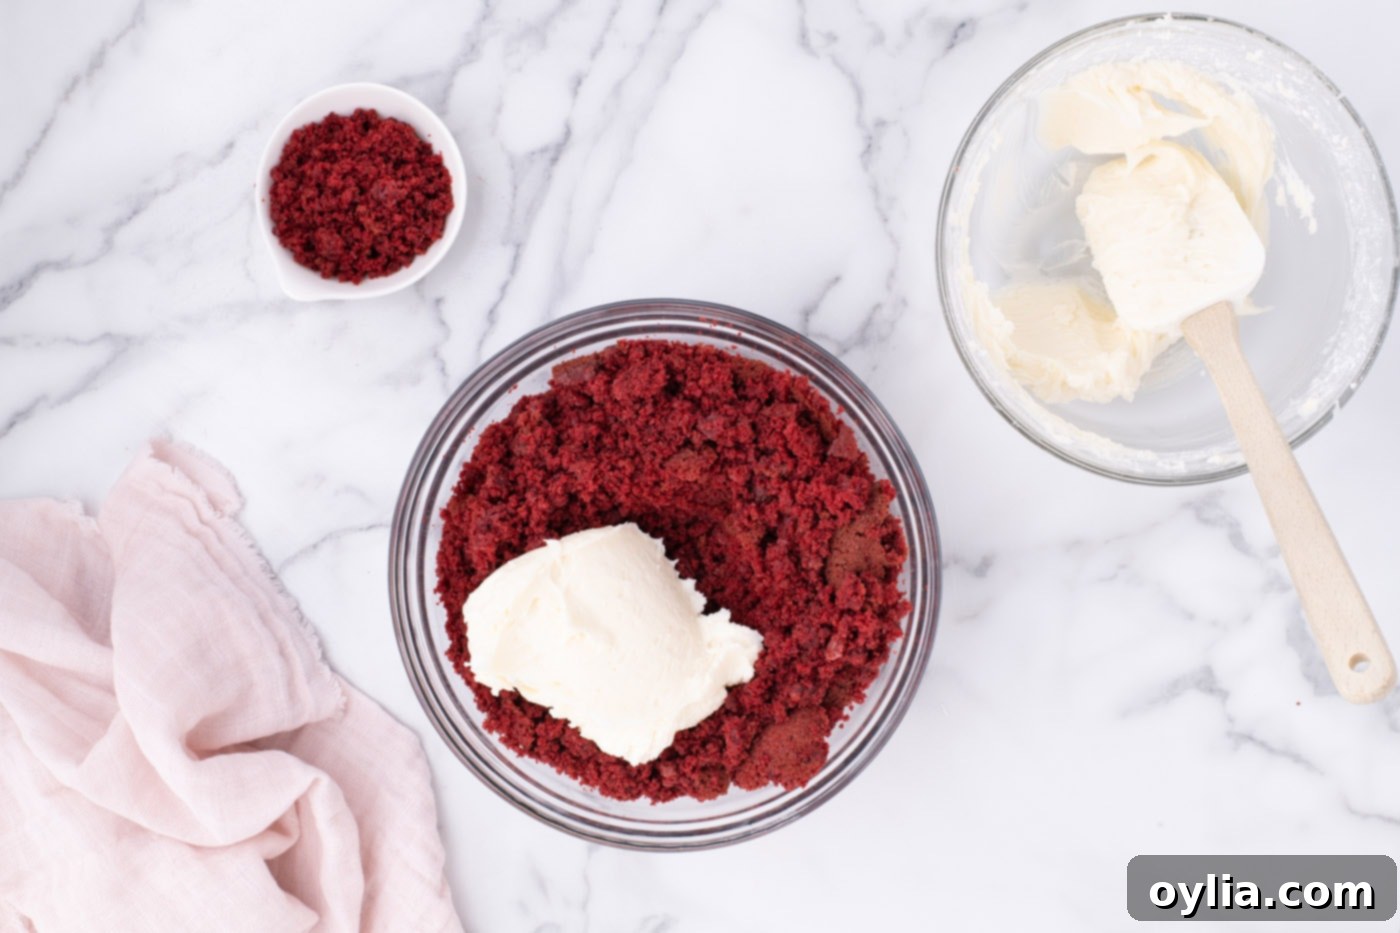
- Now, add all but ½ cup of the prepared cream cheese frosting to the crumbled cake. Using a soft silicone spatula, thoroughly mix the cake crumbs and frosting until they are uniformly combined. The mixture should be moist enough to hold together when pressed, but not overly sticky.
EXPERT TIP – It’s always better to start with slightly less frosting. I highly recommend adding only part of the frosting to the cake crumbs initially. If the mixture feels too dry or crumbly to form balls, add the reserved frosting gradually, a ¼ cup at a time, until you achieve the perfect desired consistency. Too much frosting can make the cake balls difficult to form and overly soft, while too little will make them fall apart. If your cake happened to be on the drier side after baking, you might find that you need to use all of the frosting. The goal is a firm, rollable dough.

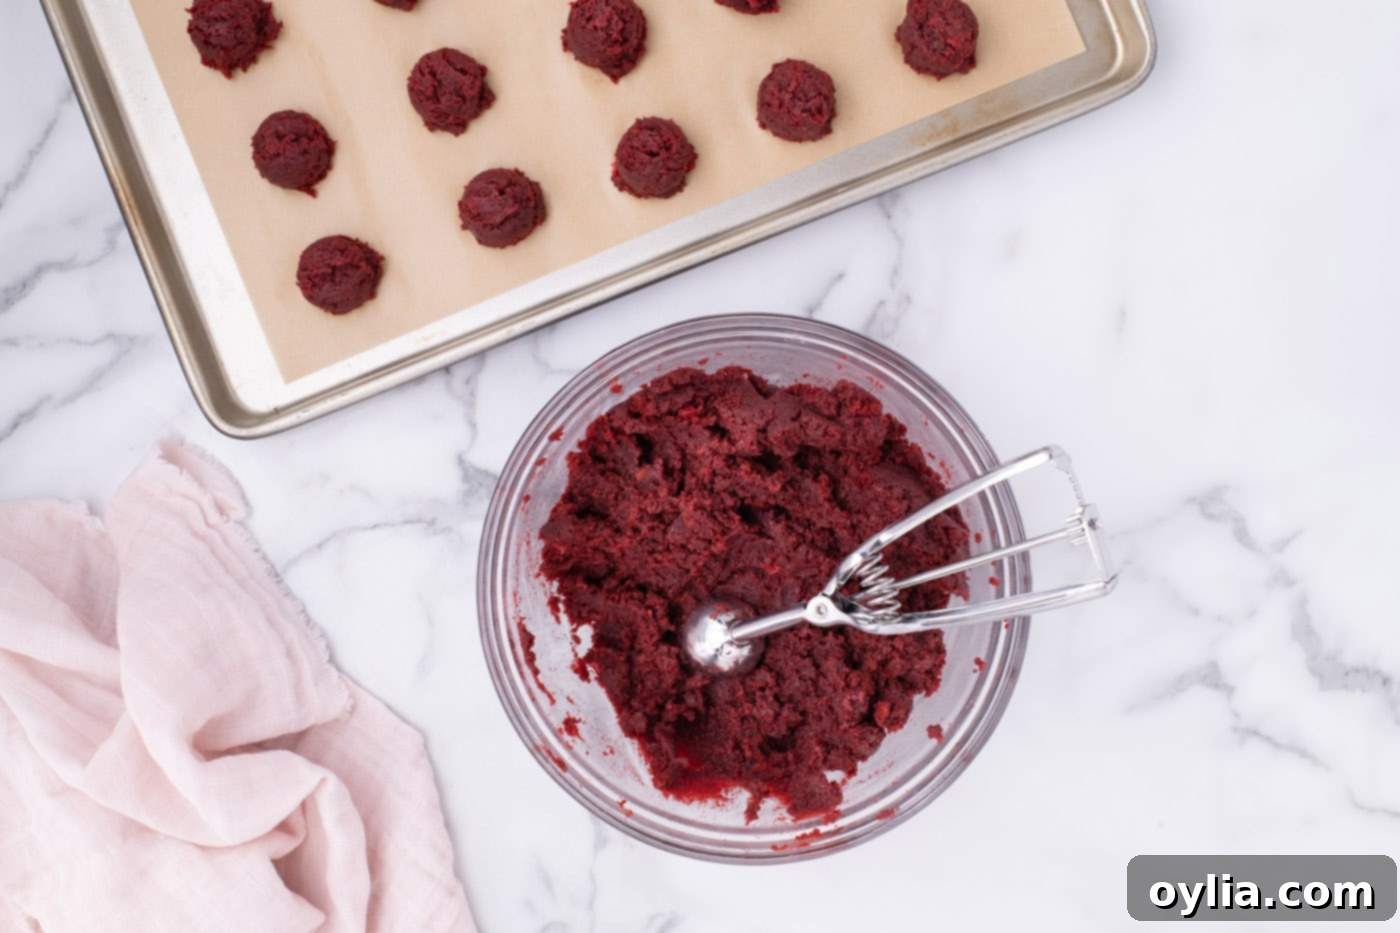
- Using a small cookie dough scoop (about 1.5 tablespoons), portion out evenly sized mounds of the cake mixture onto a parchment-lined cookie sheet. Consistency in size ensures even freezing and coating.
- Roll each mound gently between lightly moistened hands. This helps to create perfectly smooth, round cake balls, free of cracks.

- Place the formed cake balls into the freezer for at least 1 hour. This crucial step allows them to firm up significantly, making them much easier to coat evenly and preventing them from crumbling or softening too much when dipped into the warm candy coating.
Assembling and Decorating Your Red Velvet Truffles
- Prepare your candy coating: From your 12 squares of white almond bark, set aside 2 squares for drizzling later. Place 5 of the remaining 10 squares in a microwave-safe bowl. Heat in 30-second intervals, stirring thoroughly after each interval, until the mixture is smooth and fully melted. Stir in 1 tablespoon of vegetable shortening to further thin the coating and ensure a silky consistency.
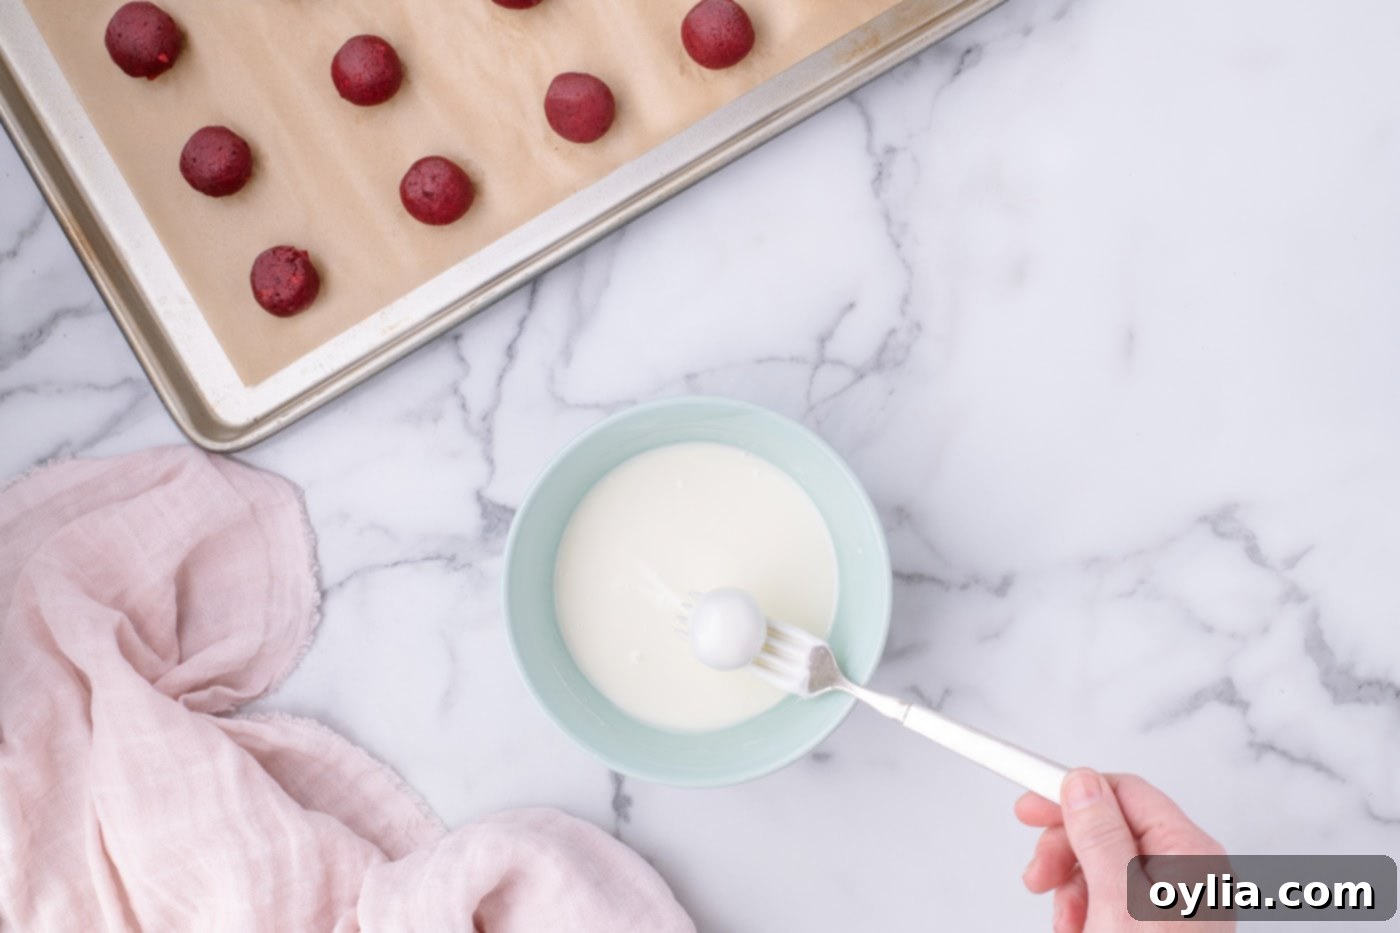
- To coat, gently place one firm cake ball on the end of a fork. Submerge it completely into the melted candy coating, ensuring the entire ball is covered. Lift the cake ball and gently tap the fork against the edge of the bowl to allow any excess coating to drip off. This creates a thin, even layer. Carefully transfer the coated cake ball to a clean parchment-lined baking sheet.

- Continue dipping the remaining cake balls, working in small batches to keep the uncoated balls firm in the freezer until ready. As the melted candy coating starts to thicken, melt the next 5 squares of almond bark with another tablespoon of vegetable shortening as needed to maintain a smooth, dippable consistency.
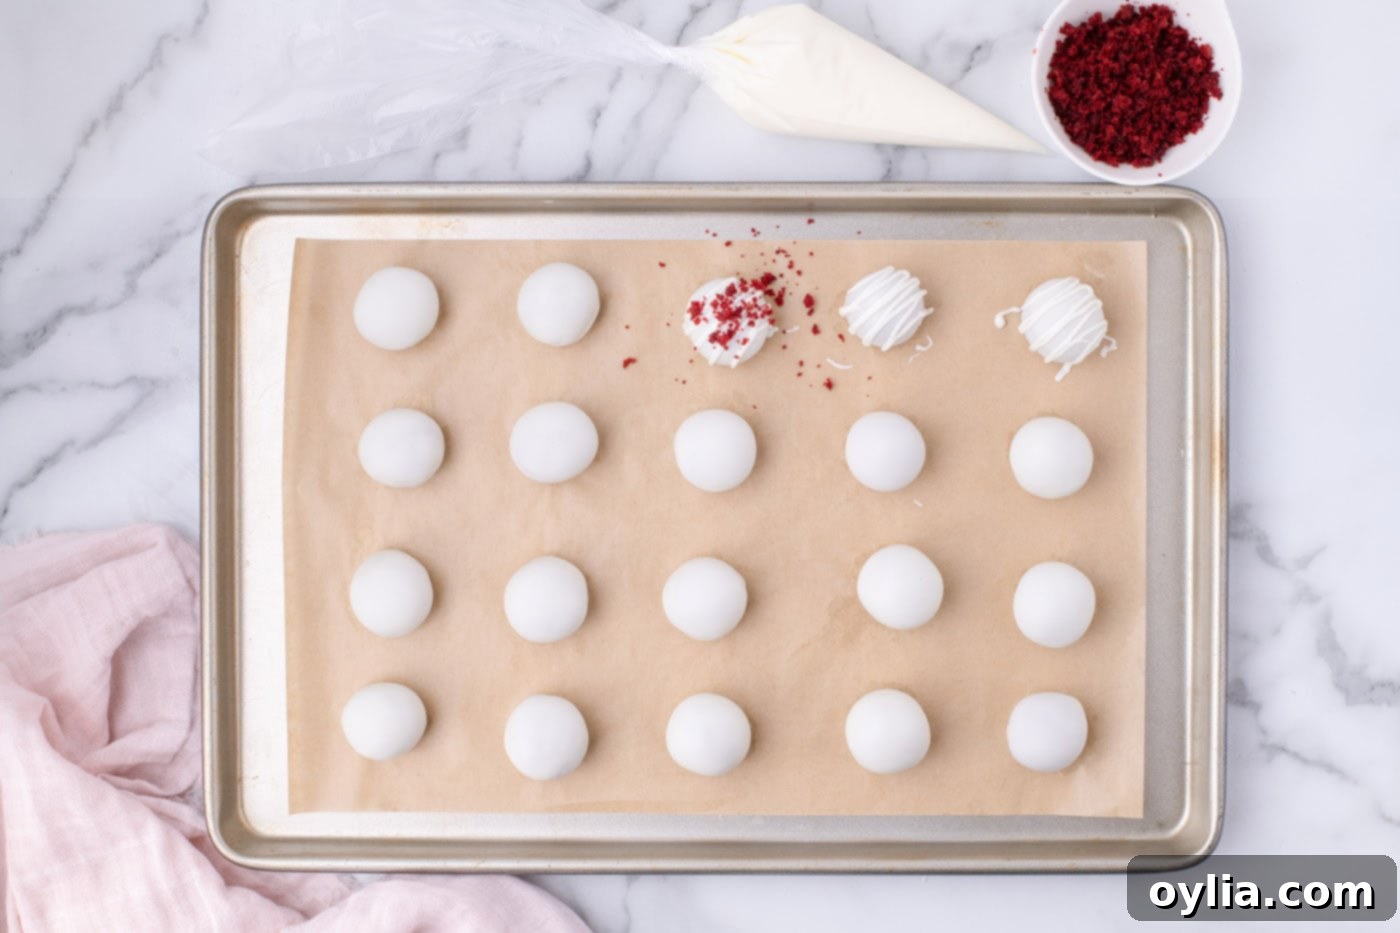
- For the final decorative touch, take the previously reserved 2 squares of almond bark and melt them in the microwave until smooth. Pour this melted candy into a plastic piping bag (or a sturdy zippered sandwich bag). Snip off a tiny corner of the bag to create a very small opening, perfect for drizzling.
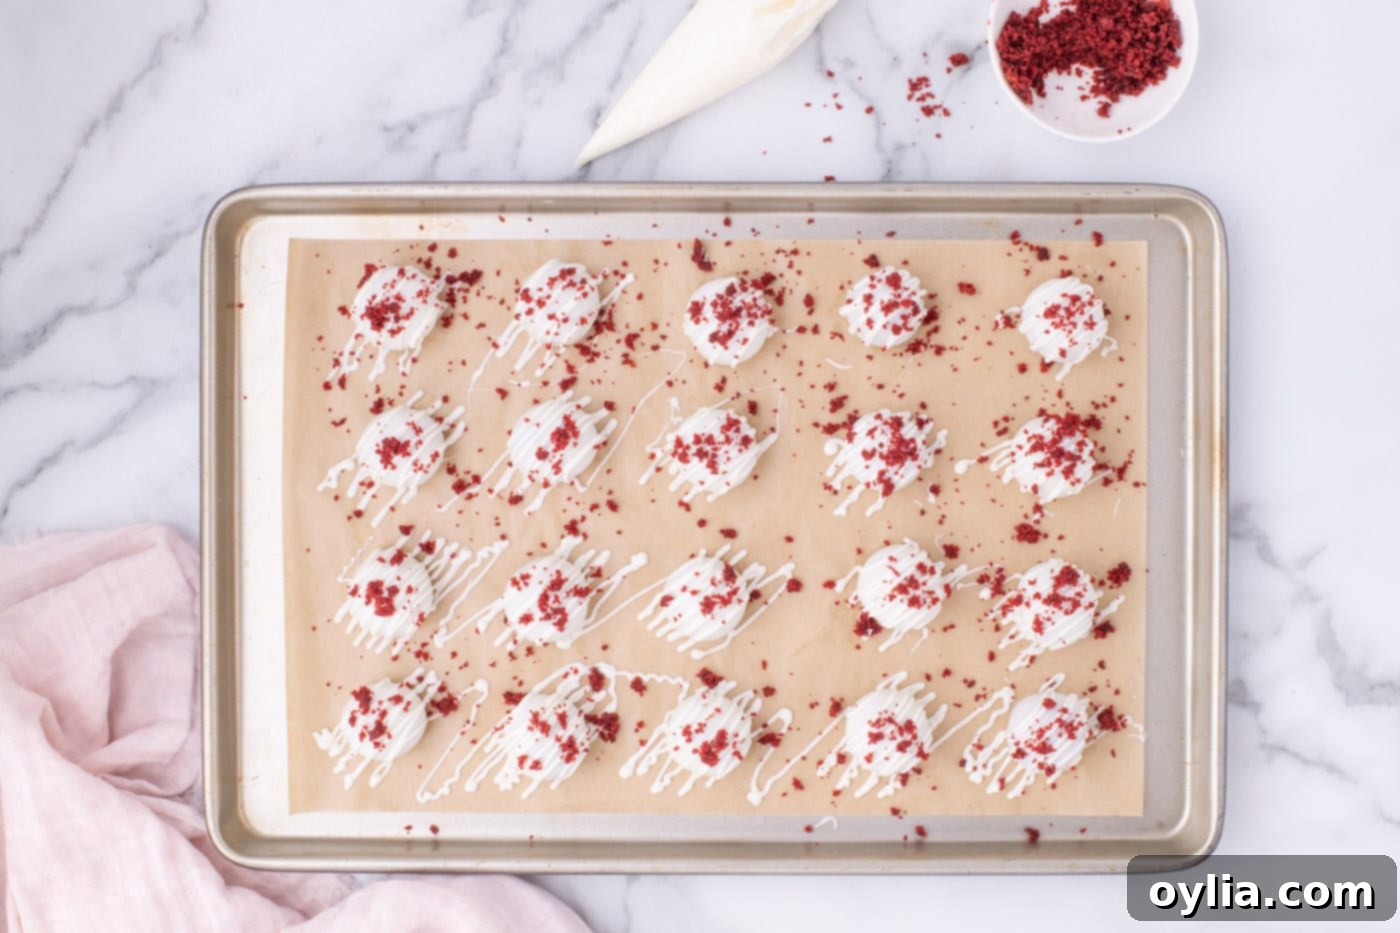
- Drizzle the melted candy over the coated cake balls in an attractive pattern. Immediately, before the drizzle sets, sprinkle the reserved cake crumbs over the top of each ball. This adds a beautiful texture and reinforces the red velvet theme.

- Allow the coated red velvet cake balls to dry completely at room temperature until the candy coating is fully set and firm to the touch. Once set, they are ready to be devoured!

Frequently Asked Questions & Expert Tips for Success
While it might seem like a simple swap, vegetable shortening or coconut oil are truly your best options for thinning out almond bark or candy melts. Vegetable oil has a tendency to ‘yellow’ the pristine white coating, which can detract from the classic red velvet aesthetic. Stick with shortening for the best visual and textural results.
Due to the cream cheese in the frosting, these delicious red velvet cake balls should always be stored in the refrigerator. Place any uneaten cake balls in an airtight container, and they will keep fresh for up to 6 days. While tempting to leave them out for easy access, refrigeration is essential to prevent the cream cheese from spoiling and to maintain their delightful texture.
Absolutely, do not skip this crucial step! Freezing your cake balls for at least 1 hour before dipping them into the melted almond bark makes a world of difference. It ensures they are firm and stable, allowing for much easier and smoother coverage. A firm cake ball won’t crumble or soften prematurely in the warm coating. For the best results, work in small batches: keep the majority of uncoated cake balls in the freezer and only remove 5 or 6 at a time to coat them. This ensures they remain perfectly firm throughout the dipping process.
Yes, these red velvet cake balls are an excellent make-ahead dessert! You can easily prepare them a day or two in advance and store them in an airtight container in the refrigerator. For the best enjoyment, we recommend removing them from the fridge about 30 minutes before serving to allow the cake and frosting to soften slightly and their flavors to fully bloom.
You can indeed freeze cake balls for longer storage, but with a specific method. It’s best to freeze the cake balls *before* they’ve been dipped in the chocolate coating. Once rolled and firmed, place them in a single layer on a parchment-lined baking sheet in the freezer until solid, then transfer them to a large zip-top freezer bag. They can be stored in the freezer for up to 2 months. When you’re ready to enjoy, simply remove them from the freezer and proceed with dipping them in chocolate as directed in the recipe.
Transforming these red velvet cake balls into festive cake pops is quite simple! First, make sure your cake balls are thoroughly chilled. Dip the tip of a lollipop stick into a small amount of melted chocolate or candy coating, then insert it about halfway into a chilled cake ball. Place the cake pop on a tray upside down (stick pointing up) and let the chocolate set for about 2 minutes. This creates a “glue” to secure the stick. Once set, fully coat the cake pop in melted chocolate, rotating the stick as you dip to encourage excess chocolate to drip off. Decorate immediately, then stand them upright in a styrofoam block or a tall glass to set completely.
If your mixture is too crumbly, it likely needs more frosting. Add the reserved frosting a tablespoon at a time, mixing well after each addition, until it reaches a consistency that holds together when pressed. If it’s too wet and sticky, you might have added too much frosting or your cake wasn’t fully cooled. You can try adding a few tablespoons of finely crushed vanilla wafers or graham cracker crumbs to absorb excess moisture. Alternatively, chill the mixture for an additional 30 minutes to firm it up before rolling.
Creative Serving Ideas for Red Velvet Cake Balls
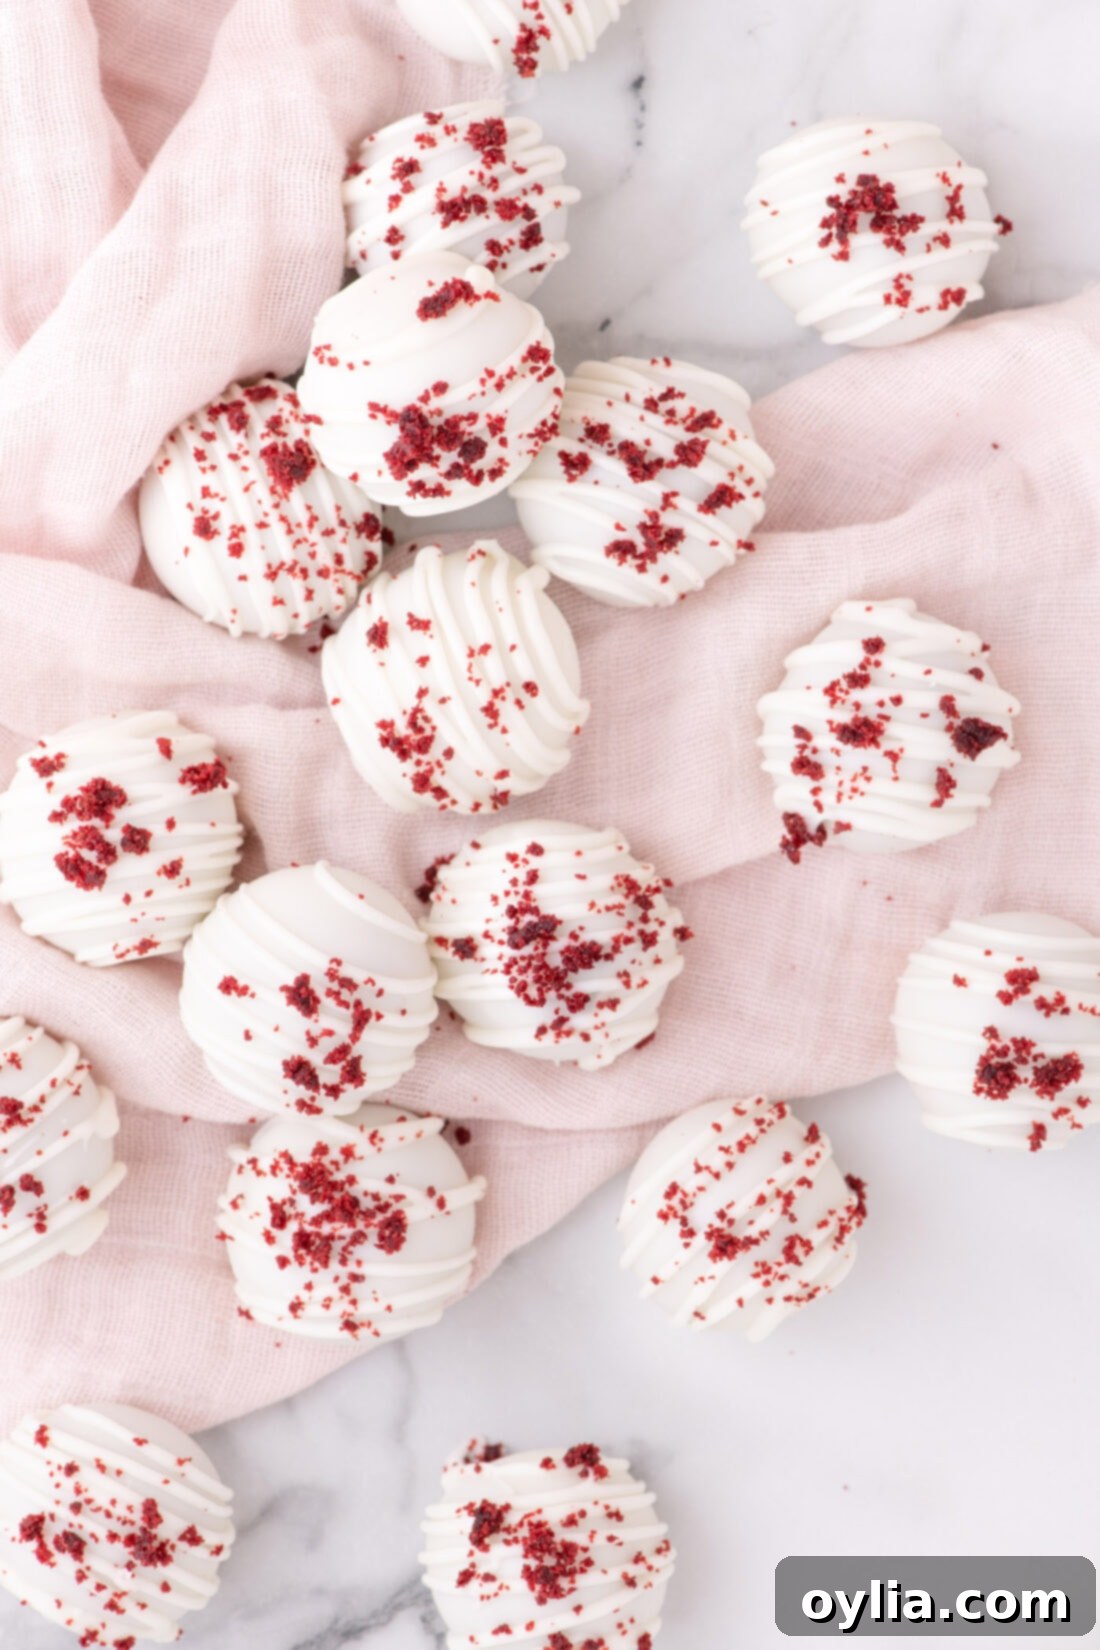
These delightful red velvet cake balls are incredibly versatile and perfect for almost any occasion. Garnish them simply with an elegant drizzle of melted white chocolate and a sprinkle of the extra red velvet cake crumbs you set aside. For an added sparkle, consider topping them with festive red sugar crystals or decorative sprinkles that match your theme.
Red velvet cake balls are a fantastic addition to any celebration. Think bridal or baby showers, potlucks, birthday parties, or holiday gatherings – they fit right in! Their appealing size and striking red hue make them excellent for customizing. You can easily adapt them to match sports team colors by using different colored sprinkles, or create holiday themes by drizzling them with colored white chocolate (green for Christmas, blue for Hanukkah, etc.).
They also make absolutely adorable and thoughtful edible gifts. Simply pop a few into small cellophane baggies, tie them with a pretty ribbon, and you have a charming present that’s sure to bring a smile. No matter how you serve or present them, these decadent treats are guaranteed to be a hit!
Discover More Delicious Bite-Sized Treats & Red Velvet Delights
If you loved making these red velvet cake balls, you’ll surely enjoy exploring other related recipes that offer similar indulgent flavors and fun, bite-sized formats:
- Oreo Truffles: Another incredibly easy and popular no-bake treat.
- Carrot Cake Truffles: For lovers of classic carrot cake, in a convenient truffle form.
- Red Velvet Cupcakes: The traditional individual serving of this beloved cake.
- Red Velvet Crinkle Cookies: A festive and chewy cookie version of red velvet.
I love to bake and cook and share my kitchen experience with all of you! Remembering to come back each day can be tough, that’s why I offer a convenient newsletter every time a new recipe posts. Simply subscribe and start receiving your free daily recipes!
Red Velvet Cake Balls
IMPORTANT – There are often Frequently Asked Questions within the blog post that you may find helpful. Simply scroll back up to read them!
Print It
Pin It
Rate It
Save ItSaved!
Ingredients
- 13.25 ounce red velvet cake mix plus ingredients on the back of the box
Cream Cheese Frosting
- ¼ cup unsalted butter at room temperature
- 4 ounces cream cheese at room temperature
- 2 cups powdered sugar
- 1 teaspoon vanilla extract
- ½ teaspoon kosher salt
Candy Coating
- 24 ounces white almond bark divided. 12 squares
- 2 Tablespoons vegetable shortening divided
Things You’ll Need
-
13×9 baking dish
-
Mixing bowls
-
Stand mixer or hand mixer
-
Rubber spatula
Before You Begin
- Make sure your cream cheese and butter are at room temperature before mixing for the best consistency.
- Freezing your cake balls for 1 hour before dipping them into the melted almond bark makes for easier and smoother coverage of the cake ball. It’s easiest to work in batches by keeping the uncoated cake balls in the freezer and only removing 5 or 6 at a time to coat them, this ensures they stay firm.
- We used white almond bark to coat the cake balls in but you can also use vanilla candy wafers (candy melts). Although it’s definitely possible to use white chocolate chips for this recipe, I would recommend using either almond bark or candy wafers instead as white chocolate chips don’t melt as easily and aren’t designed for dipping.
- Vegetable shortening is added to the almond bark to help create a smooth consistency.
Instructions
-
Preheat the oven to 350° F (175°C) and grease a 9 x13-inch baking dish.
-
Prepare and bake the cake according to package instructions.
-
Remove the cake from the oven and let it cool completely on a wire rack while preparing the cream cheese frosting.
-
For the cream cheese frosting, beat together the butter and cream cheese in a mixing bowl or stand-up mixer until light and fluffy (2-3 minutes).
-
Mix in the vanilla extract and salt.
-
Slowly add in powdered sugar, ½ cup at a time, and continue to mix until smooth and thick. Set aside.
-
Once the cake has cooled, crumble it finely in the baking dish using a fork and transfer the crumbs to a large mixing bowl. Set aside 1/3 of a cup of the crumble (this will be your topping).
-
Add all but ½ cup of the cream cheese frosting to the crumbled cake and mix with a soft silicone spatula until well combined. The mixture should be moist enough to hold together.
TIP – If needed, add the reserved frosting a ¼ cup at a time until you reach the desired consistency for rolling. Avoid adding too much.
-
Using a small cookie dough scoop (approx. 1.5 tbsp), drop evenly sized pieces onto a parchment-lined cookie sheet.
-
Roll the mounds between lightly moistened hands to form into smooth, round balls.
-
Place the cake balls in the freezer for 1 hour to allow them to firm up. This step is crucial for successful coating.
-
Set aside 2 of the 12 squares of almond bark. From the remaining 10 squares, place 5 of them in a microwave-safe bowl and heat for 30-second intervals, stirring until smooth. Add in 1 tablespoon of vegetable shortening and stir until combined.
-
Place a firm cake ball on the end of a fork and dunk it into the melted candy, ensuring full coverage. Tap the fork against the edge of the bowl to remove excess coating. Transfer the cake ball to a parchment-lined baking sheet.
-
Continue to dip the remaining cake balls, melting the remaining 5 squares of almond bark with another tablespoon of shortening when the first batch thickens.
-
Melt the remaining 2 reserved squares of almond bark. Pour this into a plastic piping bag (or zippered sandwich bag) and snip off a small corner.
-
Drizzle the cake balls with the melted chocolate and immediately sprinkle with the reserved cake crumbs.
-
Allow the cake ball coating to dry and set completely at room temperature before serving.
Expert Tips & FAQs
- You can place any red velvet cake balls you don’t eat in the refrigerator for up to 6 days in an air-tight container. It is best to keep them refrigerated instead of placing them on a counter for storage, as they contain cream cheese, which could spoil.
- Optionally prepare them a day in advance and store them in an air-tight container kept in the refrigerator. I would recommend removing them from the fridge 30 minutes before enjoying.
- You can freeze the cake balls before they’ve been dipped in chocolate coating. Place them in a large ziptop bag and store in the freezer for up to 2 months. Remove from freezer and dip in chocolate.
Nutrition
The recipes on this blog are tested with a conventional gas oven and gas stovetop. It’s important to note that some ovens, especially as they age, can cook and bake inconsistently. Using an inexpensive oven thermometer can assure you that your oven is truly heating to the proper temperature. If you use a toaster oven or countertop oven, please keep in mind that they may not distribute heat the same as a conventional full sized oven and you may need to adjust your cooking/baking times. In the case of recipes made with a pressure cooker, air fryer, slow cooker, or other appliance, a link to the appliances we use is listed within each respective recipe. For baking recipes where measurements are given by weight, please note that results may not be the same if cups are used instead, and we can’t guarantee success with that method.
