Ultimate Red Velvet Cake Recipe with Cream Cheese Frosting: A Showstopping Celebration Dessert
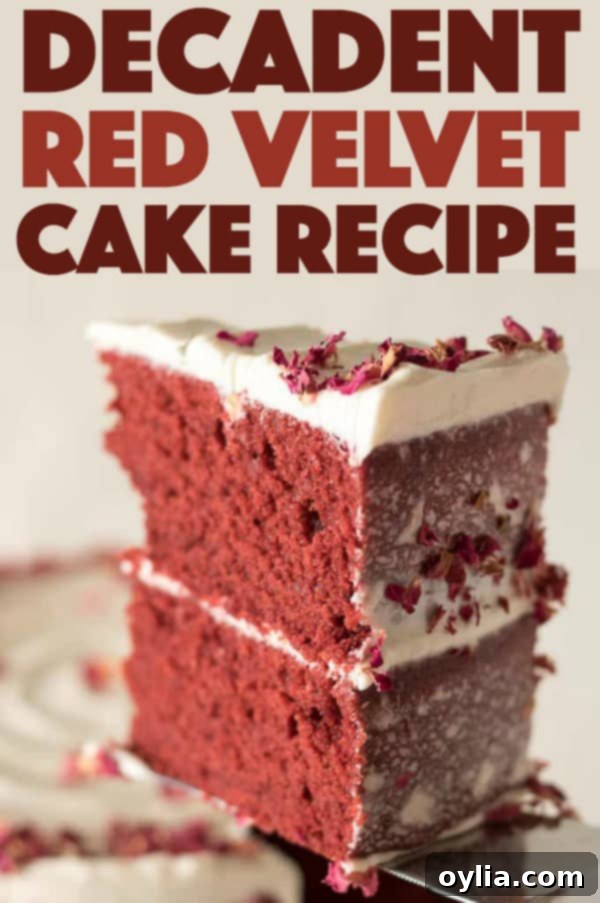
Prepare to be enchanted by this showstopping Red Velvet Cake recipe! This isn’t just any cake; it’s a dramatic, towering, 2-tiered masterpiece that promises to be the centerpiece of any gathering. Our recipe combines the unique depth of red Dutch-process cocoa with a hint of espresso powder to enhance its rich chocolatey undertones, all perfectly complemented by a luscious, tangy cream cheese frosting. With its striking crimson layers and elegant presentation, this cake is more than just a dessert—it’s an experience. It’s truly ideal for year-round celebrations, unforgettable birthdays, and special family gatherings, leaving a lasting impression on everyone who takes a bite.
Unveiling the Magic of Red Velvet Cake
Red Velvet Cake holds a special place in the world of desserts. It’s renowned for its distinctive vibrant red hue, its luxuriously soft “velvet” texture, and its unique flavor profile that’s often hard to pinpoint. While many versions exist, our recipe truly stands out, transforming this classic into an extraordinary treat. We aim to bring you the best homemade Red Velvet Cake experience, from its rich ingredients to its stunning final presentation.
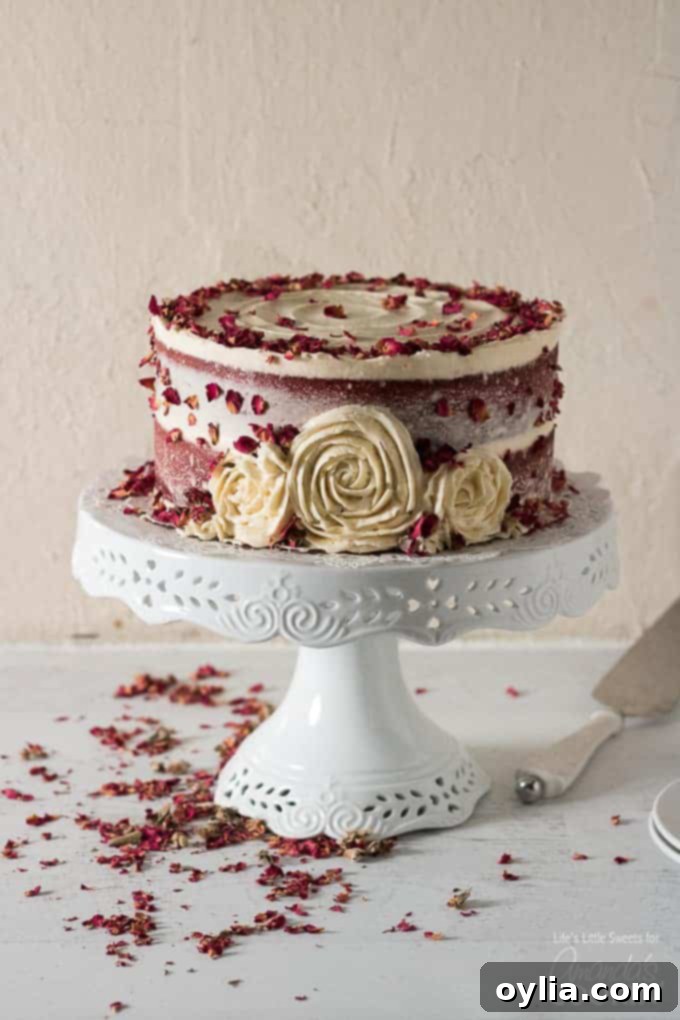
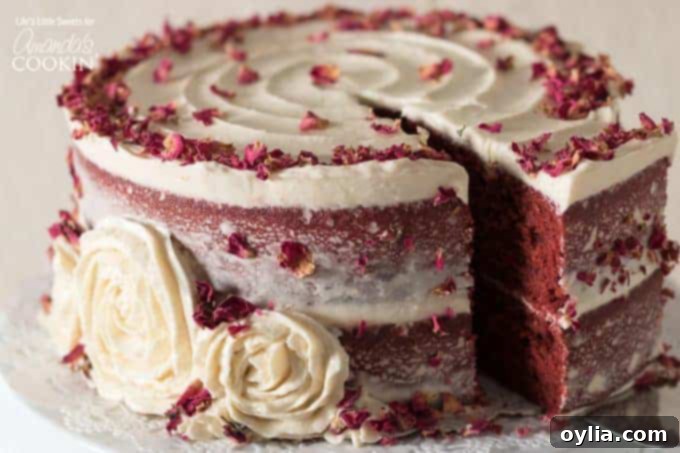
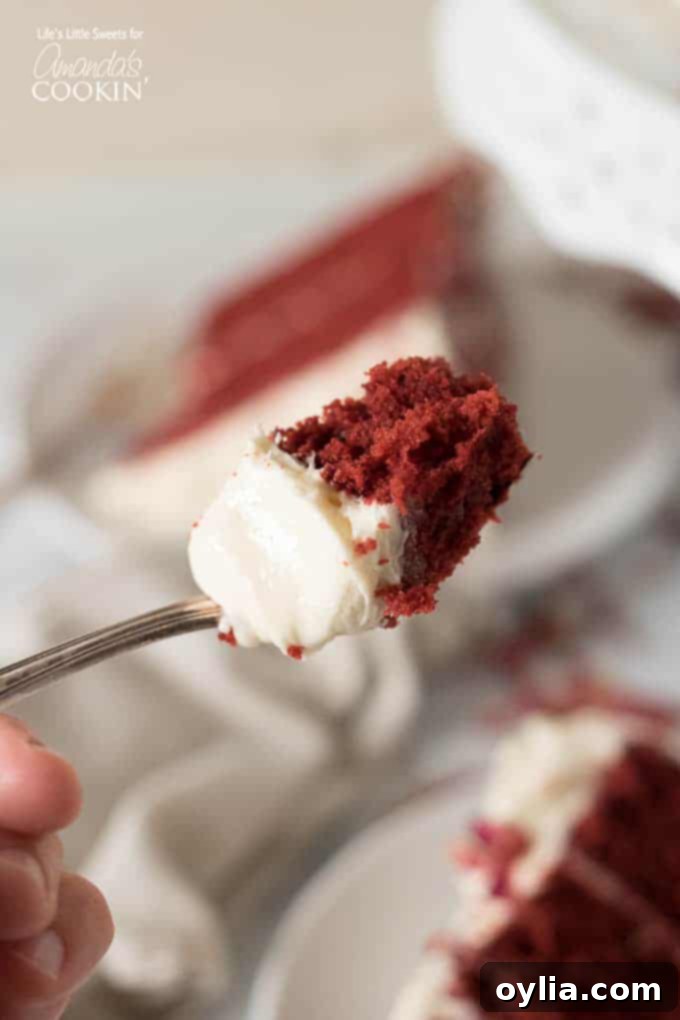
This particular rendition is designed to be a tall, impressive 2-tiered cake that commands attention. Its gorgeously crimson red layers are more than just visually appealing; they hint at the delightful flavors within. The cake itself is subtly yet deliciously flavored, featuring the rich depth of red Dutch-process cocoa. This special cocoa powder contributes both to the cake’s deep color and its mild chocolate notes, creating a perfect canvas for the other flavors. The inclusion of buttermilk ensures an incredibly moist crumb and a slight tang that beautifully balances the sweetness. Fragrant vanilla extract adds warmth and complexity, while a touch of instant espresso powder deepens the chocolate flavor without making the cake taste like coffee. The result is a cake that is wonderfully moist, boasting a delicate, fine cake crumb and an irresistible, smooth texture that truly lives up to its “velvet” name.
The Signature Cream Cheese Frosting: A Perfect Pairing
No Red Velvet Cake is complete without its iconic frosting. Traditionally, a classic Red Velvet Cake is adorned with either a pristine white cream cheese frosting or a rich buttercream. For this recipe, we’ve opted for a decadent cream cheese frosting that truly elevates the cake. Our recipe calls for a generous amount of real butter, which imparts a wonderfully rich, smooth, and deeply satisfying butter flavor, balancing the tanginess of the cream cheese. This creates a frosting that is not only incredibly delicious but also perfectly complements the subtle flavors of the red velvet layers.
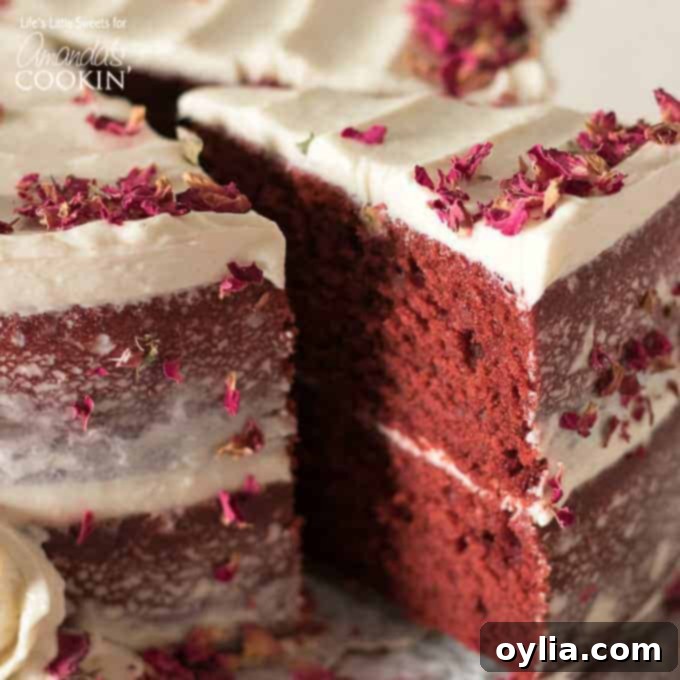
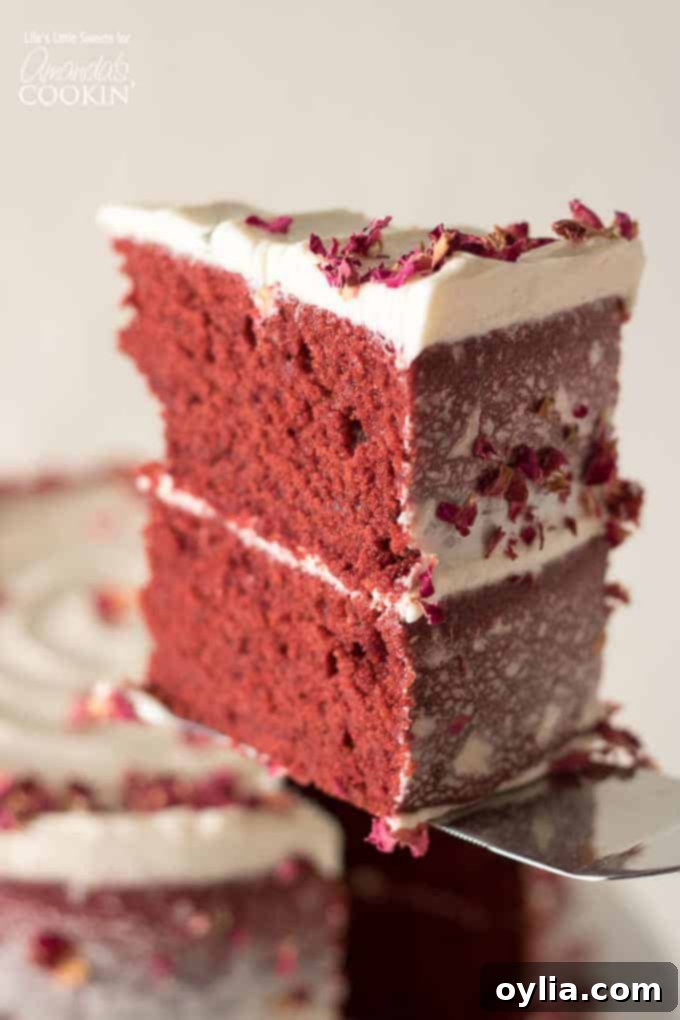
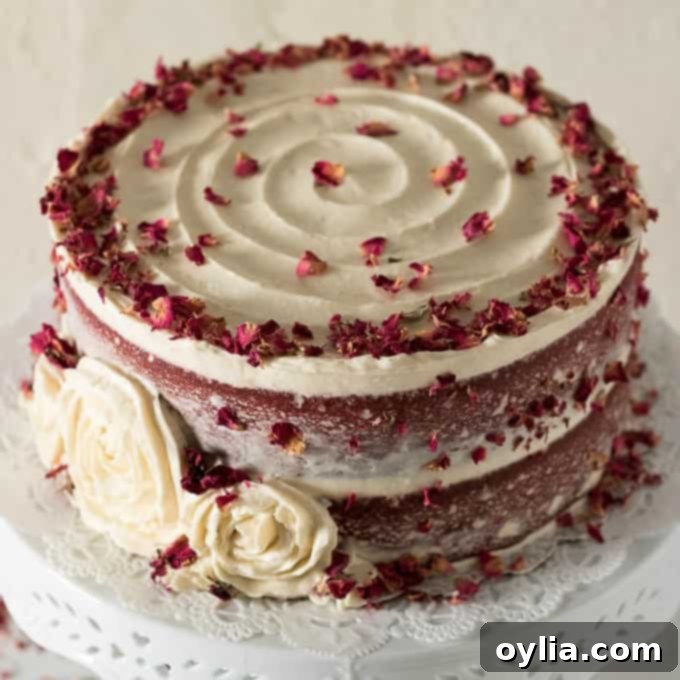
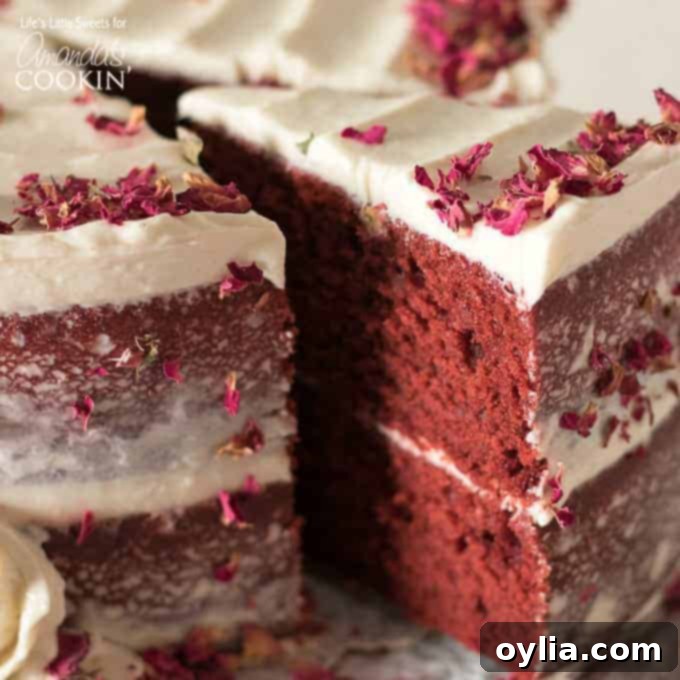
A popular and aesthetically pleasing trend for Red Velvet Cakes is to leave some of the cake layers exposed, showcasing their vibrant red hue. In our version, we’ve embraced the “naked cake” style for frosting the sides. This technique involves applying a thin, almost sheer layer of frosting to the sides, allowing tantalizing peeks of the beautiful red cake layers to show through. It’s a sophisticated and playful way to frost, hinting at the deliciousness within and adding an extra touch of dramatic flair to your finished dessert.
Elevate Your Cake: Decoration Ideas
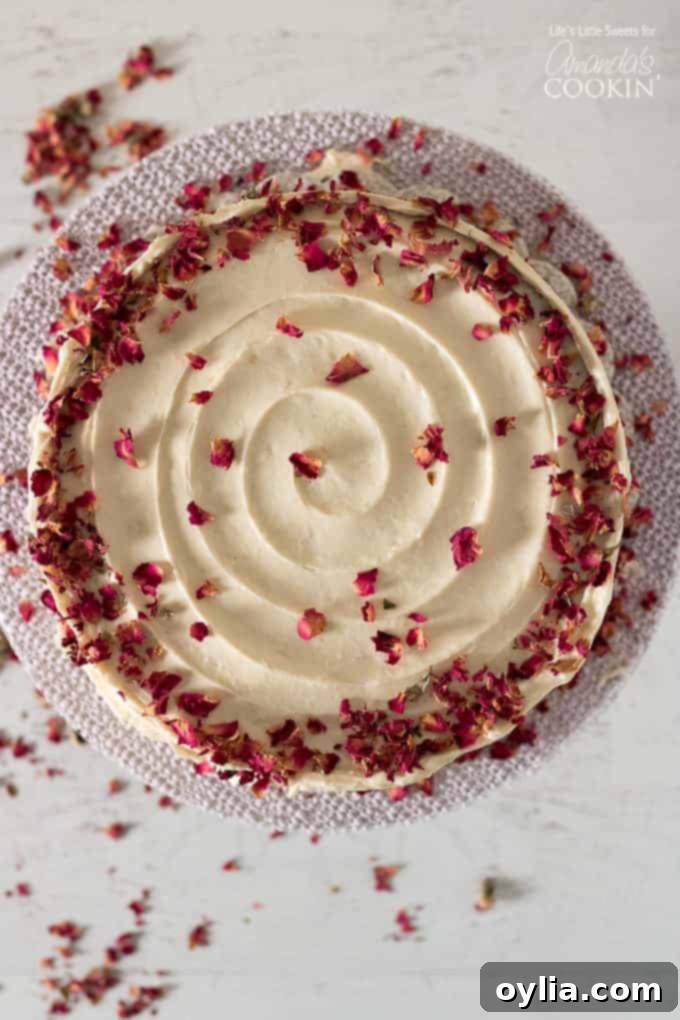
The decoration of your Red Velvet Cake offers a wonderful opportunity to personalize it and make it truly your own. For this particular cake, we chose to adorn it with delicate, food-grade red roses (source provided below). These not only enhance the cake’s elegant appearance but also add a touch of natural beauty.
However, the possibilities for decoration are endless! You could opt for vibrant red fruits like fresh strawberries, raspberries, or even cherries, which add both color and a burst of flavor. Other fresh flowers, perhaps in complementary shades or classic white baby’s breath, can also create a stunning visual. For a more traditional look, consider decorating with finely grated cake crumbs. To achieve this, simply level your cooled cake layers by gently slicing off the domed tops, then use a fine cheese grater to create beautiful, fluffy red crumbs. These can be sprinkled artfully over the top and sides of the cake, offering a lovely textural contrast. Additionally, a dash of festive sprinkles can add a playful and celebratory touch, making your cake perfect for any party or occasion.
Ingredients for the Perfect Red Velvet Cake
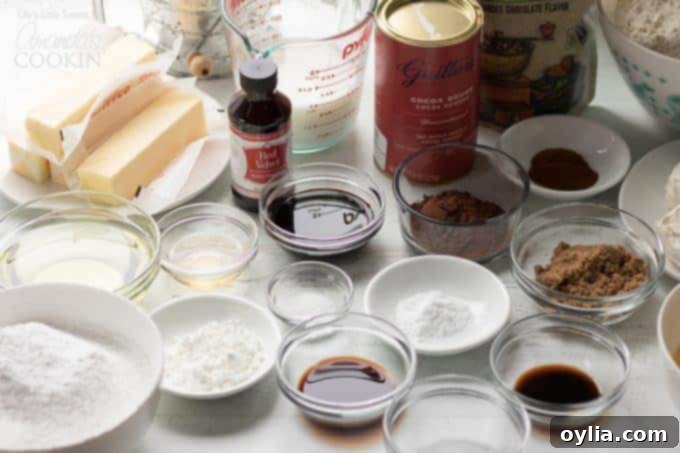
Crafting the perfect Red Velvet Cake begins with selecting the right ingredients. Here’s a detailed list to ensure your cake is nothing short of spectacular:
Red Velvet Cake Batter
- Cooking spray or unsalted butter: For properly greasing your cake pans, ensuring easy release.
- 4 cups cake flour: Sifted to remove any clumps, this fine flour contributes to the cake’s signature tender and delicate crumb. You can substitute with the same amount of all-purpose flour if cake flour is unavailable.
- 1 ½ tablespoons cornstarch: Helps soften the flour protein, further enhancing the “velvet” texture.
- 1 teaspoon baking soda: A key leavening agent that reacts with the buttermilk and vinegar for a light, airy cake.
- 1 teaspoon Kosher salt: Balances the sweetness and enhances all the flavors.
- 1 teaspoon instant espresso powder: While optional, this ingredient is a secret weapon! It doesn’t make the cake taste like coffee but deepens and intensifies the chocolate flavor of the cocoa powder. We recommend Anthony’s brand, available on Amazon.com.
- 1 cup buttermilk: Crucial for the cake’s moisture, tenderness, and slight tangy flavor. It also reacts with the baking soda to create lift.
- 1 tablespoon apple cider vinegar: This acid reacts with the baking soda and buttermilk, contributing to the cake’s rise and distinct flavor.
- 1 tablespoon pure vanilla extract: Provides a warm, aromatic note that is essential to the classic red velvet taste.
- 3 tablespoons Lorann Professional Kitchen Red Velvet Bakery Emulsion: This is our secret to achieving that truly vibrant, rich red color without diluting the batter. Far superior to liquid food coloring! Find it on Amazon.com or at Michael’s.
- 2 tablespoons unsweetened red Dutch-process cocoa powder: Unlike natural cocoa, Dutch-process cocoa is alkalized, giving it a milder, less acidic flavor and a darker, richer color that contributes to the red hue. We recommend “Guittard Chocolate Cocoa Rouge Cocoa Powder, Unsweetened,” but you can substitute with regular Dutch-process cocoa powder.
- 2 sticks (1 cup) unsalted butter: Provides richness and structure to the cake.
- ½ cup brown sugar: Adds moisture and a subtle caramel note, enhancing the cake’s depth of flavor.
- 2 cups granulated white sugar: For sweetness and tenderness.
- ¾ cup Canola oil: Contributes to the cake’s exceptional moisture and soft texture. Vegetable oil can be substituted.
- 4 large eggs: Act as a binder, adding richness and helping with the cake’s structure.
Ingredients for the Cream Cheese Frosting
- 16 ounces (2 blocks) regular cream cheese: Ensure it’s at room temperature for a smooth, lump-free frosting.
- 1 cup (2 sticks) unsalted butter: Also at room temperature, this adds richness and helps create a stable, pipeable frosting.
- 2 cups confectioner’s sugar: Sifted to remove any lumps, this provides the necessary sweetness and creamy texture.
- 1 teaspoon pure vanilla extract: Organic preferred, for a clean, classic vanilla flavor.
- ¼ teaspoon Kosher salt: A pinch of salt enhances the sweet and tangy notes of the frosting.
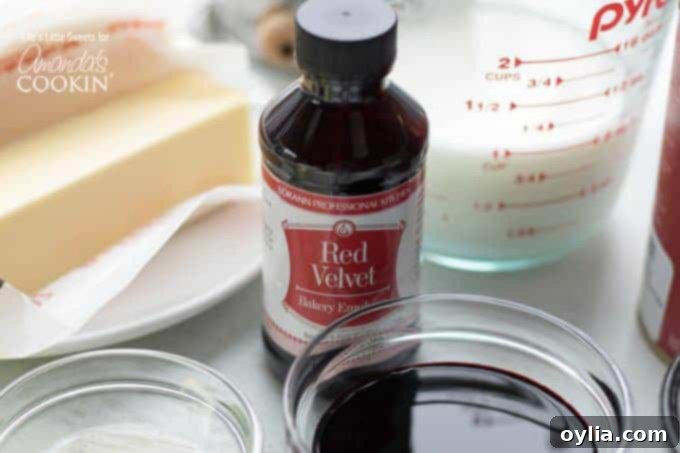
Pro Tip: Achieving that iconic, deep red color is key to a perfect Red Velvet Cake. After experimenting with various food colorings, we found that Lorann Professional Kitchen Red Velvet Bakery Emulsion is by far the absolute best. It delivers a rich, true red hue without compromising the cake’s flavor or texture, and it’s readily available on Amazon.com and at Michael’s craft stores!
Ingredients for Decoration (optional)
- Sprinkles: Amount to taste, for a fun and festive touch.
- Cake crumbs: Finely grated with a fine cheese grater from leveled cake tops for a classic look.
- Flowers (fresh or dried): We used food-grade dried red roses from bMAKER (Amazon.com) for elegant decoration.
- Red berries: Amount to taste, such as fresh strawberries, raspberries, or cranberries for a burst of color and freshness.
Essential Kitchen Tools for Baking Success
Having the right tools can make all the difference in your Red Velvet Cake baking journey. Here are some essentials that will help you achieve professional-looking results with ease:
- 2, 9 x 2 inch round cake pans: Essential for baking perfectly sized cake layers.
- 2 round sheets of parchment paper: To line the bottom of your pans, preventing sticking and ensuring easy release.
- Measuring spoons and cups: Accurate measurements are crucial for baking success.
- Mixing bowls: A variety of sizes for combining dry and wet ingredients.
- Wet measure: For precise liquid measurements.
- Sifter: For sifting cake flour and confectioner’s sugar, ensuring a lump-free batter and frosting.
- Baking spatula: For scraping bowls and folding ingredients.
- Large offset spatula: Indispensable for spreading frosting smoothly and evenly between layers and on the cake’s surface.
- Baking strips: (Optional, but highly recommended!) Using these (like Wilton Bake Even Cake Strips) helps to ensure your cake layers bake evenly and flat, rather than domed. This makes stacking and frosting significantly easier and results in a more professional finish. Remember to soak them in water before applying them to your pans.
- Cake decorating comb: For creating beautiful textures on the side of your frosted cake. You can also use an offset spatula or a dough/bench scraper for similar effects.
- Cake spinner (turntable): Optional, but incredibly helpful for smoothly frosting and decorating the cake. We recommend one by Ateco, available on Amazon.com.
Expert Tips for a Flawless Red Velvet Cake
To ensure your Red Velvet Cake turns out perfectly every time, keep these crucial tips in mind:
- Cooling is Crucial: It cannot be stressed enough – you *must* allow the cake layers to cool completely before you even think about frosting them. Attempting to frost warm or even slightly warm cakes will result in melted, runny frosting and a messy, crumbly disaster. For best results, you can bake your cake layers a day ahead of time, allowing them ample time to cool thoroughly. Once cool, wrap them tightly in plastic wrap or reusable beeswax-coated cloth (beeswax-coated cloth) and store them at room temperature (or in the refrigerator if your kitchen is warm) to lock in moisture until you’re ready to assemble.
- The Magic of a Crumb Coat: For a truly neat and professional-looking cake, don’t rush the frosting process. Apply a very thin “crumb coat” (a preliminary layer of frosting) to the entire cake, especially the sides. This traps any loose cake crumbs and creates a smooth base. Allow this first layer to chill and set in the refrigerator for 15-30 minutes before applying your final, thicker layer of frosting. This extra step prevents crumbs from mixing into your pristine outer frosting layer, making for much cleaner cake decorating.
- Achieving Even Layers with Baking Strips: Tired of domed cake tops that make stacking difficult? Cake strips are your best friend! Products like Wilton Bake Even Cake Strips work wonders by insulating the edges of the cake pans, allowing the cake to bake more evenly across the entire surface. This results in beautifully flat layers that are significantly easier to stack and frost, giving your tiered cake a polished, professional appearance. Remember to soak these strips in water according to the manufacturer’s instructions before placing them around your prepared cake pans.
The History and Charm of Red Velvet Cake
The origins of Red Velvet Cake are shrouded in a bit of mystery and culinary lore, but its charm is undeniable. This iconic dessert is believed to have originated in the Southern United States, with some accounts tracing its popularity back to the Waldorf-Astoria Hotel in New York City in the 1920s or 1930s. The “velvet” in its name refers to the exceptionally fine and smooth crumb texture that was a hallmark of cakes made with cocoa powder and baking soda during that era.
Initially, the reddish-brown hue of Red Velvet Cake was thought to be a natural reaction. The acidity in ingredients like buttermilk and vinegar would react with the anthocyanin in early, non-Dutch-processed cocoa powder, creating a subtle reddish tint. This natural reaction, combined with the browning from the sugar, would give the cake a beautiful mahogany color. During the Great Depression, when food dyes became more accessible, bakers began using significant amounts of red food coloring to enhance and exaggerate this natural color, turning it into the vibrant, almost shocking crimson we know today.
Over the decades, Red Velvet Cake has evolved into a beloved classic, especially popular for holidays like Valentine’s Day and Christmas, but truly enjoyed year-round. Its unique flavor profile—a delicate balance of mild chocolate, tangy buttermilk, and fragrant vanilla—paired with the rich, sweet-and-tangy cream cheese frosting, has cemented its place in culinary history. It’s a dessert that evokes nostalgia, elegance, and a touch of indulgent mystery.
Frequently Asked Questions about Red Velvet Cake
Here are answers to some common questions about this beloved classic:
What gives red velvet cake its color?
Historically, the red color was a natural reaction between cocoa powder and acidic ingredients like buttermilk and vinegar. Today, red food coloring, specifically a high-quality bakery emulsion like Lorann’s, is primarily used to achieve the cake’s vibrant crimson hue.
What does red velvet cake taste like?
Red velvet cake has a subtly chocolatey flavor, often described as mild or even faint chocolate, with hints of tanginess from the buttermilk and a distinct vanilla aroma. It’s not as intensely chocolatey as a chocolate cake but has a unique, balanced profile, especially when paired with cream cheese frosting.
Can I make red velvet cake ahead of time?
Absolutely! The cake layers can be baked one day in advance. Once completely cooled, wrap them tightly in plastic wrap and store them at room temperature. The cream cheese frosting can also be made a day ahead and refrigerated. Just bring the frosting back to room temperature and whisk briefly before assembly.
How do I store red velvet cake?
Due to the cream cheese frosting, Red Velvet Cake should be stored in an airtight container in the refrigerator. It will stay fresh for up to 3-4 days. Allow slices to come to room temperature for about 15-20 minutes before serving for the best flavor and texture.
Can I use regular cocoa powder instead of Dutch-process?
While you can use regular cocoa powder, Dutch-process cocoa is recommended. Dutch-process cocoa is alkalized, meaning it’s less acidic and has a darker color, which helps achieve a richer red hue and a mellower chocolate flavor that’s characteristic of red velvet. Regular cocoa powder, being more acidic, might react differently with the baking soda and vinegar, potentially affecting the final texture and color.
Serving Suggestions and Occasion Pairings
This magnificent two-tiered Red Velvet Cake is perfect on its own, but here are some ideas to make your serving even more special:
- Classic Accompaniments: Serve slices with a cup of freshly brewed coffee, a fragrant Earl Grey tea, or even a glass of sparkling champagne for an elegant touch.
- Dessert Platter: For a lavish spread, accompany it with a bowl of fresh red berries, a scoop of vanilla bean ice cream, or a delicate dollop of whipped cream.
- Perfect for Any Event: While it shines at birthdays and holiday gatherings, this Red Velvet Cake is also an exquisite choice for bridal showers, baby showers, anniversaries, or even as a sophisticated weekend treat. Its striking appearance and irresistible flavor make it a guaranteed crowd-pleaser for any occasion you wish to make memorable.
If you embark on the delightful journey of making this Red Velvet Cake recipe, we would be absolutely thrilled to hear about your experience! Please share your thoughts, tips, and any creative twists you added in the comments below. Your feedback and creations inspire us!
Explore More Delicious Red Velvet and Celebration Recipes
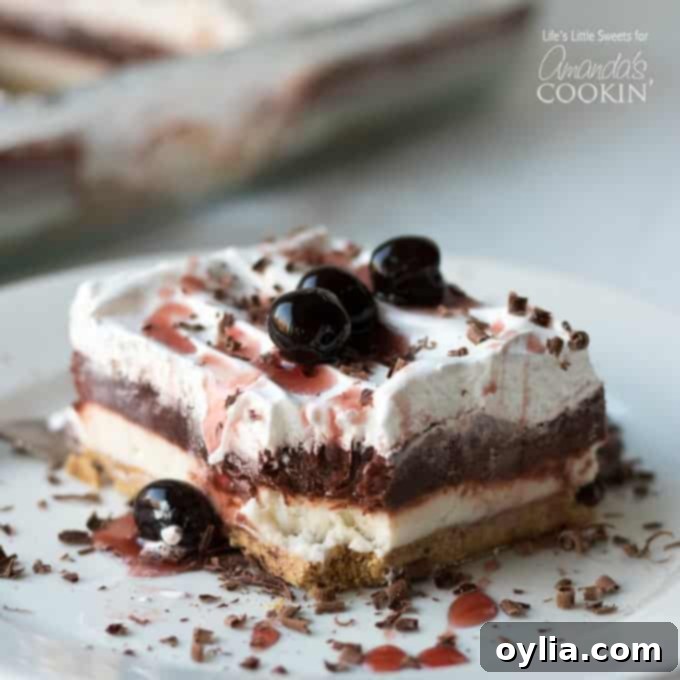
If you’re a fan of Red Velvet, you’ll be delighted to know we have more fantastic recipes to satisfy your cravings! Beyond this classic cake, explore our equally delicious Red Velvet Lasagna dessert and our adorable Red Velvet Cake Balls. These recipes are wonderfully versatile and perfect for BBQs, potlucks, or any gathering where you need to impress a crowd with festive and flavorful treats.
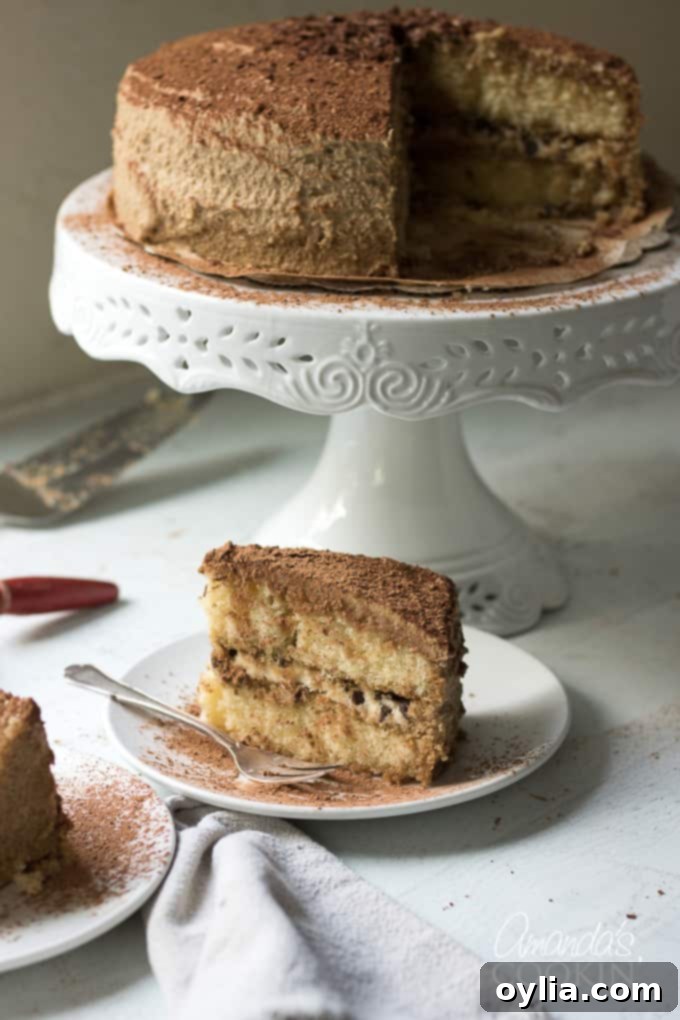
Looking for another show-stopping statement cake? Our elegant Tiramisu Cake is the perfect solution. It features moist espresso-infused cake layers, a rich mascarpone cheese filling, and a velvety coffee-flavored frosting – a sophisticated delight for any occasion!
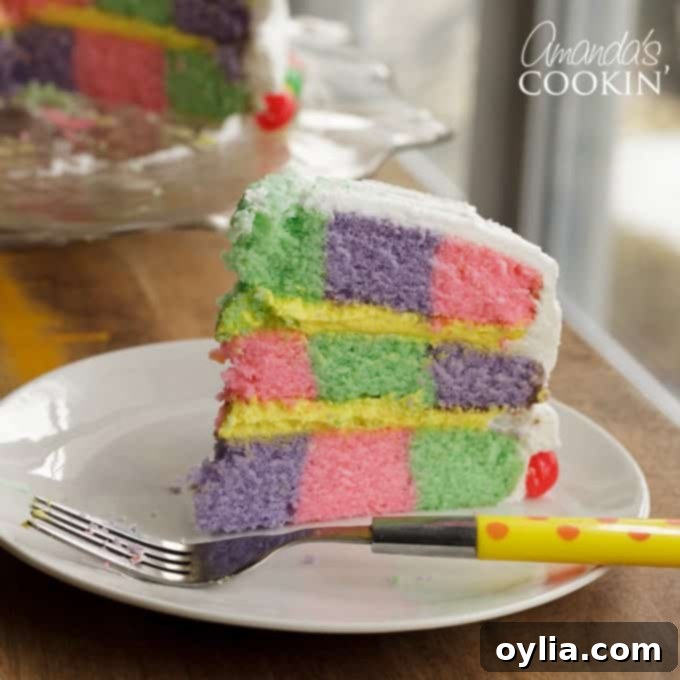
And for a truly impressive and fun treat, our Checkerboard Cake is perfect for Easter, or simply by changing the colors, it can be a dazzling surprise for any time of the year. Delight your friends and family with its playful, colorful interior!
Red Velvet Cake
IMPORTANT – There are often Frequently Asked Questions within the blog post that you may find helpful. Simply scroll back up to read them!
Print It
Rate It
Save ItSaved!
Ingredients
Red Velvet Cake Batter
- cooking spray or unsalted butter for greasing the pan
- 4 cups cake flour you can substitute the same amount all-purpose flour, sifted to remove any clumps
- 1 ½ tablespoons cornstarch
- 1 teaspoon baking soda
- 1 teaspoon Kosher salt
- 1 teaspoon espresso powder I used Anthony’s, available on Amazon.com
- 1 cup buttermilk
- 1 tablespoon apple cider vinegar
- 1 tablespoon pure vanilla extract
- 3 tablespoons Red Velvet Bakery Emulsion Lorann Professional Kitchen Red Velvet Bakery Emulsion- Amazon.com and at Michael’s
- 2 tablespoons unsweetened red Dutch process cocoa powder I use “Guittard Chocolate Cocoa Rouge Cocoa Powder, Unsweetened”, you can substitute the same amount regular Dutch process cocoa powder
- 1 cup unsalted butter (2 sticks)
- ½ cup dark brown sugar
- 2 cups granulated white sugar
- ¾ cup Canola oil can substitute the same amount vegetable oil
- 4 large eggs
Cream Cheese Frosting
- 16 ounces cream cheese (2 blocks) room temperature
- 1 cup unsalted butter room temperature (2 sticks)
- 2 cups confectioner’s sugar sifted to remove any lumps
- 1 teaspoon pure vanilla extract organic
- ¼ teaspoon Kosher salt
Toppings for decoration (optional)
- food grade edible red roses I used food grade dried red roses from bMAKER (Amazon.com) to decorate this cake
- sprinkles
- fresh fruit, red berries
- fresh flowers
- cake crumbs grated with a fine cheese grater
Before You Begin
- You can refrigerate this cake in an airtight container for up to 3 days.
- If you are adding optional toppings, make sure to add them when the frosting is room temperature, so that they adhere well to the frosting and do not just fall off.
Instructions
To Make Red Velvet Cake
-
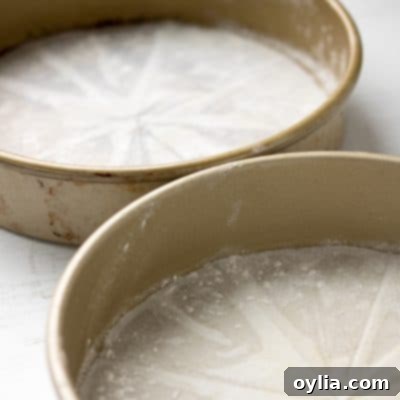
Preheat the oven to 350 degrees F (175°C). Grease 2 9 x 2 inch round cake pans with cooking spray or butter, line the bottoms with parchment paper rounds, and then grease the parchment paper as well.

-
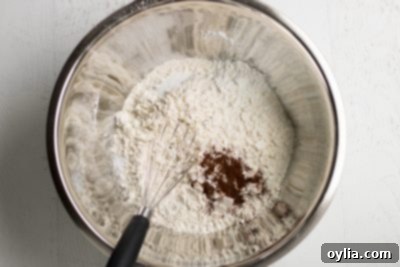
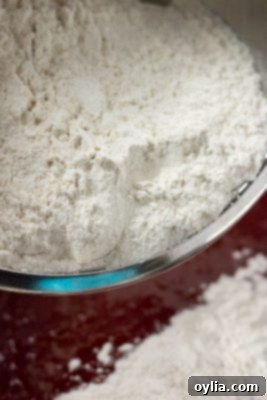
In a large mixing bowl, combine the cake flour, cornstarch, baking soda, Kosher salt, and instant espresso powder. Whisk thoroughly until all dry ingredients are well combined and lump-free. Set this mixture aside.

-
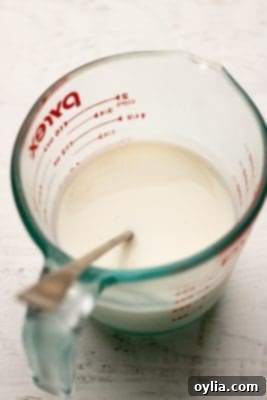
In a separate wet measuring cup or small bowl, combine the apple cider vinegar and buttermilk. Stir lightly and set aside in the refrigerator for a few minutes.

-
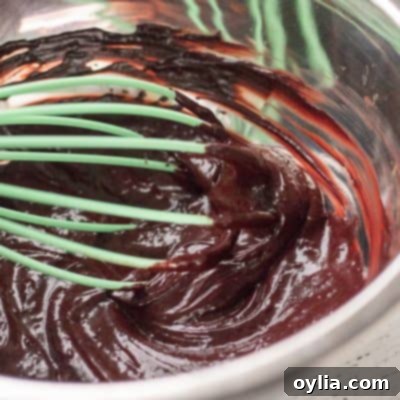
In a small-to-medium bowl, combine the Red Velvet Bakery Emulsion, red Dutch-process cocoa powder, and pure vanilla extract. Stir until a smooth, deep red paste forms. Set this vibrant mixture aside.

-
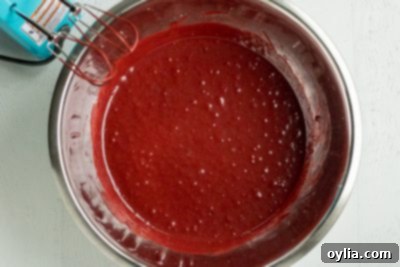
In a large mixing bowl (or the bowl of a stand mixer fitted with the paddle attachment), cream together the room temperature unsalted butter and both the brown and granulated white sugars until the mixture is light, fluffy, and well combined. Scrape down the sides of the bowl as needed. Add the large eggs one at a time, mixing well after each addition until fully incorporated. Next, pour in the Canola oil and mix until combined. Finally, add the red cocoa powder mixture and mix until the batter is uniformly crimson and vibrant.

-
With the mixer on low speed, gradually add the dry flour mixture and the buttermilk mixture to the wet ingredients in alternating parts (approximately 3-4 additions of each). Begin and end with the dry ingredients. Mix just until combined and no streaks of flour remain. Be careful not to overmix, as this can lead to a tough cake.

-
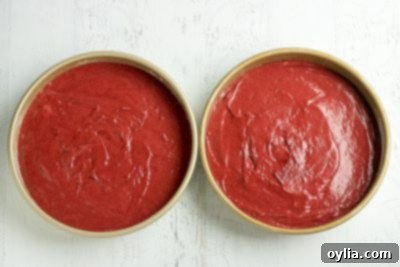
Divide the batter evenly between the two prepared baking pans. If using baking strips, ensure they are properly soaked and applied. Bake both cakes in the preheated 350°F (175°C) oven for approximately 45-55 minutes. The cakes are done when a toothpick or a butter knife inserted into the center comes out clean. Be careful not to overbake, as this can dry out the cake.

-
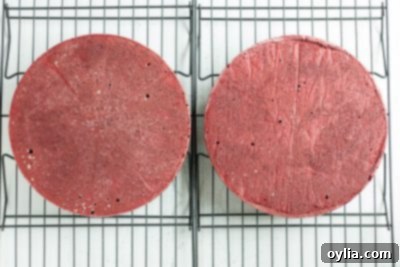
Once baked, allow the cakes to cool in their pans on a wire rack for 5-10 minutes. Then, carefully invert the cakes onto the wire racks and remove the parchment paper. Let them cool completely to room temperature before attempting to frost them. This step is crucial for preventing melted frosting and a crumbly mess.

To Make Cream Cheese Frosting
-
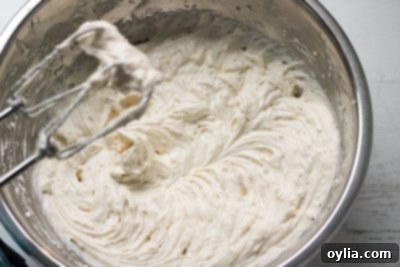
In a large mixing bowl (or the bowl of a stand mixer with the paddle attachment), combine the room temperature cream cheese, unsalted butter, pure vanilla extract, and Kosher salt. Beat on medium speed until smooth and creamy, scraping down the sides of the bowl. Gradually add in the sifted confectioner’s sugar, mixing on low speed until fully incorporated and the frosting is light and fluffy.

-
The frosting is ready to use immediately. If you prepare it in advance, refrigerate it in an airtight container. Before applying, allow the frosting to come back to room temperature and give it a quick whip with the mixer to restore its creamy consistency.
Assembling the Red Velvet Cake
-
If desired, level your cooled cake layers using a serrated knife for perfectly flat tops. Place a 10-inch cardboard cake circle (optional, but helpful for stability) in the center of your cake spinner or serving stand (preferably with a non-slip pad). Place the first cake layer on the cardboard. Apply a generous, even layer of cream cheese frosting to the top of the first layer and spread it smoothly with an offset spatula. Carefully place the second cake layer on top. Now, add more cream cheese frosting to the top and spread it evenly, then proceed to frost the sides of the cake. For the elegant “naked cake” look, apply a thin layer of frosting to the sides, spread it evenly, and then use a cake decorating comb or a flat bench scraper to gently scrape away excess frosting, leaving a beautiful, thin, translucent layer that showcases the red cake beneath. Finally, decorate your assembled cake with your chosen optional toppings – for example, with food-grade edible dried flowers as shown in our photos. Slice, serve, and enjoy your magnificent Red Velvet Cake!
Nutrition
The recipes on this blog are tested with a conventional gas oven and gas stovetop. It’s important to note that some ovens, especially as they age, can cook and bake inconsistently. Using an inexpensive oven thermometer can assure you that your oven is truly heating to the proper temperature. If you use a toaster oven or countertop oven, please keep in mind that they may not distribute heat the same as a conventional full sized oven and you may need to adjust your cooking/baking times. In the case of recipes made with a pressure cooker, air fryer, slow cooker, or other appliance, a link to the appliances we use is listed within each respective recipe. For baking recipes where measurements are given by weight, please note that results may not be the same if cups are used instead, and we can’t guarantee success with that method.
