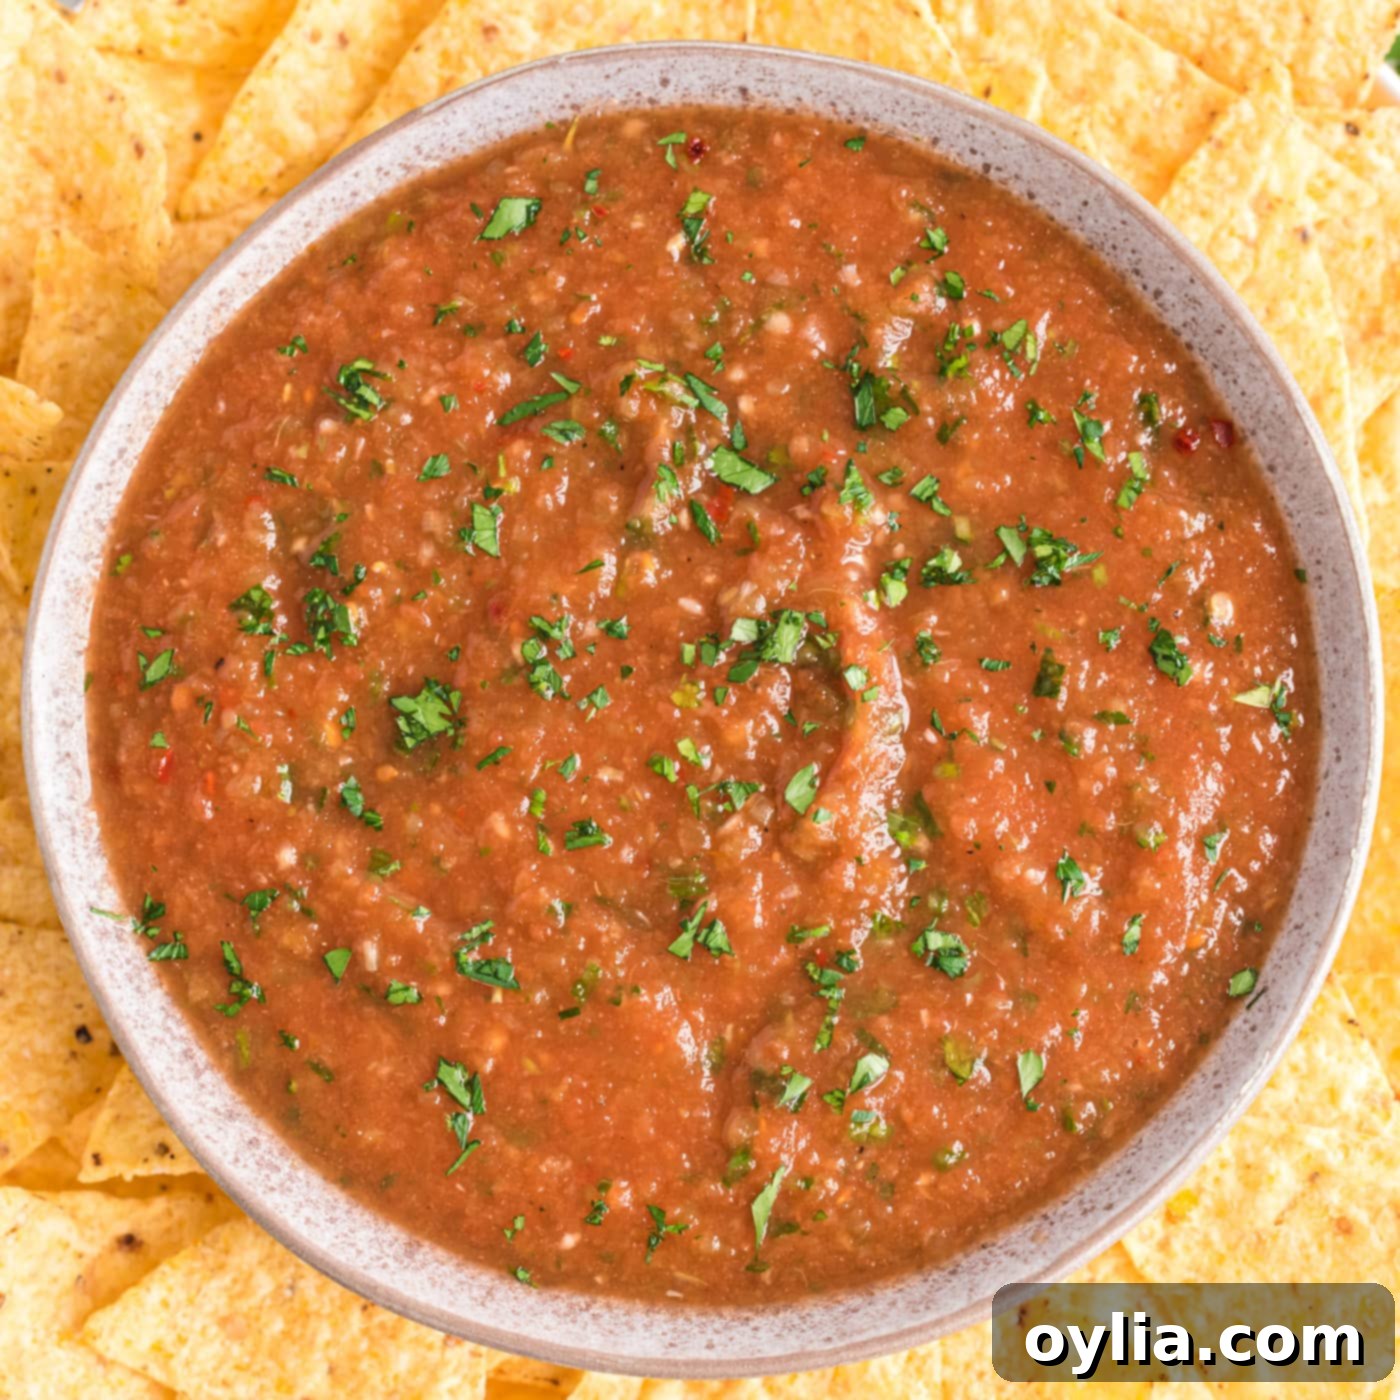
Authentic Restaurant Style Salsa Recipe: Easy 10-Minute Homemade Dip
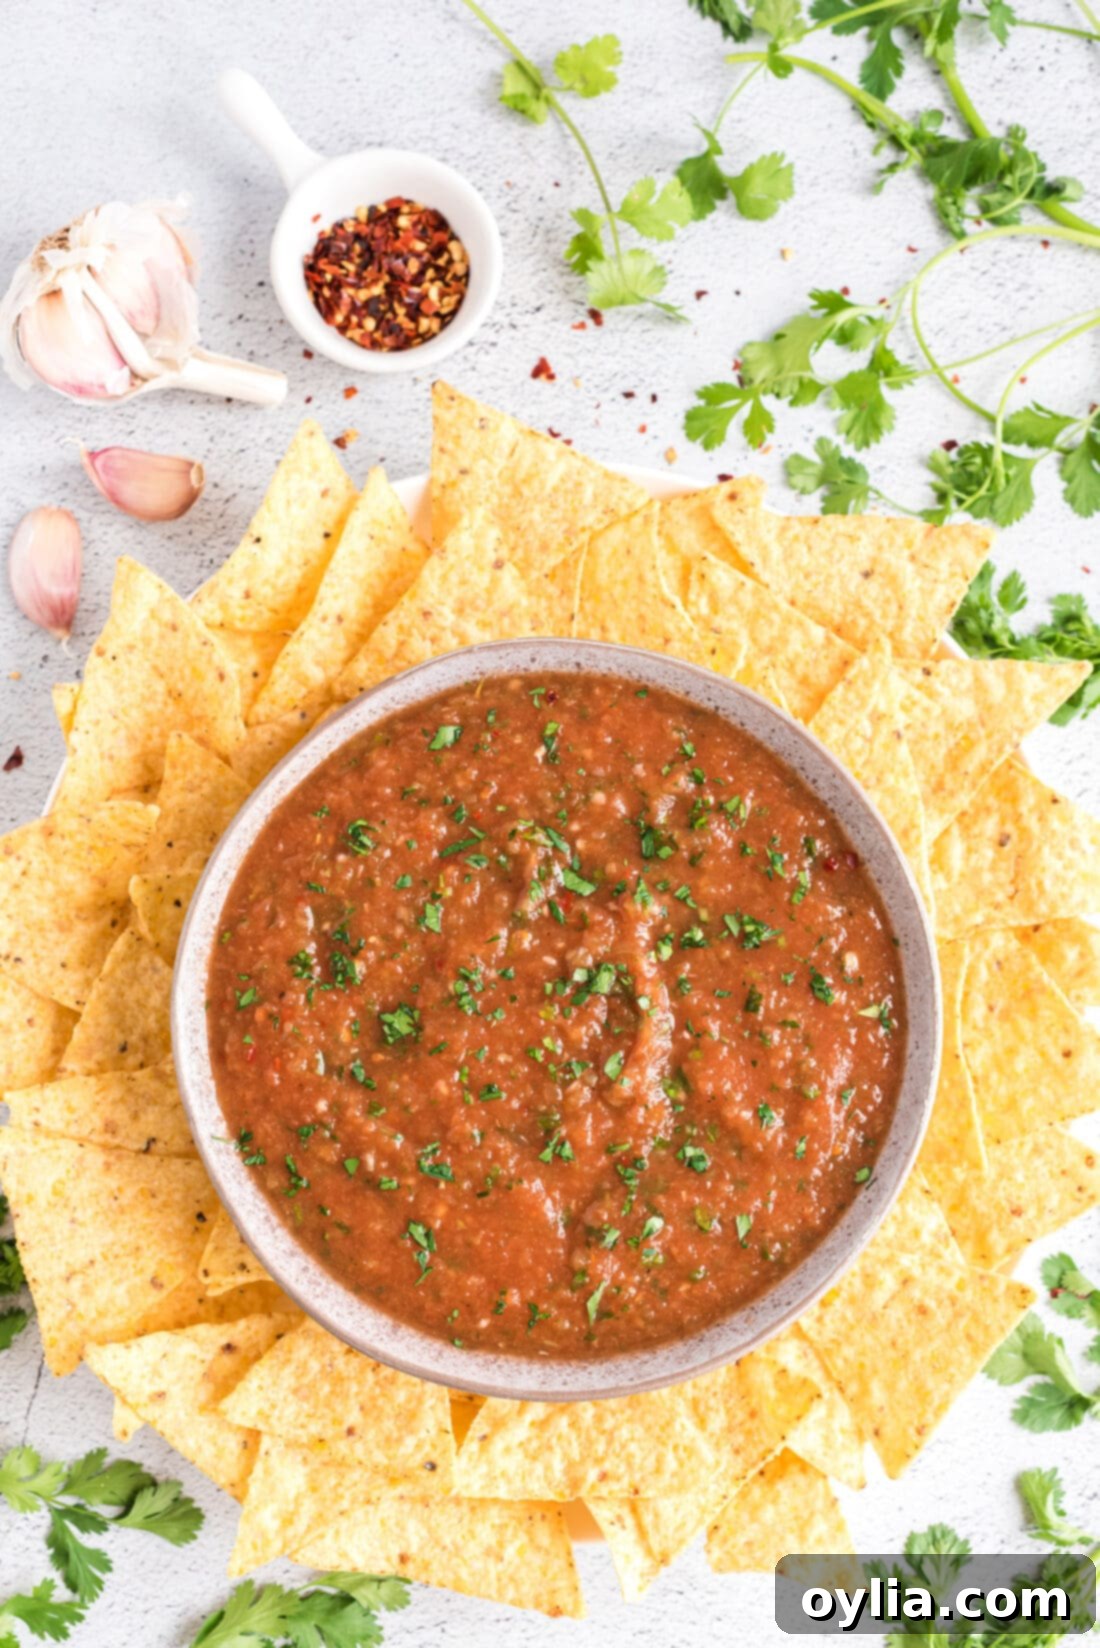
Craving the vibrant, fresh taste of your favorite Mexican restaurant’s salsa? You’re in luck! Crafting authentic restaurant-style salsa at home is incredibly easy, requiring just a few simple ingredients and less than 10 minutes of your time. By layering all your fresh and canned ingredients into a blender or food processor, you can achieve that perfectly dippable consistency and irresistible flavor in a flash. Forget store-bought jars – this homemade version is guaranteed to be a crowd-pleaser and will quickly become your go-to recipe for any occasion.
Why This Restaurant Style Salsa Recipe Is a Game-Changer
While I adore making homemade salsa with fresh, garden-ripe tomatoes during the warmer months, the reality is that high-quality fresh tomatoes aren’t always available, especially during colder seasons. That’s where this restaurant-style salsa recipe truly shines! By leveraging the consistent flavor and texture of canned tomatoes, we can achieve an incredible salsa experience year-round, without compromising on taste or quality.
This recipe works because it cleverly combines the robust, reliable flavor of fire-roasted canned tomatoes with the bright freshness of herbs and aromatics, all blended to perfection. The method is incredibly straightforward: simply toss all your ingredients into a food processor or blender, give it a few pulses, and you’re done! The result is a beautifully balanced salsa that has the signature smooth consistency, yet retains just enough texture, that you find in your favorite Mexican eateries. It’s a remarkably easy food processor recipe that consistently delivers delicious results, making it an instant hit at any gathering or a perfect snack for a quiet night in.
Essential Ingredients for Your Homemade Salsa
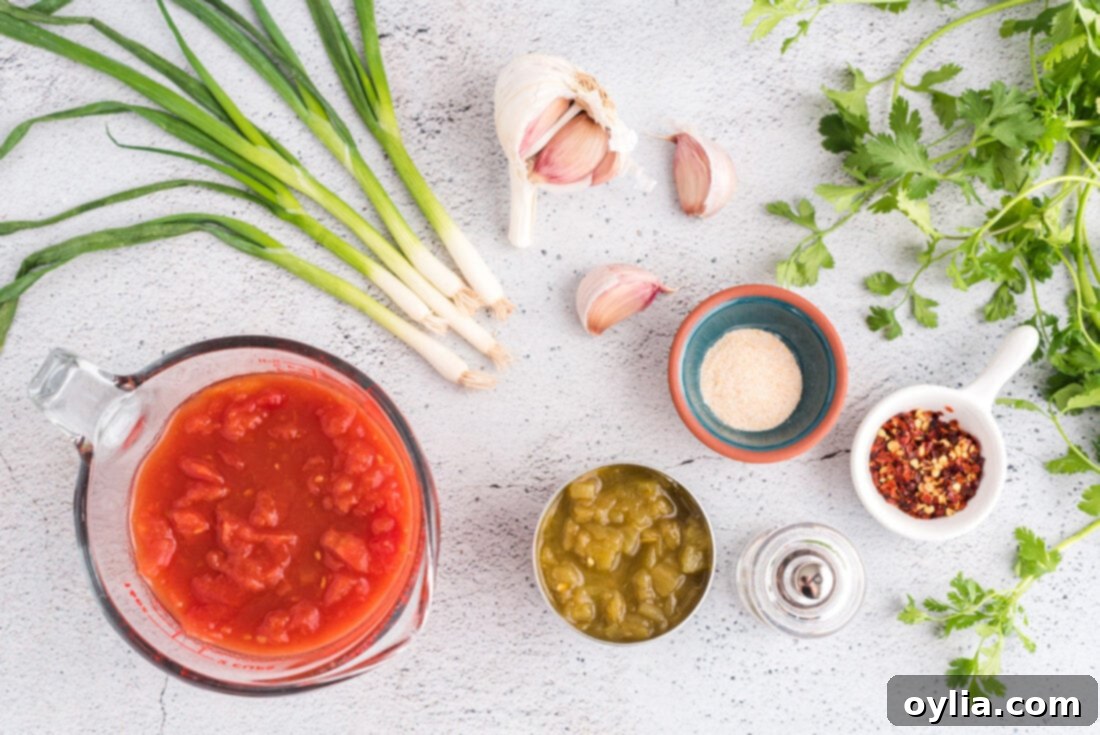
To create this irresistible dip, you’ll need a handful of accessible ingredients that come together to form a symphony of flavor. All precise measurements, a full list of ingredients, and detailed instructions can be found in the printable recipe card at the conclusion of this post.
Ingredient Spotlight & Smart Substitutions
Let’s dive a little deeper into the components that make this homemade restaurant-style salsa truly special, along with some helpful tips for variations and substitutions:
- Canned Tomatoes: This is the backbone of our salsa. I personally find that Hunts Fire Roasted canned tomatoes offer a wonderful depth of flavor, mimicking the smoky notes often found in authentic restaurant salsas. However, feel free to use your favorite brand of canned whole or diced tomatoes. If you have homemade canned tomatoes, they would also work beautifully. For an extra kick and convenience, a can of Rotel tomatoes with green chiles can be substituted; just remember to omit the additional green chiles called for in the recipe card if you go this route. The key is to use tomatoes that are packed in juice, not just water, for better flavor.
- Green Chiles: Canned diced green chiles add a mild, tangy heat without overpowering the other flavors. They’re essential for that classic restaurant salsa profile. If you’re out, a small amount of finely diced fresh jalapeño (seeds and ribs removed for less heat) or a pinch of cayenne pepper can be used, but the canned variety provides a unique, earthy flavor that’s hard to replicate.
- Garlic: Fresh garlic is paramount here. Three teaspoons of minced garlic provide that pungent, aromatic punch that elevates the salsa. While garlic powder can be used in a pinch, fresh garlic offers a superior, more vibrant flavor.
- Green Onions: Also known as scallions, green onions offer a milder, sweeter onion flavor compared to white or red onions, and they blend more smoothly. Roughly chopped green onions are perfect for this recipe. If you don’t have green onions, a very small amount of finely minced white or yellow onion can be used, but use sparingly to avoid an overly sharp taste.
- Fresh Cilantro: A generous handful of fresh cilantro, about half a cup coarsely chopped, is non-negotiable for that authentic, bright, and herby flavor. For those who are not fans of cilantro (due to the genetic “soap” taste), you can significantly reduce the amount or omit it entirely, though the flavor profile will change. A tiny bit of fresh parsley could be a distant substitute, but it won’t be the same.
- Seasonings (Garlic Salt, Black Pepper, Red Pepper Flakes): Garlic salt adds both savory garlic notes and the necessary saltiness. Adjust to your taste, adding more as needed after blending. Freshly ground black pepper adds a subtle background warmth. Red pepper flakes are optional but highly recommended for a touch of heat; a quarter teaspoon provides a mild warmth that can be easily increased for more spice.
Crafting Your Perfect Restaurant Style Salsa: Step-by-Step
These step-by-step photos and instructions are designed to help you visualize the process of making this delicious recipe. For the complete printable version, including all measurements and instructions, simply Jump to Recipe at the bottom of this page.
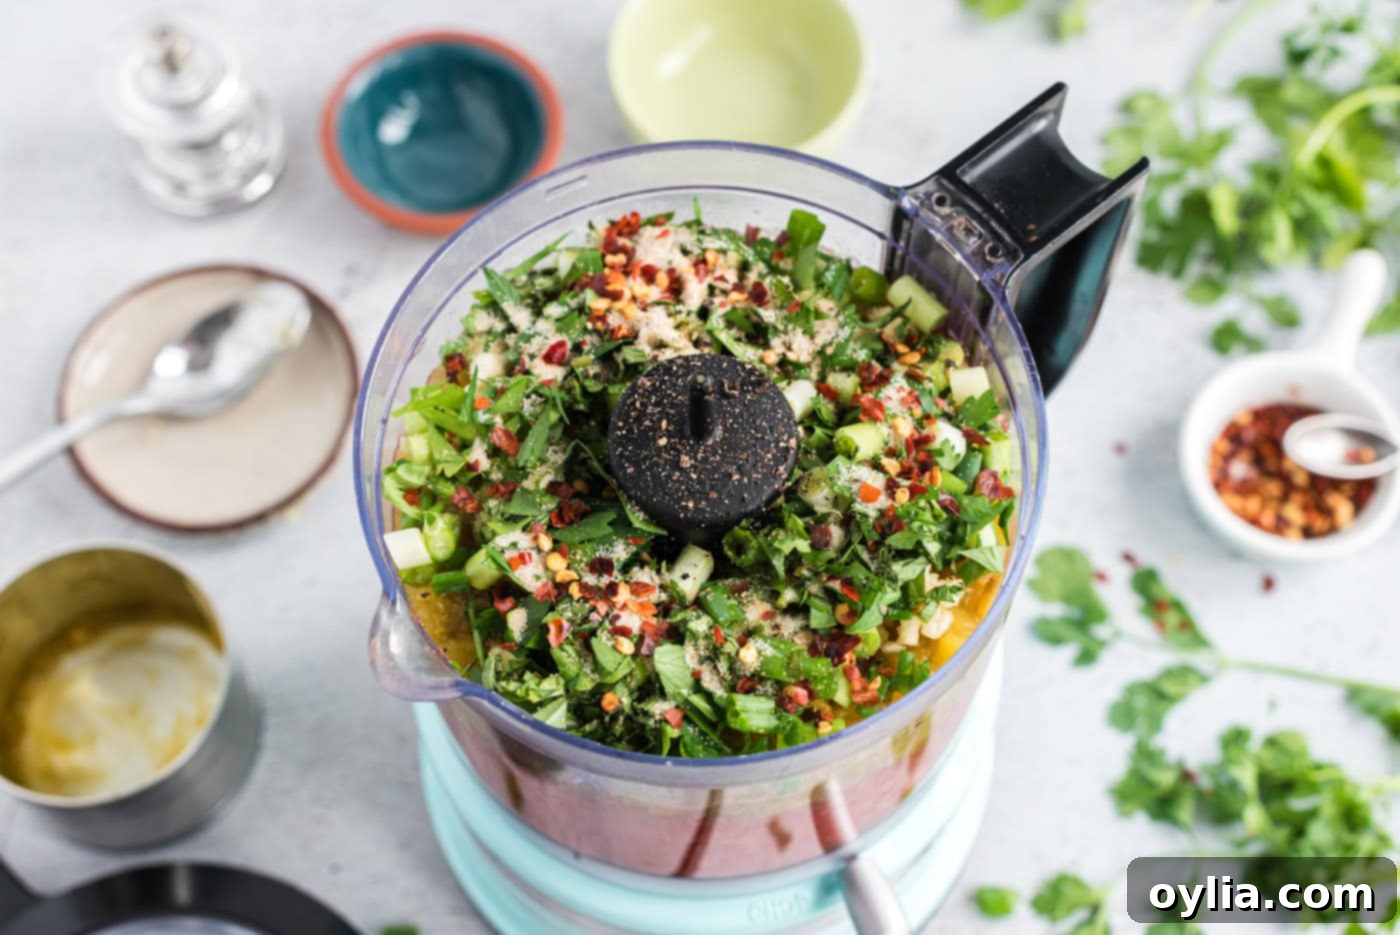
- Prepare and Layer Ingredients: The beauty of this recipe lies in its simplicity. Begin by coarsely chopping your green onions and cilantro. Then, gather all your ingredients and layer them into your food processor in the order they are listed in the recipe card. This order can sometimes help with more even blending, especially for tougher ingredients like garlic or onion.
-

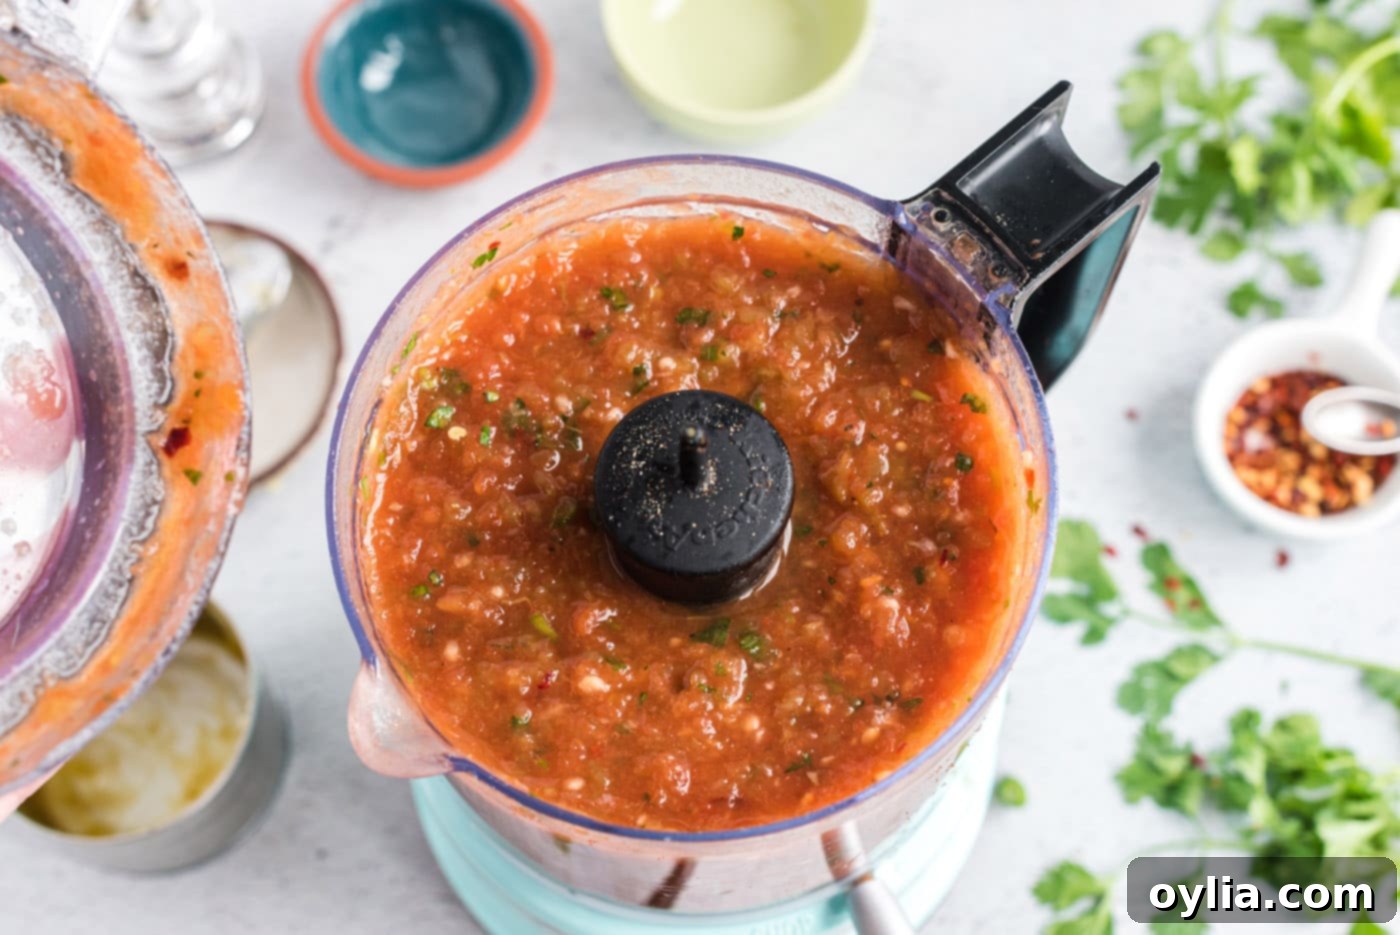
- Pulse to Perfection: Secure the lid on your food processor or blender. Start by pulsing a few times to roughly chop and combine the ingredients. This initial pulsing helps to break down larger pieces. If you prefer a chunkier salsa, continue using the pulse feature, stopping when you reach your desired consistency. For a smoother, more restaurant-style texture, process for approximately 30-45 seconds, or until the salsa appears fairly smooth but still retains small, appealing chunks. Avoid over-processing, which can turn the salsa watery.
-

- Taste and Adjust: Once blended, taste your salsa. This is your chance to adjust the seasoning. You might want to add a bit more garlic salt, a dash more black pepper, or perhaps a pinch more red pepper flakes if you prefer a spicier kick. Remember, you can always add more, but you can’t take it out!
Frequently Asked Questions & Expert Tips for the Best Salsa
Absolutely, a blender will work perfectly for this salsa recipe. Both appliances are designed to chop and blend ingredients efficiently. When using a blender, you might need to scrape down the sides a bit more often to ensure all ingredients are evenly incorporated, especially if you’re aiming for a chunkier texture. Just be mindful not to over-blend, as blenders can sometimes create a very smooth, almost liquid consistency quickly.
This fresh and flavorful salsa will keep wonderfully when stored in an air-tight container in the refrigerator. For optimal taste and freshness, it’s best consumed within 4 days. I often use a mason jar for storage as it provides a good seal and keeps the salsa fresh.
When using canned tomatoes or any pre-canned ingredients, a general rule of thumb for food safety is to not re-can them. The acidity levels and processing methods for re-canning can be complex and may not guarantee a safe, shelf-stable product. If your goal is to preserve salsa through canning, your safest and best bet is to follow traditional canning recipes that use fresh tomatoes and green chiles from scratch. My salsa fresca recipe, which utilizes fresh tomatoes and similar ingredients, would be a more suitable starting point if you wish to blend and can it safely according to approved canning guidelines.
As written, this restaurant-style salsa recipe is on the milder side, making it appealing to a broad audience. If you prefer a spicier kick, there are several easy ways to customize the heat level:
- Fresh Jalapeño: Add a freshly chopped jalapeño to the food processor. For moderate heat, remove some of the seeds and ribs. For a bolder spice, leave all the seeds and ribs intact.
- Serrano Peppers: For an even more intense heat, substitute a serrano pepper for the jalapeño. These are significantly hotter, so use with caution.
- Extra Red Pepper Flakes: Increase the amount of red pepper flakes beyond the recommended ¼ teaspoon.
- Pinch of Cayenne: A small pinch of ground cayenne pepper can also add an immediate boost of heat.
Always add a little at a time, blend, and taste before adding more to achieve your perfect spice balance.
Beyond the ingredients, there are a few tricks. First, using fire-roasted canned tomatoes adds a depth you can’t get from plain canned tomatoes. Second, allowing the salsa to chill in the refrigerator for at least 30 minutes (or even a few hours) before serving lets the flavors meld and deepen, resulting in a more harmonious and delicious dip. Finally, don’t be afraid to taste and adjust seasonings; every batch of tomatoes can vary slightly in sweetness and acidity.
Creative Ways to Enjoy Your Homemade Salsa
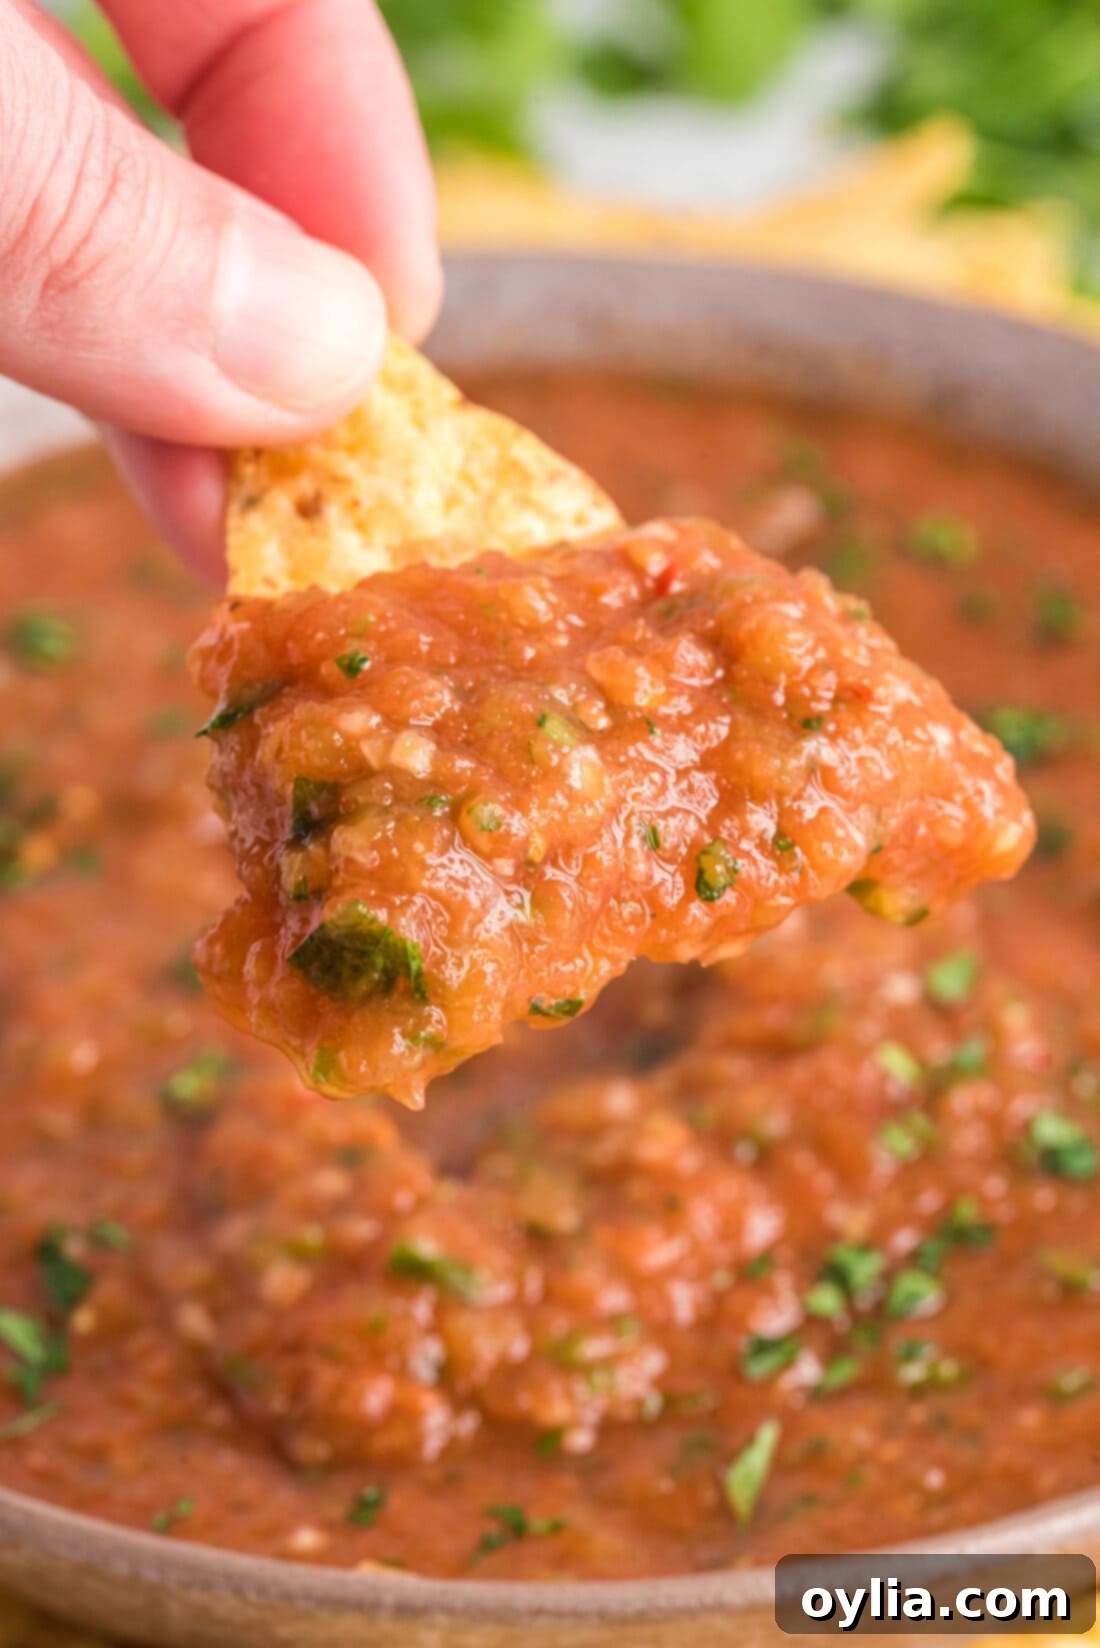
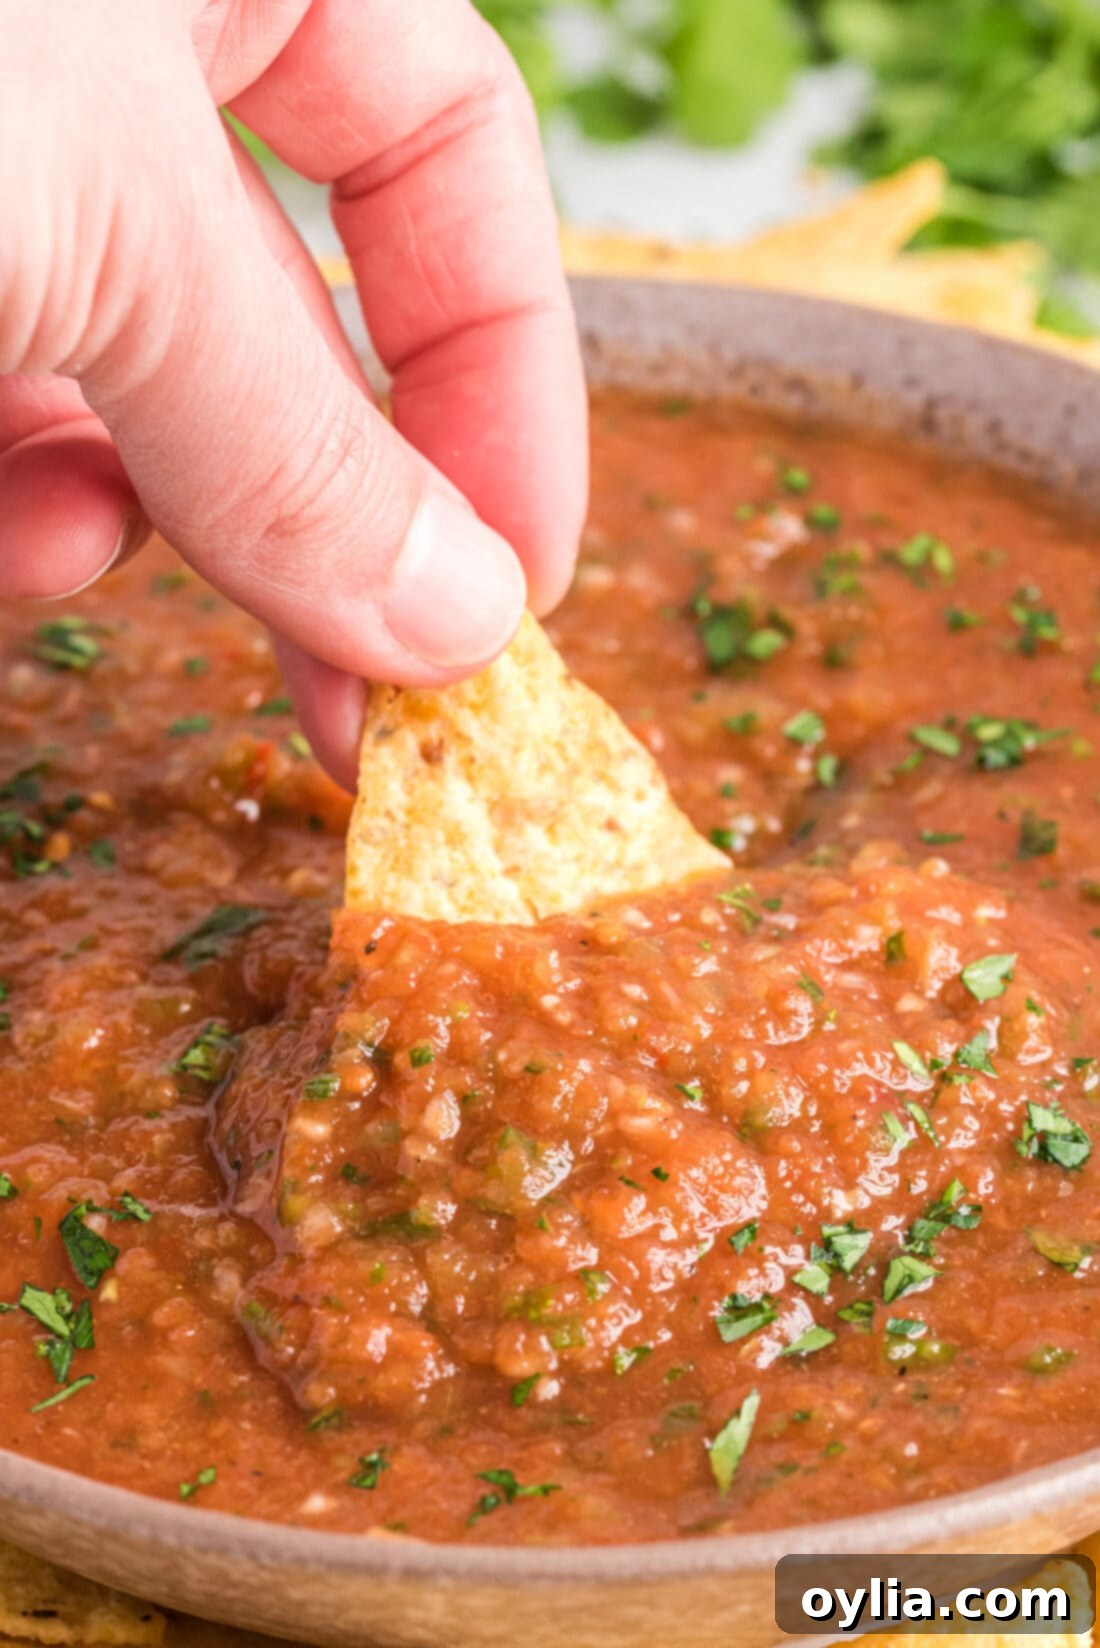
Honestly, when isn’t a good time for a bowl of fresh, homemade restaurant-style salsa? Its versatility makes it suitable for almost any occasion. Serve it as the star appetizer at potlucks, game day parties, backyard cookouts, or casual game nights with friends. Of course, the classic pairing with crispy tortilla chips is always a winner. But don’t stop there! This salsa is fantastic:
- Layered generously into burritos or burrito bowls.
- Drizzled over your favorite tacos, enchiladas, or even walking tacos.
- As a vibrant topping for loaded nachos.
- Mixed into scrambled eggs or drizzled over huevos rancheros for a breakfast boost.
- As a zesty accompaniment to grilled chicken, fish, or steak.
- Spoon it onto baked potatoes or sweet potatoes.
- Use it as a base for a quick chicken or beef tortilla soup.
- Add it to your favorite chili recipe for an extra layer of flavor.
Explore More Delicious Salsa Recipes
If you love this restaurant-style salsa, you might enjoy trying some other flavorful variations:
- Salsa Verde
- Corn Salsa
- Mango Salsa
- Cowboy Caviar
- Strawberry Salsa
- Easy Pineapple Salsa
I love to bake and cook and share my kitchen experience with all of you! Remembering to come back each day can be tough, that’s why I offer a convenient newsletter every time a new recipe posts. Simply subscribe and start receiving your free daily recipes!
Restaurant Style Salsa
IMPORTANT – There are often Frequently Asked Questions within the blog post that you may find helpful. Simply scroll back up to read them!
Print It
Pin It
Rate It
Save ItSaved!
Course: Appetizer
Cuisine: American, Mexican
Ingredients
- 14 ounce canned tomatoes 1 can whole or chopped (fire-roasted preferred)
- 4 ounce green chiles 1 can, diced
- 3 teaspoons garlic freshly minced
- 5 green onions coarsely chopped (scallions)
- 1 handful fresh cilantro coarsely chopped, about 1/2 cup or to taste
- garlic salt to taste
- freshly ground black pepper 4 or 5 turns or to taste
- ¼ teaspoon red pepper flakes (optional, for a mild kick)
Kitchen Tools You’ll Need
-
Food processor or blender
-
Chef’s knife
-
Cutting board
Helpful Tips & Notes
- This recipe will yield approximately 2 cups of delicious salsa. If you’re planning for a larger gathering, feel free to easily double or even triple the recipe.
- For the best flavor, allow the salsa to chill in the refrigerator for at least 30 minutes before serving. This allows the ingredients to meld beautifully.
- Store any leftover salsa in an air-tight container, such as a mason jar, in the refrigerator for up to 4 days.
- As mentioned in our FAQ section, this salsa is on the milder side. To increase the spice level, you can add a freshly chopped jalapeño (with or without seeds and ribs for varying heat), a serrano pepper, or simply add extra red pepper flakes to taste.
Instructions
-
Carefully layer all the prepared ingredients into the bowl of your food processor or blender in the order specified in the ingredient list.
-
Secure the lid and pulse the ingredients a few times to start combining them. Continue pulsing until you reach your desired consistency – a few more pulses for a chunkier salsa, or process for about 30-45 seconds for a smoother, yet still slightly textured, restaurant-style dip. Taste and adjust seasonings as needed.
Nutrition Information
Tried this Recipe? Pin it for Later!Follow on Pinterest @AmandasCookin or tag #AmandasCookin!
The recipes on this blog are tested with a conventional gas oven and gas stovetop. It’s important to note that some ovens, especially as they age, can cook and bake inconsistently. Using an inexpensive oven thermometer can assure you that your oven is truly heating to the proper temperature. If you use a toaster oven or countertop oven, please keep in mind that they may not distribute heat the same as a conventional full sized oven and you may need to adjust your cooking/baking times. In the case of recipes made with a pressure cooker, air fryer, slow cooker, or other appliance, a link to the appliances we use is listed within each respective recipe. For baking recipes where measurements are given by weight, please note that results may not be the same if cups are used instead, and we can’t guarantee success with that method.
This post originally appeared here on Jan 13, 2011 and has since been updated with new photos and expert tips.
