The Ultimate Low-Carb Cauliflower Pizza Crust: Cheesy, Sturdy & Delicious!
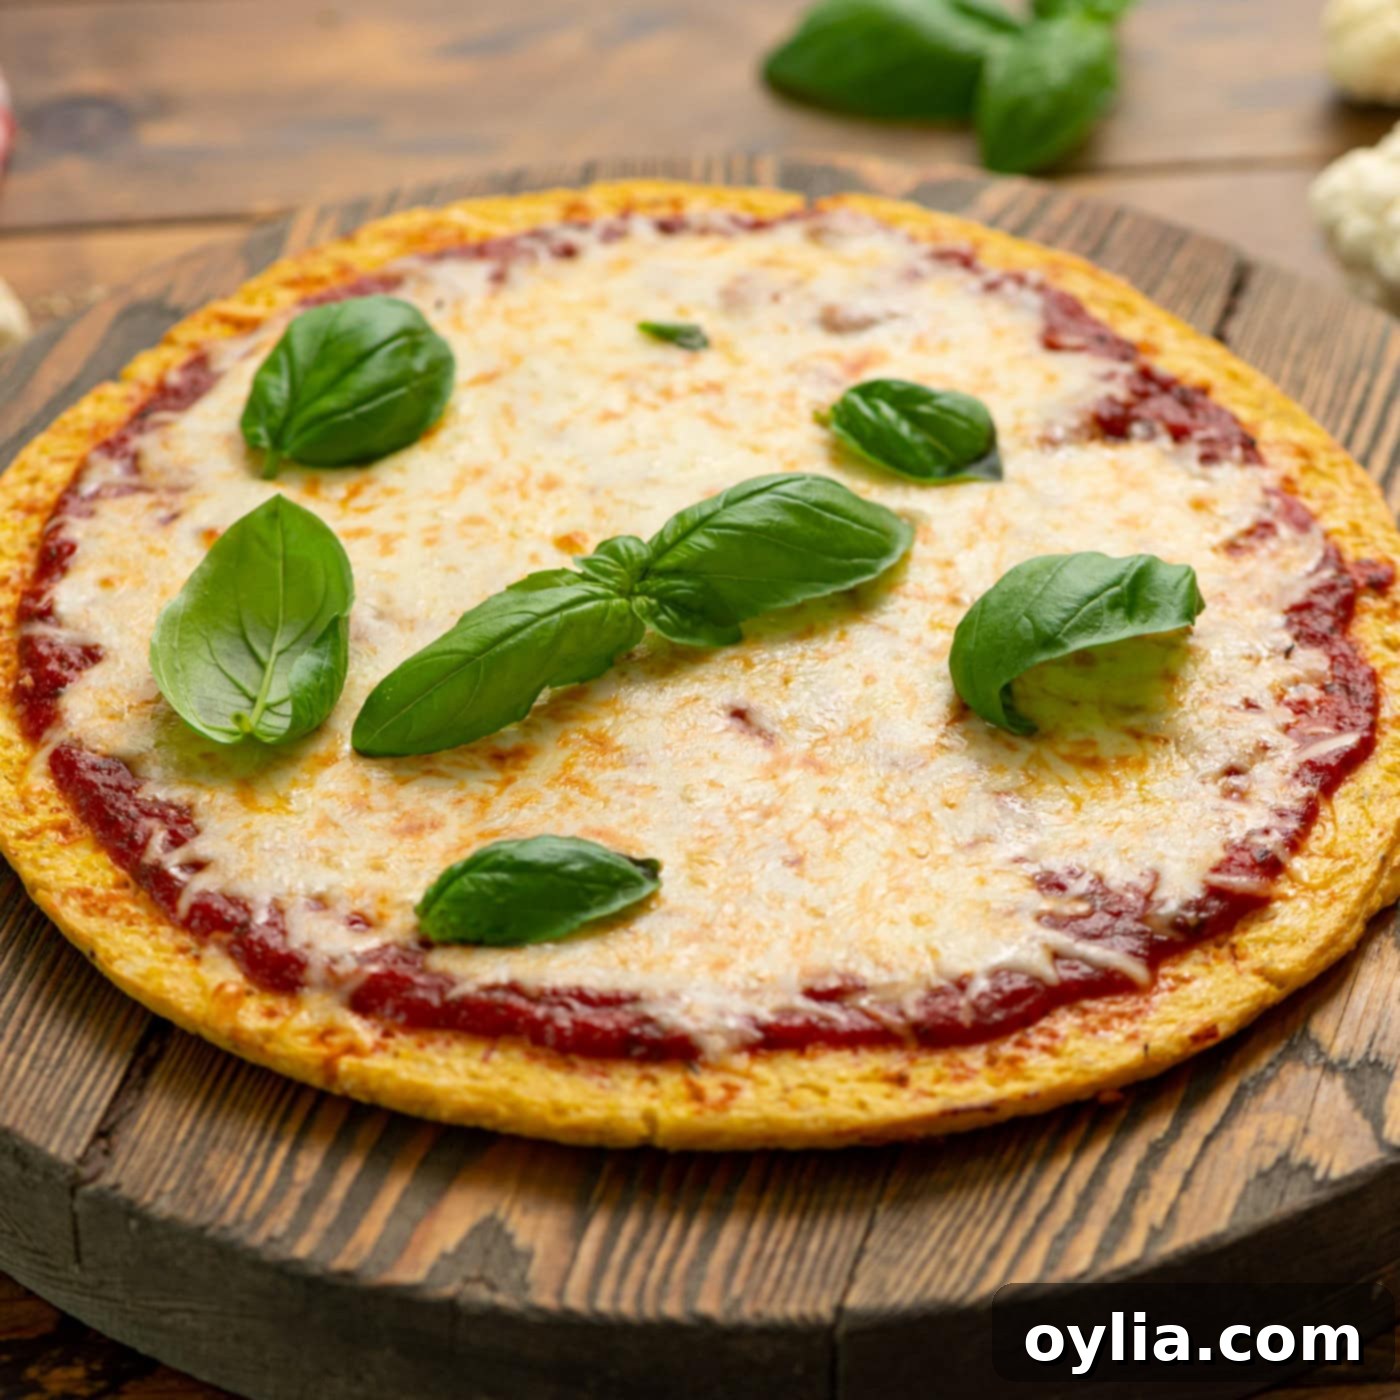
Craving a classic pizza night but looking for a healthier, low-carb alternative? This homemade Cauliflower Pizza Crust recipe is your answer! It’s famously cheesy, surprisingly sturdy, and creates the perfect foundation for all your favorite pizza toppings without compromising on flavor or texture. Say goodbye to soggy, bland, or crumbly crusts – our method ensures a robust, satisfying base that caters perfectly to low-carb and keto lifestyles, as well as those seeking a delicious gluten-free option. Get ready to revolutionize your pizza experience with this easy-to-make, flavorful cauliflower crust.
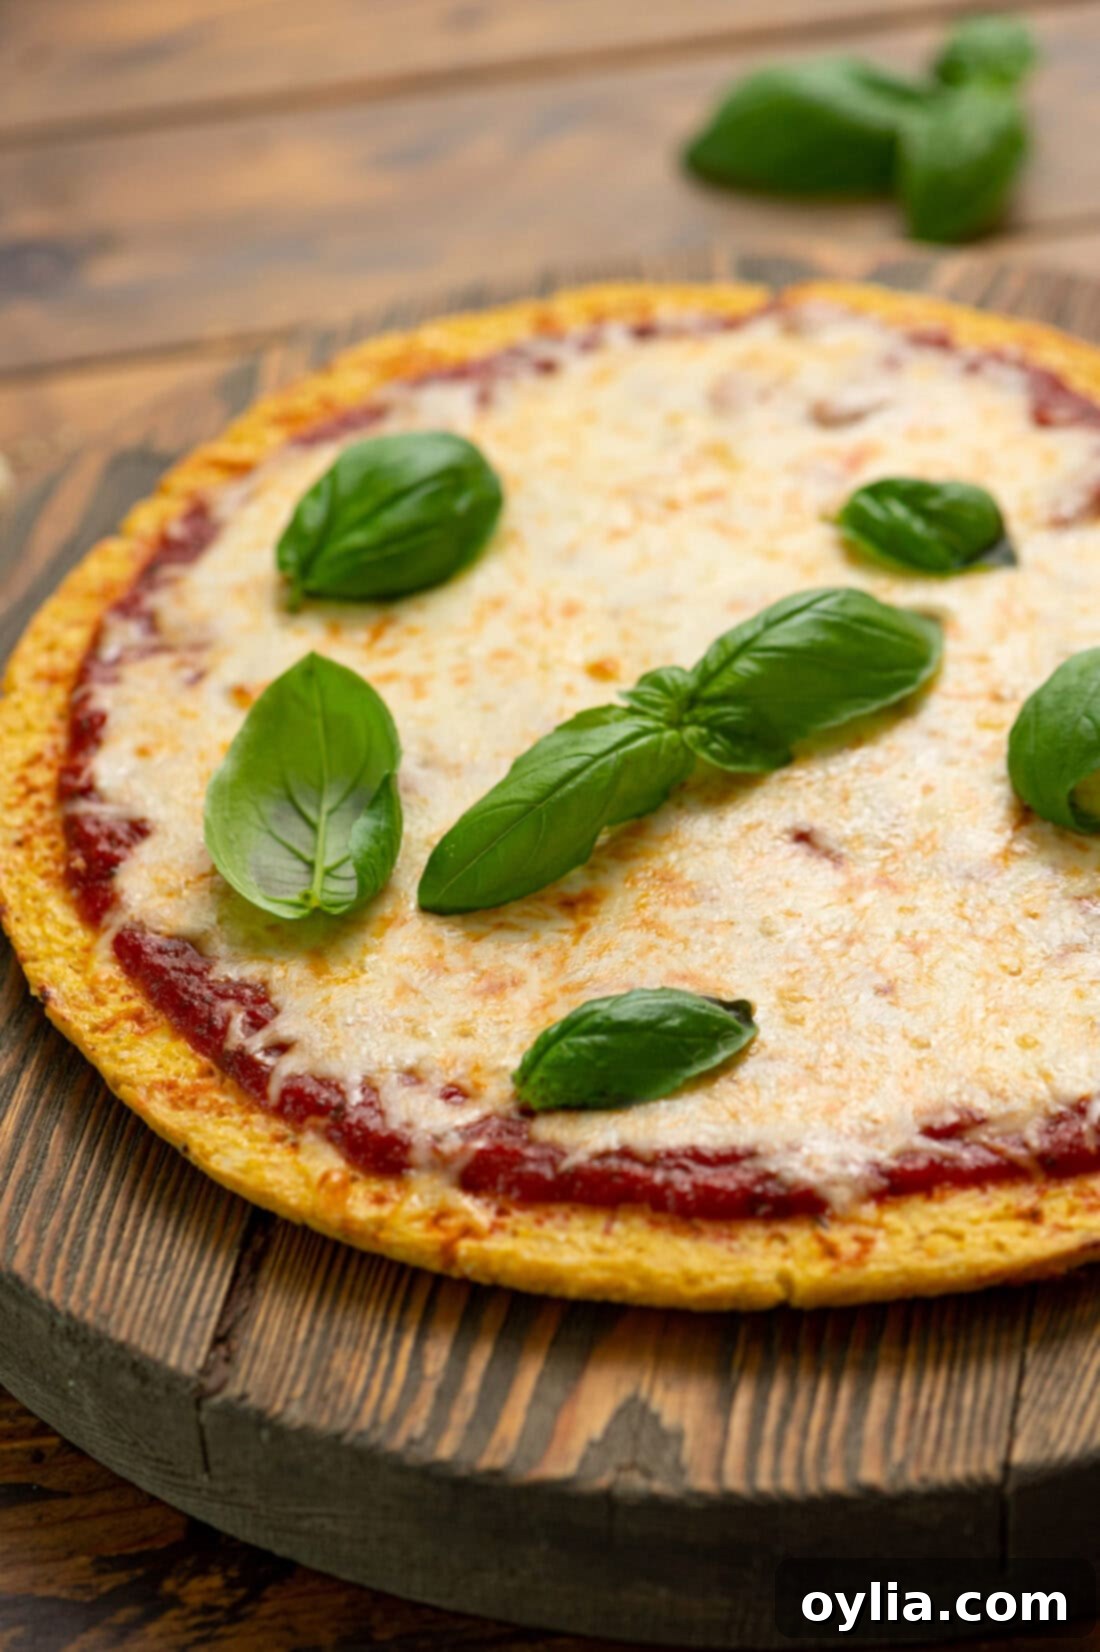
Why This Cauliflower Pizza Crust Recipe Stands Out
If you’ve been following a low-carb diet, you’ll know that cauliflower is a culinary superhero. Its incredible versatility allows it to transform into everything from rice to mashed potatoes, and most impressively, a fantastic pizza crust. This recipe embraces the full potential of cauliflower to create a truly enjoyable and functional low-carb pizza experience.
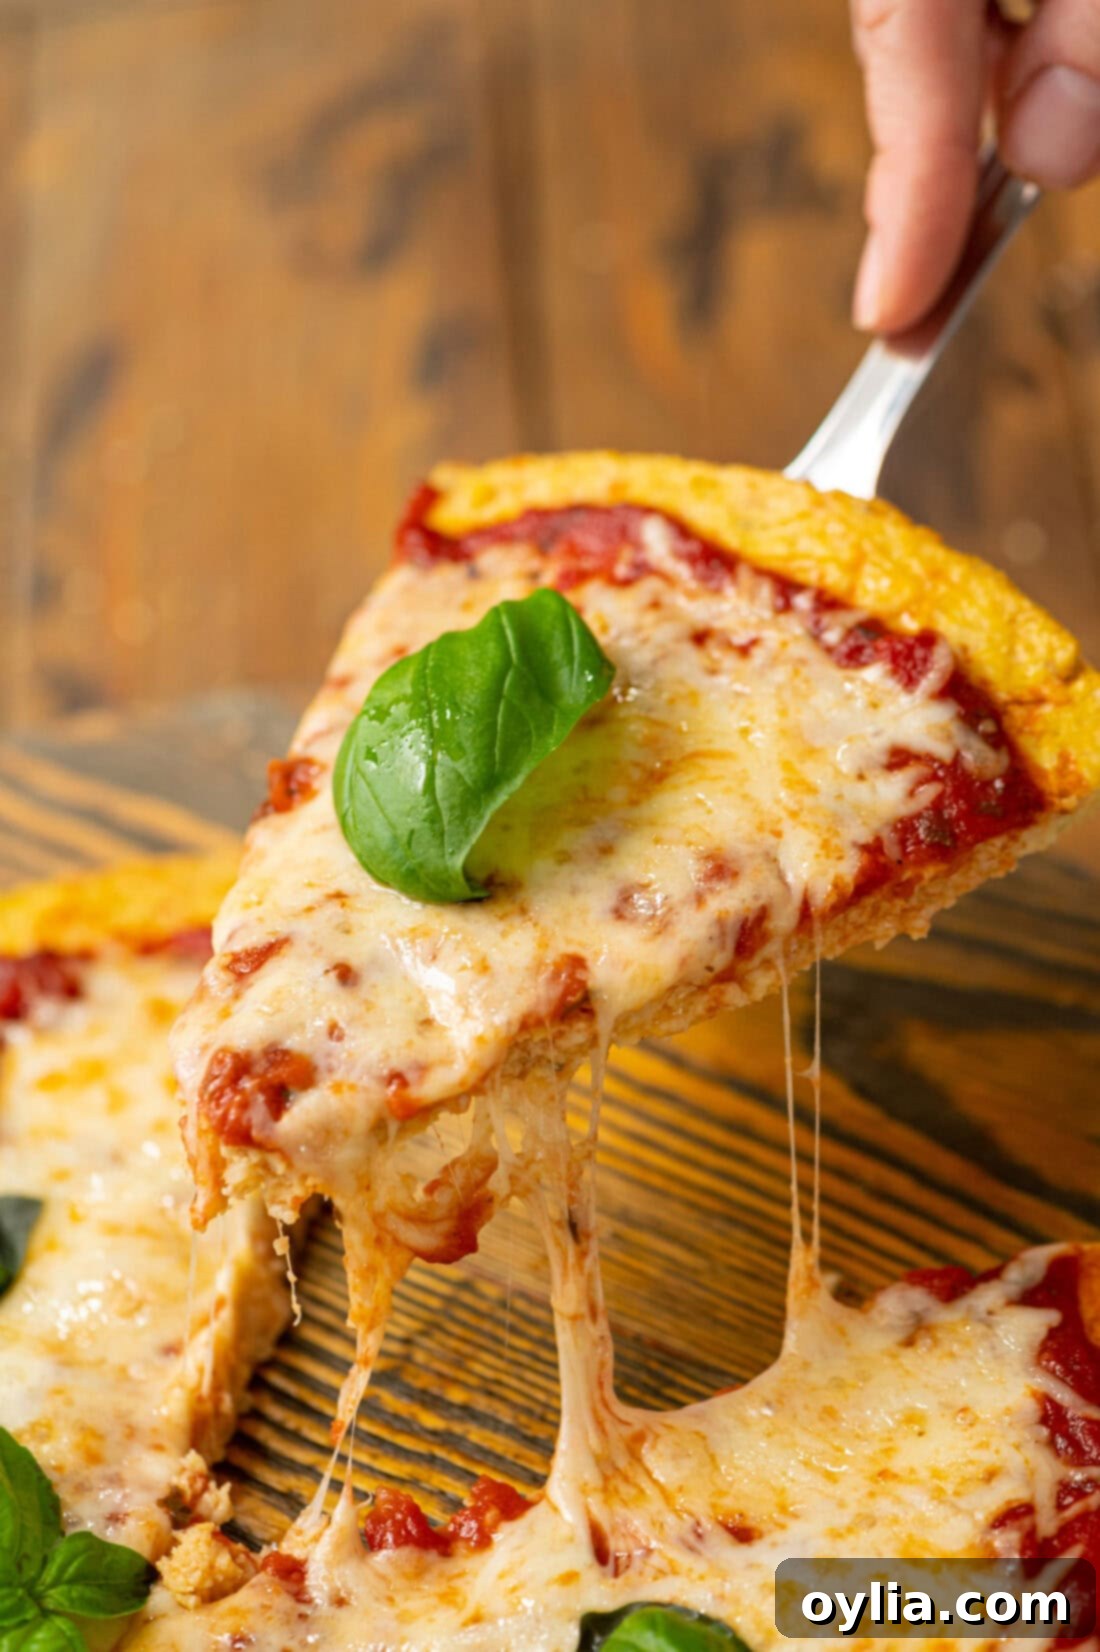
The beauty of this particular cauliflower pizza crust recipe lies in its remarkable sturdiness and delicious cheesy flavor. Unlike many other cauliflower crusts that can be fragile or watery, ours holds its shape beautifully, allowing you to pile on generous amounts of your favorite toppings without worry. The secret to this exceptional sturdiness and crispness isn’t just a single step, but a combination of meticulous preparation and the right binding ingredients. With just a few simple components – primarily finely prepared cauliflower, eggs for structure, and cheese for flavor and added bind – you’ll achieve a base that rivals traditional dough in satisfaction, while being significantly healthier. For a fun twist, you can even make bite-sized cauliflower pizza bites using this same dependable recipe!
The most crucial element that elevates this recipe from good to excellent is our focus on **removing as much moisture as possible from the cauliflower**. Cauliflower is naturally high in water content. If this water isn’t extracted before baking, it will evaporate during cooking, leading to a steamy environment that prevents crisping and results in a soggy, weak crust. We tackle this challenge head-on with a two-step drying process that ensures your crust is firm, golden, and genuinely pizza-worthy. This key technique ensures your low-carb pizza crust is a sturdy, delicious canvas for all your culinary creativity!
Key Ingredients & Substitution Suggestions for Your Keto Pizza Crust
Achieving the perfect cauliflower pizza crust starts with understanding your ingredients. Below, we’ll dive into each component, offering tips for selection and potential substitutions. All precise measurements, along with comprehensive instructions, are conveniently located in the printable recipe card at the conclusion of this article.
- CAULIFLOWER: The foundation of our low-carb pizza crust! For this recipe, aim for one medium to large-sized head of fresh cauliflower. When shopping, select a head that is firm, dense, and white, without any significant discoloration or soft spots. The fresher the cauliflower, the better its texture and flavor will be. Our recipe uniquely employs two effective steps to dry out the cauliflower: an initial bake and then a thorough squeeze, ensuring maximum crispness and preventing a watery crust.
- EGGS: You’ll need two large eggs, which are essential for binding the grated cauliflower and cheeses into a cohesive “dough.” Eggs act as the glue, providing the necessary structure and elasticity to prevent the crust from crumbling during preparation and baking. While there isn’t a perfect low-carb, vegan substitute that guarantees the same sturdy results, some might experiment with flax eggs for a vegan option, but be aware the texture and binding strength may differ.
- CHEESE: For optimal flavor and texture, we recommend a blend of grated Parmesan and mozzarella.
- Parmesan cheese contributes a rich, nutty, and savory depth, enhancing the overall taste and aiding in a crispier crust.
- Mozzarella cheese provides that desirable gooey, melty quality that we all love in pizza, and also plays a crucial role in binding the cauliflower mixture together.
You can certainly experiment with other hard, shreddable cheeses like finely grated cheddar or provolone for different flavor profiles. For a dairy-free alternative, you could try using a generous amount of nutritional yeast for a cheesy umami flavor, along with a high-quality, meltable vegan shredded cheese, though results may vary.
- SEASONINGS: Our chosen seasonings are simple yet impactful, designed to complement the cauliflower and cheese, and harmonize with virtually any topping. We use:
- Salt: A fundamental flavor enhancer that brings out the best in all ingredients.
- Dried Oregano: The quintessential pizza herb, delivering an aromatic, slightly peppery, and earthy note that screams “pizza.”
- Garlic Powder: Offers a mellow, savory garlic essence without the strong bite of fresh garlic, integrating seamlessly into the crust’s flavor.
Feel free to get creative with your spices! A touch of onion powder, a pinch of red pepper flakes for heat, or even a specialized Italian seasoning blend can add wonderful complexity to your cauliflower pizza crust.
Step-by-Step Guide: Crafting Your Perfect Cauliflower Pizza Crust
For those who prefer a concise overview with exact measurements, feel free to Jump to Recipe at the end of this article. Otherwise, these detailed step-by-step photos and instructions are here to guide you through making the best low-carb cauliflower pizza crust possible.
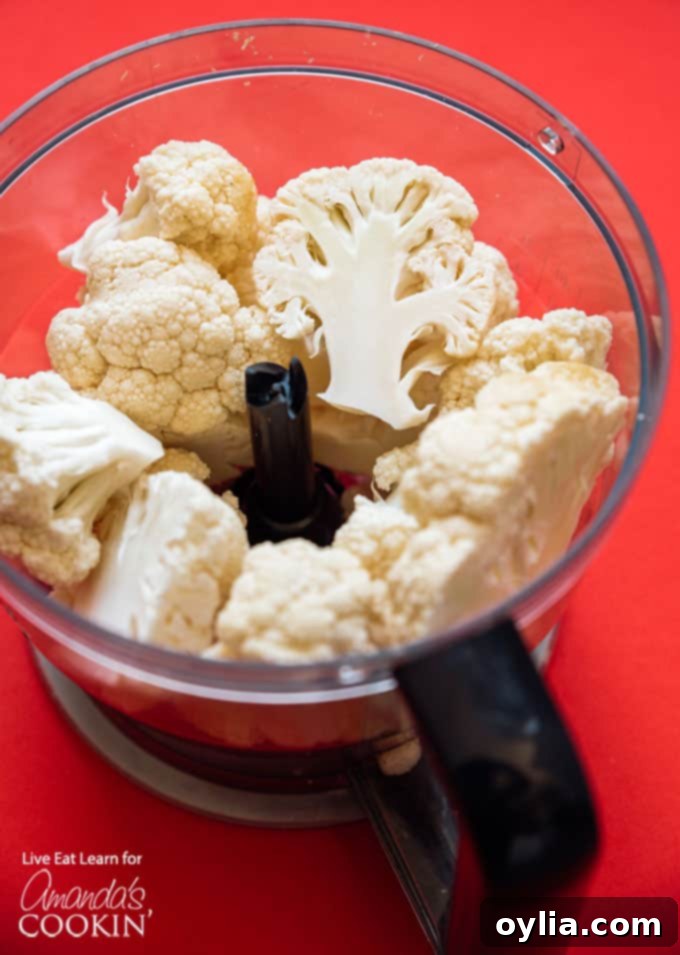
- Prepare the Cauliflower into “Rice”: Start by breaking your head of cauliflower into florets. Then, using either a food processor (with the grating attachment or by pulsing until fine) or a box grater, grate the cauliflower into a consistency that resembles rice or couscous. It’s crucial to avoid large chunks, as they will prevent the crust from forming a cohesive and even texture. Work in batches if using a food processor to ensure uniform grating.

- Pre-Bake the Cauliflower for Initial Moisture Removal: Preheat your oven to 350 degrees F (175°C). Line a large baking sheet with parchment paper. Spread the grated cauliflower evenly across the parchment-lined sheet, forming the thinnest possible layer. This initial baking step is vital for drawing out excess moisture before the final squeeze. Bake for approximately 20 minutes, or until the cauliflower starts to look slightly browned at the edges and feels dry to the touch. Once baked, remove it from the oven and let it cool down slightly so it’s safe to handle. While it cools, increase your oven temperature to 450 degrees F (230°C) – this higher heat is for baking the actual pizza crust.
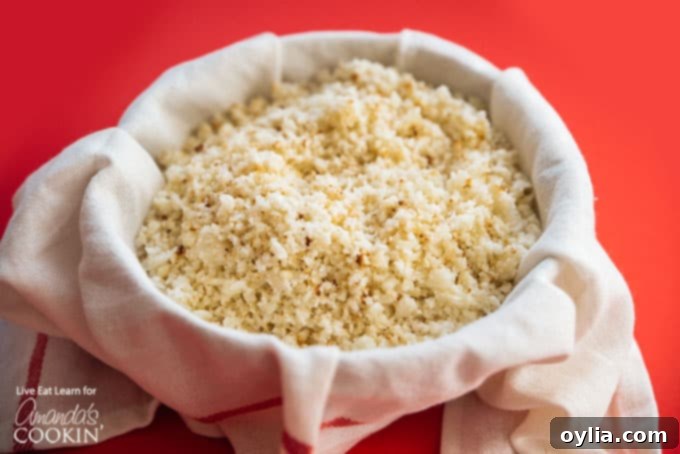
- The Critical Squeeze: Remove All Remaining Moisture: This is arguably the *most important* step for achieving a sturdy, crispy cauliflower pizza crust. Once the pre-baked cauliflower has cooled, carefully spoon it into a clean, thin cheesecloth or a thin, clean kitchen towel. Gather the edges of the cloth tightly and twist, squeezing out as much liquid as you possibly can.
EXPERT TIP: Do not be shy here! This step requires a significant amount of effort – think of it as a mini arm workout. The more moisture you squeeze out, the crispier and less soggy your final crust will be. You’ll be surprised by how much water comes out! What you’re aiming for is a dry, crumbly cauliflower pulp. This thoroughly dehydrated pulp is the secret to a successful, non-soggy cauliflower crust.

- Combine Ingredients to Form Dough: Transfer the thoroughly dried cauliflower pulp to a large mixing bowl. Add the two large eggs, grated Parmesan cheese, grated mozzarella cheese, salt, dried oregano, and garlic powder. Using your clean hands (which is often the most effective way to ensure everything is evenly incorporated) or a sturdy spoon, mix all the ingredients thoroughly until they are well combined and form a cohesive, slightly sticky “dough.”
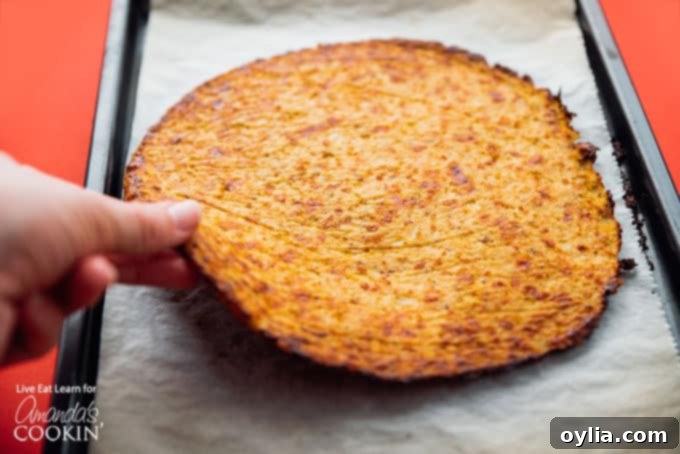
- Shape and Pre-Bake the Crust: Line a fresh baking sheet with a new sheet of parchment paper. Spoon the cauliflower mixture onto the center of the parchment paper. Using your hands or the back of a spoon, gently press and shape the mixture into a round pizza crust, aiming for a thickness of about ¼ to ½ inch. For a more authentic pizza feel, try to make the edges slightly thicker to create a natural “crust” rim. Bake in the preheated 450 degrees F (230°C) oven for 15 minutes. After about 7-8 minutes, carefully flip the pizza crust over to ensure both sides brown and crisp evenly. A great trick for flipping is detailed in our expert tips below. This pre-baking step is essential for creating a firm, golden-brown crust before you add any toppings.

- Add Toppings and Final Bake: Once your crust is beautifully pre-baked and golden, remove it from the oven. Now for the fun part: adding your favorite pizza sauce (marinara, pesto, Alfredo, or even a barbecue sauce) and piling on your chosen toppings, along with an extra layer of cheese. Return the topped pizza to the oven for another 5-7 minutes, or until the cheese is perfectly melted, bubbly, and slightly golden, and the toppings are heated through. Serve immediately and savor your delicious, homemade low-carb cauliflower pizza!
Frequently Asked Questions & Expert Tips for Your Cauliflower Pizza Crust
To maintain freshness and flavor, store any leftover crust (whether plain or topped) in an airtight container in the refrigerator for up to 3 days. For best results when reheating, use an oven or toaster oven to help restore its crispness, as microwaving can make it soft.
Absolutely! This crust freezes wonderfully. After you’ve pre-baked the crust (before adding any sauces or toppings), let it cool completely to room temperature. Then, wrap it tightly in plastic wrap, followed by a layer of aluminum foil, to prevent freezer burn. It can be stored in the freezer for up to 2 months. When you’re ready for pizza, simply thaw the crust in the refrigerator, then bake it in the oven until warmed through before adding your desired toppings and finishing the baking process.
Sogginess is the most common pitfall when making cauliflower crusts, and it nearly always points back to insufficient moisture removal. Cauliflower contains a lot of water! Ensure you perform both drying steps: first, pre-baking the grated cauliflower until it’s visibly drier and slightly browned, and second, *vigourously* squeezing out every last drop of moisture using a cheesecloth or strong kitchen towel. If your crust is falling apart, it could also be due to too much moisture, or perhaps not enough egg binder, which helps hold everything together.
For maximum crispiness, focus on these key areas:
- Thorough Moisture Removal: As highlighted, this is non-negotiable. The drier the cauliflower pulp, the crisper the crust.
- Thin and Even Crust: Aim for a uniform thickness, ideally between ¼ to ½ inch. Thicker areas will cook slower and retain more moisture.
- High Oven Temperature: Baking at 450°F (230°C) provides the intense heat needed for a golden, crunchy texture.
- Pre-Baking is Essential: Never skip baking the plain crust before adding toppings. This allows it to firm up and crisp.
- Pizza Stone or Steel: If you own a pizza stone or steel, preheat it thoroughly in the oven. Bake your crust (on parchment paper) directly on the hot stone for superior bottom crisping.
- Don’t Overload: Too many wet or heavy toppings can steam the crust, making it soft.
Adapting this specific recipe to be dairy-free or vegan presents challenges, as eggs and cheese are integral to its binding and flavor. For a dairy-free version, you could substitute the Parmesan and mozzarella with a generous amount of nutritional yeast for a cheesy flavor profile, and perhaps a high-quality dairy-free shredded cheese that melts well. For a vegan version, you would also need to replace the eggs. Flax eggs (1 tablespoon ground flaxseed meal + 3 tablespoons water per egg) could be attempted, but the overall texture and sturdiness of the crust may be significantly different and less robust than the original recipe. We recommend testing small batches if making these substitutions.
Flipping a delicate, partially baked cauliflower crust can feel intimidating. Here’s a foolproof method: Once the first side of your crust has baked, remove the baking sheet from the oven. Place another piece of parchment paper directly on top of the crust. Then, place a second, equally sized baking sheet (or a large, flat plate) on top of the parchment paper. Carefully but quickly, flip the entire “sandwich” over. Remove the top baking sheet and parchment. Now, the unbaked side of your crust is facing up, ready to continue baking on the original parchment and baking sheet.
While this cauliflower crust is commendably sturdy, remember it’s still a vegetable-based crust. To prevent any potential sogginess or difficulty handling, avoid excessively wet toppings (like watery fresh tomatoes) or overloading the crust with too many heavy ingredients. Lightly pat dry any very wet vegetables before adding them. A balanced amount of sauce and toppings will ensure the best experience.
Creative Serving Suggestions for Your Low-Carb Pizza
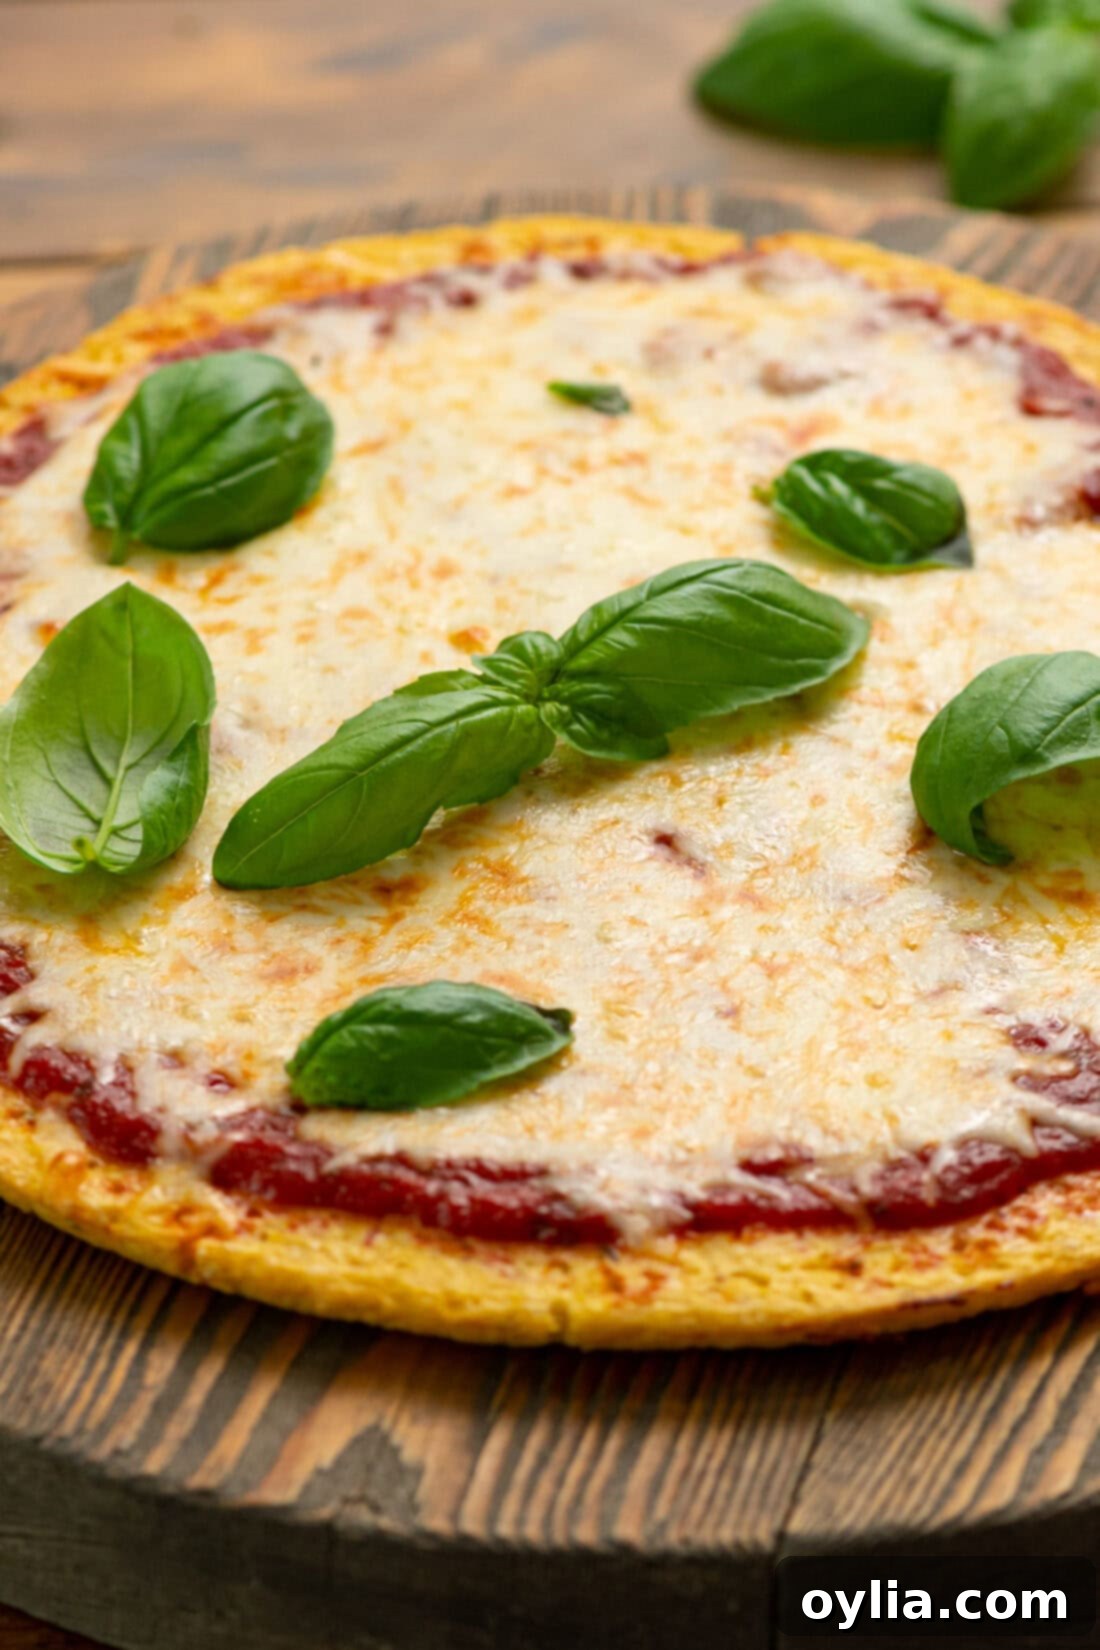
The beauty of a perfectly crafted cauliflower pizza crust lies in its adaptability. It provides a delightful and healthy canvas for an endless array of flavors, allowing you to tailor your pizza to any craving or dietary preference. Here are some inspiring ideas to make your next low-carb pizza night extraordinary:
- Classic & Comforting Combinations: You can’t go wrong with the timeless duo of rich marinara sauce, gooey mozzarella, and savory pepperoni. Elevate it further with sautéed mushrooms, thinly sliced onions, or colorful bell peppers.
- Gourmet Explorations:
- Indulge in a sophisticated white pizza using a creamy Alfredo sauce as your base, then top with succulent grilled chicken, tender spinach, and a medley of provolone and mozzarella cheeses.
- For a truly unique sweet and savory experience, dare to try this 3 Cheese Roasted Grape Pizza, which offers an unexpected burst of flavor.
- Feeling adventurous? This Beer and Brussels Sprouts Pizza delivers a surprisingly complex and deeply satisfying earthy taste.
- Vibrant Veggie Lover’s Paradise: Load your cauliflower crust with a rainbow of fresh vegetables. Consider roasted asparagus, zucchini ribbons, sun-dried tomatoes, black olives, artichoke hearts, or a generous sprinkle of fresh arugula added after baking. Many ideas from our popular Appetizer Veggie Pizza can be effortlessly adapted here.
- Diverse Sauce Options: Don’t limit yourself to traditional red sauce! Explore bases like vibrant pesto, a simple olive oil and garlic drizzle, a tangy BBQ sauce for a smoky twist, or even a creamy ranch for a comforting profile.
- Hearty Protein Boosts: For a more substantial meal, add cooked and shredded chicken breast, lean ground turkey, crumbled Italian sausage (low-carb varieties), or even thinly sliced, seasoned steak.
- Fresh Finishes: Always crown your pizza with fresh herbs after baking for an aromatic flourish. Fresh basil, chopped parsley, or a sprinkle of oregano will add a burst of garden-fresh flavor and a beautiful visual appeal.
No matter your preference, this versatile low-carb cauliflower pizza crust is designed to be a delightful and healthy vehicle for your pizza dreams. Get creative, mix and match, and enjoy a truly satisfying pizza experience without the guilt!
Explore More Delicious Cauliflower Recipes
If this amazing cauliflower pizza crust has shown you the incredible versatility and deliciousness of cauliflower, you’re in luck! This fantastic vegetable can be transformed into countless healthy and satisfying dishes, making it a staple for low-carb diets and anyone looking to boost their vegetable intake. Dive into more of our favorite cauliflower recipes that promise flavor without compromise:
- Cauliflower Risotto: A creamy, indulgent dish that cleverly swaps traditional Arborio rice for cauliflower, offering a lighter, low-carb take on a classic comfort food.
- Cauliflower Fried Rice: Enjoy all the savory, umami flavors of your favorite takeout fried rice, but with nutrient-dense cauliflower rice. It’s a quick, easy, and incredibly satisfying meal.
- Cauliflower Casserole: A cheesy, bubbly, and utterly comforting casserole that makes a perfect side dish or a light main course. It’s a fantastic way to enjoy cauliflower baked to golden perfection.
- General Tso’s Cauliflower: A vibrant and flavor-packed vegetarian spin on the popular Chinese dish, featuring crispy cauliflower florets tossed in a rich, sweet, and spicy sauce.
- Sticky Garlic Cauliflower: Irresistibly sticky, sweet, and bursting with robust garlic flavor, this dish is an excellent appetizer or a highly flavorful side that will impress.
From hearty main courses to tantalizing side dishes, cauliflower continues to prove its culinary prowess. We encourage you to explore these recipes and integrate this superfood into even more of your meals!
I love to bake and cook and share my kitchen experience with all of you! Remembering to come back each day can be tough, that’s why I offer a convenient newsletter every time a new recipe posts. Simply subscribe and start receiving your free daily recipes!

Cauliflower Pizza Crust
IMPORTANT – There are often Frequently Asked Questions within the blog post that you may find helpful. Simply scroll back up to read them!
Print It
Pin It
Rate It
Save It
Saved!
Course: Dinner, Main Dish, Appetizer
Cuisine: American, Italian, Low-Carb, Keto
Ingredients
- 1 medium to large head of cauliflower
- 2 large eggs
- ¼ cup grated Parmesan cheese
- ¼ cup grated mozzarella cheese
- ½ teaspoon salt
- ½ teaspoon dried oregano
- ¼ teaspoon garlic powder
Things You’ll Need
-
Food processor (or box grater)
-
Baking sheet (you’ll need 2)
-
Parchment paper
-
Cheesecloth (or clean, thin kitchen towel)
-
Large Mixing Bowl
Before You Begin
Instructions
-
Grate cauliflower into rice consistency using either your food processor or a box grater.
-
Preheat oven to 350 degrees F (175°C). Spread grated cauliflower onto a parchment-lined baking sheet into as flat of a layer as possible. Bake for 20 minutes, or until the cauliflower begins to brown. Remove from oven and let cool slightly. Increase oven temperature to 450 degrees F (230°C).
-
Spoon cooled cauliflower into a cheesecloth and squeeze out as much moisture as possible.
TIP – Wring out as much moisture as possible (we’re talking full arm workout, possibly sweating from squeezing the water out of this). What you’ll be left with is relatively dry cauliflower pulp of sorts that will become the foundation of your cauliflower crust!
-
In a large bowl, stir to combine the thoroughly dried cauliflower and all remaining ingredients (eggs, cheeses, seasonings).
-
Shape the dough into a pizza round (about ¼ to ½ inch thick) on a new parchment-lined baking sheet. Bake for 15 minutes in the 450°F (230°C) oven, carefully flipping the pizza crust halfway through cooking*.
-
Top the pre-baked pizza crust with your favorite sauces and toppings, then return to the oven until all cheese is melty and delicious, about 5-7 minutes. Serve hot immediately.
Nutrition
Tried this Recipe? Pin it for Later!Follow on Pinterest @AmandasCookin or tag #AmandasCookin!
The recipes on this blog are tested with a conventional gas oven and gas stovetop. It’s important to note that some ovens, especially as they age, can cook and bake inconsistently. Using an inexpensive oven thermometer can assure you that your oven is truly heating to the proper temperature. If you use a toaster oven or countertop oven, please keep in mind that they may not distribute heat the same as a conventional full sized oven and you may need to adjust your cooking/baking times. In the case of recipes made with a pressure cooker, air fryer, slow cooker, or other appliance, a link to the appliances we use is listed within each respective recipe. For baking recipes where measurements are given by weight, please note that results may not be the same if cups are used instead, and we can’t guarantee success with that method.
This post was originally published here on March 24, 2019.
