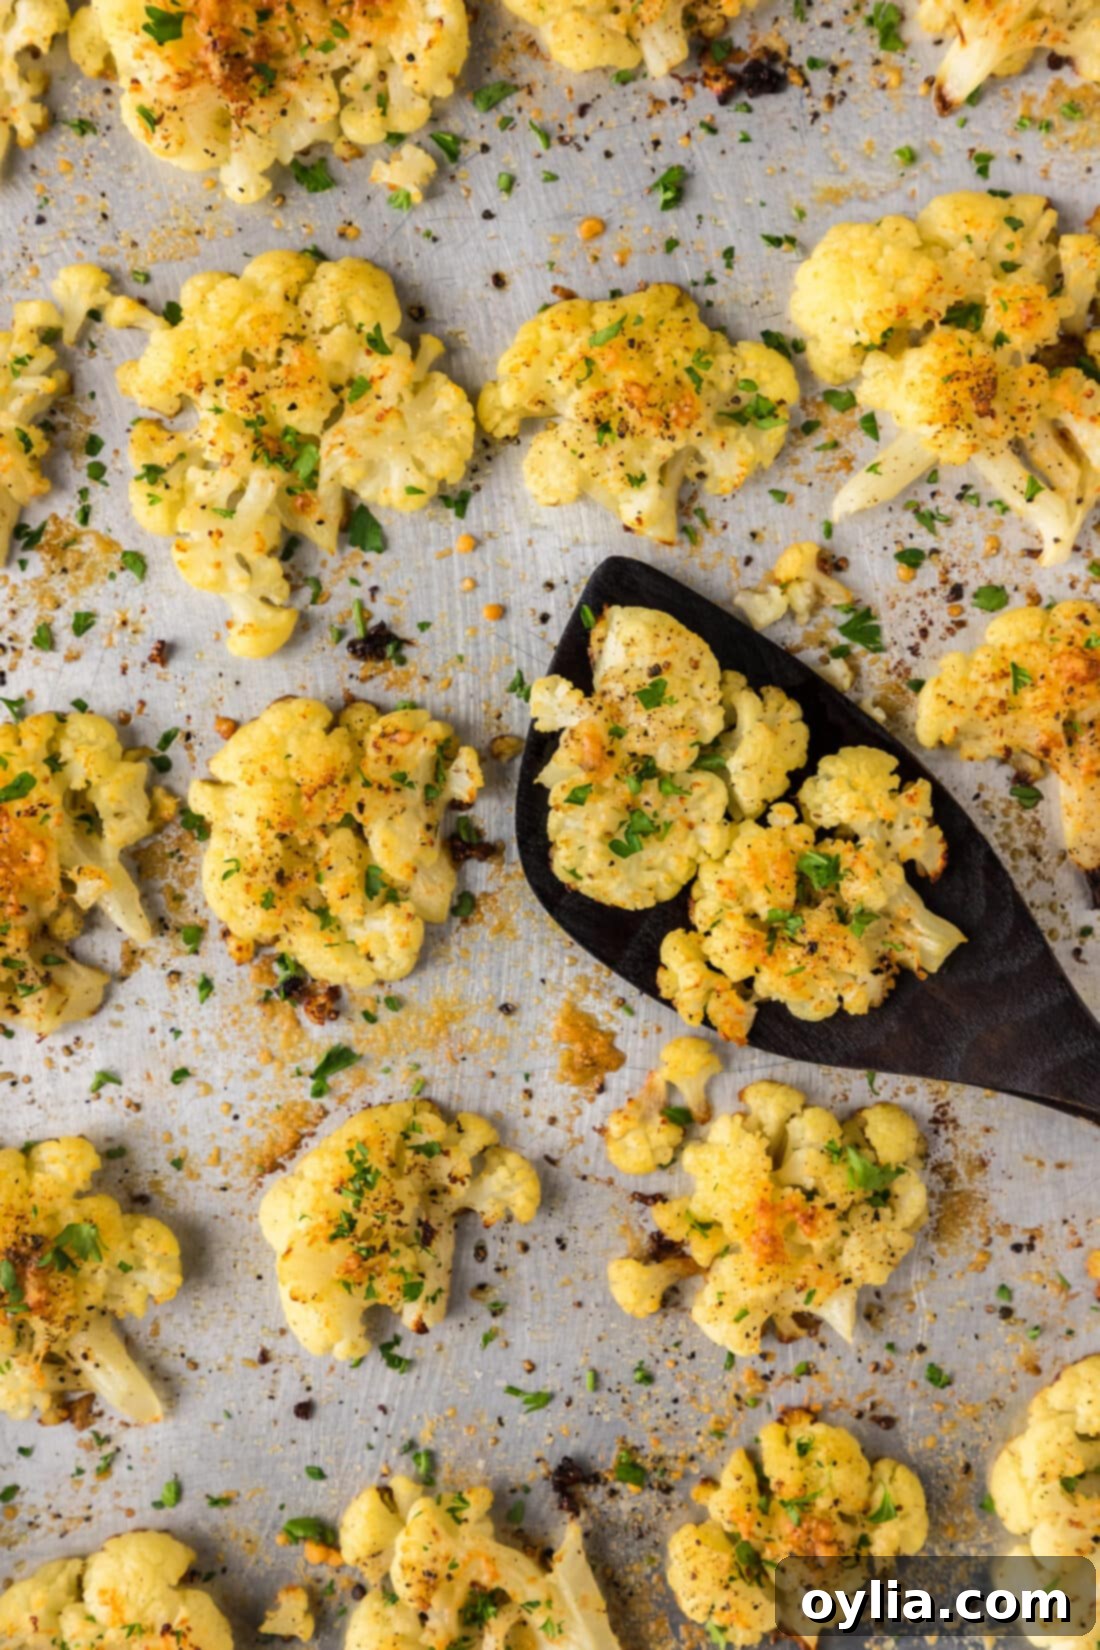
Crispy Parmesan Smashed Cauliflower: Your Ultimate Low-Carb Side Dish
Prepare to elevate your side dish game with this incredibly delicious crispy smashed cauliflower! Perfectly roasted and generously sprinkled with savory parmesan cheese, a touch of black pepper, and sea salt, these golden florets offer an explosion of flavor and texture without compromising your low-carb lifestyle. Forget boring vegetables; this recipe makes serving cauliflower fun, appealing, and utterly irresistible for the whole family.

Why This Crispy Smashed Cauliflower Recipe Is a Must-Try
If you’re looking for a clever and flavorful way to incorporate more vegetables into your diet, especially if you’re mindful of carbohydrate intake, this smashed cauliflower recipe is an absolute winner. It stands out as an exceptional low-carb alternative to traditional smashed potatoes, delivering all the satisfying crispiness without the added starch. The magic lies in its simplicity: a handful of basic seasonings – rich parmesan cheese, a good grind of black pepper, and a sprinkle of salt – transform humble cauliflower florets into these delightful, crispy bombs that are genuinely enjoyable to eat.
What truly sets this dish apart is the incredible texture. Each piece boasts a perfectly crisped, golden-brown crust that gives way to a wonderfully tender, almost creamy interior. This delightful contrast between the outer crunch and inner softness creates an experience that’s both satisfying and addictive. Cauliflower, with its naturally mild and neutral flavor profile, acts as the perfect canvas for a wide array of seasonings and herbs. While the classic parmesan, salt, and pepper combination is fantastic on its own, don’t hesitate to get creative! A dash of fiery red pepper flakes can add a welcome kick, or a generous sprinkle of Cajun seasoning can introduce a vibrant, zesty twist. Feel free to experiment with garlic powder, onion powder, smoked paprika, or even dried Italian herbs to customize the flavor to your preference. This adaptability makes smashed cauliflower a versatile side that can complement virtually any main course.
Beyond its fantastic taste and texture, cauliflower is a nutritional powerhouse. It’s low in calories and carbohydrates, rich in fiber, vitamins C and K, and various antioxidants. Opting for smashed cauliflower means you’re not just enjoying a delicious dish; you’re also fueling your body with beneficial nutrients. It’s a smart choice for anyone seeking a healthier, yet still utterly craveable, side dish option.
Simple Ingredients for Perfect Smashed Cauliflower
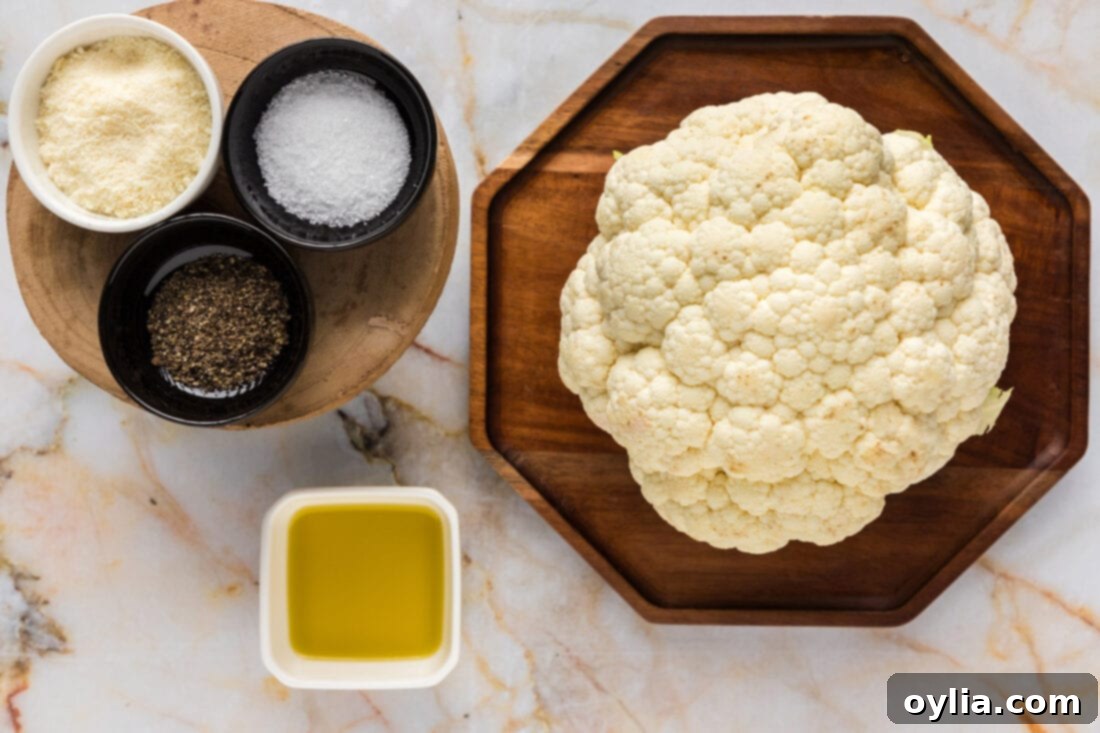
Crafting these perfectly crispy smashed cauliflower florets requires just a few basic, high-quality ingredients. While the full measurements and detailed instructions are available in the printable recipe card at the end of this post, here’s a look at the star components you’ll need to create this fantastic low-carb side dish.
Ingredient Spotlight & Customization Tips
- CAULIFLOWER – The foundation of our dish! When selecting your cauliflower, always aim for a head that is uniformly creamy white or off-white. The ideal head should feel firm and compact, with tightly packed florets. Avoid any with brown spots or a soft texture, as these indicate spoilage. The key to perfect smashed cauliflower is how you cook it initially. You want the florets to be tender enough to be easily pierced with a knife but firm enough to hold their shape without falling apart. The goal is a gentle smash, not a mush! Overcooked cauliflower will become watery and lose its ability to crisp up properly.
- OLIVE OIL – A good quality extra virgin olive oil is essential for achieving that desirable golden crisp and adding a rich, fruity note. It helps the seasonings adhere to the cauliflower and promotes even browning. You can substitute with other high-smoke-point oils like avocado oil or even melted butter for a richer flavor profile.
- GRATED PARMESAN CHEESE – This is where a significant portion of the savory, umami flavor comes from, and it contributes greatly to the crispy crust. Freshly grated parmesan will always yield the best results, melting beautifully and forming a delectable cheesy crisp. If fresh isn’t available, pre-grated works, but choose a good quality brand. For a dairy-free or vegan option, nutritional yeast can be a great substitute, offering a similar savory, cheesy flavor. Alternatively, Pecorino Romano cheese can be used for a saltier, sharper taste.
- KOSHER SALT & BLACK PEPPER – These fundamental seasonings bring out the natural sweetness of the cauliflower and balance the richness of the parmesan. Kosher salt has larger crystals that are easy to control and provide a clean, briny flavor. Freshly ground black pepper offers a pungent aroma and a subtle heat. Adjust quantities to your taste preferences. You can also opt for garlic salt for an extra layer of flavor from the start.
Optional Flavor Boosters:
Cauliflower is incredibly versatile, so feel free to personalize your smashed florets with additional seasonings:
- Garlic Powder/Granules: Enhance the savory profile.
- Onion Powder: Adds a subtle, sweet onion flavor.
- Smoked Paprika: For a touch of smoky depth and color.
- Red Pepper Flakes: If you love a little heat.
- Dried Herbs: Italian seasoning, oregano, thyme, or rosemary can infuse aromatic notes.
- Everything Bagel Seasoning: For a unique, nutty, and savory crunch.
- Lemon Zest: A bright, fresh finish when served.
How to Make Perfectly Crispy Smashed Cauliflower: A Step-by-Step Guide
These step-by-step photos and instructions are here to help you visualize how to make this recipe. You can Jump to Recipe to get the printable version of this recipe, complete with measurements and instructions at the bottom.
- Preheat Oven: Begin by preheating your oven to 425 F (220 C). Allowing your oven to fully preheat ensures even cooking and crisping from the moment the cauliflower enters the oven.
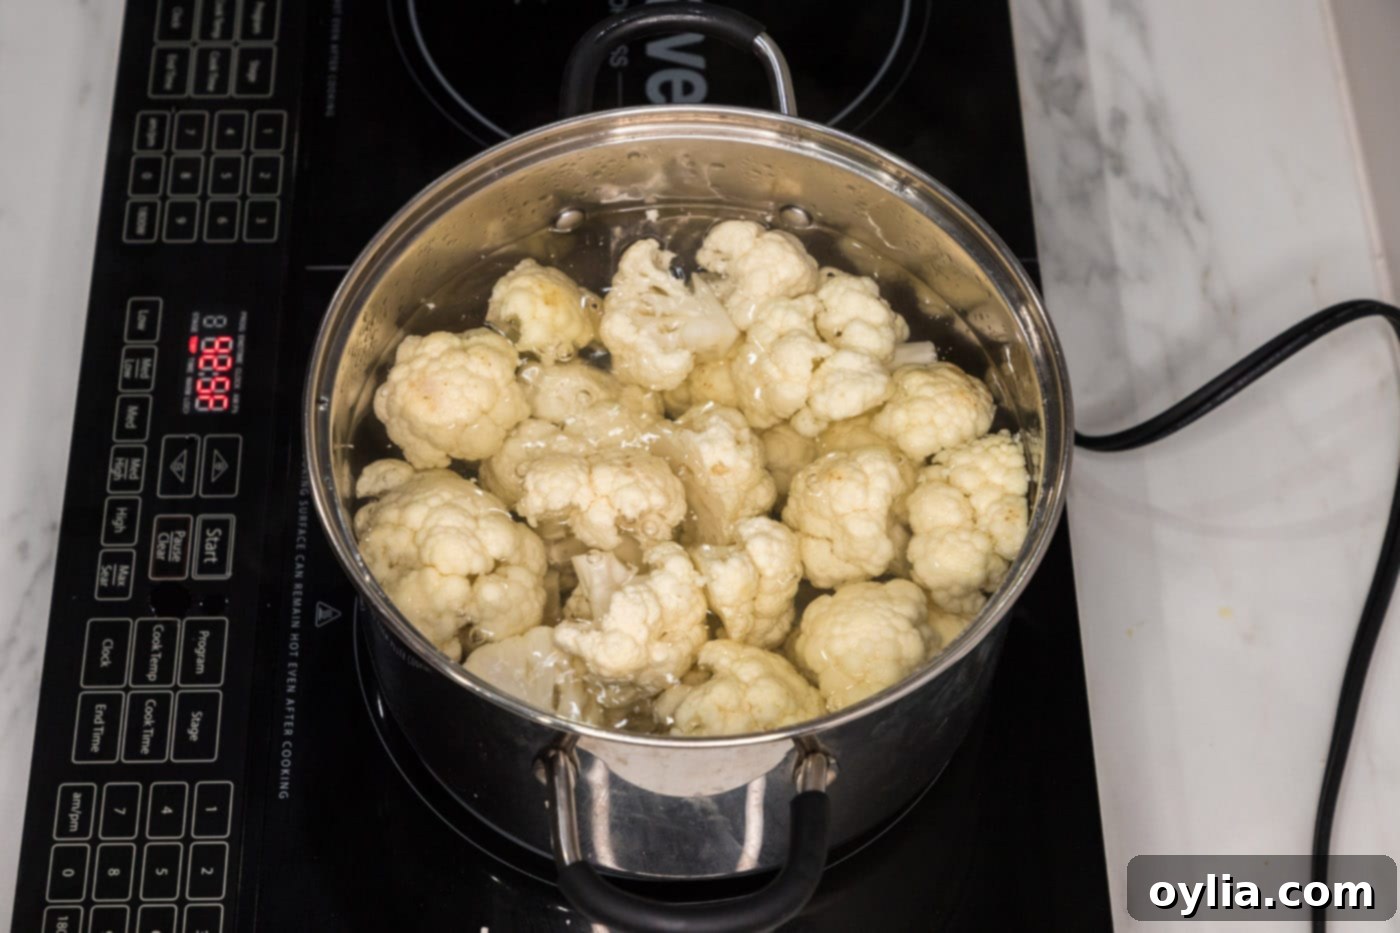
- Boil Water: Fill a large stock pot approximately 3/4 full with water. Bring this water to a rolling boil over medium-high heat. A large pot ensures enough space for the cauliflower to cook evenly.
- Prepare and Cook Cauliflower: Carefully cut the head of cauliflower into large, uniform florets. Once the water is boiling vigorously, add the cauliflower florets to the pot. Cook for just 1 minute after the water returns to a boil, or until the florets are tender enough to be easily pierced with a knife, but still hold their shape. The goal is to cook them just enough to soften, not to make them mushy. Immediately drain the cauliflower thoroughly through a colander, shaking off excess water. Excess moisture will prevent crisping.

- Prepare Baking Sheet: Lightly spray a large baking sheet with cooking spray. For best results and easier cleanup, you can also line it with parchment paper. This prevents sticking and helps with that desired crispiness.

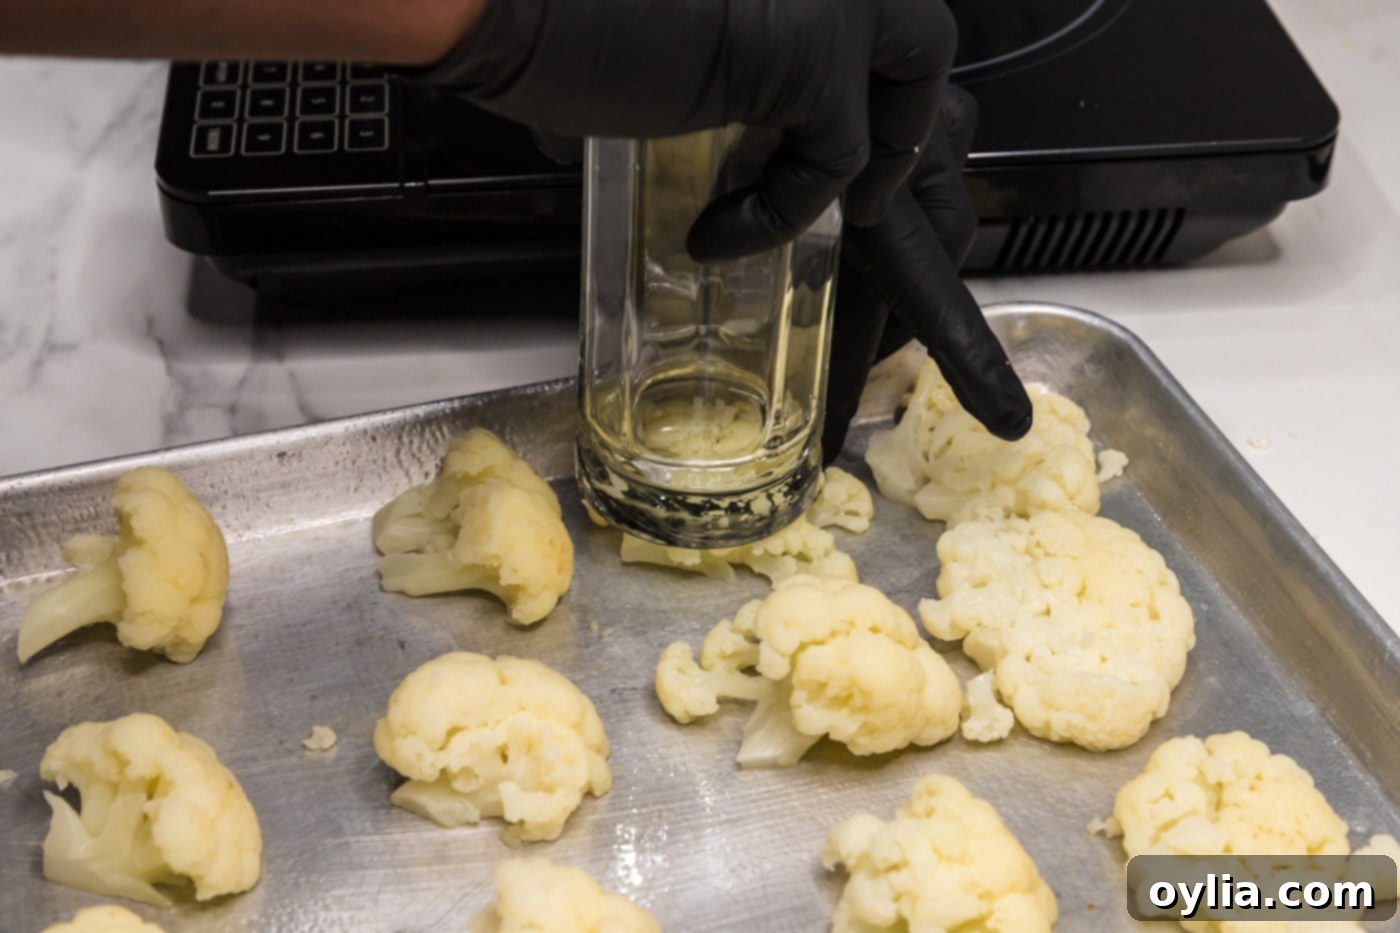
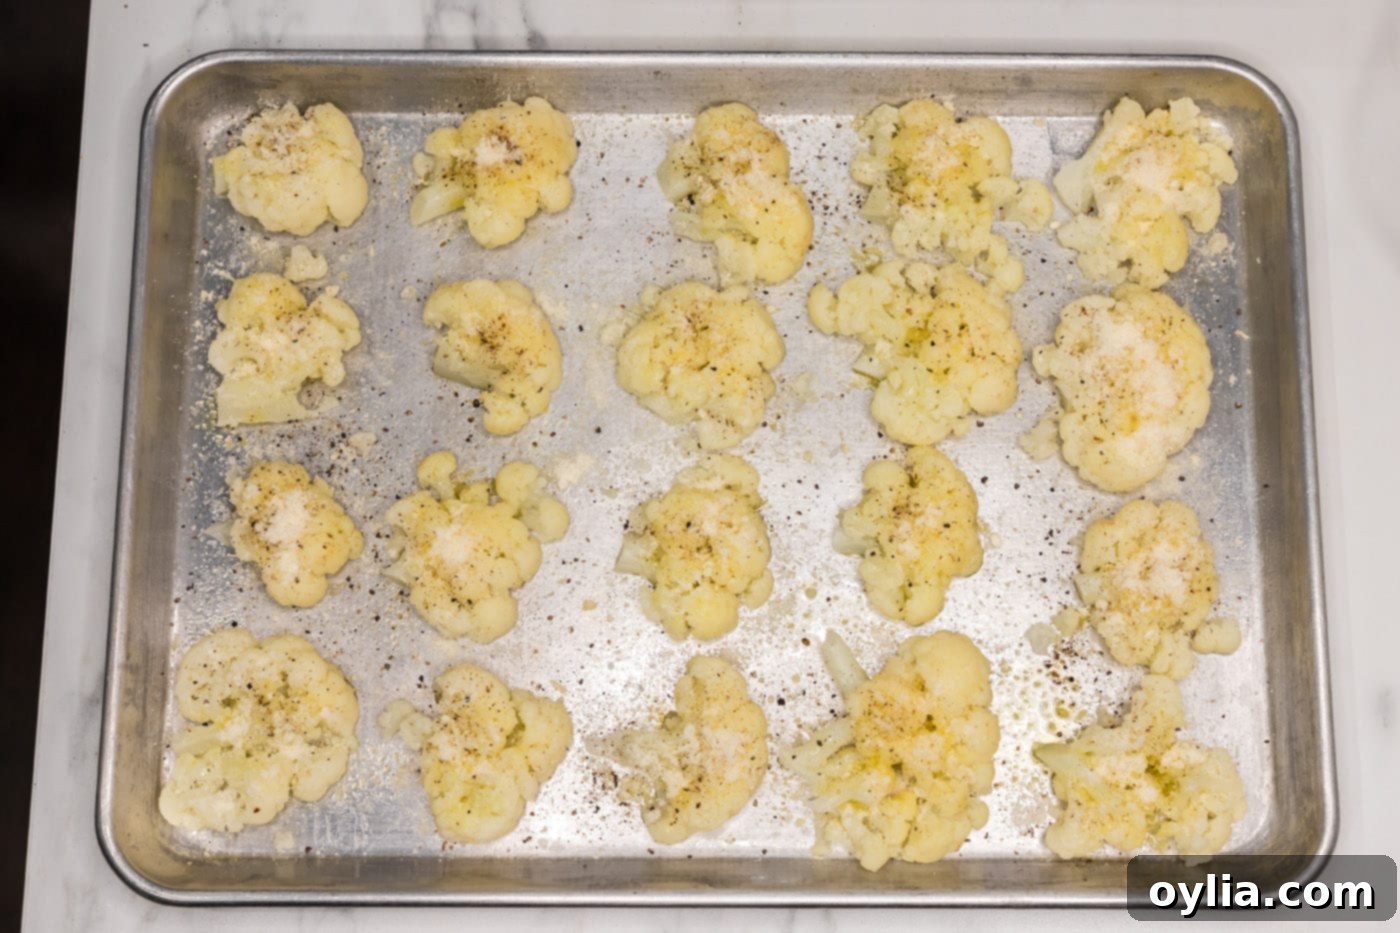
- Smash the Florets: Arrange the drained cauliflower florets onto the prepared baking sheet, ensuring they are spaced well apart. Using the flat bottom of a sturdy drinking glass or a potato masher, gently but firmly flatten each floret until it forms a disc-like shape, about 1/2 to 3/4 inch thick. Be careful not to mash them too hard or they will fall apart. The key is to create more surface area for crisping.

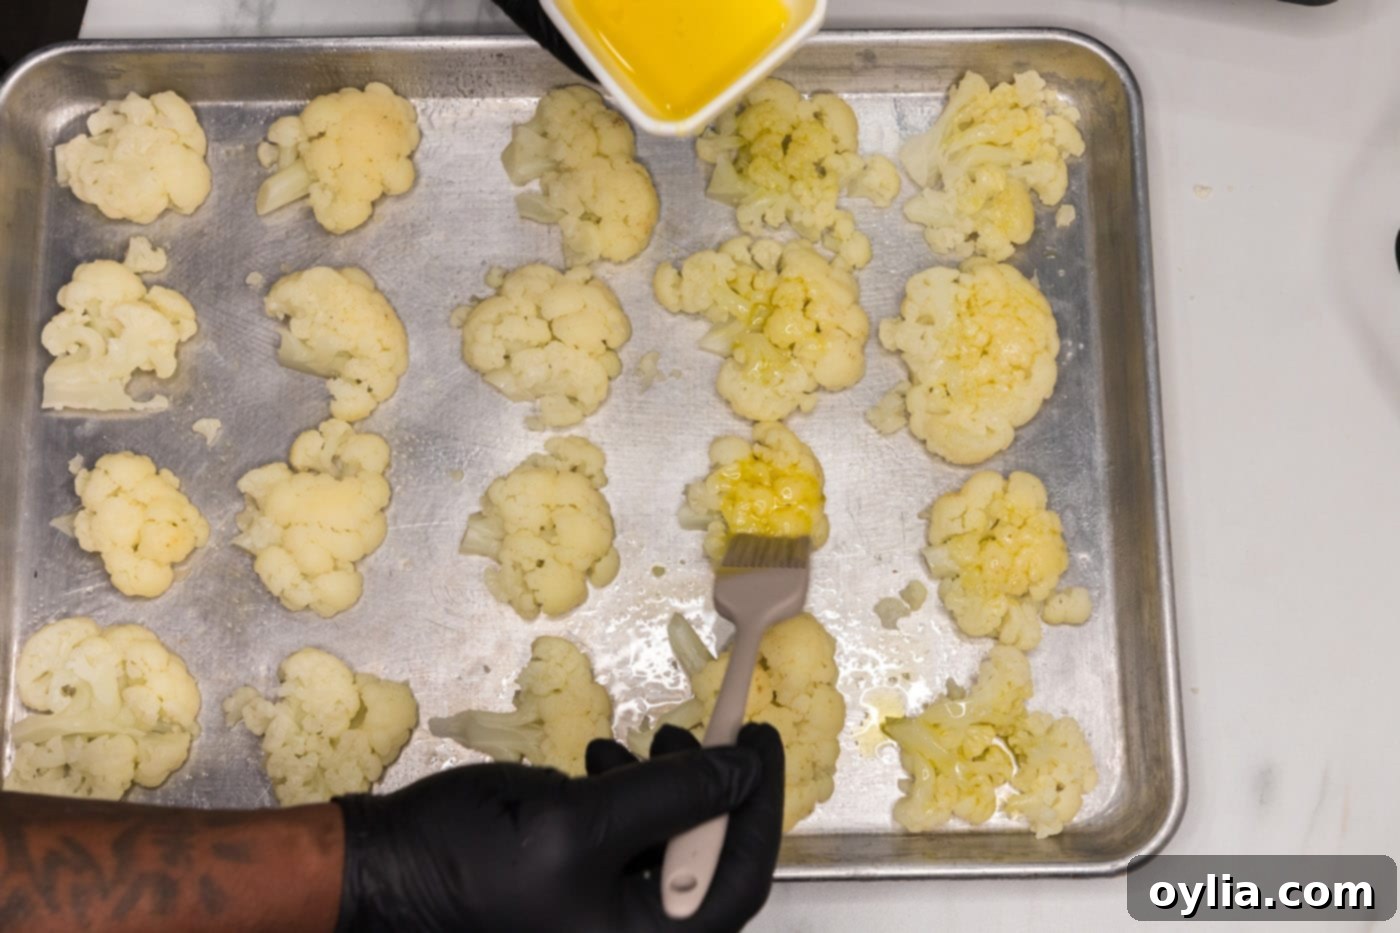
- Season Generously: Lightly brush the tops of the smashed cauliflower with olive oil. Then, evenly sprinkle them with garlic salt (or kosher salt and garlic powder) and black pepper. Finally, generously top each floret with grated parmesan cheese. Don’t skimp on the cheese, as it forms a delicious, crispy crust!


- Bake to Perfection: Place the baking sheet in the preheated oven and bake for 15-17 minutes. During this time, the cauliflower will soften further, and the edges will start to turn golden brown.
- Broil for Extra Crispiness: For that ultimate crispy finish, turn your oven’s broiler on high. Carefully place the baking sheet under the broiler for an additional 2 minutes, or until the parmesan is bubbly and golden brown, and the cauliflower edges are nicely charred. Keep a close eye on it, as broilers can quickly burn food.
Frequently Asked Questions & Expert Tips for Smashed Cauliflower
To maintain freshness, store any leftover smashed cauliflower in an airtight container in the refrigerator for up to 4 days. While it won’t be as crispy as when freshly made, the flavors will still be fantastic.
The best way to reheat smashed cauliflower and bring back its delicious crispness is in a preheated 350°F (175°C) oven or toaster oven until thoroughly warmed through. Alternatively, an air fryer set to its reheat function or 350°F for a few minutes works wonders. Avoid the microwave if you want to prevent sogginess – dry heat is key to reviving that crispy texture!
We’ve found that using the flat bottom of a sturdy drinking glass or a dedicated potato masher works exceptionally well for smashing the cauliflower florets. The most crucial tip here is to avoid overcooking the cauliflower during the initial boiling stage. If the florets are too soft, they will turn into “smush” rather than retaining their shape for a proper “smash.” You want them just tender enough to be pierced easily with a knife, but still firm. This perfect tender-crisp stage ensures they will flatten beautifully and achieve that desired crispy exterior when roasted.
While best served fresh for maximum crispiness, you can partially prepare this dish in advance. Boil and smash the cauliflower florets, then let them cool completely. Store them in an airtight container in the refrigerator for up to 2 days. When ready to cook, proceed with brushing with oil, seasoning, and roasting as directed in the recipe, adding a few extra minutes to the baking time if starting from cold.
Several factors can prevent crispiness. Ensure you haven’t overcooked the cauliflower initially (it needs to be firm enough to smash). Also, make sure to drain it very well – excess moisture is the enemy of crispiness. Don’t overcrowd the baking sheet; cauliflower needs space to roast, not steam. If your pan is too full, use two sheets. Finally, a hot oven (425°F) and the final broiling step are crucial for achieving that golden, crispy exterior.

Delicious Serving Suggestions for Smashed Cauliflower
The beauty of this crispy smashed cauliflower lies in its incredible versatility. It makes an outstanding low-carb side dish that pairs wonderfully with a wide variety of main courses, enhancing any meal with its flavorful crunch. Here are some ideas to inspire your next dinner:
- With Roasted Meats: Serve alongside succulent roasted chicken, a perfectly grilled steak, tender pork chops, or a juicy pot roast. The crispiness of the cauliflower provides a lovely contrast to the richness of the meat.
- With Seafood: It’s a light and flavorful accompaniment to baked salmon, pan-seared cod, or grilled shrimp. The mild flavor of cauliflower won’t overpower delicate seafood.
- As an Appetizer: These versatile bites are so good, they can easily stand alone as an appetizer! Arrange them on a platter with a selection of dipping sauces. Try a side of creamy yum yum sauce, a zesty garlic aioli, a cooling ranch dressing, or a spicy sriracha mayo.
- Vegetarian Meal: Combine with a hearty lentil loaf, black bean burgers, or a vibrant quinoa salad for a complete and satisfying vegetarian meal.
To add a final flourish, consider garnishing your finished smashed cauliflower. A fresh squeeze of lemon juice will brighten all the flavors, while a sprinkle of fresh chopped parsley or chives adds a pop of color and herbaceous freshness. A dusting of red pepper flakes can also be added right before serving for those who enjoy an extra kick.
More Amazing Cauliflower Recipes to Try
Cauliflower is truly a culinary chameleon! If you enjoyed this smashed cauliflower recipe, you’ll love exploring these other delicious ways to prepare this incredibly versatile vegetable:
- Mashed Cauliflower: A creamy, comforting low-carb alternative to mashed potatoes.
- Cauliflower Pizza Bites: Fun, flavorful, and a healthier take on your favorite pizza flavors.
- Spicy Roasted Cauliflower: For those who love a bit of heat and bold flavors.
- Mexican Cauliflower Rice: A fantastic low-carb rice alternative, perfect for tacos, burritos, or as a vibrant side.
I love to bake and cook and share my kitchen experience with all of you! Remembering to come back each day can be tough, that’s why I offer a convenient newsletter every time a new recipe posts. Simply subscribe and start receiving your free daily recipes!

Smashed Cauliflower
IMPORTANT – There are often Frequently Asked Questions within the blog post that you may find helpful. Simply scroll back up to read them!
Print It
Pin It
Rate It
Save ItSaved!
Ingredients
- 1 large head of cauliflower
- 2 Tablespoons olive oil
- 2 Tablespoons grated parmesan cheese
- 2 teaspoons kosher salt
- 1 teaspoon black pepper
Things You’ll Need
-
Stockpot
-
Colander
-
Baking sheet
-
Potato Masher or a drinking glass with a flat bottom
Before You Begin
- Choose a cauliflower head that is creamy white or off-white in color. The head should be firm and compact with tightly packed florets. Avoid any brown spots.
- When you boil the cauliflower, you want it tender enough to pierce but not so soft that it begins falling apart. The goal is to gently smash the florets, not mush them! Overcooked cauliflower will be watery and prevent crisping.
- Feel free to customize! You can easily spice these up with a dash of red pepper flakes, a sprinkle of Cajun seasoning, garlic powder, onion powder, or your favorite dried herbs.
Instructions
-
Preheat oven to 425 F (220 C).
-
Fill a large stock pot 3/4 full with water. Bring to a boil over medium-high heat.
-
Cut cauliflower into large florets. When water is boiling, add cauliflower. When water comes back to a boil cook for 1 minute, or until tender enough to pierce with a knife but still firm. Drain thoroughly through a colander.
-
Spray a baking sheet with cooking spray (or line with parchment paper).
-
Place florets onto the prepared baking sheet, leaving space between each. Use the flat end of a drinking glass or a potato masher to gently flatten the florets into discs, about 1/2 to 3/4 inch thick.
-
Brush tops of cauliflower with olive oil and season evenly with kosher salt and black pepper (or garlic salt). Top generously with grated parmesan cheese.
-
Bake in the preheated oven for 15-17 minutes, until edges are golden.
-
Turn oven up to broil. Place the baking sheet under the broiler for 2 minutes, or until the parmesan is bubbly and golden brown, watching carefully to prevent burning. Serve immediately.
Expert Tips & FAQs
- Store leftover smashed cauliflower in an airtight container in the refrigerator for up to 4 days.
- To reheat and re-crisp, warm in a 350F (175C) oven or air-fryer until heated through and crispy. Avoid microwaving to prevent sogginess.
- Ensure cauliflower is not overcooked during boiling – it should be tender-crisp. This is key for proper smashing and crisping in the oven.
- Don’t overcrowd the baking sheet. Give each floret enough space to roast, not steam, for optimal crispiness.
Nutrition
The recipes on this blog are tested with a conventional gas oven and gas stovetop. It’s important to note that some ovens, especially as they age, can cook and bake inconsistently. Using an inexpensive oven thermometer can assure you that your oven is truly heating to the proper temperature. If you use a toaster oven or countertop oven, please keep in mind that they may not distribute heat the same as a conventional full sized oven and you may need to adjust your cooking/baking times. In the case of recipes made with a pressure cooker, air fryer, slow cooker, or other appliance, a link to the appliances we use is listed within each respective recipe. For baking recipes where measurements are given by weight, please note that results may not be the same if cups are used instead, and we can’t guarantee success with that method.

