Irresistible Sex in a Pan: The Ultimate Layered Chocolate Dream Dessert
Prepare yourself for a truly unforgettable dessert experience! Known by many delightful names such as Chocolate Dream Dessert, Robert Redford Dessert, or even Better Than Anything Dessert, this layered confection is an absolute showstopper. “Sex in a Pan” is more than just a dessert; it’s a sensory journey, renowned for its incredible blend of textures and flavors that captivate from the very first bite. It’s the kind of sweet treat that consistently receives rave reviews, disappears quickly, and leaves everyone craving more. Forget about saving leftovers; once you serve this, it vanishes!
If you’re a devoted chocolate enthusiast, you’ll also adore our popular Chocolate Lasagna. Make sure to check out that recipe for another fantastic no-bake chocolate creation!
Why This Easy Layered Dessert is a Guaranteed Hit
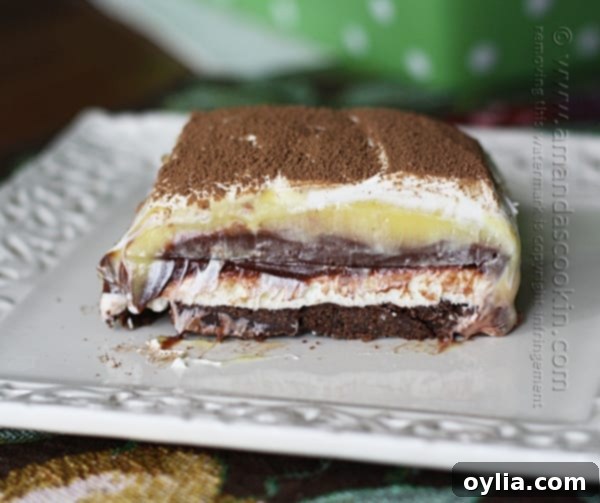
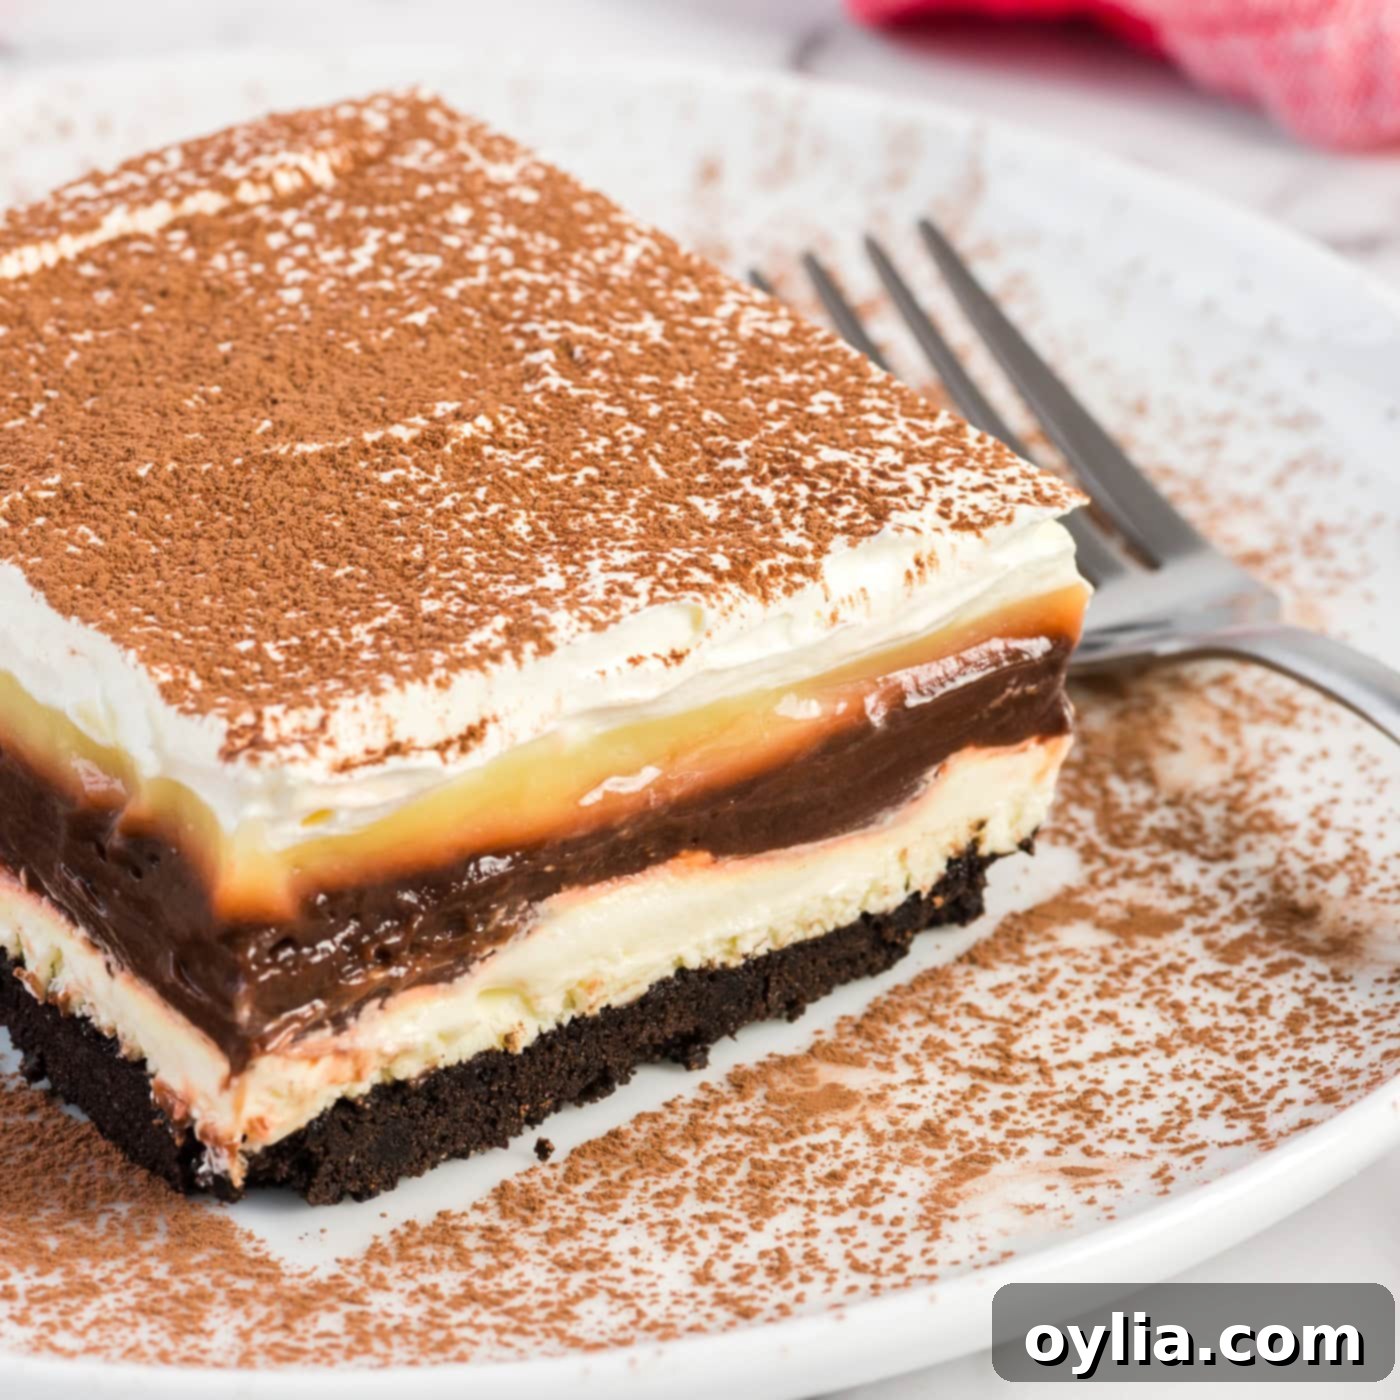
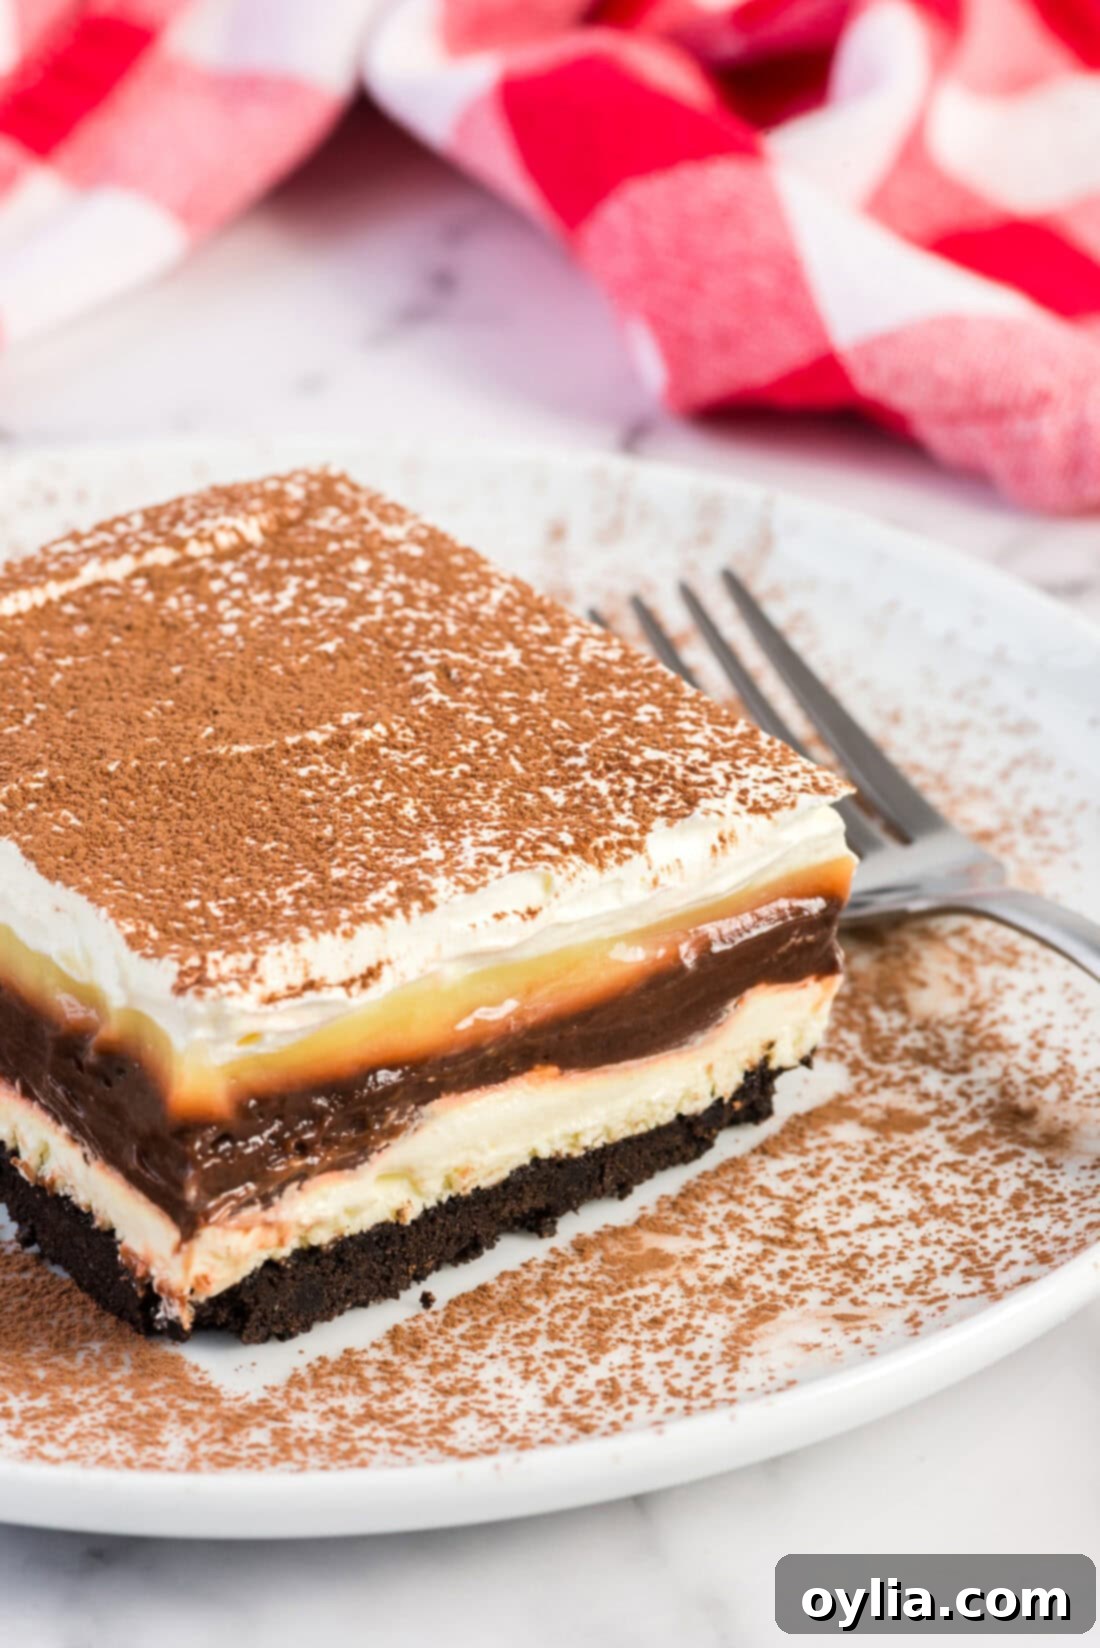
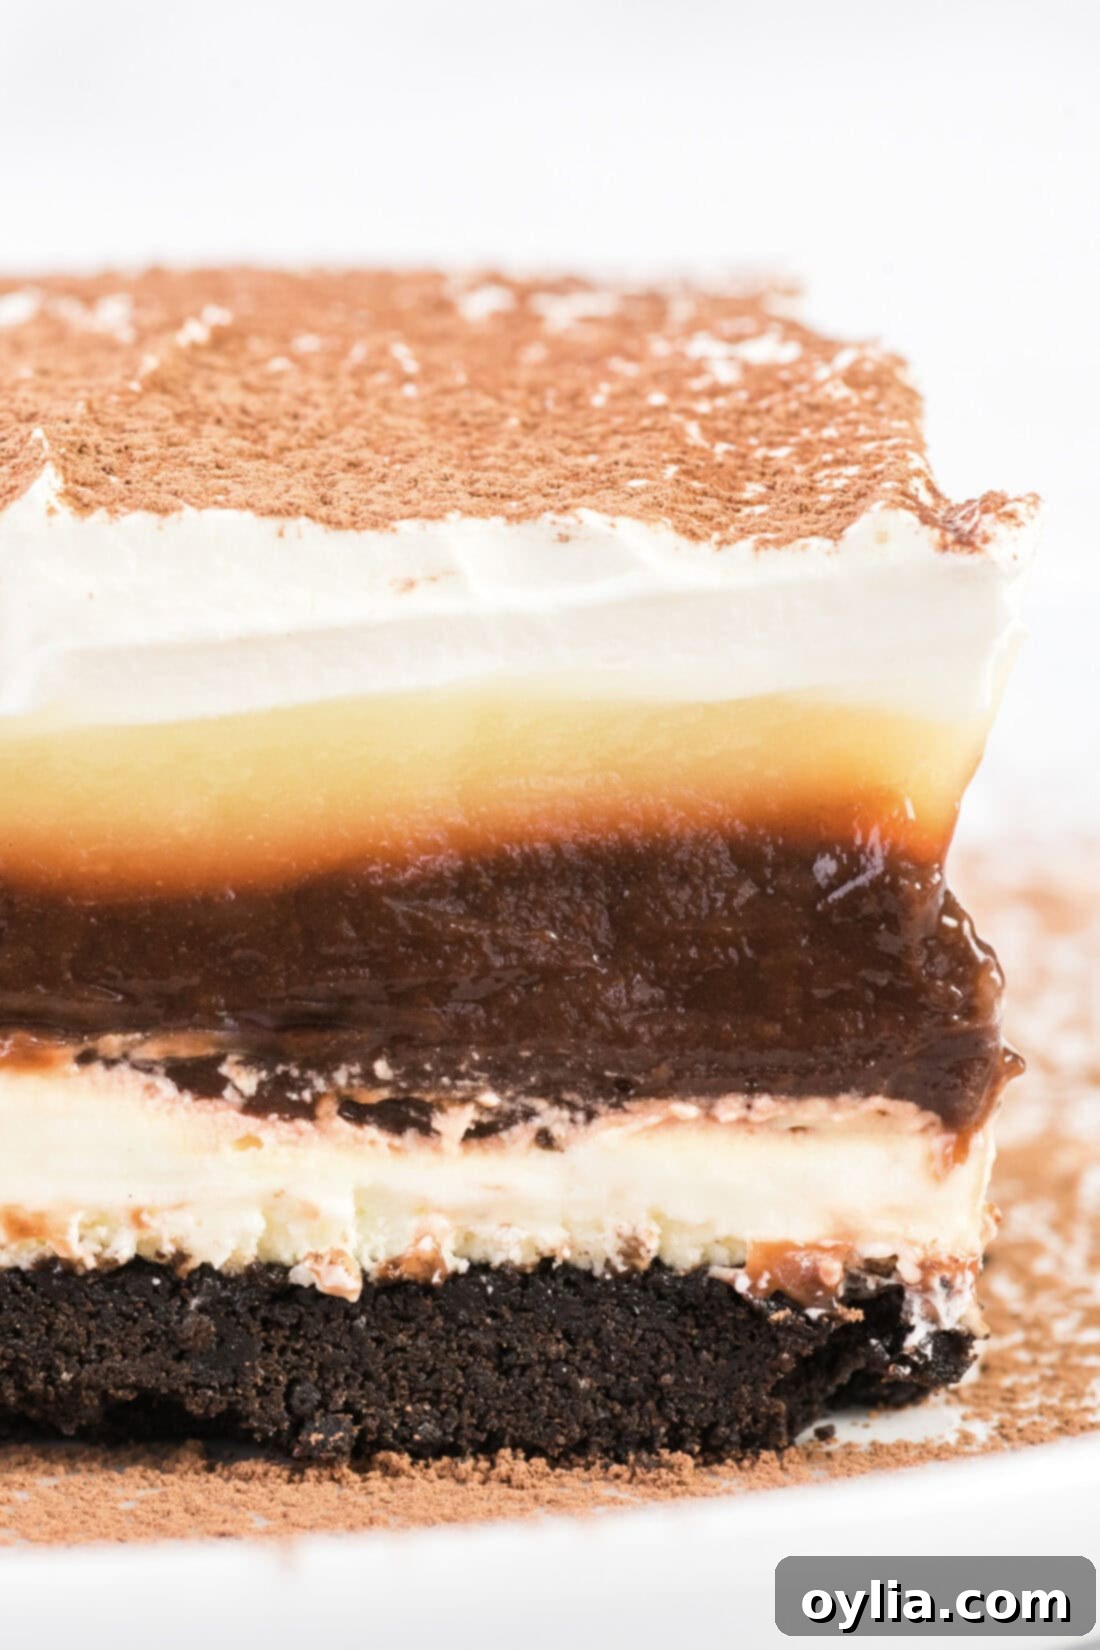
What makes Sex in a Pan so incredibly popular and irresistible? It all comes down to its perfectly balanced layers and straightforward preparation. Unlike many complex desserts, this recipe builds on simple, accessible ingredients to create a truly decadent experience. At its heart are four essential layers:
- A Tender, Crunchy Crust: Typically made from chocolate graham cracker crumbs and butter, this forms the foundational base, offering a delightful contrast to the softer layers above.
- Sweet & Tangy Cream Cheese Layer: A rich, creamy blend of softened cream cheese, sifted powdered sugar, and a hint of whipped topping creates a luscious, slightly tangy middle layer that cuts through the sweetness beautifully.
- Double Pudding Perfection: Two distinct pudding layers – typically rich chocolate and smooth French vanilla – are spread over the cream cheese, adding depth of flavor and a silky texture. The instant puddings ensure quick setting and effortless assembly.
- Light & Fluffy Whipped Topping: A generous layer of Cool Whip crowns the dessert, providing a light, airy finish that perfectly complements the denser layers below.
This harmonious combination of textures – from crunchy to creamy to smooth and fluffy – makes every spoonful a delight. It’s a no-bake wonder (after the quick crust bake) that requires minimal effort but delivers maximum impact. If you’re searching for an easy, crowd-pleasing dessert that’s virtually impossible to resist, look no further. Just a friendly warning: if you’re hoping for leftovers, you might want to hide a piece for yourself before it even hits the table!
Key Ingredients for Your Perfect Sex in a Pan Dessert
Creating this magnificent layered dessert is surprisingly simple, thanks to a list of easily found ingredients. For precise measurements and a full printable recipe, be sure to scroll to the recipe card at the end of this post. Here’s a closer look at what you’ll need to assemble this dreamy treat:
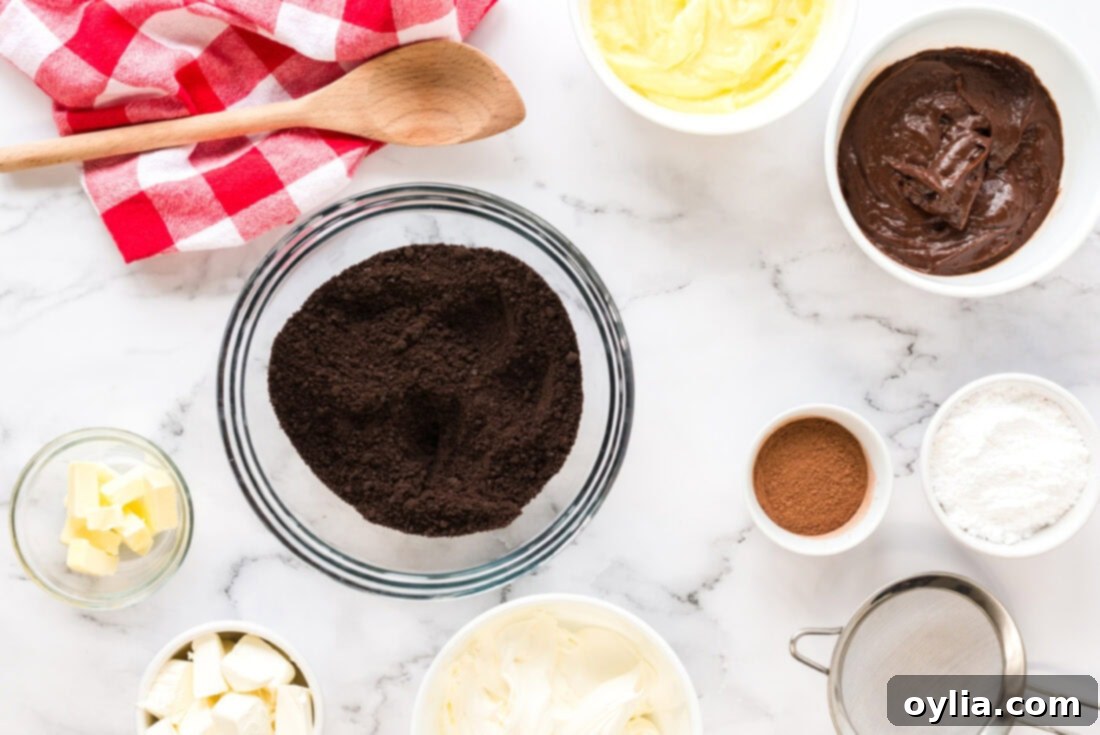
For the Crunchy Base:
- Chocolate Graham Cracker Crumbs: These form the sweet, chocolatey foundation. You can crush them yourself from whole crackers or buy pre-crushed crumbs.
- Unsalted Butter: Melted butter binds the crumbs together, creating a firm and flavorful crust.
For the Creamy Layers:
- Instant French Vanilla Pudding: One of the two stars of the pudding layers. Instant varieties are crucial for a quick set.
- Instant Chocolate Pudding: The second pudding layer, adding deep chocolate flavor. Again, ensure it’s instant.
- Milk: Used to prepare both pudding mixes, ensuring they set up perfectly.
- Cream Cheese: Softened to room temperature, this creates a smooth, lump-free, and delightfully tangy layer when whipped.
- Powdered Sugar: Essential for sweetening the cream cheese layer and achieving that smooth consistency.
- Cool Whip (divided): This versatile whipped topping is incorporated into the cream cheese layer for lightness and also used as the crowning, fluffy top layer.
For the Elegant Garnish:
- Sifted Cocoa Powder: A final dusting of cocoa powder adds a sophisticated touch and an extra hint of chocolate flavor, making the dessert visually appealing.
Ingredient Notes & Helpful Substitution Ideas
- POWDERED SUGAR: Always remember to sift your powdered sugar! This simple step is key to preventing lumps and ensuring your cream cheese layer is incredibly smooth and silky. It makes a significant difference in the final texture of the dessert.
- PUDDING: For this particular recipe, instant pudding is a must. It’s designed to set quickly without any cooking, which is essential for the no-bake nature of these layers. Using cook-and-serve pudding will not yield the same results and will likely result in a runny dessert. You can experiment with different instant pudding flavors, such as white chocolate, cheesecake, or even pistachio, for a unique twist.
- CRUMBS: While chocolate graham cracker crumbs are traditional, you can easily substitute them with crushed Oreo cookies (cream filling and all) for an even richer chocolate flavor. Alternatively, regular graham cracker crumbs combined with a tablespoon or two of cocoa powder can work in a pinch.
- CREAM CHEESE: Ensure your cream cheese is fully softened to room temperature before mixing. This will prevent lumps and ensure a smooth, creamy texture for your second layer. Full-fat cream cheese provides the best richness and stability, but a reduced-fat version can be used if preferred, though the texture might be slightly lighter.
- COOL WHIP: Cool Whip is chosen for its stability and convenience. If you prefer, you can make homemade whipped cream. However, be aware that homemade whipped cream can soften more quickly, especially if the dessert sits out for extended periods. For best results with homemade whipped cream, stabilize it with a bit of powdered sugar or cream of tartar.
Step-by-Step Guide to Crafting Sex in a Pan
These step-by-step photos and detailed instructions are here to guide you through making this incredible dessert. For a convenient printable version of the complete recipe, including all measurements and instructions, you can Jump to Recipe at the bottom of this page.
- Prepare the Pan and Oven: Begin by preheating your oven to 350°F (175°C). Lightly spray a 9×9 inch baking pan with cooking spray to ensure easy removal of your dessert later.
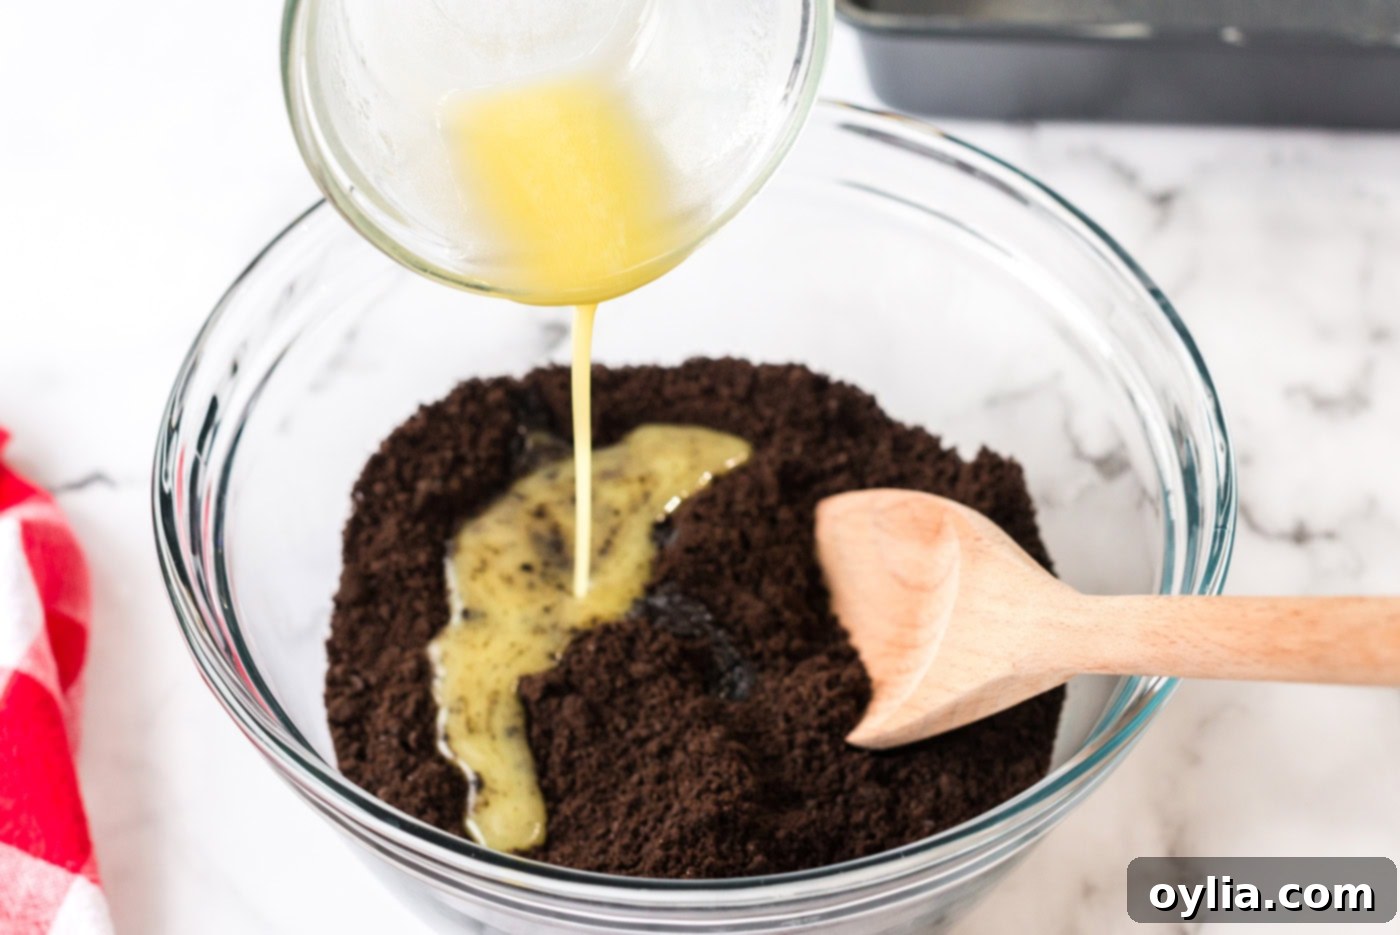
- Create the Crust: In a microwave-safe bowl, melt the unsalted butter and allow it to cool slightly. In a separate bowl, combine the chocolate graham cracker crumbs (or cookie crumbs) with the cooled melted butter. Toss these together thoroughly until all the crumbs are moistened and well incorporated. This ensures an even, firm crust.

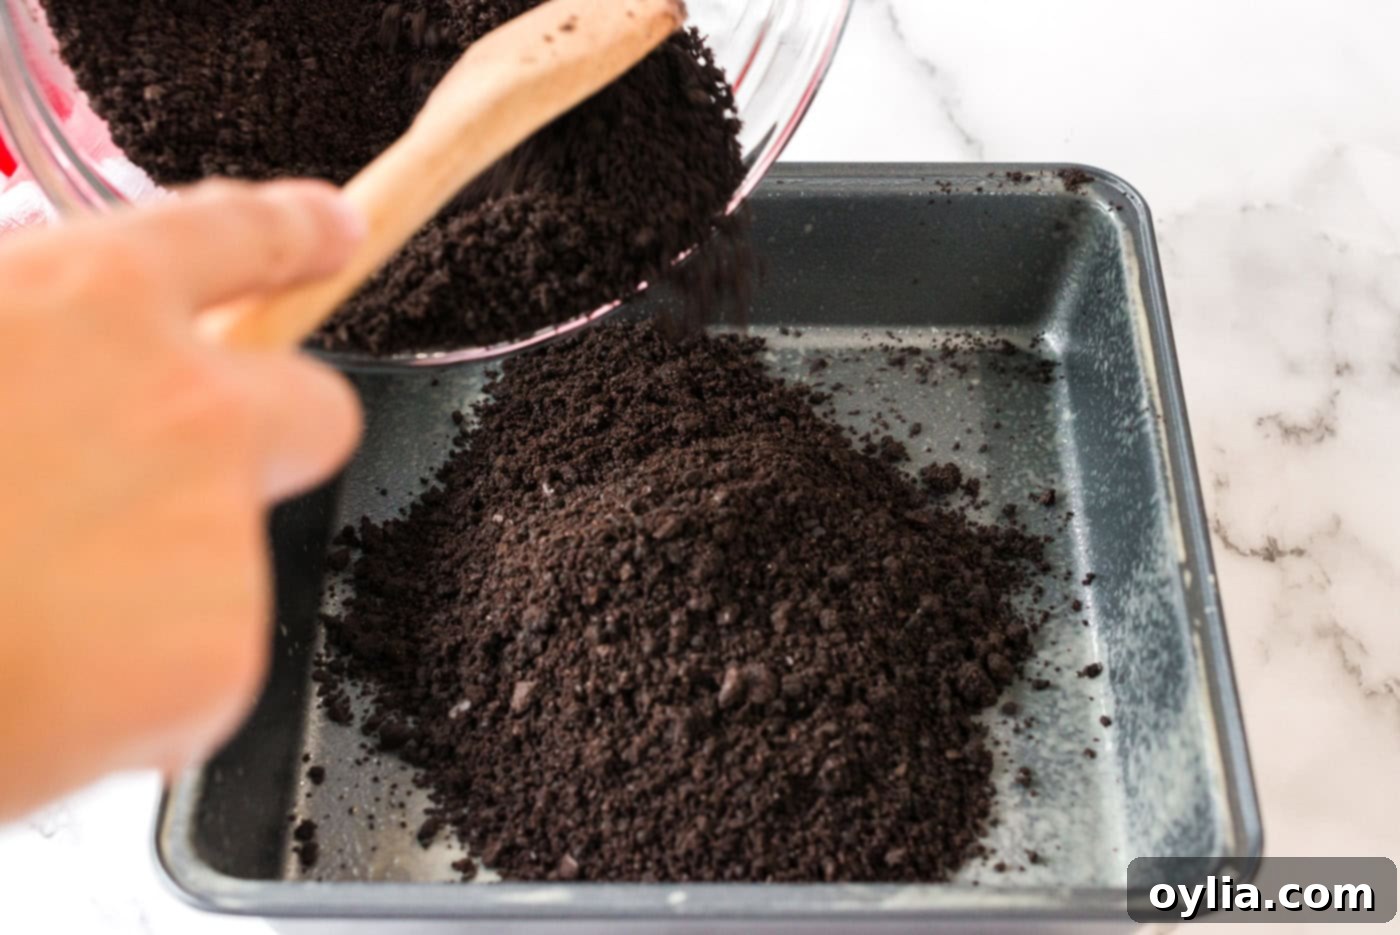
- Bake and Cool the Crust: Firmly press the crumb mixture into the prepared 9×9 inch square pan, ensuring an even layer across the bottom. Bake this crust in the preheated oven for 8-10 minutes. Once baked, remove the pan and place it on a wire rack to cool completely. A completely cooled crust is crucial before adding the next layers.

- Prepare the Puddings: While the crust cools, prepare each of your instant pudding mixes. Use separate bowls for the French vanilla and chocolate puddings. For each pudding, mix with 1 cup of milk as per package directions, or until well combined and slightly thickened. Place both bowls in the refrigerator to chill and set further until you’re ready to layer them.
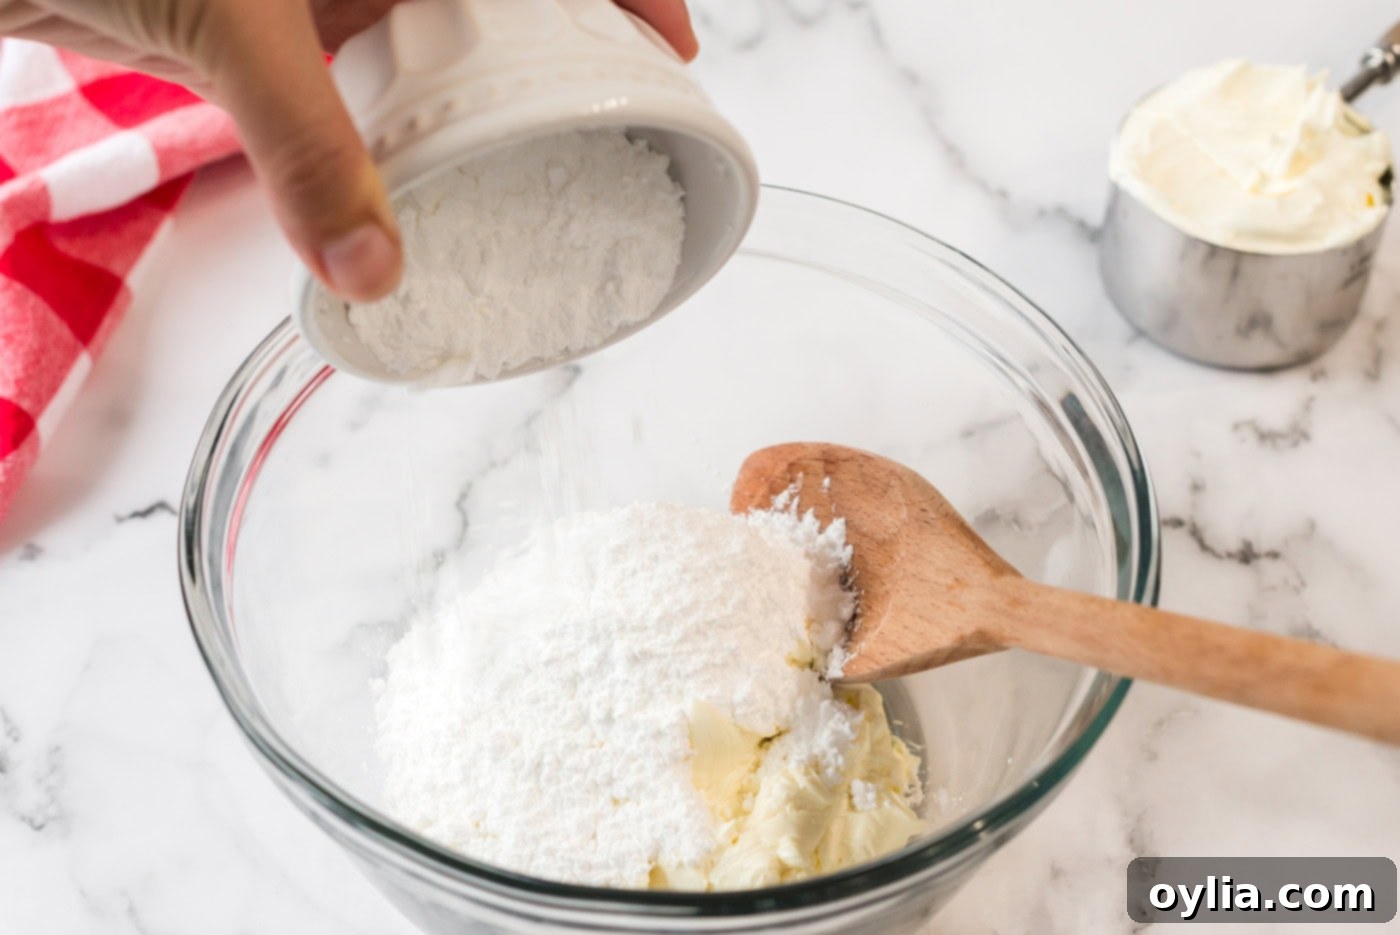
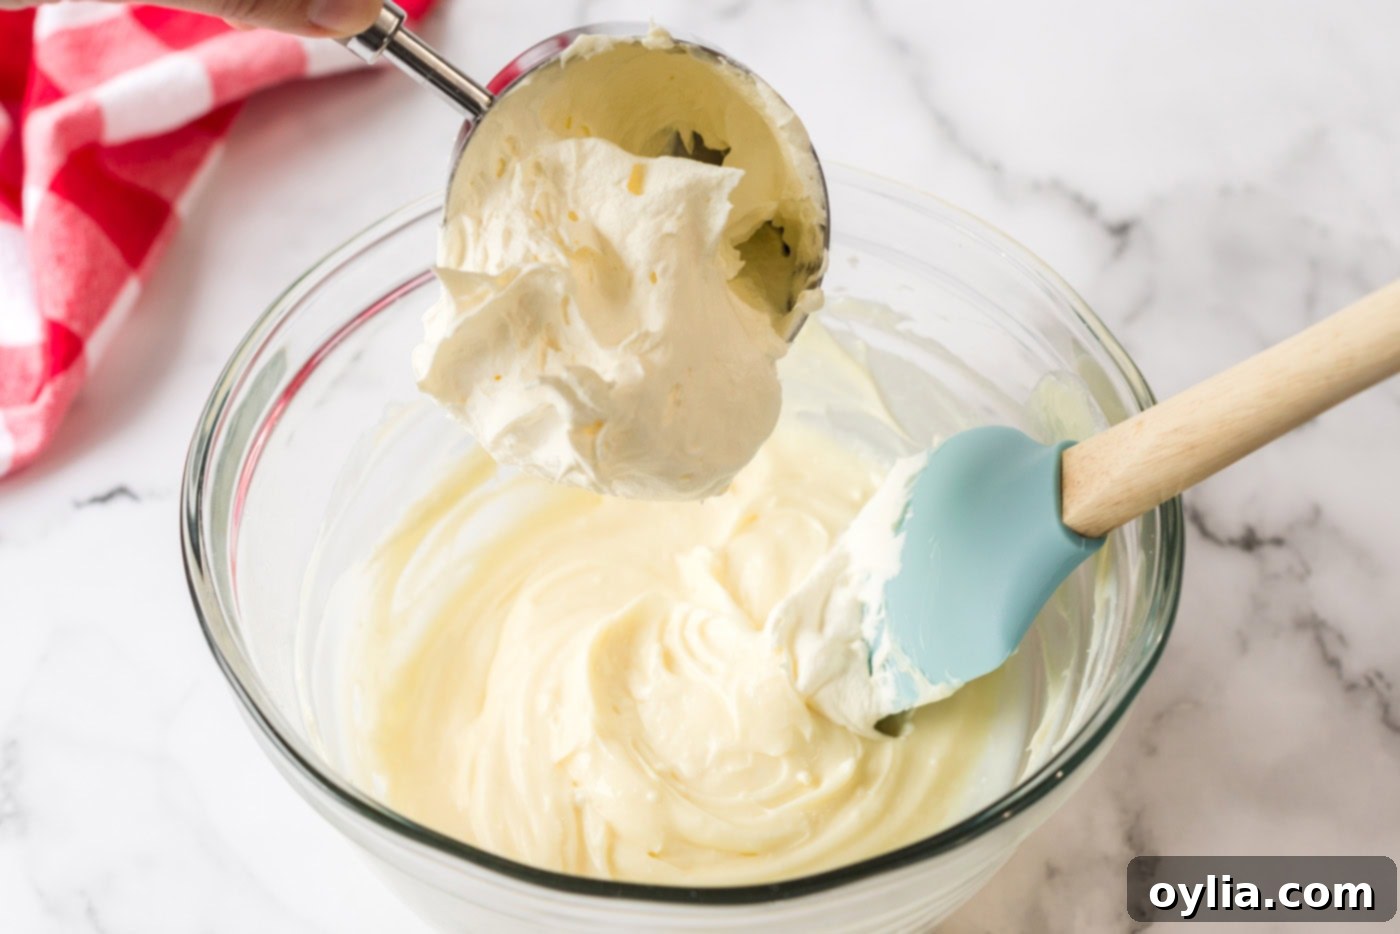
- Mix the Cream Cheese Layer: In a large mixing bowl, combine the softened cream cheese with the sifted powdered sugar. Beat these together using an electric mixer until the mixture is light, fluffy, and completely creamy with no lumps. Next, gently fold in one cup of Cool Whip into the cream cheese mixture using a rubber spatula until thoroughly combined. Set this creamy layer aside, keeping it chilled if your kitchen is warm.


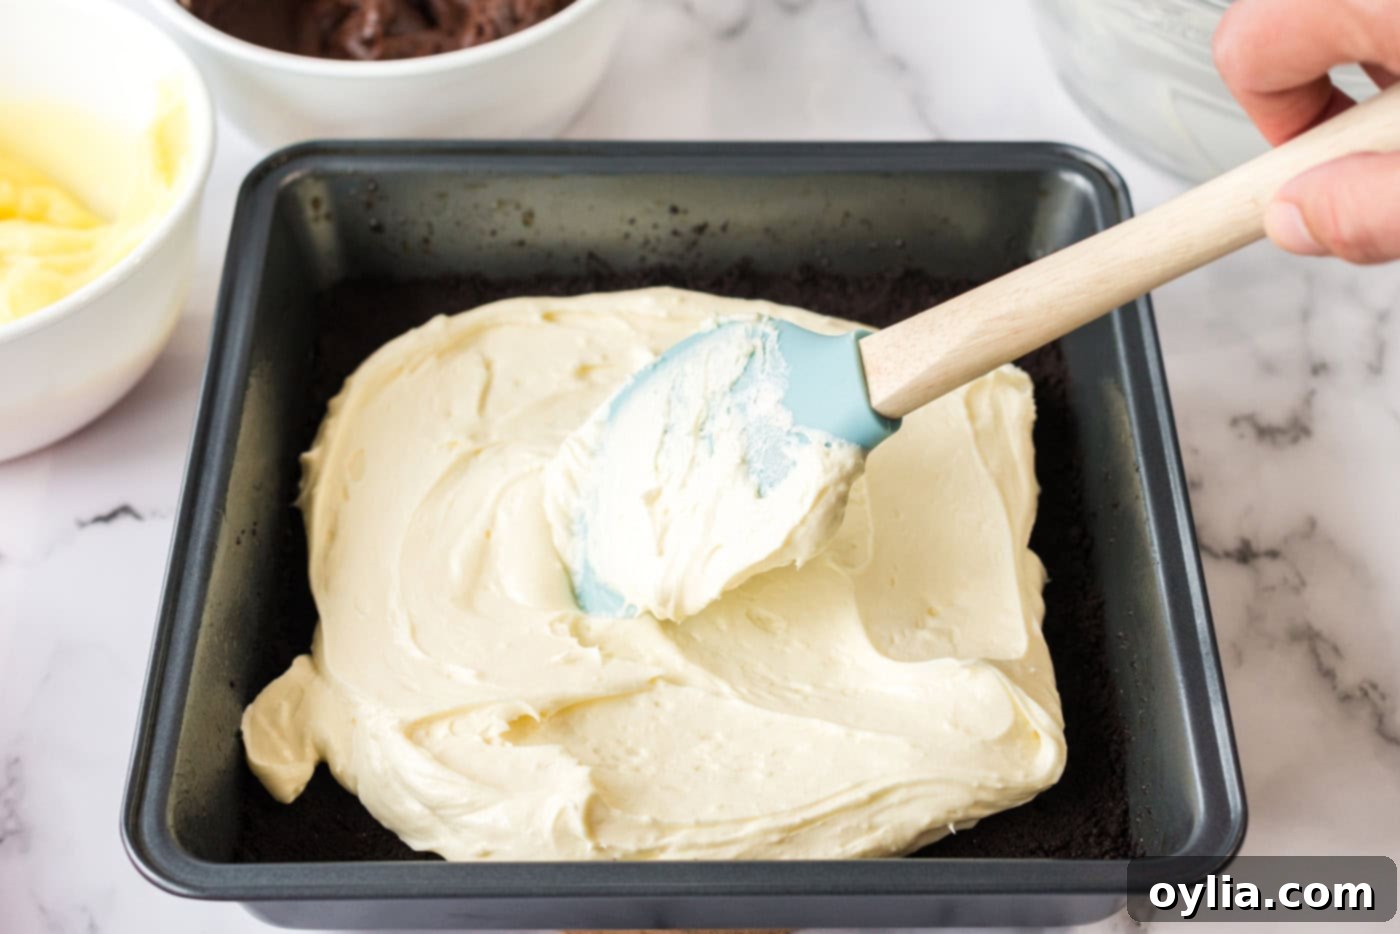
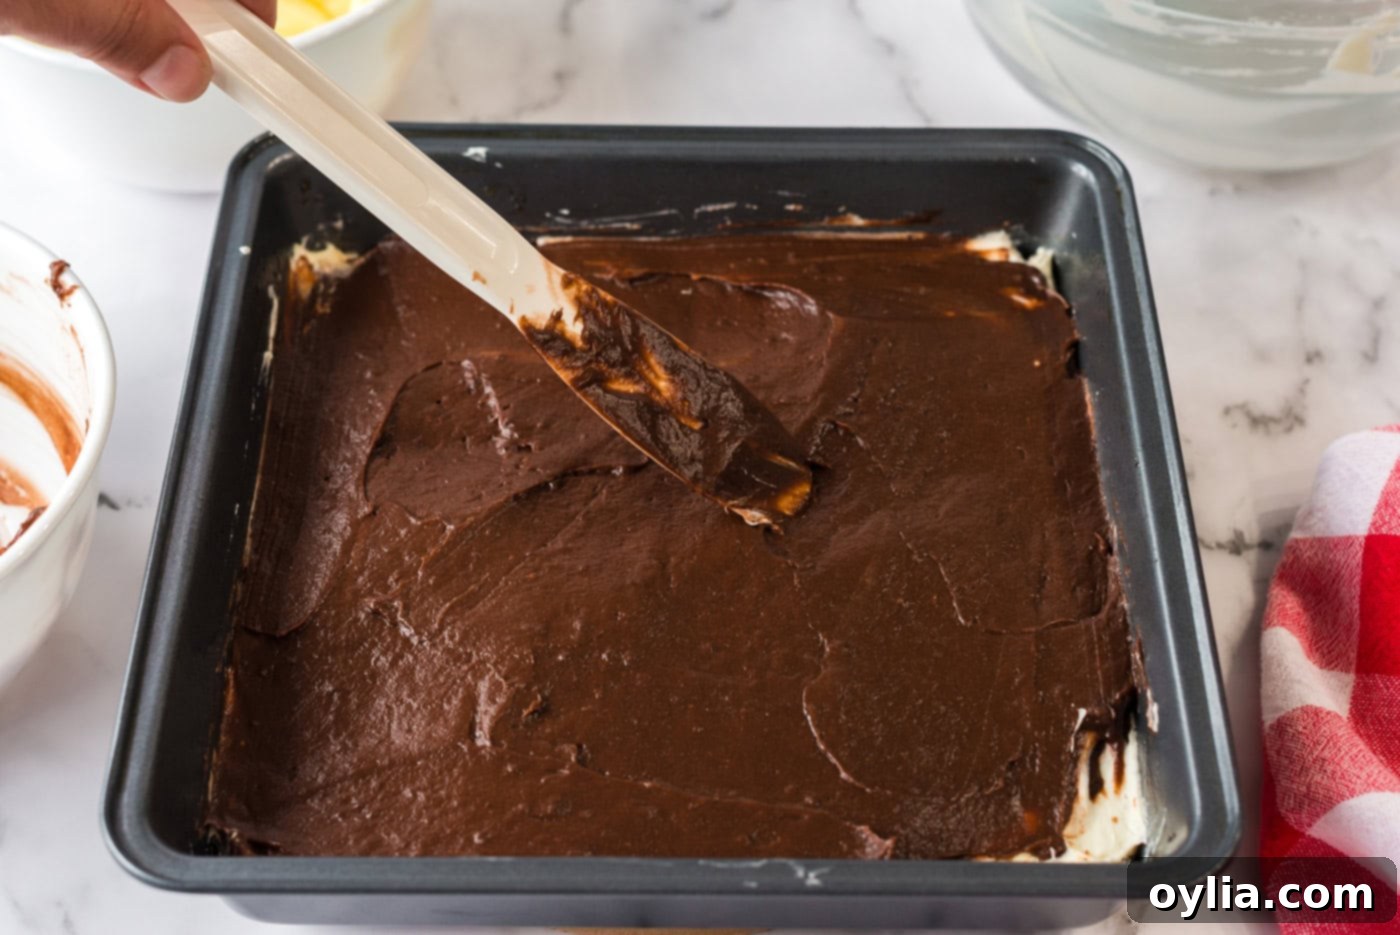
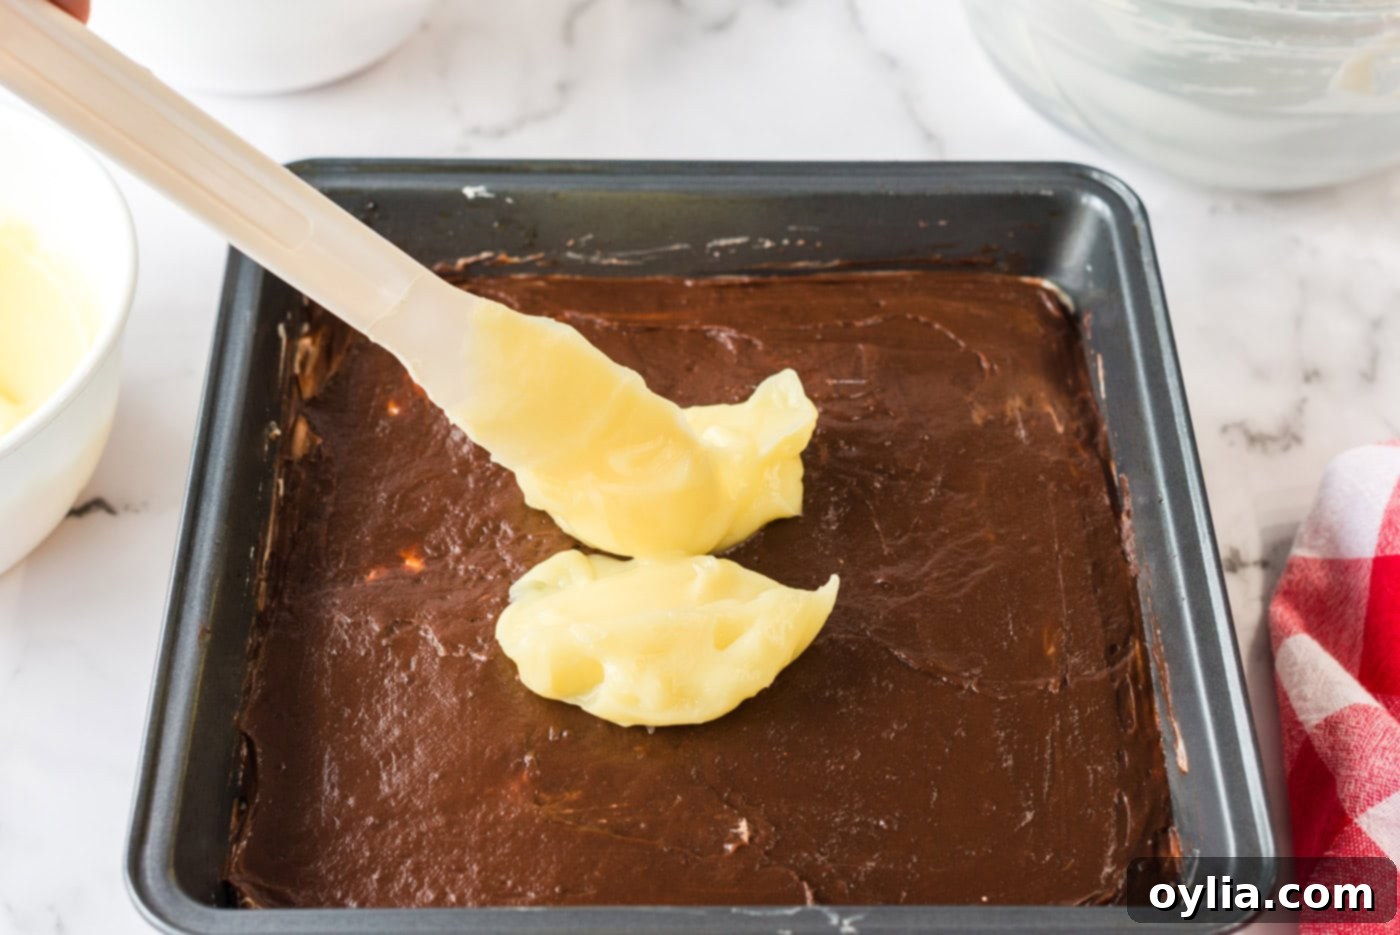
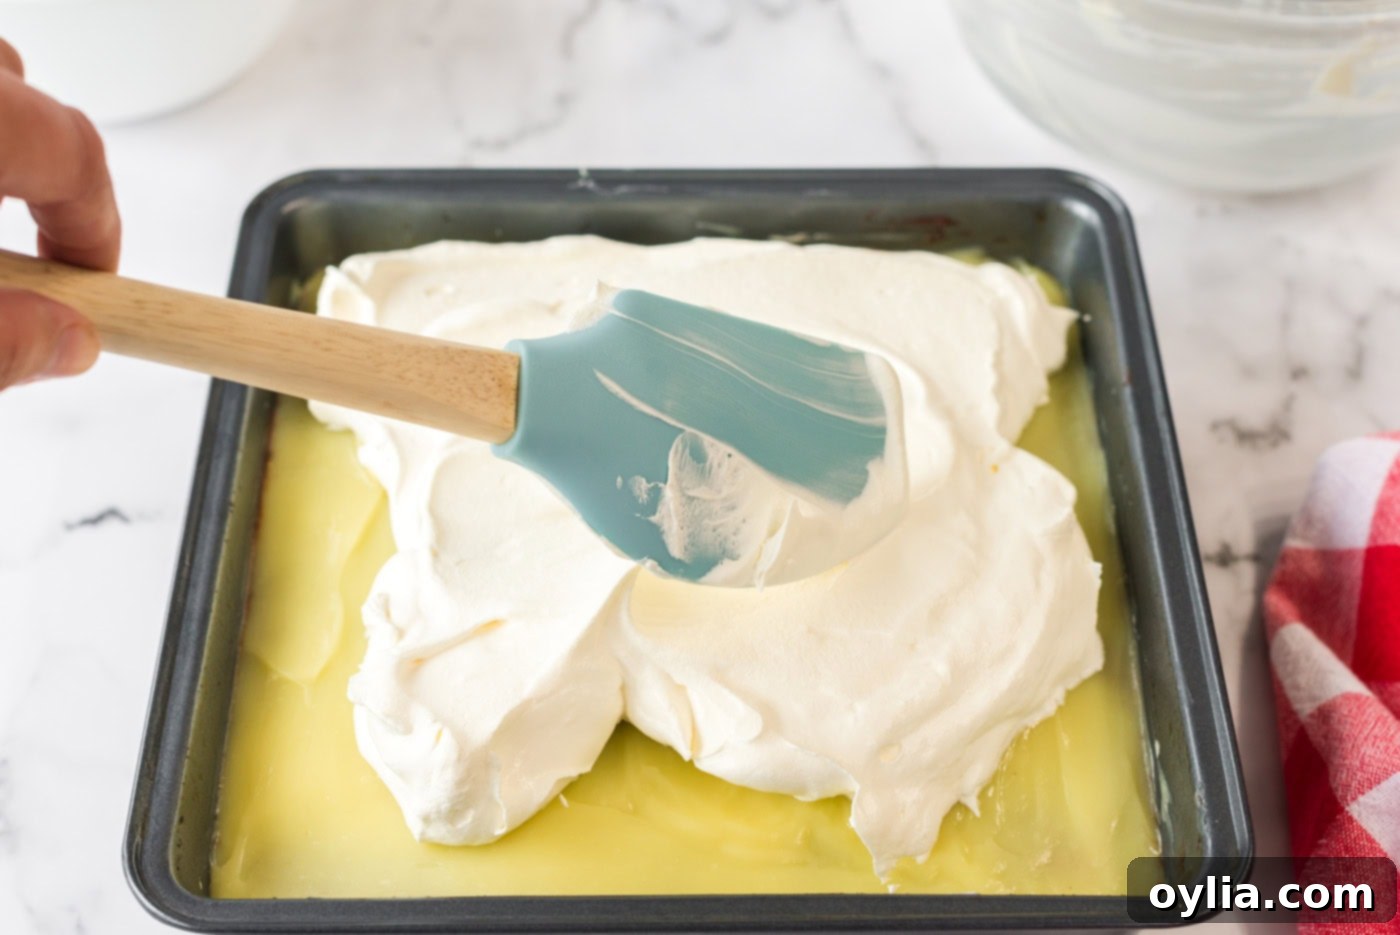
- Assemble the Layers: Once the crust is completely cooled, begin layering your dessert. First, carefully spread the cream cheese mixture evenly over the crust. Next, gently spread the prepared chocolate pudding over the cream cheese layer, being careful not to disturb the layer beneath. Follow this by spreading the vanilla pudding over the chocolate pudding layer. Finally, spread the remaining Cool Whip over the vanilla pudding to create a smooth, inviting top.


- Chill Thoroughly: Once all layers are assembled, cover the pan tightly with plastic wrap and chill it in the refrigerator for a minimum of two hours. This crucial step allows all the layers to set properly, ensuring clean slices and a stable dessert.
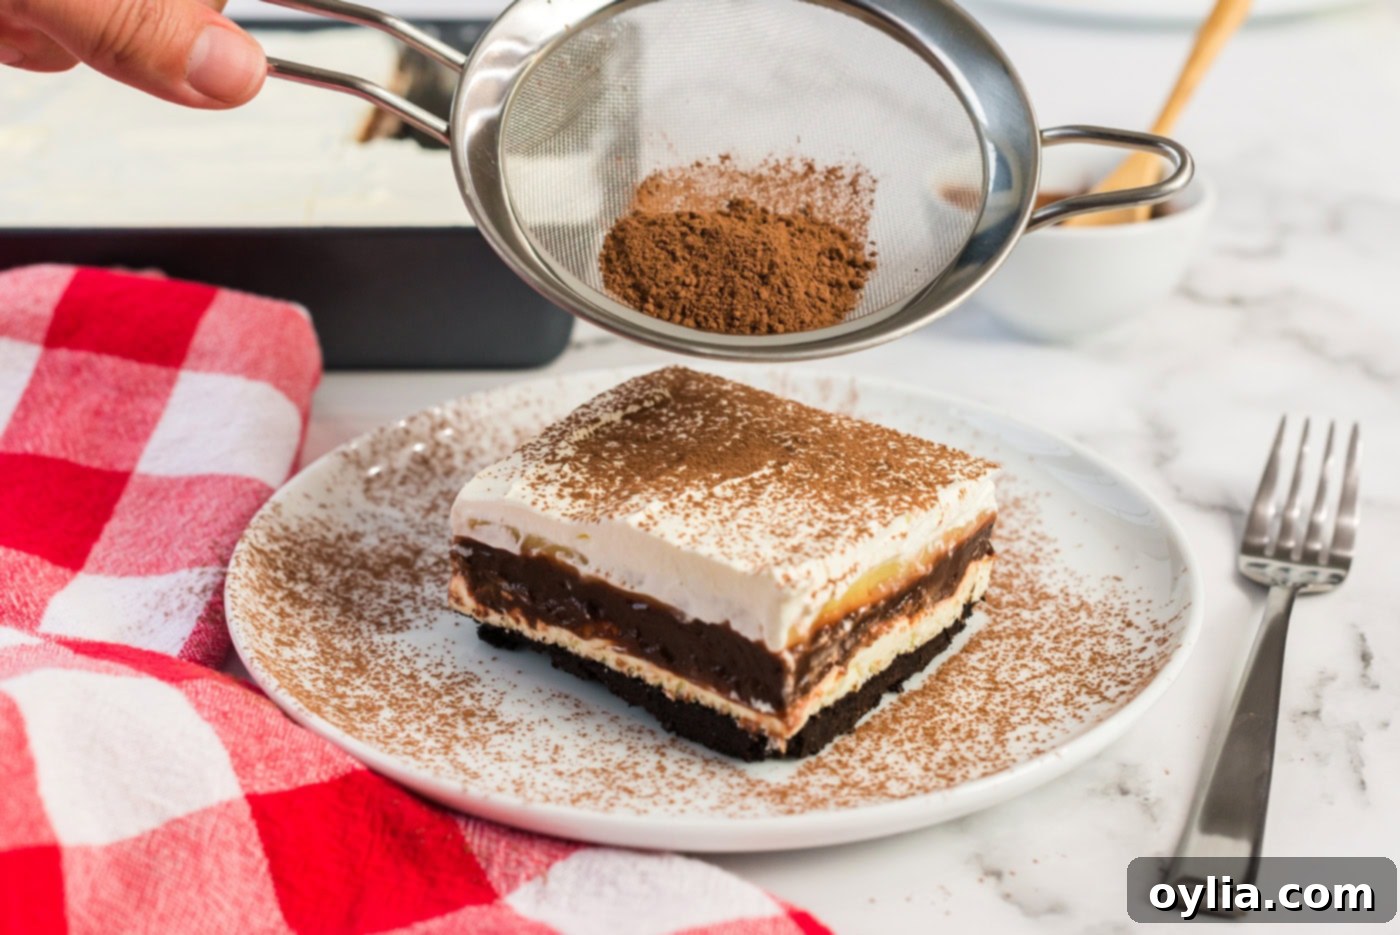
- Garnish and Serve: Just before you’re ready to serve, lightly sift cocoa powder over the top of the chilled dessert as an elegant garnish. This adds a beautiful visual appeal and a subtle extra chocolate kick.

Frequently Asked Questions & Expert Tips
Leftovers should be covered tightly with plastic wrap or placed in an airtight container. Store them in the refrigerator for up to 4 days. While it’s best enjoyed fresh, it still tastes wonderful for a few days!
Absolutely! This dessert is an excellent make-ahead option, perfect for parties or busy holidays. You can prepare it up to 24 hours in advance. Just make sure it’s well covered and chilled until serving. It actually benefits from a longer chill, allowing the flavors to meld beautifully.
While technically possible, freezing Sex in a Pan is generally not recommended for optimal texture. The dairy layers (especially the cream cheese and whipped topping) can sometimes become watery or separate upon thawing, affecting the creaminess. If you must freeze it, do so in an airtight container for no more than 1-2 weeks and thaw slowly in the refrigerator.
No problem! You can use regular graham crackers and add 1-2 tablespoons of unsweetened cocoa powder to the crumbs for a chocolate flavor. Alternatively, crushed Oreo cookies (with their cream filling) make an excellent and even richer crust for this dessert.
To achieve perfectly clean slices, ensure the dessert is thoroughly chilled (at least 2-3 hours, or even overnight). Before cutting, dip your knife in hot water and wipe it clean between each slice. This will help you achieve those beautiful, distinct layers.
Serving Suggestions & Presentation Tips
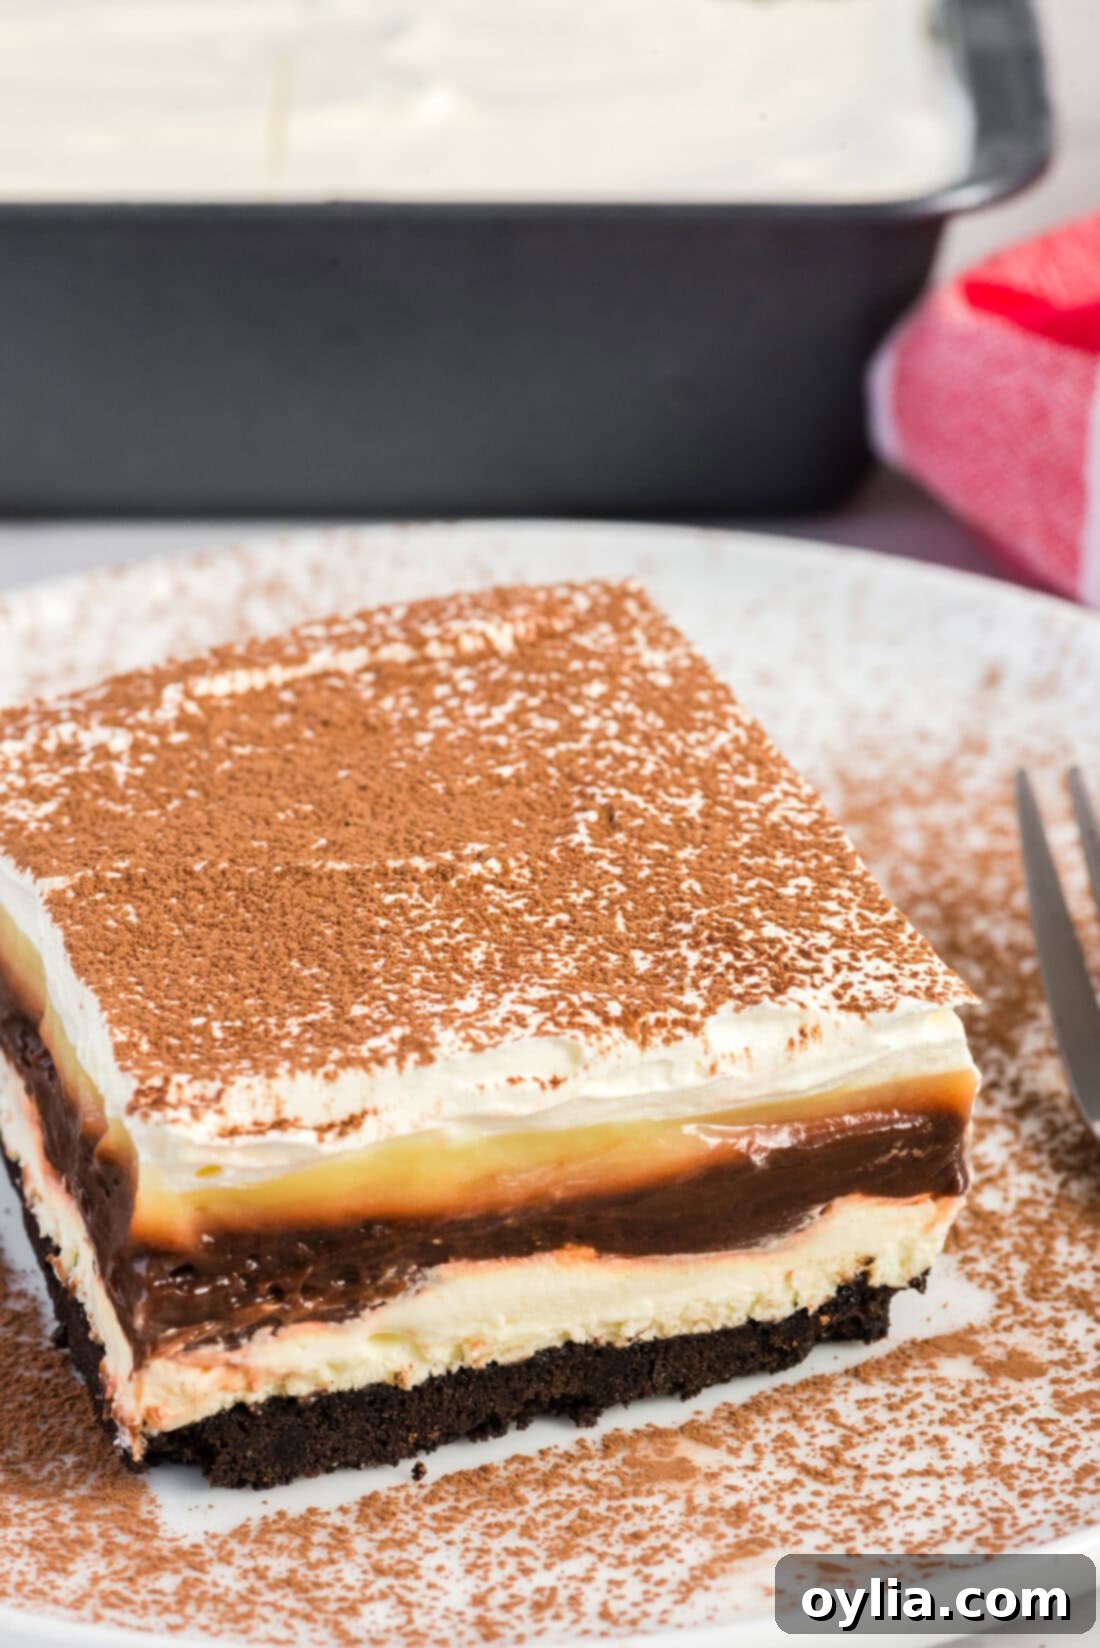
Presentation can make a great dessert even better! While Sex in a Pan is undeniably delicious simply scooped onto a plate, a little extra care in serving can truly elevate the experience.
- Chilling is Key: As mentioned, ensure at least two hours of chilling time (or preferably longer) to allow all those delightful layers to firm up. This will help you achieve beautifully clean and distinct slices.
- Slice with Precision: For the neatest squares, use a sharp knife that has been run under hot water and wiped dry between each cut. This prevents the layers from sticking and smudging.
- Garnishing Touches: Beyond the traditional cocoa powder, consider adding a few chocolate shavings, mini chocolate chips, or a drizzle of chocolate syrup on top of each slice. A sprig of mint can also add a pop of color.
- Perfect for Any Occasion: This dessert is a fantastic choice for potlucks, family gatherings, holiday meals, or simply as a special treat for a weekend dessert. Its layered beauty and universally loved flavors make it a guaranteed hit.
- Pairing: Serve it alongside a freshly brewed cup of coffee, a glass of cold milk, or even a scoop of vanilla bean ice cream for an extra indulgent experience.
Whether you choose to serve it family-style directly from the baking dish or dish out individual squares onto small dessert plates, this easy, no-bake favorite is sure to be a showstopper that leaves a lasting impression.
Explore More Decadent Dessert Recipes
If you loved this layered treat, you’ll surely enjoy these other fantastic dessert recipes:
- Pineapple Dream Dessert
- Cream Puff Chocolate Eclair Cake
- Traditional English Trifle
- Tiramisu Trifle in Mason Jars
I genuinely love spending time in the kitchen, creating and perfecting recipes, and then sharing my culinary adventures with all of you! It can be tricky to remember to check back every day for new delights, which is why I offer a convenient newsletter. Each time a fresh recipe is posted, it lands right in your inbox. Simply subscribe today and start receiving your free daily dose of delicious recipes!
Sex in a Pan
IMPORTANT – There are often Frequently Asked Questions within the blog post that you may find helpful. Simply scroll back up to read them!
Print It
Pin It
Rate It
Save ItSaved!
Course: Desserts
Cuisine: American
Ingredients
Crust:
- 2 cups chocolate graham cracker crumbs or cookie crumbs
- 3 Tablespoons unsalted butter
Layers:
- 3 oz instant french vanilla pudding 4-serving package
- 3 oz instant chocolate pudding 4-serving package
- 2 cups milk divided
- 8 oz cream cheese softened
- ¾ cup powdered sugar sifted
- 8 oz Cool Whip divided
- Sifted cocoa powder for garnish
Things You’ll Need
-
Measuring cups and spoons
-
Mixing bowls
-
9×9 baking pan
-
Sifter
Instructions
-
Preheat oven to 350 F degrees. Spray a 9×9 baking pan with cooking spray.
-
Melt butter in the microwave and allow to cool. Combine the crumbs and butter and toss together until incorporated. Press the crumb mixture firmly into an 9×9 square pan and bake for 8-10 minutes. Place on wire rack to cool.2 cups chocolate graham cracker crumbs or cookie crumbs, 3 Tablespoons unsalted butter
-
Prepare each of the pudding mixes in separate bowls using 1 cup of the milk for each one. Chill in the refrigerator until ready to use.3 oz instant french vanilla pudding, 3 oz instant chocolate pudding, 2 cups milk
-
Meanwhile, in a large mixer bowl, combine cream cheese and sifted powdered sugar until creamy. Add one cup of Cool Whip to the cream cheese mixture and fold in with a rubber spatula to combine well. Set aside until ready to use.8 oz cream cheese, 3/4 cup powdered sugar
-
When crust is cooled, spread the cream cheese mixture over the crust evenly. Spread the chocolate pudding over cream cheese layer. Spread the vanilla pudding over the chocolate pudding layer. Spread remaining Cool Whip over the vanilla pudding. Chill for at least two hours to set.
-
Right before serving, sift cocoa over the top as garnish.Sifted cocoa powder for garnish
Nutrition
Tried this Recipe? Pin it for Later!Follow on Pinterest @AmandasCookin or tag #AmandasCookin!
The recipes on this blog are tested with a conventional gas oven and gas stovetop. It’s important to note that some ovens, especially as they age, can cook and bake inconsistently. Using an inexpensive oven thermometer can assure you that your oven is truly heating to the proper temperature. If you use a toaster oven or countertop oven, please keep in mind that they may not distribute heat the same as a conventional full sized oven and you may need to adjust your cooking/baking times. In the case of recipes made with a pressure cooker, air fryer, slow cooker, or other appliance, a link to the appliances we use is listed within each respective recipe. For baking recipes where measurements are given by weight, please note that results may not be the same if cups are used instead, and we can’t guarantee success with that method.
This post was originally published here on November 21, 2014.
