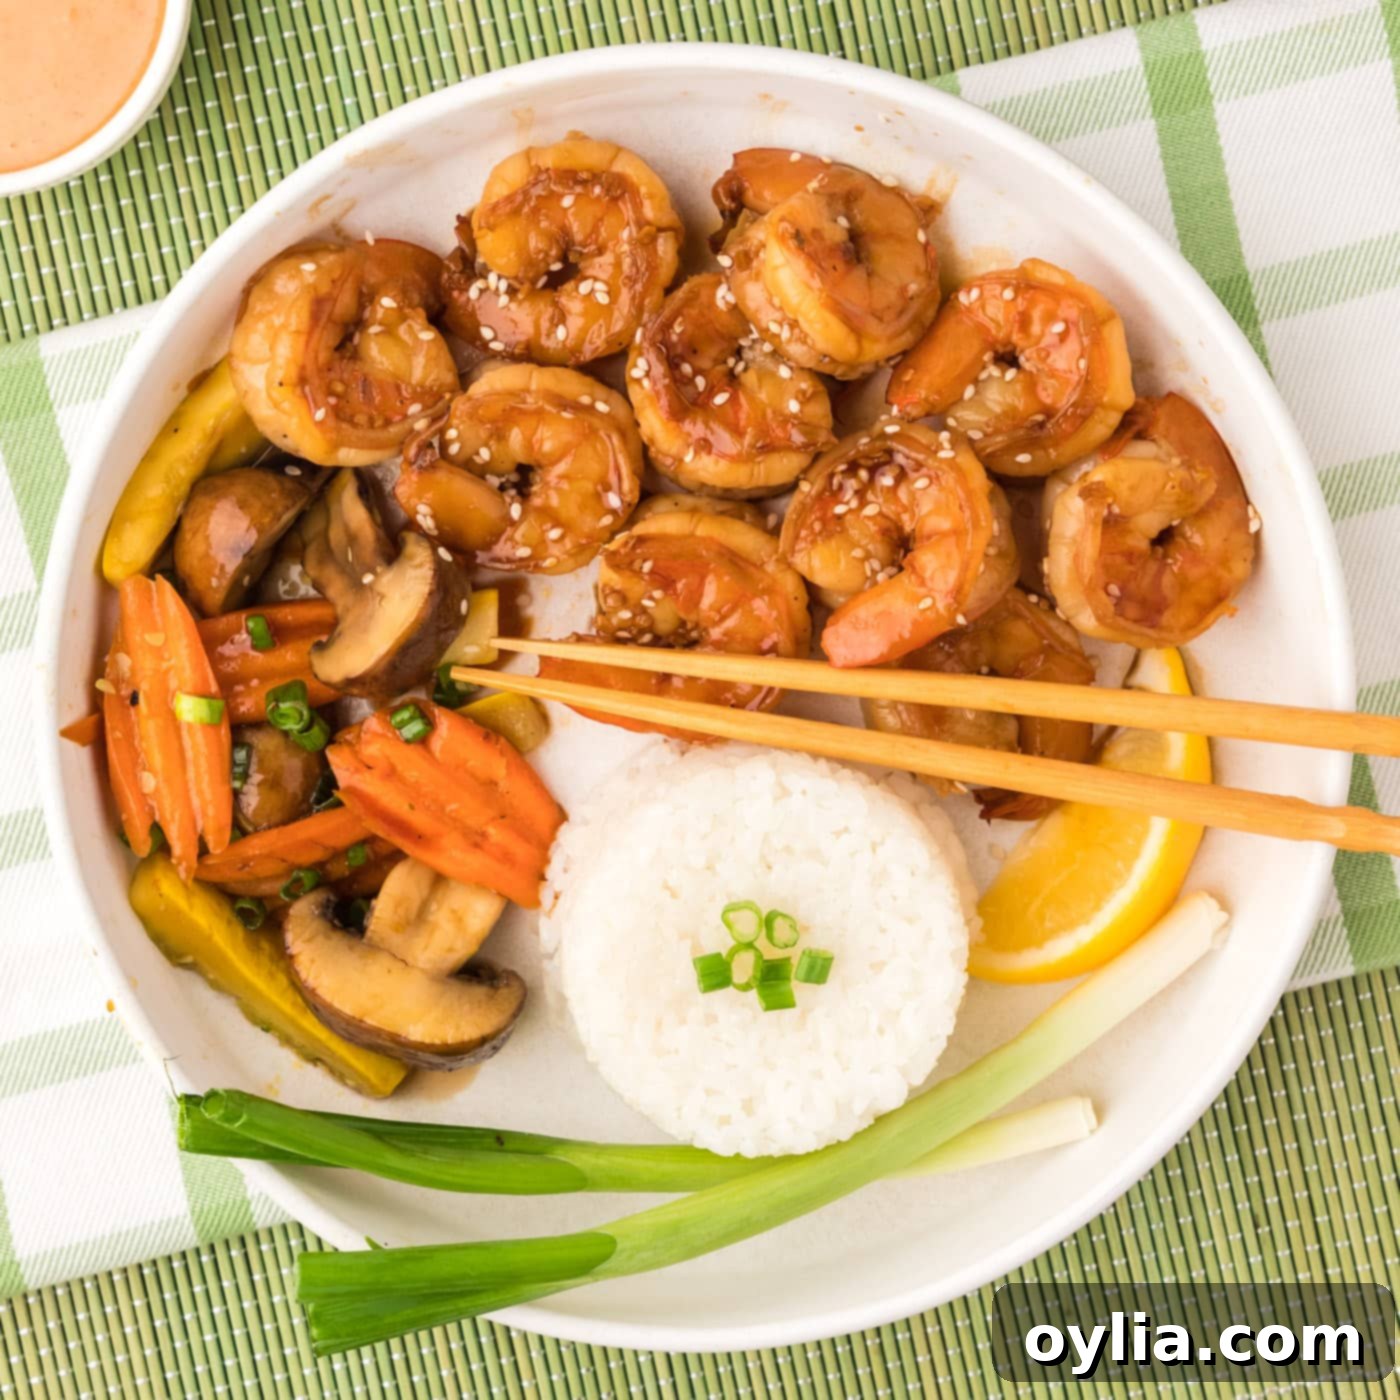
Easy Homemade Hibachi Shrimp Recipe: Sizzle Up a Flavorful Dinner in Minutes
Craving the sizzling, savory flavors of your favorite Japanese hibachi grill but don’t want to leave the house? Look no further! This incredibly easy and buttery hibachi shrimp recipe brings that restaurant-quality taste right to your kitchen. In under 15 minutes, you can pan-sear succulent shrimp infused with a rich blend of sesame oil, oyster sauce, garlic, butter, and soy sauce, transforming an ordinary weeknight into a culinary adventure.
This simple yet sensational dish is a game-changer for anyone seeking a quick, delicious, and impressive meal. It’s perfect for busy evenings when you need a flavorful dinner fast, or when you want to recreate the excitement of a hibachi steakhouse experience without the fuss. Get ready to elevate your home cooking with perfectly cooked, tender shrimp that bursts with umami and a hint of sweetness.
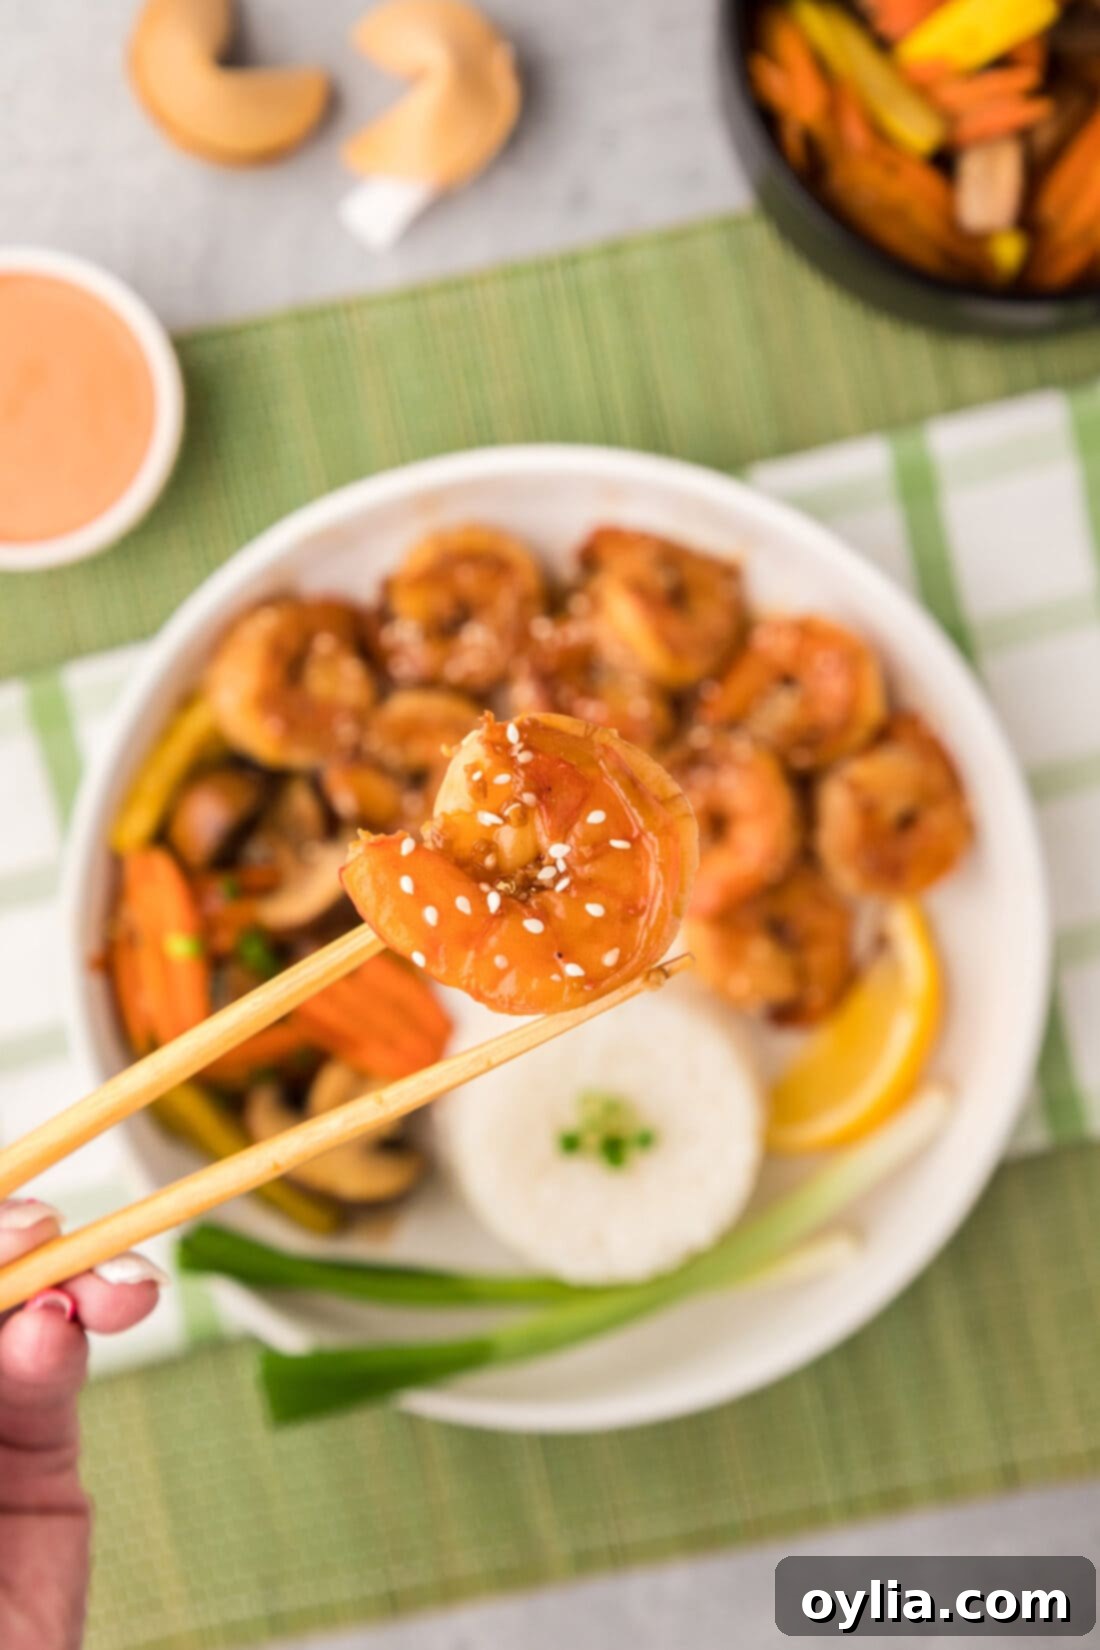
Why This Homemade Hibachi Shrimp Recipe is a Must-Try
This hibachi shrimp recipe isn’t just easy; it’s a triumph of flavor and speed, designed to replicate the beloved Japanese steakhouse experience without needing a professional hibachi chef or a massive griddle. Here’s why it consistently delivers:
- Authentic Flavor, Simplified: We’ve captured the essence of hibachi with a perfectly balanced sauce that hits all the right notes – savory, slightly sweet, and incredibly aromatic thanks to the garlic, sesame oil, and umami-rich oyster and soy sauces. The buttery sear adds that irresistible richness characteristic of hibachi cooking.
- Lightning Fast Preparation: From prep to plate, this dish is ready in under 15 minutes. It’s the ultimate solution for busy weeknights when you want something homemade and delicious without spending hours in the kitchen.
- Minimal Ingredients, Maximum Impact: You only need a handful of common pantry staples and fresh shrimp to create this show-stopping meal. No obscure ingredients or complex techniques required.
- Restaurant-Quality at Home: The result is tender, juicy shrimp with a beautiful sear, coated in a glistening, flavorful sauce. It tastes like it just came off the sizzling hot griddle at your local Japanese hibachi grill, but at a fraction of the cost and with the comfort of your own home.
- Versatile Serving Options: While absolutely delicious on its own, this hibachi shrimp shines even brighter when paired with homemade yum yum sauce for dipping, dunking, or drizzling. It also complements a variety of sides, making it a flexible addition to your meal rotation.
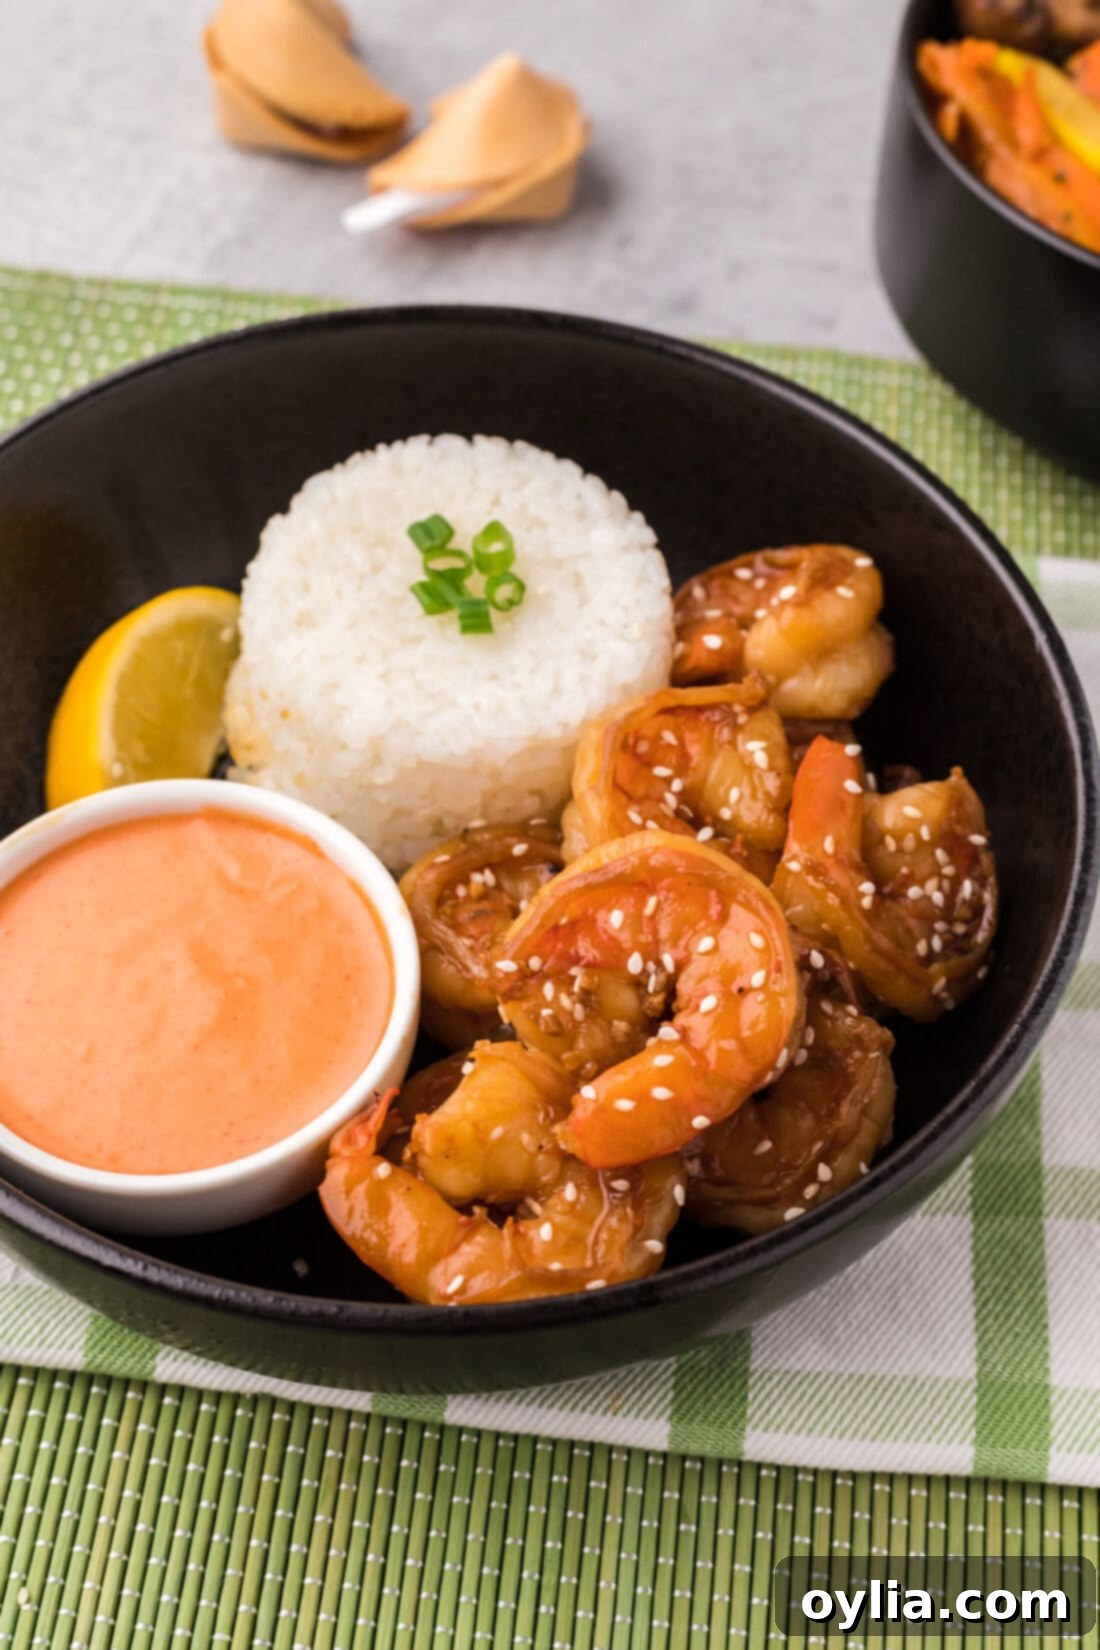
Essential Ingredients for Your Homemade Hibachi Shrimp
Creating this irresistible hibachi shrimp requires just a few key ingredients, most of which you likely already have in your pantry. For precise measurements and step-by-step instructions, you’ll find the complete printable recipe card at the end of this post.
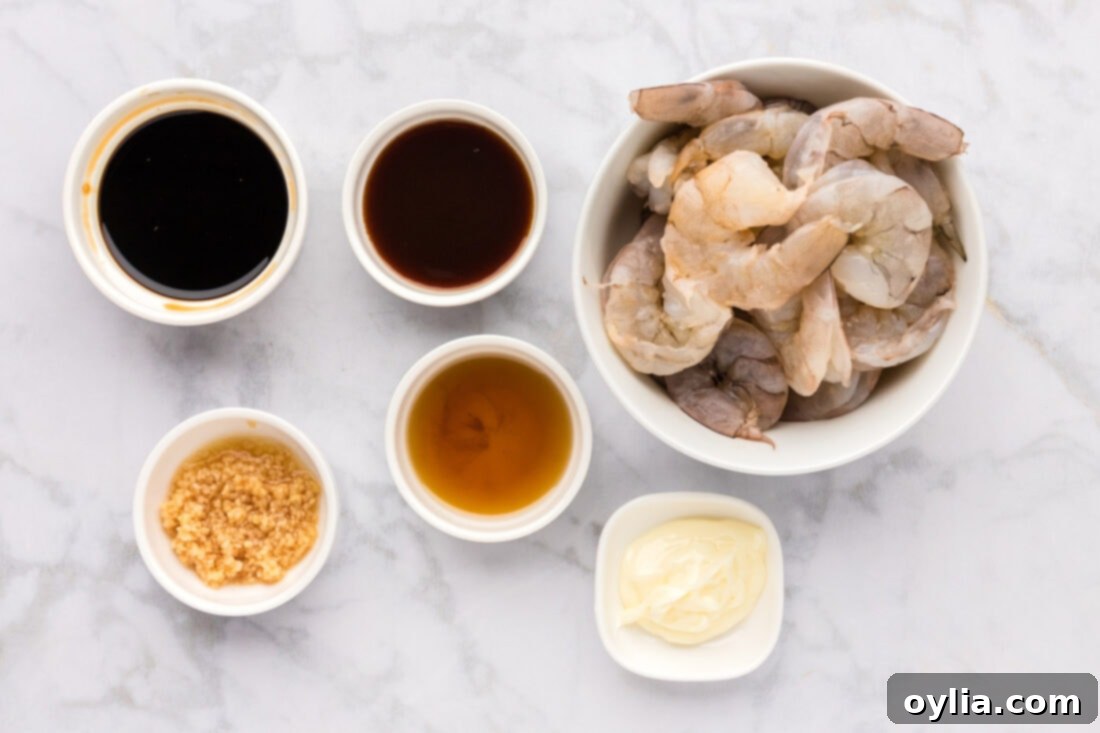
Ingredient Spotlight & Smart Substitutions
Understanding each ingredient’s role can help you master this recipe and even customize it to your taste.
- Shrimp: We typically opt for “grilling shrimp,” which are often found pre-peeled and deveined at the seafood counter, saving you valuable prep time. If “grilling shrimp” isn’t available, simply substitute with extra-large raw shrimp (21-25 count per pound). Ensure they are peeled and deveined, and remove the tail shells if preferred for easier eating. Fresh shrimp will always yield the best flavor and texture, but see our FAQ section for tips on using frozen or precooked shrimp.
- Unsalted Butter: The secret to that rich, luxurious hibachi flavor. Using unsalted butter allows you to control the overall saltiness of the dish, especially since soy sauce is also a key ingredient. If you only have salted butter, you can use it, but consider reducing the amount of soy sauce slightly.
- Minced Garlic: Freshly minced garlic is highly recommended for its potent aroma and flavor, which is crucial for authentic hibachi taste. Pre-minced garlic in a jar can work in a pinch, but fresh will always provide a more vibrant profile.
- Sesame Oil: This ingredient is a flavor powerhouse. Look for toasted sesame oil, which has a deeper, nuttier aroma compared to untoasted varieties. It’s used primarily for flavor, not cooking, so a little goes a long way to infuse that distinctive Asian essence into the shrimp.
- Oyster Sauce: A cornerstone of many Asian dishes, oyster sauce adds a complex layer of umami, a subtle sweetness, and a lovely glaze to the shrimp. Don’t worry, it doesn’t taste overtly “fishy.” If you need a substitute, hoisin sauce can offer a similar sweet and savory profile, or a blend of soy sauce, a touch of sugar, and a dash of fish sauce could work. For a vegetarian option, mushroom-based oyster sauce is available.
- Low Sodium Soy Sauce: We recommend low sodium soy sauce to manage the salt content, as oyster sauce also contributes salinity. This allows you to season to taste without making the dish overly salty. If using regular soy sauce, definitely adjust the amount downwards. For a gluten-free version, use tamari or a certified gluten-free soy sauce alternative.
Step-by-Step: Crafting Your Delicious Hibachi Shrimp
These step-by-step photos and instructions are designed to help you visualize exactly how to prepare this recipe. For a convenient printable version with all exact measurements and instructions, simply Jump to Recipe at the bottom of this post.
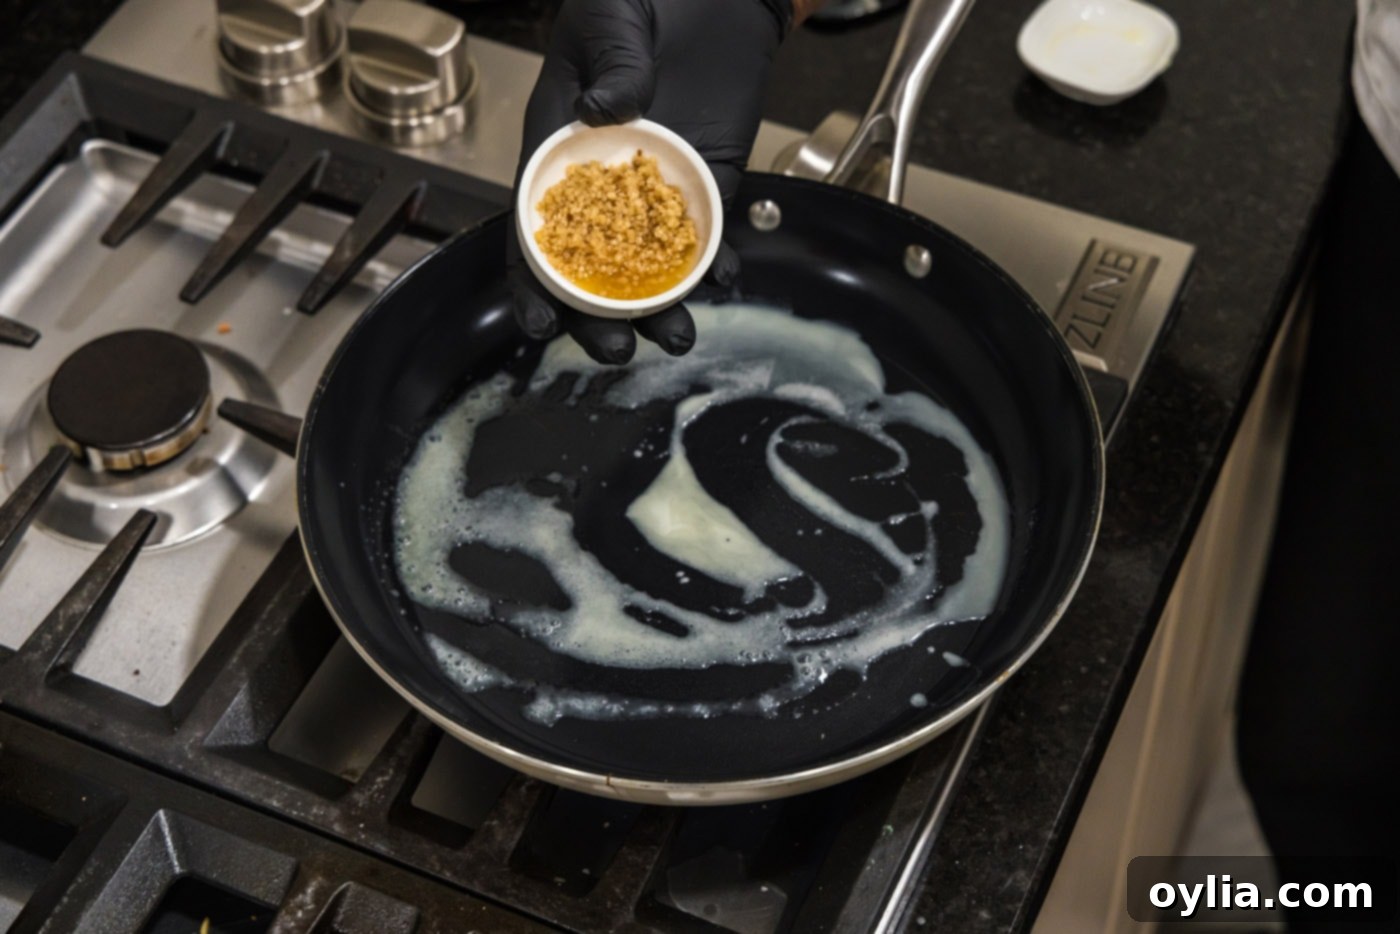
- Prepare the Aromatics: Begin by melting the unsalted butter in a large heavy-bottomed skillet (a cast-iron skillet works wonderfully for an even sear) over medium-high heat. Once the butter is melted and slightly shimmering, add the minced garlic. Sauté for just 1 minute until fragrant. Be careful not to burn the garlic, as it can turn bitter very quickly.
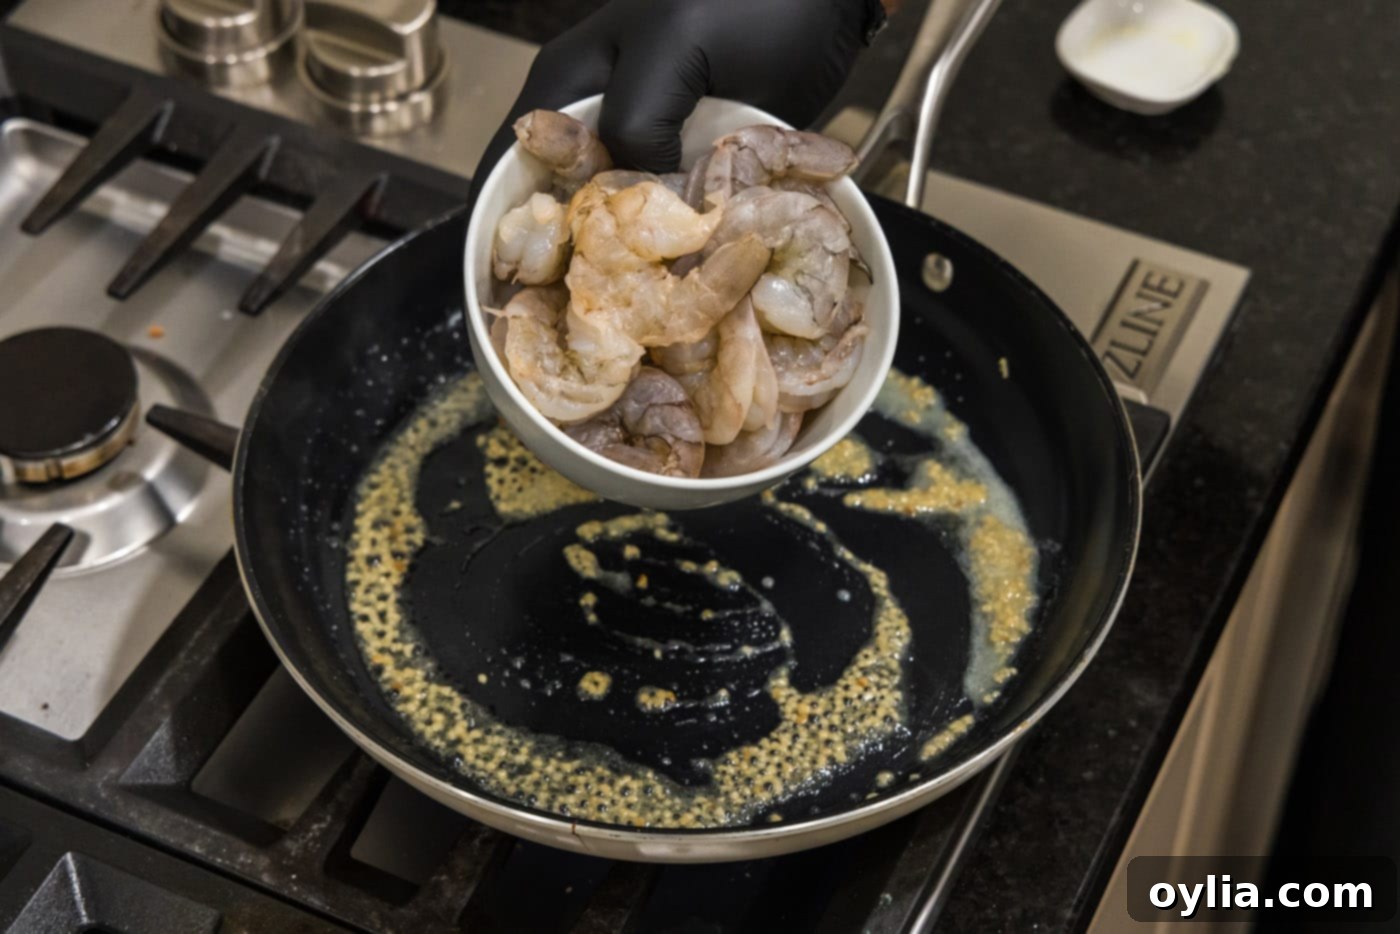
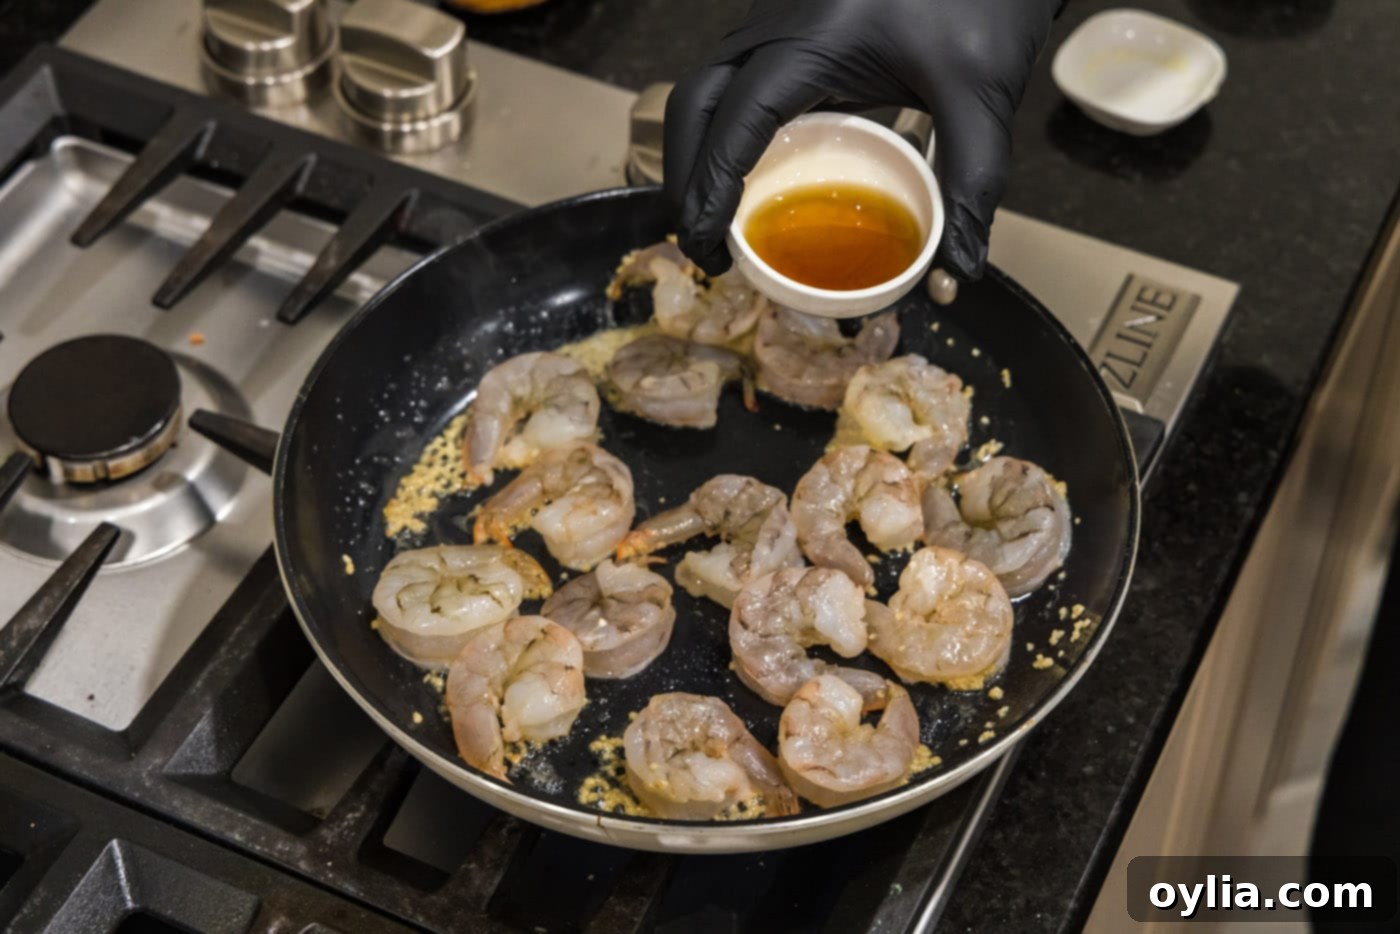
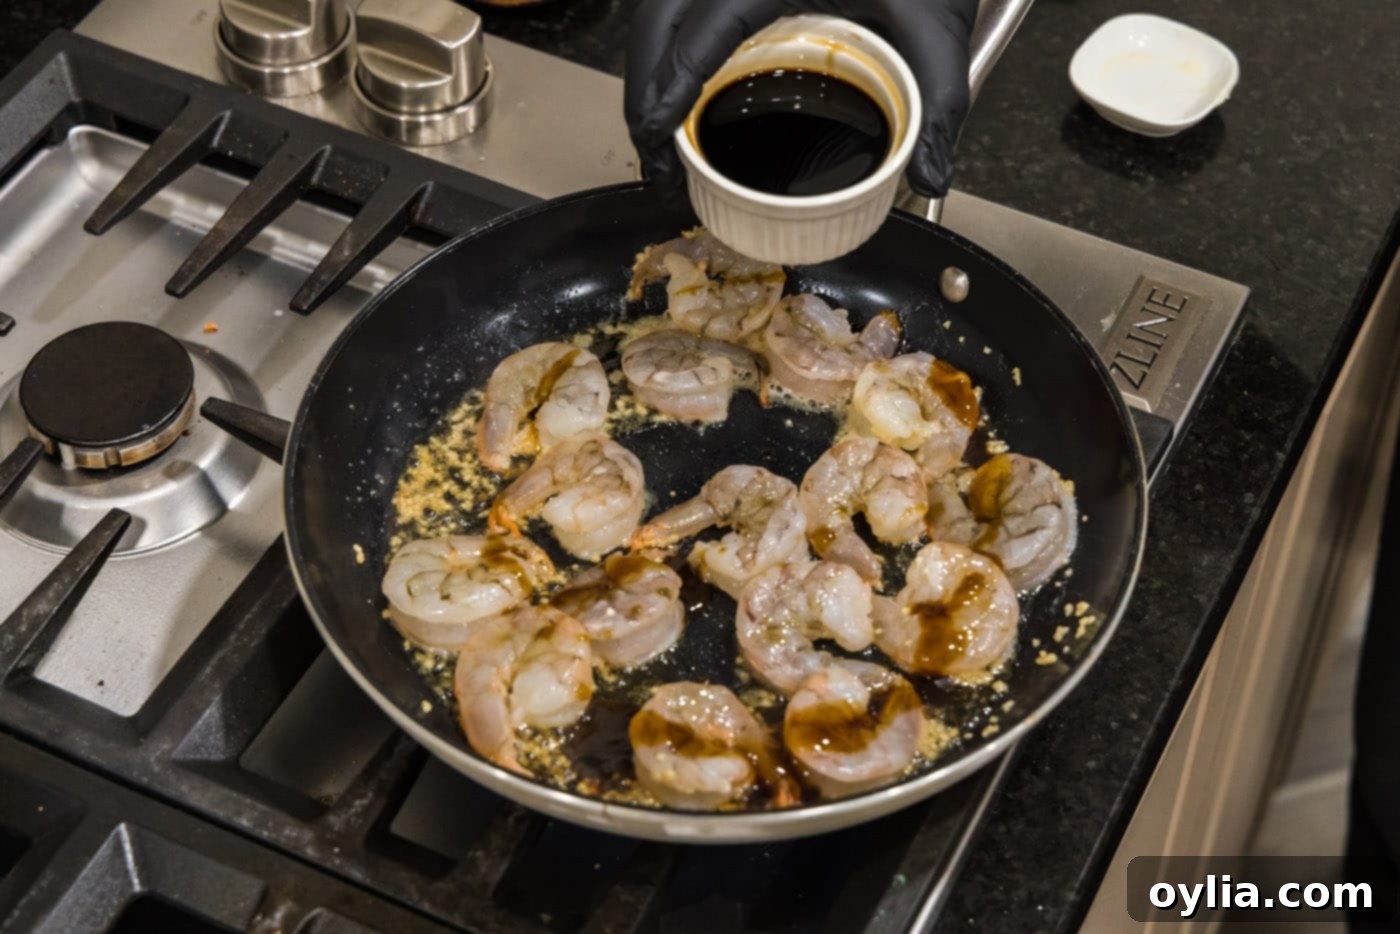
- Sear the Shrimp and Build the Sauce: Add the raw, peeled, and deveined shrimp to the skillet in a single layer to ensure even cooking. Immediately drizzle in the sesame oil, oyster sauce, and low sodium soy sauce over the shrimp. Cook for 2-3 minutes on one side until the shrimp begin to turn pink and opaque. Then, using tongs, turn each shrimp over and cook for another 2-3 minutes until they are fully cooked through and have a beautiful, golden-orange hue. Avoid overcrowding the pan, as this can steam the shrimp instead of searing them. If necessary, cook in batches.
- Serve Immediately: Once the shrimp are perfectly cooked and coated in the glossy sauce, remove them from the skillet and transfer them to a paper towel-lined plate to drain any excess liquid. This helps maintain their crisp texture. Serve your homemade hibachi shrimp immediately while they are hot and fresh, paired with your favorite sides and dipping sauces.
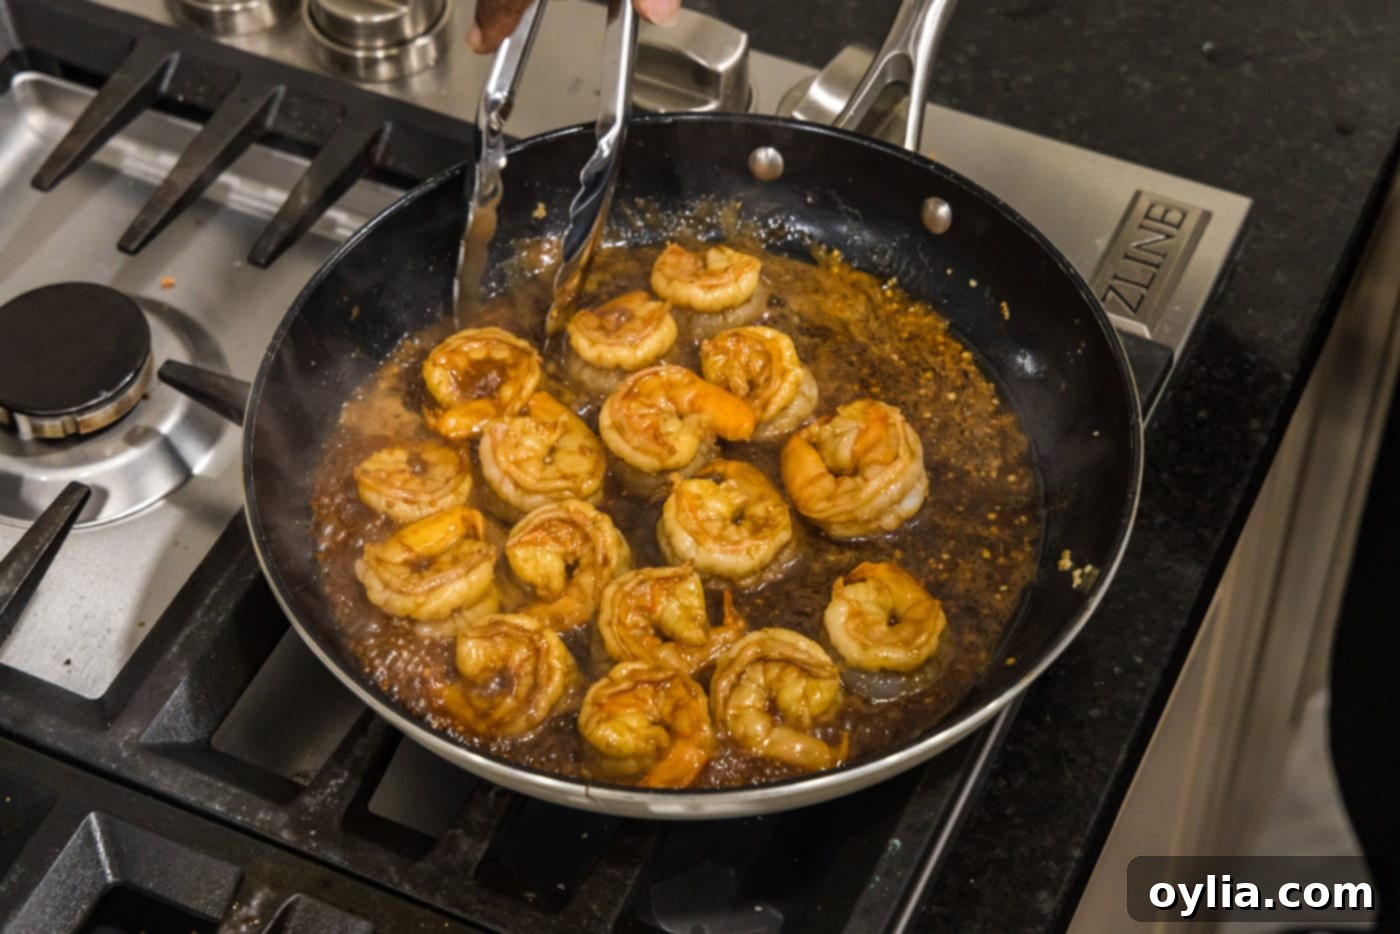
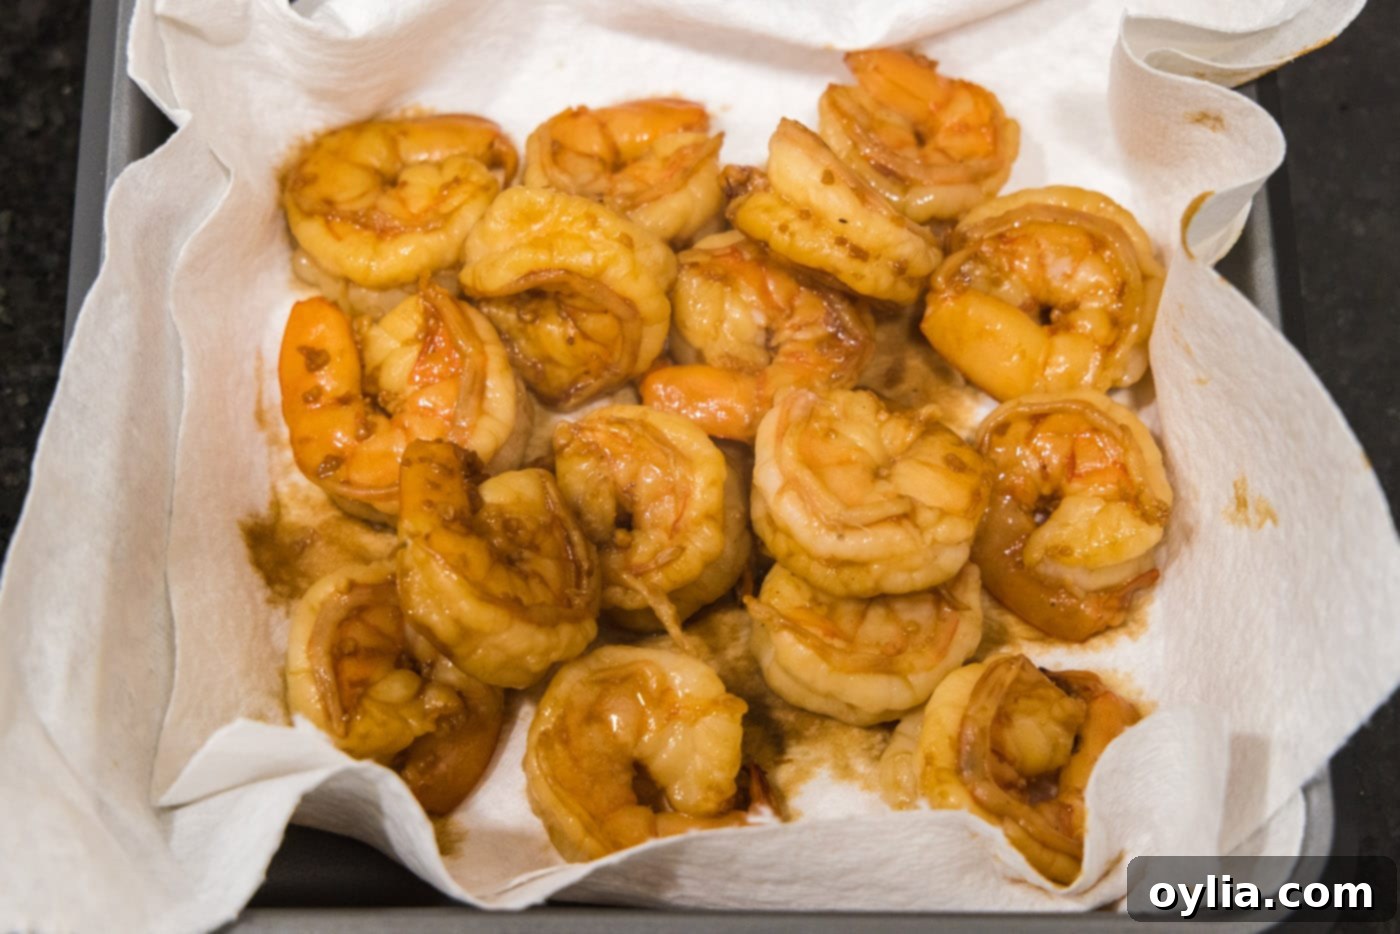
Expert Tips for Perfectly Cooked Hibachi Shrimp
Achieving restaurant-quality hibachi shrimp at home is simple with these expert tips:
- Don’t Overcrowd the Pan: This is crucial for a good sear. If you add too much shrimp at once, the temperature of the pan will drop, causing the shrimp to steam rather than sear. This results in rubbery shrimp instead of tender, caramelized ones. If you’re cooking a larger batch, work in two smaller ones.
- High Heat, Quick Cook: Hibachi cooking is all about intense heat and fast cooking. Ensure your skillet is hot before adding the shrimp and cook them quickly to prevent them from becoming tough.
- Avoid Overcooking Shrimp: Shrimp cooks very quickly. As soon as it turns pink and opaque, and curls into a C-shape, it’s done. Overcooked shrimp will be rubbery and less flavorful. The entire cooking process for shrimp usually takes only 4-6 minutes.
- Pat Shrimp Dry: Before adding raw shrimp to the pan, pat them thoroughly dry with paper towels. Excess moisture can lower the pan’s temperature and prevent a good sear.
- Adjust Seasoning to Taste: The soy sauce and oyster sauce provide significant saltiness and umami. Taste the sauce as it cooks with the shrimp and adjust with a pinch more soy sauce or a dash of sugar if you desire a sweeter profile.
- Use a Large, Heavy-Bottomed Skillet: A large, heavy skillet (like cast iron or stainless steel) helps distribute heat evenly and retain high temperatures, essential for achieving that characteristic hibachi sear.
Frequently Asked Questions About Hibachi Shrimp
Yes, you absolutely can use both frozen and precooked shrimp, but with a few adjustments. For frozen shrimp, it’s essential to thaw them completely first. Place them in a colander under cold running water for a few minutes or let them thaw in the refrigerator overnight. Once thawed, pat them thoroughly dry with paper towels before adding them to the skillet to ensure a good sear. Precooked shrimp will require even less cooking time; you’ll essentially just be heating them through and coating them in the delicious sauce. Cook for 1-2 minutes per side, just until warmed. While raw shrimp generally offers superior flavor and texture, precooked shrimp is a perfectly acceptable shortcut when you’re in a hurry.
While hibachi shrimp is undoubtedly best enjoyed fresh off the pan, any leftovers can be stored in an airtight container in the refrigerator for 2-3 days. When it comes to reheating, you’ll want to be gentle to avoid overcooking. Reheat the shrimp in a skillet over medium-low heat with a tiny splash of water or broth, just until they are warmed through. You can also use a microwave on a low setting, but be extra cautious and heat in short bursts. Remember, shrimp is very delicate and prone to becoming rubbery if reheated too aggressively.
Absolutely! Adding vegetables is a fantastic way to make this dish a complete meal. Common hibachi vegetables like sliced onions, zucchini, mushrooms, bell peppers, or broccoli florets work wonderfully. Sauté them in a separate batch (or before the shrimp, then remove and add back later) with a little butter and garlic until tender-crisp. You can even use a splash of the same hibachi sauce on them. Add them back to the pan with the cooked shrimp for the last minute to combine flavors.
To make this hibachi shrimp recipe gluten-free, the only adjustment needed is to substitute regular soy sauce with tamari (which is a gluten-free soy sauce alternative) or another certified gluten-free soy sauce brand. Most other ingredients are naturally gluten-free, but always double-check labels, especially for oyster sauce, as some brands might contain wheat. Always ensure all your ingredients meet your dietary needs.
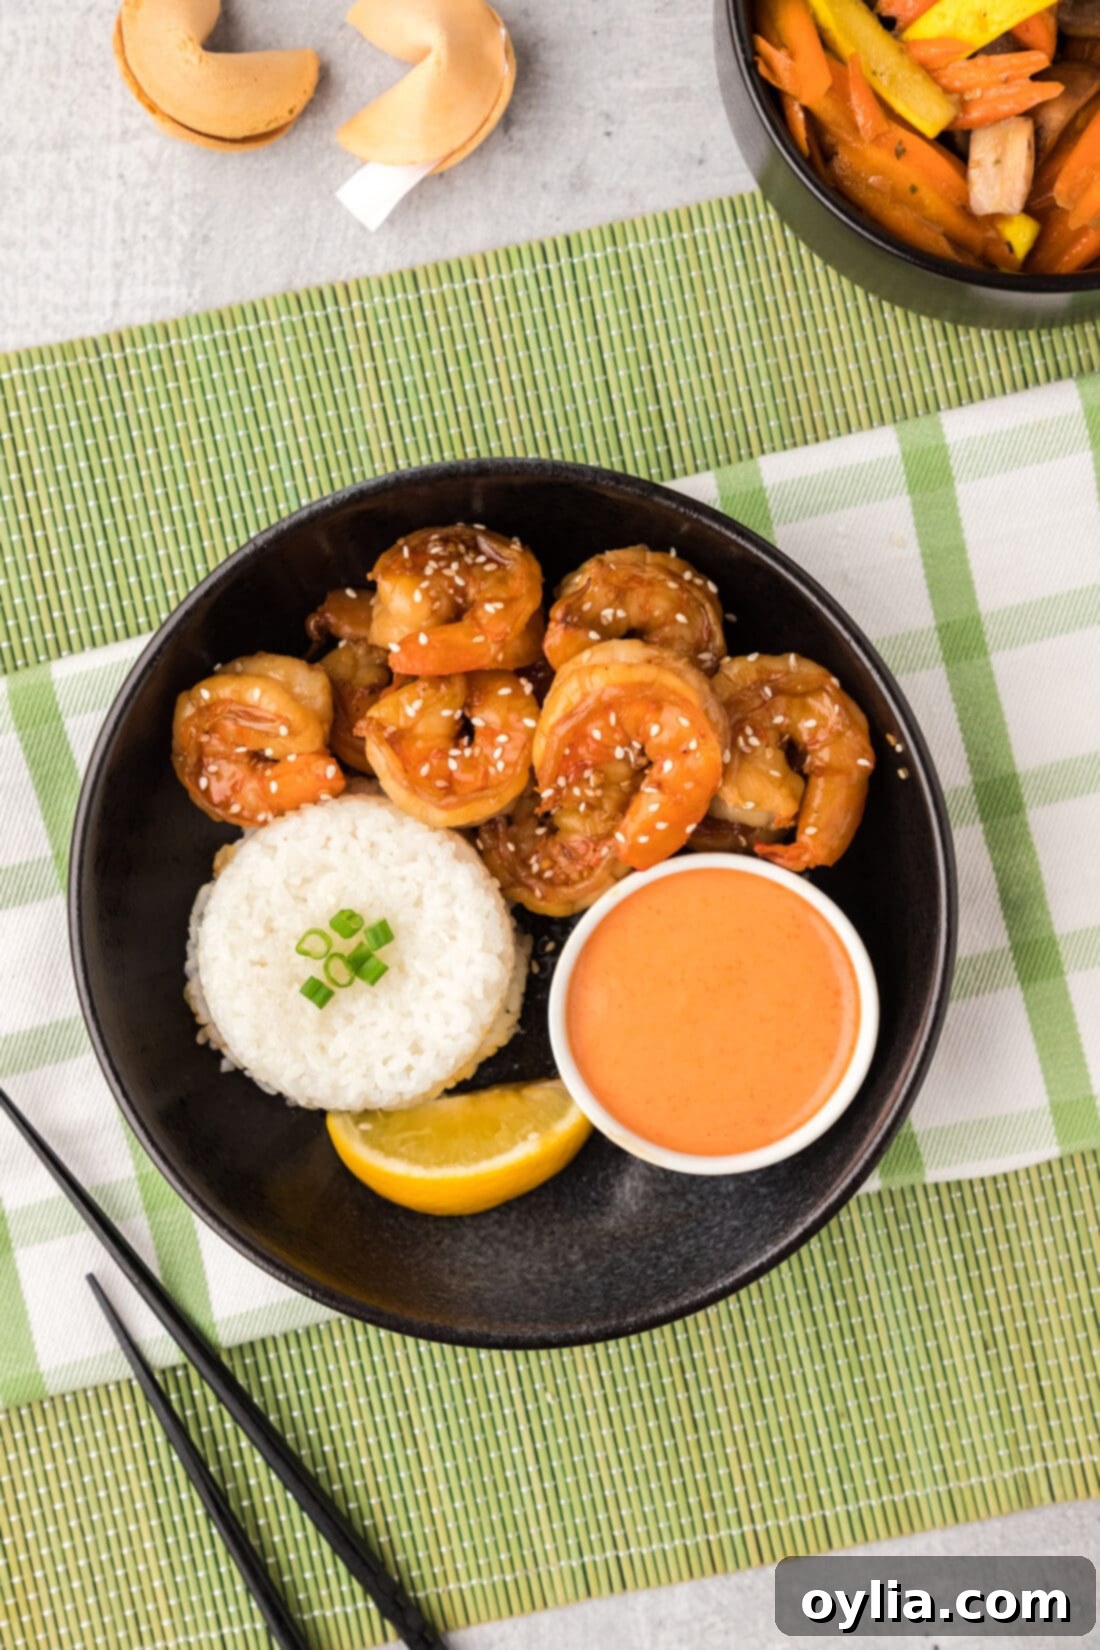
Delightful Serving Suggestions for Hibachi Shrimp
This versatile hibachi shrimp pairs beautifully with a variety of sides, allowing you to create a complete and satisfying meal:
- Classic Pairings: Serve your buttery hibachi shrimp with a generous portion of steaming white rice or flavorful homemade fried rice. The rice acts as a perfect canvas to soak up all the delicious sauce.
- Essential Dipping Sauces: No hibachi experience is complete without the right dipping sauces! Our homemade yum yum sauce is a creamy, tangy, and slightly sweet dream that complements the shrimp perfectly. Alternatively, a batch of homemade teriyaki sauce offers a different, equally delicious sweet and savory option. Offer both for variety!
- Stir-Fried Vegetables: To add freshness and nutrients, quickly stir-fry your favorite vegetables in the same pan after cooking the shrimp (or in a separate pan). Sliced zucchini, onions, mushrooms, bell peppers, broccoli, or snap peas are all excellent choices. Cook until tender-crisp and toss with a little extra hibachi sauce or a dash of soy sauce.
- Noodle Bowls: For a heartier meal, serve the hibachi shrimp over a bed of stir-fried noodles like lo mein or ramen.
- Garnish for Flair: A sprinkle of toasted sesame seeds not only adds a lovely visual touch but also a delightful nutty crunch. Chopped fresh green onions can also add a burst of color and a mild oniony flavor.
More Irresistible Shrimp Recipes to Explore
If you loved this hibachi shrimp, you’re in for a treat! Shrimp is incredibly versatile and quick-cooking, making it a favorite for many delicious meals. Explore these other fantastic shrimp recipes:
- Crispy Fried Shrimp: A classic comfort food, perfectly golden and crunchy.
- Crispy Shrimp: Another take on delightful, crunchy shrimp, great for appetizers or light meals.
- Garlic Butter Shrimp: A simple yet elegant dish, showcasing the timeless pairing of garlic and butter with succulent shrimp.
- Bright Citrus Pepper Shrimp: Zesty and vibrant, perfect for a fresh and light meal.
- Flavorful Salt and Pepper Shrimp: A savory and aromatic dish with a delightful peppery kick.
I absolutely adore cooking and baking, and there’s nothing I love more than sharing my culinary adventures and tested recipes with all of you! It can be tricky to remember to check back every day for new ideas, which is why I offer a convenient newsletter delivered straight to your inbox every time a new recipe goes live. Simply subscribe here and start receiving your free daily recipes, making meal planning and cooking inspiration effortless!
Hibachi Shrimp
IMPORTANT – There are often Frequently Asked Questions within the blog post that you may find helpful. Simply scroll back up to read them!
Print It
Pin It
Rate It
Save ItSaved!
Ingredients
- 2 ½ Tablespoons unsalted butter
- 2 ½ Tablespoons minced garlic
- 1 pound raw grilling shrimp peeled, and tail shells removed
- 3 Tablespoons sesame oil
- 3 Tablespoons oyster sauce
- 4 Tablespoons low sodium soy sauce
Things You’ll Need
-
Large heavy bottomed skillet
-
Tongs
Before You Begin
- If you can’t find ‘grilling shrimp’ (often found at the seafood counter in grocery stores), you can easily use extra-large raw shrimp (peeled and deveined).
- For best results, always pat your raw shrimp dry before cooking to ensure a good sear.
- While hibachi shrimp is best served fresh, leftovers can be stored in an air-tight container in the refrigerator for 2-3 days.
- When reheating, gently warm the shrimp in a skillet over medium-low heat just until heated through, or in the microwave on a low setting. Be mindful that shrimp is easily overcooked, even when reheating.
Instructions
-
Melt butter in a large skillet over medium-high heat. Add minced garlic and sauté for 1 minute until fragrant, being careful not to burn it.
-
Add the peeled and deveined shrimp to the skillet. Drizzle with sesame oil, oyster sauce, and low sodium soy sauce. Cook for 2-3 minutes on one side until shrimp begin to turn pink.
-
Turn the shrimp over using tongs and cook for another 2-3 minutes, or until the shrimp are completely opaque and cooked through. Avoid overcooking to keep them tender.
-
Remove the cooked shrimp from the skillet and transfer to a paper towel-lined plate to drain any excess liquid. Serve your delicious hibachi shrimp immediately.
Nutrition
The recipes on this blog are tested with a conventional gas oven and gas stovetop. It’s important to note that some ovens, especially as they age, can cook and bake inconsistently. Using an inexpensive oven thermometer can assure you that your oven is truly heating to the proper temperature. If you use a toaster oven or countertop oven, please keep in mind that they may not distribute heat the same as a conventional full sized oven and you may need to adjust your cooking/baking times. In the case of recipes made with a pressure cooker, air fryer, slow cooker, or other appliance, a link to the appliances we use is listed within each respective recipe. For baking recipes where measurements are given by weight, please note that results may not be the same if cups are used instead, and we can’t guarantee success with that method.
