Spooky-Sweet 4-Ingredient Mummy Cookies: The Ultimate Easy Halloween Treat
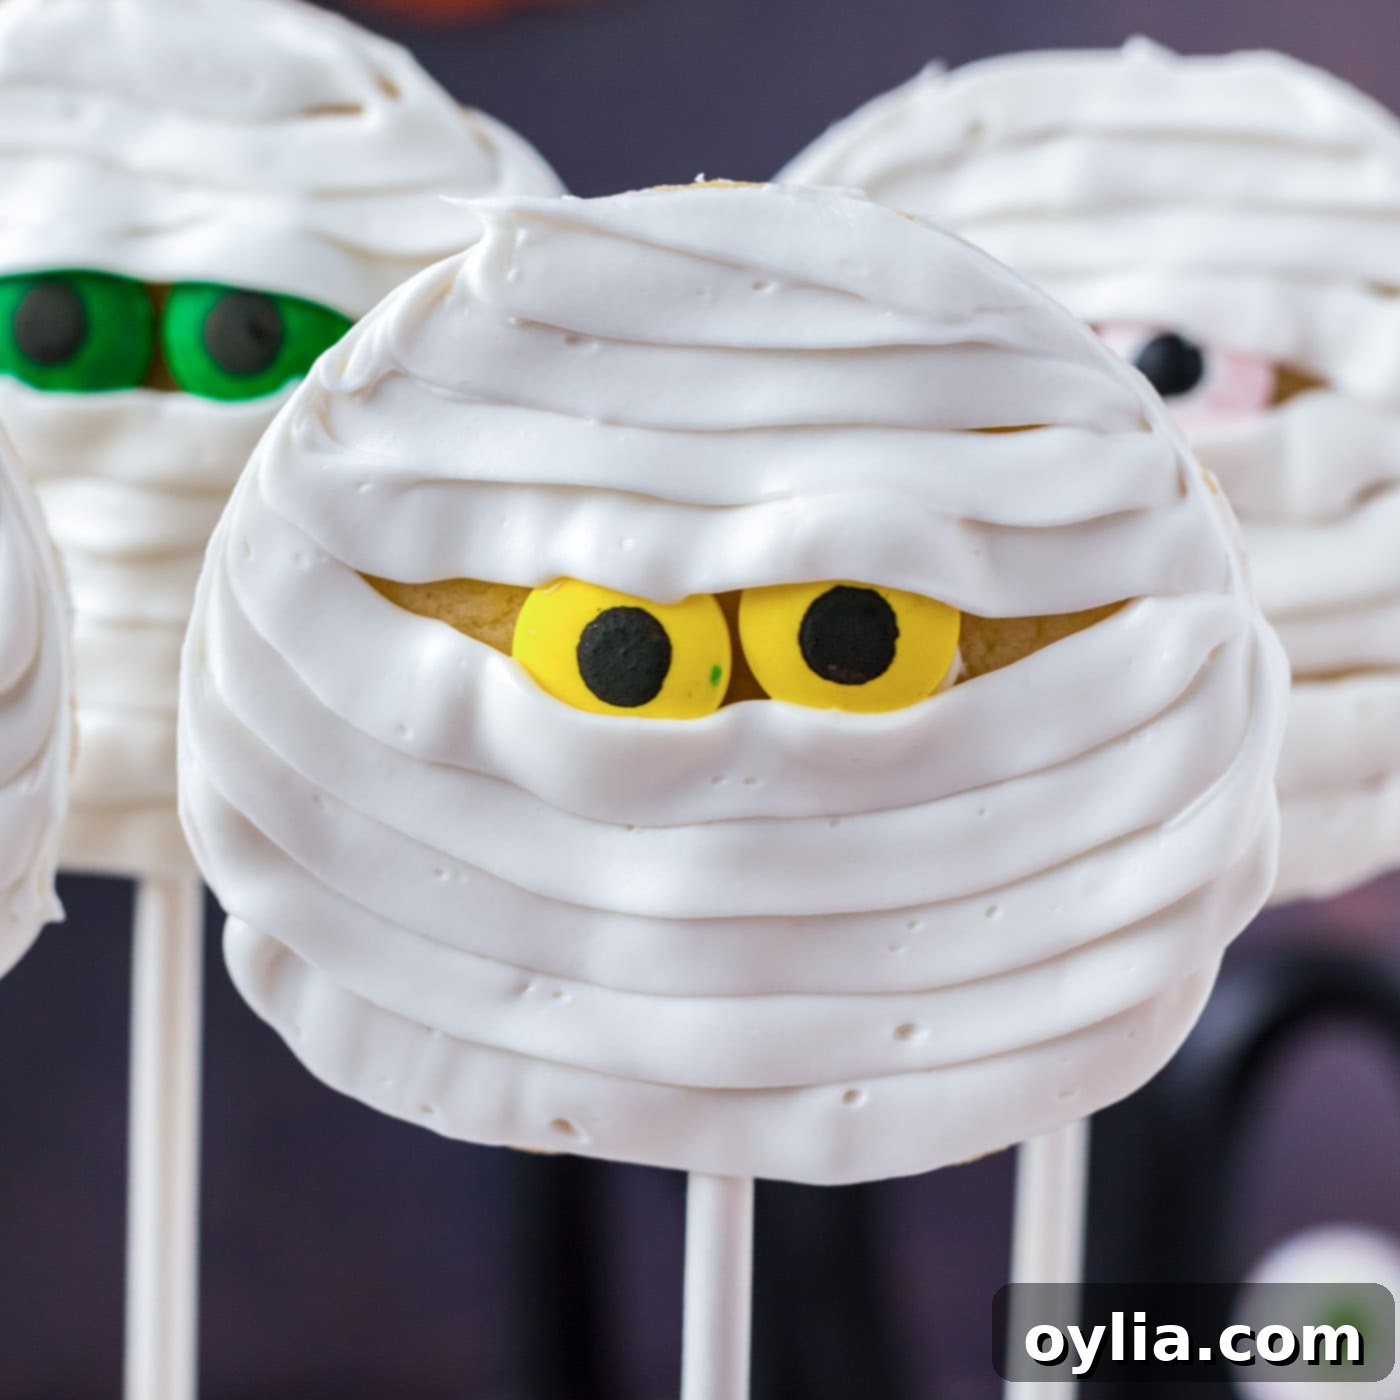
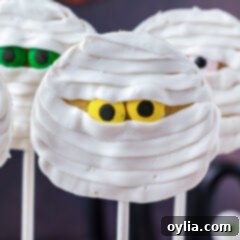
Prepare for a delightfully eerie treat that’s as simple as it is spooky! These adorable **Mummy Cookies** are the quintessential Halloween party dessert, requiring just four basic ingredients and minimal effort. Perfect for busy parents, enthusiastic bakers, or anyone looking for a fun, festive activity, these cookies come together in a snap, transforming humble sugar cookies into charmingly wrapped mummies with wide, candy eyes. They are sure to be a hit with kids and adults alike, bringing a touch of playful ghoulishness to any Halloween celebration.
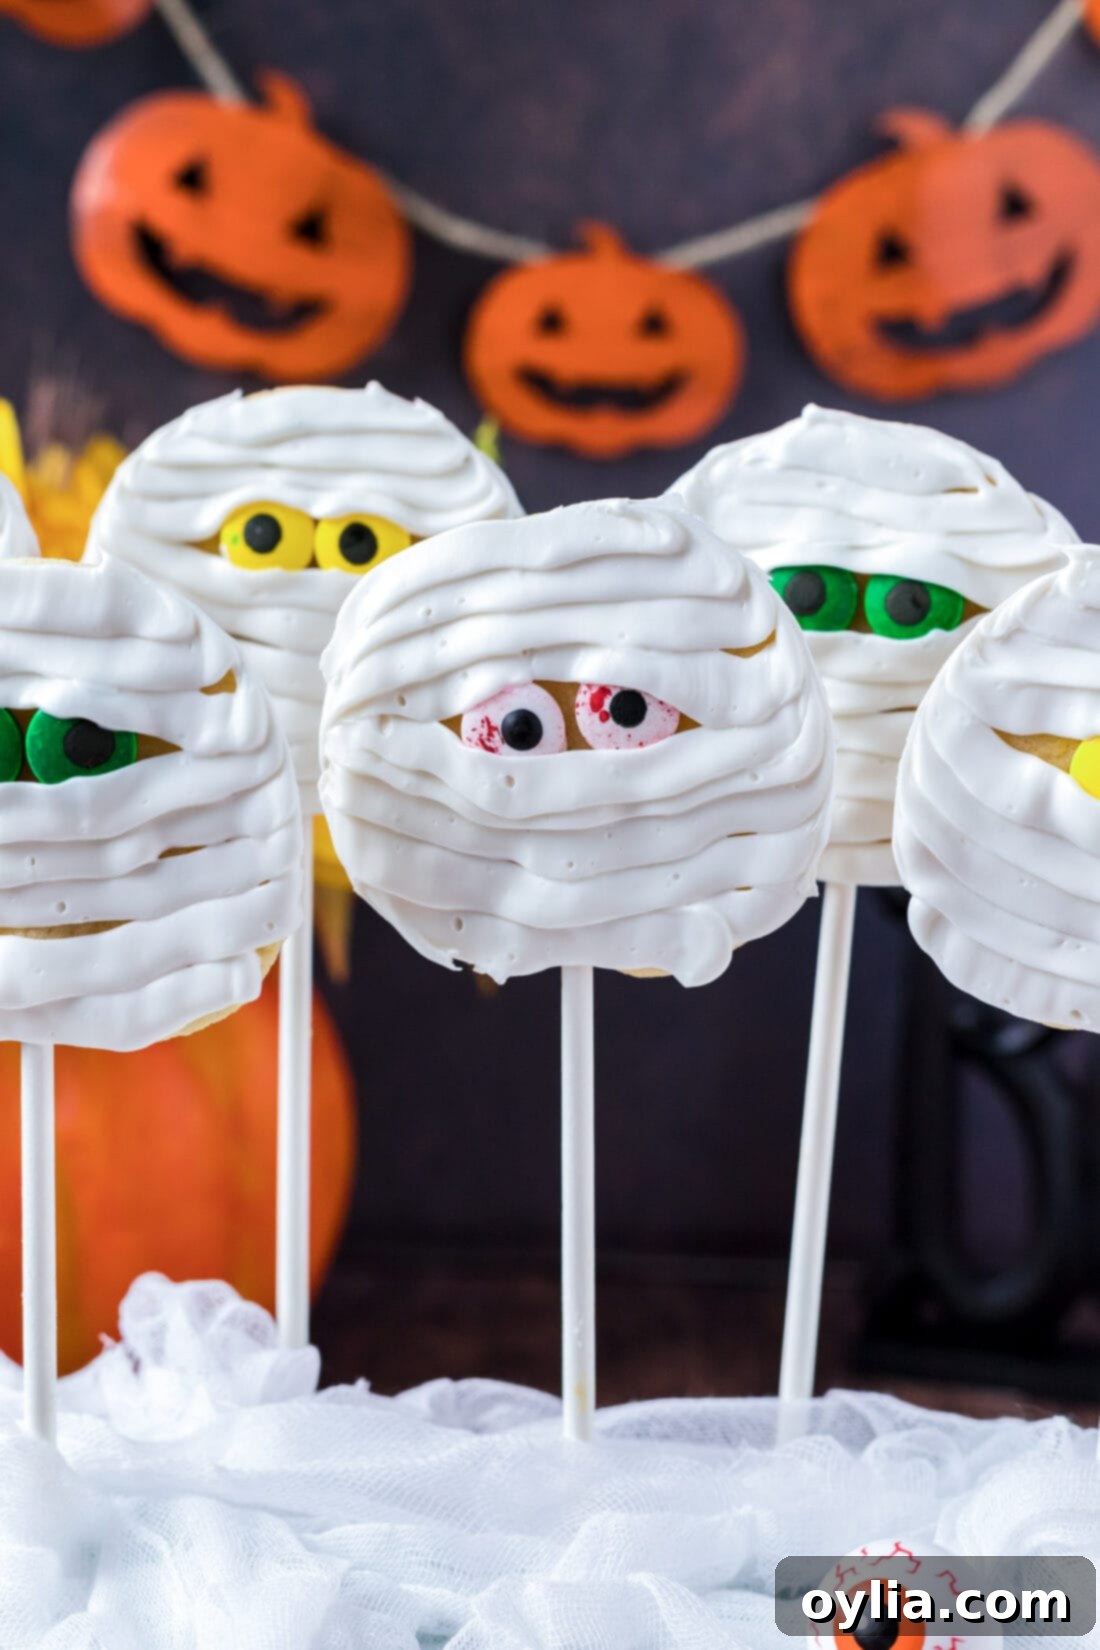
Why These Easy Mummy Cookies Are A Halloween Must-Make
This recipe for **easy mummy cookies** truly shines because of its incredible simplicity and speed. We understand that Halloween can be a busy time, filled with costumes, decorations, and party planning. That’s why we’ve streamlined this recipe to ensure you can whip up a batch of these adorable treats without any stress. By leveraging readily available ingredients like refrigerated sugar cookie dough and canned frosting, you drastically cut down on prep time, allowing you to focus on the fun of decorating rather than the fuss of baking from scratch.
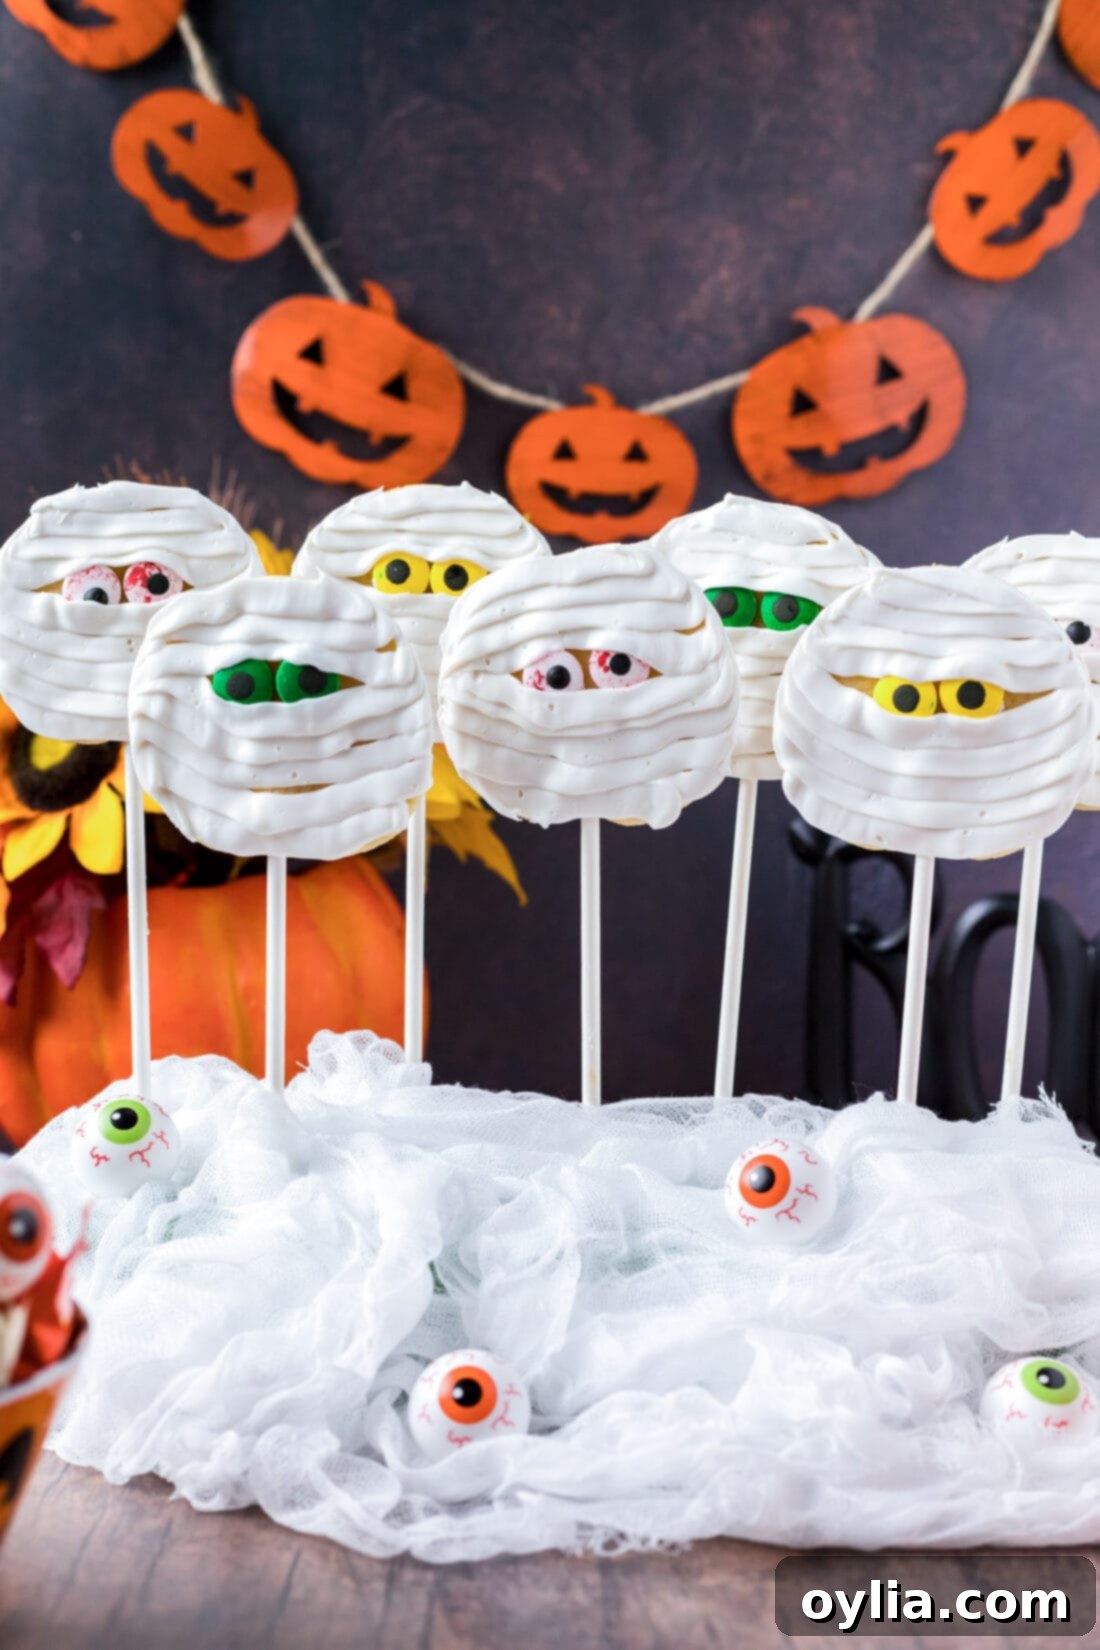
The charm of these mummy cookies lies in their versatility. While they are perfect on their own, we often enjoy serving them as Halloween cookie pops by simply adding a lollipop stick. This transforms them into an even more interactive and portable treat, making them ideal for school parties, trick-or-treat gatherings, or even a fun dessert after a spooky main course like mummy meatloaf. Whether presented on a festive platter, individually wrapped as party favors, or enjoyed fresh from the cooling rack, these cookies are guaranteed to bring smiles and a touch of spooky cheer to any occasion.
Beyond their ease, these cookies offer a fantastic opportunity for creativity. You can experiment with different candy eyeballs to give your mummies unique personalities, from bloodshot to wide-eyed and innocent. The simple “bandaging” technique using frosting is incredibly forgiving, allowing for perfectly imperfect results that only add to their handcrafted appeal. It’s a recipe that invites participation, making it a wonderful activity for kids to join in on the decorating fun, fostering cherished Halloween memories.
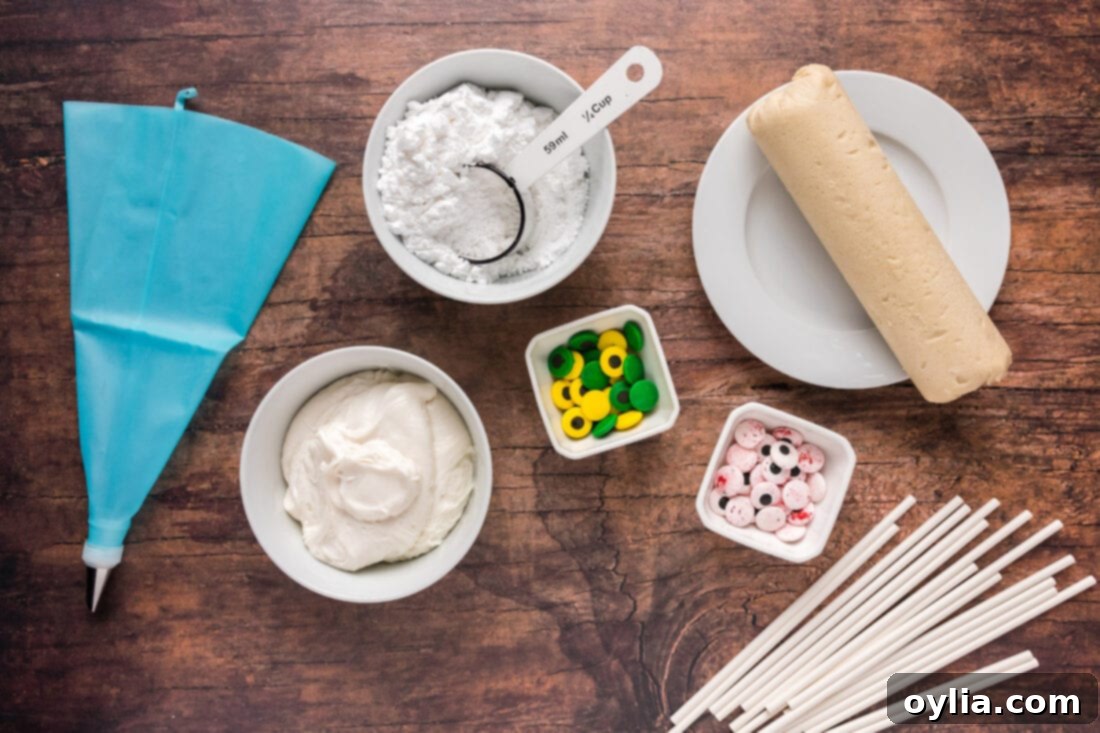
Ingredients for Your Easy Mummy Cookies
Making these spooky-sweet treats truly requires minimal fuss thanks to a short and sweet ingredient list. You’ll find the precise measurements and detailed instructions in the printable recipe card located further down this page. For now, let’s explore the simple components that bring these adorable mummies to life:
Ingredient Info and Substitution Suggestions
- REFRIGERATED SUGAR COOKIE DOUGH: The star of our quick recipe! Using pre-made, refrigerated sugar cookie dough is the ultimate shortcut, allowing you to bake perfect cookies in minutes. Look for brands like Pillsbury or store-brand options. If you prefer to bake from scratch or have more time, our delicious homemade sugar cookie recipe would also work wonderfully as a base. Just ensure they are cut into a similar shape and size before baking.
- WHITE CANNED FROSTING: Canned frosting is another fantastic time-saver. We recommend using plain white vanilla or cream cheese frosting to best achieve that authentic mummy bandage look. While you can certainly use chocolate or another flavor, the white provides the best contrast for the “bandages” and candy eyeballs. To give the frosting the perfect consistency for piping, we’ll whisk in a bit of powdered sugar, making it thicker and more manageable. For those who enjoy homemade touches, our rich and creamy buttercream frosting recipe is an excellent alternative that can be easily adapted for piping.
- POWDERED SUGAR: This is a crucial addition to our canned frosting. Whipping in powdered sugar (also known as confectioners’ sugar) thickens the frosting significantly. This improved consistency makes it much easier to pipe intricate “bandages” onto your cookies, ensuring they hold their shape and give your mummies that distinct textured look. Without it, canned frosting might be too thin and runny.
- CANDY EYEBALLS: These are the magical touch that brings your mummy cookies to life! We love using a mix of fun candy eyeballs, including spooky bloodshot candy eyeballs and classic green and yellow candy eyeballs. You can find these at most craft stores, party supply stores (like Michaels or Party City), or large grocery retailers (like Walmart) especially during the Halloween season. If you can’t find specific candy eyeballs, regular plain candy eyeballs work great, or get creative with mini chocolate chips placed upside down, or even small round candies like M&M’s for a splash of color!
How to Make the Easiest Mummy Cookies
These step-by-step photos and detailed instructions are here to guide you through making this recipe. For a quick jump to the printable version, complete with precise measurements and full instructions, simply Jump to Recipe at the very bottom of this post.
- Prepare Your Oven and Baking Sheet: Begin by preheating your oven according to the specific instructions on your refrigerated cookie dough package. Oven temperatures can vary slightly between brands, but typically it will be around 350°F (175°C). While the oven heats, line an insulated baking sheet with parchment paper. This helps prevent the cookies from sticking and ensures even baking, leading to beautifully golden bottoms.
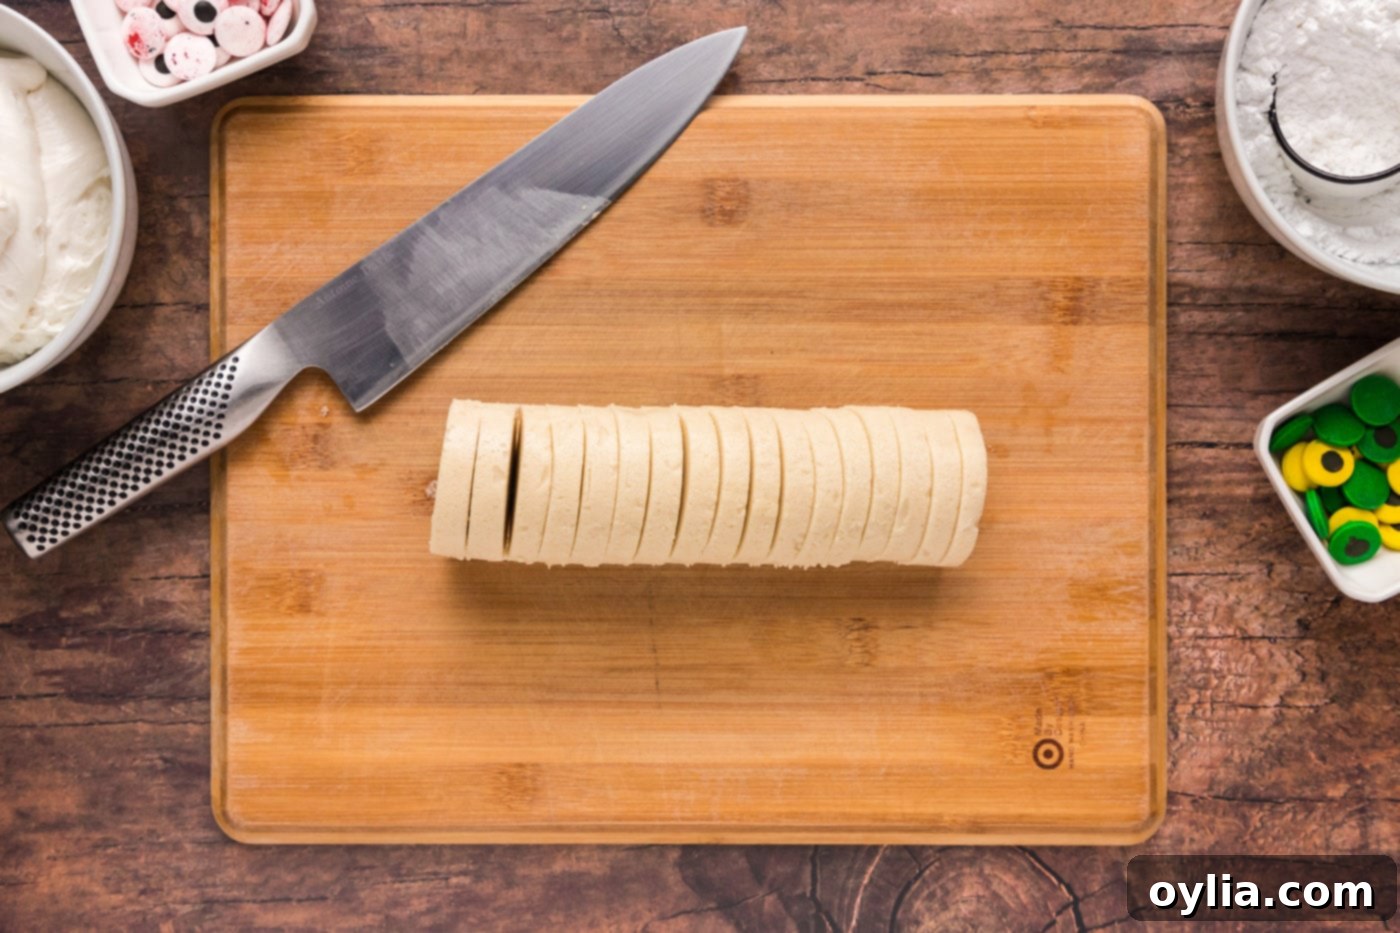
- Slice the Cookie Dough: Carefully remove the refrigerated sugar cookie dough from its packaging. Using a sharp knife, cut the dough log into 16 uniform slices, each approximately 1/2-inch thick. Consistency in thickness is key here to ensure all your cookies bake evenly and look similar in size for your mummy creations.

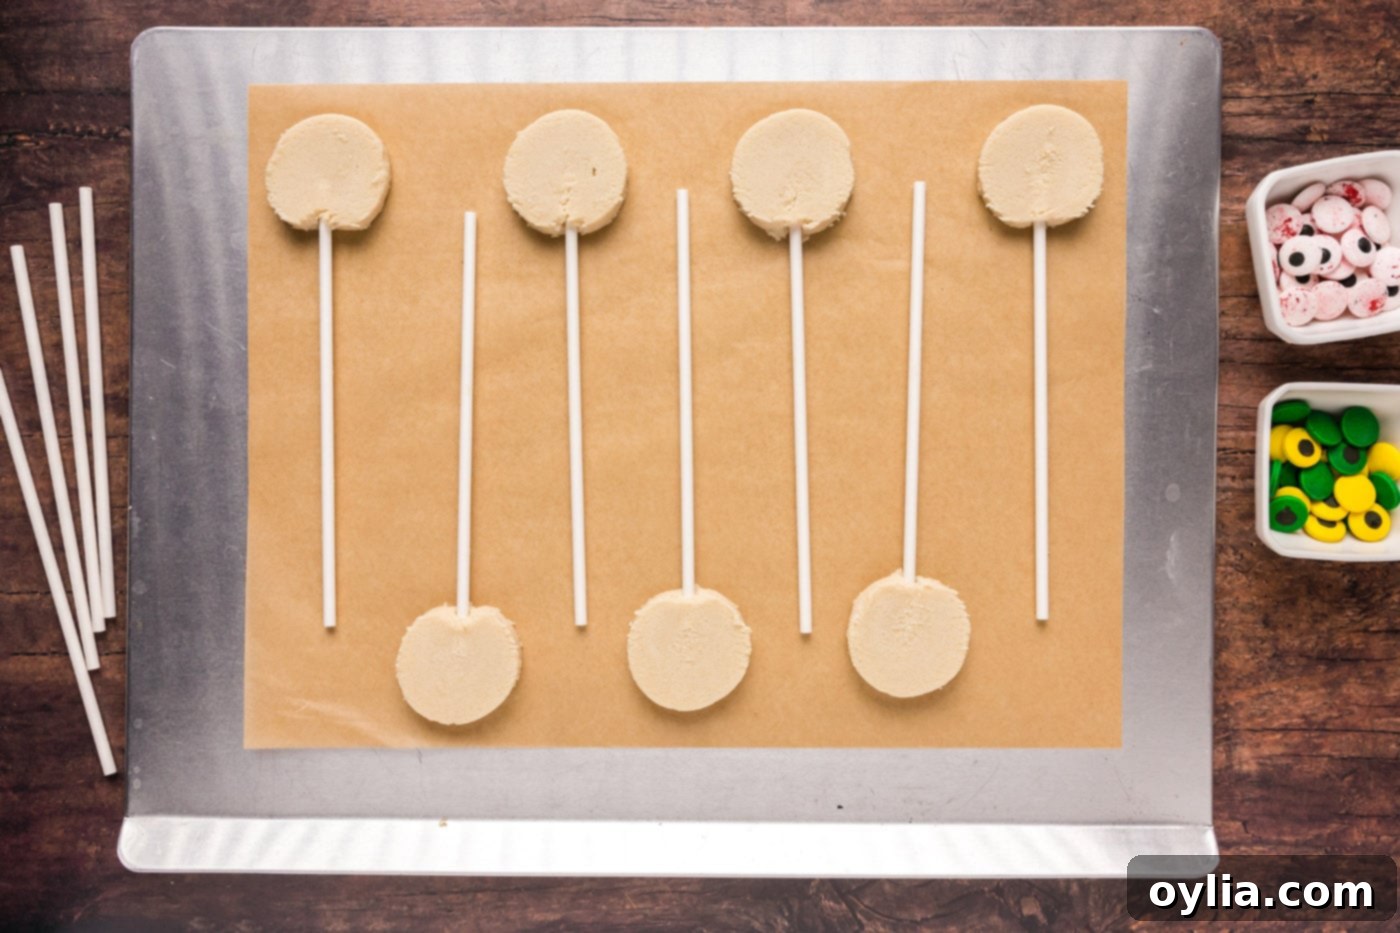
Ensure even slices for consistent cookie size. - Add Lollipop Sticks (Optional, for Cookie Pops): If you plan to make **Mummy Cookie Pops**, carefully insert a lollipop stick into the bottom of each cookie slice, pushing it gently about halfway through. Arrange the prepared cookie slices on your parchment-lined baking sheet, making sure to leave ample space between each cookie. This is important because the dough will expand as it bakes, and you don’t want your mummies merging into one giant blob!

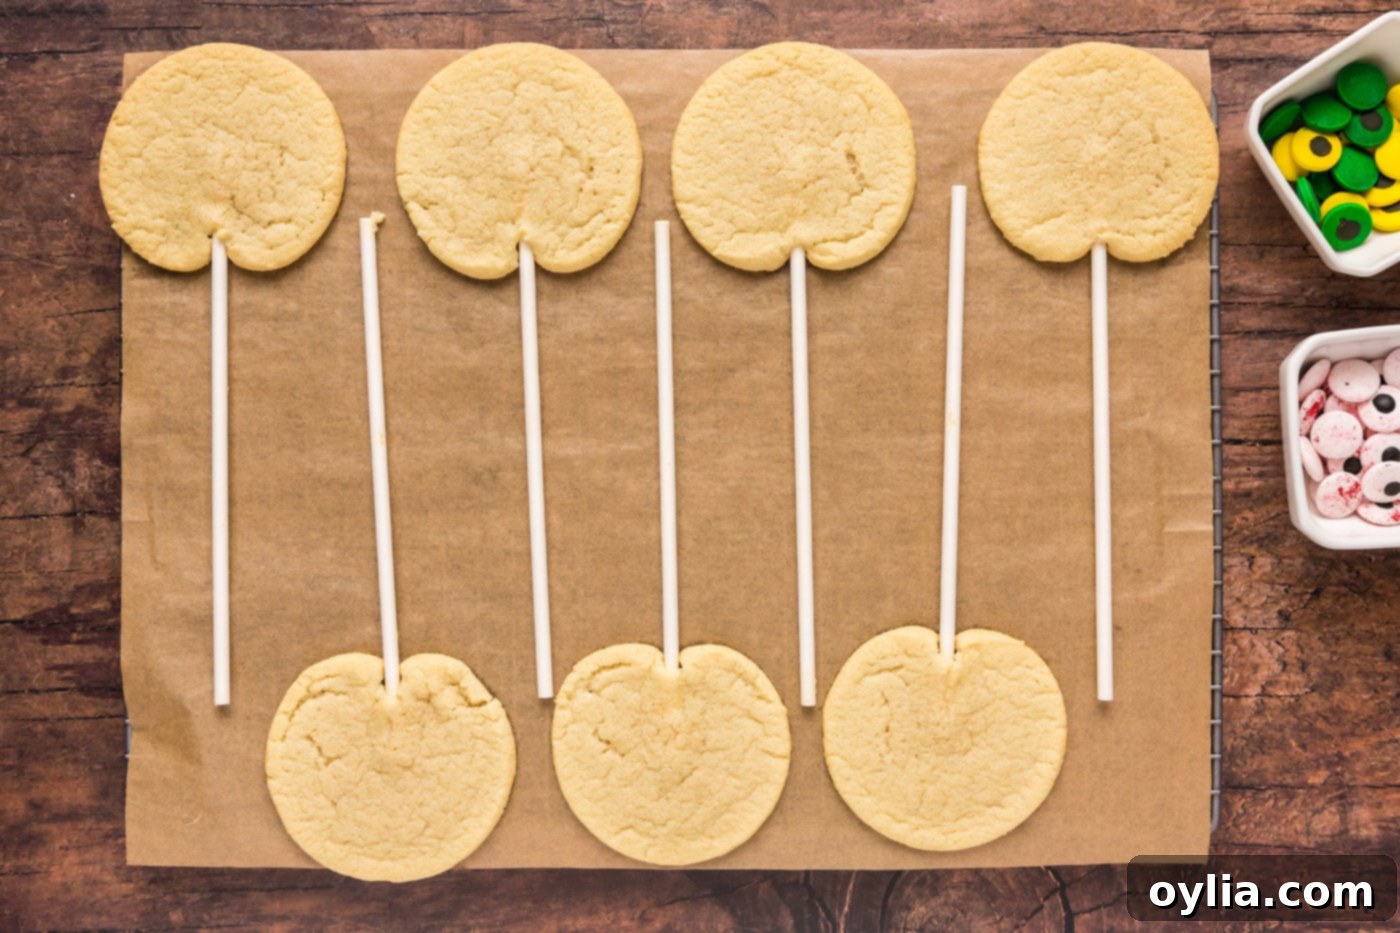
Ready for the oven: cookie dough slices with sticks. - Bake to Golden Perfection: Place the baking sheet in the preheated oven and bake according to the cookie package instructions. For our dough, this was typically 11-14 minutes, and we found 12 minutes to be the sweet spot for perfectly baked cookies – golden brown at the edges but still soft in the center. Keep an eye on them towards the end of the baking time as ovens can vary.
- Cool Completely: Once baked, remove the pan from the oven and carefully place it on a wire cooling rack. If you’ve used lollipop sticks, gently push them a little further into the cookies if they feel loose. Allow the cookies to cool on the pan for about 5 minutes. This initial cooling period helps them firm up. After 5 minutes, carefully slide the parchment paper, along with the cookies, directly onto the wire rack to cool completely. This is a crucial step!
EXPERT TIP: Patience is key! Do not attempt to remove the cookie pops from the parchment paper or handle them until they have cooled *completely*. Warm cookies are very fragile and will likely break around the stick.

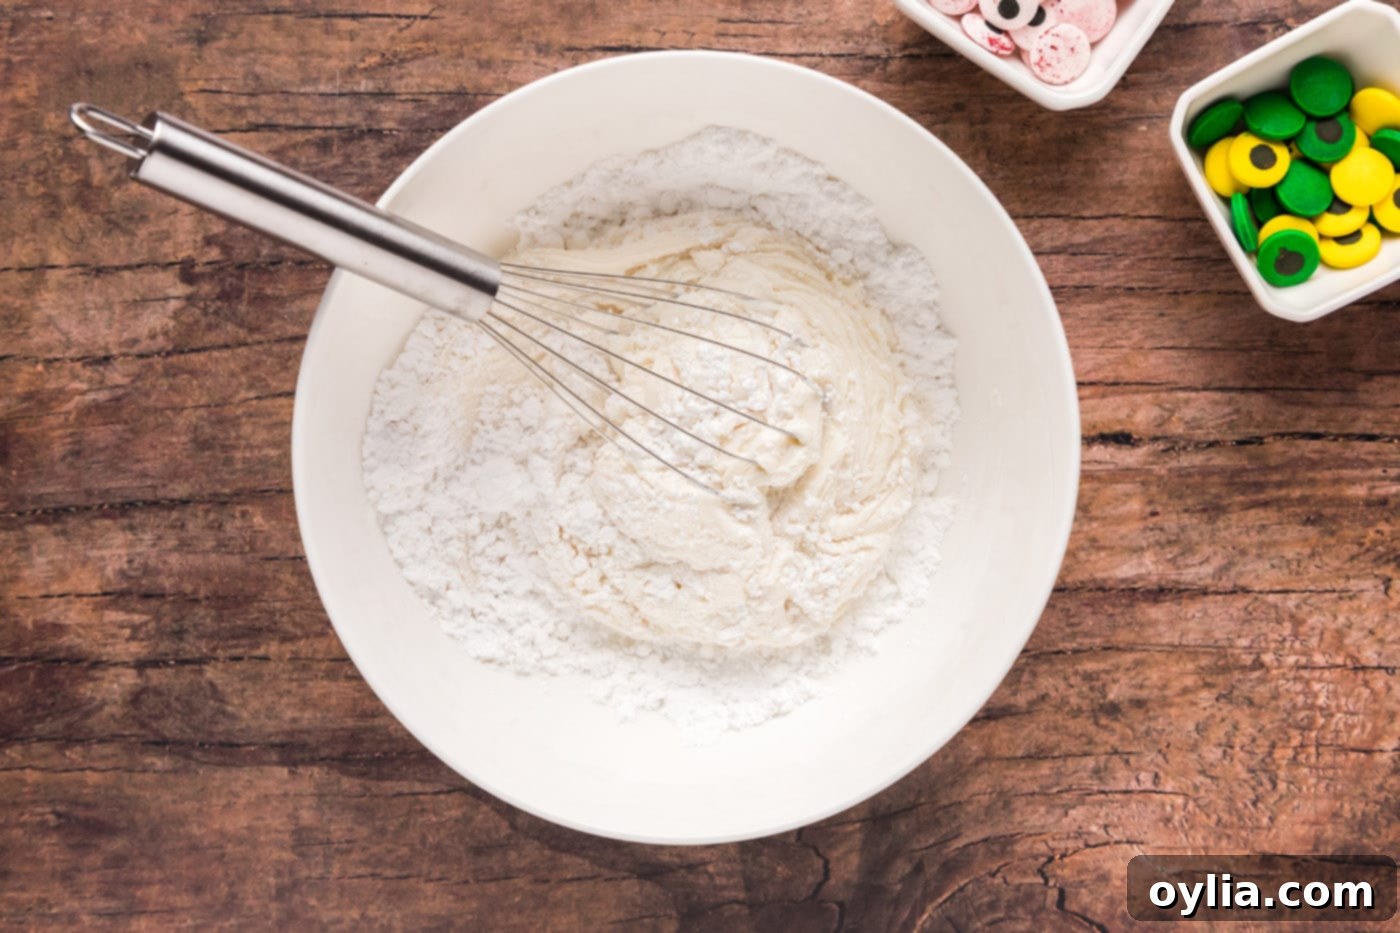
Allowing the cookies to cool completely prevents breakage. - Prepare the Frosting: In a large bowl, combine the can of white frosting with 1/2 cup of powdered sugar. Whisk these two ingredients together thoroughly until they are completely combined and the frosting has a noticeably thicker consistency. This added powdered sugar is vital for making the frosting pipeable, allowing you to create neat, defined “bandages.” Once mixed, transfer the frosting to a piping bag fitted with a flat piping tip. A flat tip helps create those bandage-like strips with ease.

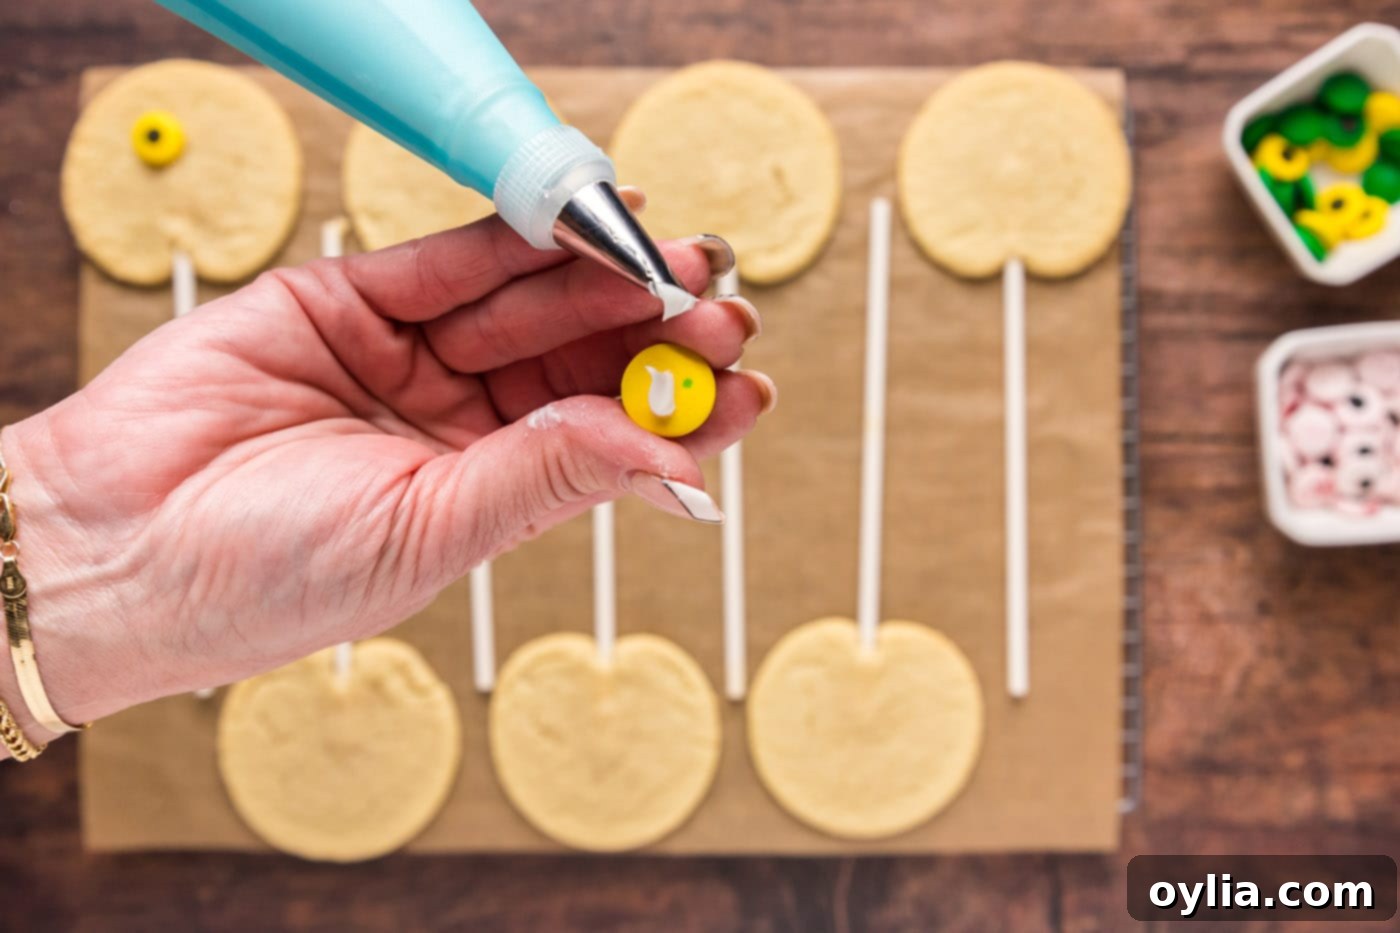
Achieving the perfect piping consistency for your frosting. - Attach the Candy Eyeballs: Before piping the bandages, it’s best to secure the eyes. Add a small dot of frosting to the back of a candy eyeball. Gently press it onto the top third of a cooled cookie. Repeat this for a second eye, placing it alongside the first. Position them relatively close to each other to create the mummy’s “face” area.

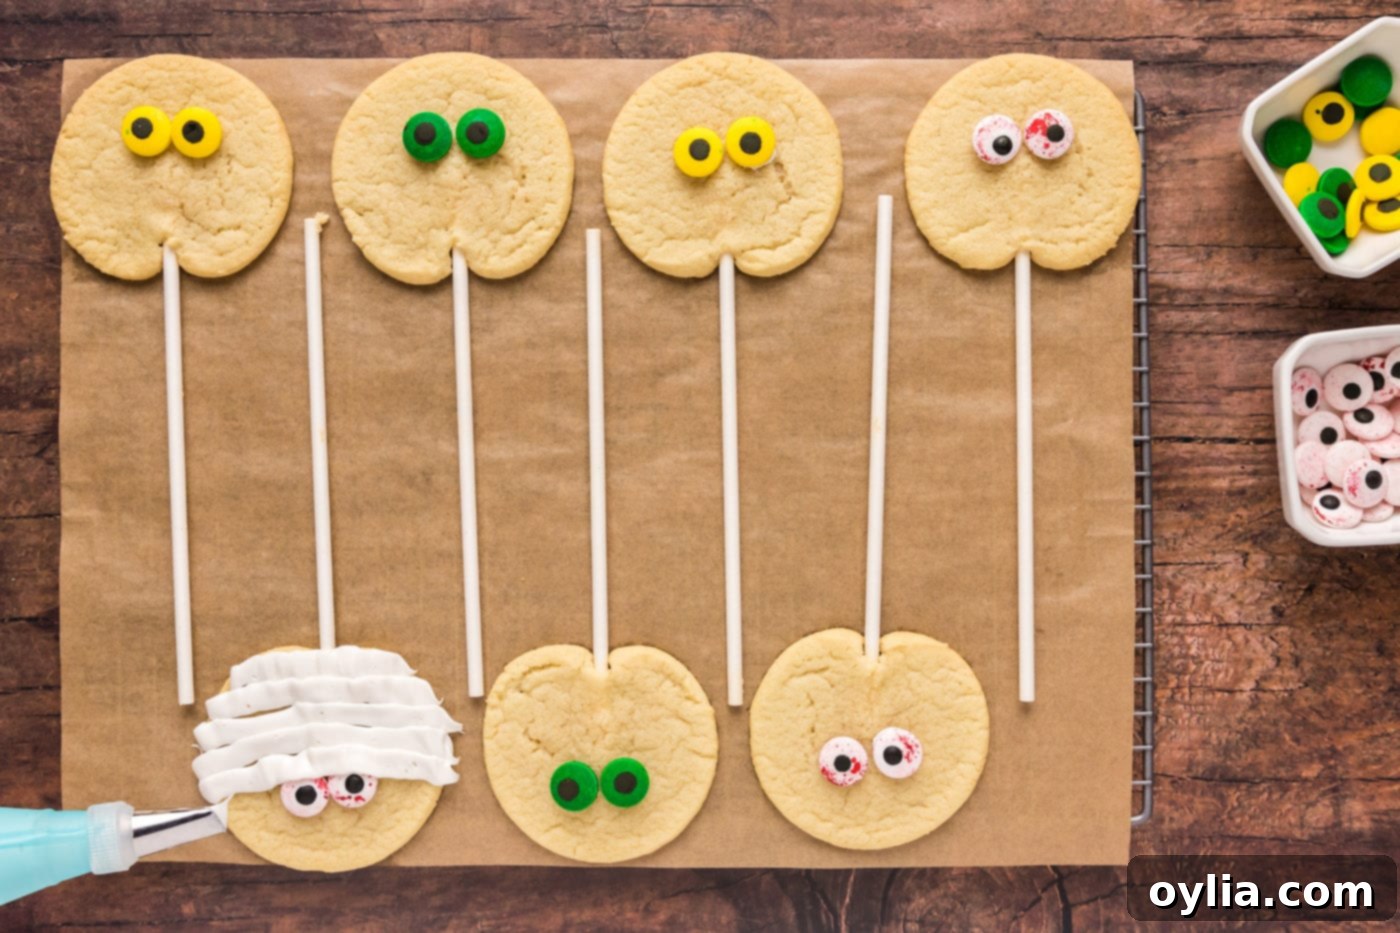
Candy eyeballs being placed on a cookie. - Pipe the Mummy Bandages: Now for the fun part! Using your piping bag with the flat tip, pipe horizontal strips of white frosting across the face of each cookie. Start above the eyes, then pipe strips below, working your way down. Overlap each row slightly, just like real bandages, to create a textured, wrapped effect. Crucially, allow some of the frosting to overlap the top and bottom edges of the candy eyeballs. This creates the illusion that the eyes are peeking out from beneath the mummy’s wraps, adding to their charmingly spooky appeal.

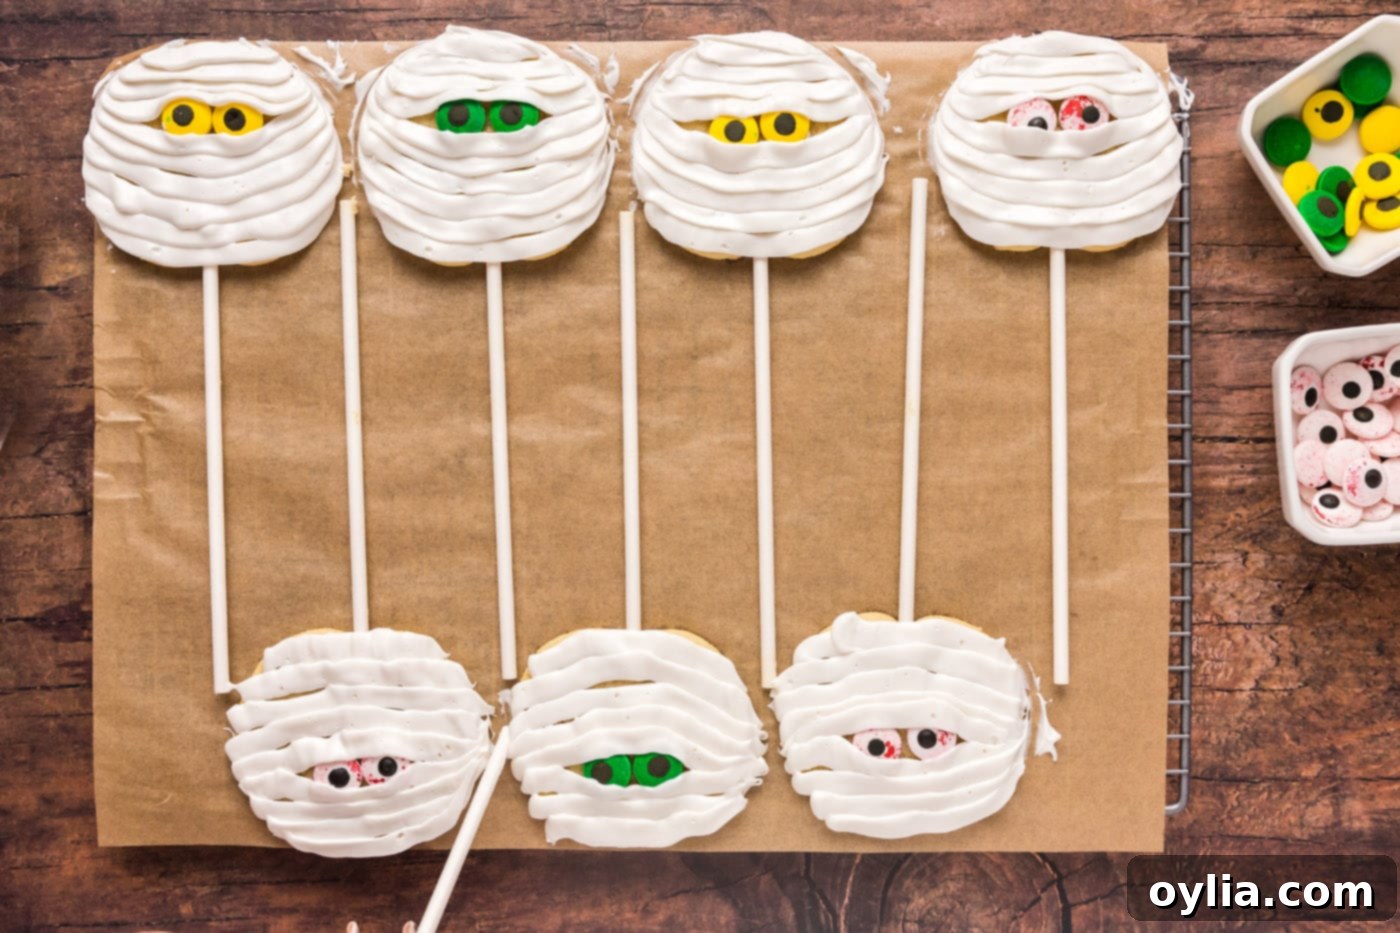
Layering frosting to create the mummy’s bandage effect. - Clean Up and Set: If any frosting squeezes out around the edges or looks a little messy, use an extra lollipop stick or a small skewer to gently clean up the outside borders of the cookies, creating neat mummy outlines. Once decorated, place your mummy cookies (or cookie pops) back on the wire rack.
EXPERT TIP: The frosting will need time to dry and set before you can handle the cookies without smudging them. While they may start to set within 15-30 minutes, for best results and to ensure the frosting is firm enough for transport or stacking, it’s ideal to make these early in the day for an afternoon or evening Halloween party. This allows several hours for the frosting to properly harden.

A fresh batch of mummy cookies, awaiting final setting.
Frequently Asked Questions & Expert Tips for Mummy Cookies
How do I store these mummy cookies?
Once the frosting has fully set, store your mummy cookies in an airtight container at room temperature. They will stay fresh and delicious for 3-4 days. For optimal freshness and to prevent them from drying out, you can also place a slice of bread in the container with them (just replace the bread daily).
Can I make them ahead of time?
Absolutely! These mummy cookies are perfect for preparing in advance, especially since the frosting needs time to set. You can easily make them the morning of your Halloween party or even the night before you plan on serving them. This allows the frosting to firm up nicely, making them easier to handle and transport.
Can kids help decorate these cookies?
Yes, this recipe is fantastic for involving children! Kids can help place the candy eyeballs, and piping the “bandages” is a very forgiving task that even little hands can manage. It’s a fun and creative activity that adds to the Halloween spirit.
What if my frosting is too thin or too thick?
If your frosting is too thin, try mixing in a tablespoon or two more powdered sugar until it reaches a pipeable consistency. If it’s too thick and hard to pipe, add a very small amount (half a teaspoon at a time) of milk or water and mix until it softens slightly. The goal is for it to be firm enough to hold its shape but soft enough to flow smoothly from the piping bag.
Can I use different cookie bases?
While sugar cookies are traditional and work best for their smooth surface, you could experiment with other store-bought cookie doughs like peanut butter or even chocolate chip (though the chocolate base would make the white frosting less prominent). Just ensure the cookies are relatively flat and round or oval-shaped for the best mummy effect.
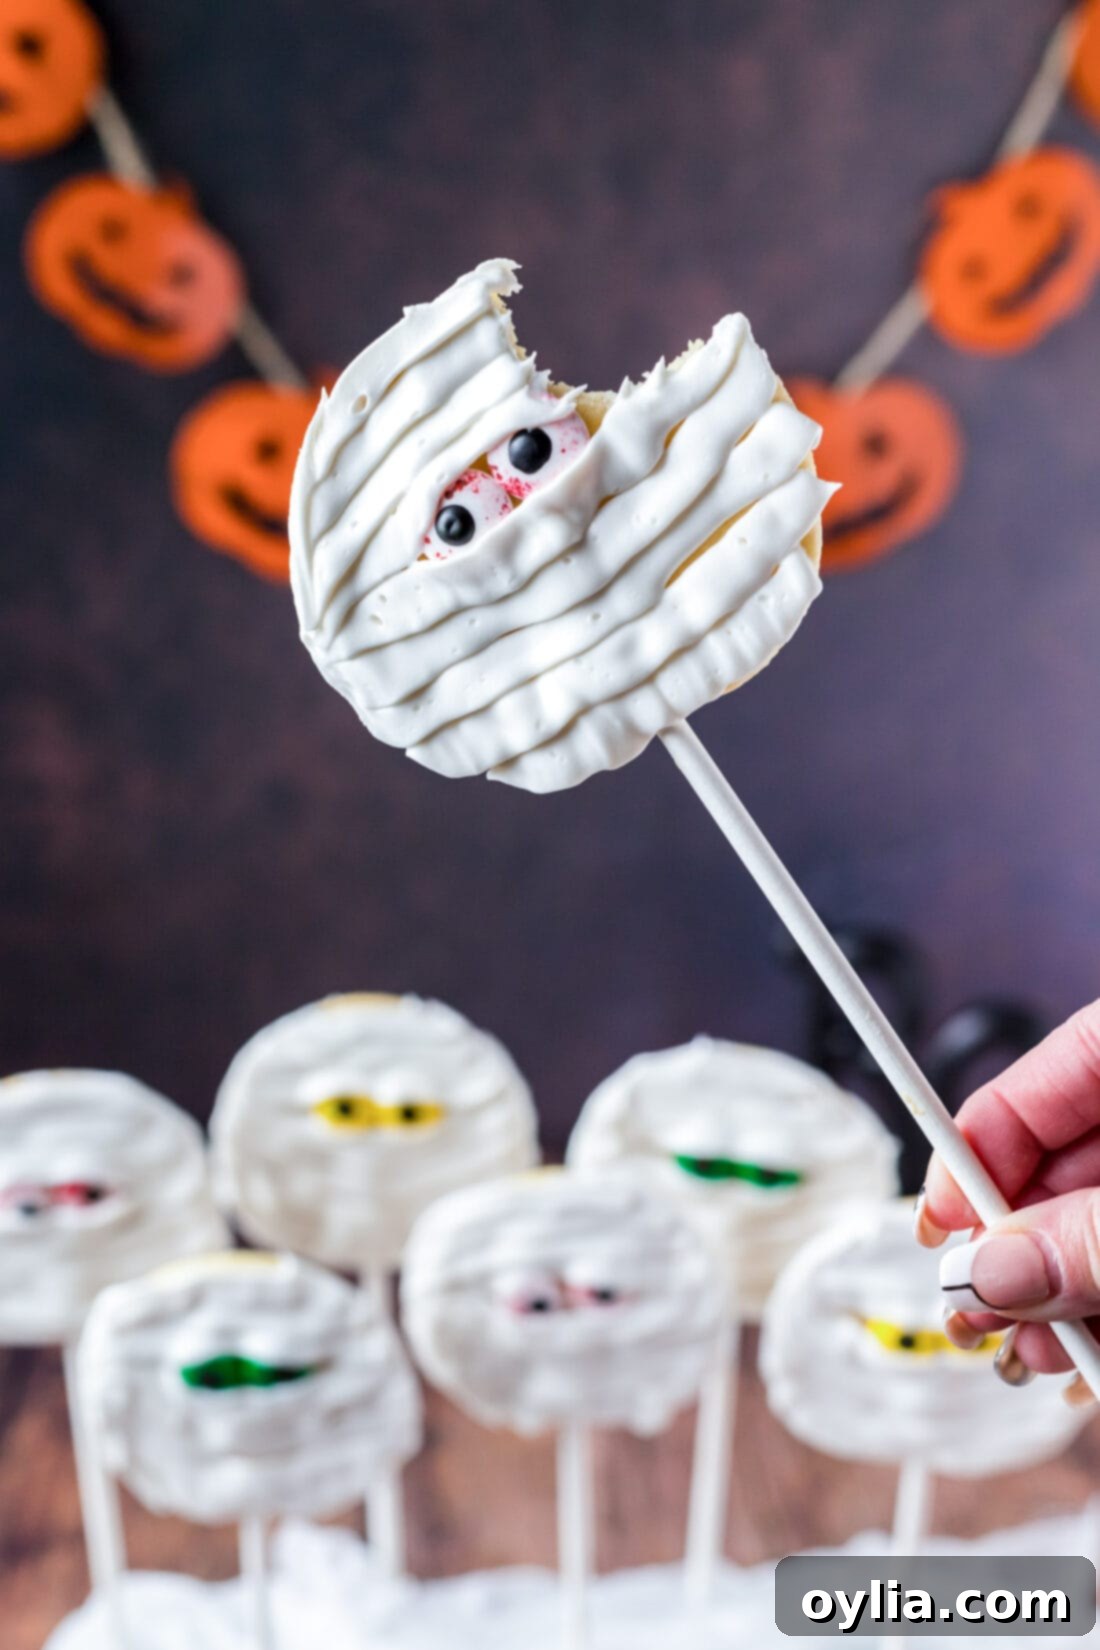
Serving and Displaying Your Mummy Cookies
Presentation can make all the difference, especially for Halloween treats! You can get creative with how you display your completed mummy cookies. For a truly thematic presentation, consider arranging them as we did on some floral foam wrapped with fake spiderwebs. This creates a graveyard-like effect, allowing the cookie pops to stand upright for maximum visual impact at your Halloween party.
Remember, lollipop sticks are entirely optional. If you prefer to serve your mummy cookies on a traditional tray or platter, they will be just as charming without the sticks. Arrange them creatively, perhaps alongside other festive treats, for a delightful dessert spread. You could also use edible glitter or a sprinkle of cocoa powder to add extra flair to your mummy ‘bandages’.
If you’re planning to use these treats as party favors or gifts, individually wrapping them in cellophane baggies is a great idea. However, a quick note of caution: the frosting doesn’t harden completely like royal icing would. When bagging them, be very careful to use a favor bag that is generously sized. This ensures there’s enough space around the cookie, preventing the frosting from smearing and pressing against the sides of the bag. A little extra room will keep your mummies looking perfect until they’re enjoyed!
More Spooky Fun Halloween Recipes to Try
If you’re planning a full Halloween spread or just looking for more frightfully delightful recipes, we’ve got you covered! Explore some of our other popular Halloween-themed dishes that are sure to impress your guests:
- Halloween Dirt Cups – A classic treat with a spooky twist!
- Spiderweb Taco Dip – A savory and artistic appetizer.
- Witch Finger Cookies – Creepily realistic and delicious!
- Halloween Eyeball Salsa – A fresh and fun dip for any party.
- Jalapeno Popper Mummies – A spicy, savory take on the mummy theme.
- Cheese and Pretzel Broomsticks – Easy, kid-friendly, and super cute!
I love to bake and cook and share my kitchen experience with all of you! Remembering to come back each day can be tough, that’s why I offer a convenient newsletter every time a new recipe posts. Simply subscribe and start receiving your free daily recipes, bringing culinary inspiration directly to your inbox!
Mummy Cookies
These 4-ingredient Mummy Cookies are incredibly quick and easy to make, transforming simple sugar cookies into charmingly spooky Halloween treats. Perfect for parties, as fun cookie pops, or delightful party favors, they’re a must-try for the season!
5 from 3 votes
IMPORTANT – There are often Frequently Asked Questions within the blog post that you may find helpful. Simply scroll back up to read them!
Print It
Pin It
Rate It
Course: Dessert
Cuisine: American
Ingredients
-
16 ounce refrigerated sugar cookie dough -
32 candy eyeballs -
16 ounces canned white frosting -
½ cup powdered sugar
Things You’ll Need
-
16 Lollipop sticks 6 inches
-
Piping bag with coupler
-
Flat piping tip
-
Insulated baking sheets
-
Wire cooling racks
Before You Begin
- You should have just enough frosting to decorate 16 cookies. However, this does depend on how many “bandages” you pipe on and how thick you make them. To be safe, it’s not a bad idea to have an extra can of frosting on hand, just in case!
- We added 1/2 cup of powdered sugar to thicken the canned frosting and make it pipeable for those perfect mummy wraps.
Instructions
-
Preheat oven according to cookie dough package instructions (ours was 350 F).
-
Line an insulated baking sheet with parchment paper.
-
Cut refrigerator cookie dough into 16 slices, approximately 1/2-inch thick.
-
Carefully insert a lollipop stick into each cookie slice and place on baking sheet, making sure to leave space between cookies as the dough will expand when it bakes.
-
Bake according to cookie package instructions. Ours said 11-14 minutes and we baked ours for 12 minutes.
-
Remove from oven and place pan on a wire rack. Carefully push the lollipop stick a little further into the cookie if needed. Cool on pan on rack for 5 minutes. After 5 minutes, slide the parchment with the cookies off the sheet and onto the wire rack to cool completely.
-
TIP: Do not try to remove the cookie pops until they have cooled or the cookies will break.
-
In a large bowl, whisk together the can of white frosting and 1/2 cup powdered sugar until completely combined. Add frosting to a piping bag fitting with a flat piping tip.
-
Add a dot of frosting to the back of a candy eye and gently press it to the top third of the cookie. Repeat for a second eye.
-
Pipe white frosting horizontally across the face of each cookie to look like bandages, overlapping slightly with each row. Overlap the eyes just slightly so they appear to be looking out through the bandages.
-
Use an extra lollipop stick or skewer to clean up extra frosting around the outside edges of the cookies.
-
TIP: The frosting will need to dry and set before handling. They will begin to set as early as 15 minutes, but it’s best to make these early in the day for an afternoon/evening Halloween party.
Nutrition
Calories: 257cal |
Carbohydrates: 40g |
Protein: 1g |
Fat: 10g |
Saturated Fat: 2g |
Polyunsaturated Fat: 3g |
Monounsaturated Fat: 5g |
Cholesterol: 3mg |
Sodium: 135mg |
Potassium: 51mg |
Fiber: 0.3g |
Sugar: 32g |
Vitamin A: 10IU |
Calcium: 3mg |
Iron: 1mg
Tried this Recipe? Pin it for Later!
Follow on Pinterest @AmandasCookin or tag #AmandasCookin!
The recipes on this blog are tested with a conventional gas oven and gas stovetop. It’s important to note that some ovens, especially as they age, can cook and bake inconsistently. Using an inexpensive oven thermometer can assure you that your oven is truly heating to the proper temperature. If you use a toaster oven or countertop oven, please keep in mind that they may not distribute heat the same as a conventional full sized oven and you may need to adjust your cooking/baking times. In the case of recipes made with a pressure cooker, air fryer, slow cooker, or other appliance, a link to the appliances we use is listed within each respective recipe. For baking recipes where measurements are given by weight, please note that results may not be the same if cups are used instead, and we can’t guarantee success with that method.
This post was originally published here on September 29, 2022, and has been updated and expanded for clarity and SEO.
