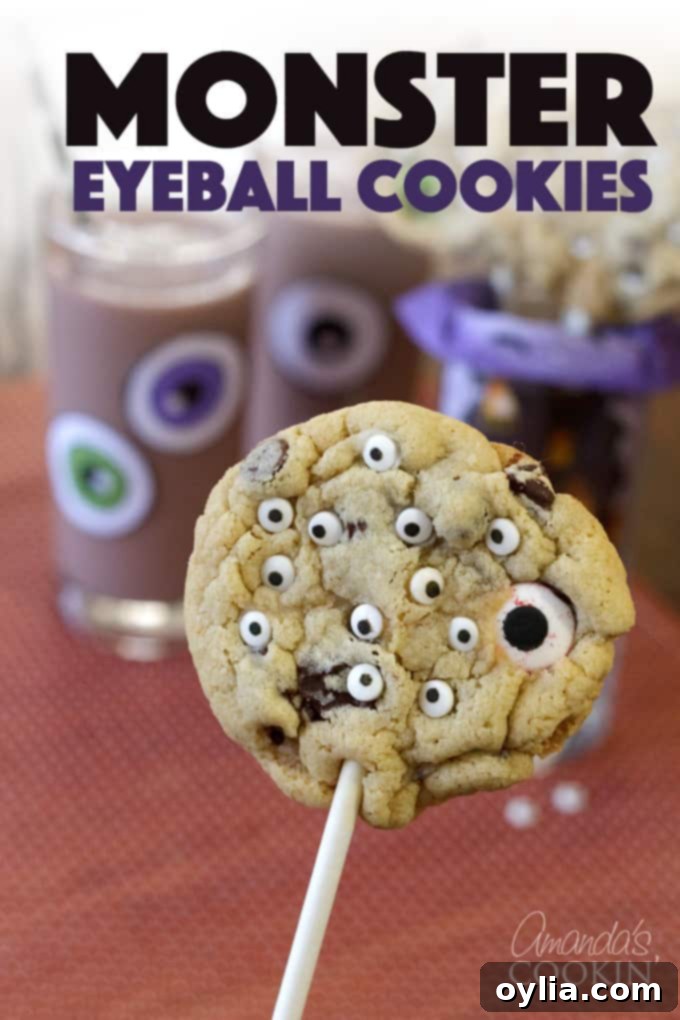
Spooktacular Monster Eyeball Cookie Pops: The Ultimate Kid-Friendly Halloween Treat & Chocolate Milk Combo
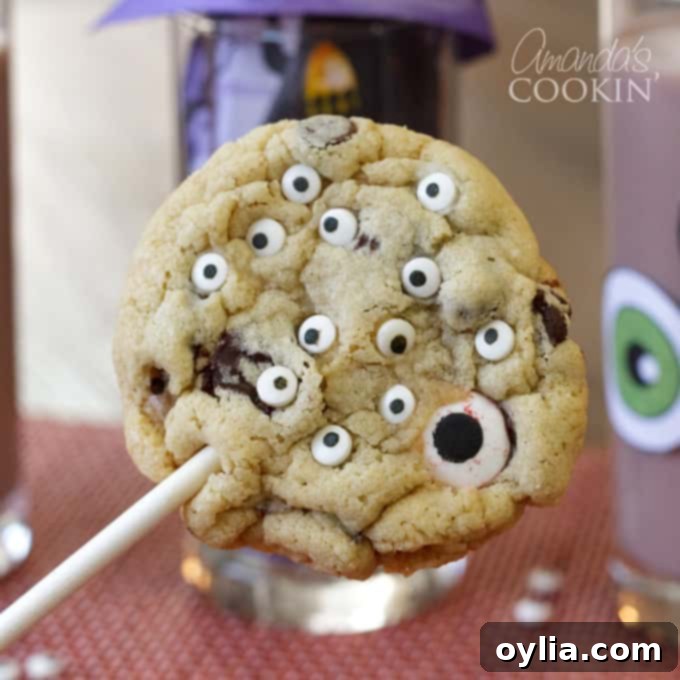
Halloween is a time for costumes, carving pumpkins, and, of course, delicious spooky treats! We’ve taken a beloved classic – the soft, chewy chocolate chip cookie – and given it a fun, monster-themed makeover to create these adorable Monster Eyeball Cookie Pops. Imagine the delight on kids’ faces when they see these googly-eyed cookie creations on a stick! But the fun doesn’t stop there. We’re taking this Halloween experience to the next level by pairing these cookie pops with a monstrously easy-to-decorate glass of nutrient-rich chocolate milk.
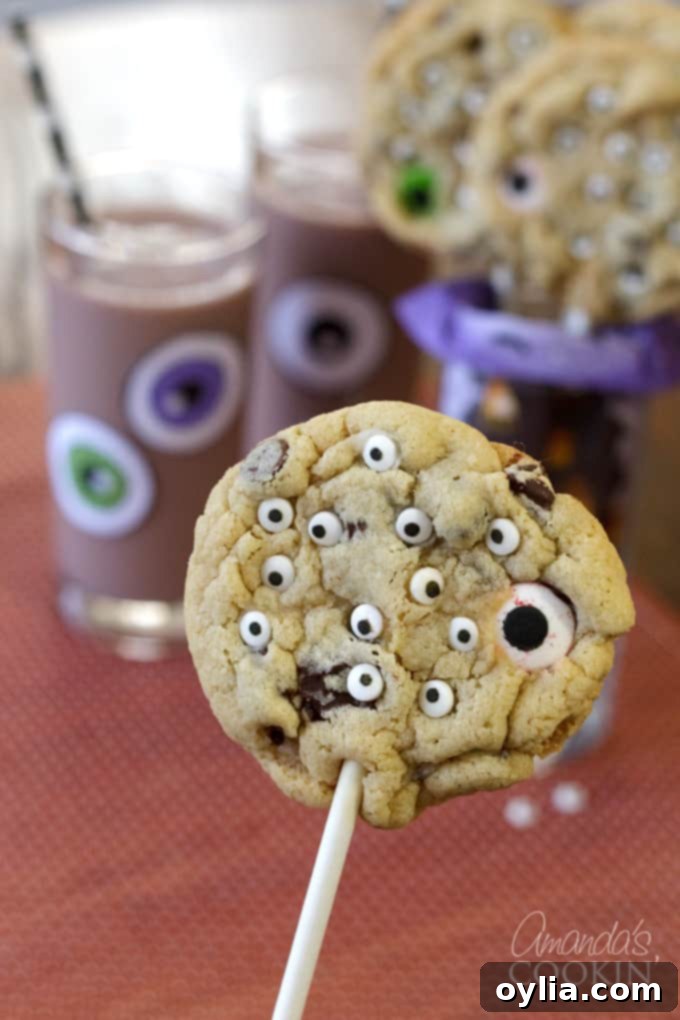
We’re thrilled to partner with our friends at The National Milk Life Campaign to bring you this super cute Halloween treat, offering a delightful twist on our favorite traditional cookies and milk! It’s all about creating joyful memories and nourishing bodies, especially during the festive season.
The Perfect Duo: Monster Eyeball Cookie Pops & Nutrient-Rich Monster Chocolate Milk
For many, the combination of cookies and milk evokes cherished childhood memories. As a little girl, I always knew that few things could beat the simple pleasure of dunking a soft chocolate chip cookie into a mug of cold milk. Chocolate milk was always my personal favorite, a sweet indulgence that my mom never hesitated to offer, knowing it provided the essential nutrients we needed to grow and play. This timeless pairing is especially wonderful for Halloween, transforming a simple snack into a festive, interactive experience for the whole family.
Why Chocolate Milk is a Halloween Essential
Beyond its delicious taste, chocolate milk offers significant nutritional benefits that make it an excellent choice for active kids. Dietary guidelines recommend that children consume between two and three cups of milk and milk products daily, depending on their age. And yes, chocolate milk absolutely counts as a serving of dairy! Just like classic white milk, every 8-ounce glass of chocolate milk provides the same 9 essential nutrients, including a robust 8 grams of high-quality protein. This protein is crucial for helping to build and repair muscles, keeping kids energized for all their Halloween adventures, from trick-or-treating to spooky games.
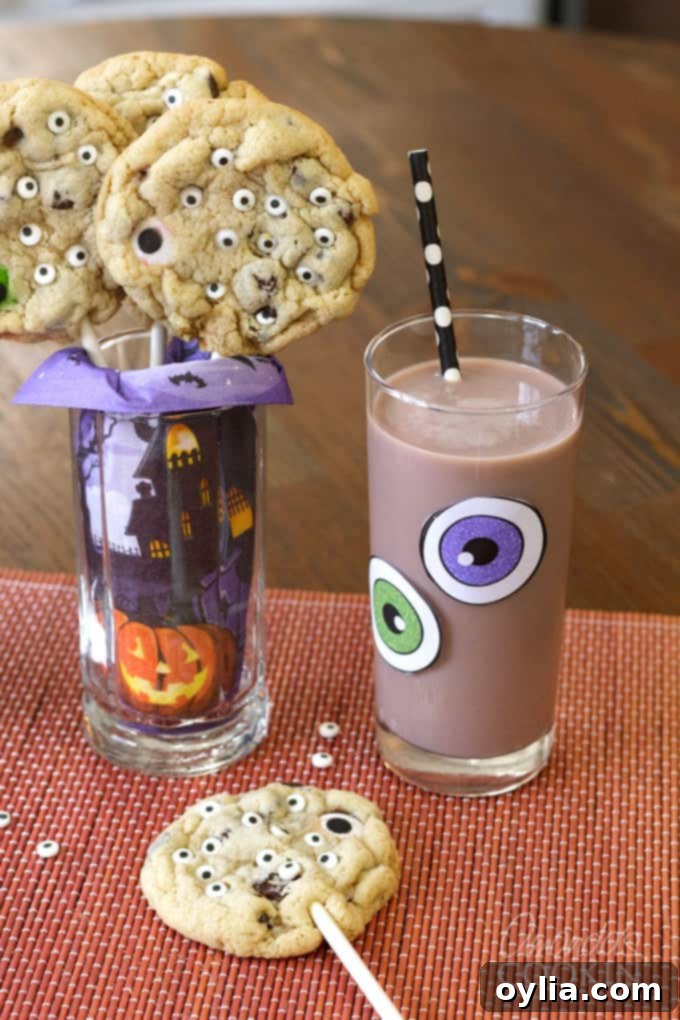
It’s also worth noting that many leading health and nutrition organizations, such as the American Academy of Pediatrics, endorse chocolate milk as a positive alternative to soft drinks. Sugary beverages are often the primary source of added sugars in children’s diets, making chocolate milk a smart and appealing trade-off. By serving these fun Monster Eyeball Cookie Pops alongside monster-themed glasses of chocolate milk, you’re not only adding to the festive spirit but also ensuring your little ghouls and goblins are getting wholesome nutrition. Let’s make this Halloween deliciously memorable and nutritious!
Crafting Your Spooky Monster Eyeball Cookie Pops
Monster Eyeball Cookie Pops Ingredients:
This recipe is a perfectly portioned half of my absolute favorite chocolate chip cookie recipe, designed to yield about 13-14 irresistible monster eyeball cookie pops. The beauty of this recipe lies in its adaptability; if you have a cherished chocolate chip cookie recipe of your own, feel free to use it! The key to these cookie pops is the perfect balance of ingredients that create a soft, chewy, and utterly delicious base. You’ll find the full printable recipe ingredients and instructions at the end of this post, but here’s a quick overview of what you’ll need:
- Cake flour: Contributes to the tender, soft texture.
- All-purpose flour: Provides structure and chewiness.
- Baking soda: Helps the cookies spread and become tender.
- Baking powder: Gives the cookies a lift, ensuring they are light and airy.
- Kosher salt: Balances the sweetness and enhances flavor.
- Unsalted butter room temperature: Essential for proper creaming and a rich flavor.
- Light brown sugar: Adds moisture, chewiness, and a hint of caramel flavor.
- Granulated sugar: Contributes to sweetness and crisp edges.
- Large egg: Acts as a binder and adds richness.
- Vanilla extract: A flavor enhancer that complements the chocolate beautifully.
- Dark chocolate or semi-sweet chocolate chips: The heart of any good chocolate chip cookie!
- Candy eyeballs: The star of our monster theme, bringing these cookies to life!
- 12-inch lollipop sticks: For turning regular cookies into fun, hand-held pops.
For a terrifyingly tasty snack, visit AmazonFresh to get chocolate milk delivered today!
Instructions for Making Monster Eyeball Cookie Pops
Creating these spooky treats is a straightforward process that’s enjoyable for bakers of all skill levels, and even more fun with little helpers!
- Prepare Your Oven and Baking Sheet: Preheat your oven to a steady 350°F (175°C). Line a baking sheet with parchment paper. This step is crucial for preventing sticking and ensuring easy cleanup.
- Combine Dry Ingredients: In a large mixing bowl, whisk together both the cake flour and all-purpose flour, baking soda, baking powder, and Kosher salt. Ensure they are thoroughly combined to distribute the leavening agents evenly.
- Cream Wet Ingredients: In a separate, larger mixing bowl, using an electric mixer, cream together the room temperature unsalted butter, light brown sugar, and granulated sugar until the mixture is light and fluffy. This can take 2-3 minutes and is vital for the cookie’s texture.
- Incorporate Egg and Vanilla: Add the large egg and vanilla extract to the creamed mixture. Mix until everything is well combined and smooth.
- Combine Dry and Wet: Gradually stir the dry ingredients into the wet mixture. Mix just until combined, being careful not to overmix, as this can lead to tough cookies.
- Add Chocolate Chips: Fold in the dark or semi-sweet chocolate chips. Distribute them evenly throughout the dough.
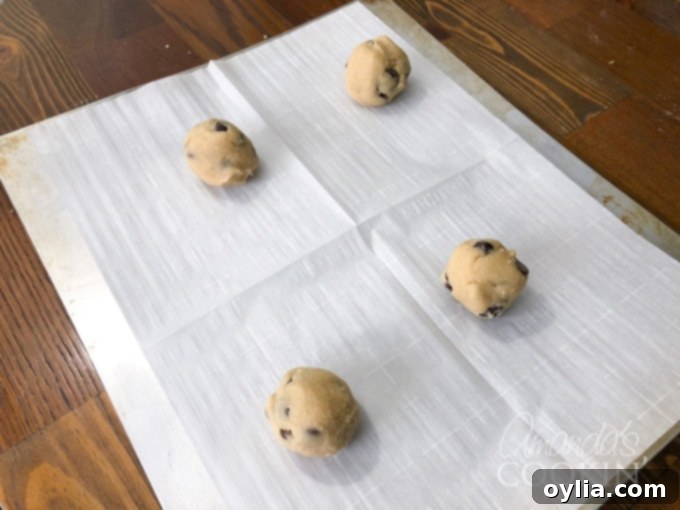
- Form Cookie Balls: Measure out about 3 tablespoons of dough for each cookie pop and roll it into a neat ball. Place 4 balls of dough onto the prepared baking sheet. Arrange them offset, with two at each end, ensuring there’s enough space for the lollipop sticks without them touching other cookies.
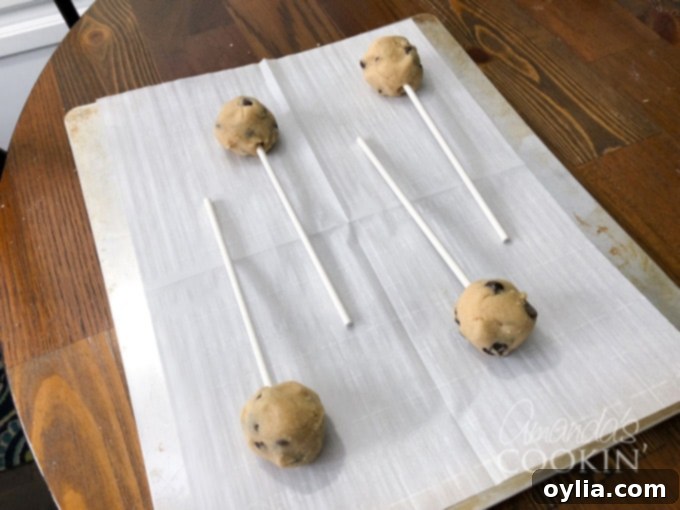
- Insert Lollipop Sticks: Carefully insert a 12-inch lollipop stick about three-quarters of the way into each cookie ball. Make sure it’s firmly secured but doesn’t go all the way through the top.
- Bake to Perfection: Bake for 13-15 minutes. The cookies are ready when their edges are just beginning to turn golden brown, and their centers are set but still soft. Overbaking will result in a less chewy cookie.
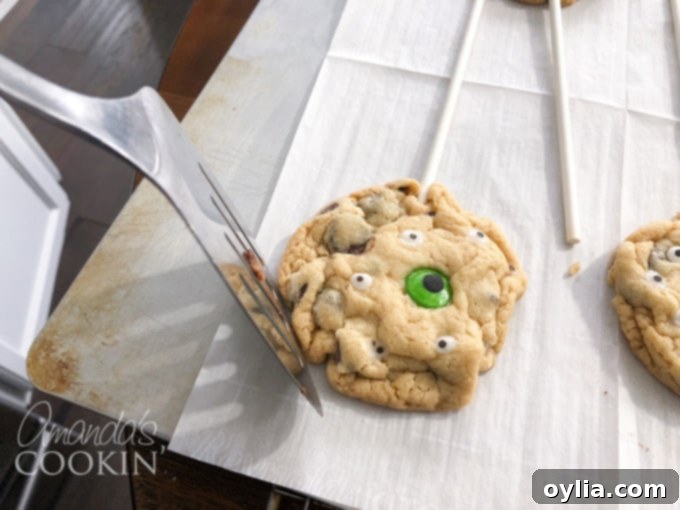
- Shape While Warm: Remove the baking sheet from the oven and place it on a wire rack. While the cookies are still hot, use the edge of a spatula to gently push any irregular edges back into a perfectly round shape.
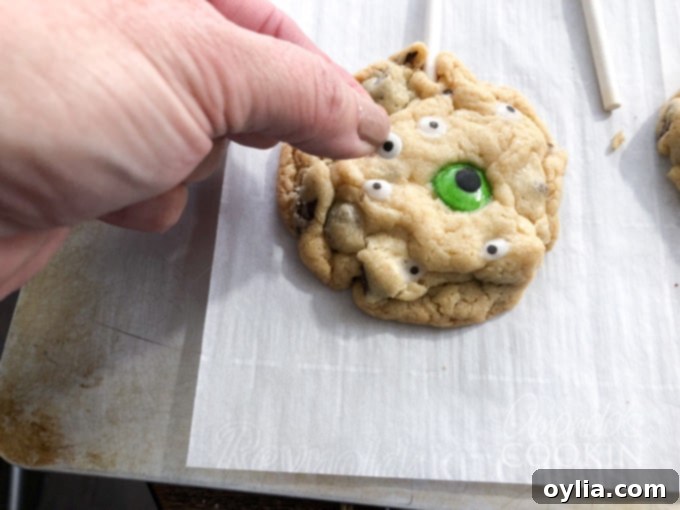
- Attach Candy Eyeballs: This is where the magic happens! While the cookies are still hot from the oven, gently press the candy eyeballs onto the cookies. The residual heat will slightly melt the cookie surface, allowing the eyeballs to adhere perfectly without losing their shape. (Pro Tip: You CAN add the candy eyeballs before baking, but they tend to melt a little, making them look much better if added after baking!)
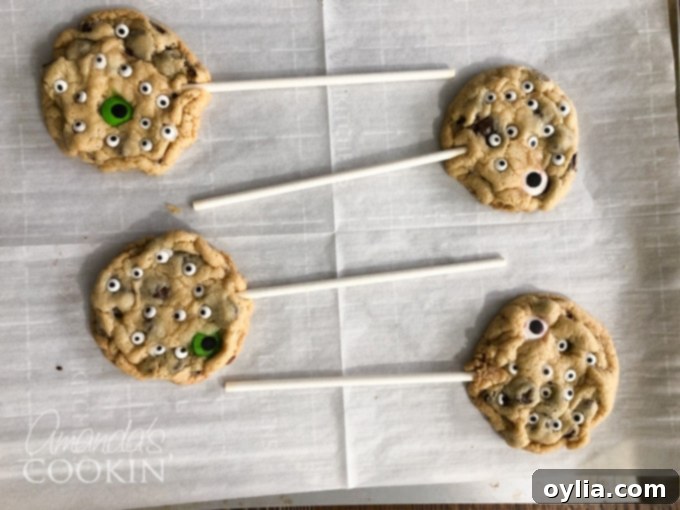
- Cool Completely: Allow the cookie pops to cool on the baking sheet for about five minutes before carefully transferring them to a wire rack to cool completely. This helps them firm up and prevents breakage.
More Goodness from Milk
While your cookie pops are cooling, let’s circle back to the goodness of milk. It’s not just about the 9 essential nutrients; milk, including chocolate milk, provides 8 times more naturally occurring, high-quality protein than most almond and rice milks in every 8-ounce glass. It’s truly one of the original farm-to-table foods – a wholesome, simple, and minimally processed beverage that has been nourishing families for generations. Choosing milk means choosing a beverage that’s produced locally by dairy farm families who are committed to sustainable practices and providing nutrient-rich products.
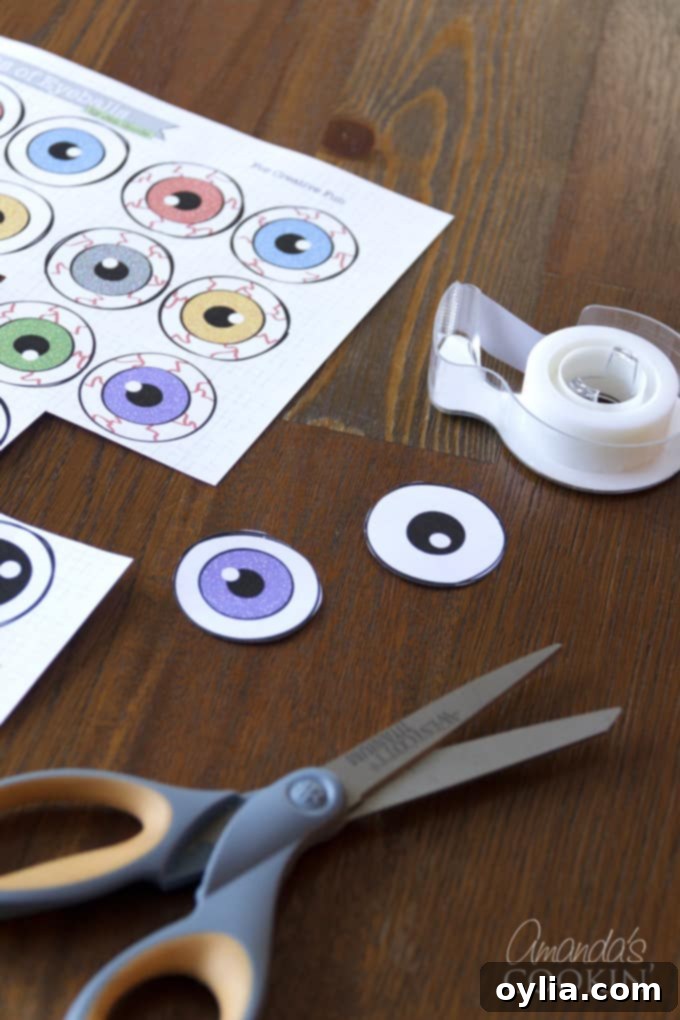
Decorate Your Monster Glasses of Chocolate Milk:
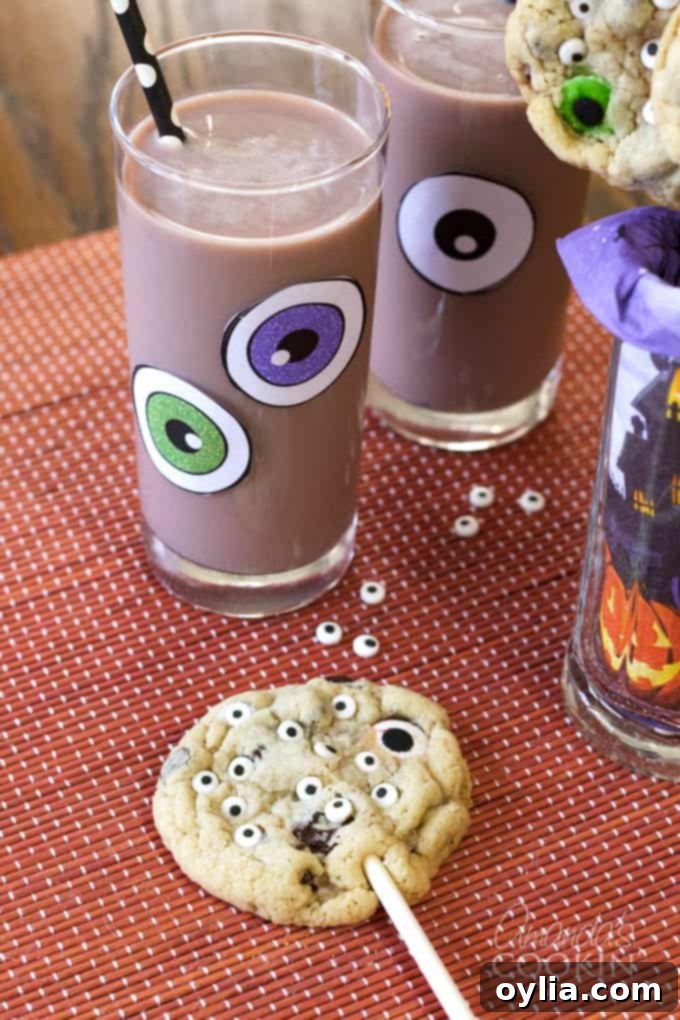
To complete your Halloween treat experience, let’s create some fun monster-themed glasses for your chocolate milk! This is a fantastic activity for kids to personalize their drinks.
- Get Your Eyeball Printables: First, cut out the spooky eyeball printables you can find here. There are various designs, so let the kids pick their favorite ghoulish eyes!
- Attach to Glasses: Roll small pieces of scotch tape and stick them to the back of the cut-out eyeballs. Then, press them onto your serving glasses. You can also use double-sided tape or even a tiny dab of glue if you prefer.
- Pour and Serve: Once your glasses have their new monster faces, pour in that delicious, cold chocolate milk. For an extra festive touch, add a fun Halloween-themed straw.
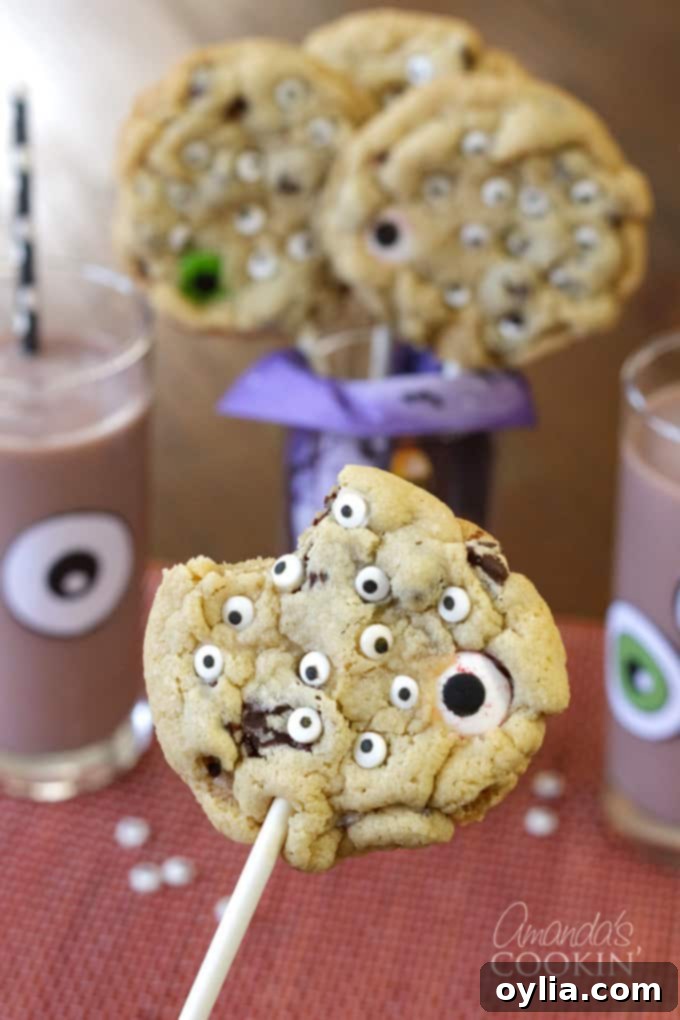
- The Perfect Pair: Serve your decorated monster chocolate milk alongside your freshly made Monster Eyeball Cookie Pops for an unforgettable Halloween treat that combines spooky fun with wholesome goodness!
For more creative ideas and recipes that incorporate milk, be sure to check out PourMoreMilk.com. You can also stay connected and discover more delicious recipes by following Milk Life on Facebook, Twitter, Pinterest, and Instagram!
If you loved making these fun monster cookie pops, you absolutely must try these equally spooky and delicious monster brownies for another fantastic Halloween treat!
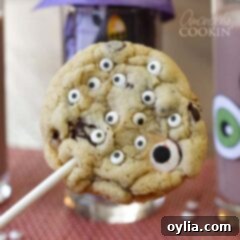
Monster Eyeball Cookie Pops
IMPORTANT – There are often Frequently Asked Questions within the blog post that you may find helpful. Simply scroll back up to read them!
Print It
Pin It
Rate It
Save ItSaved!
Ingredients
- 4.25 ounces cake flour
- 4.25 ounces all purpose flour
- ½ teaspoon baking soda
- ¾ teaspoons baking powder
- ¾ teaspoon Kosher salt
- 10 tablespoons unsalted butter room temperature
- 5 ounces packed light brown sugar
- 4 ounces granulated sugar
- 1 large egg
- 1 teaspoon vanilla extract
- 7.5 oz bag dark chocolate or semi-sweet chocolate chips 1/2 bag
- Candy eyeballs
- 12- inch lollipop sticks
Before You Begin
Instructions
-
Preheat oven to 350 F and line a baking sheet with parchment paper.
-
In a large bowl combine both flours, baking soda, baking powder, and Kosher salt.
-
In a separate mixing bowl, cream together butter, brown sugar and granulated sugar.
-
Add egg and vanilla extract and mix until combined well.
-
Stir in dry ingredients.
-
Add chocolate chips and stir until combined.
-
Measure out 3 tablespoons of dough and roll it into a ball. Place 4 balls of dough onto the sheet, two at each end, offset (so that sticks don’t hit cookies, see next step).
-
Insert lollipop sticks about 3/4 way into the cookie ball.
-
Bake for 13-15 minutes, or until edges are just starting to turn golden brown and centers are set.
-
Remove from oven and place pan on wire rack. Use the edge of a spatula to shape any cookies that spread out of shape.
-
Add candy eyeballs to the cookies while they are still hot!
-
Let cool for five minutes before moving to the cooling rack to cool completely.
Nutrition
The recipes on this blog are tested with a conventional gas oven and gas stovetop. It’s important to note that some ovens, especially as they age, can cook and bake inconsistently. Using an inexpensive oven thermometer can assure you that your oven is truly heating to the proper temperature. If you use a toaster oven or countertop oven, please keep in mind that they may not distribute heat the same as a conventional full sized oven and you may need to adjust your cooking/baking times. In the case of recipes made with a pressure cooker, air fryer, slow cooker, or other appliance, a link to the appliances we use is listed within each respective recipe. For baking recipes where measurements are given by weight, please note that results may not be the same if cups are used instead, and we can’t guarantee success with that method.
