Spooktacular Halloween Chocolate Covered Strawberries: Easy & Festive DIY Treats for All Ages
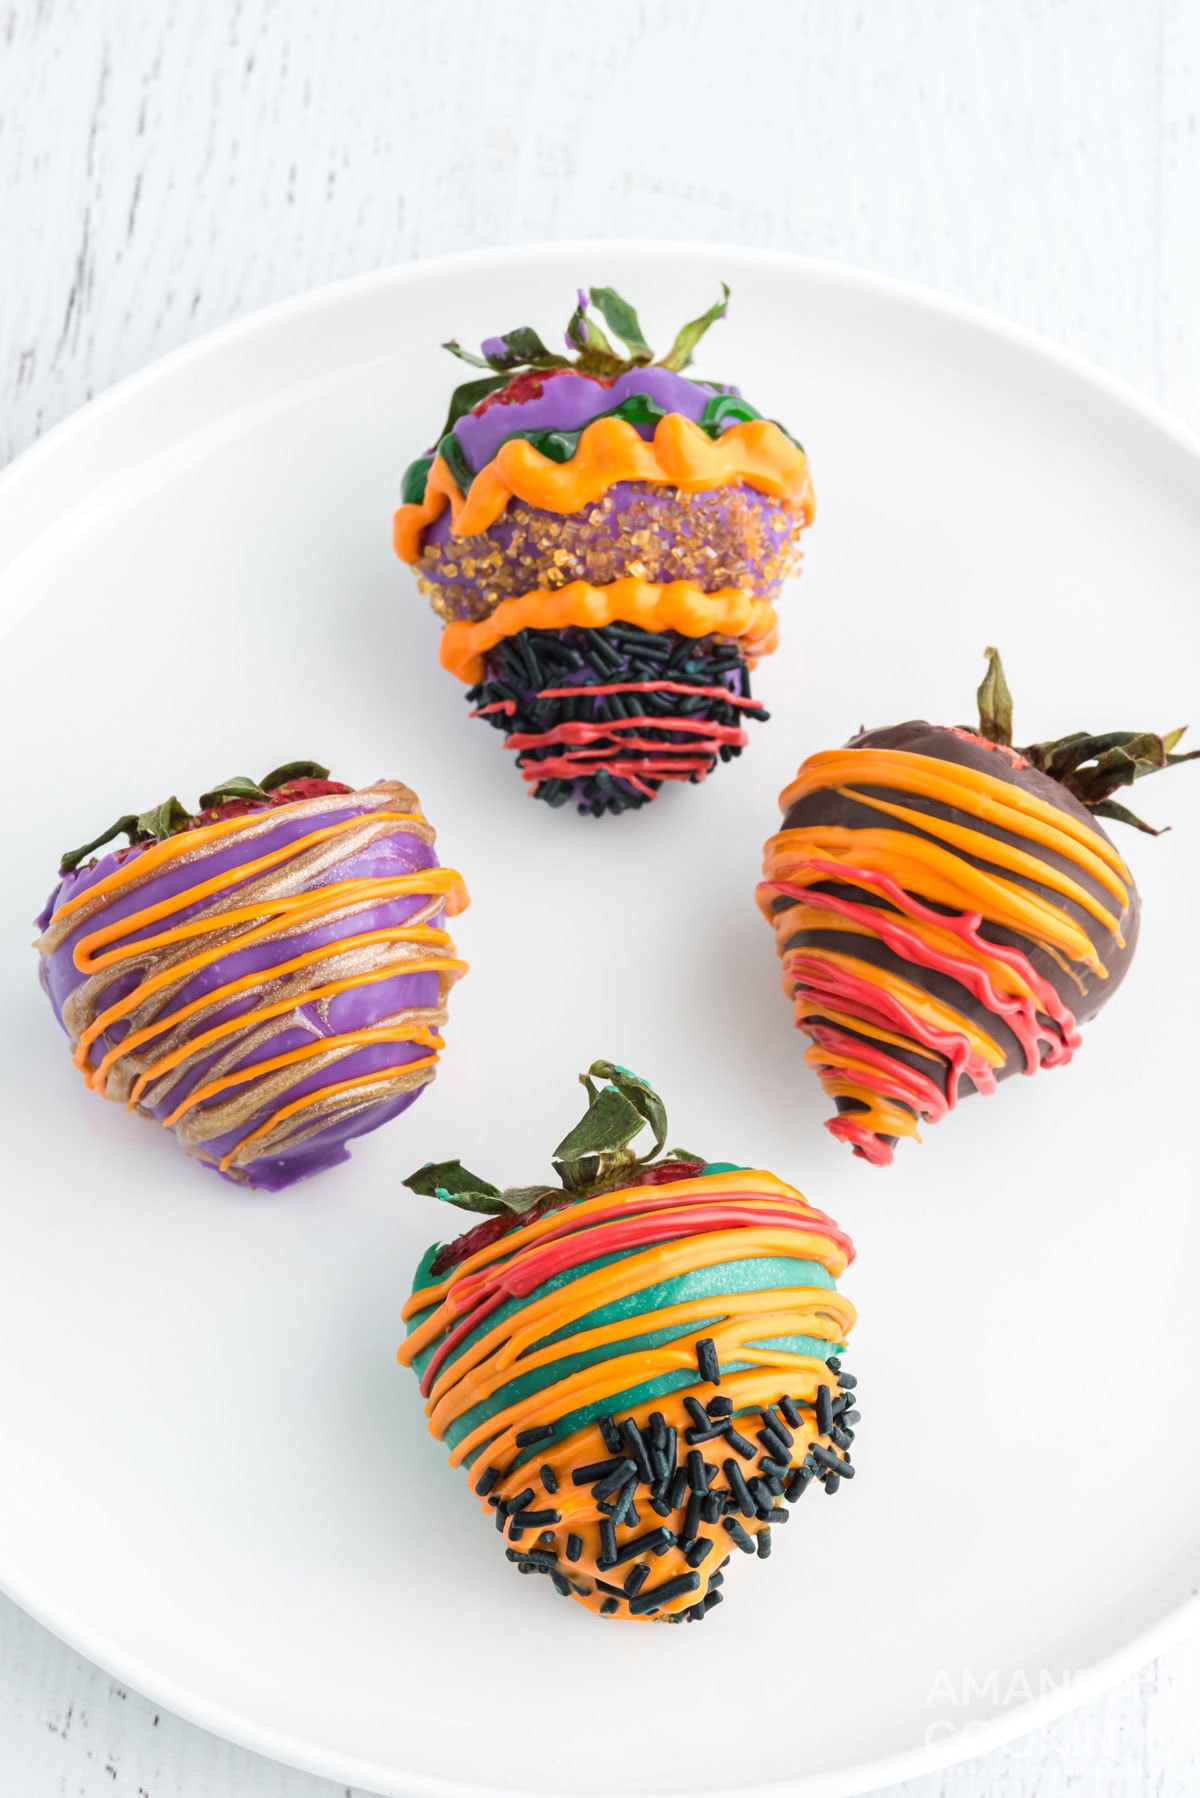
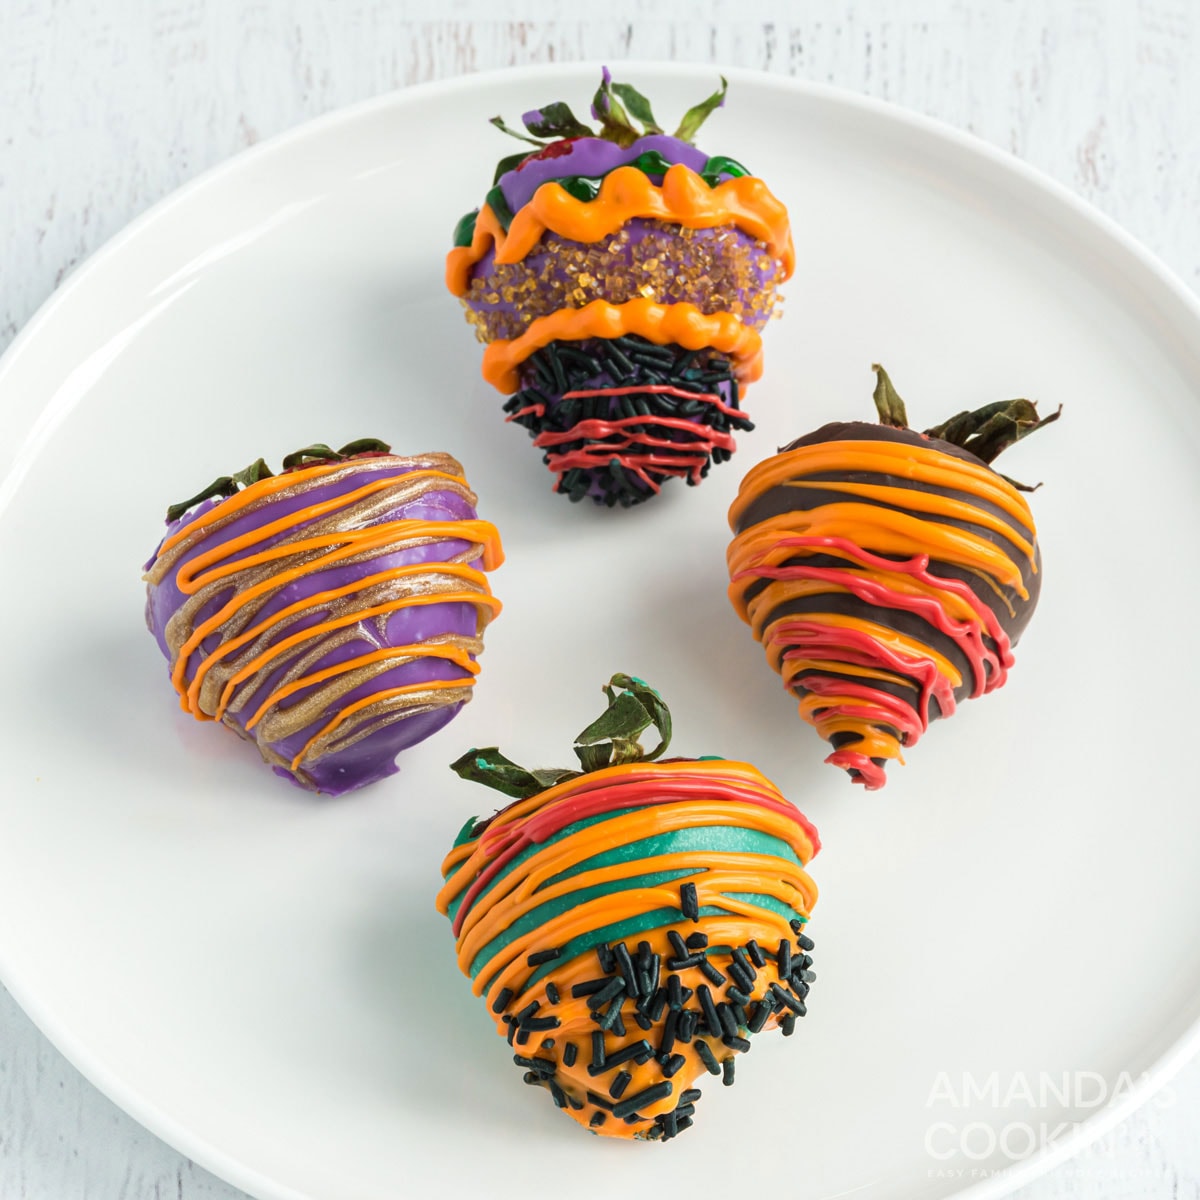
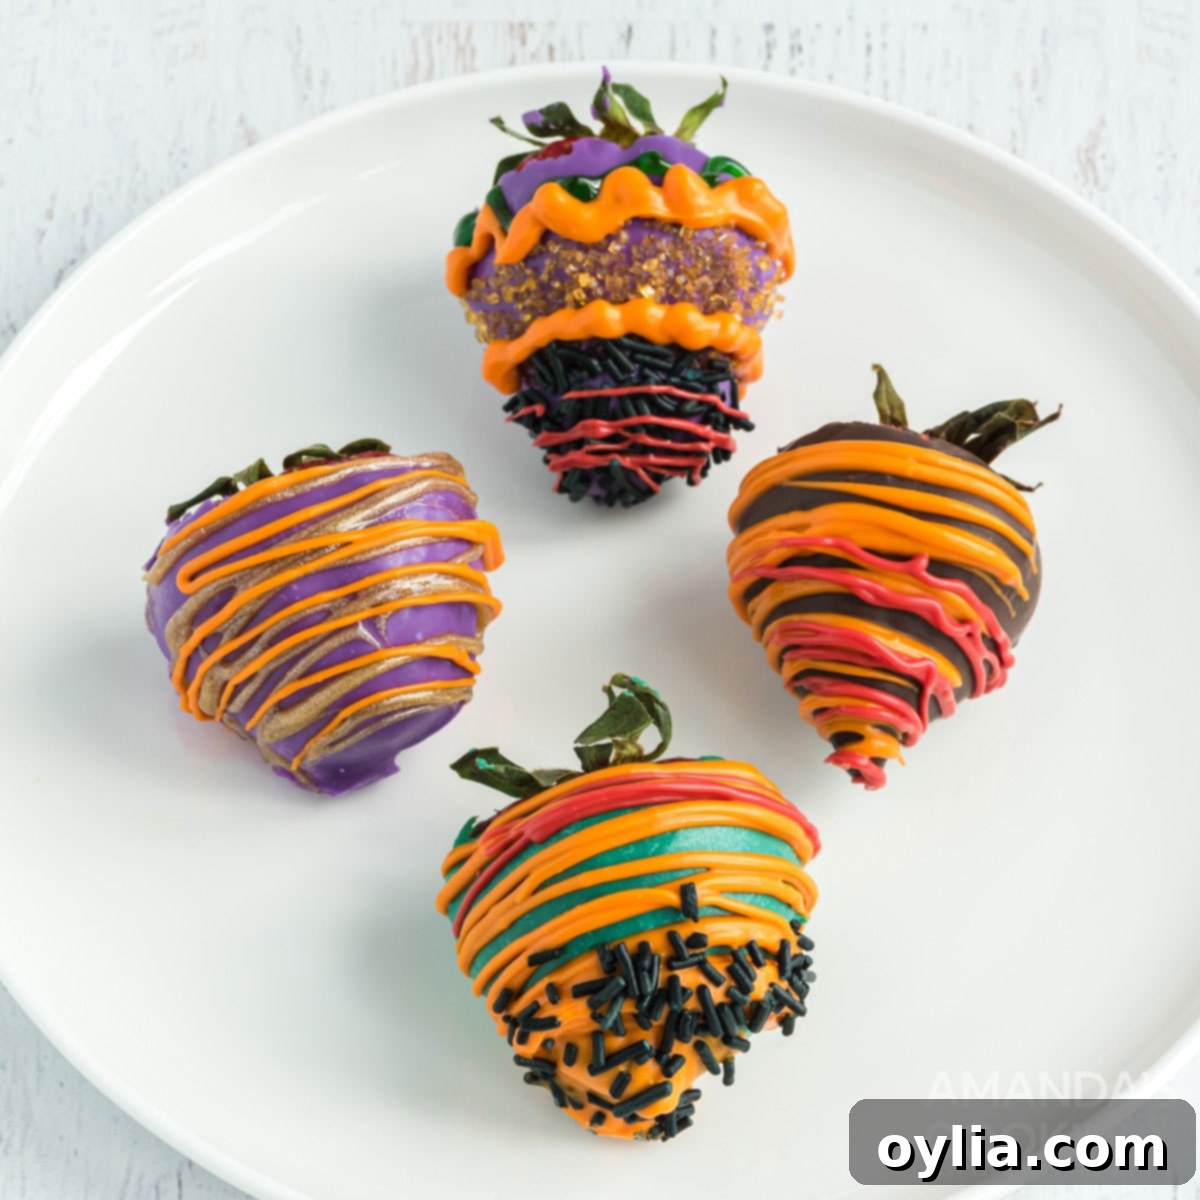
Halloween is a time for costumes, haunted houses, and, most importantly, delightfully spooky treats! While candy corn and caramel apples are classics, there’s a simple, elegant, yet incredibly fun dessert that’s perfect for both kids and adults: homemade Halloween chocolate covered strawberries. Imagine plump, juicy strawberries transformed into ghostly figures, mummies, or vibrant orange and black delights, all coated in smooth, rich chocolate or colorful candy melts. This recipe proves you don’t need to be a professional pastry chef to create a show-stopping dessert. Anyone can whip up a plate full of these beautiful, delicious berries to elevate any Halloween gathering. After all, who can resist a perfectly dipped chocolate covered strawberry, especially when it’s dressed for a costume party?

Why These Halloween Treats Are a Must-Try for Your Next Spooky Soiree
These Halloween chocolate covered strawberries are more than just a dessert; they’re an experience. They are an exceptional choice because their universal appeal ensures that every guest, from the youngest trick-or-treater to the seasoned Halloween party enthusiast, will find them irresistible. There’s something inherently delightful about fresh fruit paired with sweet, decadent chocolate, and when you add a festive Halloween twist, they become truly magical.
The beauty of chocolate-covered strawberries lies in their simplicity. They are incredibly easy to make, and with a quick switch of colors – think vibrant orange, eerie black, or spooky green candy melts – an already amazing dessert transforms into a perfectly themed Halloween treat. This means less stress in the kitchen and more time enjoying the festivities.
When it comes to melting your chocolate or candy melts, you have a few options. While some might opt for the convenience of a microwave, it carries the risk of burning your chocolate if not carefully monitored. A dedicated candy melt pot offers controlled heating, making the process smoother. However, a homemade double boiler setup works just as effectively, providing gentle, even heat that prevents scorching and ensures a silky-smooth coating for your berries. Whichever method you choose, the result will be a batch of beautifully coated strawberries ready for their spooky transformation.
Perfect Occasions for Spooky Strawberry Delights
These versatile Halloween chocolate covered strawberries are ideal for a variety of fall festivities and spooky celebrations. Their festive look and delicious taste make them a welcome addition to almost any event:
- Halloween Parties and Get-Togethers: They make an excellent centerpiece or a delightful finger food that guests can easily grab and enjoy. Their vibrant colors will instantly liven up your dessert table.
- Addition to a “You’ve Been Boo’d” Bag: Spread some Halloween cheer by including a few of these homemade treats in a “Boo’d” bag for neighbors or friends. It’s a thoughtful and tasty surprise!
- Hostess Gift for a Halloween Party: Instead of a bottle of wine, bring a beautifully arranged plate of these spooky strawberries. It’s a unique and personal gift that will surely impress your host.
- Dessert or Appetizer for a Pumpkin Painting Party: While you’re getting creative with pumpkins, these berries provide a perfect sweet snack. They’re easy to eat and add to the festive, craft-oriented atmosphere.
- School or Office Halloween Events: Potlucks and classroom parties are perfect for these easy-to-transport and universally loved treats. They’re a step up from store-bought cookies and show extra effort.
- Trick-or-Treat Alternatives: For those looking to offer something a little different (and homemade!) to close family or friends who stop by, these are a delightful, non-candy option.

A Detailed Guide to Crafting Your Own Halloween Chocolate Covered Strawberries
This recipe and step-by-step photos are all available on my original recipe for Chocolate Covered Strawberries. You can print out the recipe below as well, but if you want visual aids, please go to the original post.
Making these spooky treats is straightforward, and the process is enjoyable for all ages. The key to success lies in proper preparation and gentle handling. The traditional colors associated with Halloween are vibrant orange, mysterious black, eerie green, bloody red, golden yellow, and mystical purple. These colors are perfect for creating a variety of themed designs on your berries.
Gathering Your Ingredients & Essential Equipment
Before you begin, ensure you have fresh, firm strawberries. For the coating, you’ll need both semi-sweet or dark chocolate and a selection of colored candy melts. Candy melts are formulated to harden quickly and provide vibrant colors without needing to temper traditional chocolate, making them ideal for this recipe. Don’t forget your chosen optional decorations like sprinkles, coarse sugar, or decorator gel to add that extra spooky touch.
In terms of equipment, wooden skewers are highly recommended for easy dipping. Baking sheets lined with parchment or waxed paper are essential for cooling your dipped strawberries. While a candy melt pot can be helpful for maintaining an ideal temperature, a simple homemade double boiler using heat-proof bowls and saucepans works perfectly.
Preparing Your Strawberries for Dipping
The first crucial step is to prepare your strawberries. Wash them thoroughly under cool water and, most importantly, dry them completely. Any moisture on the strawberries will cause your chocolate or candy melts to seize and clump, preventing a smooth coating. Gently pat each strawberry dry with a paper towel, ensuring no water droplets remain. Leave the green stems intact, as they provide a natural “handle” for dipping and add a beautiful contrast to the colorful chocolate.
Once dried, insert a wooden skewer into the stem end of each strawberry. This makes dipping much easier and less messy, allowing you to coat the entire berry without getting chocolate on your fingers.
The Art of Melting Chocolate and Candy Melts Perfectly
For best results, especially with chocolate, a double boiler method is preferred. This provides gentle, indirect heat, preventing the chocolate from scorching or seizing. Place your chocolate and candy melts into separate heat-proof glass bowls. Fill two saucepans with about 2 inches of water and bring them to a gentle simmer. Once simmering, turn off the heat and place the bowls of chocolate over the saucepans. Stir continuously until the chocolate is smooth and fully melted. This method ensures a consistent, workable consistency.
If you opt for a microwave, proceed with caution. Heat in 20-second intervals on medium power, stirring well after each interval. Chocolate continues to cook even after it’s removed from the microwave, so it’s best to remove it when there are still a few small lumps and stir until completely smooth. Overheating will result in thick, unworkable chocolate.
Mastering the Dip and Creative Decorating for Spooky Fun
Once your chocolate and candy melts are perfectly melted and smooth, retrieve your chilled, lined sheet pan from the freezer. The cold surface will help the chocolate set faster. Holding a strawberry by its skewer, dip it into the melted chocolate, rotating to achieve an even coating. Lift the strawberry and gently tap the skewer against the edge of the bowl to allow any excess chocolate to drip off. This prevents puddles of chocolate at the base of your berries.
Place the dipped strawberry onto the chilled sheet pan. Now comes the fun part: decorating! You can drizzle contrasting colored candy melts over the berries using a fork, or roll freshly dipped berries in a variety of Halloween-themed sprinkles, coarse colored sugar, or nonpareils. For more specific spooky designs, read the section below.
Repeat this process for all remaining strawberries, ensuring each one is coated and decorated to your liking. Once finished, place the sheet pan back into the refrigerator for about 15 minutes to allow the chocolate to fully set. Remove them promptly after setting to prevent “sweating” (condensation) on the chocolate surface.
Creative Halloween Decoration Ideas
Unleash your inner artist to make your Halloween chocolate covered strawberries truly stand out. Here are some popular and easy decorating ideas:
- Ghostly White Strawberries: Dip strawberries in white candy melts. Before they set, use a black decorator gel or a toothpick dipped in melted dark chocolate to create two small eyes and a gaping mouth for an adorable ghost effect.
- Mummy Berries: Dip strawberries in dark or milk chocolate. Once set, drizzle thin lines of white candy melts back and forth across the berry, leaving a small gap for two candy eyes (or dots of white gel/melt) to peek through.
- Spooky Spiderwebs: Dip strawberries in orange candy melts. While still wet, pipe concentric circles of melted dark chocolate on top. Use a toothpick to drag lines from the center outwards, creating a spiderweb design. Add a small plastic spider for extra flair!
- Vibrant Ombre Effect: Dip the bottom half of a dark chocolate-covered strawberry into a brightly colored candy melt (like orange or green) for a fun two-tone look.
- Sparkly & Textured: Immediately after dipping a strawberry, roll it in coarse colored sugar (orange, black, purple) or a Halloween-themed sprinkle mix for added crunch and visual appeal.
- Frankenstein Monsters: Dip in green candy melts. Once set, use dark chocolate or decorator gel to draw a “scar” across the top and two small bolts on the sides. Add eyes with decorator gel.
More Spine-Chilling Halloween Food Ideas
If you’re looking for more fun and spooky recipes to complement your chocolate-covered strawberries, check out these creative Halloween food ideas:
- Kitty Litter Cake
- Monster Brownies
- Boogers on a Stick
- Mummy Meatloaf
- Halloween Dirt Cups
- Jalapeno Popper Mummies
- Spider Web Taco Dip
I love to bake and cook and share my recipes with you! I know it’s hard to remember to come back and search, so I’ve made it easy for you with my weekly newsletter! You can subscribe for free and I’ll send you delicious recipes every week right to your email.
Frequently Asked Questions About Halloween Chocolate Covered Strawberries
How long do chocolate covered strawberries last and how should I store them?
Chocolate-covered strawberries are best enjoyed within 1-2 days of making them. The moisture from the strawberries can start to seep out, causing the chocolate to “sweat” or become gooey over time. Store them in a single layer in an airtight container in the refrigerator. If stacking, place parchment paper between layers to prevent sticking.
Can I make these ahead of time for a party?
While they are best fresh, you can prepare them a day in advance. Make sure they are thoroughly chilled to set the chocolate, then store them properly in the refrigerator as described above. Take them out of the fridge about 15-20 minutes before serving to allow them to come to a slightly cooler room temperature for optimal flavor and texture.
What kind of chocolate should I use for dipping?
For the classic black or brown base, good quality semi-sweet or dark chocolate chips or melting wafers work perfectly. For vibrant Halloween colors, colored candy melts (also known as confectionery coating) are ideal. They come in a wide array of colors (orange, green, purple, black, etc.) and melt smoothly without needing tempering, making them very beginner-friendly. Avoid using chocolate chips for colored dips as adding food coloring can seize real chocolate.
Why is my chocolate clumping or becoming too thick?
There are a few common culprits. The most frequent is water; even a tiny drop of water introduced into melted chocolate can cause it to seize and become thick and clumpy. Ensure your bowls and utensils are completely dry, and your strawberries are thoroughly patted dry. Overheating the chocolate can also cause it to thicken. If your chocolate is too thick, try stirring in a small amount (1/2 teaspoon at a time) of coconut oil or vegetable shortening until it reaches a smoother consistency.
Can I use frozen strawberries for this recipe?
No, it’s highly recommended to use fresh strawberries. Frozen strawberries, once thawed, release a significant amount of water. This excess moisture will make it impossible for the chocolate to adhere properly, and the end result will be soggy and unappetizing. Always opt for fresh, firm, ripe strawberries for the best results.
Tips for Perfect Halloween Chocolate Covered Strawberries
- Start with Dry Strawberries: This cannot be stressed enough. Moisture is the enemy of perfectly melted chocolate. Pat your strawberries thoroughly dry after washing.
- Use Quality Chocolate or Candy Melts: The better the quality, the smoother the melt and the tastier the result. Candy melts are excellent for vibrant colors and ease of use.
- Chill Your Baking Sheet: A cold surface helps the chocolate set quickly, preventing it from pooling at the bottom of the strawberry.
- Don’t Overheat Your Chocolate: Use a double boiler for gentle, even melting. If microwaving, do so in short bursts and stir frequently.
- Let Excess Chocolate Drip: After dipping, gently shake or tap the skewer against the bowl to remove excess chocolate. This ensures a clean, smooth finish.
- Work Efficiently: Once chocolate is melted, it will start to cool. Work quickly but carefully when dipping and decorating.
- Get Creative with Decorations: Don’t be afraid to experiment with different colored drizzles, sprinkles, and even edible googly eyes to truly bring your Halloween theme to life!

Halloween Chocolate Covered Strawberries
IMPORTANT – There are often Frequently Asked Questions within the blog post that you may find helpful. Simply scroll back up to read them!
Print It
Rate It
Save ItSaved!
Ingredients
- 2 pounds strawberries 18-20 evenly sized strawberries
- 12 oz semi-sweet or dark chocolate
- 12 oz colored candy melts black, orange, purple, red, green, yellow
Optional Decorations
- Coarse colored sugar
- Decorator gel
- Decorative sprinkles
- Sprinkle mix
- Nonpareils
- Jimmies
Things You’ll Need
-
Wooden skewers
-
Candy melt pot (optional)
-
Baking sheets
Before You Begin
- In order to prevent clumping and possible overcooking, I melt my chocolate in a homemade double boiler. That is to say in a glass bowl that has been placed over a saucepan of simmered water.
- Microwaves will do the job, but the chocolate will continue to cook after you take it out. Therefore if you melt it in the microwave until it is completely melted, you run the risk of scorching it. If you are microwaving your chocolate, start with one minute on high, then stir. Then continue cooking in 20 second intervals on MEDIUM POWER until almost melted. Remove and stir, stir, stir until all the pieces have melted.
- The chilled sheet pan will help the chocolate begin to harden and set as soon as you place the strawberry onto it.
Instructions
-
First, line a sheet pan with waxed or parchment paper and place it in the freezer to chill. Insert a skewer into the stem end of each strawberry.
-
Place the chocolate and candy melts into separate glass or heat proof bowls.
-
Put about 2 inches of water into two saucepans and bring to a simmer over medium heat. Turn off the heat and set the bowls of chocolate over the water to melt. Stir chocolate until smooth.
-
Remove the sheet pan from the freezer.
-
Using the skewer as a handle, dip the fruit into the chocolate. Lift and turn, allowing excess chocolate to drip back into the bowl. Place dipped berries onto the chilled lined sheet pan.
-
Repeat with remaining strawberries.
Decorating Options
-
Dip a fork into melted chocolate/candy melts and drizzle over the dipped strawberries.
-
Dip one half of the chocolate covered strawberry into colored candy melt.
-
Roll dipped strawberries into colorful sprinkles or decorator sugar.
-
Sprinkle freshly dipped strawberries with sprinkles or nonpareils.
Chill
-
Place in the refrigerator to set for 15 minutes. Remove from the refrigerator after that so that the chocolate doesn’t sweat.
Nutrition
The recipes on this blog are tested with a conventional gas oven and gas stovetop. It’s important to note that some ovens, especially as they age, can cook and bake inconsistently. Using an inexpensive oven thermometer can assure you that your oven is truly heating to the proper temperature. If you use a toaster oven or countertop oven, please keep in mind that they may not distribute heat the same as a conventional full sized oven and you may need to adjust your cooking/baking times. In the case of recipes made with a pressure cooker, air fryer, slow cooker, or other appliance, a link to the appliances we use is listed within each respective recipe. For baking recipes where measurements are given by weight, please note that results may not be the same if cups are used instead, and we can’t guarantee success with that method.
We hope this comprehensive guide inspires you to create your own batch of dazzling Halloween chocolate covered strawberries! They are a fantastic way to celebrate the season, offering a blend of fresh fruit goodness and sweet chocolate indulgence, all dressed up in their spooky best. Happy Halloween and happy dipping!
