The Ultimate Guide to Juicy Beer Can Chicken: Crispy Skin, Tender Meat Every Time
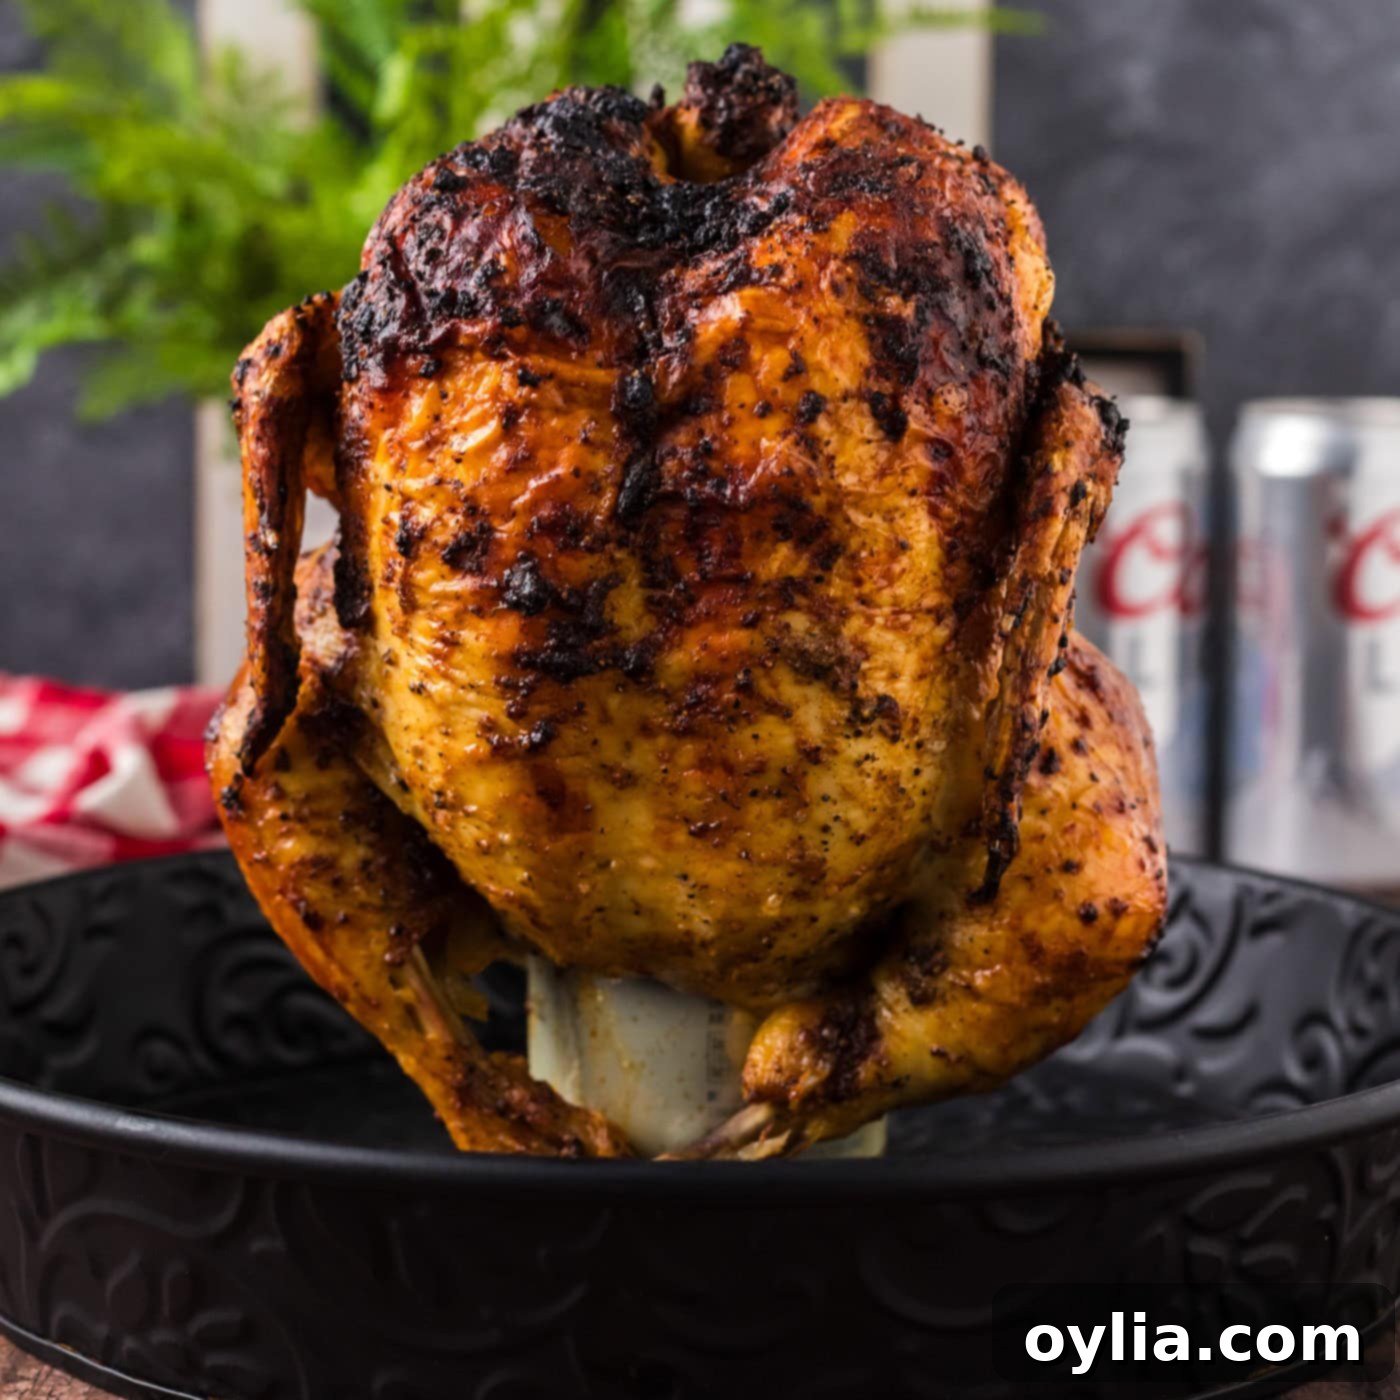
Prepare to elevate your poultry game with this incredible beer can chicken recipe! Imagine a whole chicken, expertly rubbed with a rich, savory, and slightly sweet spice mixture, then slow-roasted to perfection over a can of beer. This ingenious cooking method guarantees meat that is unbelievably juicy and tender from the inside out, while simultaneously developing a beautifully crispy, golden-brown skin. It’s a culinary experience that promises flavor, moisture, and a show-stopping presentation, making it ideal for family dinners, backyard BBQs, or a delightful Sunday feast.
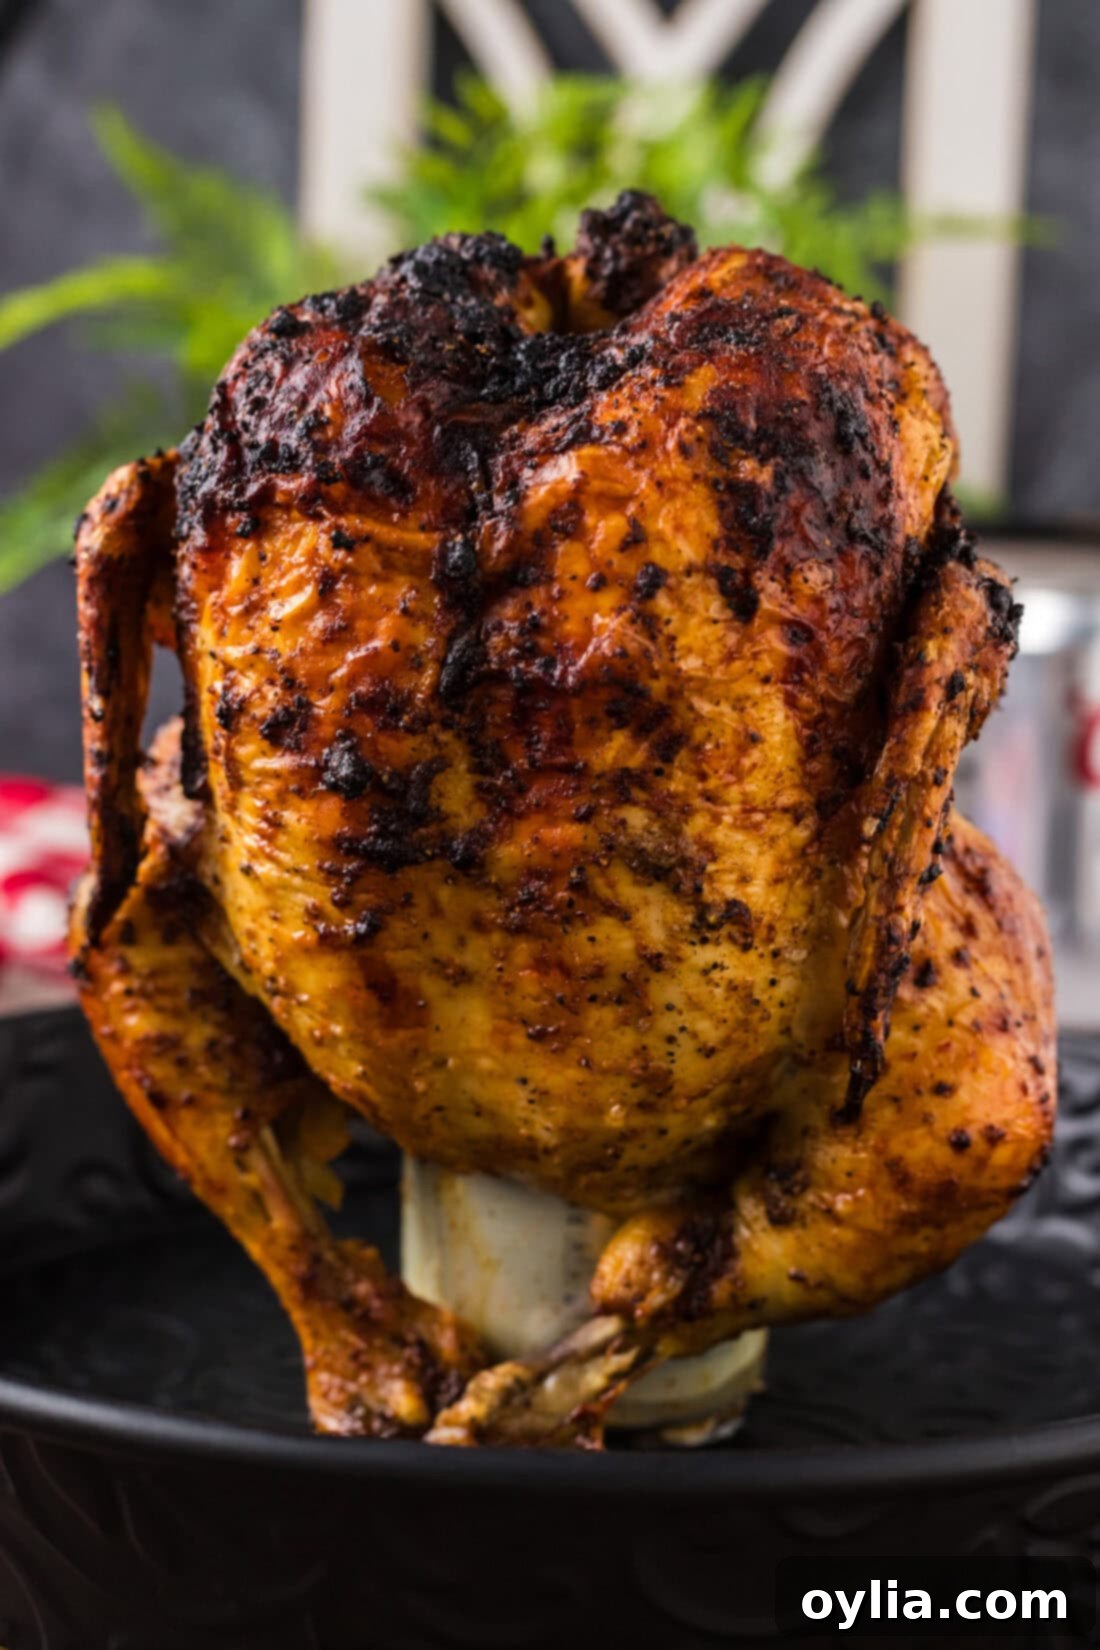
Why This Beer Can Chicken Recipe Works So Well
The magic of beer can chicken lies in its simple yet highly effective cooking method. By perching a whole chicken upright over an open can of beer, you’re essentially creating a self-basting system within your oven. As the chicken bakes, the liquid in the beer can heats up, producing steam that infuses the chicken from the inside. This constant internal moisture keeps the breast meat incredibly juicy and prevents it from drying out, which is a common challenge when roasting whole chickens.
Meanwhile, the exterior of the chicken is directly exposed to the oven’s dry heat, allowing the skin to render its fat and crisp up beautifully. The result is a perfect contrast: succulent, flavorful meat beneath a gorgeously golden and crispy skin. This method also ensures more even cooking, as the heat circulates around the chicken more uniformly than if it were lying flat. Don’t let the novelty of the beer can method fool you; there’s a real science behind why it consistently delivers one of the best whole roasted chickens you’ll ever taste. It’s not just a gimmick, but a time-tested technique cherished by home cooks and BBQ enthusiasts alike for its delicious results and surprisingly easy execution.
COOL FIND! We found this beer can chicken holder and thought it was pretty nifty. I like this idea because you don’t have to worry about your chicken falling over while it cooks, plus it’s budget friendly!
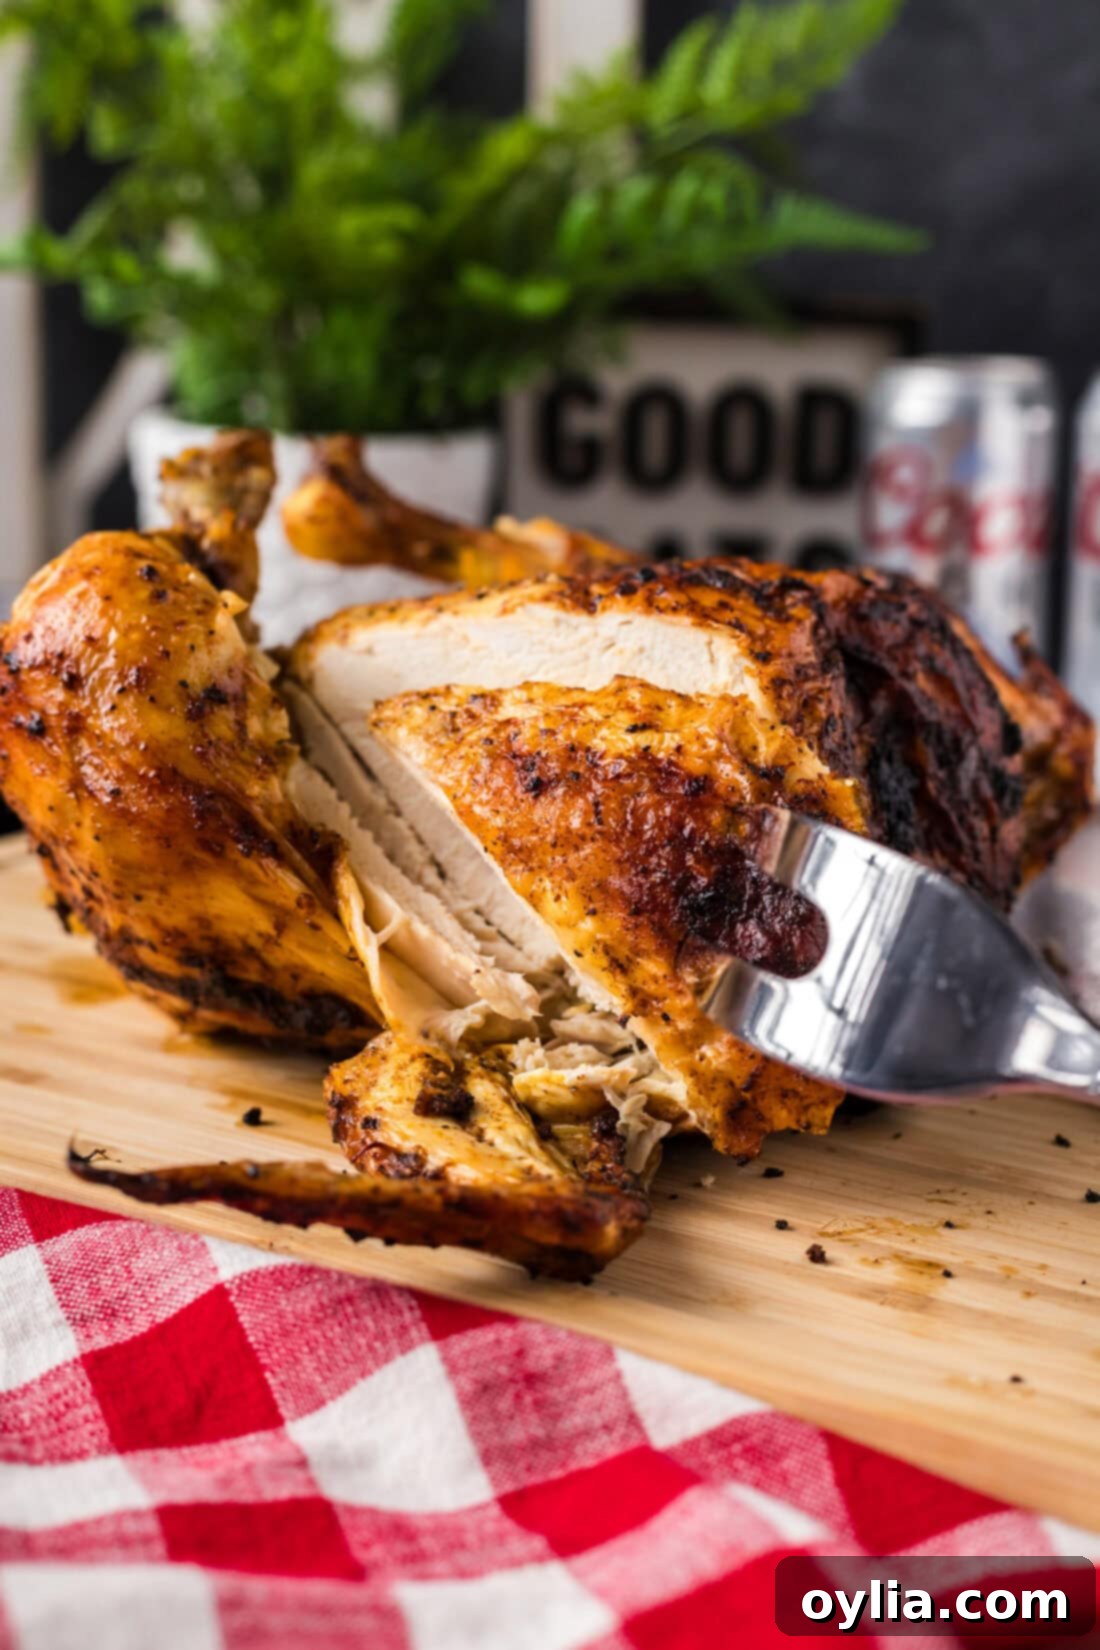
Essential Ingredients for Perfect Beer Can Chicken
Before you dive into cooking, let’s gather the essential ingredients. This recipe relies on a few key components that work together to create an unforgettable meal. For exact measurements and a printable version of the recipe, please scroll to the end of this post.
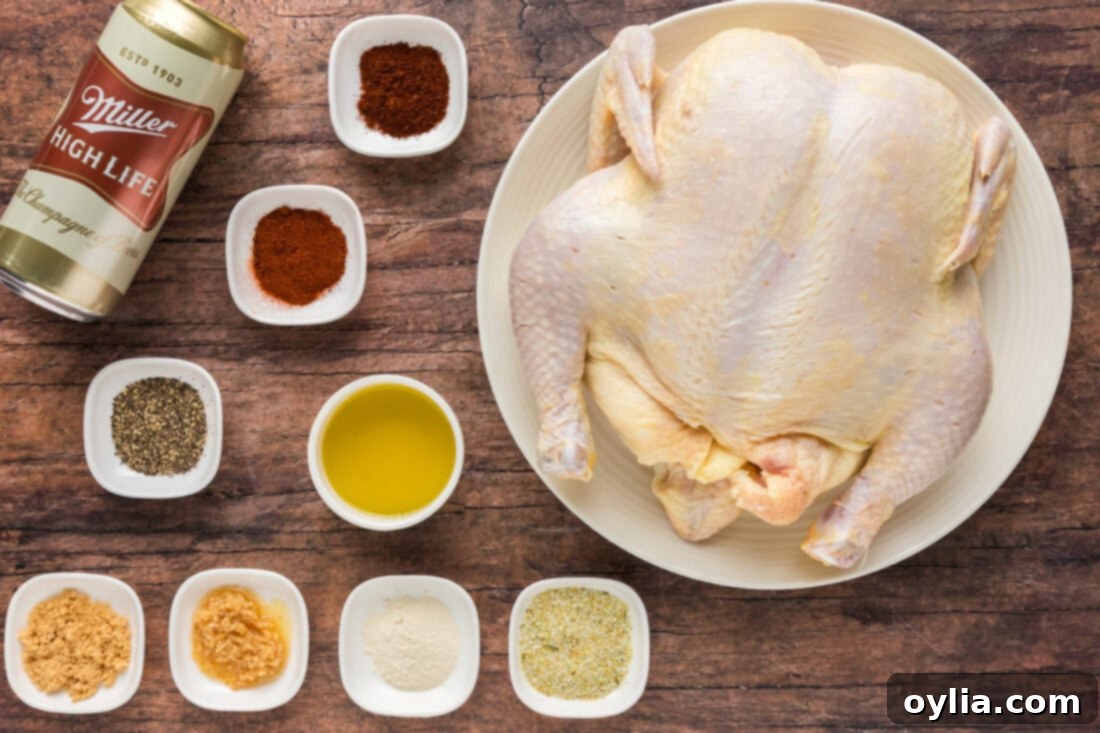
Ingredient Information & Smart Substitution Suggestions
Understanding your ingredients and knowing when to make substitutions can greatly enhance your cooking experience. Here’s a deeper dive into what you’ll need and how you can customize this recipe:
BEER: The Heart of the Moisture
- The type of beer you choose can subtly influence the final flavor of your chicken.
- Light lagers are the most popular choice because their mild flavor doesn’t overpower the delicate taste of the chicken. They contribute moisture without imparting a strong beer flavor, which is often preferred.
- However, don’t shy away from experimenting! For a richer, maltier note, try a darker ale or stout. For a more aromatic profile, a wheat beer with its citrusy hints can be delightful. Just be mindful that stronger flavored beers might impart a more distinct taste to the chicken.
- Non-alcoholic alternatives: If you prefer to avoid alcohol or simply don’t have beer on hand, many other liquids work wonderfully.
- Chicken broth: Provides a savory base and excellent moisture.
- Apple cider or juice: Adds a hint of sweetness and fruitiness, which pairs beautifully with poultry.
- Cola or root beer: The sugars in these sodas can create a lovely glaze and add a unique, sweet-savory flavor, especially popular for grilled versions.
- Wine: A light white wine can also provide moisture and a sophisticated flavor.
- Tip: Regardless of your choice, ensure you use a standard 12-ounce can. Slim cans may not provide enough stability for the chicken.
CHICKEN: Your Canvas for Flavor
- You’ll need one whole chicken, ideally weighing around 6 pounds. This size is perfect for roasting and fits well over a standard beer can.
- Preparation is key: Make sure the chicken is thoroughly cleaned. Remove any giblets or neck from the cavity and pat the chicken dry inside and out with paper towels. A dry surface is crucial for achieving that coveted crispy skin.
- Choosing your chicken: Look for fresh, high-quality poultry. Free-range or organic chickens often have superior flavor and texture.
SEASONING: The Flavorful Rub
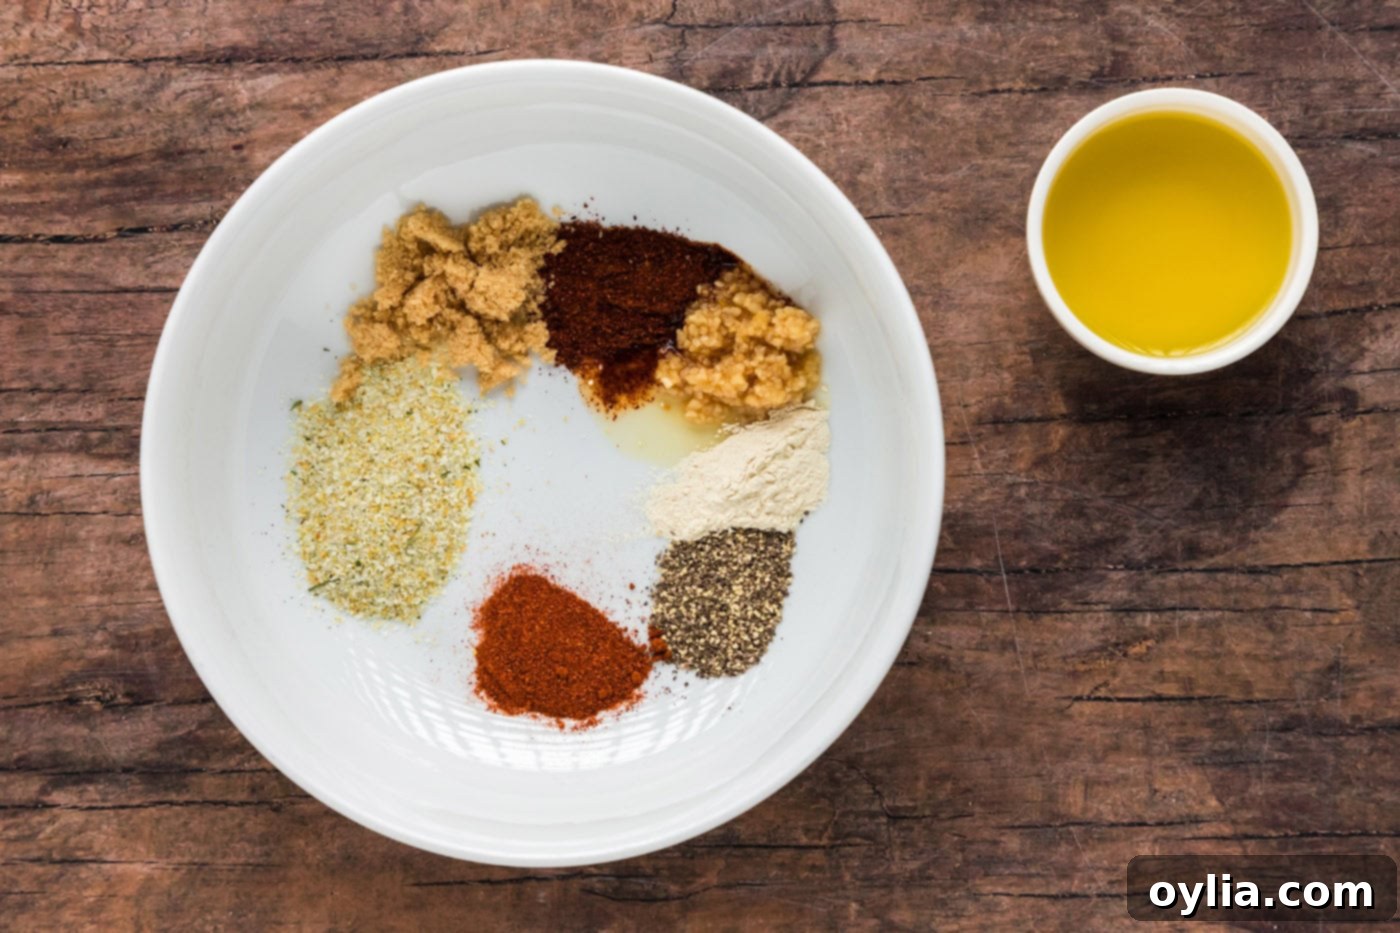
- Our signature rub combines olive oil, brown sugar, chili powder, minced garlic, onion powder, black pepper, paprika, and garlic salt. This blend strikes a perfect balance between savory, sweet, and a touch of smoky warmth.
- Olive Oil: Acts as a binder for the spices and helps the skin crisp up.
- Brown Sugar: Contributes to caramelization, giving the skin a beautiful color and a hint of sweetness that balances the savory spices.
- Chili Powder & Paprika: Provide warmth, depth, and a vibrant color. Smoked paprika can add an extra layer of smoky flavor.
- Minced Garlic & Onion Powder: Essential aromatics that create a robust savory foundation.
- Black Pepper & Garlic Salt: Enhance overall flavor and season the chicken perfectly.
- Customization: Feel free to adjust this rub to your preference!
- Herbaceous: Add dried rosemary, thyme, or oregano for a more aromatic profile.
- Spicy: Incorporate cayenne pepper or a pinch of red pepper flakes for an extra kick.
- Smoky: A dash of liquid smoke or more smoked paprika can deepen the BBQ flavor.
- Store-bought rubs: If you have a favorite poultry rub, feel free to use it as a substitute for convenience.
Step-by-Step Guide: How to Make Juicy Beer Can Chicken
These step by step photos and instructions are here to help you visualize how to make this recipe. You can Jump to Recipe to get the printable version of this recipe, complete with measurements and instructions at the bottom.
- Prepare Your Oven: Preheat your oven to 375°F (190°C). For optimal airflow around the chicken, remove the center rack and place it lower in the oven if needed to accommodate the upright chicken. This ensures even cooking and prevents the top from burning.
- Craft the Flavorful Spice Rub: In a medium-sized bowl, combine the olive oil, brown sugar, chili powder, minced garlic, onion powder, black pepper, paprika, and garlic salt. Stir everything thoroughly until you have a well-blended, paste-like mixture. The olive oil helps distribute the spices evenly and encourages crispy skin.


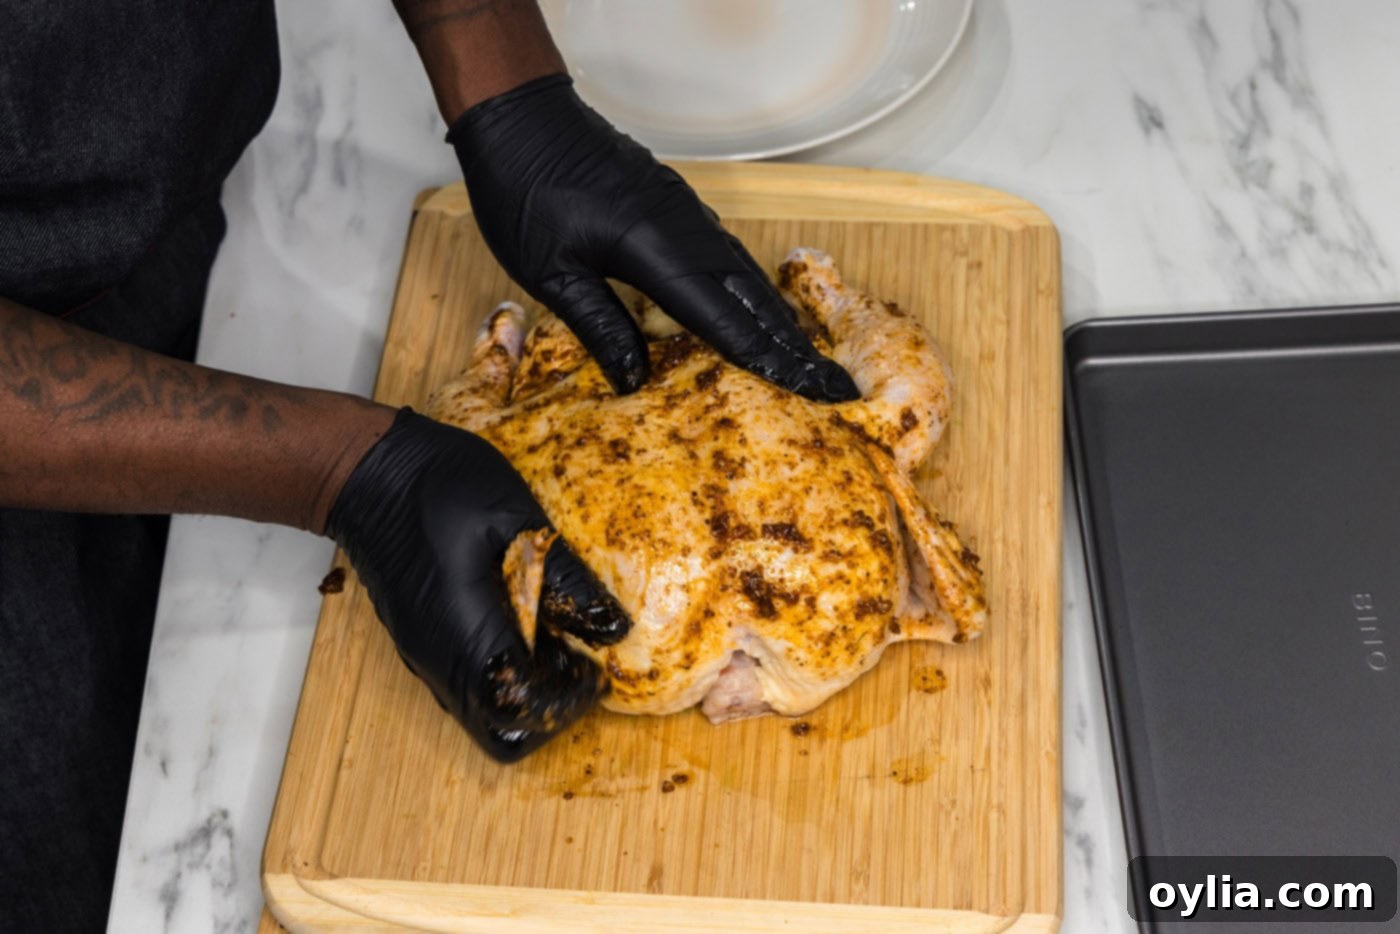
- Apply the Rub to the Chicken: Take your pre-dried whole chicken and generously rub the spice mixture all over its exterior. Don’t forget to get under the wings and legs, and even gently lift the skin over the breast to rub some seasoning directly onto the meat for maximum flavor penetration. This ensures every bite is seasoned perfectly.

- Prepare the Beer Can: Open your can of beer. Pour out (or enjoy!) about one-third to half of the beer. You want the can about half full to prevent overflow during cooking and to create enough space for steam to escape. Place the partially filled can of beer securely onto the center of a sturdy baking sheet. A baking sheet with a rack is ideal as it allows fat to drip away and promotes air circulation.
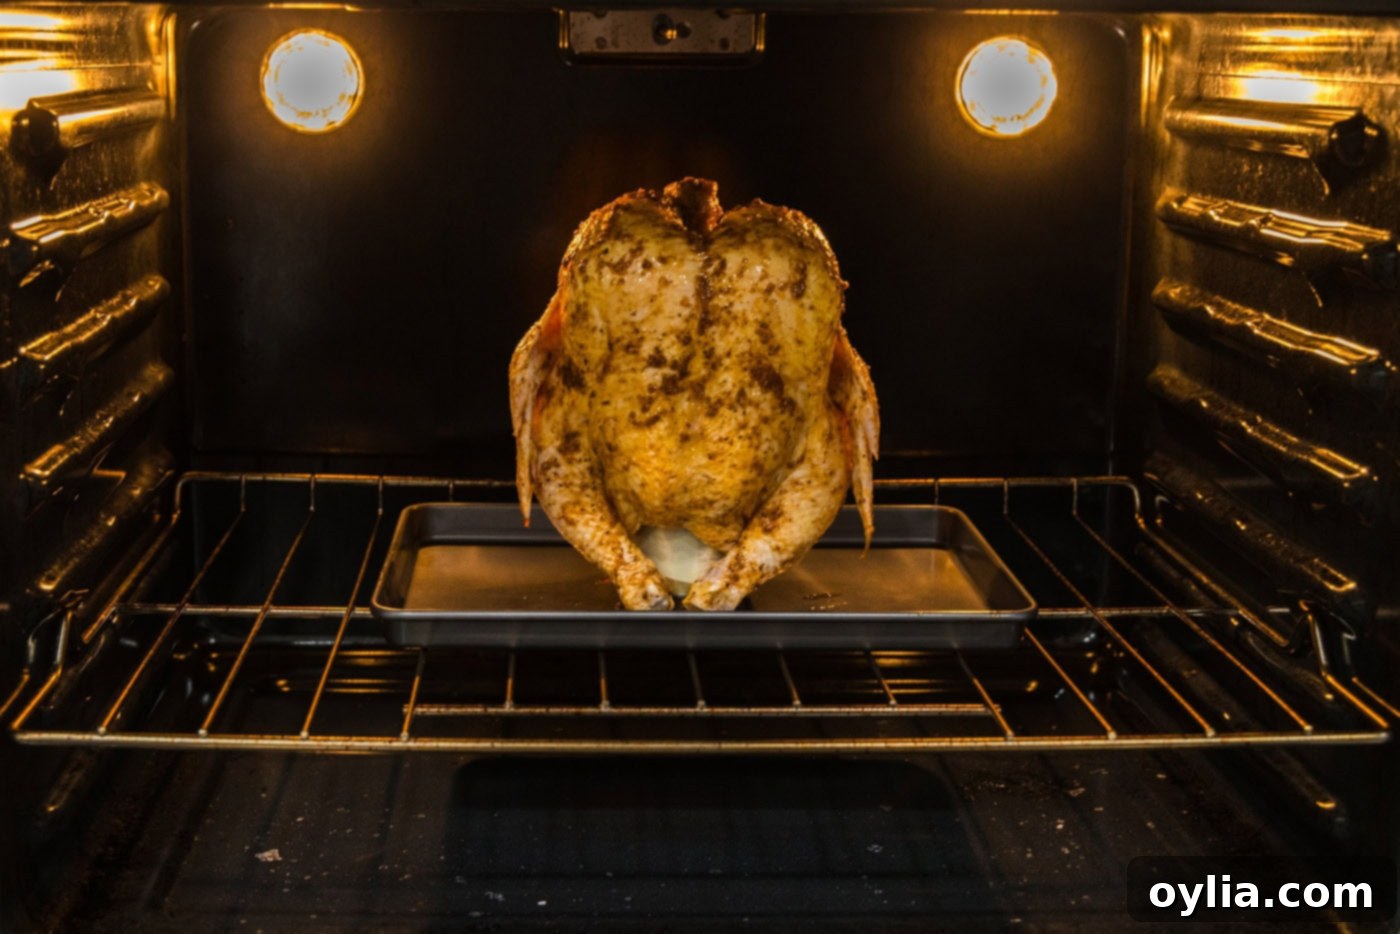
- Position the Chicken: Carefully lift the chicken. Before doing so, gently open the cavity between the legs, stretching it open wide. This will make it easier to position. Then, slowly lower the chicken onto the beer can, sliding the open cavity over the top of the can until the chicken is securely propped upright. The legs should act as a tripod, helping to stabilize the chicken.
- Bake to Perfection: Transfer the baking sheet with the chicken to your preheated oven. Bake for approximately 90 minutes. The exact cooking time can vary based on the size of your chicken and your oven’s calibration. For a truly accurate measure of doneness, use an instant-read thermometer inserted into the thickest part of the thigh, avoiding the bone. The internal temperature should reach 165°F (74°C).

- Rest and Serve: Once the chicken is cooked through, carefully remove it from the oven. This is a critical step for retaining juiciness! Let the chicken rest on the baking sheet for at least 10 minutes before attempting to remove it from the beer can. Resting allows the juices to redistribute throughout the meat, ensuring every bite is moist and flavorful. After resting, carefully lift the chicken off the hot can (tongs or oven mitts are your best friend here) and transfer it to a cutting board. Carve and serve immediately.
Frequently Asked Questions & Expert Tips for Beer Can Chicken
While it’s called “beer can chicken,” you absolutely do not have to use beer! The primary function of the liquid in the can is to create steam, which keeps the chicken incredibly moist from the inside. Many other liquids work just as well, and some can even impart unique flavors. Consider using chicken broth for a savory boost, apple cider or apple juice for a touch of sweetness, or even carbonated sodas like cola or root beer for a delightful caramelized crust and distinct flavor. Non-alcoholic beer is also a perfect substitute if you want the “beer” experience without the alcohol. The key is the steam, so feel free to experiment with your favorite beverage!
Chicken is safely cooked and ready to eat when it reaches an internal temperature of 165°F (74°C). Always use an instant-read thermometer to check the temperature. Insert the thermometer into the thickest portion of the meat, typically the breast or the innermost part of the thigh, ensuring it doesn’t touch any bones. The juices should run clear, and the meat should be opaque throughout.
Store any leftover beer can chicken in an airtight container in the refrigerator for up to 3-4 days. To reheat, you can use a microwave for quick results (though it may affect the crispiness of the skin). For best results, especially with larger portions, reheat in a preheated 350°F (175°C) oven until warmed through, typically around 15-20 minutes. If you’re reheating individual slices or smaller pieces, it will take less time. Reheating in the oven helps retain some of that delicious crispy skin. Leftover chicken is also fantastic shredded for sandwiches, salads, tacos, or casseroles.
Achieving crispy skin is a top priority! Several factors can prevent this. First, ensure your chicken is thoroughly patted dry with paper towels before applying the rub. Excess moisture on the skin will steam rather than crisp. Second, make sure your oven temperature is accurate; an oven thermometer can help. Lastly, avoid overcrowding the oven and ensure there’s good air circulation around the chicken. If all else fails, a quick blast under the broiler for a minute or two (watch carefully!) can help crisp up the skin right at the end of cooking.
Absolutely! Beer can chicken is a fantastic recipe for the grill, offering an added smoky flavor. The principles are largely the same: set up your grill for indirect heat (coals or burners on one side, chicken on the other) and maintain a temperature of around 350-375°F (175-190°C). Cook with the lid closed, just like in an oven, until the internal temperature reaches 165°F. Grilling may take slightly longer or shorter depending on your grill, so monitor closely.
Yes, it is generally considered safe. The temperature reached inside the chicken cavity is typically not high enough to leach significant amounts of aluminum from the can into the food, according to most food safety experts. Many cans are also lined to prevent metals from reacting with their contents. If you have concerns, you can opt for a dedicated ceramic or stainless steel chicken roaster that mimics the beer can method, or use a can with a lower fill to prevent the liquid from boiling over and touching the aluminum directly.
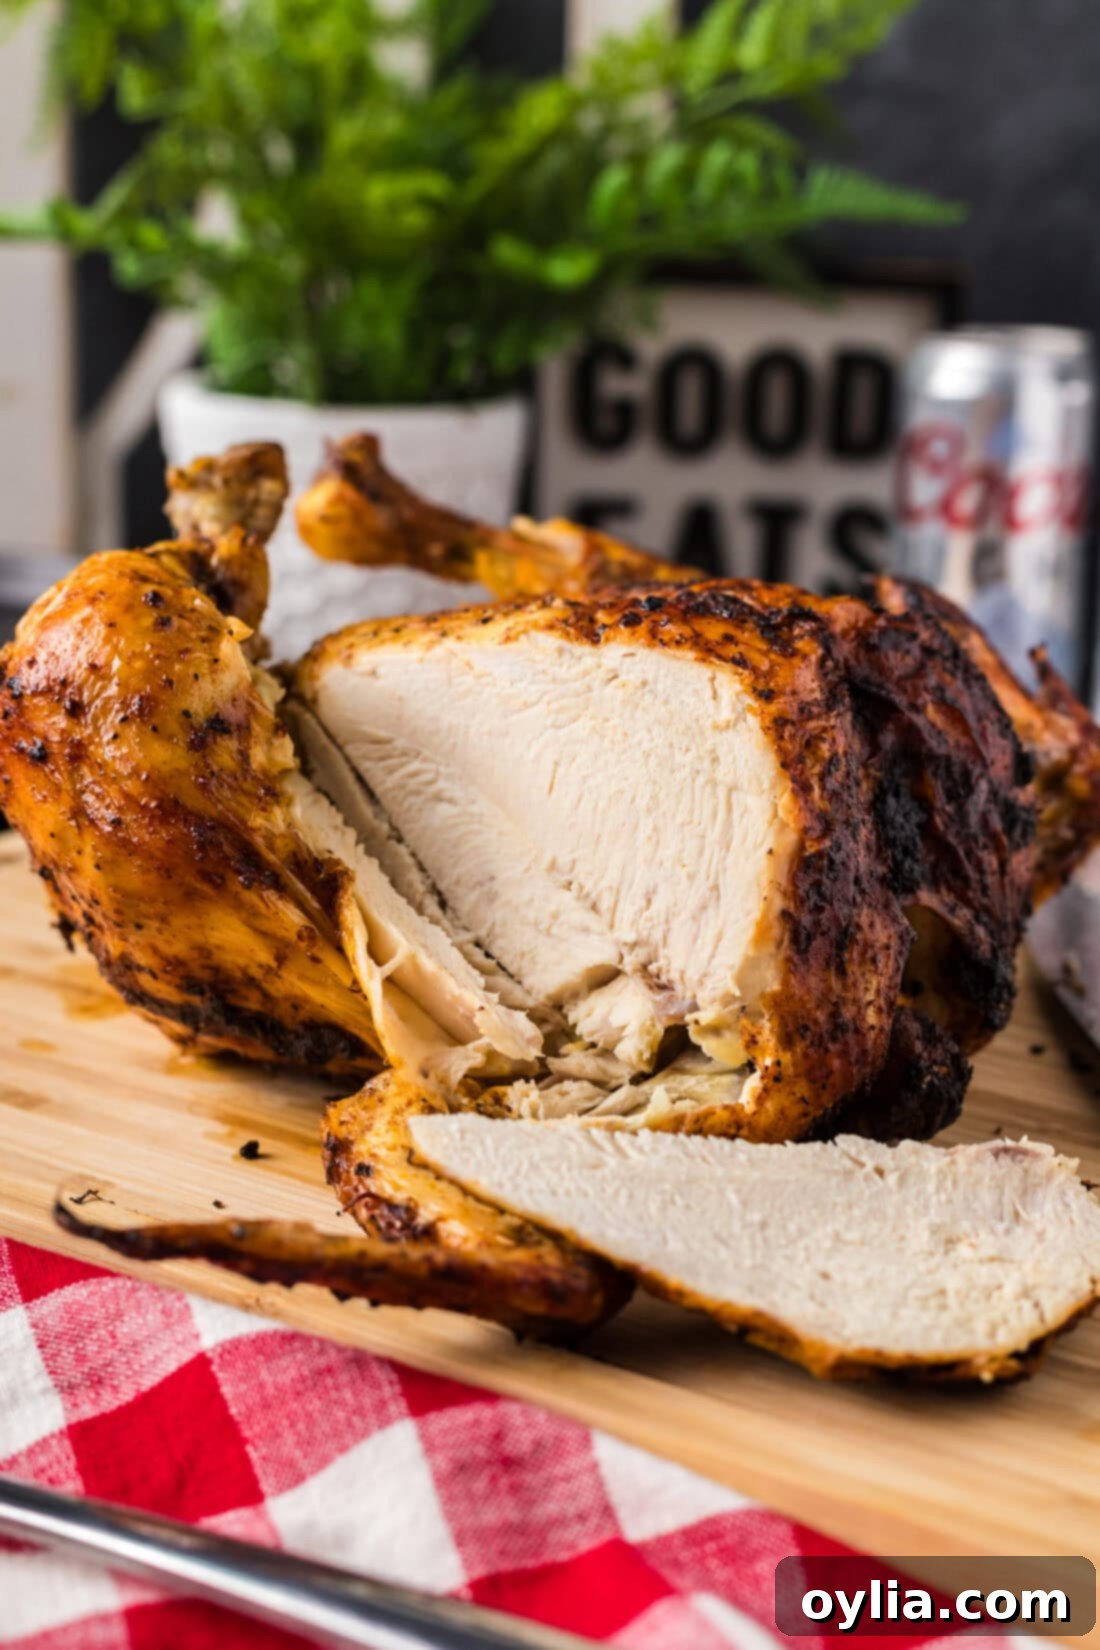
Serving Suggestions for Your Perfect Beer Can Chicken
A perfectly roasted beer can chicken deserves equally delicious accompaniments. This versatile main dish pairs wonderfully with a wide array of sides, making it easy to create a complete and satisfying meal. Here are some ideas to inspire your menu:
- Classic BBQ Sides: Complement the savory chicken with traditional favorites like creamy coleslaw, smoky baked beans, and buttery corn on the cob.
- Hearty Comfort Food: For a more substantial meal, serve your chicken with fluffy mashed potatoes (garlic mashed potatoes are a great choice!), rich gravy made from the pan drippings, or a comforting macaroni and cheese.
- Roasted Vegetables: Roasting vegetables alongside the chicken is not only convenient but also adds wonderful flavor. Think roasted asparagus, carrots, Brussels sprouts, or a medley of root vegetables tossed with olive oil and herbs.
- Fresh Salads: A crisp green salad with a light vinaigrette or a vibrant quinoa salad can offer a refreshing contrast to the rich chicken.
- Bread & Biscuits: Don’t forget some warm, crusty bread or fluffy dinner rolls to soak up all the delicious juices.
- Sauces & Condiments: While the chicken is incredibly flavorful on its own, a side of your favorite BBQ sauce, a tangy honey mustard, or a fresh herb dipping sauce can add an extra layer of enjoyment.
And of course, for those who enjoy it, a freshly cracked cold beer (perhaps the rest of the can you opened for cooking!) makes a perfect pairing to round out the meal. Enjoy your culinary masterpiece!
Explore More Delicious Chicken Recipes
If you loved this beer can chicken recipe and are looking for more ways to enjoy poultry, check out some of our other popular chicken dishes:
- Classic Roasted Chicken
- Spatchcock Chicken for Faster Roasting
- Easy Slow Cooker Sticky Chicken
- Crispy Air Fryer Fried Chicken
- Authentic Jerk Chicken
I love to bake and cook and share my kitchen experience with all of you! Remembering to come back each day can be tough, that’s why I offer a convenient newsletter every time a new recipe posts. Simply subscribe and start receiving your free daily recipes!
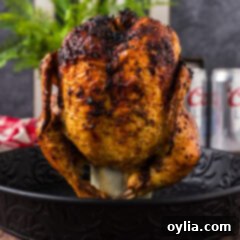
Beer Can Chicken
IMPORTANT – There are often Frequently Asked Questions within the blog post that you may find helpful. Simply scroll back up to read them!
Print It
Pin It
Rate It
Save ItSaved!
Ingredients
- 6 pounds whole chicken
- 2 Tablespoons olive oil
- 1 Tablespoon brown sugar
- 2 teaspoon chili powder
- ½ Tablespoon minced garlic fresh or jarred
- 2 teaspoons onion powder
- 1 teaspoon black pepper
- 2 teaspoons paprika
- 1 Tablespoon garlic salt
- 12 ounce can of beer 1 can
Things You’ll Need
-
Mixing bowls
-
Baking sheet
-
Beer Can Chicken Holder optional
Before You Begin
- Choosing Your Brew: While light lagers are a common choice for their subtle flavor, many believe the beer’s specific taste doesn’t heavily transfer to the chicken’s meat. Therefore, it’s often suggested to use an affordable beer you enjoy (or wouldn’t mind pouring out!). Feel free to get creative with other liquids like chicken broth, apple cider, or carbonated sodas for unique flavor profiles or if you prefer a non-alcoholic option.
- Customizing Your Rub: The provided spice blend is a fantastic starting point, but don’t hesitate to experiment with your favorite herbs and spices. Adding a touch of cayenne for heat, dried rosemary for an earthy note, or even a different type of paprika (like smoked paprika) can personalize the flavor to your liking.
- Pat Dry for Crispy Skin: A crucial step for achieving that coveted crispy skin is to thoroughly pat the entire chicken dry, inside and out, with paper towels before applying the rub. Excess moisture will steam rather than crisp.
Instructions
-
Preheat oven to 375 F (190°C). Adjust oven rack to a lower position to ensure the upright chicken fits without touching the top element.
-
In a medium bowl, combine olive oil, brown sugar, chili powder, minced garlic, onion powder, black pepper, paprika, and garlic salt. Stir until completely combined into a paste.
-
Thoroughly pat the whole chicken dry with paper towels. Rub the prepared spice mixture all over both sides and under the skin of the chicken for maximum flavor.
-
Pour out (or drink!) about 1/3 to 1/2 of the beer from the can to prevent overflow during cooking. Place the partially full can of beer onto the center of a sturdy baking sheet.
-
Before lifting the chicken, open the cavity between the legs wide. Carefully lift the chicken and position the open cavity over the beer can, ensuring it sits securely upright.
-
Bake for 90 minutes, or until the internal temperature reaches 165°F (74°C) in the thickest part of the thigh, avoiding the bone.
-
Remove from oven and let rest for 10 minutes on the baking sheet. Carefully remove the can from the chicken before carving and serving.
Expert Tips & FAQs
- Check for Doneness: Always use an instant-read thermometer. Insert it into the thickest portion of the meat (typically the breast or innermost part of the thigh), avoiding bone. The chicken is done when it reaches 165°F (74°C).
- Resting is Essential: Do not skip the 10-minute resting period after baking. This allows the juices to redistribute throughout the meat, resulting in a significantly more tender and moist chicken.
- Storing Leftovers: Place any remaining chicken in an airtight container and refrigerate for up to 3-4 days. For best reheating, use a 350°F (175°C) oven to help keep the skin crispy; microwave for convenience but expect softer skin.
- Crispy Skin Secret: Patting the chicken thoroughly dry before applying the rub is paramount. Any surface moisture will create steam, preventing the skin from crisping up. You can also lightly brush the skin with a little extra oil before baking.
- Beer Can Stability: If you find the chicken unstable on the can, a dedicated beer can chicken holder (as mentioned above) can provide excellent support and peace of mind.
- Alternative Liquids: Feel free to substitute the beer with chicken broth, apple cider, or even cola for different flavor nuances or if you prefer to avoid alcohol. The steam is the key!
Nutrition
The recipes on this blog are tested with a conventional gas oven and gas stovetop. It’s important to note that some ovens, especially as they age, can cook and bake inconsistently. Using an inexpensive oven thermometer can assure you that your oven is truly heating to the proper temperature. If you use a toaster oven or countertop oven, please keep in mind that they may not distribute heat the same as a conventional full sized oven and you may need to adjust your cooking/baking times. In the case of recipes made with a pressure cooker, air fryer, slow cooker, or other appliance, a link to the appliances we use is listed within each respective recipe. For baking recipes where measurements are given by weight, please note that results may not be the same if cups are used instead, and we can’t guarantee success with that method.
