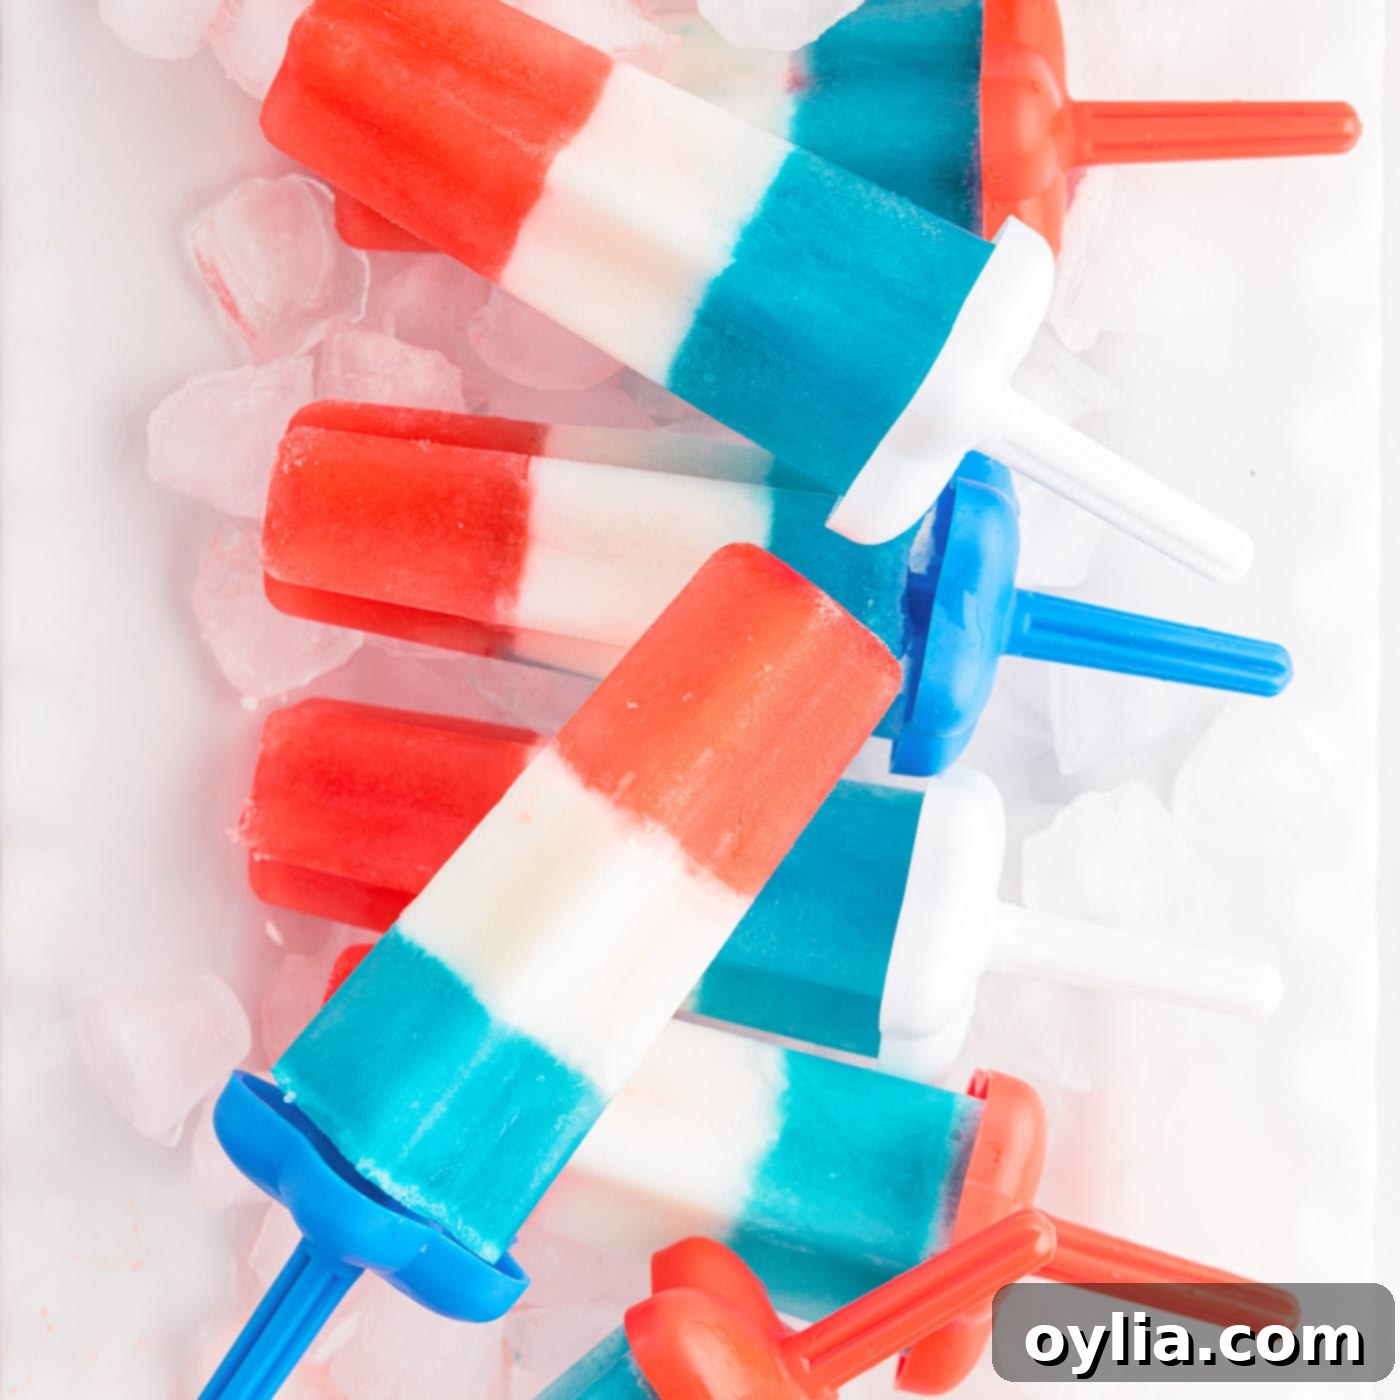
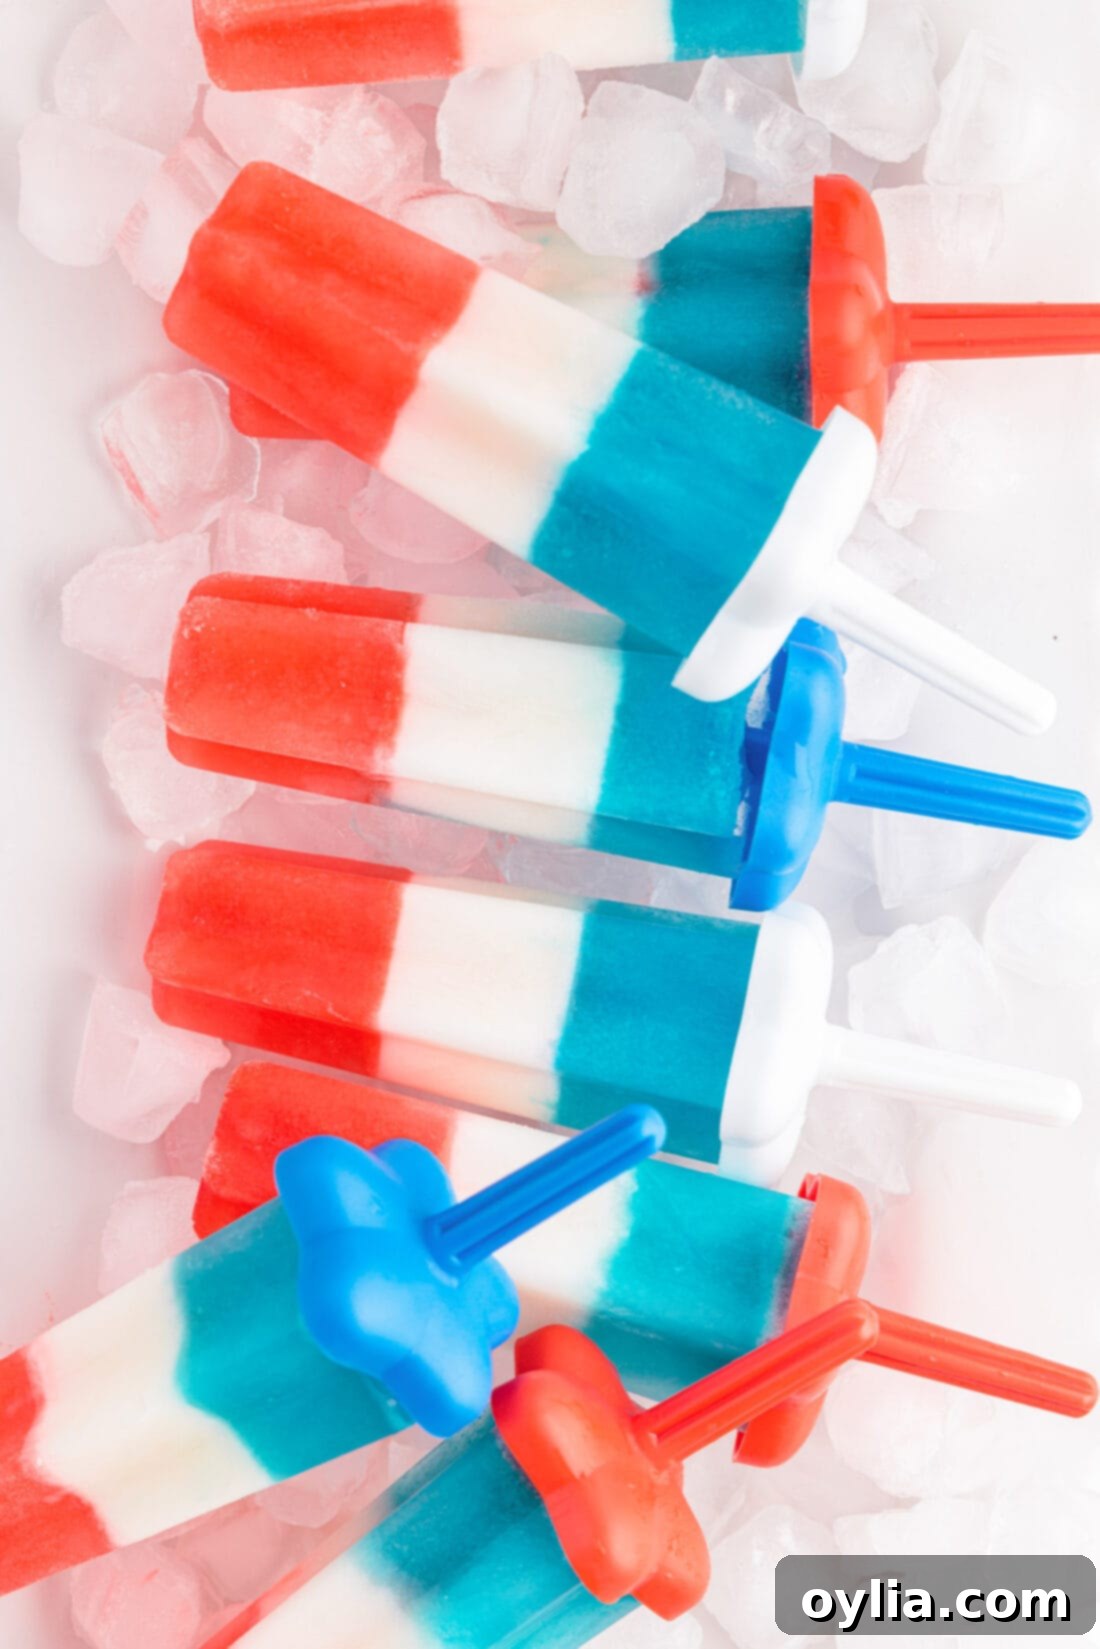
Ultimate Homemade Patriotic Bomb Pops: Classic Red, White, and Blue Frozen Treats for the Fourth of July
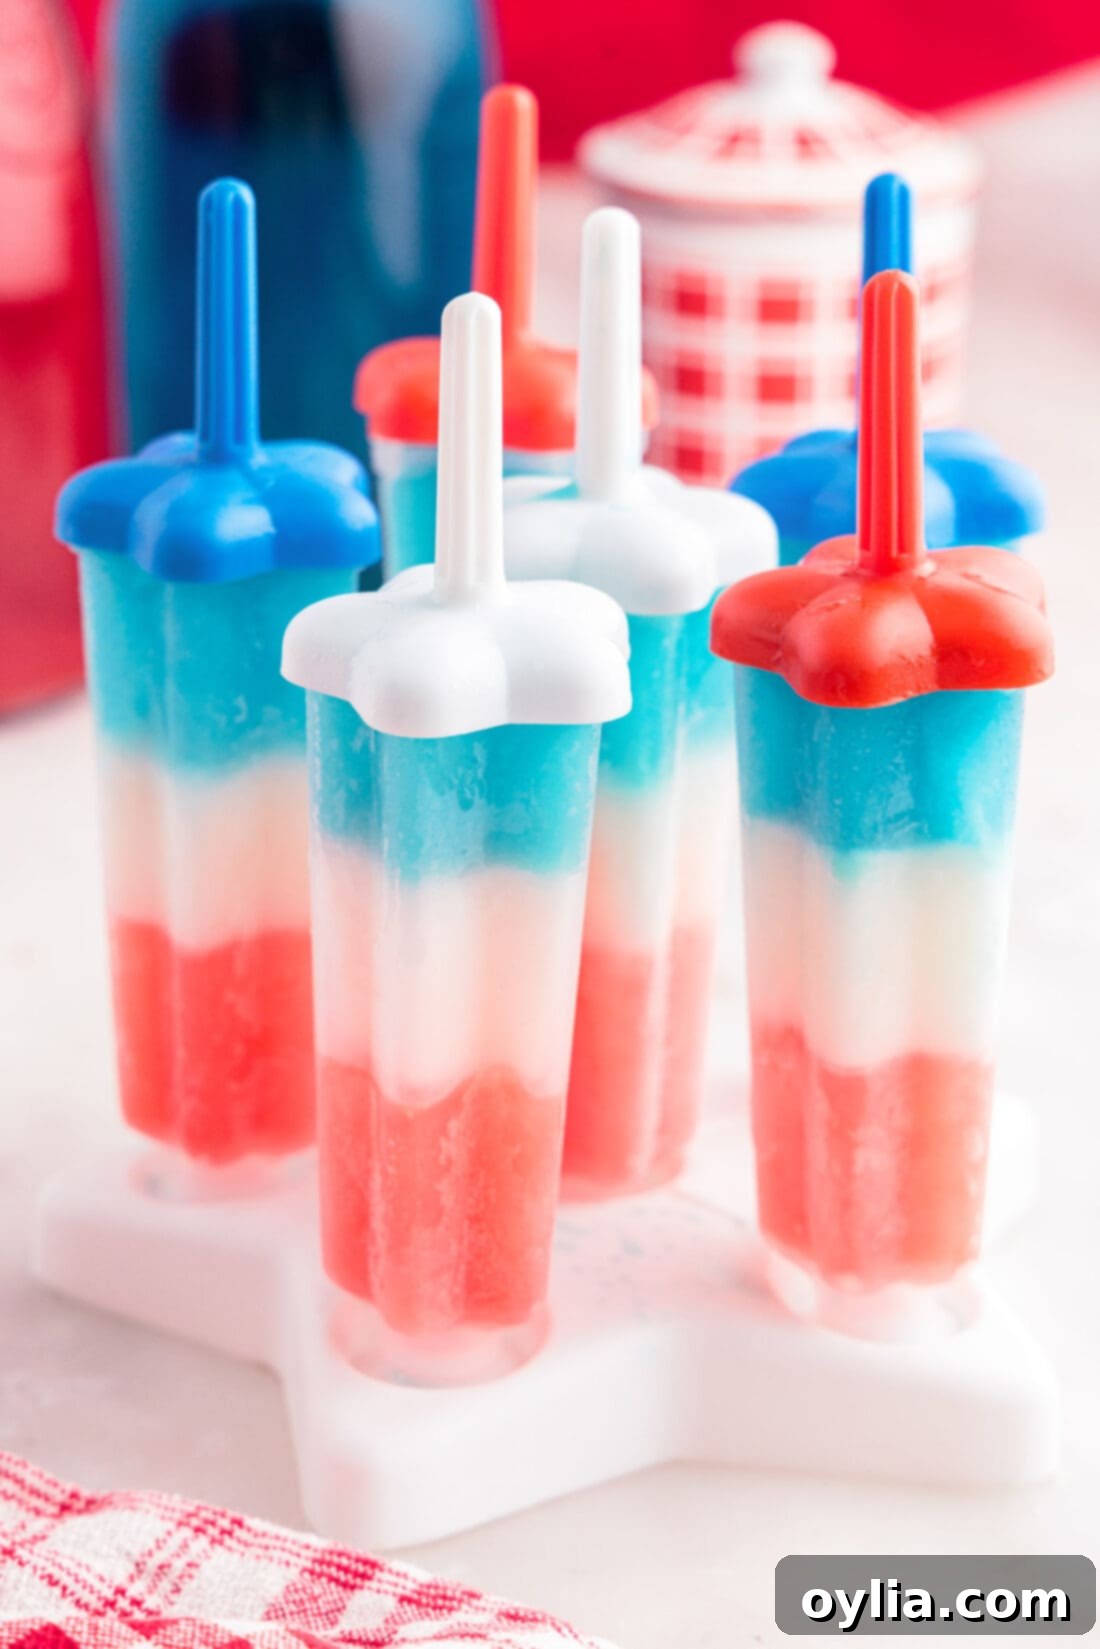
There’s something undeniably nostalgic and utterly refreshing about a classic Bomb Pop, especially when the summer heat is on. These homemade patriotic bomb pops are a vibrant and sweet frozen treat, perfect for celebrating the Fourth of July, Memorial Day, or any warm-weather gathering. With their distinct layers of sweet cherry, creamy limeade, and tangy blue raspberry, these popsicles perfectly capture the iconic taste and festive look of the original rocket-shaped favorites. Imagine cooling down with these eye-catching, flavorful icy delights – they’re not just a treat, they’re a celebration in every bite!
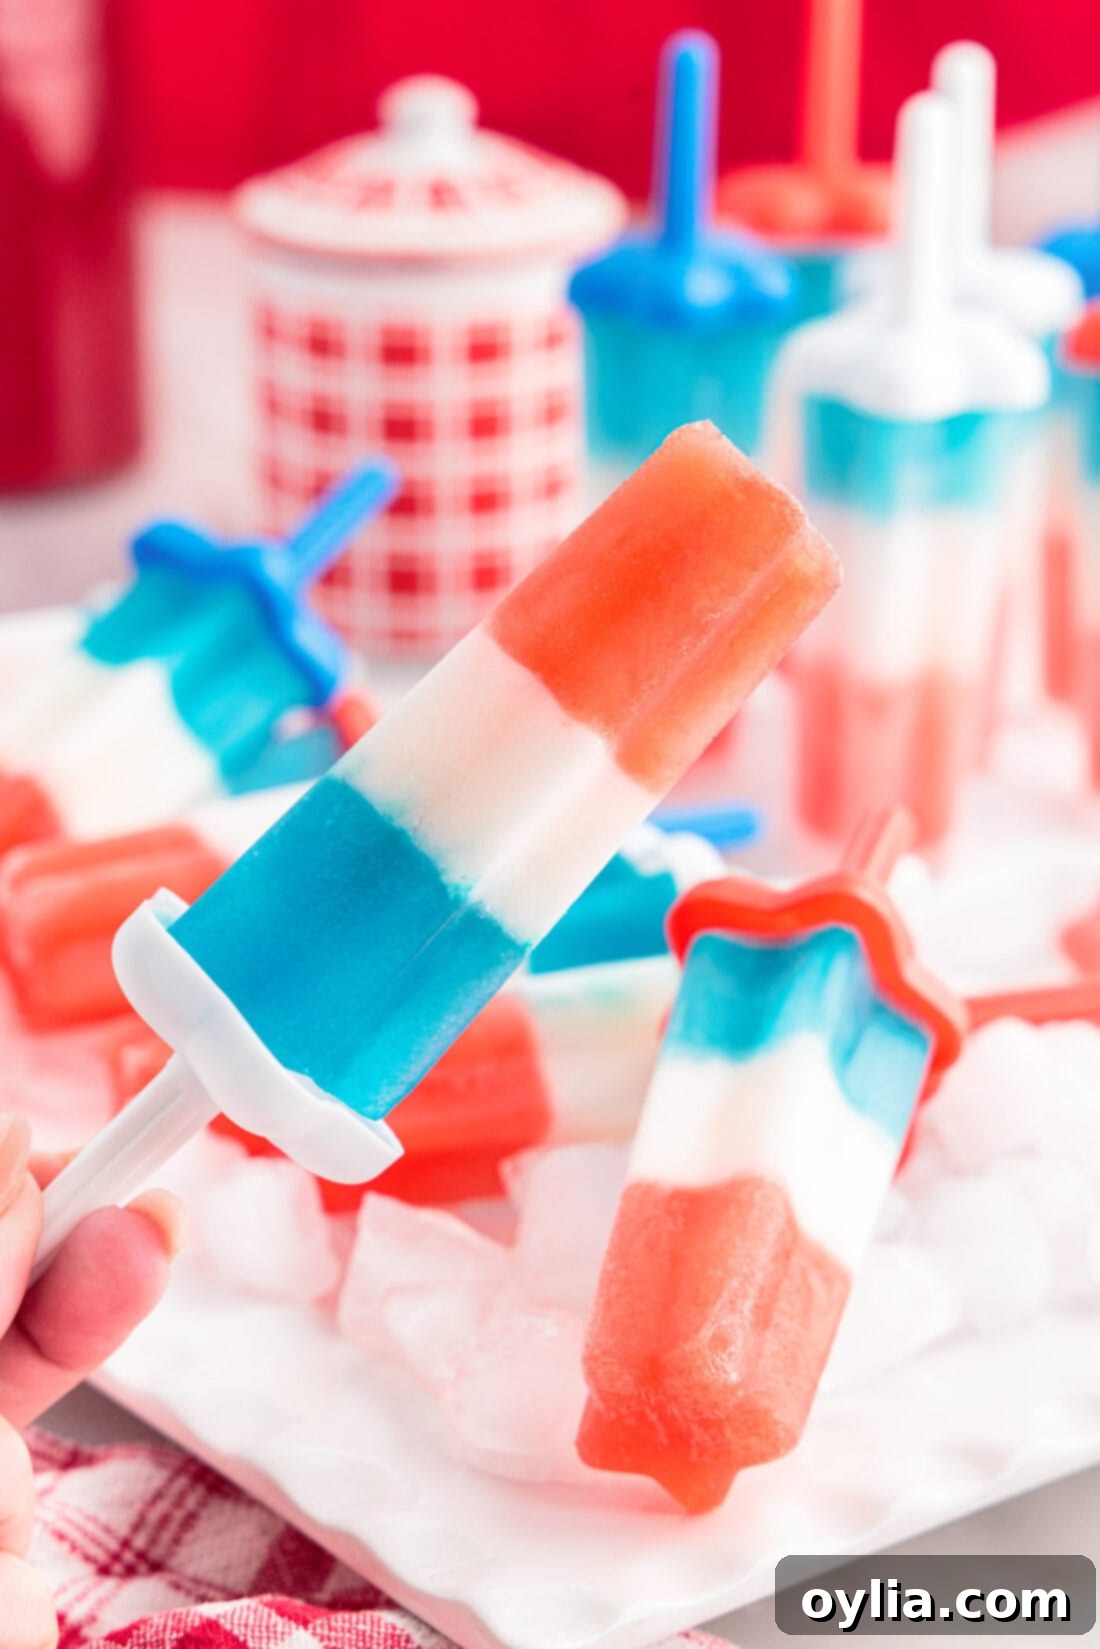
Why This Homemade Bomb Pop Recipe Is a Must-Try
This summer, elevate your festive celebrations with a batch of ice-cold, vibrant red, white, and blue popsicles. Our homemade patriotic bomb pops recipe is remarkably simple, requiring just 4 key ingredients and a reliable popsicle mold. It’s the perfect treat for National Bomb Pop Day (celebrated on the last Thursday of June) and an absolute showstopper for all your upcoming patriotic gatherings, from backyard barbecues to poolside parties.
The original rocket-shaped Bomb Pop popsicle has been a beloved frozen dessert since its debut in 1955. Its enduring popularity extends beyond the Fourth of July, making it a year-round favorite. Now, you can easily replicate this iconic treat right in your own kitchen. Making them at home is not only cost-effective but also a fantastic activity for the whole family, including the kids! While the process is straightforward, remember that patience is key: each colorful layer needs ample time to set completely to prevent the colors from bleeding into one another, ensuring those beautiful, distinct stripes that make Bomb Pops so recognizable.
What makes this recipe truly shine is its adaptability and the joy of creating something so visually appealing and delicious from scratch. You get to control the sweetness, choose your favorite flavors, and even experiment with dairy-free options. Plus, the satisfaction of serving a tray of these homemade marvels to friends and family is unmatched. Get ready to impress everyone with these delightful, perfectly layered frozen desserts!
Beyond patriotic themes, your bomb pop molds are versatile tools for creating a variety of frozen treats. Try whipping up refreshing blueberry cheesecake popsicles or classic fruit popsicles for different occasions!
Essential Ingredients for Your Bomb Pops
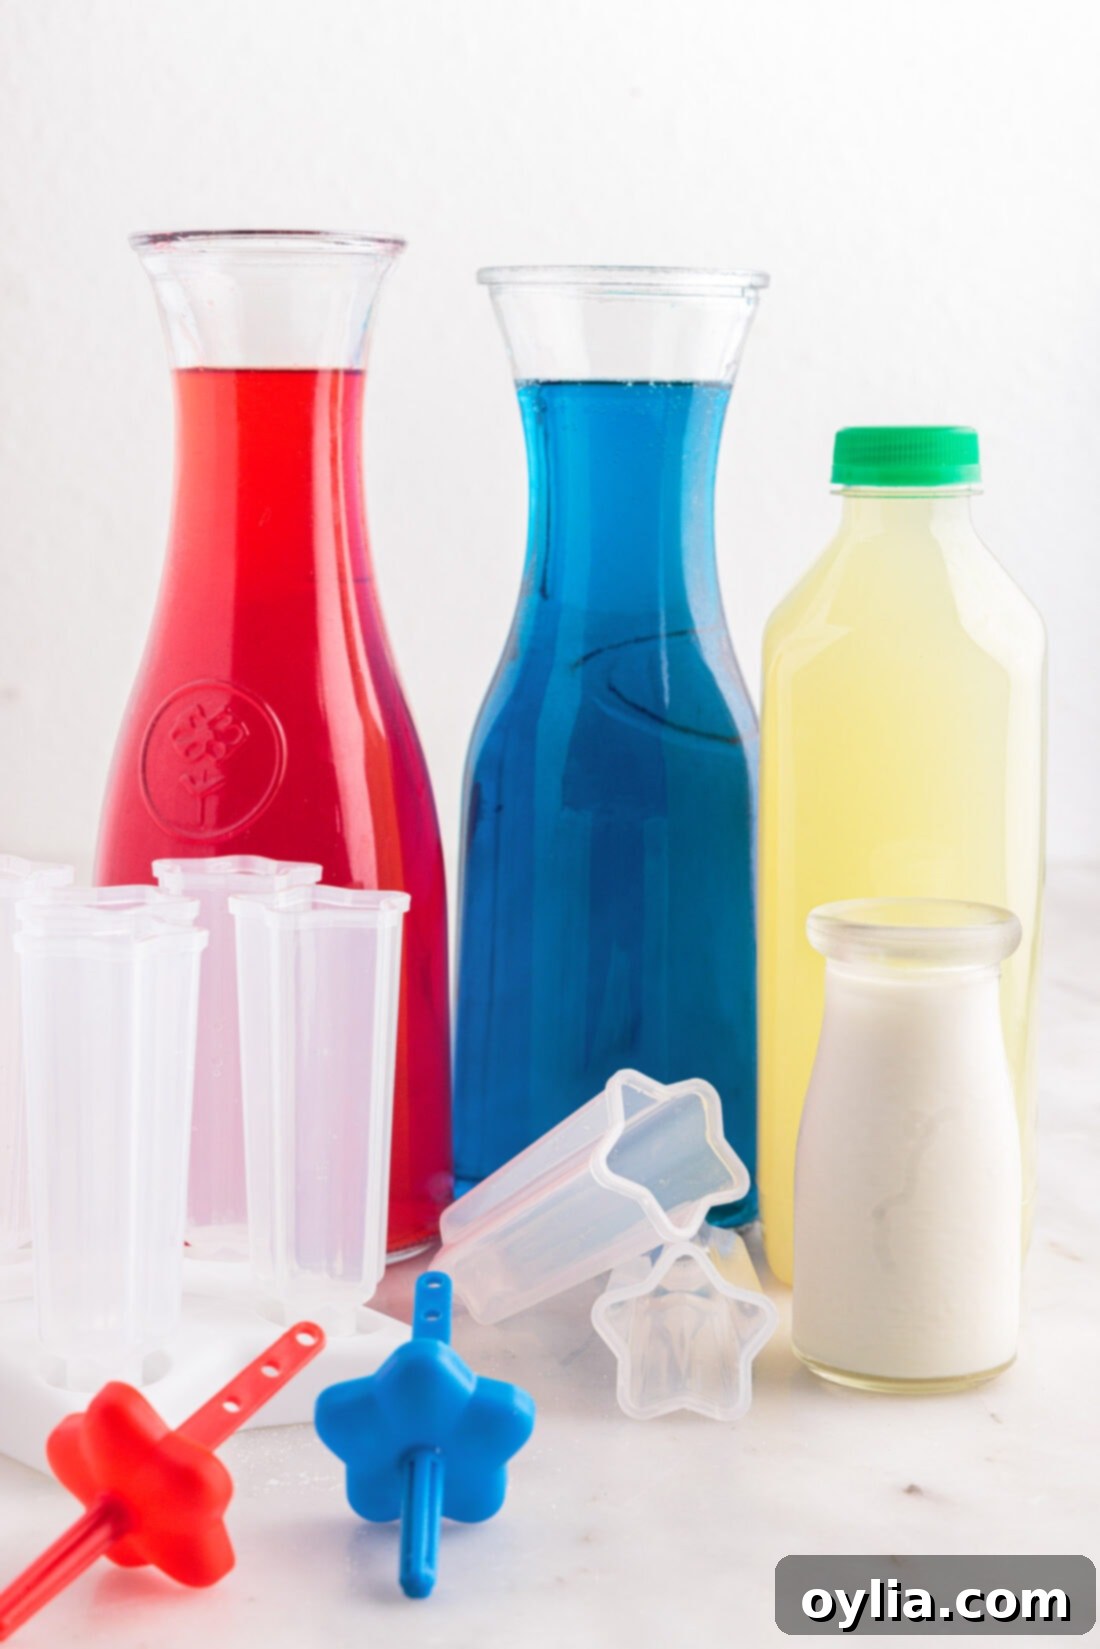
Crafting these vibrant patriotic bomb pops is surprisingly simple, thanks to a short list of readily available ingredients. Before diving into the step-by-step instructions, gather your supplies to ensure a smooth and enjoyable popsicle-making experience. You’ll find all precise measurements and detailed instructions in the printable recipe card located at the end of this post.
Ingredient Breakdown & Clever Substitutions
Achieving those vibrant, distinct layers is all about the right ingredients. Here’s a closer look at what you’ll need and some helpful tips for substitutions:
- RED LAYER – The signature red layer comes from Cherry Kool-Aid. Its bright color and sweet-tart flavor are perfect. For a slightly different twist, you could experiment with other red fruit-flavored drink mixes like strawberry or fruit punch. Ensure you prepare it according to packet instructions, adjusting sugar to your taste.
- WHITE LAYER – Our creamy white layer is a delightful combination of limeade and heavy whipping cream. This gives the middle layer a unique, slightly tangy and rich texture that contrasts beautifully with the fruit-flavored icy layers. I’ve found that the limeade and cream typically mix without any issues. However, if you notice your limeade causing the cream to curdle upon mixing (which can sometimes happen depending on the acidity), you have a fantastic alternative: coconut milk. Full-fat coconut milk works wonderfully, offering a creamy texture and a subtle tropical note. It’s also an excellent choice for making dairy-free popsicles, catering to various dietary needs. For another white layer option, unsweetened vanilla yogurt or even white grape juice could work, though they would change the flavor profile.
- BLUE LAYER – To complete the patriotic trio, you’ll need Blue Raspberry Kool-Aid. This provides the iconic blue hue and a deliciously sweet and tangy flavor. Just like the cherry, prepare it according to the packet instructions. If blue raspberry isn’t your preference, you could use a blue food coloring mixed with a lemon-lime flavored drink for a similar effect, or even an adult version using blue curaçao for a unique twist.
- Sweetener – Remember that Kool-Aid packets often require sugar. You have the flexibility to use regular granulated sugar for a traditional taste or opt for a sugar substitute like Splenda if you prefer a sugar-free version of these refreshing treats. Always taste and adjust to your desired sweetness!
Crafting Your Own Patriotic Bomb Pops: A Step-by-Step Guide
Embark on the fun journey of making your own red, white, and blue frozen delights! These step-by-step photos and detailed instructions are designed to help you visualize each stage of the recipe, ensuring perfect results every time. For the complete printable version of this recipe, including exact measurements and a handy ingredient list, you can Jump to Recipe at the bottom of this page.
- Prepare Your Flavors: Begin by preparing both the cherry and blue raspberry Kool-Aid according to the instructions on their respective packets. This typically involves dissolving the mix in water and adding sugar to taste. Feel free to use regular sugar or a sugar substitute like Splenda if you’re aiming for a sugar-free treat. Make sure each flavor is thoroughly mixed and ready for layering.
- First Layer (Red): Carefully pour the prepared cherry Kool-Aid into your bomb pop popsicle molds. Fill each mold approximately 1⁄3 of the way full. For a standard 2 oz. mold, this typically equates to about 1 1⁄3 tablespoons of the liquid Kool-Aid. Precision here helps ensure even layers.

- Freeze the First Layer: Place the filled molds into the freezer for a solid 2-3 hours, or until the red liquid is completely frozen solid. This step is crucial for preventing color bleeding and achieving those crisp, defined layers.
- Second Layer (White): While the red layer freezes, prepare your white layer. Pour the heavy whipping cream into the limeade and stir gently until the two liquids are fully combined into a smooth, creamy mixture. Once the red layer is rock-solid, carefully add this white liquid mixture on top, filling another 1/3 of the mold. At this point, consider if you need to add the popsicle sticks/lids. Some molds allow for sticks to be inserted into the semi-frozen layer, while others work better with sticks added before the final freeze. Refer to the detailed notes in the recipe card below for specific tips on stick placement to avoid issues.


- Freeze the Second Layer: Return the popsicles to the freezer for another 2-3 hours, or until the white layer is completely solid. This patience ensures a distinct white stripe.
- Third Layer (Blue) & Final Freeze: Once the white layer is fully frozen, carefully add the prepared blue raspberry Kool-Aid to top off the popsicles. If you haven’t already inserted the popsicle sticks (or the mold lids with built-in sticks), now is the time to do so. Ensure they are centered. Freeze the popsicles until they are completely solid, which may take another 3-4 hours or even overnight for best results.

- Unmolding Your Popsicles: When ready to enjoy, loosen the patriotic bomb pops from their molds. The easiest way to do this is by briefly running the molds under lukewarm water (be careful not to let water get inside the molds) or by simply letting them sit on the counter for a couple of minutes. They should then slide out easily, revealing their beautiful red, white, and blue layers.
Achieving Perfect Layers & Expert Tips for Success
Making layered popsicles can seem a little tricky, but with a few expert tips, you’ll master the technique and create visually stunning and delicious treats every time. The key is patience and understanding how each layer interacts during freezing.
- Patience with Freezing Times: The most crucial step is ensuring each layer is completely frozen solid before adding the next. This typically means 2-3 hours per layer. If a layer isn’t firm enough, the next liquid layer will melt into it, causing the colors to bleed and blend, losing that distinct striped effect. The white layer, especially, can easily turn pink or blue if the layers aren’t properly frozen.
- Freezer Temperature Matters: Ensure your freezer is set to an adequately cold temperature, typically 0°F (-18°C) or lower. A consistent, cold temperature will help the layers freeze quickly and evenly.
- Popsicle Stick Placement: This can be the trickiest part, especially with certain molds.
- Molds with Built-in Lids/Sticks: If your molds come with lids that have the stick attached, you might find the stick extends quite far down, potentially into the white layer as you add it. One method is to insert the lid/stick after the white layer has frozen for about an hour – it will be firm enough to hold the stick but still soft enough to insert it easily. Then, proceed with the blue layer.
- Using Traditional Sticks: An easier method for some molds is to abandon the lid/stick combo entirely and use traditional wooden popsicle sticks. Insert these into the molds after the second (white) layer has partially frozen for about an hour. It will be solid enough to hold the stick upright, but still pliable enough to insert. Then, pour your blue layer and let it freeze solid.
- Making a Slit: Alternatively, after the white layer is fully frozen, you can carefully use a thin knife to make a small slit in the center of each popsicle to insert the stick before adding the blue layer. This prevents the stick from being too deeply embedded in the first two layers, potentially causing them to crack.
- Gentle Pouring: When adding each subsequent liquid layer, pour slowly and carefully over the frozen layer below. This minimizes disturbance and helps maintain sharp lines between colors.
- Mold Selection: While bomb pop-shaped molds are ideal for authenticity, any popsicle mold will work for this recipe. Rocket-shaped molds add to the fun, but standard molds will produce equally delicious and patriotic layered pops.
- Flavor Customization: Don’t be afraid to experiment with other Kool-Aid flavors or even fruit juices to create your own unique color combinations. Just ensure the colors chosen provide good contrast for that layered effect.
Frequently Asked Questions & Expert Tips for Your Frozen Treats
When properly stored, these delightful homemade popsicles can maintain their quality and flavor for an extended period. If kept in an air-tight container, they will remain fresh and delicious in the freezer for up to 1 month. For shorter storage, you can individually wrap the popsicles tightly in plastic wrap (or simply keep them securely in their molds) and store them in the freezer for up to 1 week. Always ensure they are well-sealed to prevent freezer burn and maintain their vibrant flavors.
Absolutely! While Kool-Aid provides intense, consistent colors and flavors, you can certainly substitute with real fruit juices. For the red layer, consider cherry or strawberry juice. For the white, white grape juice or even coconut water could work. For blue, natural blue food coloring combined with lemonade or a light-colored juice would be necessary as naturally blue fruit juices are rare. Keep in mind that real fruit juices might not offer the same vivid colors without added food coloring, and the sweetness levels will vary, so adjust accordingly.
No problem at all! You can use any type of popsicle mold you have on hand. Standard rectangular molds, silicone molds, or even small paper cups with wooden sticks will work perfectly. The key is the layering technique and adequate freezing time between each layer, not the specific shape of the mold.
If your popsicles are stubborn and won’t release easily, a common trick is to run the outside of the molds under lukewarm (not hot!) water for about 10-20 seconds. This gently loosens the frozen treat from the sides of the mold without melting it too much. Alternatively, you can let the molds sit on your kitchen counter for a couple of minutes; the slight temperature change will often make them slide out effortlessly.
When and How to Serve These Festive Popsicles
These patriotic bomb pops are more than just a dessert; they’re a statement! They are the perfect little refresher and a visually appealing treat for a multitude of occasions. Serve them at your Fourth of July barbecue to add a splash of color and a burst of flavor that both kids and adults will adore. They’re also wonderfully suited for Memorial Day gatherings, Veterans Day celebrations, or even casual summer pool parties. Whenever you want to whip up a batch at home, these pops are guaranteed to bring smiles. Always serve them frozen solid for the best texture and cooling effect. You can arrange them on a bed of ice in a festive cooler or platter to keep them chilled and looking appealing during your event.
More Delightful Patriotic Recipes for Your Celebrations
If you’re looking to complete your patriotic spread, we have a variety of other red, white, and blue themed recipes that are sure to impress. From refreshing drinks to sweet desserts, these recipes perfectly complement your homemade Bomb Pops:
- Vibrant Patriotic Punch
- Fun 4th of July Jello Shots (Adults Only!)
- Delicious Red White and Blue Oreo Truffles
- Refreshing Red White and Blue Fruit Salad
- Elegant Patriotic Chocolate Covered Strawberries
I love to bake and cook and share my kitchen experience with all of you! Remembering to come back each day can be tough, that’s why I offer a convenient newsletter every time a new recipe posts. Simply subscribe and start receiving your free daily recipes!
Patriotic Bomb Pops
IMPORTANT – There are often Frequently Asked Questions within the blog post that you may find helpful. Simply scroll back up to read them!
Print It
Pin It
Rate It
Save ItSaved!
Ingredients
- 1 cup cherry Kool-Aid
- ¾ cup limeade
- ¼ cup heavy whipping cream
- 1 cup blue raspberry Kool-Aid
Things You’ll Need
-
2 ounce popsicle molds
Before You Begin
- *It’s really important to make sure each layer is frozen solid before adding the next so that the colors don’t bleed together – that white layer in the middle can easily turn pink or blue if each layer isn’t frozen well.
- The only tricky thing about making these popsicles is coordinating the addition of the popsicle stick. For these molds, when the lid/stick was added, the end of the stick reached well into the white layer. However, if you place the lid on and freeze it in the white layer, then it’s more challenging to add the blue layer. I wiggled the cap over and poured the blue right in, but an easier method might be to abandon the lid/stick combo that comes with these molds and instead just add a normal popsicle stick. I also had luck using a knife to make a slit in the white layer after it was frozen, then poured in the blue layer and was able to insert the lid/stick into the popsicle.
- I did not have any trouble with the limeade curdling the cream when the two were mixed together, but if you do run into this with your limeade, you can alternately use coconut milk. Coconut milk is also a great alternative for dairy free popsicles.
- If stored in an air-tight container, these homemade popsicles will keep well in the freezer for up to 1 month. Otherwise, you can wrap the popsicles in plastic wrap (or keep them in the mold) and store them for up to 1 week in the freezer.
Instructions
-
Prepare cherry and blue raspberry Kool-Aid according to packet instructions (you can use regular sugar or Splenda for sugar-free, if desired).
-
Pour cherry Kool-aid into the bomb pop popsicle molds, filling 1⁄3 of the way full. (For a 2 oz. mold, 1⁄3 is about 1 1⁄3 tablespoons of Kool-aid.)
-
Place the molds into the freezer for 2-3 hours or until the liquid is frozen solid.
-
Pour the cream into the limeade and stir until fully combined. Add the second layer of “white liquid” on top of the frozen red layer. Check to determine if you will need to add the lids to the popsicles at this point – see notes below for some ideas on this.
-
Freeze the popsicles for another 2-3 hours until the second layer is solid.
-
Add the blue Kool-aid to top off the popsicles and freeze until solid. (Add popsicle sticks before freezing if you have not already done so.
-
Loosen the popsicle from the molds by running them briefly under lukewarm water or by setting on the counter for a couple minutes until they slide easily from the molds.
Nutrition
The recipes on this blog are tested with a conventional gas oven and gas stovetop. It’s important to note that some ovens, especially as they age, can cook and bake inconsistently. Using an inexpensive oven thermometer can assure you that your oven is truly heating to the proper temperature. If you use a toaster oven or countertop oven, please keep in mind that they may not distribute heat the same as a conventional full sized oven and you may need to adjust your cooking/baking times. In the case of recipes made with a pressure cooker, air fryer, slow cooker, or other appliance, a link to the appliances we use is listed within each respective recipe. For baking recipes where measurements are given by weight, please note that results may not be the same if cups are used instead, and we can’t guarantee success with that method.
