Sticky Honey Garlic Chicken Breast: Your New Favorite Weeknight Dinner
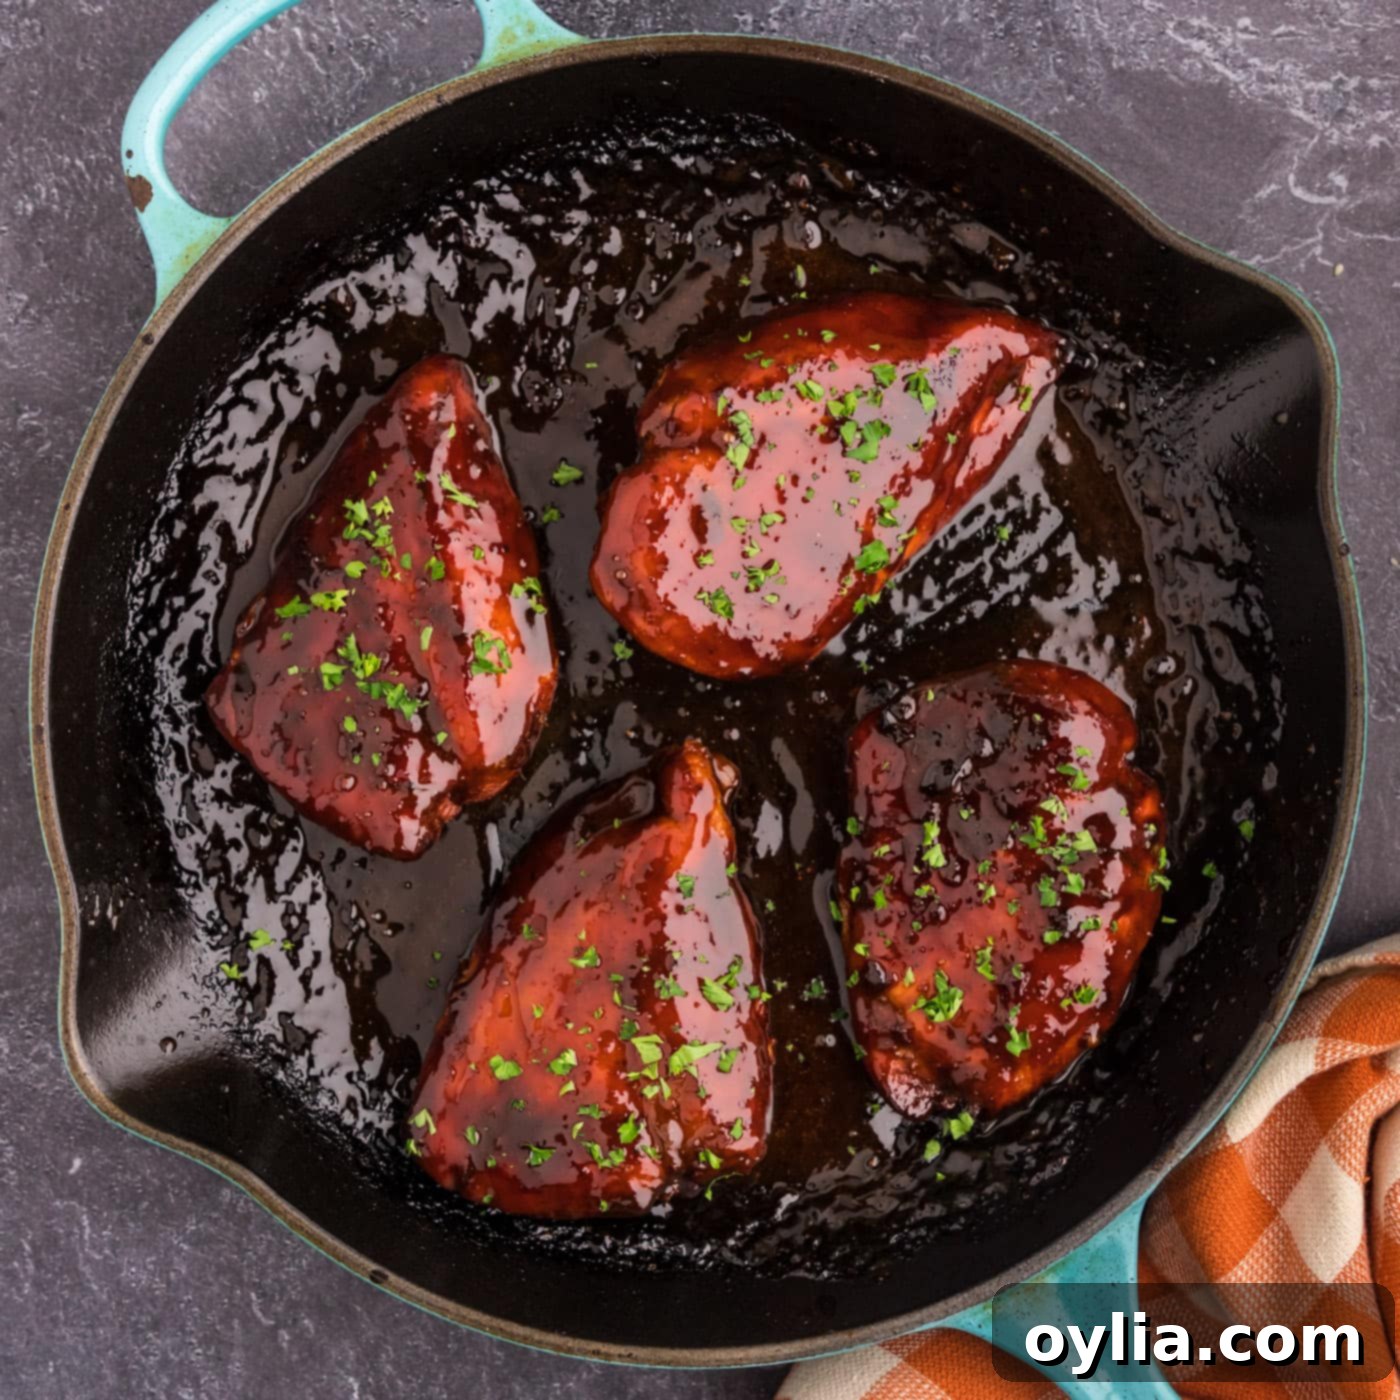
Prepare for an explosion of flavor with this incredible Sticky Honey Garlic Chicken Breast recipe! This dish takes ordinary chicken breasts and transforms them into a truly unforgettable meal, smothered in a rich, sweet, and savory garlic-honey-soy sauce that will have everyone asking for seconds. It’s the perfect blend of ease and gourmet taste, making it ideal for busy weeknights or special occasions alike.
Why This Recipe Is an Absolute Must-Try
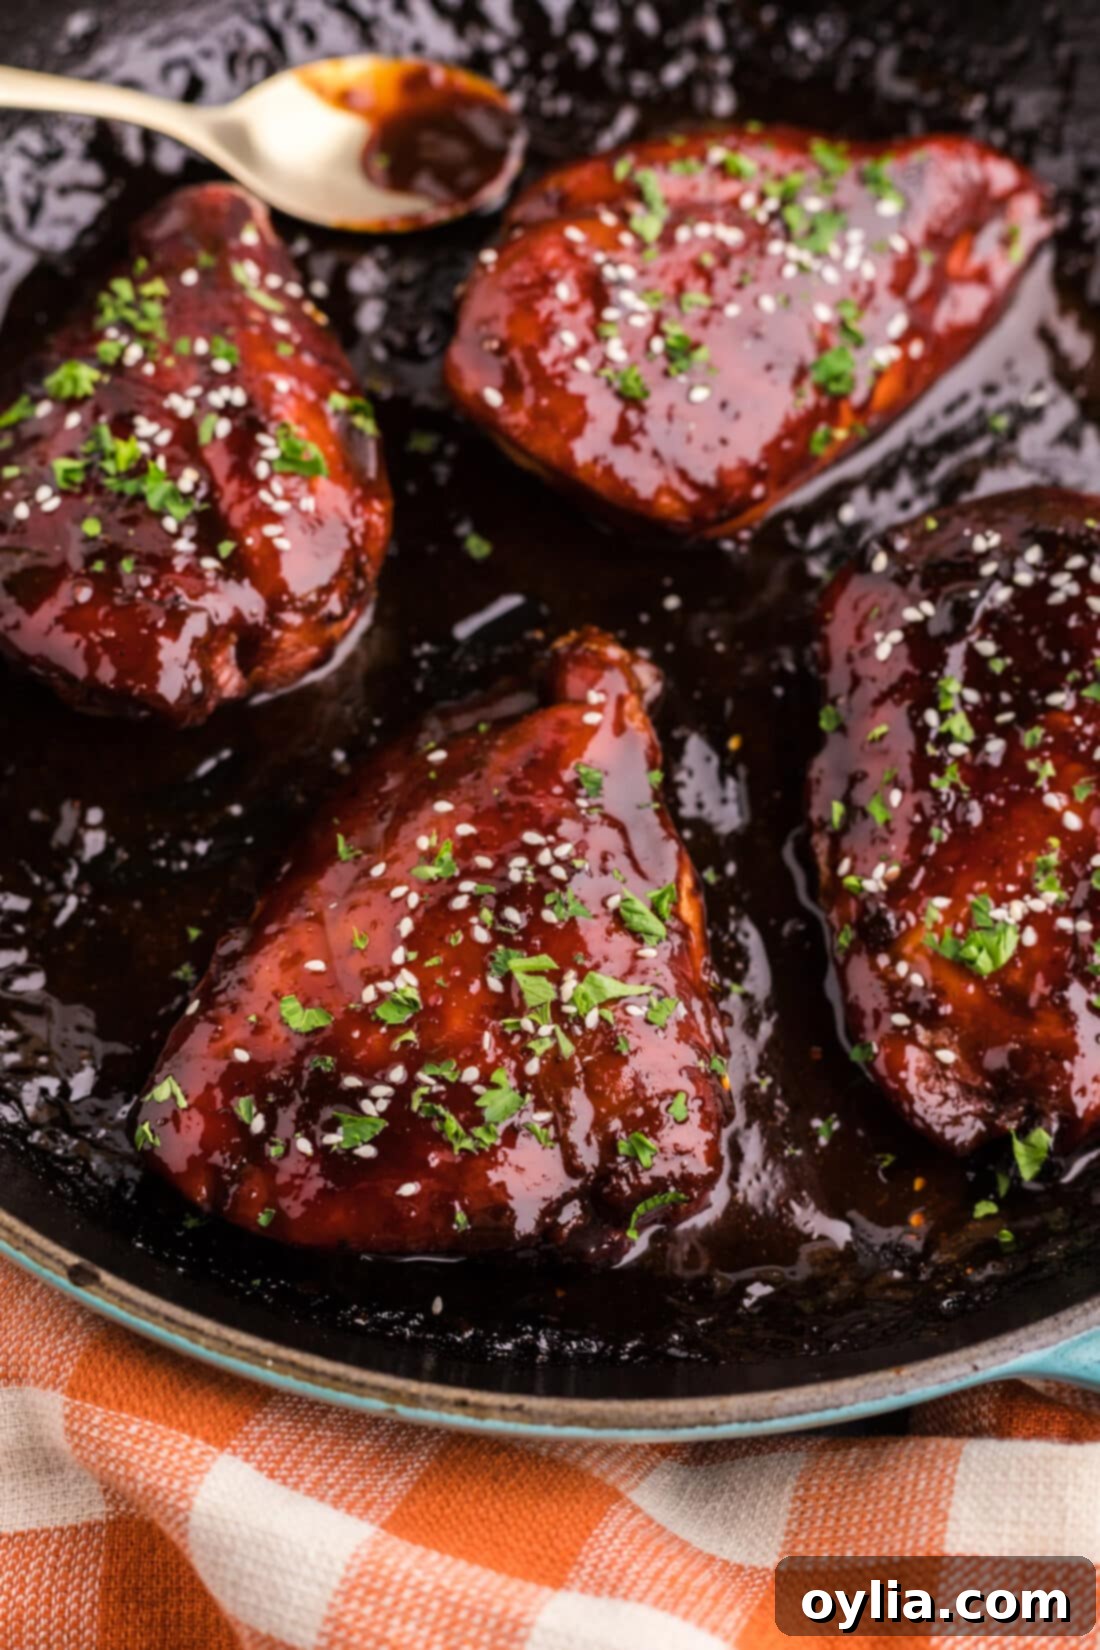
What makes this particular honey garlic chicken breast recipe stand out from the rest? It all starts with a brilliant technique: marinating. We begin by allowing the chicken breasts to soak up as much flavor and moisture as possible from our exquisite sauce. But here’s the best part – you don’t discard that delicious marinade! Instead, it’s ingeniously repurposed and cooked down to create a bubbling, sticky, and utterly irresistible glaze that you’ll spoon generously over the perfectly cooked chicken.
This method ensures every bite is packed with incredible taste, from the juicy interior of the chicken to the luscious coating. The marinade, which later becomes your decadent sauce, is a harmonious blend of classic Asian-inspired flavors: robust soy sauce, pungent garlic, and naturally sweet honey, elevated by a splash of tangy white wine vinegar and a touch of brown sugar for added depth and caramelization. This thoughtfully crafted combination truly elevates plain chicken breast into a culinary masterpiece that’s both comforting and exciting.
Beyond its incredible flavor profile, this recipe is also incredibly practical. It’s designed to be straightforward, even for novice cooks, and utilizes common pantry staples. The one-pan cooking method, moving from stovetop to oven, simplifies cleanup while ensuring the chicken is seared to perfection and then baked through to juicy tenderness. This synergy of flavor, technique, and convenience makes it a truly winning dish for any meal of the week.
Key Ingredients for Your Honey Garlic Chicken Breast
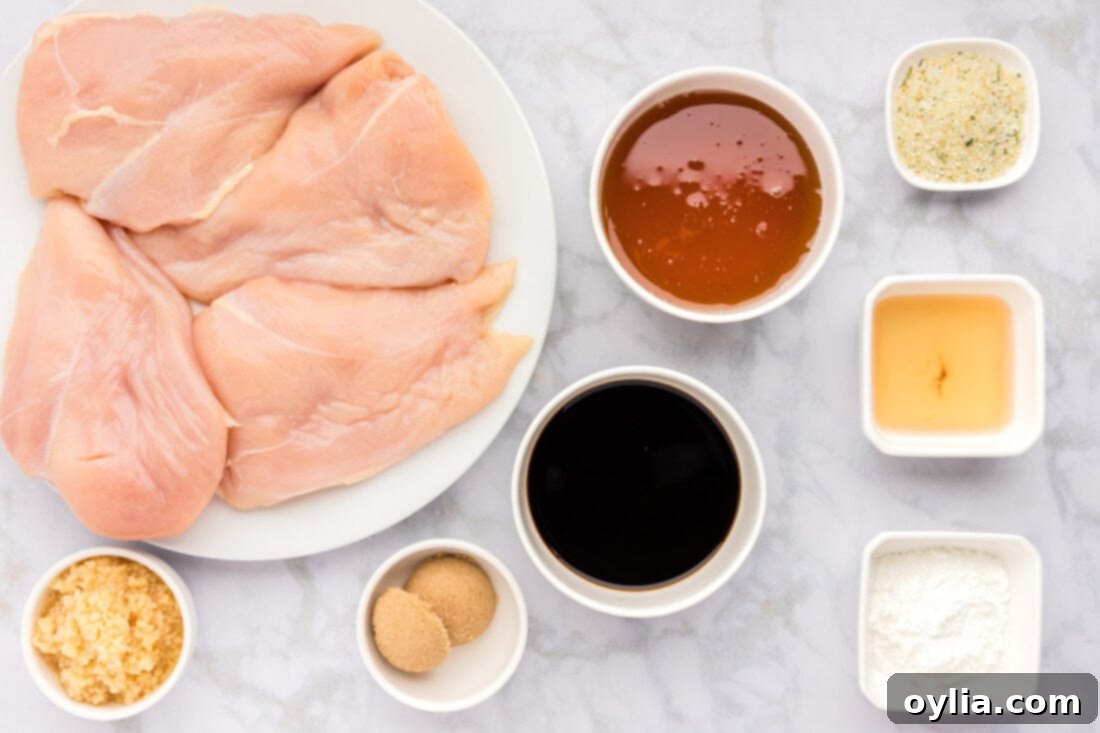
Crafting this delicious dish requires a handful of simple, yet potent ingredients that come together to create magic. For precise measurements, exact ingredient quantities, and detailed instructions, please refer to the printable recipe card available at the end of this comprehensive guide. Here’s a brief overview of what you’ll need to gather:
Ingredient Spotlight & Smart Substitutions
Understanding your ingredients is key to successful cooking. Here’s a deeper dive into the components of this recipe and how you can adapt them to your preferences or what you have on hand:
- CHICKEN BREASTS: We recommend using boneless, skinless chicken breasts. For optimal cooking and juiciness, ensure all your chicken breasts are uniform in size. If they vary, you can pound the thicker parts to an even thickness (about 1 inch) using a meat mallet or the flat side of a heavy pan. This ensures they cook evenly and don’t dry out. Always check the packaging to confirm you’re purchasing chicken breasts without added water, which can dilute flavor and affect texture. If you’re a fan of darker meat, or simply prefer a richer flavor, hop over to our dedicated honey garlic chicken post which features a recipe specifically for chicken thighs!
- SOY SAUCE: This forms the salty, umami backbone of our sauce. We typically use a regular all-purpose soy sauce. For a healthier option, you can opt for low-sodium soy sauce. If you need a gluten-free alternative, Tamari is an excellent substitute that offers a similar flavor profile.
- HONEY: The star of the “honey” in honey garlic! Any natural liquid honey will work beautifully here. Different types of honey (clover, wildflower, acacia) can impart subtle nuances to the flavor, but don’t overthink it—use what you have. Honey not only provides sweetness but also contributes to the signature sticky glaze.
- GARLIC: Freshly minced garlic is highly recommended for the most vibrant flavor. You’ll need a generous amount to make the “garlic” truly shine. While pre-minced garlic can be convenient, adjust the quantity as its potency can vary.
- WHITE WINE VINEGAR: This is a crucial ingredient for balancing the sweetness of the honey and brown sugar, adding a bright, acidic counterpoint that prevents the sauce from being overly cloying. If you don’t have white wine vinegar, rice vinegar or apple cider vinegar are excellent substitutes that will still provide that essential tang.
- BROWN SUGAR: Along with honey, brown sugar adds another layer of sweetness and depth, thanks to its molasses content. This helps in achieving that beautiful caramelized finish. If you’re out of brown sugar, regular granulated sugar can be used, though the flavor will be slightly less complex. Maple syrup is another great natural sweetener alternative.
- GARLIC SALT: This seasoning contributes both saltiness and an extra punch of garlic flavor. It’s important to note that garlic salt is a blend of garlic powder and salt, so if you’re using plain garlic powder and regular salt, adjust quantities accordingly to avoid over-salting.
- CORNSTARCH & WATER (Slurry): This combination is used to create a “slurry” which is essential for thickening the sauce. Cornstarch is a powerful thickening agent; ensure it’s fully dissolved in cold water before adding it to the hot sauce to prevent lumps.
- OLIVE OIL: Used for searing the chicken, olive oil adds a nice flavor. You can also use other high smoke point oils like vegetable oil, canola oil, or avocado oil for this step.
Step-by-Step Guide to Making Honey Garlic Chicken Breast
These step-by-step photos and detailed instructions are here to help you visualize how to master this mouth-watering recipe. For a quick reference to the printable version, complete with all measurements and instructions, you can Jump to Recipe at the bottom of this post.
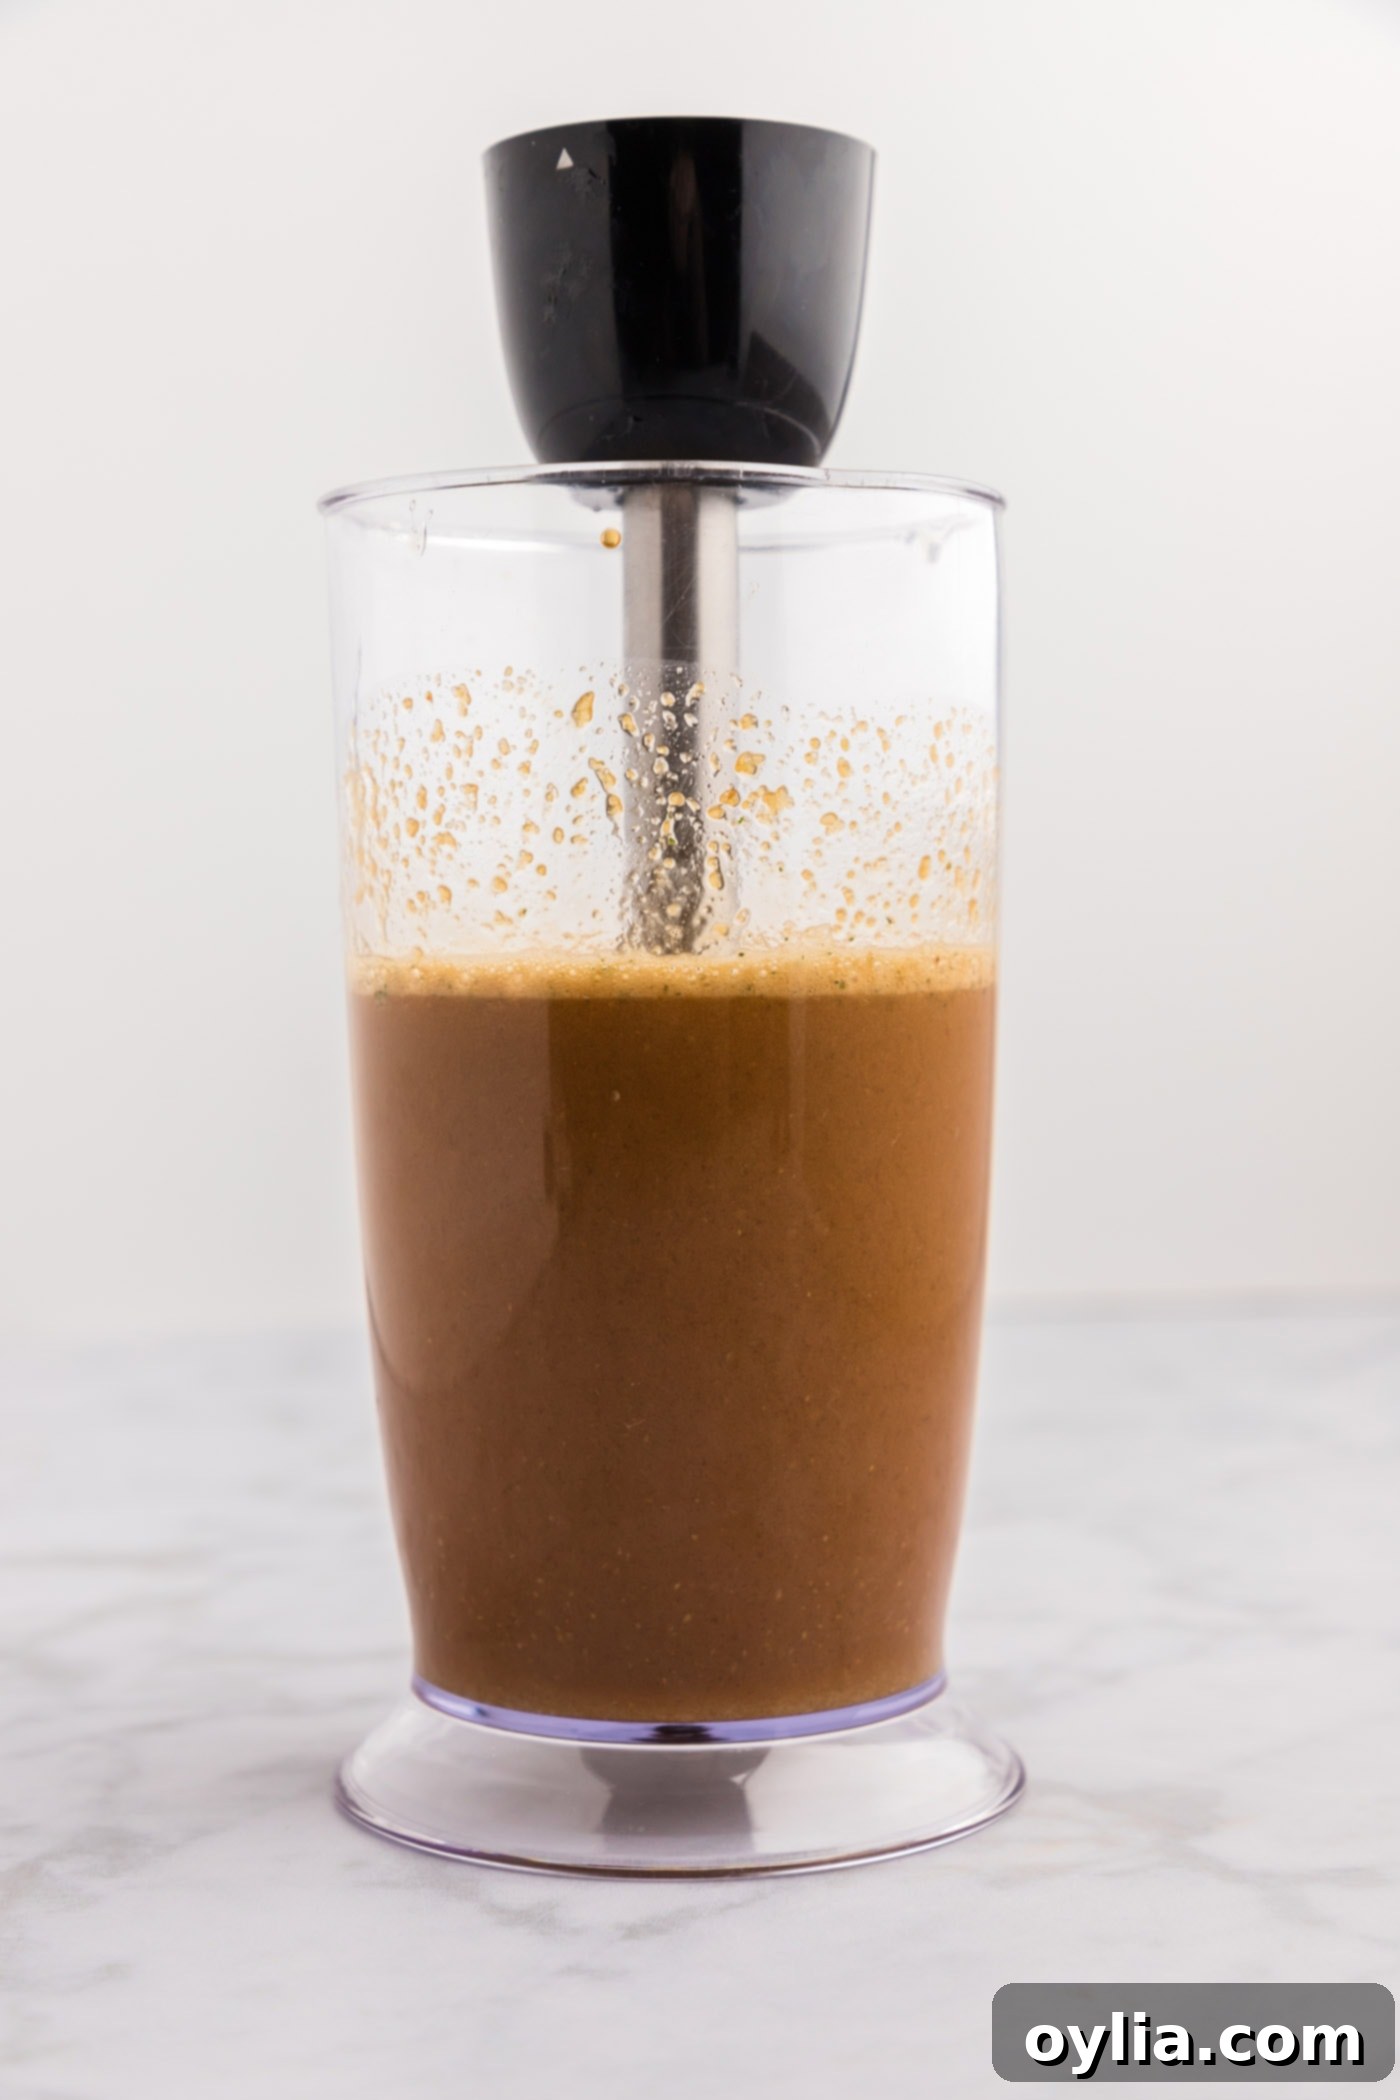
- Prepare the Marinade: Combine all marinade ingredients (soy sauce, white wine vinegar, minced garlic, brown sugar, honey, garlic salt) in an immersion blender. Blend until the mixture is completely smooth, ensuring no garlic chunks remain. A smooth marinade will coat the chicken more evenly and create a silky sauce later.

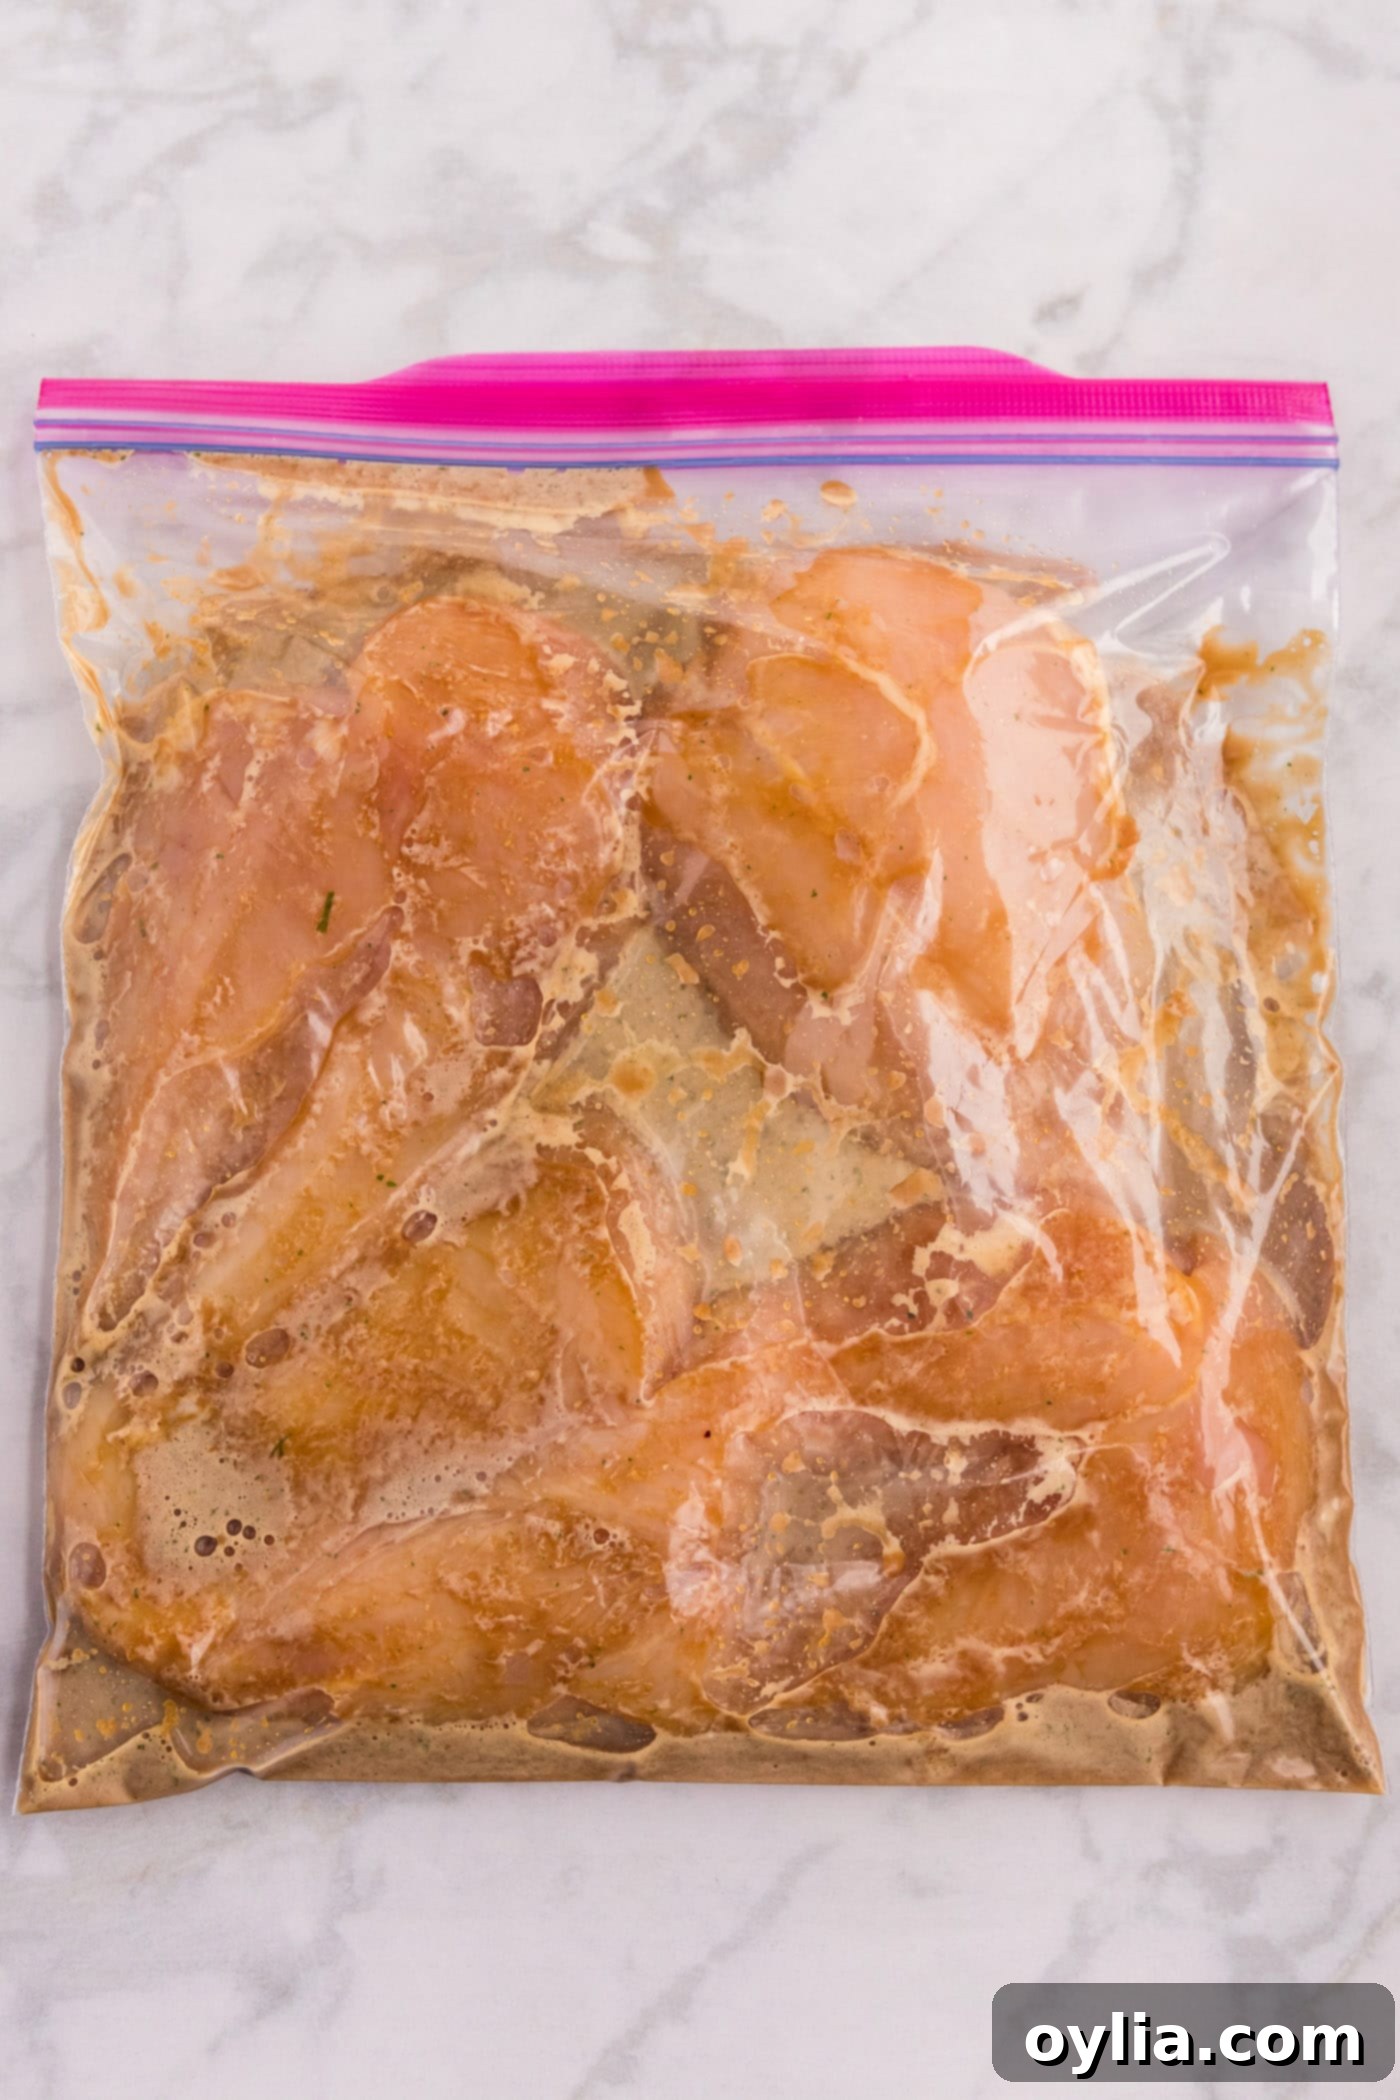
- Marinate the Chicken: Place your boneless, skinless chicken breasts into a gallon-sized zip-top plastic bag. Carefully pour the freshly blended marinade into the bag, ensuring the chicken is fully submerged and coated. Seal the bag, pressing out as much air as possible. Allow the chicken to marinate at room temperature for 1 hour for quick flavor infusion, or for a deeper, more tender result, refrigerate for up to 3 hours. Avoid marinating for longer than 3 hours in the fridge to prevent the chicken from becoming mushy due to the vinegar.

- Preheat Oven: While the chicken is marinating, preheat your oven to 375°F (190°C). This ensures the oven is at the correct temperature for even baking once the skillet is transferred.
- Heat Skillet: Heat the olive oil in a large, oven-safe skillet (cast iron or a heavy-bottomed stainless steel pan works best) over medium-high heat. Wait until the oil is shimmering, indicating it’s hot enough to achieve a good sear on the chicken. A hot pan is crucial for developing a flavorful crust.
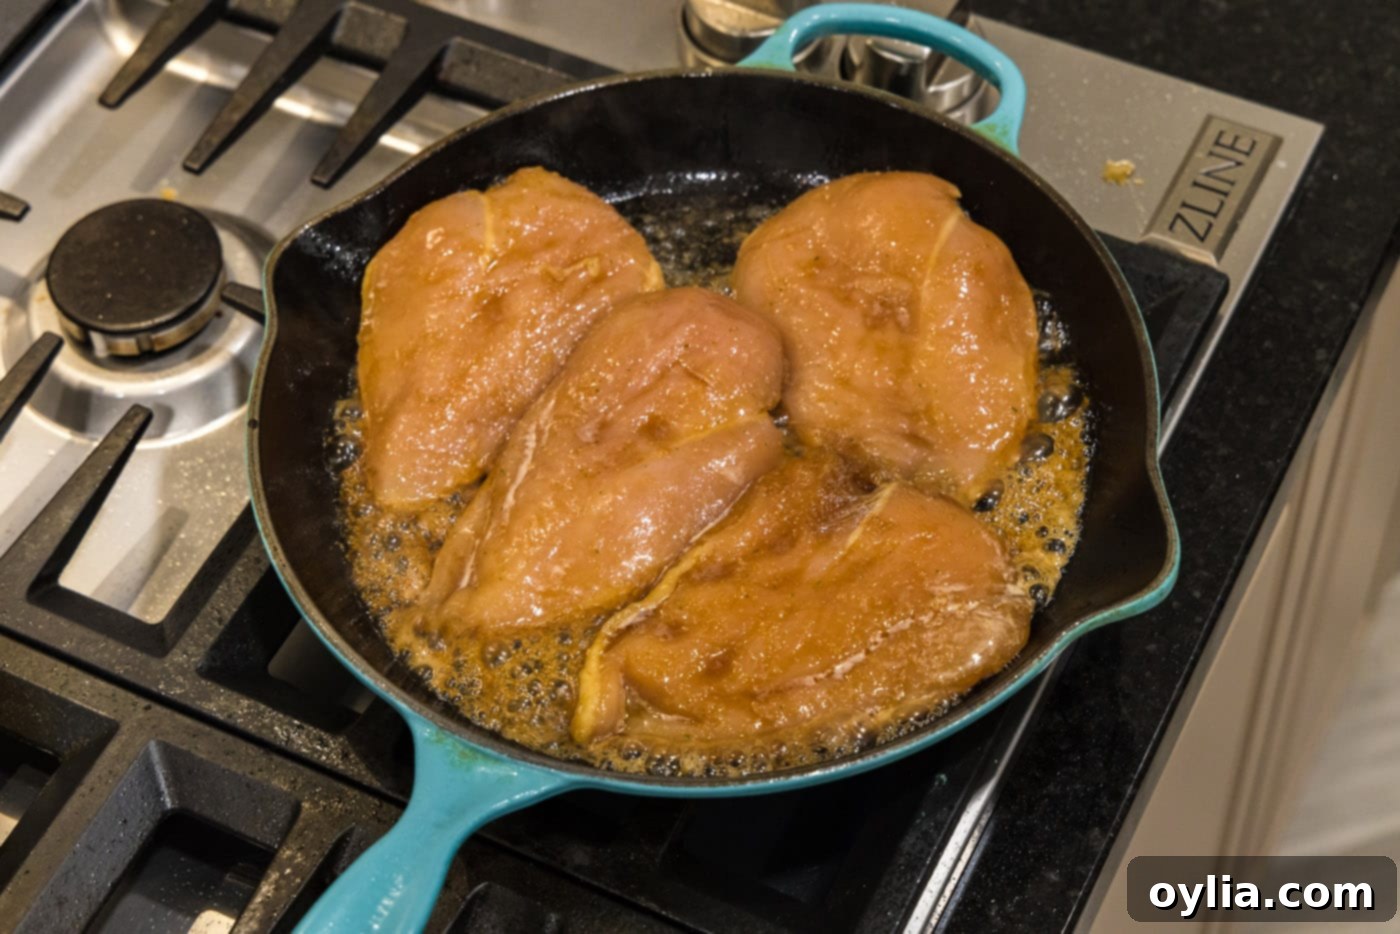
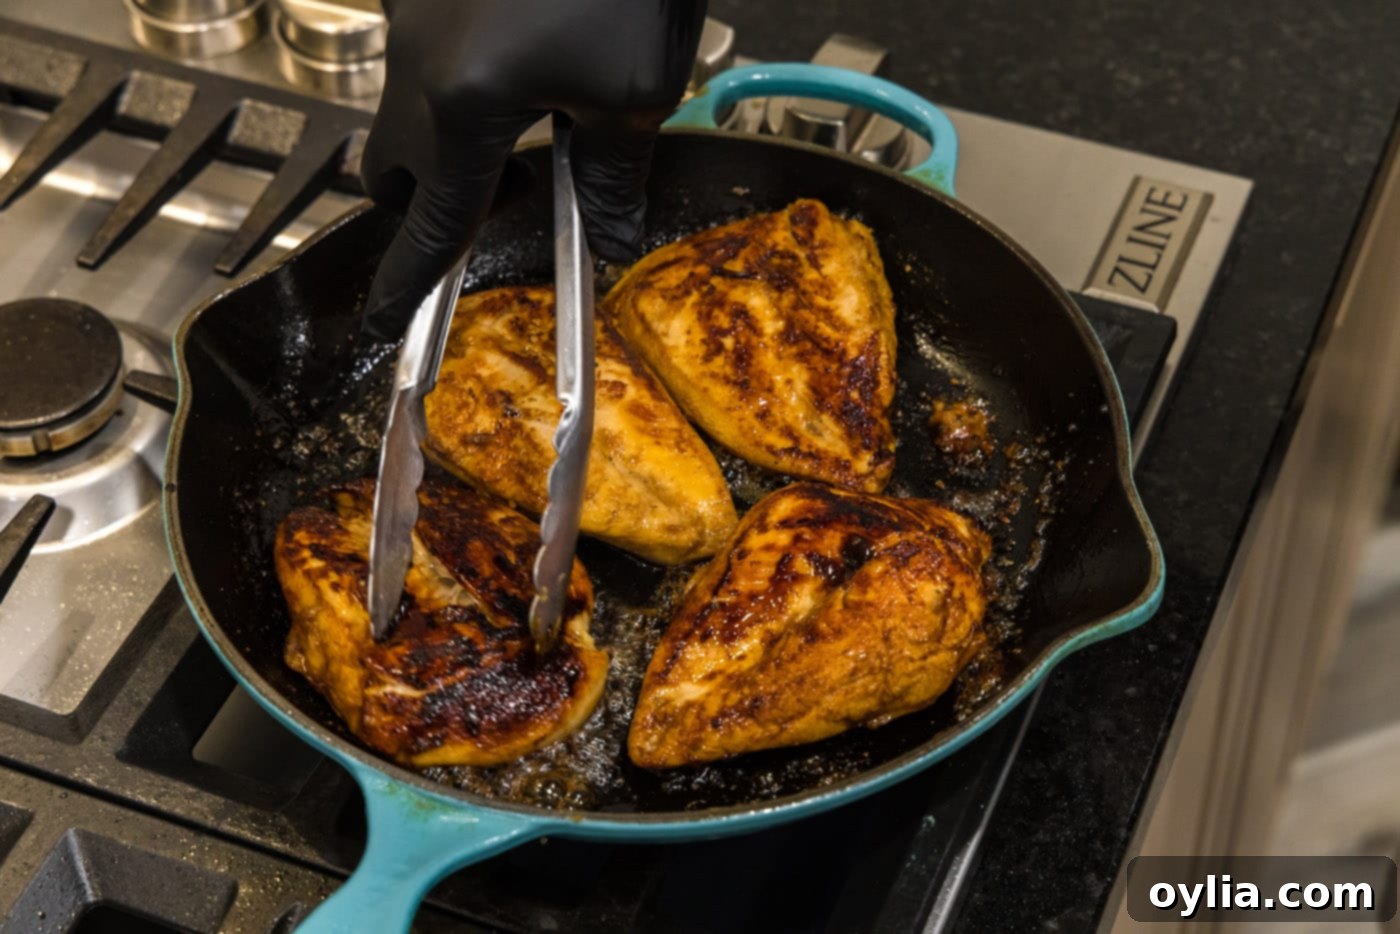
- Sear Chicken – First Side: Using tongs, carefully remove the chicken breasts from the marinade, allowing any excess to drip off (IMPORTANT: reserve the remaining marinade in the bag; do not discard it). Place the chicken breasts, one at a time, into the hot skillet. Cook for 2-3 minutes, or until a beautiful golden-brown crust forms. Occasionally, gently scoot the breasts from side to side to ensure they don’t stick to the pan and brown evenly.

- Sear Chicken – Second Side: Flip the chicken breasts over with tongs and cook for an additional 2-3 minutes on the second side, aiming for a similar golden-brown color. This initial searing locks in juices and builds flavor.

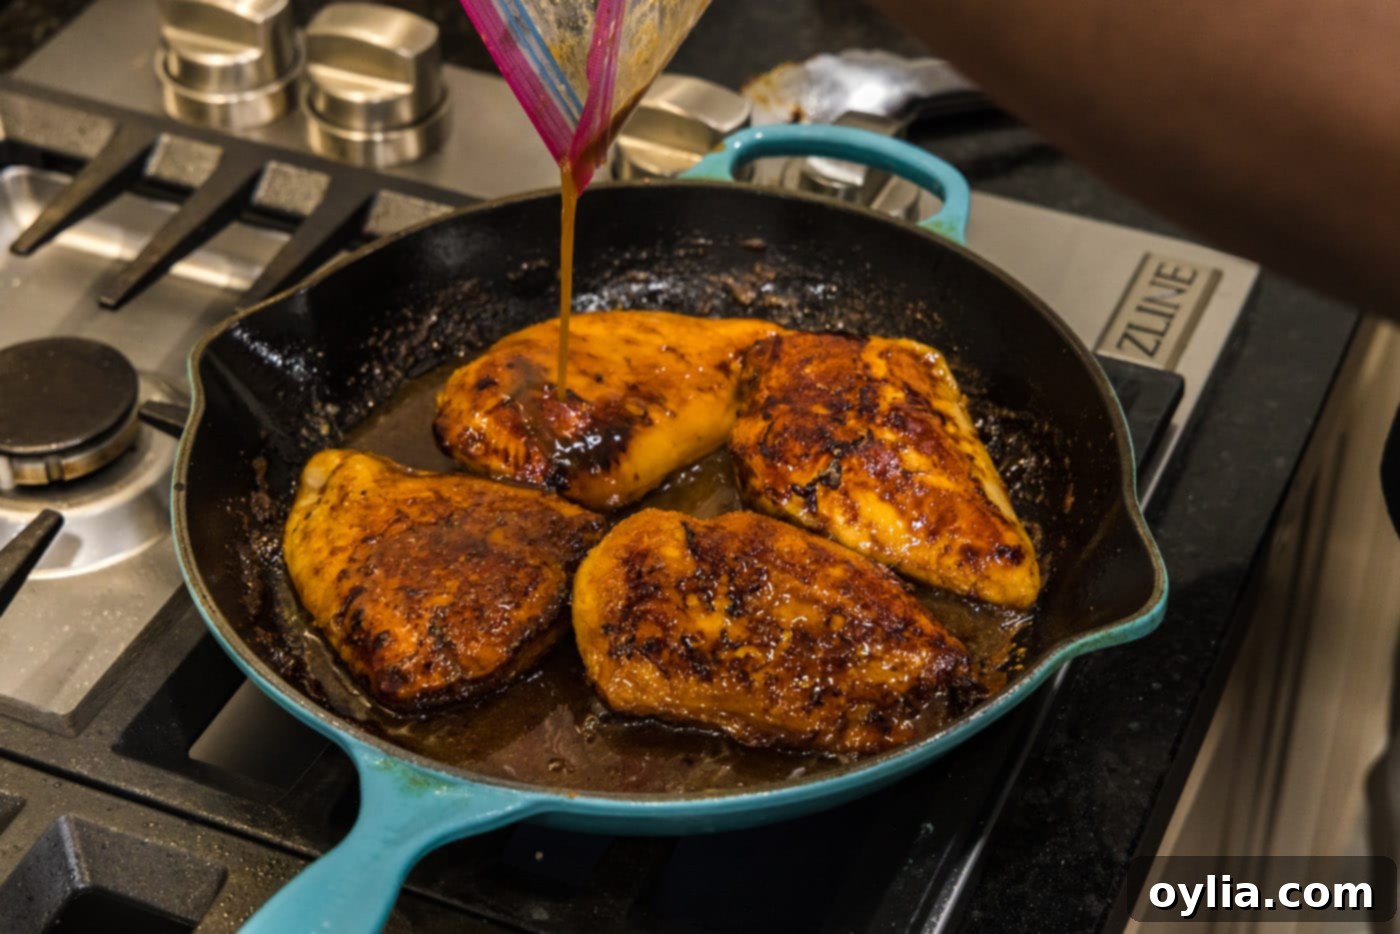
- Add Reserved Marinade: Pour the reserved marinade directly over the seared chicken in the skillet. Don’t worry about the raw marinade; it will cook thoroughly in the next steps, making it perfectly safe and delicious.

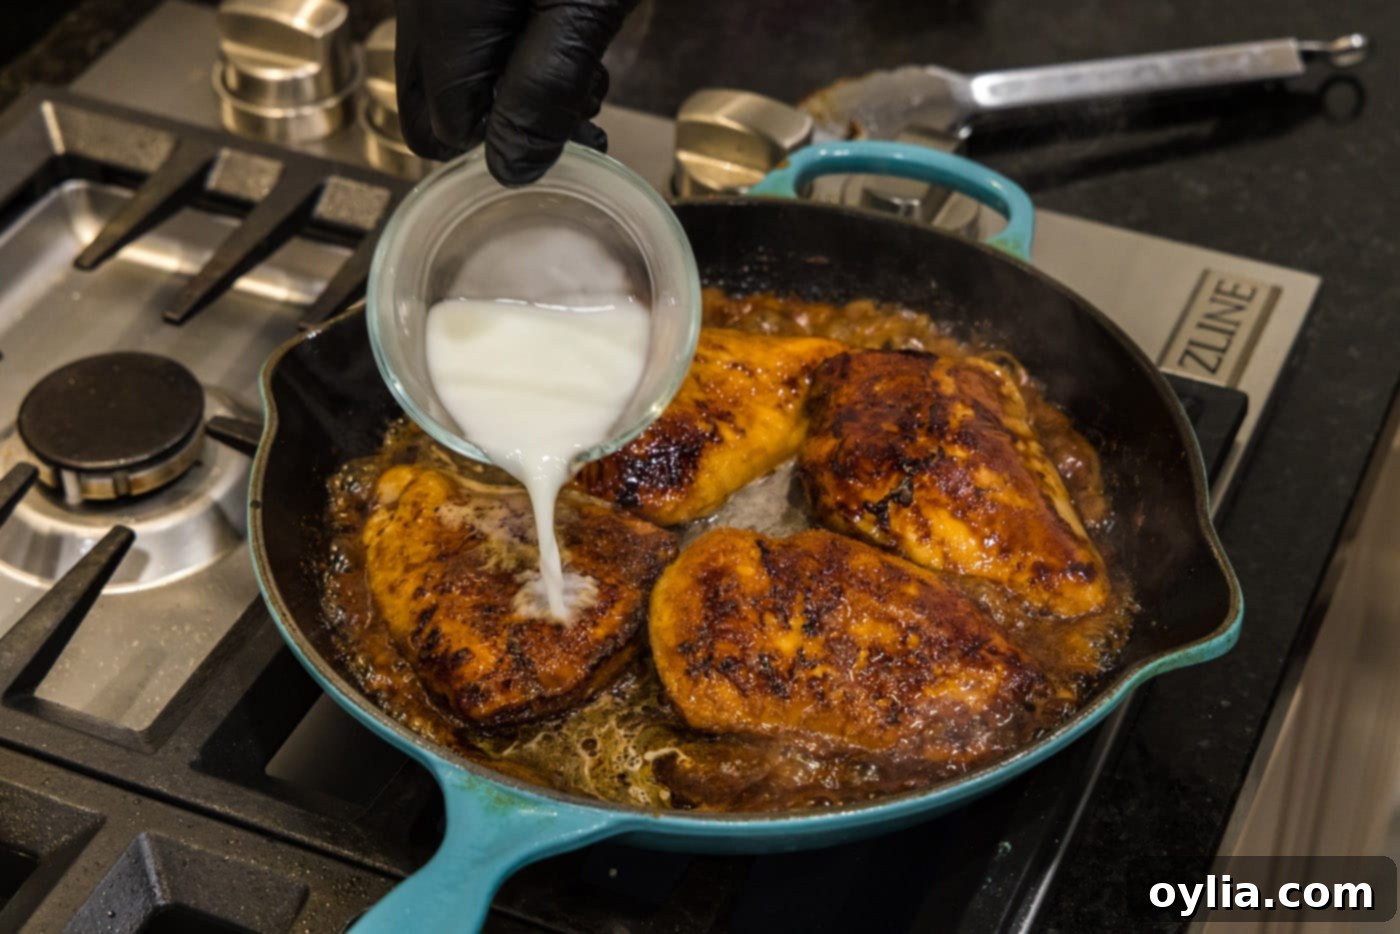
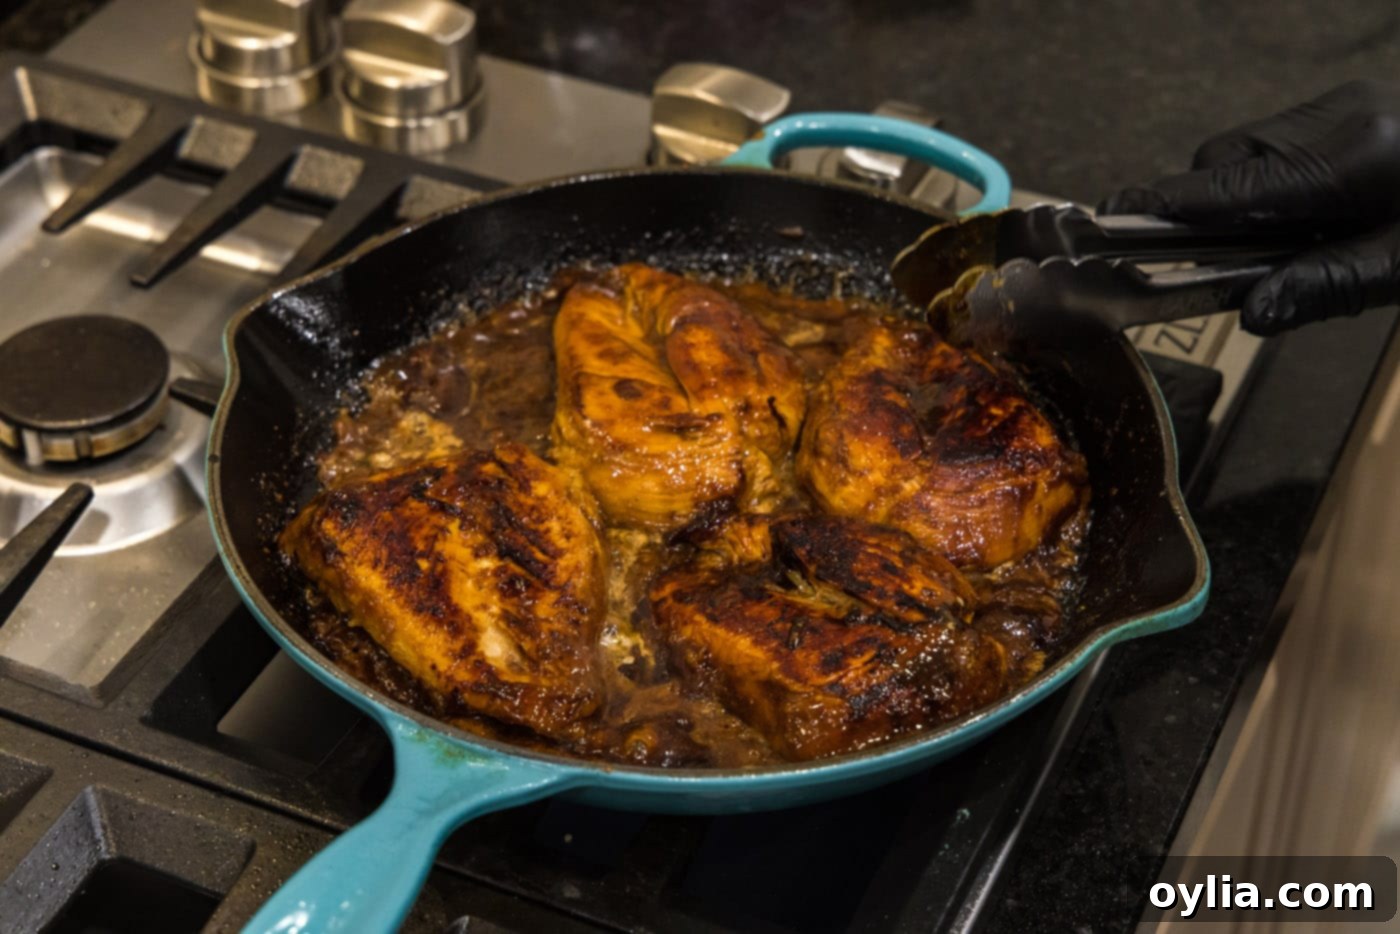
- Thicken the Sauce with a Slurry: In a small bowl, whisk together the cornstarch and water to create a smooth slurry. Gradually add this slurry to the simmering marinade in the skillet, while continuously turning the chicken breasts. This helps to evenly distribute the thickener and prevent lumps. Continue to stir until the sauce begins to visibly thicken and become glossy and sticky.


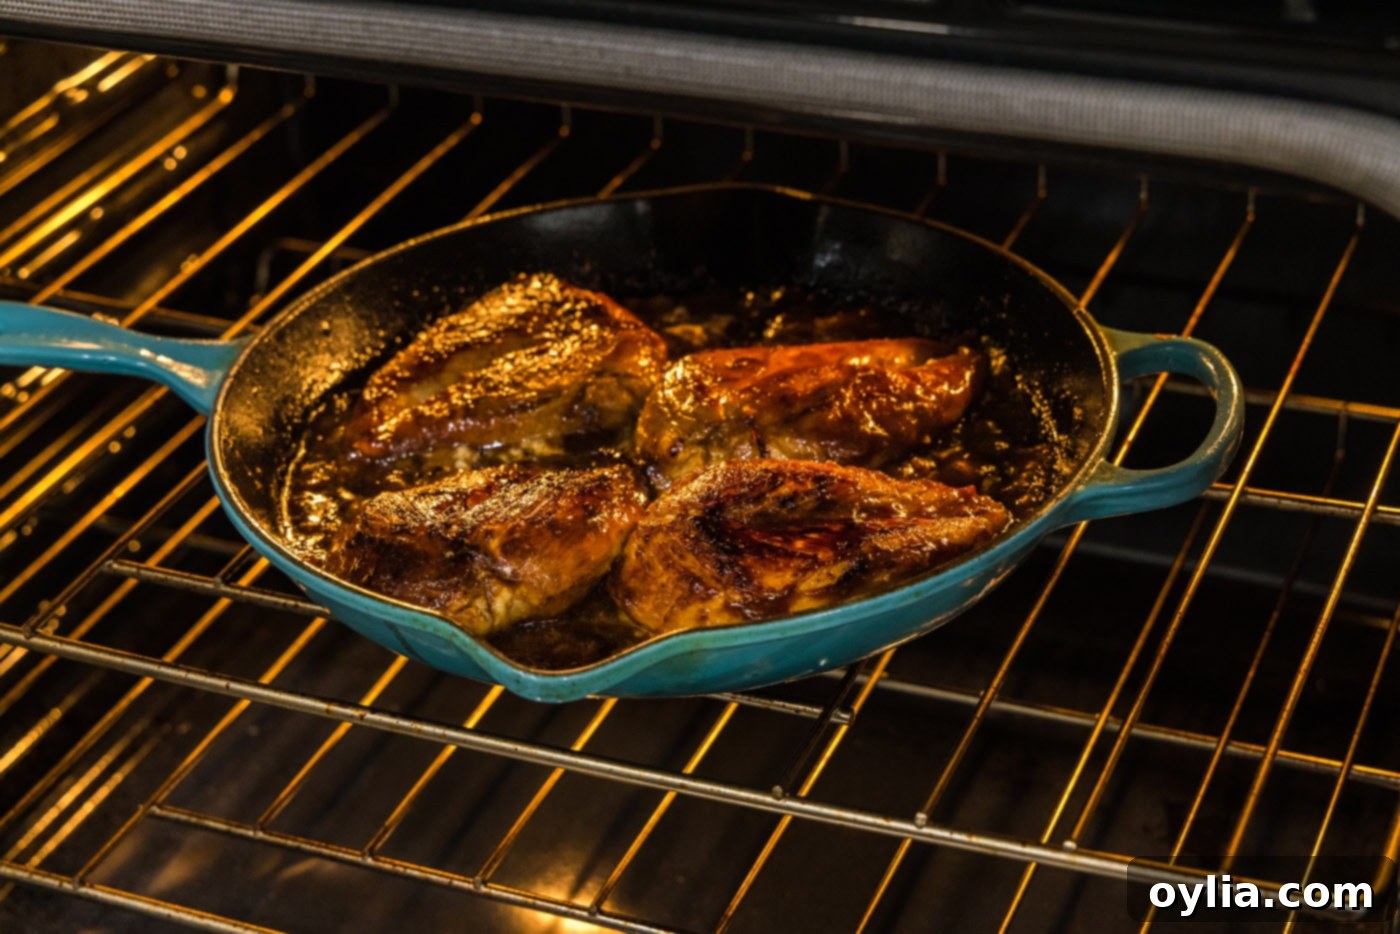
- Bake to Perfection: Carefully transfer the entire oven-safe skillet into your preheated 375°F (190°C) oven. Bake for approximately 25 minutes, or until the chicken breasts reach an internal temperature of 165°F (74°C) when measured with an instant-read thermometer inserted into the thickest part of the breast. The sauce will continue to bubble and reduce, becoming even stickier and more flavorful.

Expert Tips for the Best Honey Garlic Chicken Breast
- Pound for Evenness: If your chicken breasts are of varying thickness, consider placing them between two pieces of plastic wrap and gently pounding them to an even 1-inch thickness. This ensures consistent cooking and prevents thinner parts from drying out while thicker parts finish.
- Don’t Crowd the Pan: When searing, cook the chicken in batches if necessary. Overcrowding the skillet will lower the pan’s temperature, leading to steamed chicken rather than a beautifully seared, golden-brown crust.
- Trust Your Thermometer: An instant-read meat thermometer is your best friend for perfectly cooked chicken. Always aim for an internal temperature of 165°F (74°C) for chicken breasts to ensure they are safe to eat and optimally juicy.
- Adjust Sweetness and Saltiness: Taste the sauce before adding the cornstarch slurry (and after if needed). If you prefer it sweeter, add a touch more honey or brown sugar. If it’s too salty, a splash of water or a bit more vinegar can help balance it. Remember that soy sauce is quite salty, so be mindful when adding extra salt.
- Resting is Key: Once out of the oven, let the chicken rest in the skillet for 5-10 minutes before slicing. This allows the juices to redistribute, resulting in more tender and flavorful chicken.
- Garnish for Freshness: A sprinkle of sesame seeds, freshly chopped green onions, or cilantro not only adds visual appeal but also a burst of fresh flavor and texture.
Variations & Customization Options
This honey garlic chicken breast recipe is wonderfully versatile and can be easily adapted to suit different tastes or ingredients you have on hand:
- Make it Spicy: For those who love a kick, add a teaspoon of sriracha, a pinch of red pepper flakes, or a dash of your favorite hot sauce to the marinade.
- Add Vegetables: Incorporate vegetables directly into the skillet during the last 10-15 minutes of baking. Broccoli florets, sliced bell peppers, snow peas, or sliced carrots work beautifully, soaking up the delicious sauce.
- Gluten-Free Version: Simply swap out regular soy sauce for Tamari or a gluten-free soy sauce alternative. All other ingredients are typically naturally gluten-free.
- Different Proteins: While this recipe shines with chicken breast, the amazing honey garlic sauce can be used with other proteins too. Try it with chicken thighs (as mentioned earlier), pork tenderloin, shrimp (reduce cooking time significantly), or even firm tofu for a vegetarian option.
- Citrus Boost: A squeeze of fresh lime juice or lemon juice after cooking can add a bright, zesty finish that beautifully complements the sweet and savory notes.
- Ginger Infusion: Add 1-2 teaspoons of freshly grated ginger to the marinade for an extra layer of aromatic depth.
Frequently Asked Questions & Quick Troubleshooting
Leftover honey garlic chicken breast should be stored in an airtight container in the refrigerator for up to 3 days. To reheat, you can gently warm it in a skillet on the stovetop over medium-low heat, in the microwave, or in the oven at 300°F (150°C) until heated through. Add a splash of water or chicken broth if the sauce has thickened too much.
Chicken is considered fully cooked and safe to eat when it reaches an internal temperature of 165°F (74°C). This should be verified using an instant-read thermometer inserted into the thickest portion of the breast, making sure not to touch any bone.
Absolutely! Chicken thighs are an excellent alternative and often result in an even juicier dish due to their higher fat content. We even have a dedicated honey garlic chicken recipe specifically for chicken thighs that you can check out for slightly adjusted cooking times and tips.
If your sauce isn’t as thick as you’d like, you can create a small slurry with an additional ½ teaspoon of cornstarch mixed with 1 tablespoon of cold water, and whisk it into the simmering sauce. Continue cooking until it reaches your desired consistency. If the sauce is too thick, simply whisk in a tablespoon or two of water or chicken broth until it thins out to your preference.
While this recipe is designed for skillet-to-oven cooking, you can adapt it. For grilling, marinate the chicken, then grill until cooked through, brushing with a separate batch of the sauce (cooked down in a saucepan) during the last few minutes. For air frying, marinate the chicken, then air fry at 375°F (190°C) for 15-20 minutes, flipping halfway. Cook the sauce separately on the stovetop and toss the cooked chicken with it.
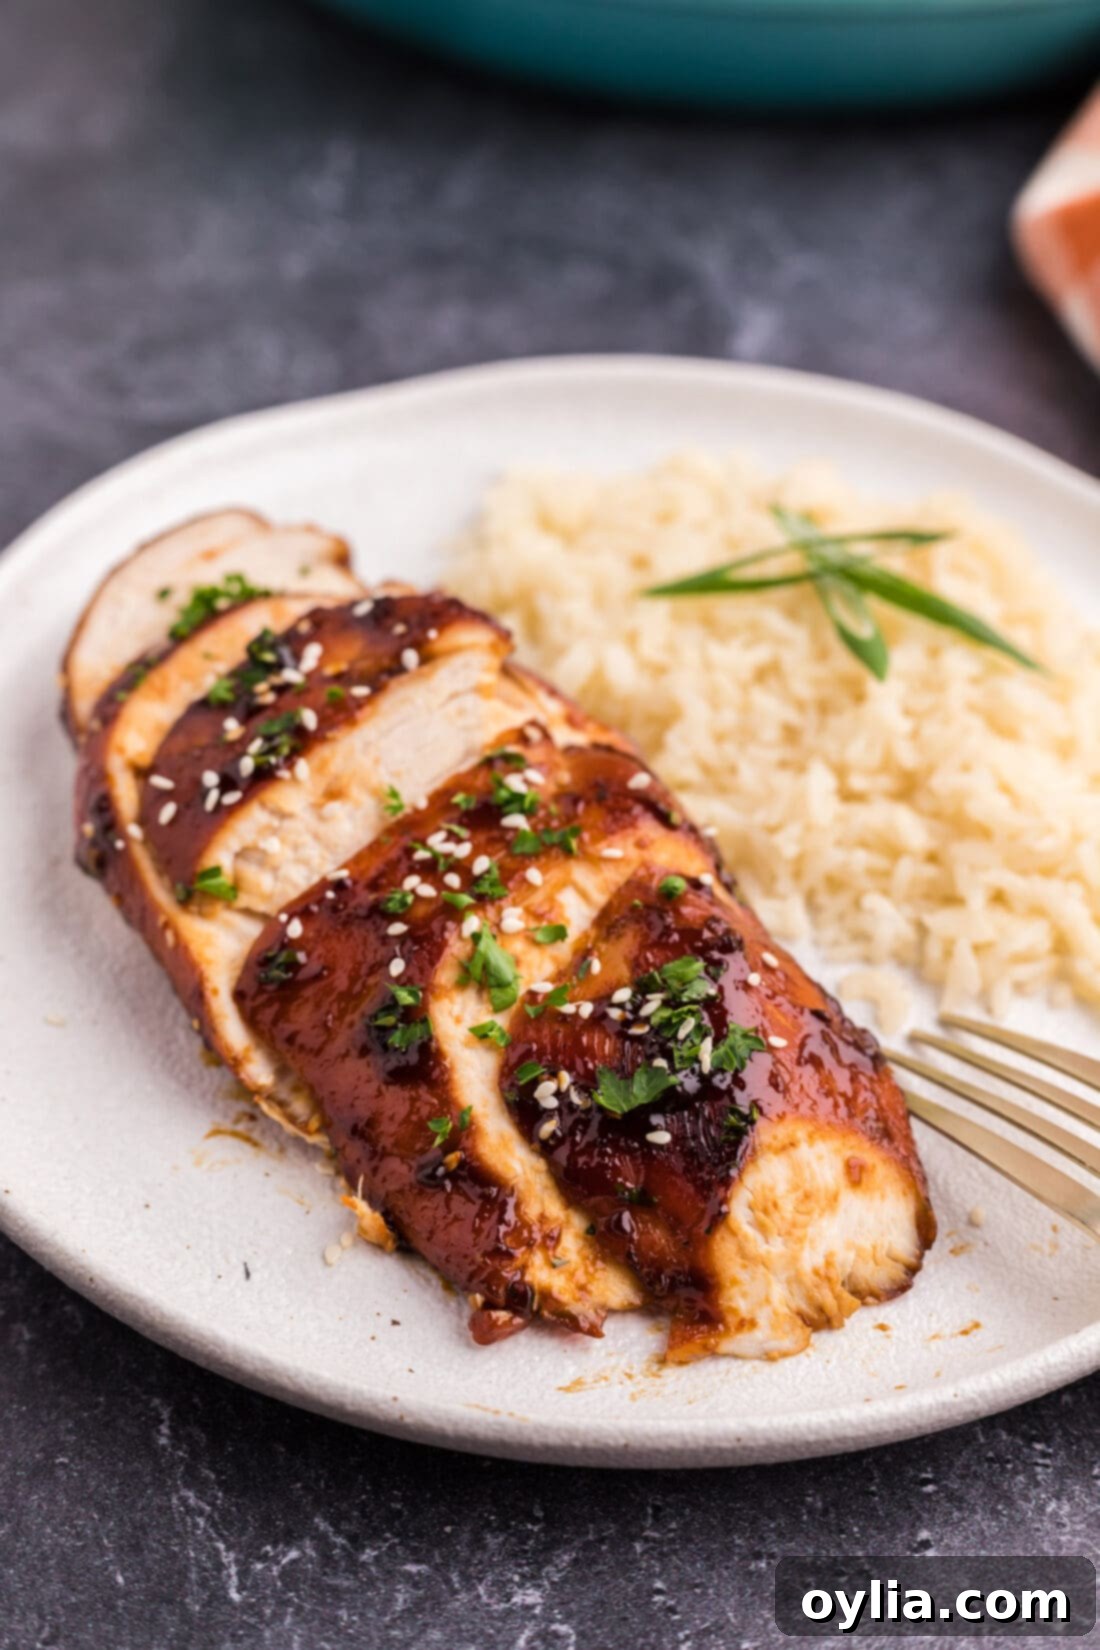
Delicious Serving Suggestions
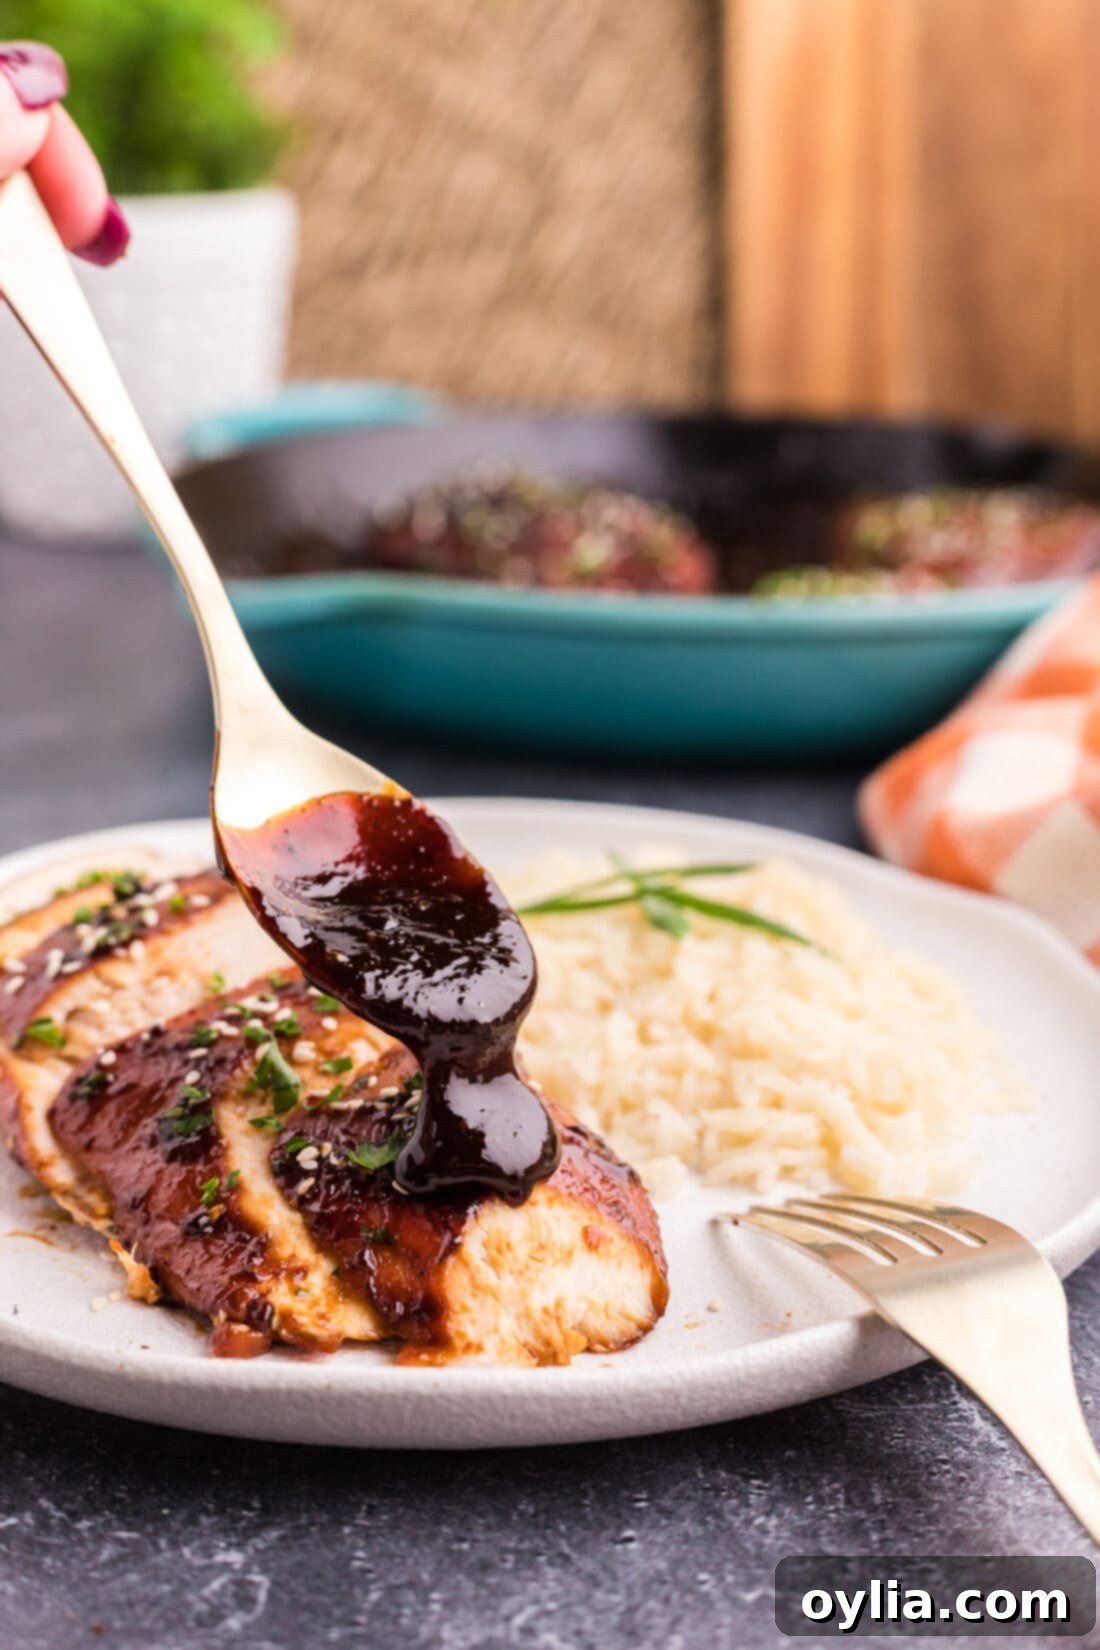
This sticky honey garlic chicken breast is incredibly versatile and pairs wonderfully with a variety of side dishes. For a classic and satisfying meal, serve it over a bed of fluffy white rice, allowing the luscious sauce to soak into every grain. Complement your plate with a side of vibrant steamed or sautéed vegetables like broccoli, asparagus, or green beans. Alternatively, for a heartier meal, mashed potatoes make an excellent accompaniment, offering a creamy contrast to the rich chicken.
Don’t stop there! This chicken is also fantastic with quinoa, couscous, or even a fresh garden salad for a lighter option. Garnish your plate with a sprinkle of toasted sesame seeds, a handful of freshly chopped parsley, or thinly sliced green onions to add a pop of color and a fresh, aromatic finish. The homemade sauce is so good, you can even double the batch and use it as a dipping sauce or glaze for other delicious bites like crispy baked chicken wings, grilled shrimp, pan-seared vegetables, or homemade meatballs. The possibilities are endless!
Explore More Delicious Chicken Recipes
If you loved this honey garlic chicken, you’re in for a treat! We have a treasure trove of other fantastic chicken recipes that are sure to become family favorites:
- Garlic Chicken with Parsley
- Spicy Hunan Chicken
- Classic Sesame Chicken
- Flavorful Bourbon Chicken
- Slow Cooker Crockpot Sticky Chicken
I pour my heart into baking and cooking, and I absolutely love sharing my kitchen adventures and delicious recipes with all of you! Remembering to check back for new recipes every day can be a challenge, which is why I offer a convenient newsletter. Every time a fresh recipe is posted, it’ll land directly in your inbox. Simply subscribe today and start receiving your free daily recipes, making meal planning a breeze!
Honey Garlic Chicken Breast
IMPORTANT – There are often Frequently Asked Questions within the blog post that you may find helpful. Simply scroll back up to read them!
Print It
Pin It
Rate It
Save It
Saved!
Ingredients
- 2 ¼ pounds boneless skinless chicken breasts about 4 breasts
- 2 Tablespoons olive oil
- 1 ½ teaspoons cornstarch
- 3 Tablespoons water
Marinade
- ⅓ cup soy sauce
- 2 Tablespoons white wine vinegar
- 3 Tablespoons minced garlic
- 1 Tablespoon brown sugar
- ½ cup honey
- 1 teaspoon garlic salt
Things You’ll Need
-
immersion blender
-
Oven proof skillet
Before You Begin
- We like to purchase chicken breasts that have not had water added to them. This is always noted on the package. Be sure all breasts are uniform is size so that they cook evenly.
- Chicken is considered done when it reaches an internal temperature of 165F on an instant-read thermometer inserted into the thickest portion of the breast.
- Store leftovers in an air-tight container kept in the refrigerator for up to 3 days.
Instructions
-
Place all marinade ingredients in an immersion blender, blend until smooth and no chunks remain.
-
Place chicken breasts into a gallon sized zip top plastic bag. Pour marinade into the bag, seal the bag. Allow to marinate at room temperature for 1 hour (or up to 3 hours in the refrigerator).
-
Preheat oven to 375 F.
-
Heat olive oil in a large oven safe skillet over medium-high heat until shimmering.
-
Use tongs to remove breasts from marinade (reserve marinade, do not discard), one at a time, and place in skillet. Cook for 2-3 minutes, or until nicely browned, occasionally scooting the breasts from side to side to ensure they are not sticking.
-
Turn breasts over and cook for an additional 2-3 minutes.
-
Pour reserved marinade over the chicken in the skillet.
-
Make a slurry by combining the cornstarch and water and whisking together. Add the slurry to the skillet and turn the breasts one more time, mixing the slurry in as you go.
-
Place skillet into the preheated oven and bake for 25 minutes.
Nutrition
Calories: 518cal |
Carbohydrates: 42g |
Protein: 57g |
Fat: 14g |
Saturated Fat: 2g |
Polyunsaturated Fat: 2g |
Monounsaturated Fat: 7g |
Trans Fat: 0.03g |
Cholesterol: 163mg |
Sodium: 1962mg |
Potassium: 1038mg |
Fiber: 0.4g |
Sugar: 38g |
Vitamin A: 77IU |
Vitamin C: 5mg |
Calcium: 34mg |
Iron: 2mg
The recipes on this blog are tested with a conventional gas oven and gas stovetop. It’s important to note that some ovens, especially as they age, can cook and bake inconsistently. Using an inexpensive oven thermometer can assure you that your oven is truly heating to the proper temperature. If you use a toaster oven or countertop oven, please keep in mind that they may not distribute heat the same as a conventional full sized oven and you may need to adjust your cooking/baking times. In the case of recipes made with a pressure cooker, air fryer, slow cooker, or other appliance, a link to the appliances we use is listed within each respective recipe. For baking recipes where measurements are given by weight, please note that results may not be the same if cups are used instead, and we can’t guarantee success with that method.
We hope this expanded and optimized guide to creating the perfect sticky honey garlic chicken breast has inspired you to get into the kitchen. This dish truly offers a fantastic balance of sweet, savory, and tangy notes, making it a crowd-pleaser for any occasion. With its simple ingredients and straightforward process, you’ll be enjoying restaurant-quality chicken in no time. Happy cooking!
