The Ultimate Guide to Homemade Strawberry Shortcakes: A Classic Summer Dessert
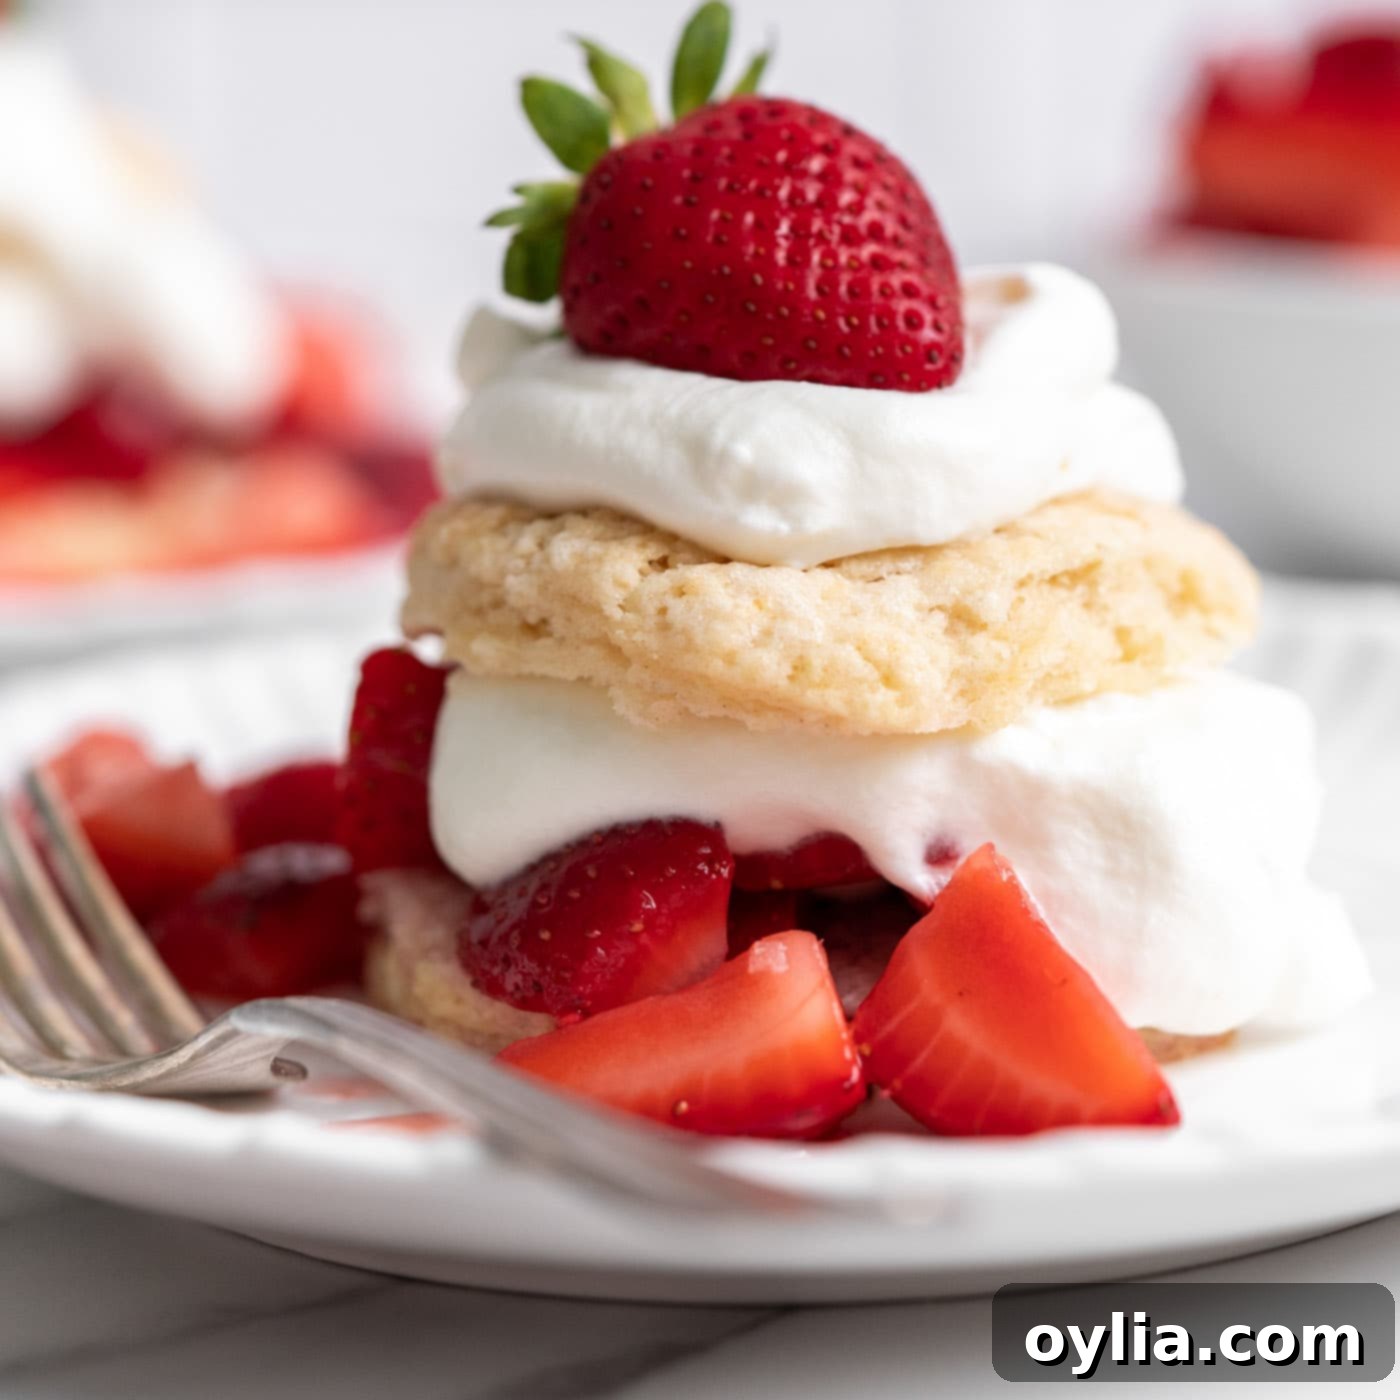
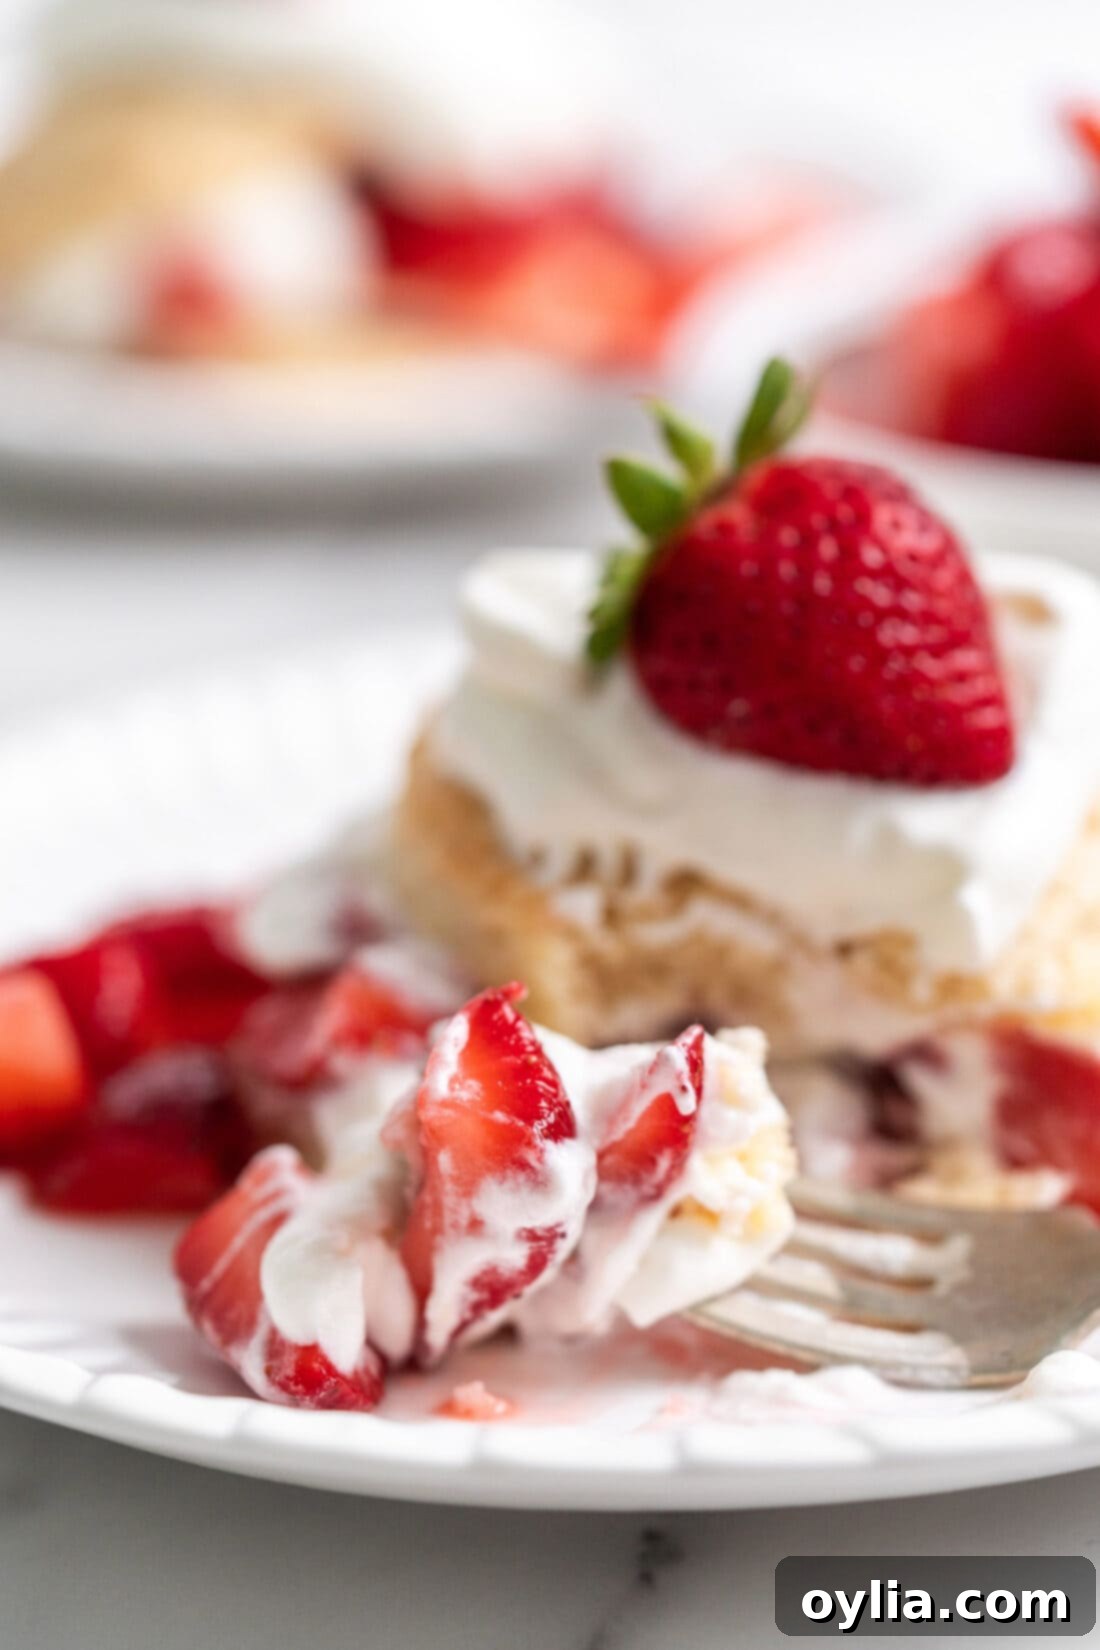
Nothing quite captures the essence of summer like a perfectly crafted Strawberry Shortcake. This iconic dessert, featuring sweet, juicy macerated strawberries, lusciously fresh whipped cream, and a tender, crumbly biscuit, is a true staple for warm-weather gatherings and family treats. Our homemade recipe takes this classic to new heights, delivering a delightful balance of textures and flavors that will have everyone asking for seconds. Forget the store-bought versions – creating these shortcakes from scratch is a rewarding experience that yields an unparalleled taste and freshness.
Why This Homemade Strawberry Shortcake Recipe Shines
This recipe stands out for its simplicity and the incredible depth of flavor it achieves with fresh, quality ingredients. Crafting strawberry shortcakes from scratch might sound intimidating, but we assure you it’s surprisingly straightforward and immensely satisfying. Here’s why this recipe will become your go-to:
- Perfectly Macerated Strawberries: The magic begins with macerating the strawberries. By gently tossing fresh, ripe strawberries with a touch of sugar, we unlock their natural juices and intensify their sweetness. This process creates a vibrant, syrupy berry mixture that’s miles ahead of plain strawberries. It’s an essential step that infuses every bite with burst-of-summer flavor.
- Effortless, Creamy Whipped Cream: Forget artificial toppings. Our recipe calls for a single, glorious ingredient for the whipped cream: heavy whipping cream. With just a few minutes in a stand mixer or with a hand mixer, you’ll achieve cloud-like, pillowy peaks that are infinitely better than anything from a can. For those who prefer a touch of sweetness, a little granulated sugar and vanilla extract can be added, transforming it into a delightful vanilla-scented cream.
- Tender, Flaky Shortcake Biscuits: While often perceived as the “hardest” component, our shortcake biscuits are designed for success. The key lies in using cold butter and handling the dough minimally. This technique creates a flaky, tender texture that perfectly complements the soft strawberries and creamy topping. A simple cookie cutter is all you need to shape these delightful golden rounds, making the process accessible for even novice bakers. We’ll guide you through each step to ensure your biscuits are light, airy, and utterly delicious.
Each element of this dessert plays a crucial role, and by mastering these simple techniques, you’ll be able to create a summertime treat that’s far superior to any pre-made alternative. It’s a testament to how fresh ingredients and a little bit of care can elevate a classic to an unforgettable experience.
Essential Ingredients for Your Perfect Strawberry Shortcake
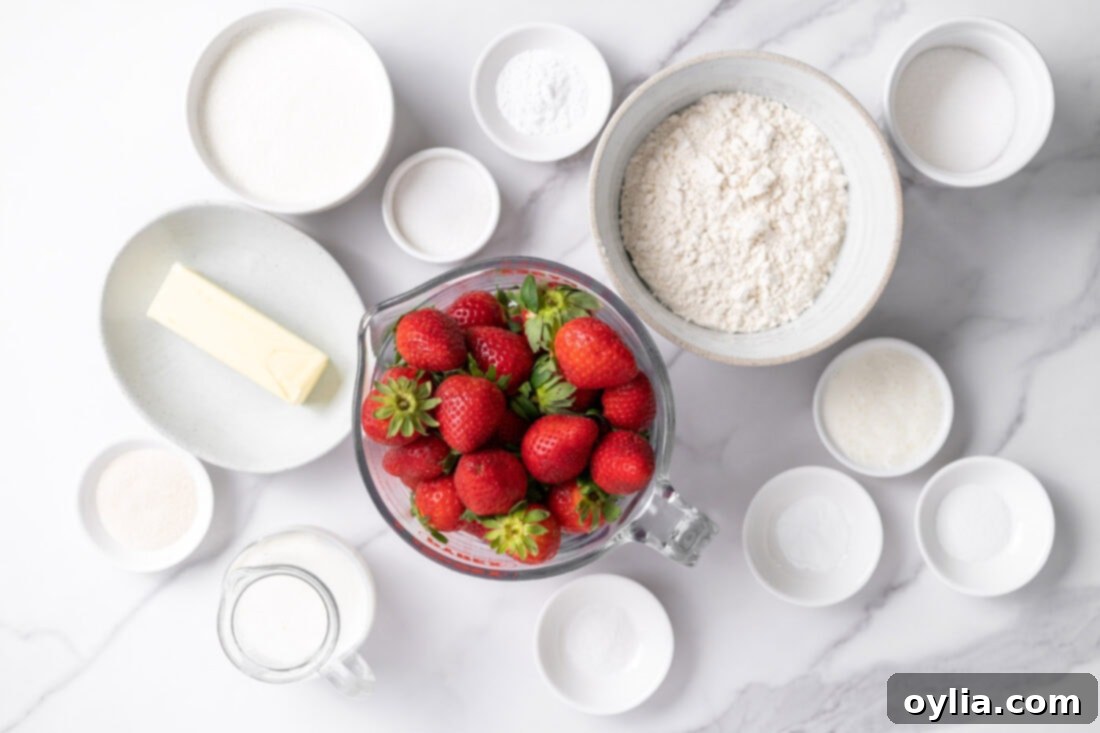
Creating truly remarkable strawberry shortcakes starts with selecting the right ingredients. While a full list of measurements is provided in the printable recipe card below, here’s a deeper dive into the key components and some helpful tips:
Ingredient Spotlight & Smart Substitutions
- Fresh Strawberries: This is non-negotiable for the best flavor. Always opt for fresh, ripe strawberries over frozen ones. Frozen strawberries release too much water and can make your shortcakes soggy, losing that vibrant, fresh taste. Look for berries that are bright red, firm, and have a sweet aroma. Hull them and quarter them for maceration, ensuring they absorb the sugar and create that delicious juice.
- All-Purpose Flour: The foundation of our tender biscuits. While self-rising flour might seem like an easy swap, sticking to all-purpose gives you more control over the leavening agents (baking powder and baking soda), resulting in a consistently light and fluffy biscuit.
- Granulated Sugar: Used for both sweetening the strawberries and adding a subtle sweetness to the biscuits. For the biscuit tops, golden sugar adds a beautiful sparkle and a slight crunch.
- Cold Unsalted Butter: Crucial for flaky biscuits! Cold butter, cut into small pieces, creates pockets of steam as it bakes, leading to those desirable flaky layers. Unsalted butter allows you to control the overall saltiness of the recipe. If using salted butter, reduce the added salt in the biscuit dough slightly.
- Buttermilk: The secret to tender, flavorful biscuits. Buttermilk reacts with the baking soda to create a lift, and its acidity tenderizes the dough. If you don’t have buttermilk on hand, you can easily make a substitute: add 1 tablespoon of lemon juice or white vinegar to a measuring cup, then fill the rest with regular milk until it reaches ½ cup. Let it sit for 5-10 minutes until it slightly curdles.
- Heavy Whipping Cream: The star of our homemade whipped cream. For the purest, freshest flavor, heavy whipping cream (with at least 36% milk fat) is essential. It whips up beautifully and holds its shape well. For sweetened vanilla whipped cream, incorporate 2 tablespoons of granulated sugar (or powdered sugar for a smoother finish) and 1 teaspoon of pure vanilla extract while whipping.
- Leavening Agents (Baking Powder & Baking Soda): These work in tandem to give your biscuits their characteristic rise and lightness. Ensure they are fresh for optimal results.
- Salt: A pinch of salt enhances the sweetness of the strawberries and balances the flavors in the biscuit dough.
- Substitution Options: While homemade biscuits are highly recommended for the best experience, if you’re truly short on time, a good quality store-bought shortcake biscuit or even a batch of Bisquick biscuits can be a shortcut. For the whipped cream, a tub of Cool Whip can be used in a pinch, though the fresh version is vastly superior in taste and texture.
Gathering these ingredients and understanding their role is the first step towards creating truly memorable strawberry shortcakes.
How to Make Strawberry Shortcakes From Scratch
These step by step photos and instructions are here to help you visualize how to make this recipe. You can Jump to Recipe to get the printable version of this recipe, complete with measurements and instructions at the bottom.
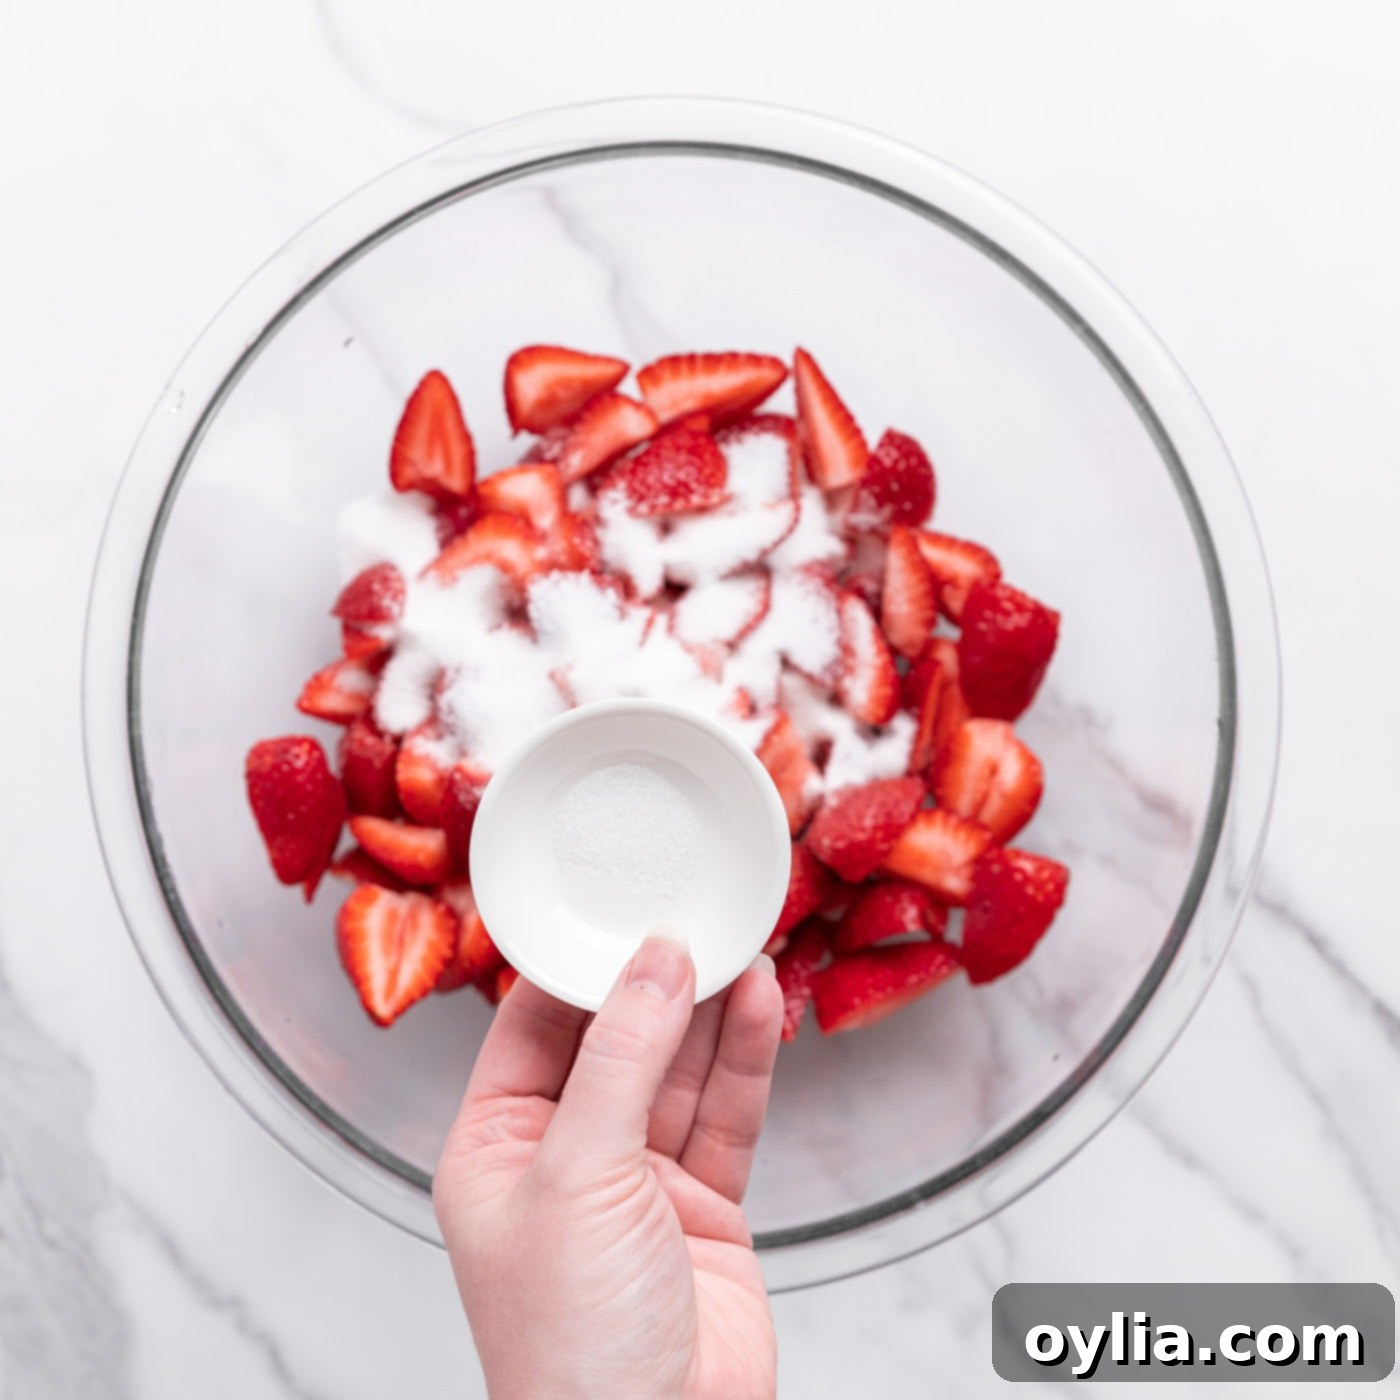
- Prepare the Macerated Strawberries: In a large bowl, combine your hulled and quartered fresh strawberries with the granulated sugar and a pinch of salt. Stir gently until the sugar begins to dissolve and coats the berries. This process, known as maceration, draws out the natural juices from the strawberries, creating a luscious, sweet syrup that will soak into your shortcakes. Cover the bowl with plastic wrap and refrigerate for at least 30 minutes, or up to a few hours, to allow the flavors to meld beautifully.

- Preheat Oven and Prepare Baking Sheet: Preheat your oven to a precise 400°F (200°C). It’s essential for the biscuits to hit a hot oven for optimal rise and a golden crust. Line a large baking tray with either a silpat baking mat or parchment paper. This prevents sticking and ensures even baking, making cleanup a breeze.
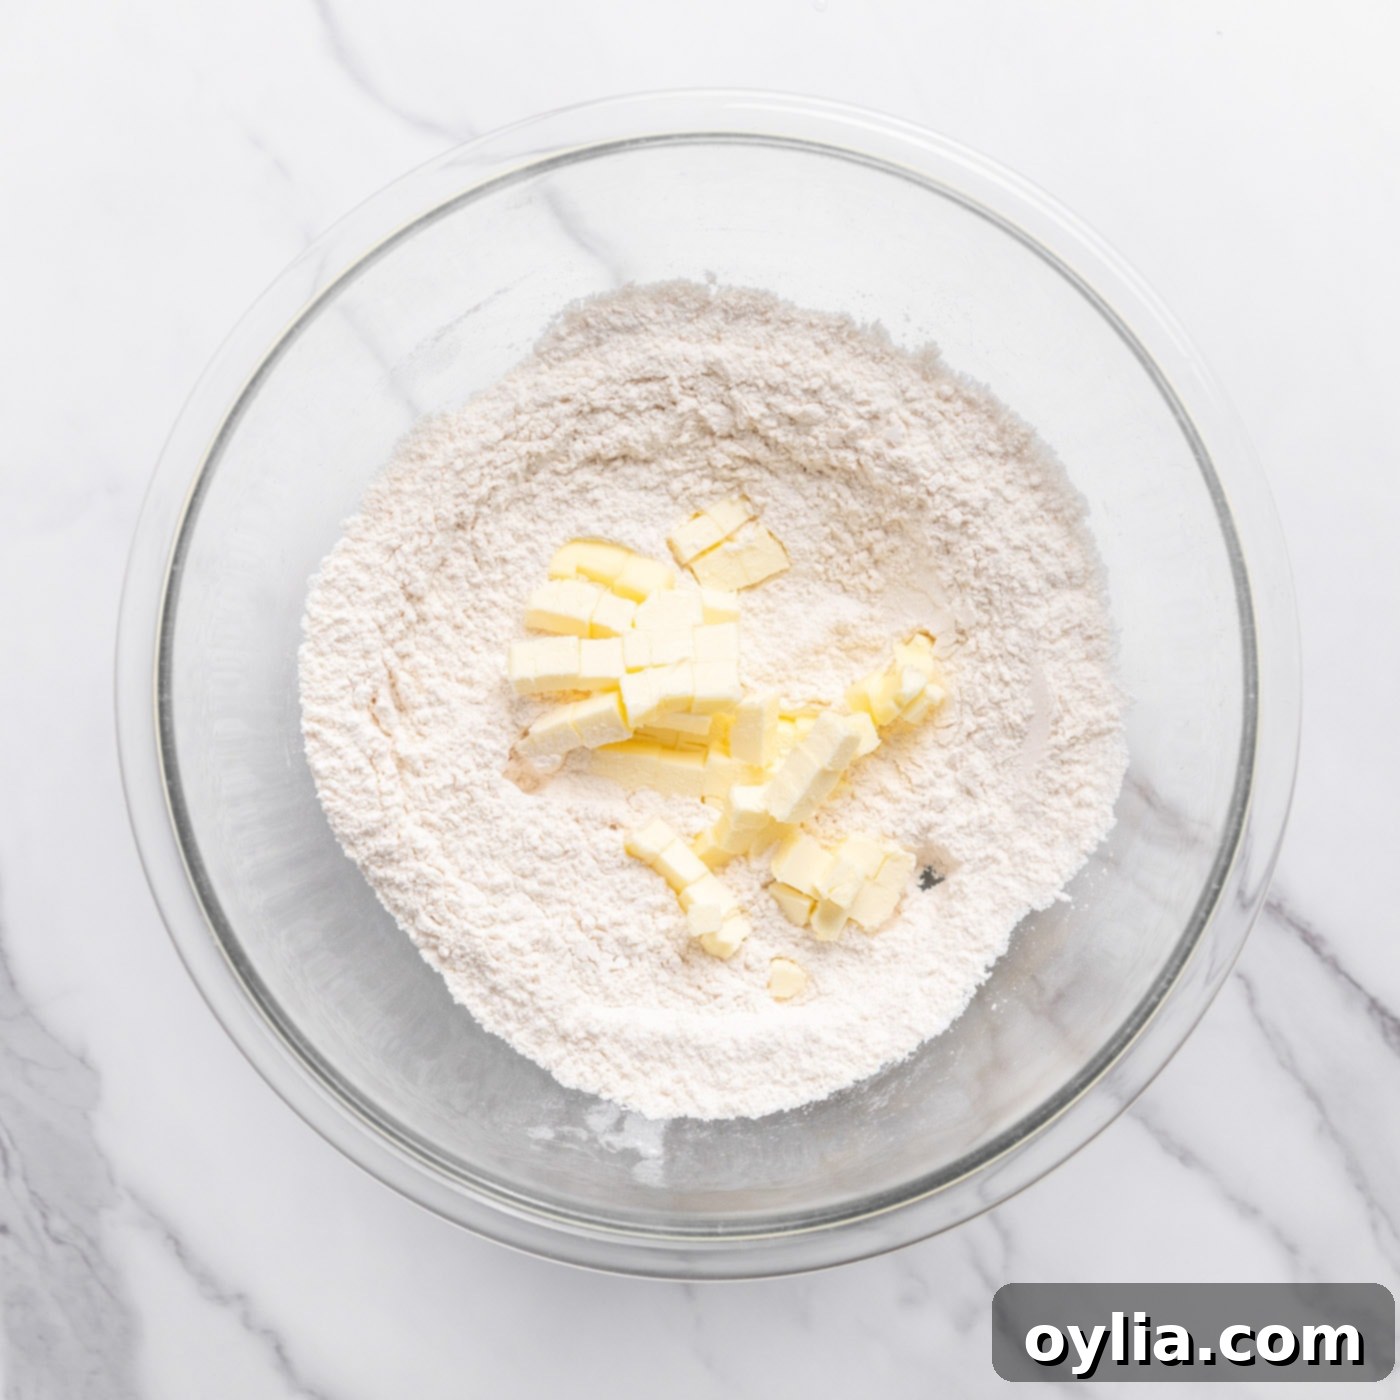
- Prepare the Dry Ingredients and Cut in Butter: In a large mixing bowl, whisk together the all-purpose flour, granulated sugar, baking powder, salt, and baking soda until thoroughly combined. This ensures even distribution of the leavening agents. Next, add the chilled, diced unsalted butter. Using a fork or a pastry cutter, cut the butter into the dry ingredients. Work quickly to prevent the butter from warming up too much. Continue until the mixture resembles coarse crumbs, with some pieces of butter still visible, roughly the size of small peas. These butter pieces are essential for creating the flaky texture of the shortcakes.
EXPERT TIP: For a quicker method, you can pulse the dry ingredients and cold butter in a food processor. Then, transfer it to a large bowl before adding the buttermilk.

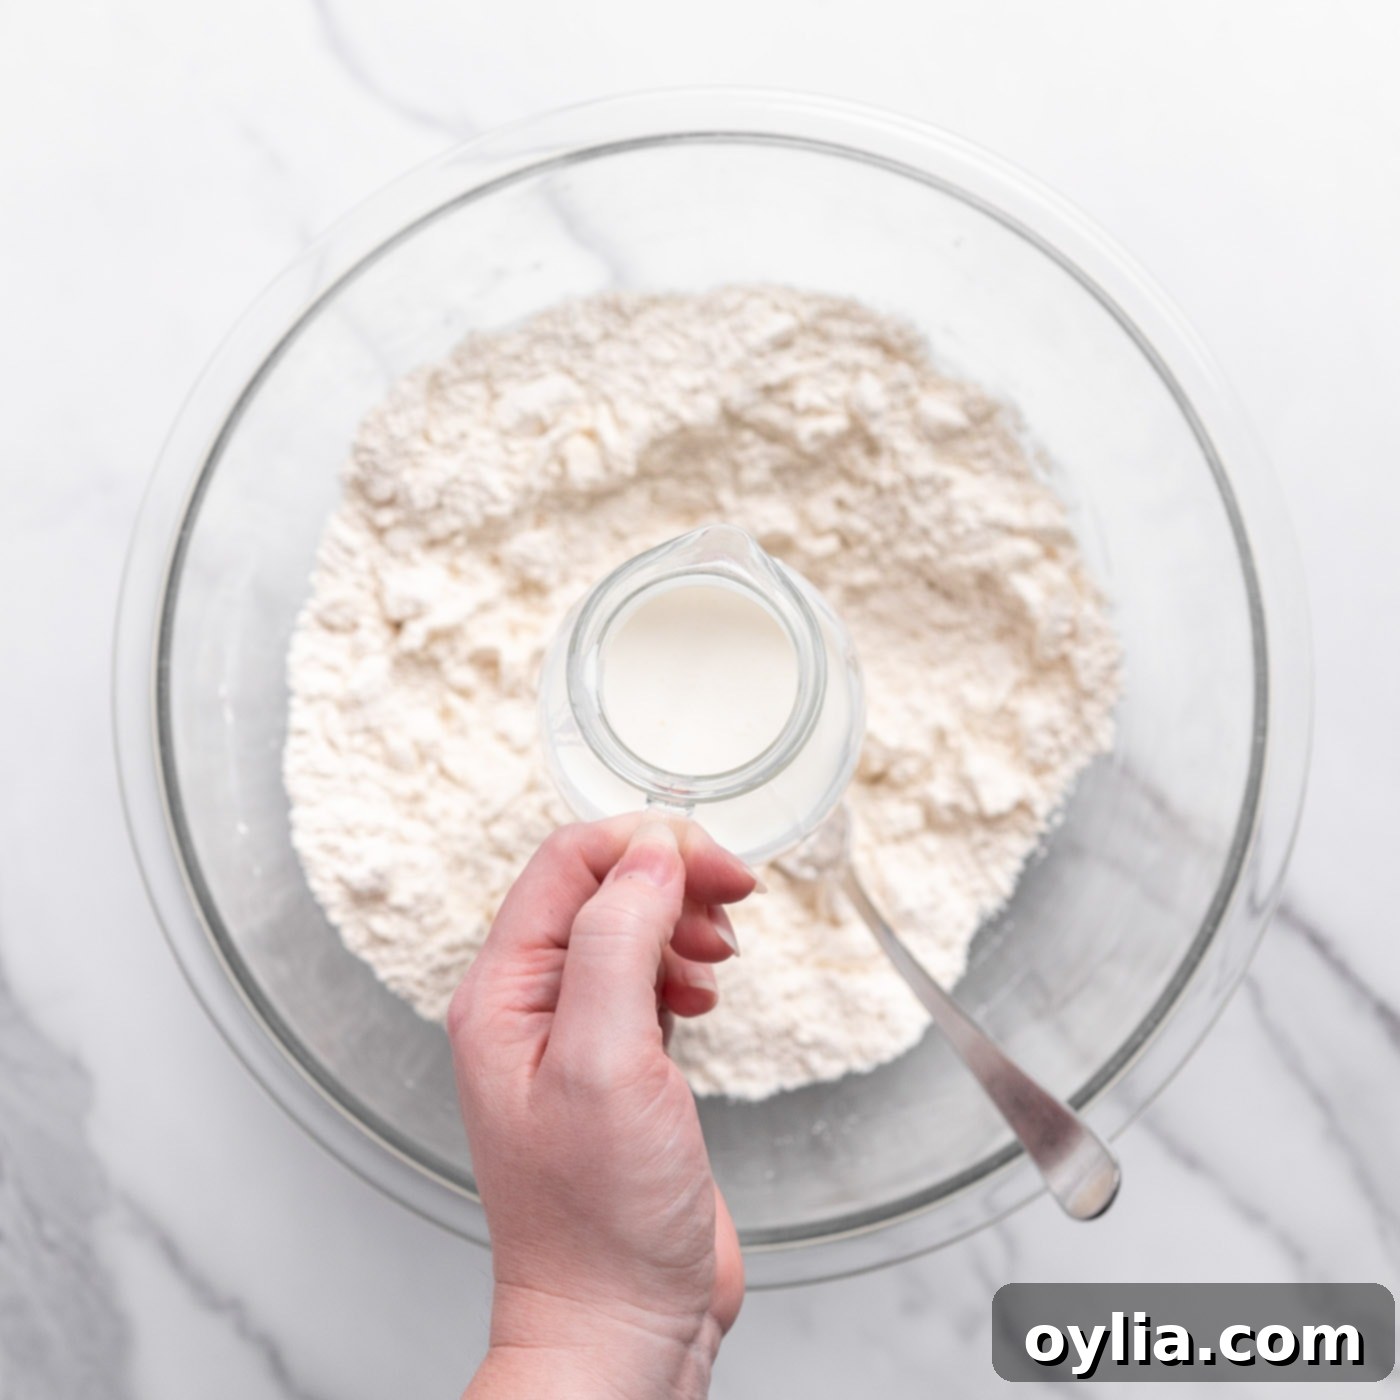
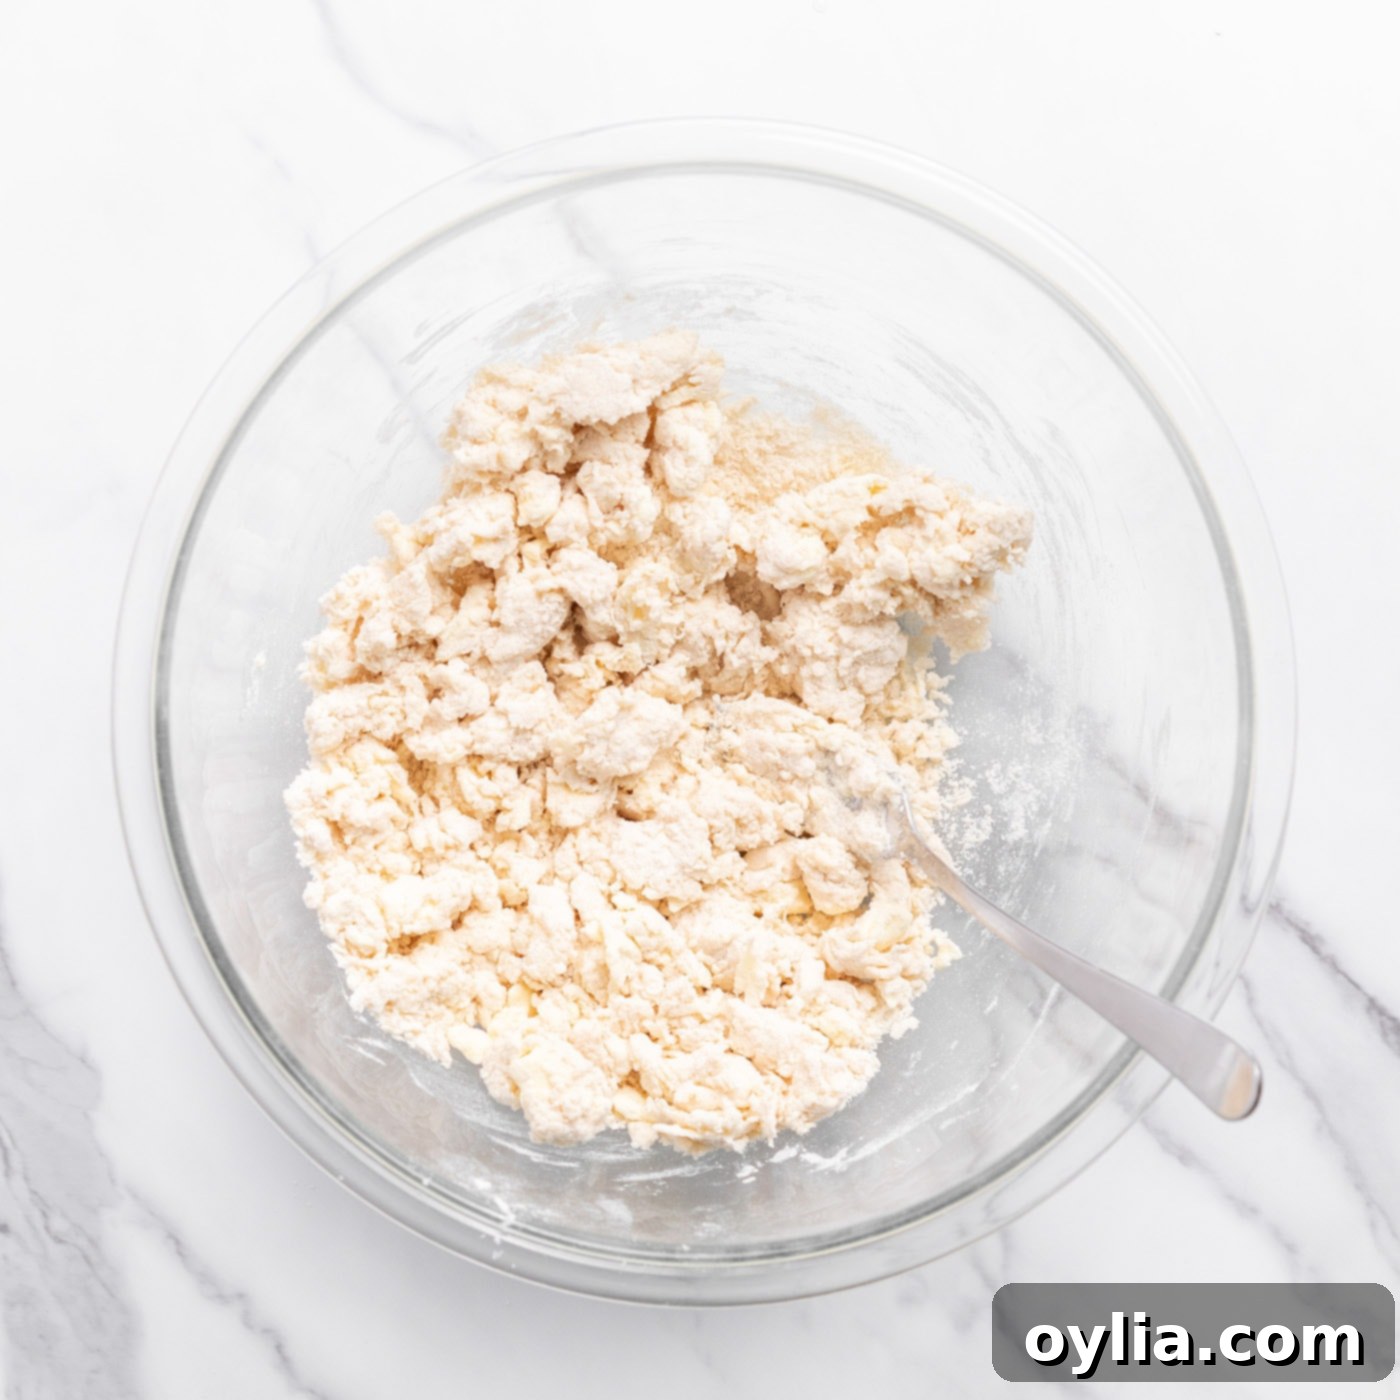
- Incorporate the Buttermilk: Gradually pour the chilled buttermilk into the dry ingredients. Stir it in gently with a spoon or your hands, adding a little at a time, until it is just incorporated. Avoid overmixing! At this stage, the dough will appear shaggy, loose, and slightly crumbly. This is exactly what you want – minimal handling keeps the butter cold and prevents the gluten from overdeveloping, which results in tough biscuits.


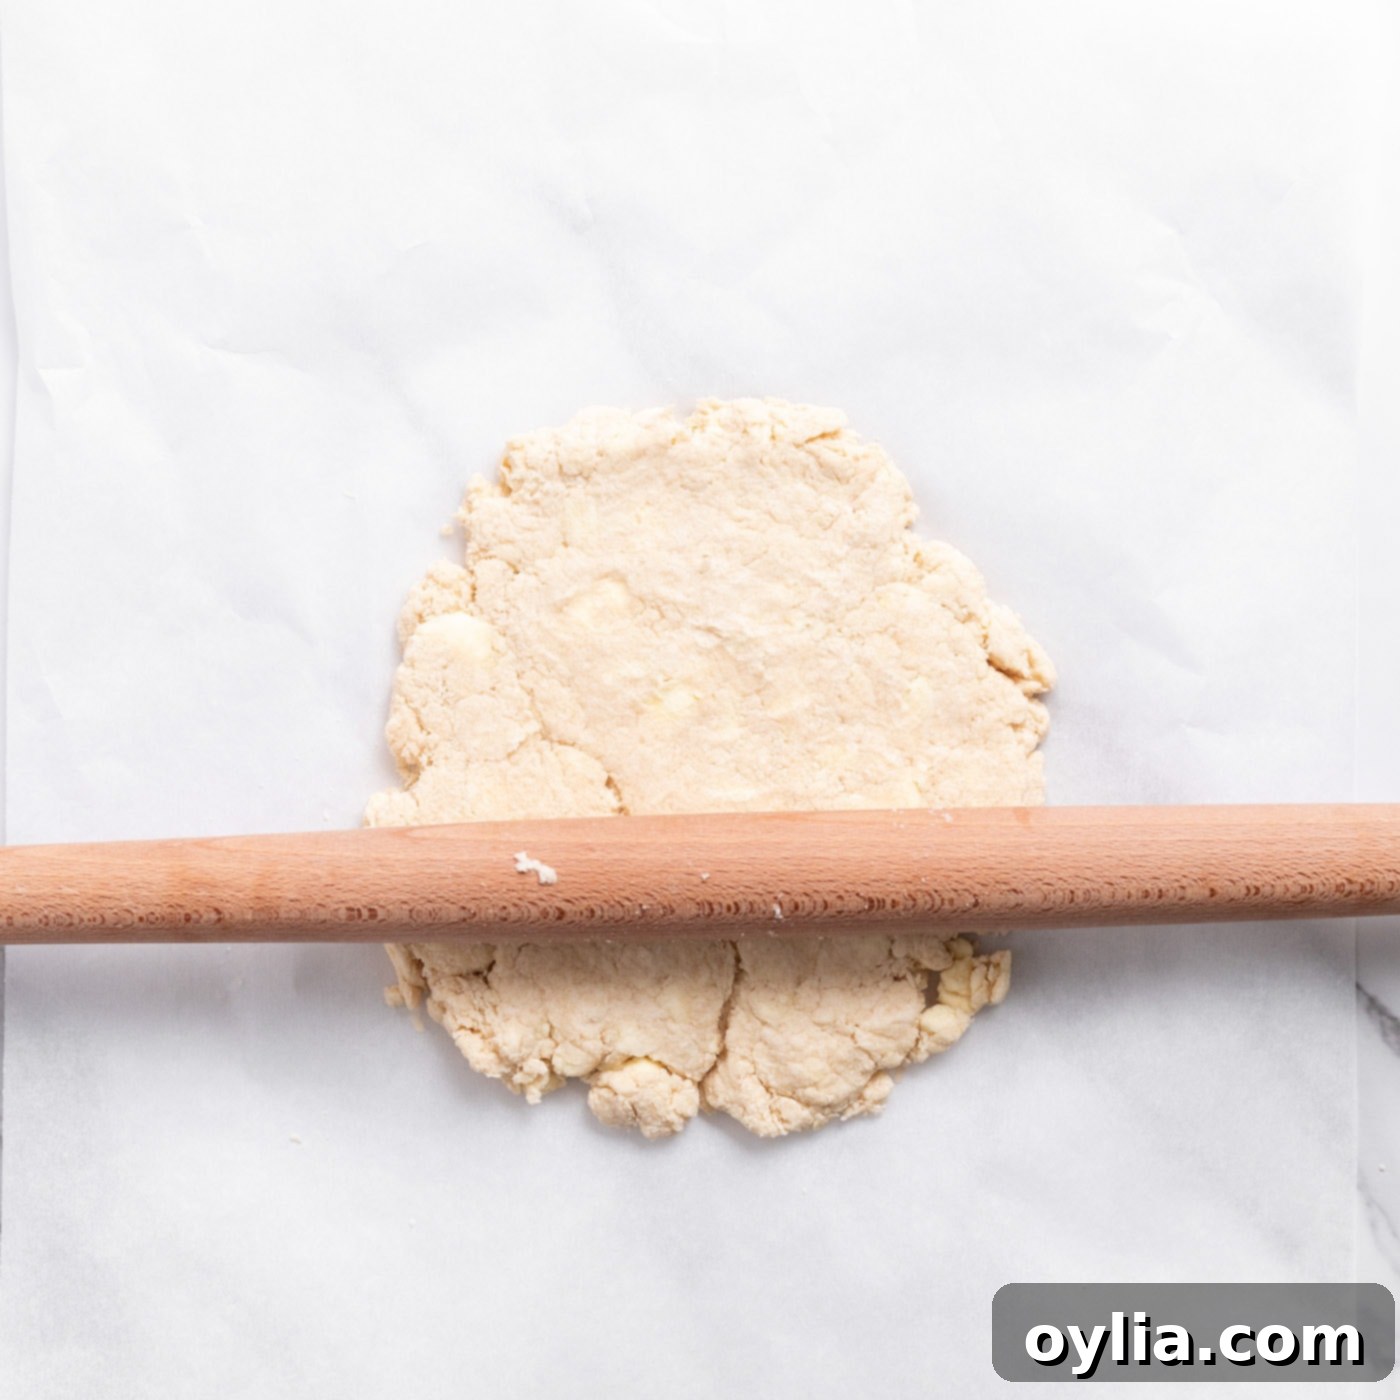
- Knead and Roll the Dough: Turn the shaggy dough, including any loose crumbles, out onto a lightly floured, clean work surface. Lightly flour your hands and rolling pin. Gently press the dough together to form a cohesive mass. Avoid overworking it. Then, using your floured rolling pin, gently roll the dough out into a circular shape, aiming for approximately ¾-inch thickness. The goal is to develop just enough structure without making the biscuits tough.

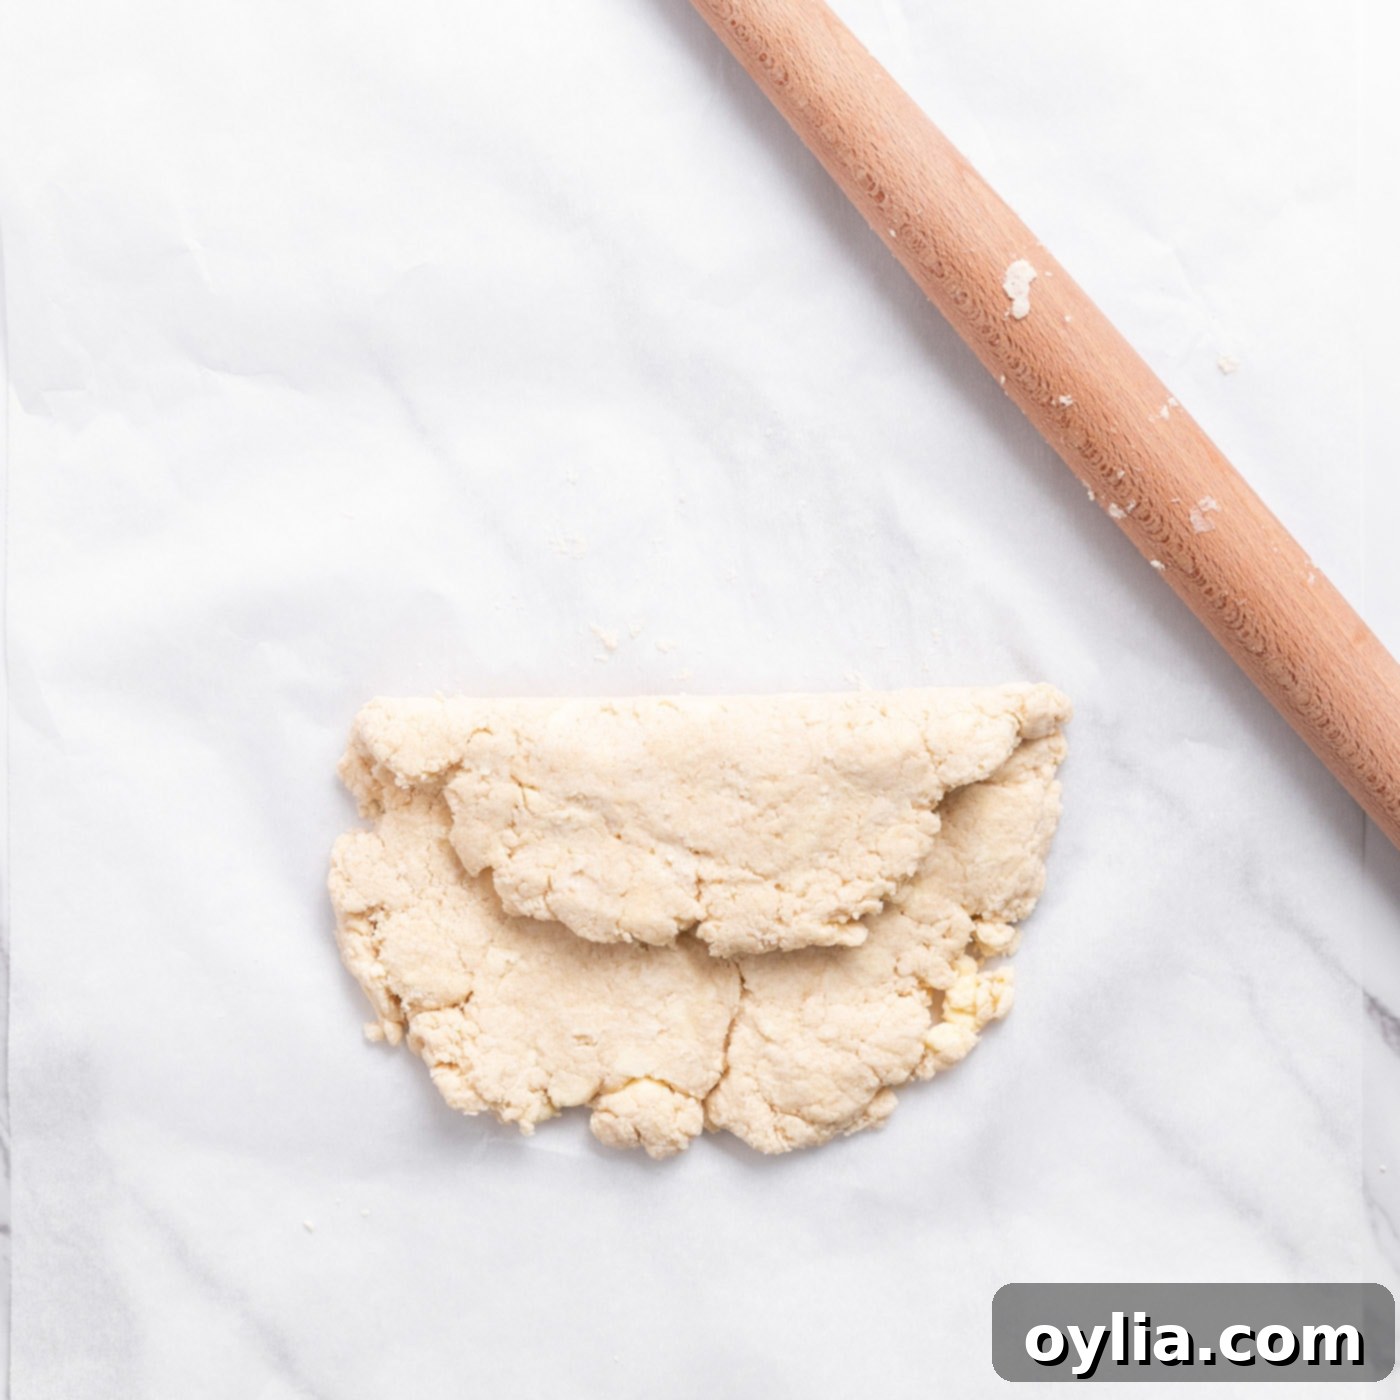
- Perform the First Fold (Letter Fold): To create those beautiful, flaky layers, we’ll perform a series of folds. Visually divide your rolled-out dough into thirds. Fold the top third of the dough down onto the center, then fold the bottom third up and over onto the center, just like you would fold a letter for an envelope. This layering technique helps build height and creates delicate strata in your finished shortcakes.

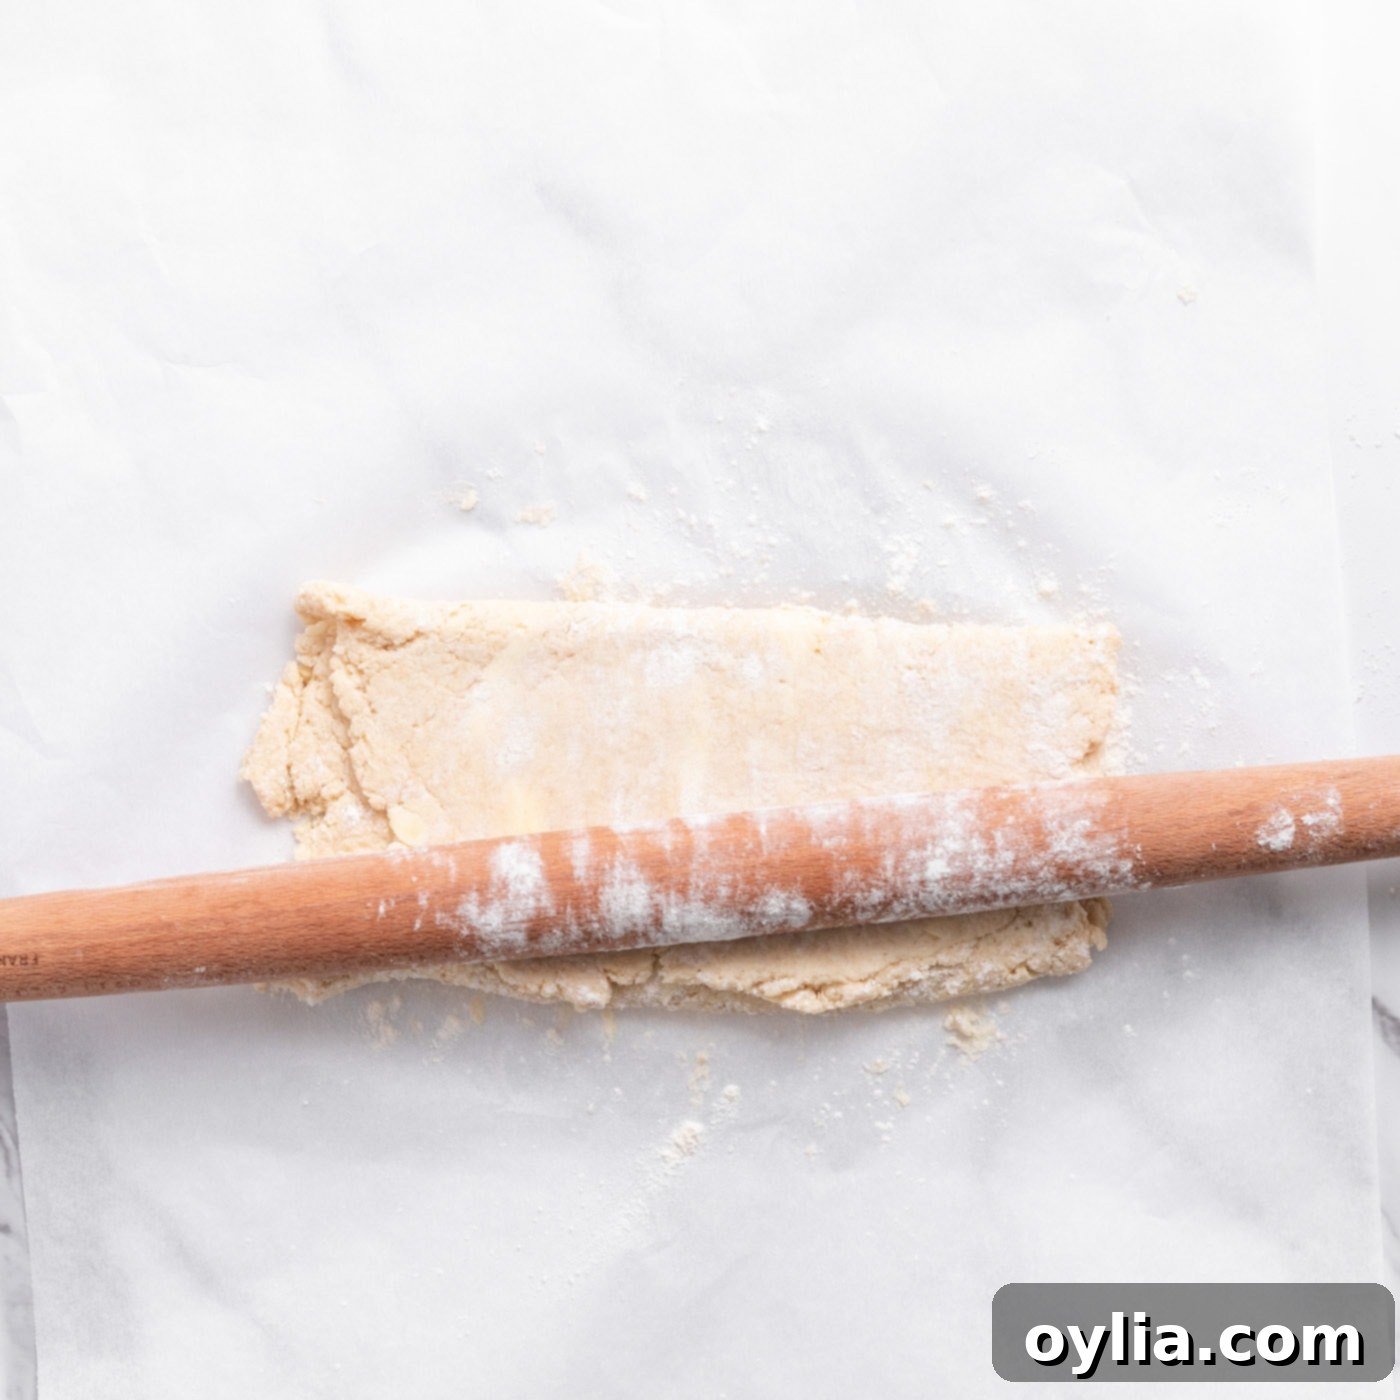
- Repeat Rolling and Folding for Flaky Layers: After the first fold, rotate the dough 90 degrees clockwise. Lightly flour the dough and your rolling pin again. Roll the dough out to a rounded rectangle, maintaining a ¾-inch thickness. Repeat the “letter fold” process: fold the top third down, then the bottom third up. Repeat this entire roll-and-fold process two more times. This sequential folding is key to achieving incredibly flaky, layered biscuits. Each fold creates more distinct layers, ensuring a light and airy texture when baked.

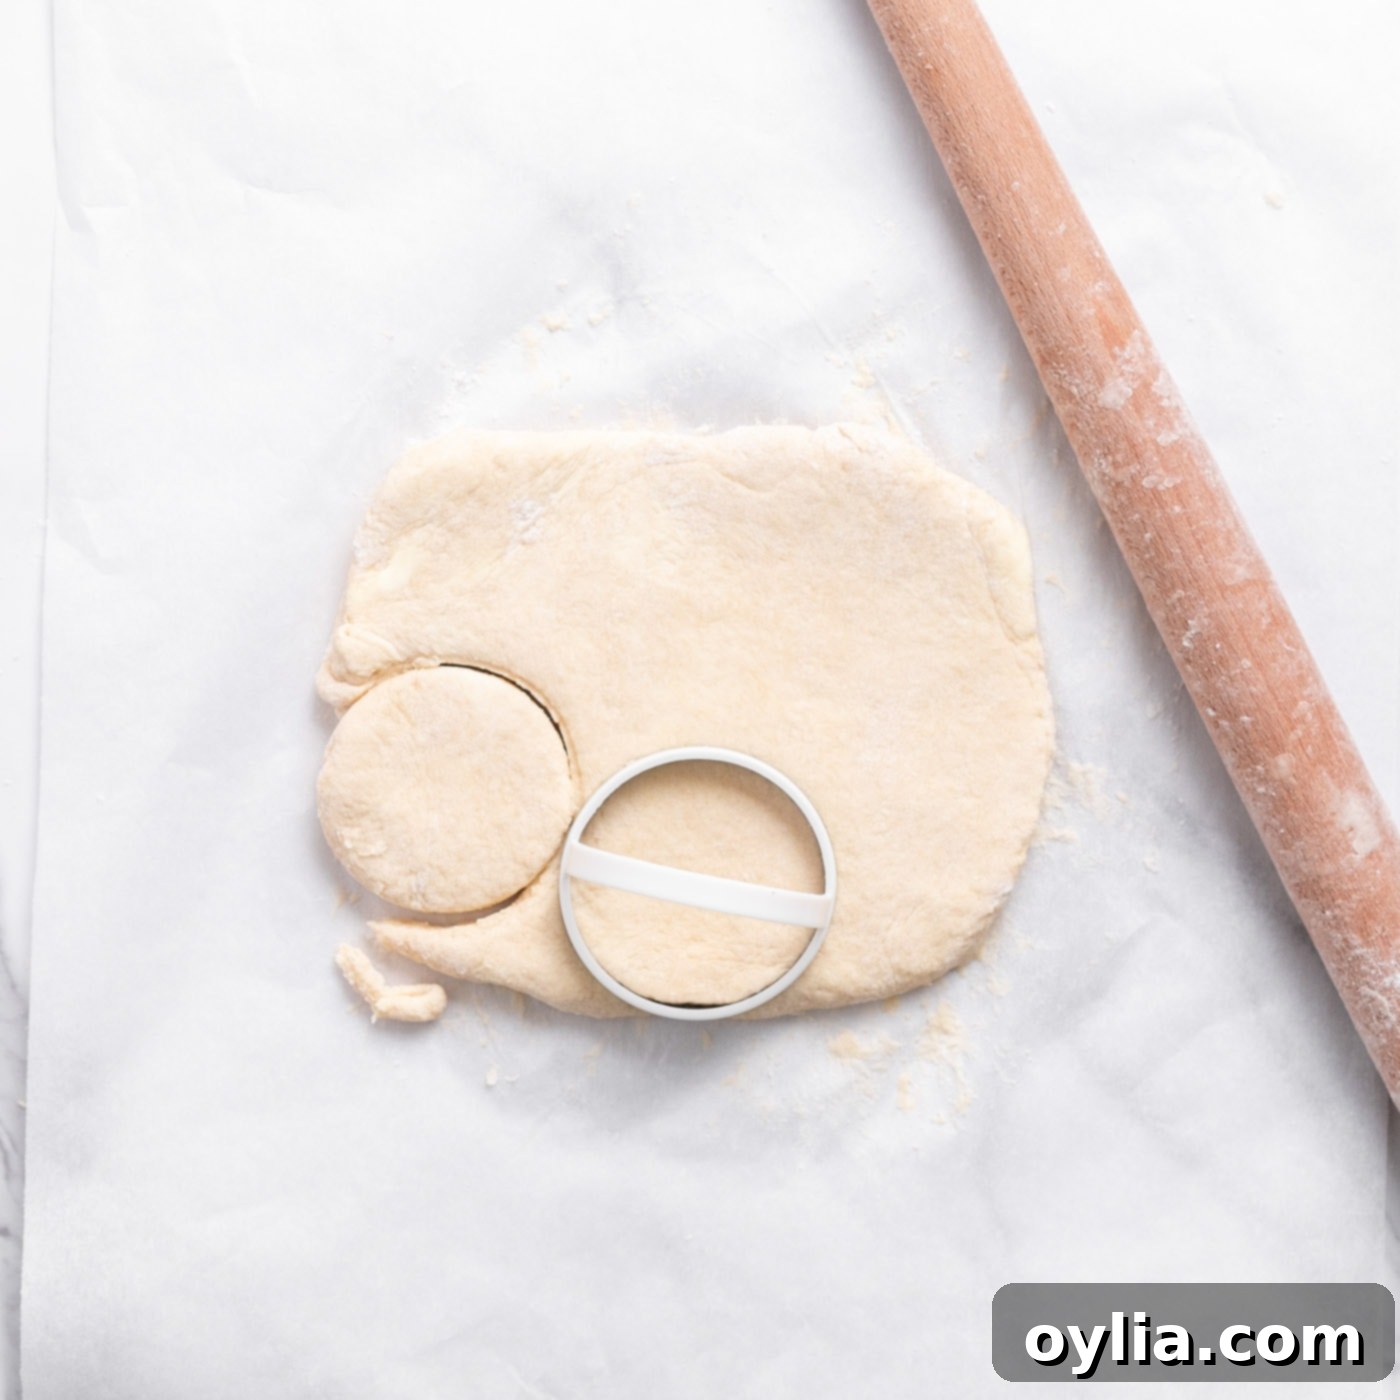
- Cut Out the Shortcake Rounds: For the final roll, gently roll the dough one last time to a rounded rectangle, maintaining that ¾-inch thickness. Now, it’s time to shape your biscuits! Use a 2 ½-inch circle biscuit cutter or cookie cutter to stamp out your shortcake rounds. Press straight down firmly without twisting the cutter. Twisting can seal the edges of the biscuit dough, preventing it from rising properly and creating those beautiful layers. Gather any remaining dough scraps, gently press them together (again, avoid overworking), reroll, and cut out additional circles. You should yield approximately 6 perfectly formed dough circles.

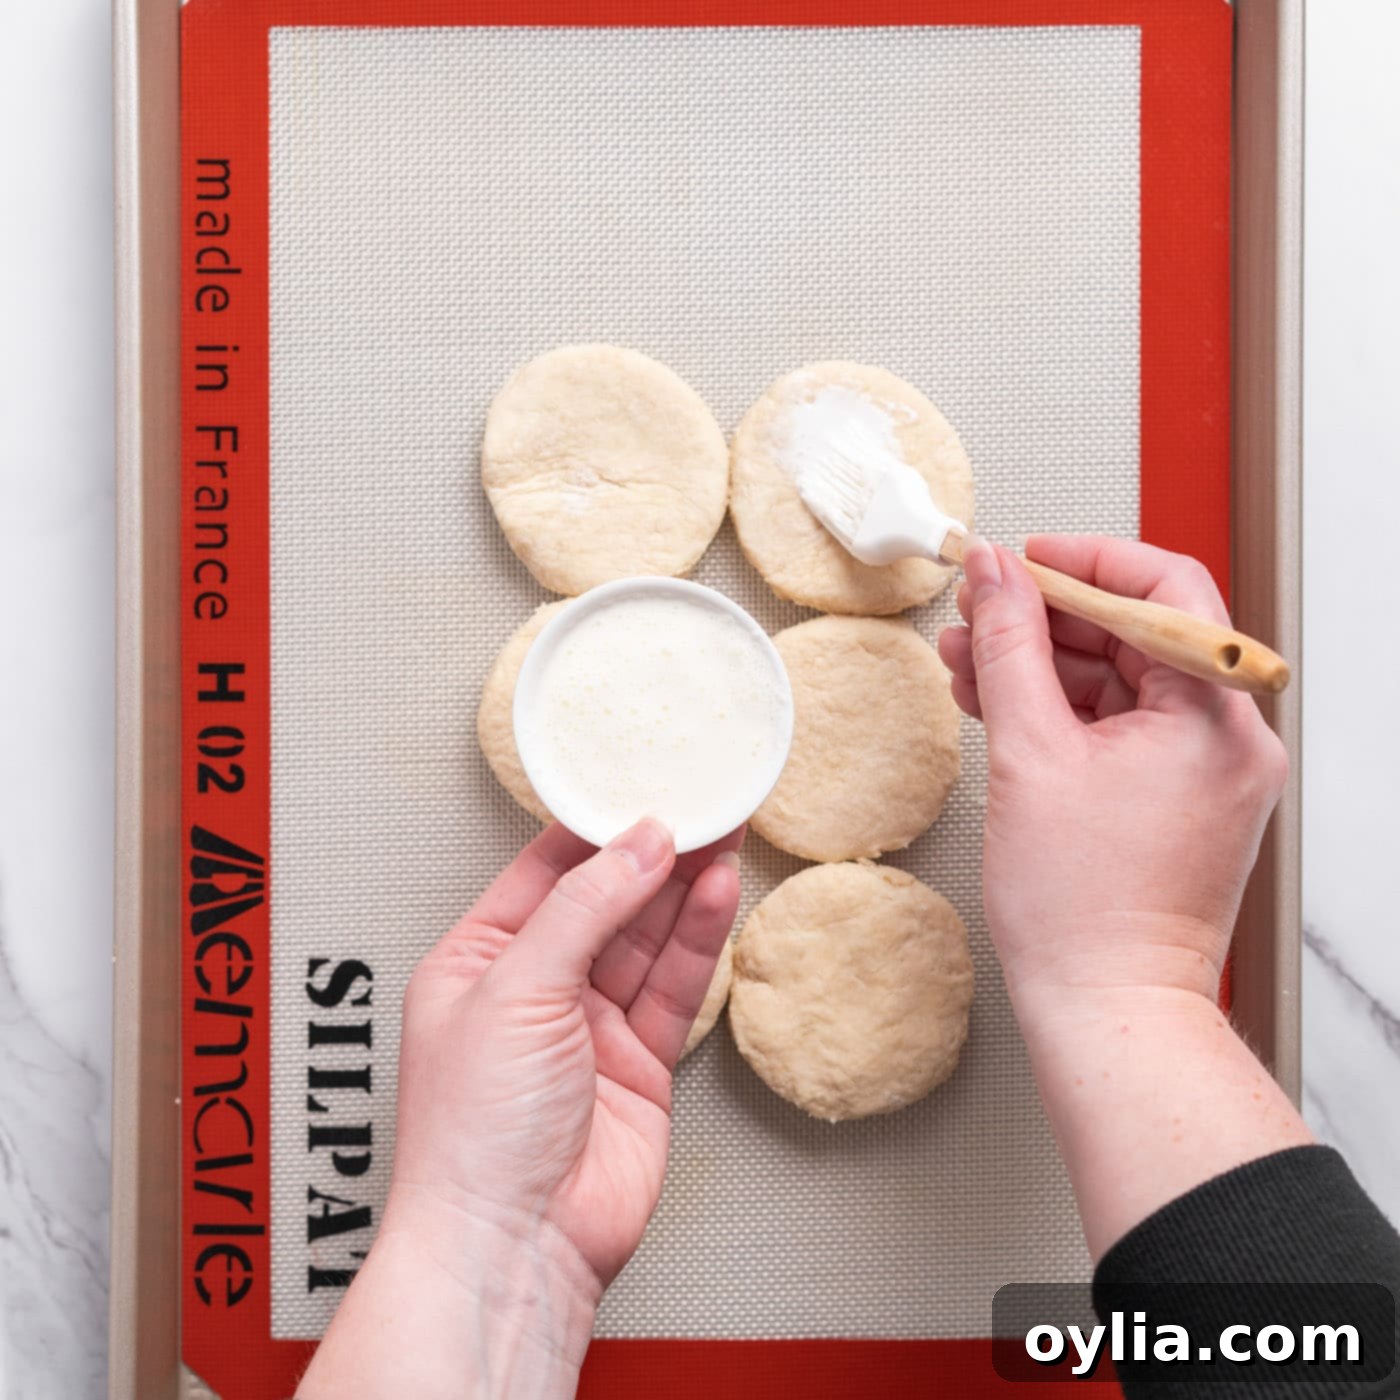
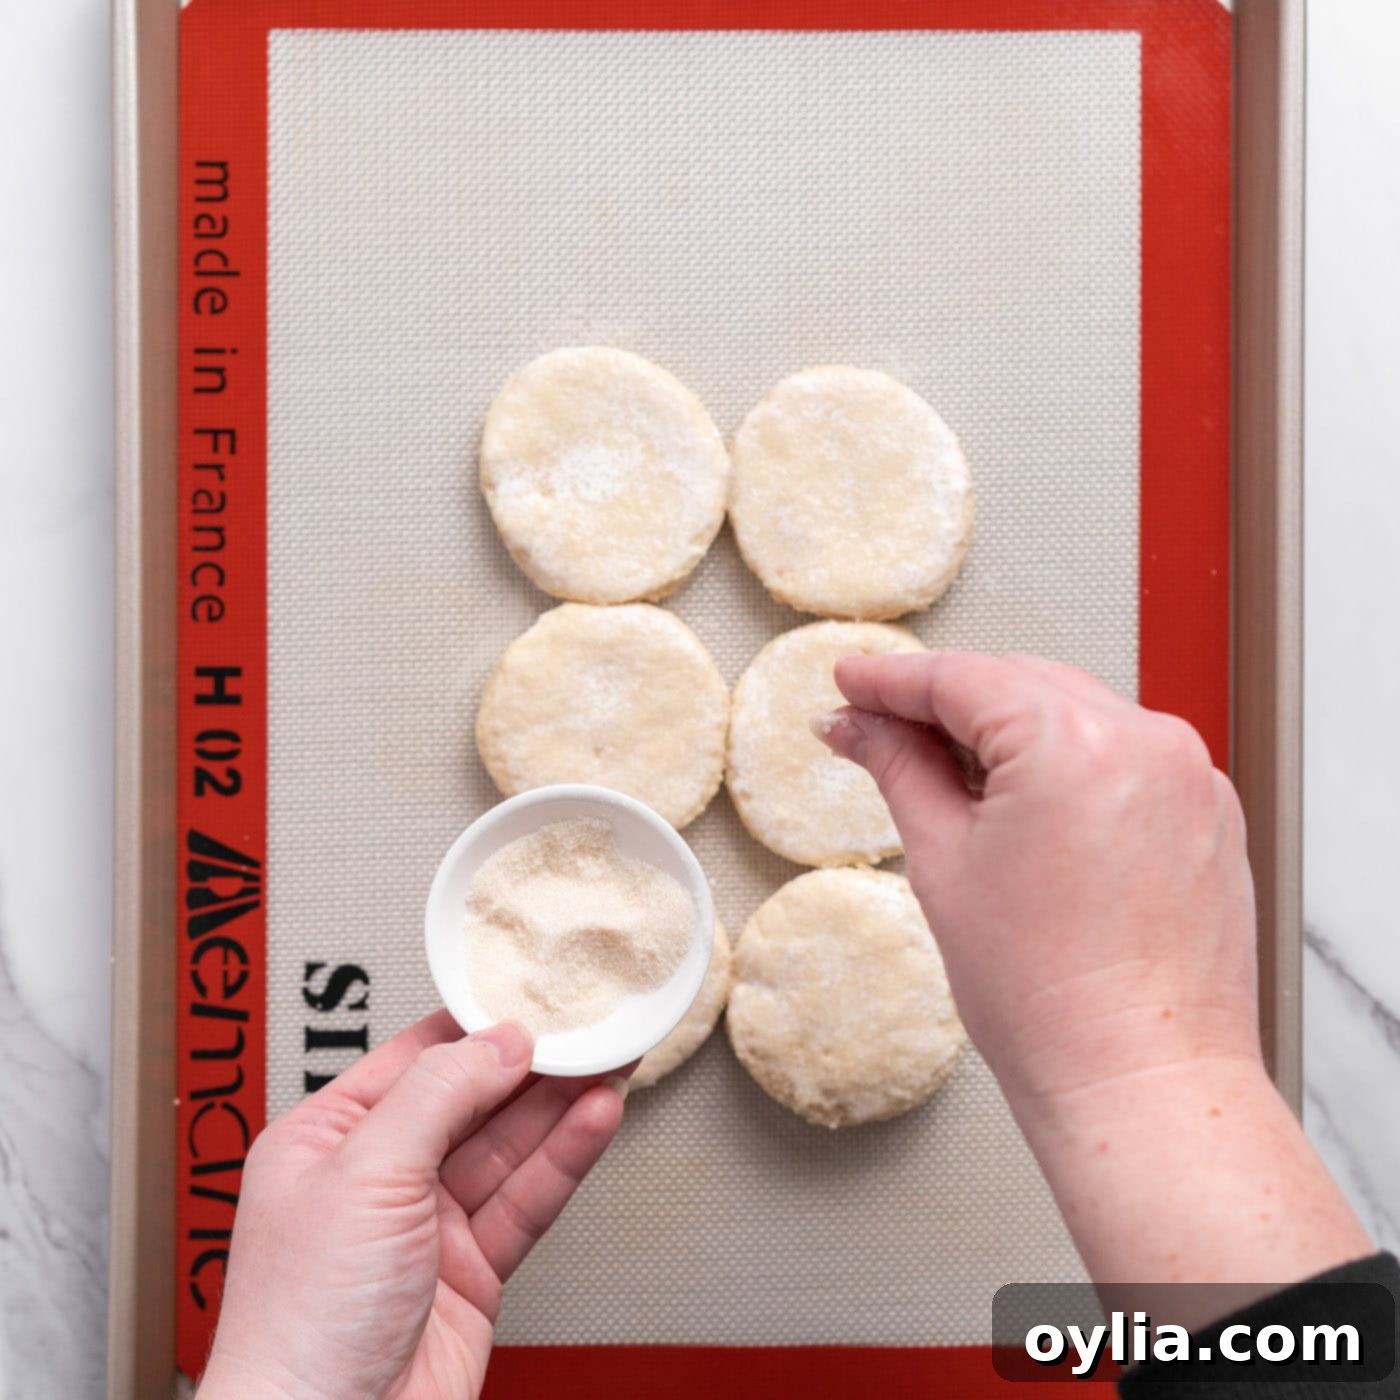
- Arrange and Prepare for Baking: Carefully transfer the cut dough circles to the prepared baking tray. Arrange them so they are lightly touching in the center. This slight contact helps them rise taller and maintain a softer side crust. Before baking, brush the tops of each biscuit with a small amount of heavy cream. This cream wash promotes a beautiful golden-brown crust and a slightly richer flavor. Finally, sprinkle generously with golden sugar (or coarse sugar) for an extra sparkle and delightful crunch on top.


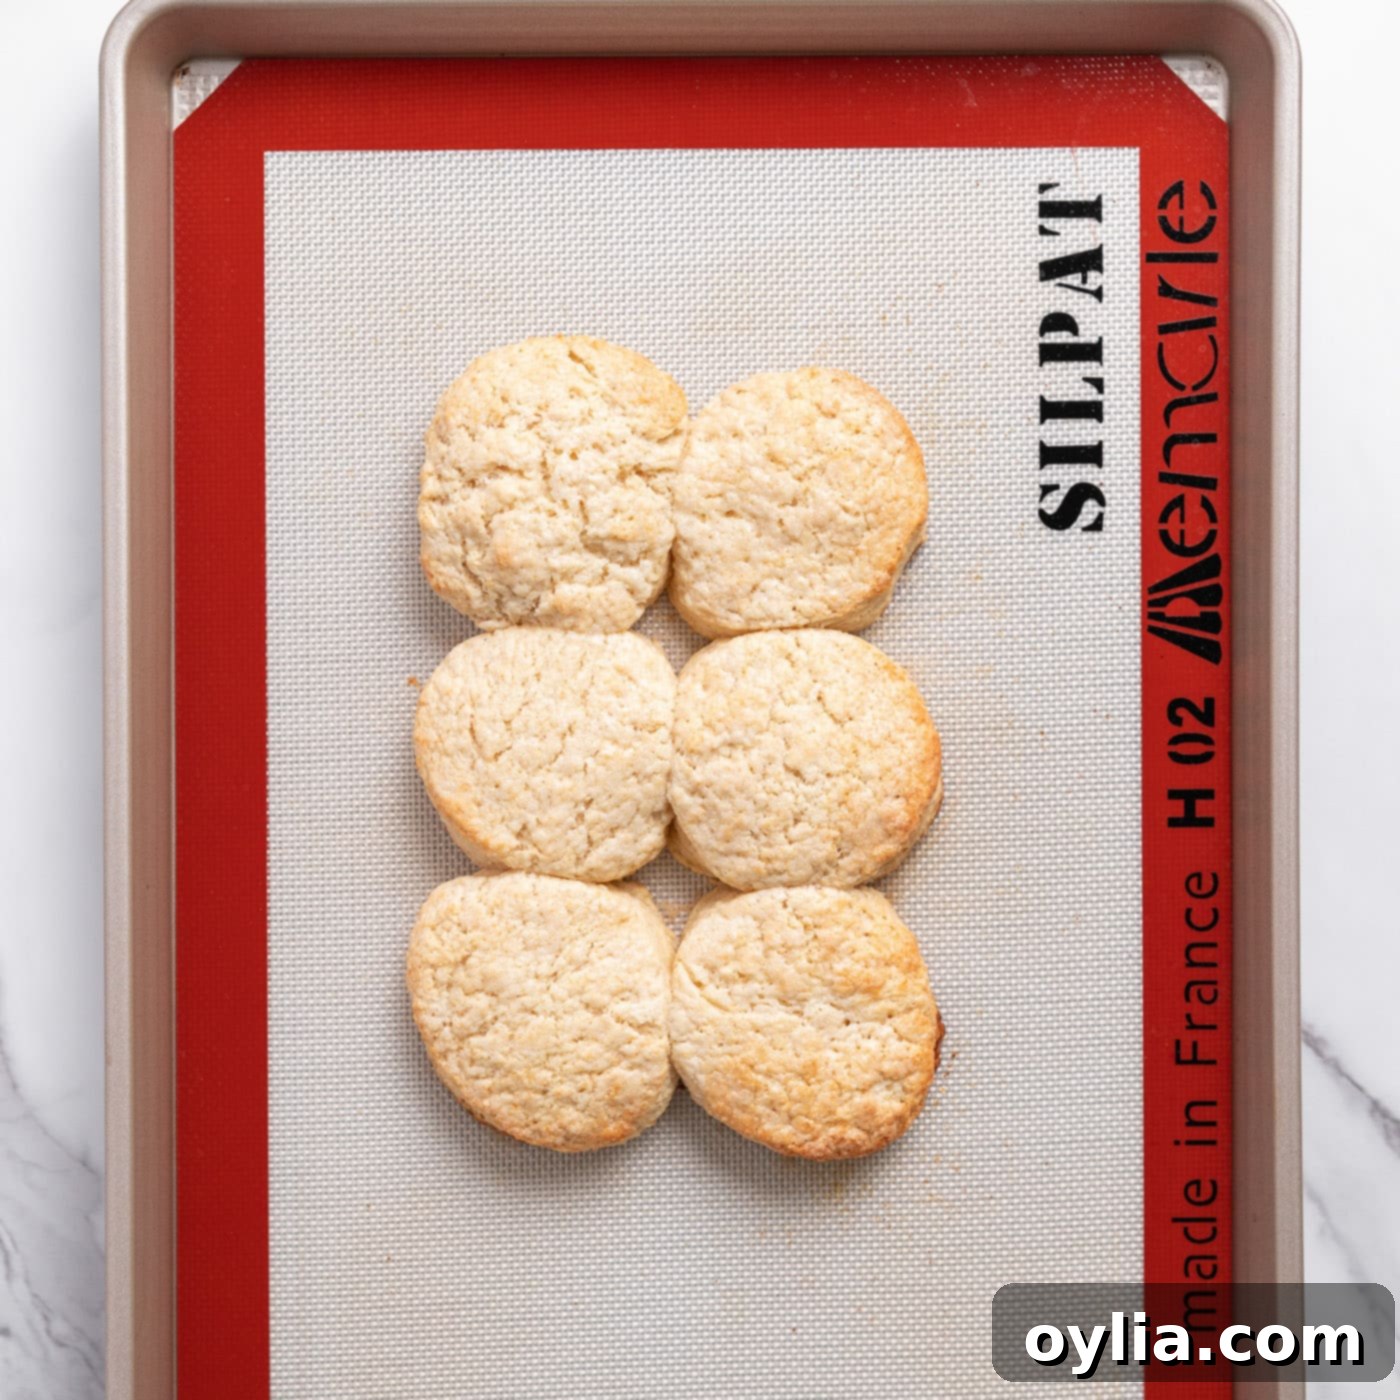
- Bake the Biscuits: Place the baking tray in the preheated oven and bake for approximately 16 to 20 minutes. Keep an eye on them – the biscuits are ready when they are beautifully puffed up, golden brown on top, and cooked through. The scent of freshly baked shortcakes will fill your kitchen! Once baked, remove them from the oven and let them cool completely on a wire rack. Cooling is important before assembly to prevent the whipped cream from melting and the shortcakes from becoming soggy.

- Slice the Cooled Shortcakes: Once your baked shortcakes have cooled completely to room temperature, carefully slice each biscuit in half horizontally. A serrated knife can make this task easier, ensuring a clean cut without crushing the tender biscuit. You’ll have a top and bottom half, ready to be filled.
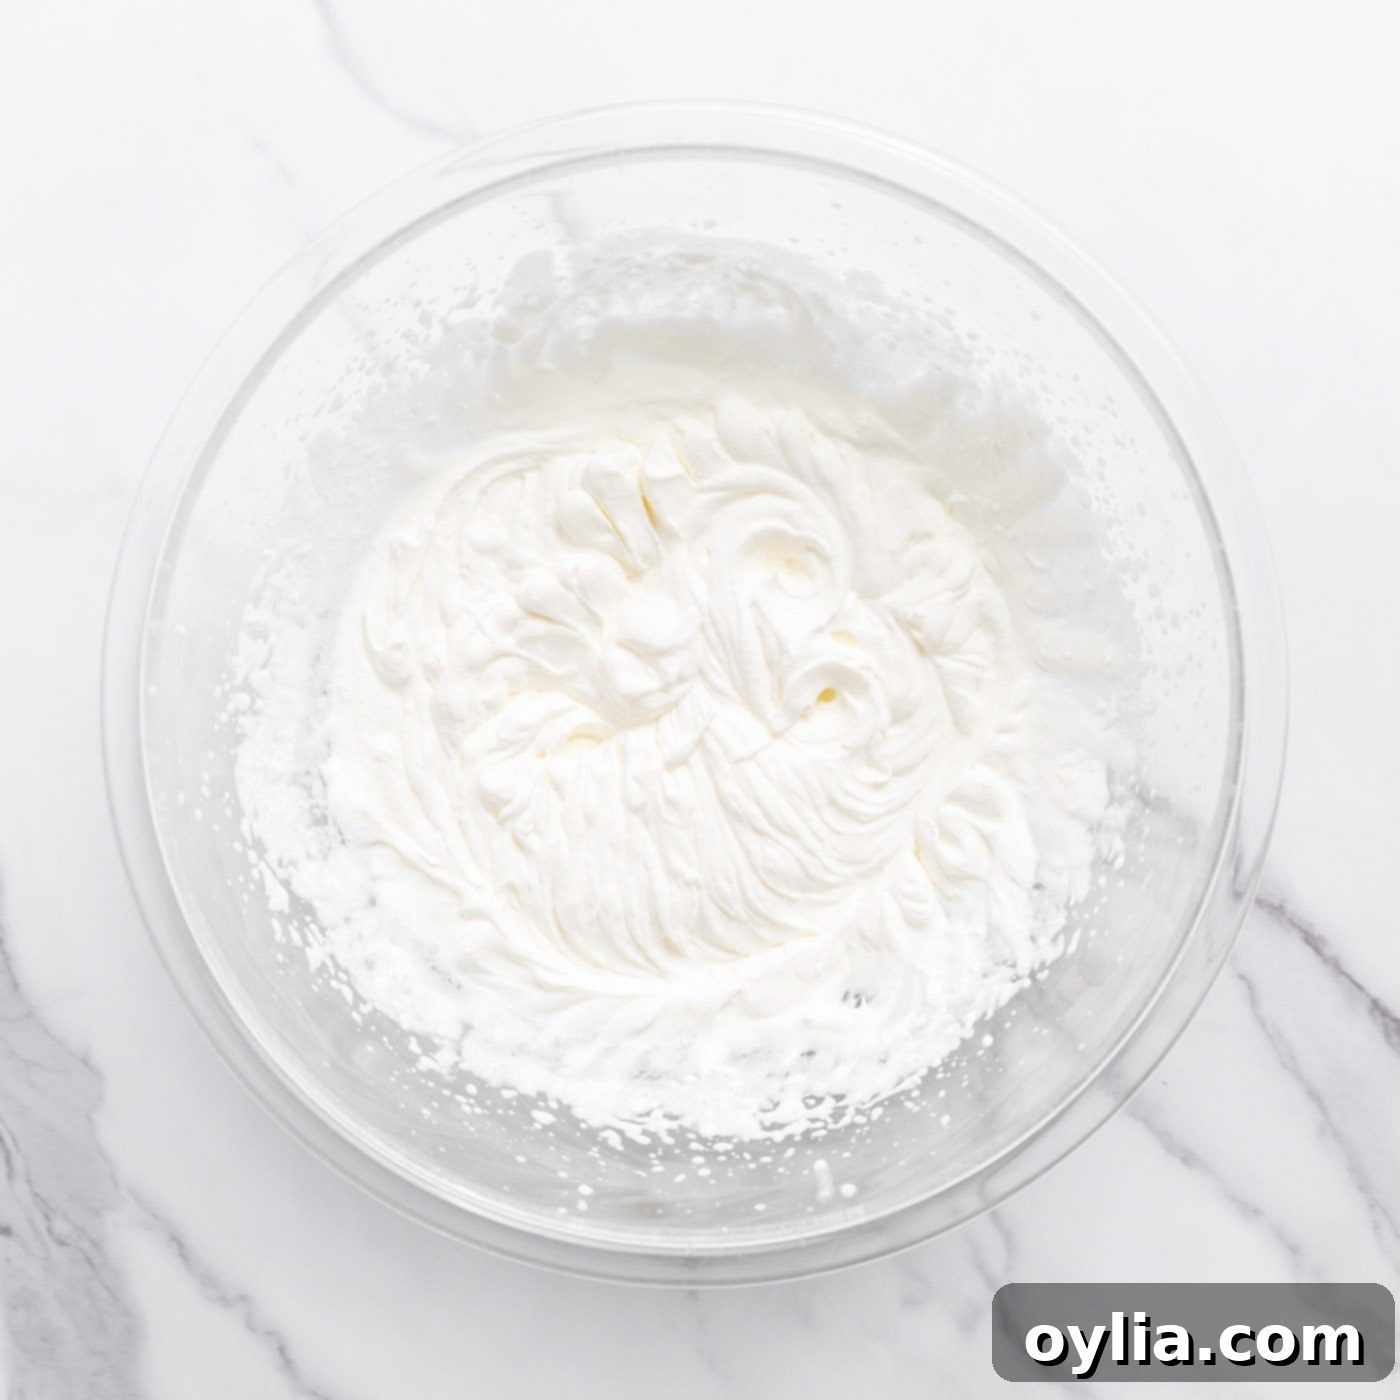
- Whip the Fresh Cream: In a large, chilled bowl (you can chill the bowl and whisk attachments in the freezer for 10-15 minutes for best results), add the cold heavy whipping cream. Using a hand mixer or stand mixer fitted with a whisk attachment, whip the cream on medium-high speed until medium peaks form. This typically takes about 3-5 minutes, depending on your mixer. The cream should be thick and hold its shape, but still be smooth. If you desire sweetened vanilla whipped cream, add 2 tablespoons of granulated sugar (or powdered sugar for a finer texture) and 1 teaspoon of vanilla extract once the cream starts to thicken, and continue whipping until peaks form.

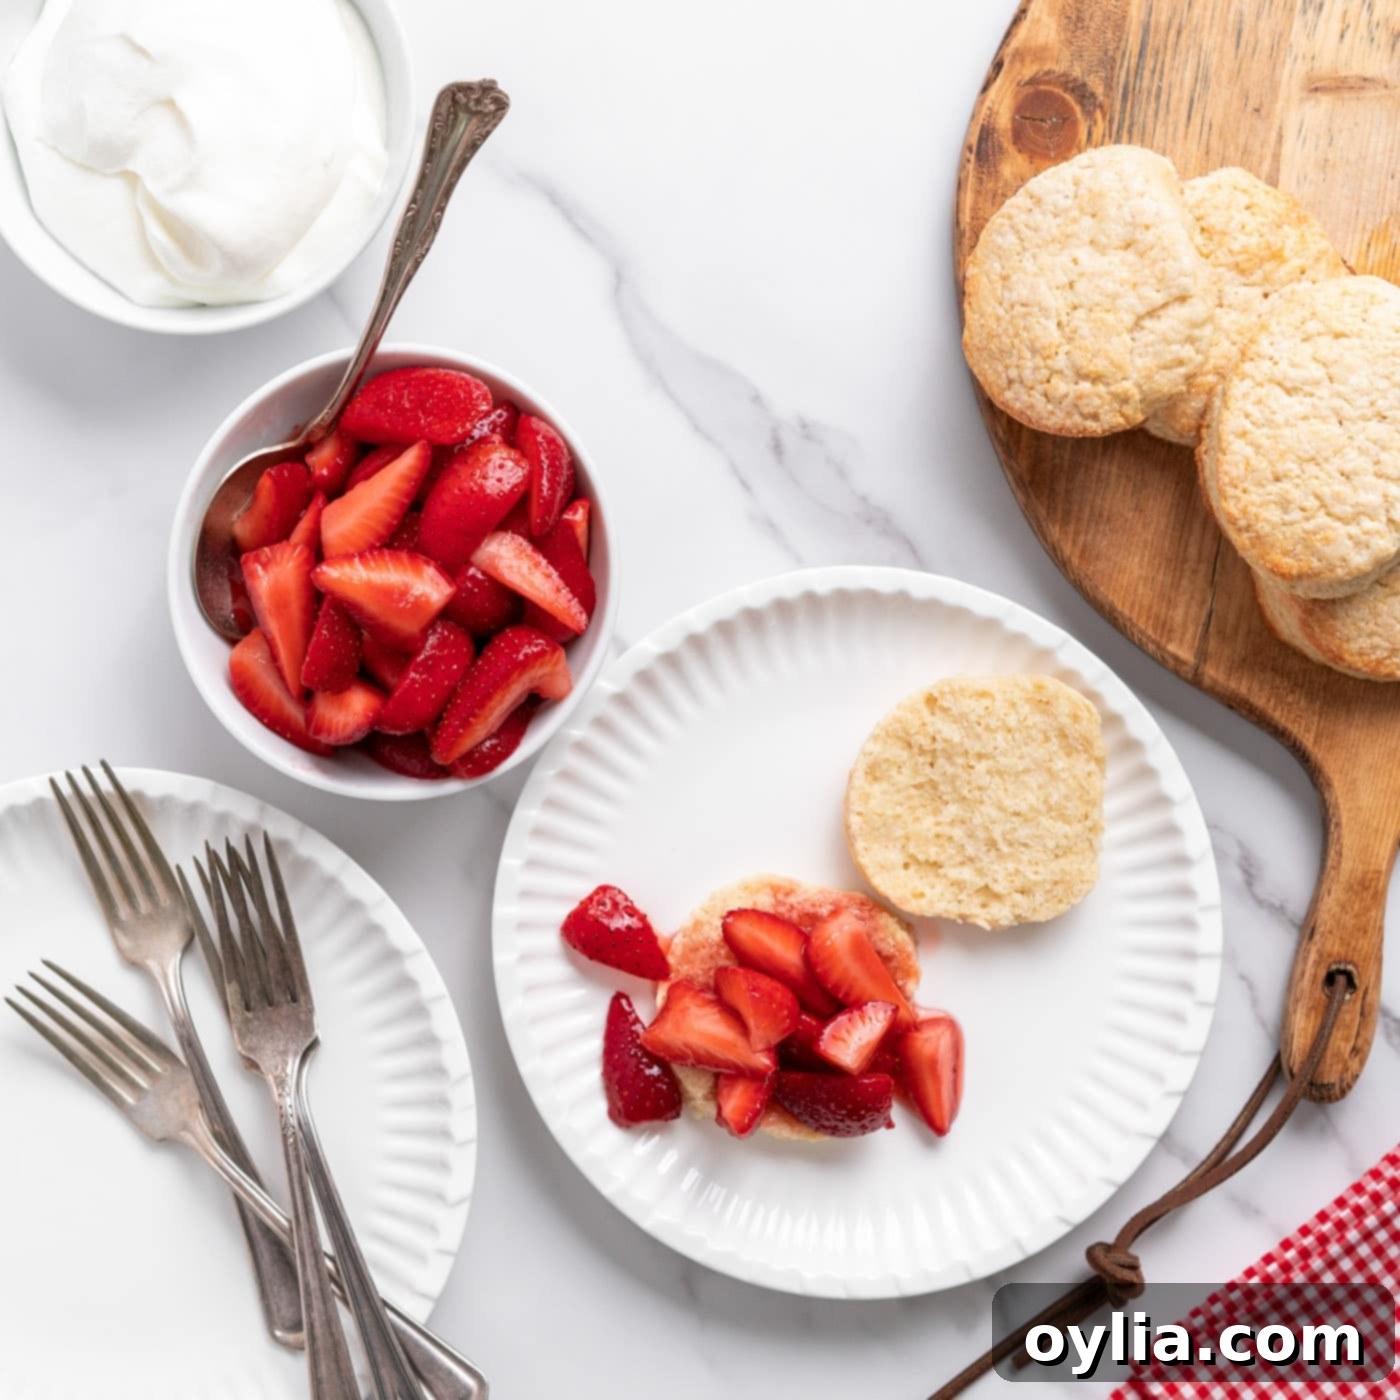
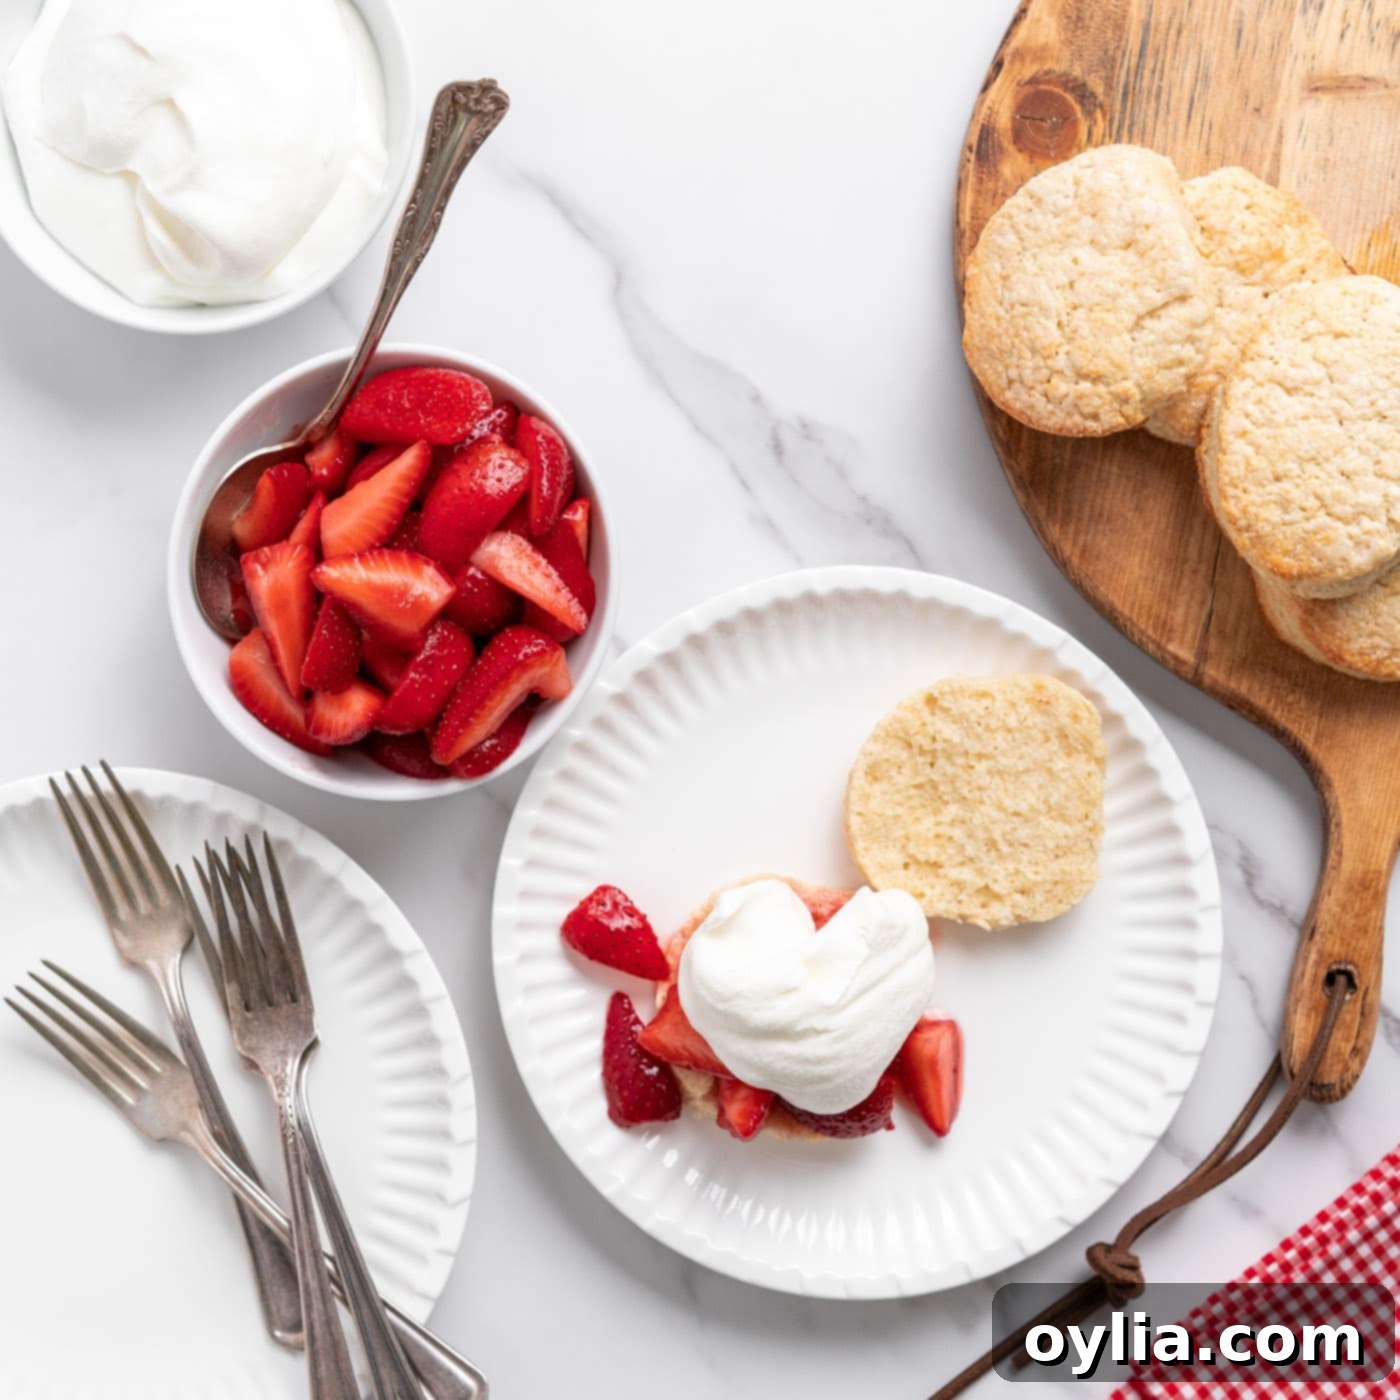
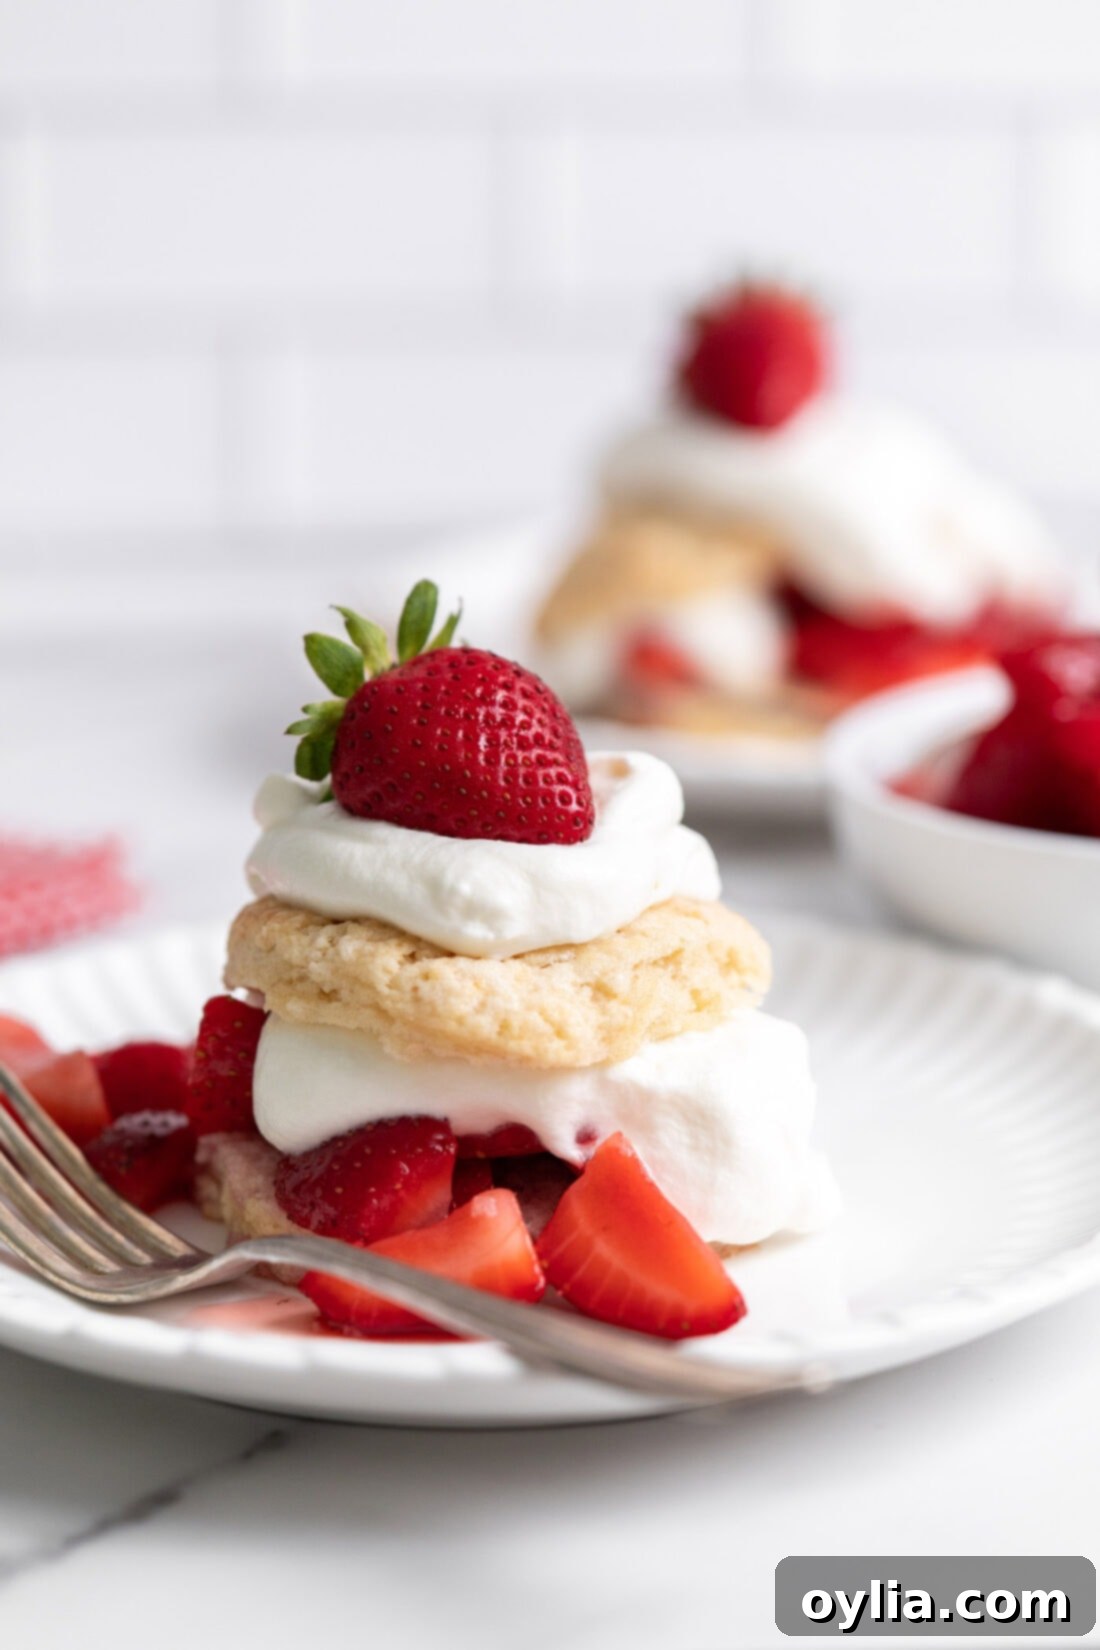
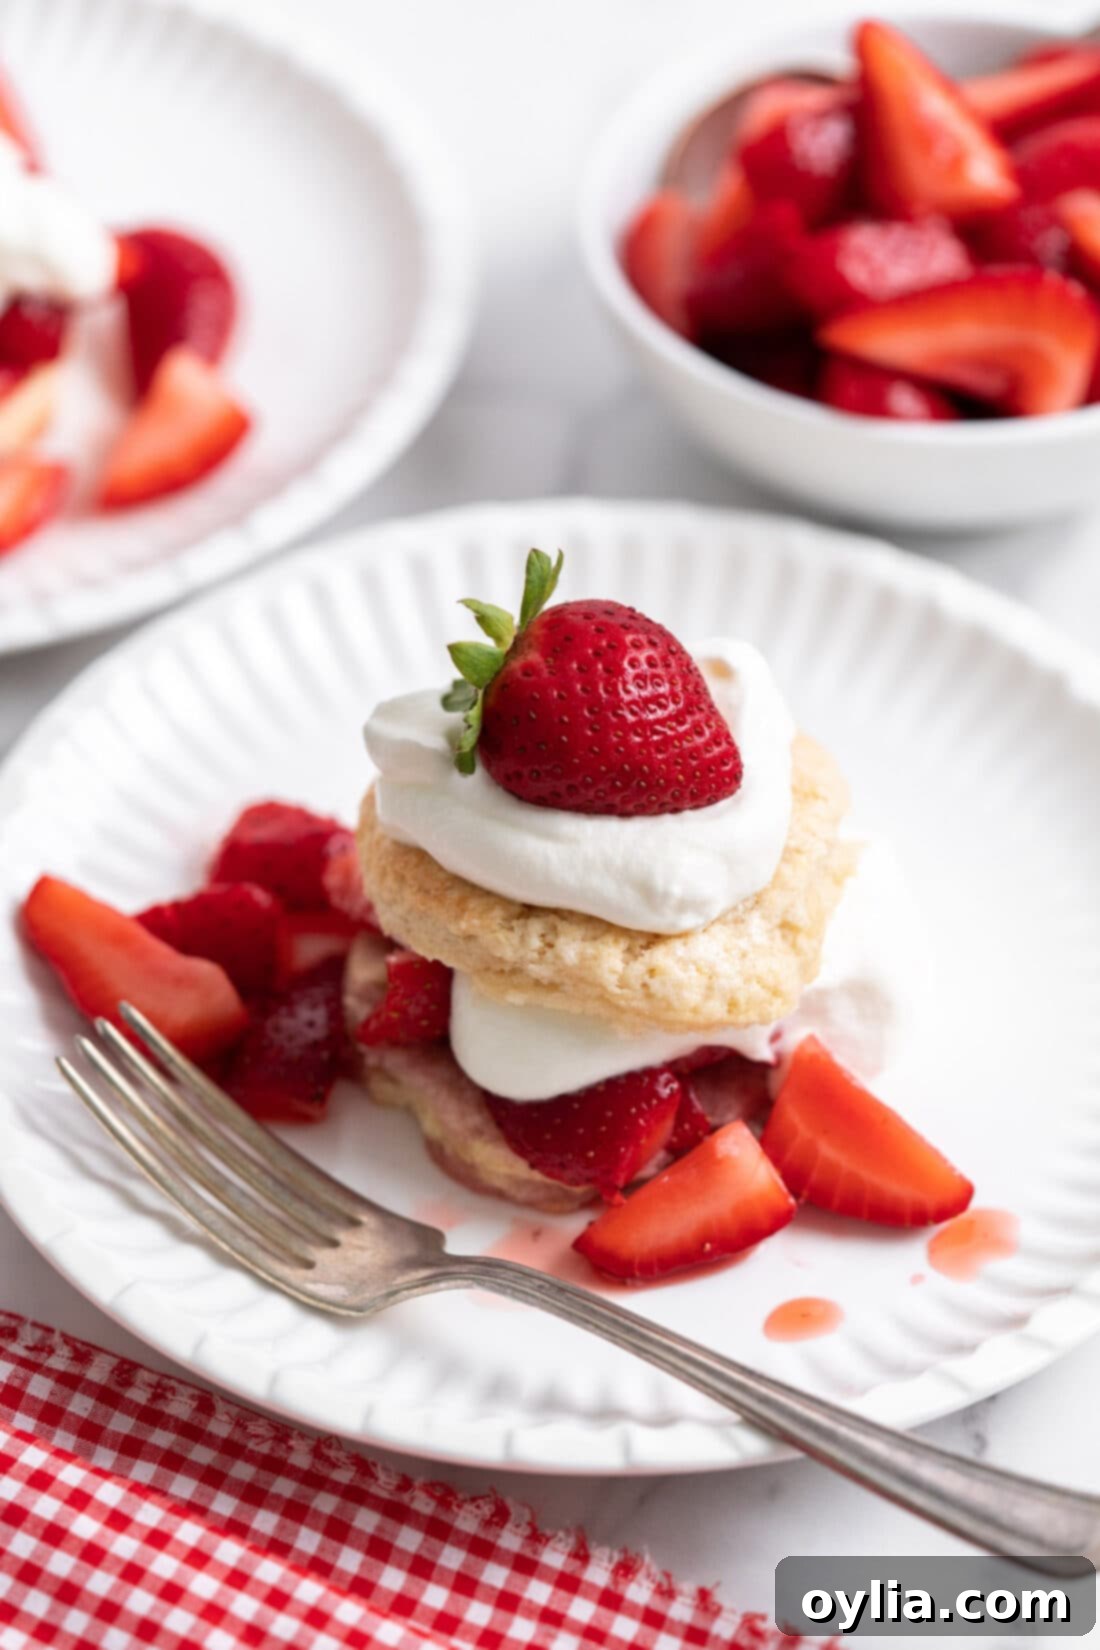
- Assemble Your Strawberry Shortcakes: Now for the best part – assembly! Take the bottom half of a cooled shortcake biscuit. Spoon a generous amount of the juicy macerated strawberries over it, allowing some of the delicious syrup to soak into the biscuit. Add a dollop of fresh whipped cream on top of the strawberries. Carefully place the top half of the shortcake biscuit over the cream and berries. For an extra touch of elegance and flavor, add another dollop of whipped cream on top and crown it with a whole, fresh strawberry. Serve immediately to enjoy the freshest textures and flavors.


Frequently Asked Questions & Expert Tips for Success
Planning ahead can save you time, but for the best results, we recommend a strategic approach. You can certainly prepare the shortcake biscuits and the macerated strawberries a day in advance. Store the cooled biscuits in an airtight container at room temperature to maintain their tender texture. The macerated strawberries should be kept in an airtight container in the refrigerator. However, it’s best to hold off on assembling the shortcakes until the day you plan to serve them, or at most, a few hours prior. Fresh whipped cream, especially if it’s not stabilized, is best made just before serving to ensure it remains light and fluffy. Assembling too far in advance can lead to the biscuits becoming soggy from the strawberry juices and the whipped cream losing its airy consistency.
To prevent leftovers from becoming soggy, the key is to store each component separately. Place any remaining shortcake biscuits in an airtight container at room temperature, where they will stay fresh for up to 4 days. The macerated strawberries should be stored in an airtight container in the refrigerator and are good for up to 4 days. Unfortunately, homemade whipped cream has a shorter lifespan; it will likely start to fall flat after 1-2 days in the refrigerator. If you’ve already assembled the shortcakes and have leftovers, they can be stored in the refrigerator for a day, but be prepared for a slightly softer biscuit texture.
The primary secret to tall, flaky biscuits lies in two factors: cold ingredients and minimal handling. Ensure your butter and buttermilk are thoroughly chilled. When cutting the butter into the flour, you want pea-sized pieces of butter remaining – these will create steam pockets during baking, resulting in those desirable flaky layers. Additionally, avoid overworking the dough. Too much kneading develops gluten, leading to tough biscuits. Gentle folding and rolling, as outlined in the recipe, and pressing straight down with your biscuit cutter without twisting will preserve the layers and allow maximum rise.
Delightful Ways to Serve Your Homemade Strawberry Shortcakes
The beauty of homemade strawberry shortcakes lies in their versatility. While they are always best served fresh, here are a few ideas to make your serving experience even more delightful:
- Immediate Enjoyment: For the ultimate experience, assemble and serve your shortcakes immediately. The warmth of a freshly baked biscuit, the chill of the strawberries, and the cool cream create a symphony of temperatures and textures that is simply irresistible. Garnish with an extra dollop of whipped cream, a whole fresh strawberry, and perhaps a delicate sprig of fresh mint for a touch of vibrant color and aroma.
- Temperature Preferences: While traditionally served at room temperature or slightly warm, strawberry shortcakes can be enjoyed chilled on a hot summer day. Some even prefer to gently warm their biscuits before assembly, which makes them incredibly tender and fragrant. Experiment to find your favorite way!
- Shortcake Bar for Guests: If you’re entertaining and want to avoid soggy leftovers or cater to individual preferences, consider setting up a “Strawberry Shortcake Bar.” Prepare all components – sliced biscuits, macerated strawberries (with their juices), and a bowl of freshly whipped cream – in separate dishes. Let your guests assemble their own creations. This interactive approach is fun, ensures freshness, and simplifies storage of any remaining ingredients.
- Creative Toppings: Beyond the classic, feel free to get creative! A sprinkle of toasted almonds, a drizzle of balsamic glaze over the strawberries, or even a tiny scoop of vanilla bean ice cream alongside can add an extra layer of indulgence.
No matter how you choose to present them, these homemade strawberry shortcakes are guaranteed to be a hit, bringing a taste of summer to any occasion.
More Delightful Strawberry Recipes
- Strawberry Lasagna
- Strawberry Bundt Cake
- Strawberry Pretzel Salad
- Strawberry Dream Dessert
- Strawberry Shortcake Trifle
- Cheesecake Stuffed Strawberries
I love to bake and cook and share my kitchen experience with all of you! Remembering to come back each day can be tough, that’s why I offer a convenient newsletter every time a new recipe posts. Simply subscribe and start receiving your free daily recipes!
Strawberry Shortcakes
IMPORTANT – There are often Frequently Asked Questions within the blog post that you may find helpful. Simply scroll back up to read them!
Print It
Pin It
Rate It
Save ItSaved!
Ingredients
Macerated Strawberries
- 5 cups strawberries hulled and quartered
- ¼ cup granulated sugar
- 1 pinch salt
Shortcake
- 1 ⅓ cups all-purpose flour plus more for rolling out dough
- 2 Tablespoons granulated sugar
- 2 teaspoons baking powder
- ½ teaspoon salt
- ¼ teaspoon baking soda
- 6 Tablespoons unsalted butter chilled and diced
- ½ cup buttermilk chilled
- ½ Tablespoon heavy whipping cream for brushing on top of biscuit dough
- ½ Tablespoon golden sugar for sprinkling on top of dough
Whipped Cream
- 1 cup heavy whipping cream
Things You’ll Need
-
Pastry cutter
-
Rolling pin
-
Hand mixer
-
Biscuit cutters
Before You Begin
- To make the tallest shortcake possible, be sure to use chilled butter and buttermilk. Also, be careful not to twist the biscuit cutter as you stamp out the dough circles.
- Instead of cutting the butter into the dry ingredients with a fork or pastry cutter, you can do this in a food processor. After that, transfer the dough to a large bowl and gradually stir in the buttermilk.
Instructions
-
Stir together all ingredients for the macerated strawberries in a large bowl. Cover the bowl with plastic wrap and refrigerate for at least 30 minutes.
-
Preheat the oven to 400F. Line a large baking tray with a silpat baking mat or parchment paper.
-
Add the flour, sugar, baking powder, salt, and baking soda to a large bowl, and whisk to combine. Add the diced butter and cut it in with a fork or pastry cutter until it looks crumbly. You should still have some pieces of butter the size of small peas.
-
Stir in the buttermilk a little at a time until it’s all incorporated. The dough will be shaggy and a bit crumbly at this point.
-
Turn the dough (including the crumbles) out onto a clean work surface. Flour your hands and rolling pin. Press the dough together, and then continue pressing it out until it’s a circle at about 3/4-inch thick.
-
Fold the top 1/3 of the dough over onto the center, and then fold the bottom 1/3 over onto the center, like you’re folding a letter.
-
Rotate the dough 90 degrees clockwise. Lightly flour the dough and use a floured rolling pin to roll the dough out to a rectangle about 3/4-inch thick. Again, fold the top 1/3 of the dough over onto the center, and then fold the bottom 1/3 over onto the center, like you’re folding a letter. Repeat this step 2 more times.
-
For the last time, roll the dough out to a rounded rectangle about 3/4-inch thick. Use a 2 1/2-inch circle biscuit or cookie cutter to stamp out circles, being careful not to twist the biscuit cutter as you stamp them out. Gather the scraps, reroll them, and stamp them out again. You should end up with 6 dough circles.
-
Arrange the dough circles so they’re touching in the center of the prepared baking tray. Brush the tops with cream and sprinkle them with golden sugar.
-
Bake until the biscuits are puffed and golden, about 16 to 20 minutes. Cool.
-
Once the shortcakes are cooled, slice each in half horizontally.
-
To make whipped cream, add the heavy whipping cream to a large bowl and whip with a hand mixer until medium peaks form, around 3-5 minutes. For sweetened vanilla whipped cream, add 2 tablespoons of granulated sugar (or powdered sugar) and 1 teaspoon of vanilla extract.
-
Spoon on some of the macerated strawberries and a dollop of whipped cream onto the bottom half of the shortbread. Place the top half of the shortbread on top, and add another dollop of whipped cream and a whole strawberry. Serve.
Expert Tips & FAQs
- Try to store each of the ingredients separately so leftover shortcakes don’t get too soggy. Store the biscuits at room temp in an air-tight container for up to 4 days. The strawberries can be stored in the refrigerator in an air-tight container for up to 4 days as well. The whipped cream will likely only last 1-2 days in the refrigerator before it falls flat.
Nutrition
The recipes on this blog are tested with a conventional gas oven and gas stovetop. It’s important to note that some ovens, especially as they age, can cook and bake inconsistently. Using an inexpensive oven thermometer can assure you that your oven is truly heating to the proper temperature. If you use a toaster oven or countertop oven, please keep in mind that they may not distribute heat the same as a conventional full sized oven and you may need to adjust your cooking/baking times. In the case of recipes made with a pressure cooker, air fryer, slow cooker, or other appliance, a link to the appliances we use is listed within each respective recipe. For baking recipes where measurements are given by weight, please note that results may not be the same if cups are used instead, and we can’t guarantee success with that method.
This post was originally published here on March 22, 2022.
