The Ultimate 6-Ingredient Lemon Bar Recipe: Perfectly Tangy & Sweet for Any Occasion
Are you on the hunt for the absolute best lemon bar recipe that will impress everyone who takes a bite? Look no further! This incredible recipe delivers perfectly balanced sweet and tart lemon bars with minimal effort. Requiring only six simple ingredients, many of which you likely already have in your pantry, these bars are not just easy to make but are consistently perfect every single time. Get ready to bake a batch that will have friends and family begging for the recipe – you might even want to print extra copies!
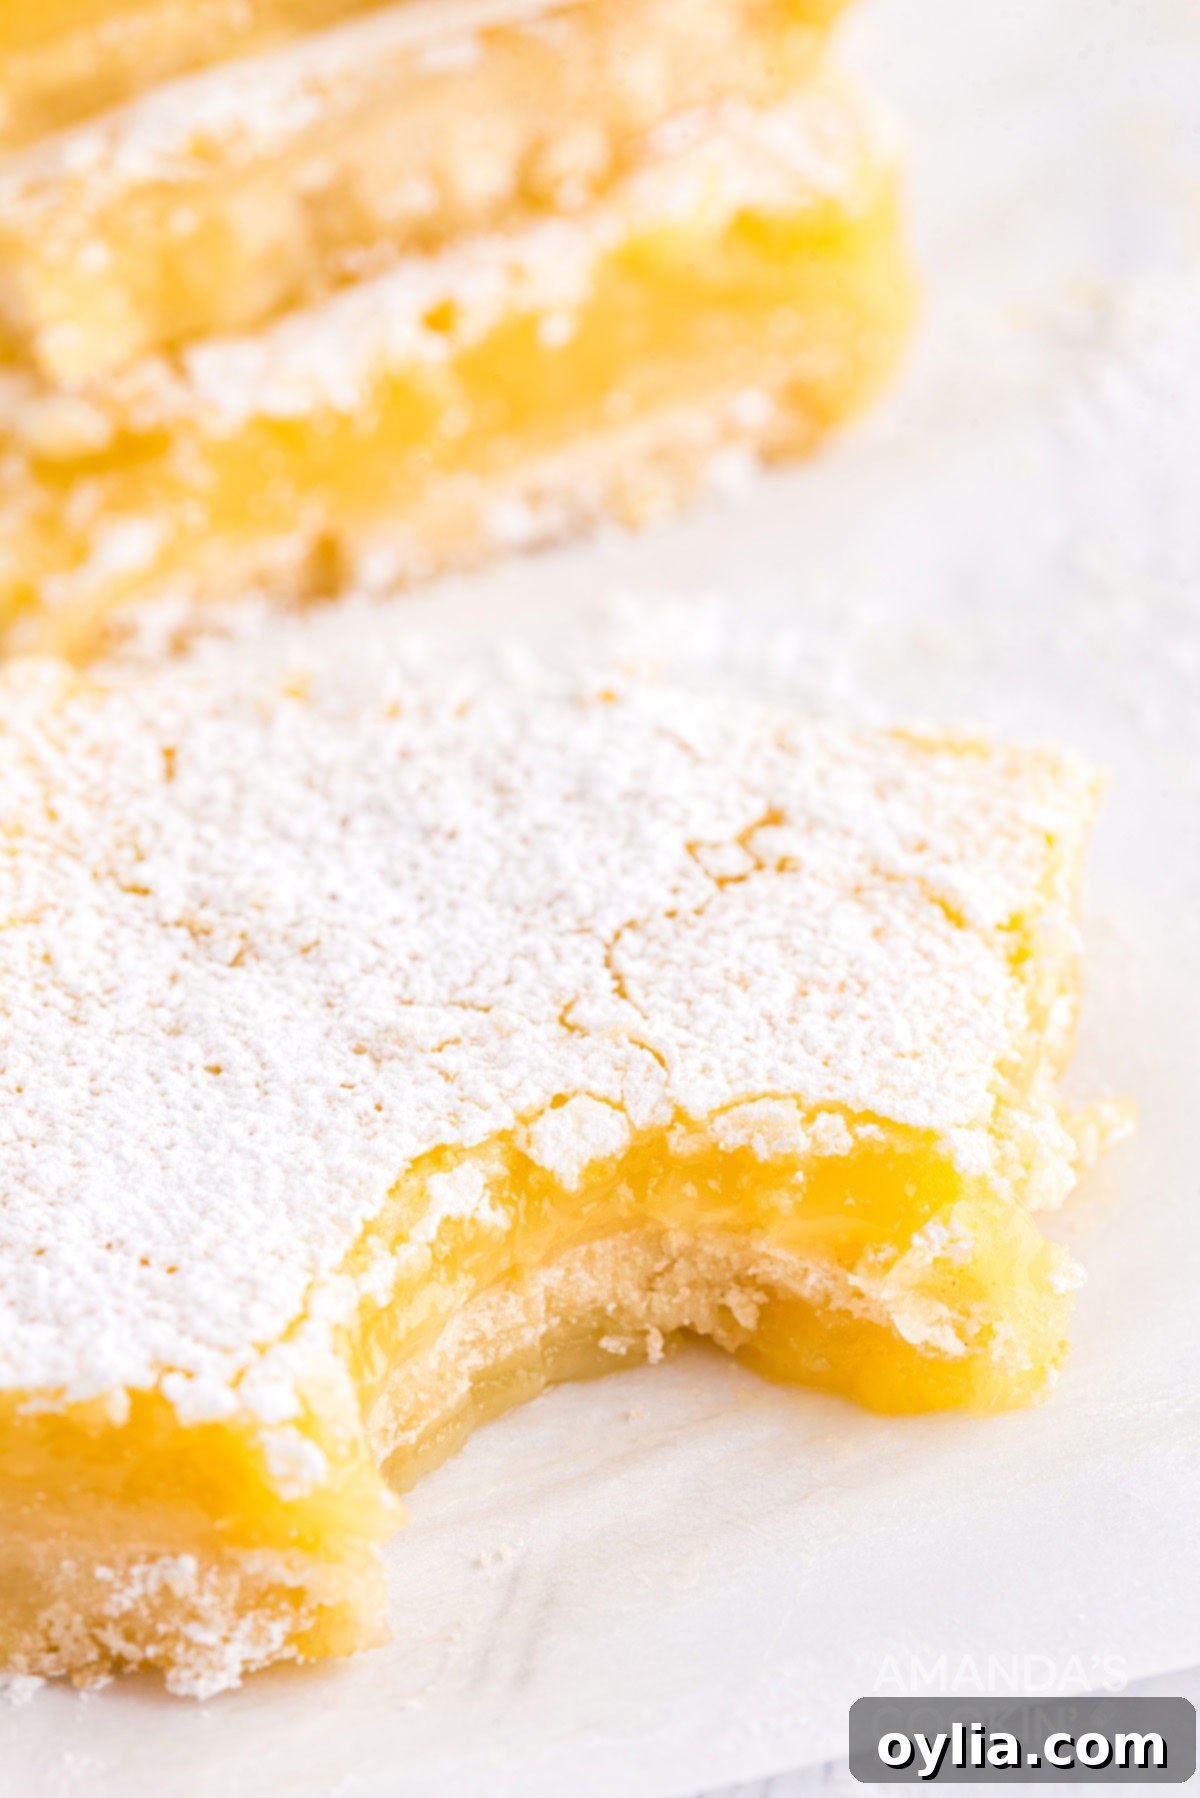
Why This Lemon Bar Recipe Is a Must-Try
Developing the perfect lemon bar recipe was a journey of careful experimentation. I rigorously tested numerous methods, ingredient ratios, and baking times to achieve what I confidently believe are the finest lemon bars you’ll ever taste. This particular recipe stands out because it strikes the ideal balance between a buttery, crisp shortbread crust and a bright, zesty lemon filling that’s neither too tart nor too sweet. The result is a dessert bar that consistently turns out beautifully set, with a vibrant citrus flavor that truly shines. Once you try these, you’ll understand why this recipe is my absolute favorite and why you won’t regret making them!
Beyond their exquisite taste, these lemon bars are incredibly convenient. The simplicity of needing just six core ingredients means less shopping and more baking. Most of these staples, like flour, sugar, butter, and eggs, are common pantry items, making it easy to whip up a batch whenever a citrus craving strikes. This accessibility, combined with the phenomenal flavor, makes this recipe a true gem for both novice and experienced bakers alike.
Craving more delightful dessert bars? Be sure to explore my amazing fudge brownies for a rich chocolate fix, or dive into my ooey-gooey S’mores bars for a taste of campfire nostalgia. If you’re a fan of those soft, frosted Lofthouse cookies from the grocery store, you absolutely must try my recipe for these delightful frosted sugar cookie bars. And for an ultimate indulgence that’s truly over the top, I dare you to try my famous Slutty Brownies!
Key Ingredients You Will Need
The magic of these lemon bars lies in the quality of their few ingredients. While store-bought lemon juice can work in a pinch, I highly recommend using **freshly squeezed lemon juice** for an unparalleled bright, authentic citrus flavor. The difference is truly remarkable! A great tip is to zest your lemons first, before you cut and juice them. This makes the zesting process much easier and ensures you get all that aromatic lemon oil into your filling. Look for firm, vibrant yellow lemons for the best results.
Aside from fresh lemons, you’ll need standard pantry staples for both the buttery shortbread crust and the luscious lemon filling. This recipe keeps things wonderfully simple, allowing the natural goodness of each ingredient to shine. You’ll find the full list of precise measurements and detailed instructions in the printable recipe card at the very end of this post.
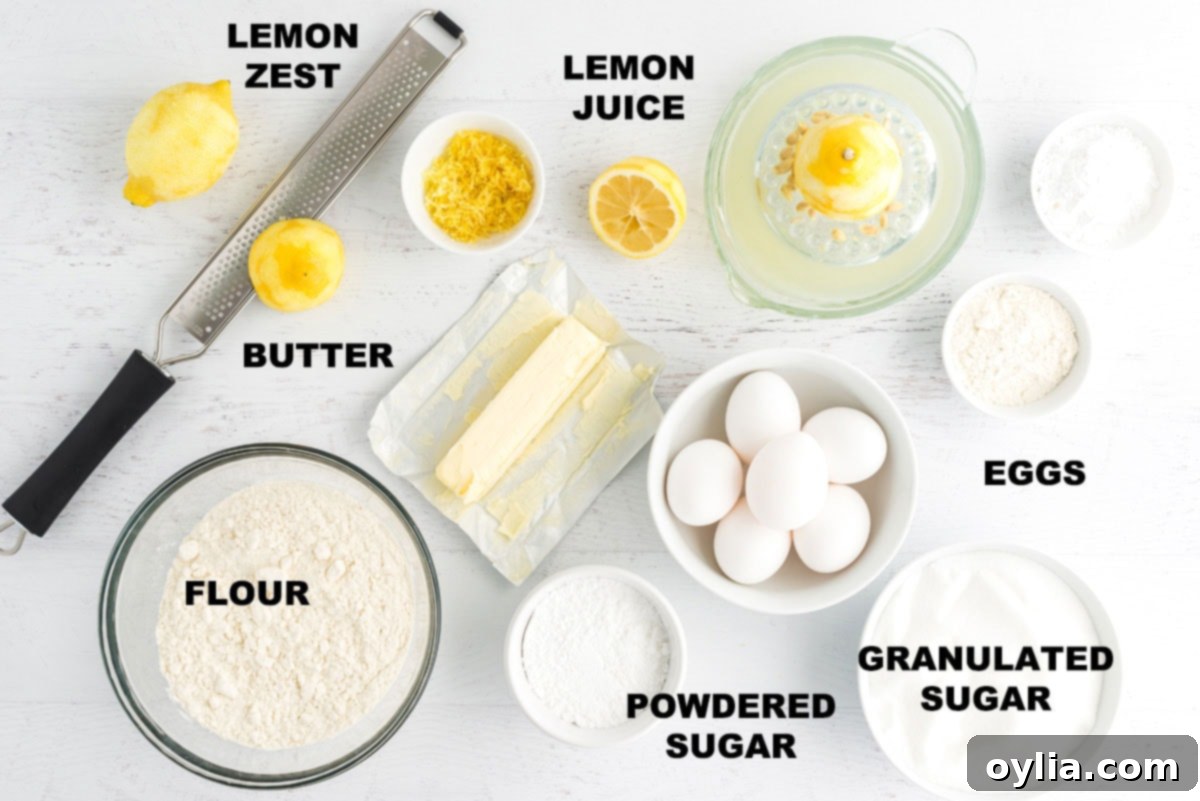
Get all measurements, ingredients, and instructions in the printable version at the end of this post.
How to Make These Easy Lemon Bars (Step-by-Step)
Creating these delightful lemon bars is a straightforward process, designed for success even for those new to baking. To help you visualize each stage, I’ve included step-by-step photos that guide you through making both the flaky crust and the silky-smooth lemon filling. Remember, for the full, concise recipe with all measurements, simply scroll down to the printable recipe card below!
Making the Buttery Shortbread Crust
- Start by preheating your oven to 350°F (175°C). Line a 13×9 inch baking pan with parchment paper, making sure the parchment extends over the edges. These overhangs will serve as convenient “handles” to lift the cooled bars out of the pan later.
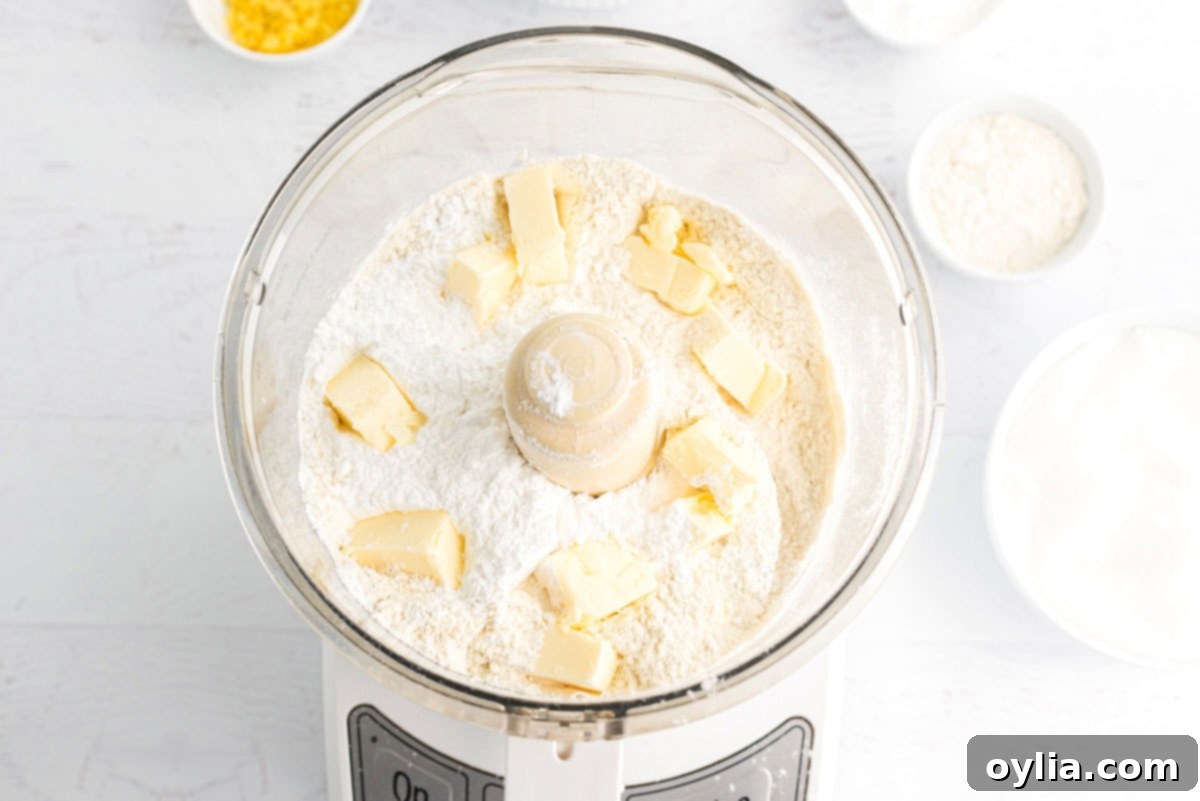
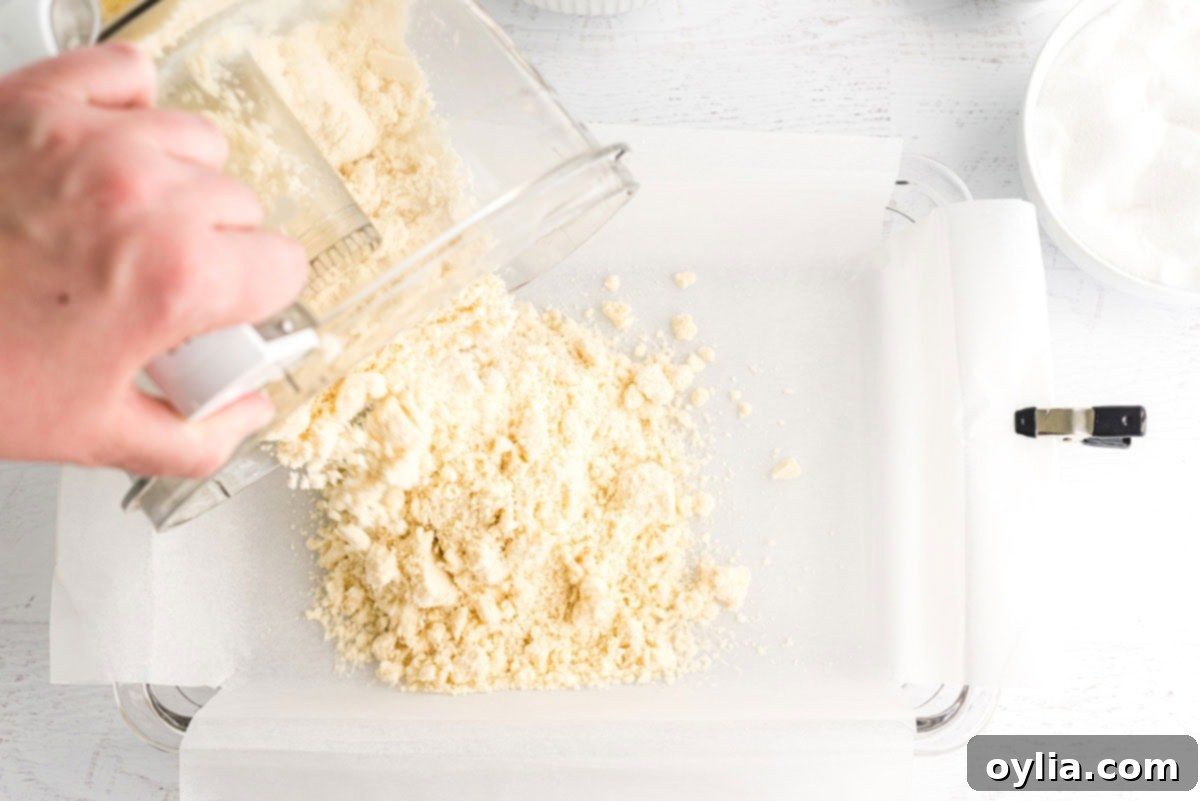
- In the bowl of your food processor, combine the all-purpose flour, powdered sugar, and cold unsalted butter, cut into cubes. Pulse these ingredients together until a coarse crumb mixture forms. Continue processing just until the mixture begins to clump together, resembling wet sand. Be careful not to overmix, as this can lead to a tough crust.
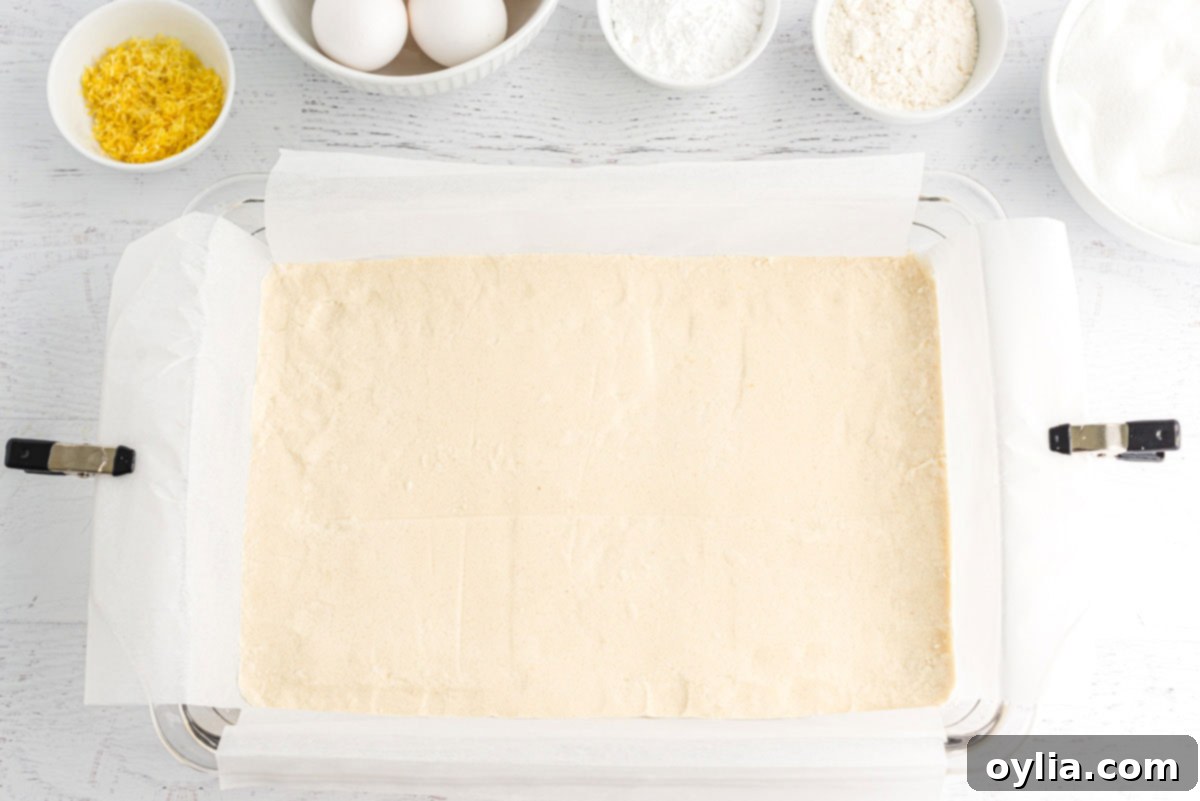
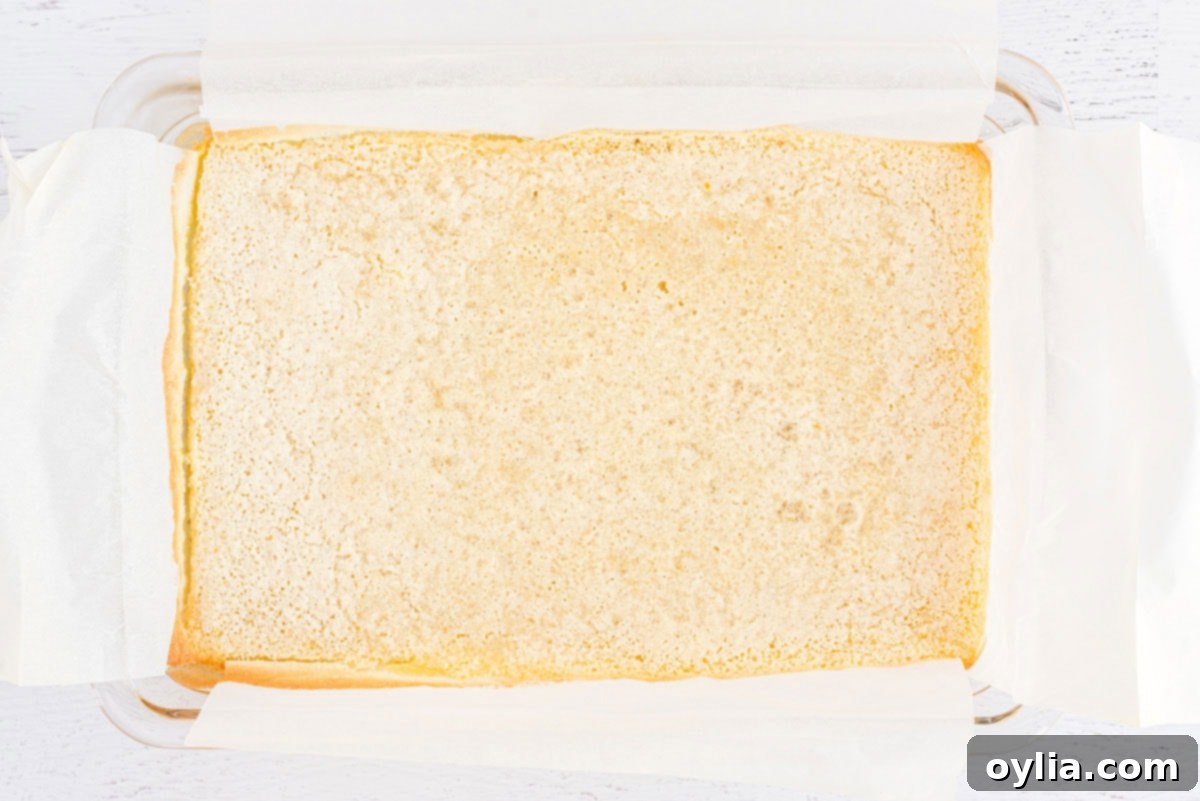
- Transfer the crumb mixture into your prepared 13×9 inch pan. Using your fingertips or the bottom of a flat glass, press the mixture down firmly and evenly across the bottom of the pan to form a compact crust. Bake for 18-20 minutes, or until the edges are lightly golden brown. This pre-baking step ensures a sturdy, flaky crust that won’t become soggy under the lemon filling. Remove the pan from the oven and allow the crust to cool slightly on a wire rack while you prepare the filling.
Crafting the Vibrant Lemon Filling
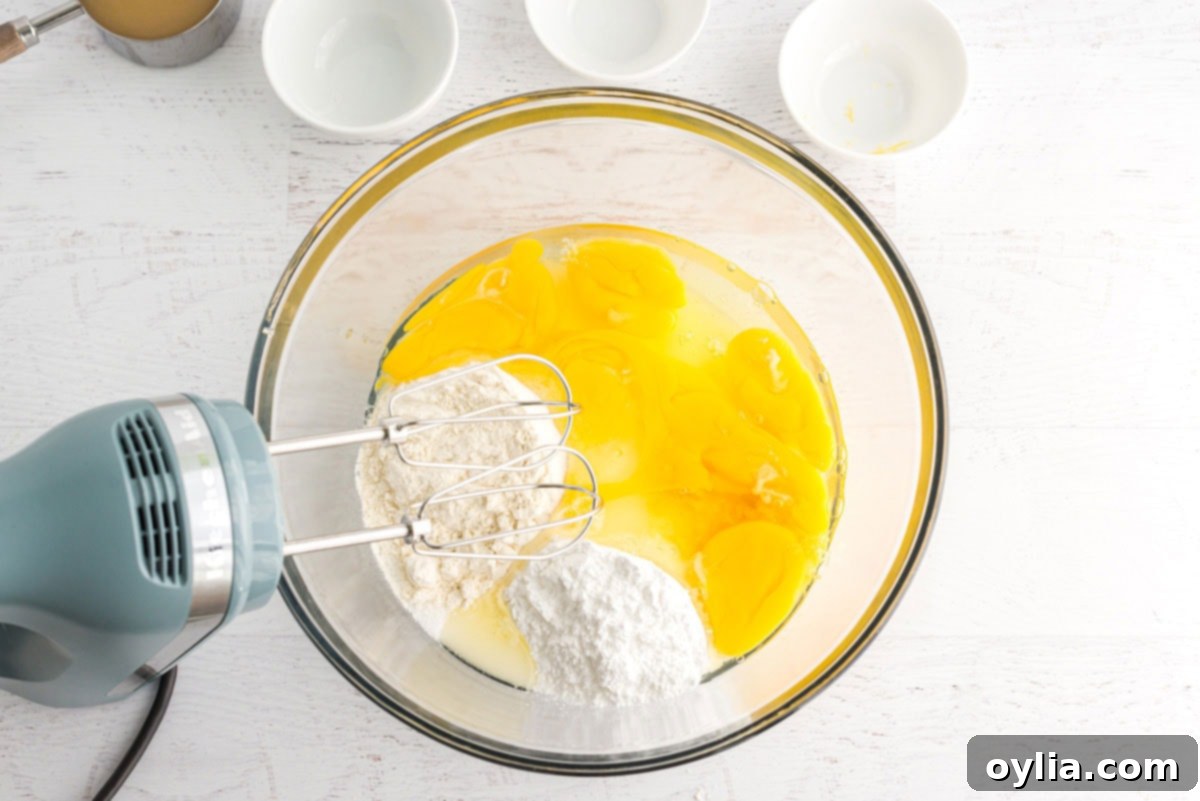
- While the crust is slightly cooling, prepare your vibrant lemon filling. In a large mixing bowl, using an electric mixer set at medium speed, beat together the granulated sugar, all-purpose flour, large eggs, freshly squeezed lemon juice, and aromatic lemon zest. Continue to beat until all the ingredients are thoroughly combined and the mixture is smooth and slightly frothy. This ensures a consistent texture and flavor throughout your filling.
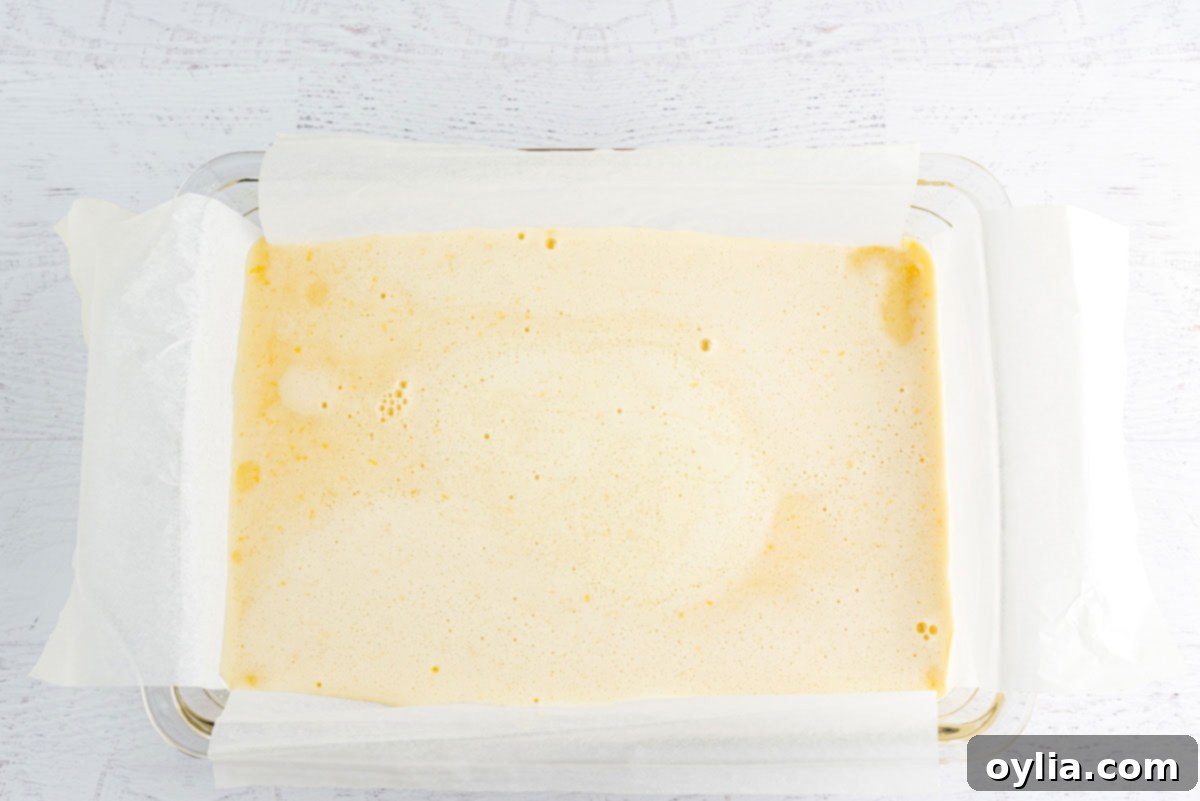
- Carefully pour the lemon mixture evenly over the still-warm crust in the baking pan. Return the pan to the oven and continue to bake for another 18-20 minutes, or until the center of the lemon filling is set and the edges are beautifully golden. The filling should jiggle only slightly in the very center when gently shaken, indicating it’s perfectly cooked. Remove the pan from the oven and place it back on the wire rack to cool completely. This cooling process is crucial and will take approximately 2 hours. Patience is key for perfectly set bars!
- Once the bars have cooled completely at room temperature, transfer the pan to the refrigerator for about 30 minutes. This chilling period is essential to help the lemon filling firm up even further, making the bars easier to cut into clean, neat squares.
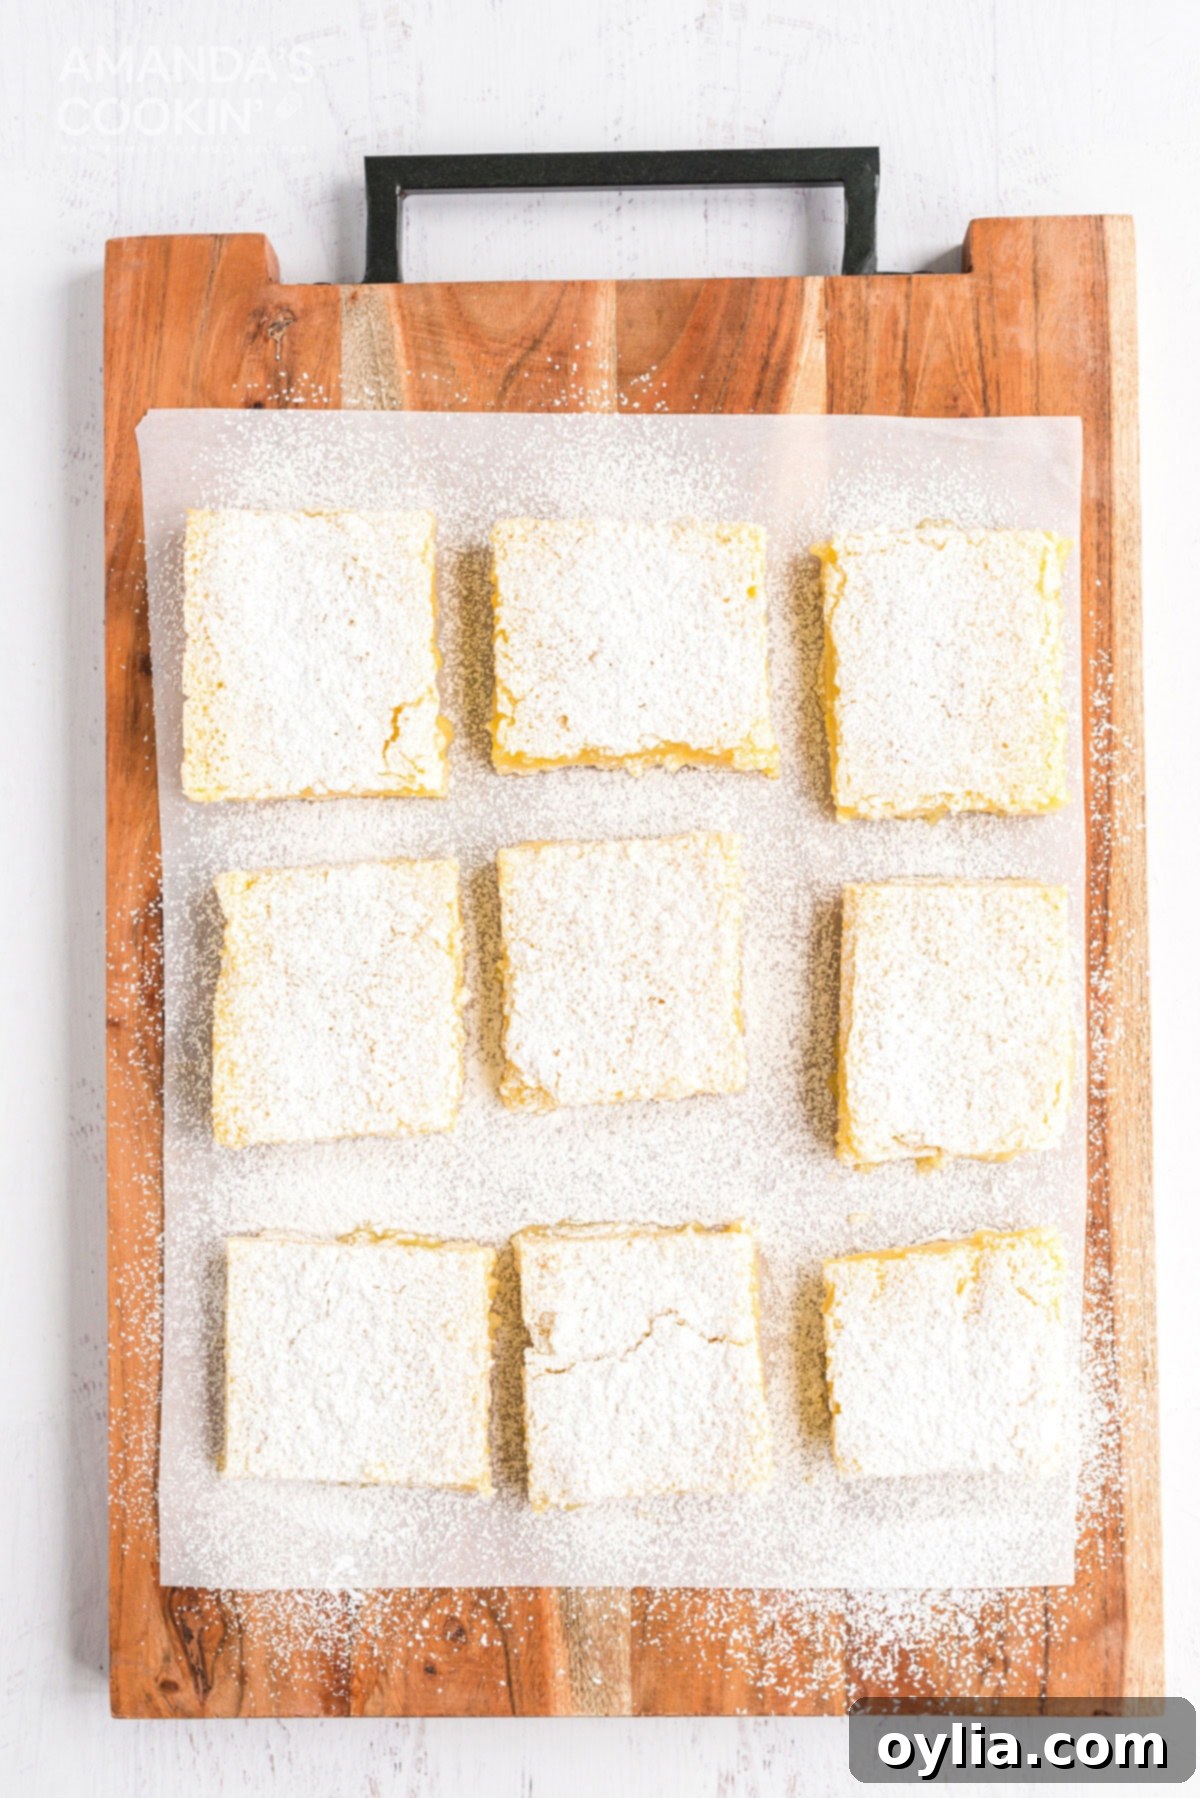
- After chilling, gently remove the bars from the fridge. Use the parchment paper handles to lift the entire slab of lemon bars out of the pan and onto a cutting board. Sift a light, even layer of powdered sugar across the top for a beautiful finish and an extra touch of sweetness. Then, using a sharp knife, cut the slab into individual bars, approximately 2″ x 1.5″ each, yielding about 30 delicious servings.
Expert Tips & FAQs for Lemon Bar Success
- Chilling for Clean Cuts: For the neatest, most presentable lemon bars, chilling them is a crucial step. Refrigerate them for about 30-40 minutes after they’ve completely cooled. Any longer than this, and the shortbread crust might become too firm from the butter solidifying, making it difficult to cut smoothly. If you find your crust is too hard, simply let the bars sit at room temperature for 15-20 minutes to soften slightly before cutting.
- Storage Solutions: To keep your homemade lemon bars fresh and delicious, store them in an airtight container at room temperature. They will remain wonderfully fresh for up to 3 days. For longer storage, or if your kitchen is particularly warm, you can keep them in the refrigerator, but allow them to come to room temperature briefly before serving for optimal flavor and texture.
- Food Processor vs. By Hand: While the recipe calls for a food processor to make the crust, mainly because it’s significantly easier and faster, it’s not strictly necessary. If you don’t have one, or simply prefer traditional methods, you can cut the cold butter into the flour and powdered sugar using a pastry blender, your fingertips (working quickly to keep the butter cold), or two butter knives in a scissor-like motion. The goal is to achieve coarse crumbs before the mixture starts to come together.
- Freezing Lemon Bars: Yes, you can absolutely freeze these delightful lemon bars! This is a fantastic way to prepare them ahead of time or save leftovers. Here’s how:
- First, cut the cooled bars into individual servings.
- Arrange the cut bars on a baking sheet lined with waxed paper or parchment paper, ensuring they are not touching each other.
- Freeze for about 2 hours, or until solid.
- Once frozen, wrap each individual lemon bar tightly in plastic wrap.
- Place the plastic-wrapped bars into a freezer-safe bag or airtight container. They can be stored in the freezer for up to 2-3 months.
- To thaw, simply remove a frozen lemon bar, unwrap it immediately (to prevent condensation from making it soggy), and let it thaw at room temperature on a plate for about 30-60 minutes before enjoying.
- Zesting Tips: Always zest your lemons before juicing them! It’s much easier to get the zest from a firm, whole lemon. Use a microplane or fine grater and only remove the bright yellow part of the peel, avoiding the bitter white pith underneath.
- Troubleshooting Soggy Crust: A soggy crust can happen if the crust isn’t fully baked before the filling is added, or if the filling is too liquidy. Ensure your crust is lightly golden brown before adding the filling. The parchment paper method also helps prevent the crust from sticking and keeps its texture intact.

These sweet-tart lemon bar treats are incredibly versatile and are the perfect take-along dessert to your next potluck, family gathering, or backyard barbecue. Their bright flavor and refreshing tang make them a crowd-pleaser any time of year. I truly hope you love these easy, delicious lemon bars as much as we do!
More Lemon-Inspired Recipes to Brighten Your Day
If you’ve fallen in love with the zesty magic of these lemon bars, you’re in for a treat! Lemon is an incredibly versatile ingredient, lending its bright, refreshing flavor to a wide array of desserts and baked goods. Here are some more fantastic lemon-inspired recipes to try:
- Lemon Streusel Squares
- Lemon Lush
- Lemon Cream Cheese Pudding Dessert
- Pink Lemonade Cake
- Lemon Blueberry Trifle
- Lemon Zucchini Bread with Blueberries
- Starbucks Lemon Loaf
- Lemon Meringue Pie Bars
- Instant Pot Lemon Curd
- Lemon Cream Cheese Pudding Dessert
I absolutely adore baking and cooking, and sharing my favorite recipes with you brings me so much joy! I know how easy it is to forget to revisit a blog or search for that perfect recipe again, so I’ve made it super simple for you to stay connected with my weekly newsletter! You can subscribe for free today, and I’ll send a fresh batch of delicious recipes straight to your email inbox every single week. Don’t miss out on your next favorite meal or dessert!

Lemon Bars
IMPORTANT – There are often Frequently Asked Questions within the blog post that you may find helpful. Simply scroll back up to read them!
Print It
Rate It
Ingredients
Crust
- 2 cups all purpose flour
- 1 cup cold unsalted butter, cubed
- ½ cup powdered sugar
Lemon Filling
- 2 cups granulated sugar
- ⅓ cup all purpose flour
- 6 large eggs
- ½ cup lemon juice freshly squeezed
- 2 tablespoon lemon zest
Topping
- ¼ cup powdered sugar
Things You’ll Need
-
13×9 baking pan
-
Food processor
-
Electric mixer
-
Wire cooling racks
Before You Begin
- These lemon bars will cut neatly if you chill them first. Store in the fridge for about 30-40 minutes. Any longer and the shortbread becomes too solid to get through easily. This is from the butter solidifying. If that happens, leave them at room temperature for 20 minutes or so.
- Store lemon bars tightly covered at room temperature.
- The instructions call for a food processor, simply because it’s easier and faster. You can use your mixer for the filling, and if you prefer, you can cut the butter in the old fashioned way, with your fingers or using two butter knives scissor fashion.
Instructions
-
Preheat oven to 350 F and line a 13×9 baking pan with parchment paper. Be sure that parchment hangs over the edges; you will use it to lift out the bars when they are cool.
Make the Crust
-
In the bowl of your food processor, pulse to combine flour, powdered sugar, and butter. Process until coarse crumbs are formed, just as the dough begins to come together. Dump crumb mixture into prepared pan and press evenly. Bake for 18-20 minutes, until lightly browned. Remove from oven and allow to cool on wire rack.
Make the Lemon Filling
-
With an electric mixer set at medium speed, beat granulated sugar, flour, eggs, lemon juice, and lemon zest until ingredients are well blended.
-
Pour mixture evenly over warm crust. Return to oven; bake until center is set and edges are golden, about 18-20 minutes. Remove pan to wire rack; cool completely (about 2 hours).
-
When completely cool, refrigerate for about 30 minutes to help set the filling.
-
Remove bars from fridge and lift out of pan using parchment paper handles. Sift some powdered sugar across the top and cut into bars (approximately 2″ x 1.5″, 30 bars).
Nutrition
Calories: 168cal |
Carbohydrates: 24g |
Protein: 2g |
Fat: 7g |
Saturated Fat: 4g |
Cholesterol: 53mg |
Sodium: 15mg |
Potassium: 30mg |
Fiber: 1g |
Sugar: 16g |
Vitamin A: 243IU |
Vitamin C: 2mg |
Calcium: 9mg |
Iron: 1mg
Tried this Recipe? Pin it for Later!
Follow on Pinterest @AmandasCookin or tag #AmandasCookin!
The recipes on this blog are tested with a conventional gas oven and gas stovetop. It’s important to note that some ovens, especially as they age, can cook and bake inconsistently. Using an inexpensive oven thermometer can assure you that your oven is truly heating to the proper temperature. If you use a toaster oven or countertop oven, please keep in mind that they may not distribute heat the same as a conventional full sized oven and you may need to adjust your cooking/baking times. In the case of recipes made with a pressure cooker, air fryer, slow cooker, or other appliance, a link to the appliances we use is listed within each respective recipe. For baking recipes where measurements are given by weight, please note that results may not be the same if cups are used instead, and we can’t guarantee success with that method.
This post originally appeared here on Apr 11, 2013 and has since been updated with new photos and expert tips.
