Easy Homemade Kettle Corn: Your Go-To Sweet & Salty Snack Recipe
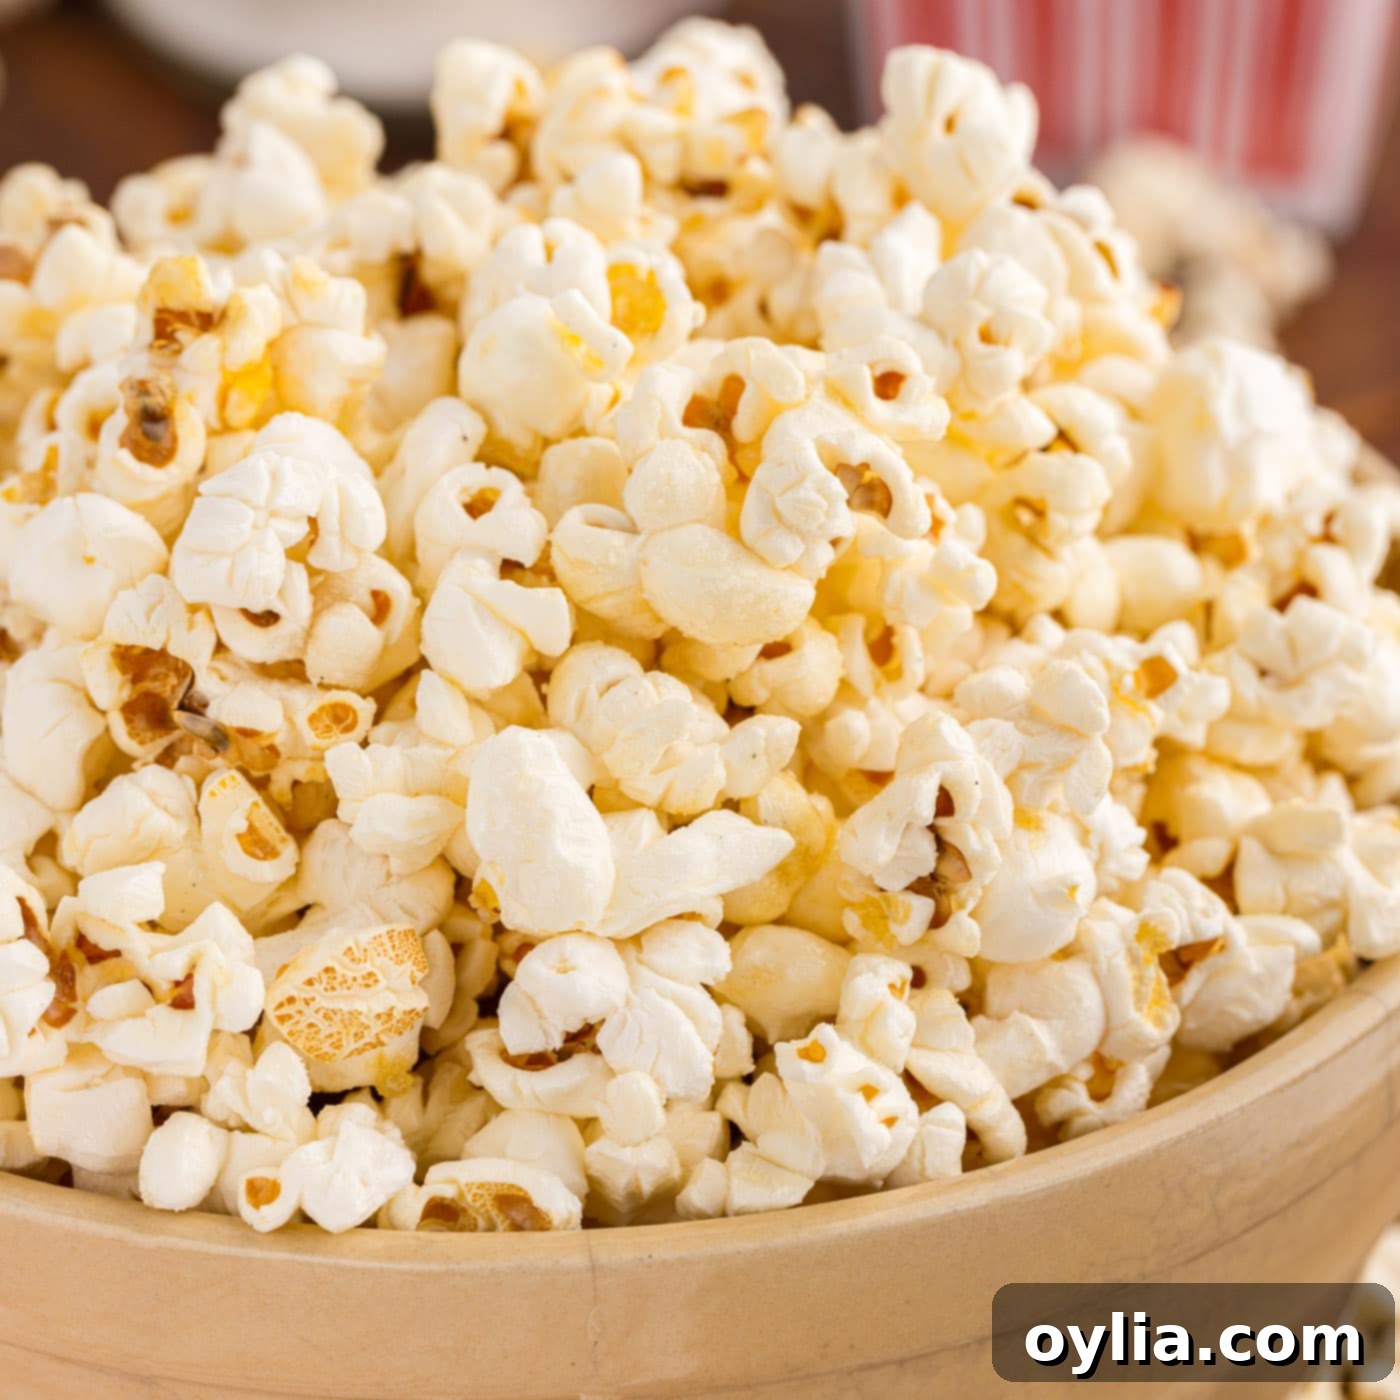
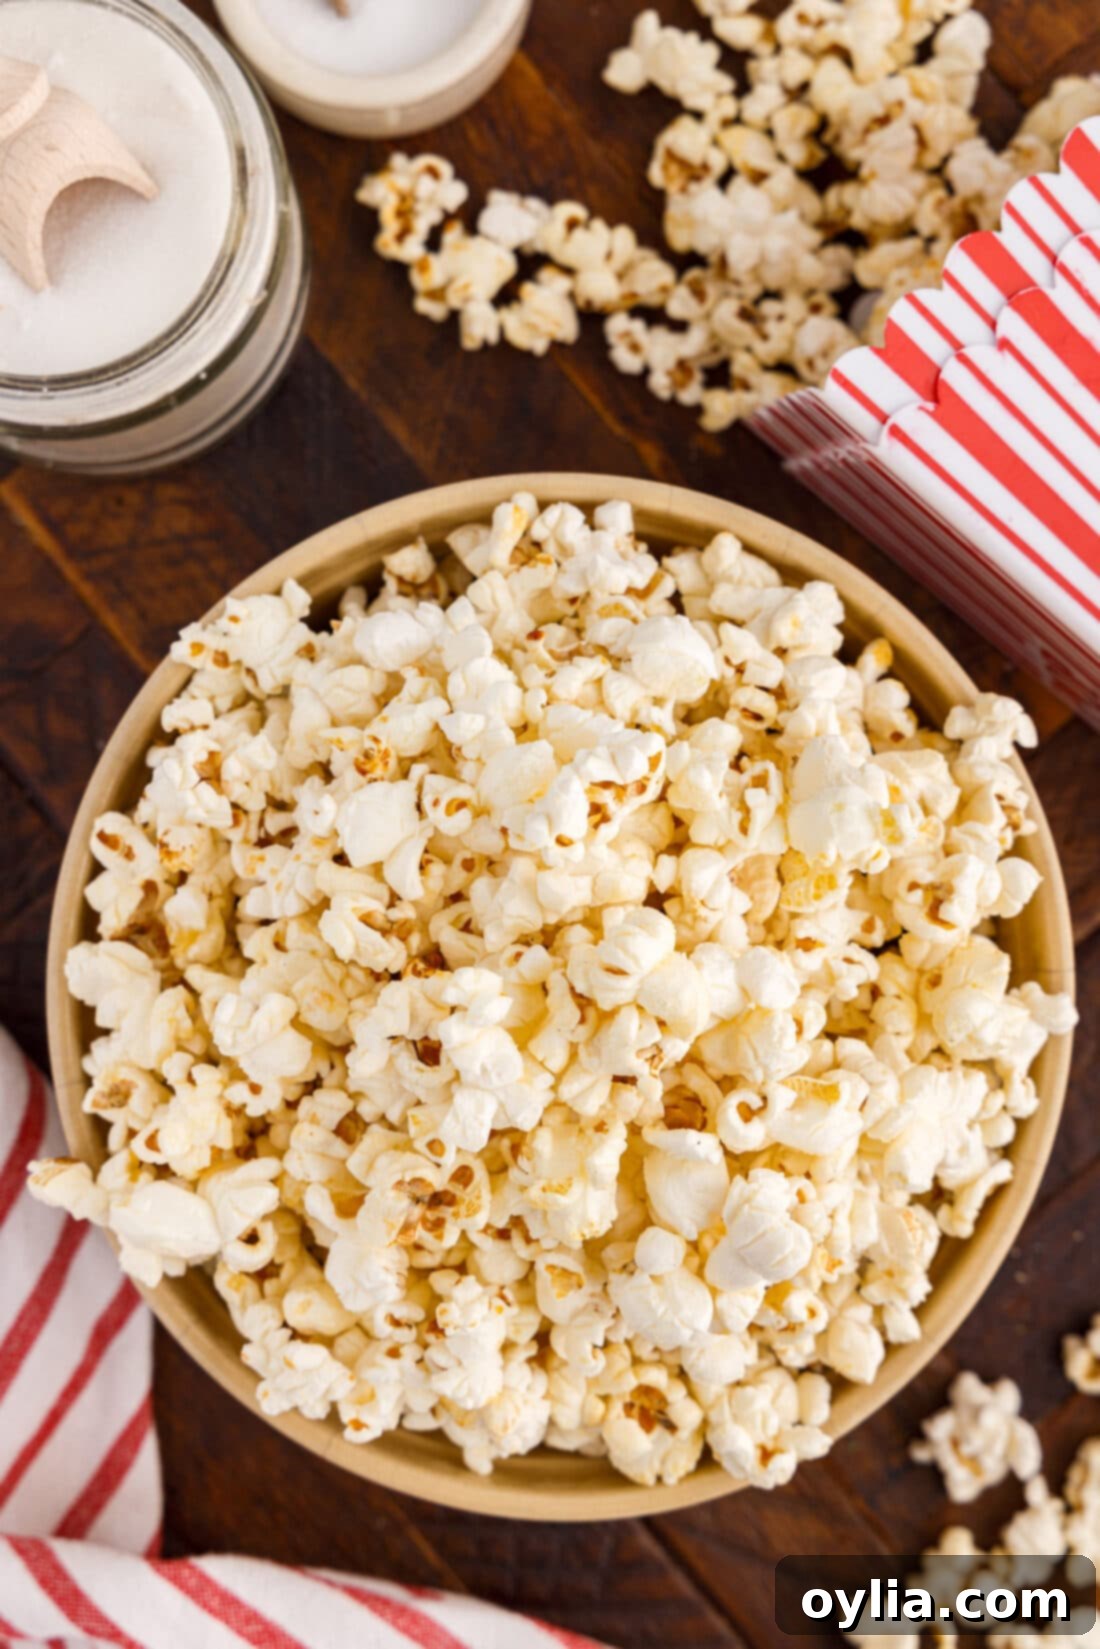
Imagine the irresistible aroma of a bustling county fair or a vibrant carnival, filled with the delightful scent of freshly popped kettle corn. That perfect balance of sweet and salty is no longer just a nostalgic memory; it’s incredibly easy to recreate right in your own kitchen! Forget the long lines and overpriced bags – this simple homemade kettle corn recipe uses just four essential ingredients and a single skillet, allowing you to whip up a delicious batch of this beloved snack in under 10 minutes. Perfect for movie nights, casual gatherings, or simply satisfying that sudden craving, our easy-to-follow guide ensures a perfectly crunchy, delightfully seasoned treat every time. Get ready to enjoy the ultimate snack experience, blending the comforting familiarity of popcorn with a surprisingly addictive sweet glaze and a hint of savory salt.
Why This Homemade Kettle Corn Recipe Works So Well
Once you discover the incredible ease and superior taste of making kettle corn from scratch, you’ll likely never go back to store-bought. This recipe is a game-changer because it’s not only quick and simple but also delivers that authentic, deeply satisfying sweet and salty flavor profile that perfectly mimics the popcorn you remember from county fairs and carnivals. The secret lies in popping the corn kernels in a large, heavy-bottomed pot or skillet, allowing the sugar and salt to caramelize slightly onto each puffed kernel. This creates a delightful contrast of textures and tastes: light and airy popcorn with a thin, crispy, sweet, and savory coating.
We absolutely adore all types of popcorn, from classic buttered varieties to various homemade popcorn seasonings. However, there’s something truly special about lightly sweetened kettle corn. It evokes a sense of comfort and nostalgia, making it the ideal snack for any occasion – whether you’re unwinding on the couch with a movie, hosting a casual get-together, or looking for a unique after-dinner treat. Its rapid preparation time means those cravings can be satisfied almost instantly, providing a fresh, warm batch whenever you desire. It’s truly a timeless snack that holds a special place in our hearts.
Simple Ingredients for Delicious Kettle Corn
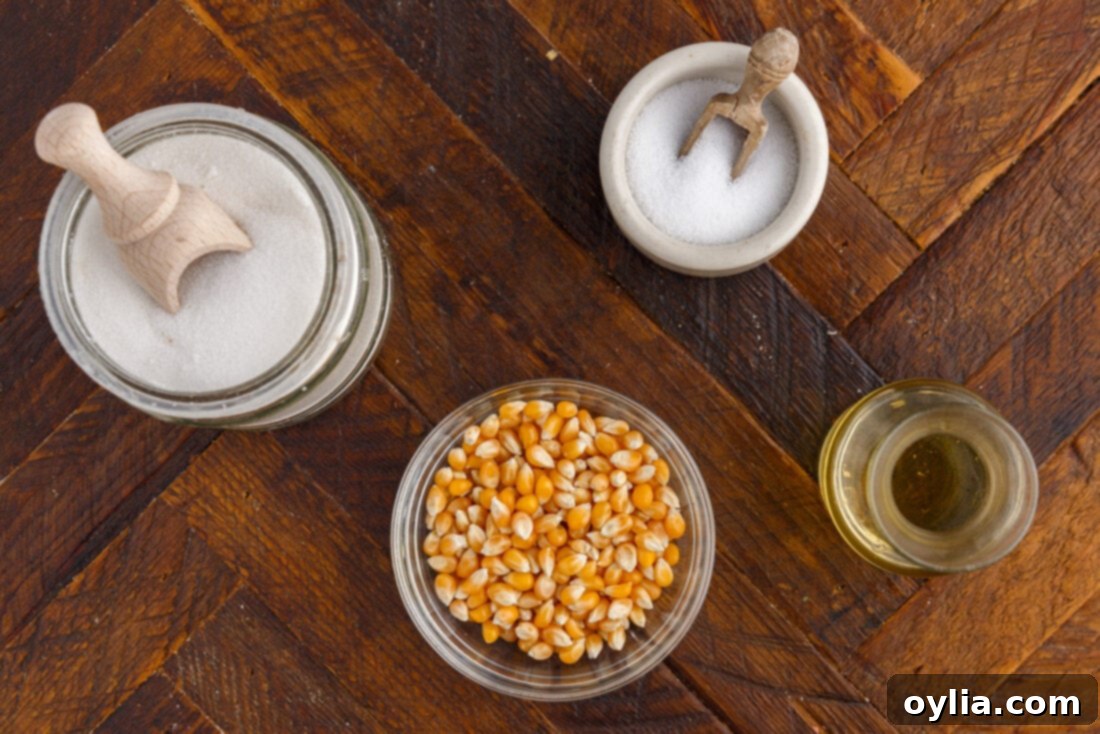
One of the best aspects of this homemade kettle corn recipe is its simplicity, requiring only a handful of common pantry staples. You’ll find all exact measurements, ingredients, and detailed instructions in the printable recipe card located at the end of this post. For now, let’s dive into what makes these four ingredients work magic!
Ingredient Information and Expert Substitution Suggestions
- OIL – For popcorn, especially kettle corn, a neutral-flavored oil is crucial. Vegetable oil is a fantastic choice as it has a high smoke point and won’t impart any unwanted flavors, allowing the sweet and salty notes to shine. Other excellent alternatives include canola oil, grapeseed oil, or even coconut oil if you enjoy a subtle tropical hint. Avoid olive oil or butter, as their lower smoke points can lead to burning, and butter can also make the popcorn soggy.
- SUGAR – Granulated white sugar is the classic choice here, creating that signature delicate, slightly caramelized coating. While you could experiment with superfine sugar for an even coating, regular granulated sugar works perfectly. We recommend sticking with white sugar for the best results, as darker sugars like brown sugar can burn more easily due to their molasses content.
- SALT – The salt plays a vital role in balancing the sweetness. We found that 2 tablespoons of sugar and 1/2 teaspoon of fine sea salt creates a delightful balance. You can certainly reduce the salt to 1/4 teaspoon if you prefer a less savory profile. Sprinkling the sugar and salt onto the kernels before popping helps them adhere better as the corn expands and the sugar melts. However, if you’re unsure about the salt level, you can always wait to add it after the popcorn is cooked, allowing you to taste and adjust to your preference. Fine-grained salts like sea salt or popcorn salt work best as they dissolve and stick more evenly than coarse kosher salt.
- CORN KERNELS – While not explicitly detailed in the original “ingredient info,” using good quality popping corn kernels is essential. Standard yellow or white kernels will work well. For the best “butterfly” shape (the classic winged popcorn shape that catches seasoning well), look for unpopped popcorn kernels designed for stovetop popping.
How to Make Perfect Kettle Corn on Your Stovetop
These step-by-step photos and instructions are here to help you visualize how to make this recipe. For the printable version, complete with precise measurements and full instructions, you can Jump to Recipe at the bottom of this page.
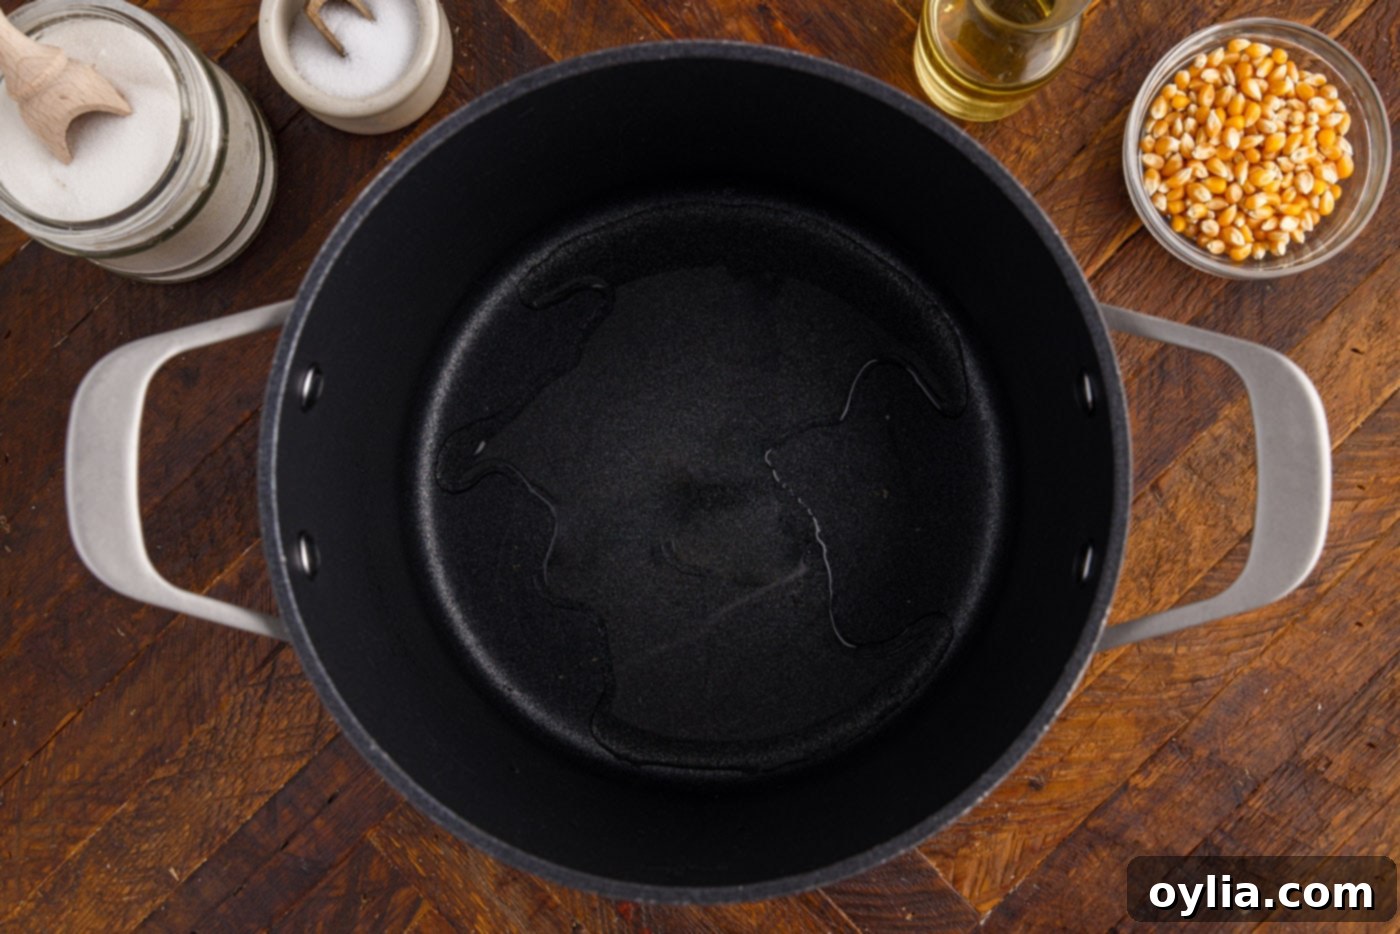
- Prepare Your Pot and Oil: Choose a large, heavy-bottomed pot or a deep skillet with a tight-fitting lid. This is crucial for even heat distribution and to prevent burning. Coat the bottom of the pan with 1-2 tablespoons of neutral oil. Heat the oil over medium-high heat until it begins to shimmer. To test if it’s ready, you can drop in a single kernel; if it pops within a minute, your oil is at the right temperature.

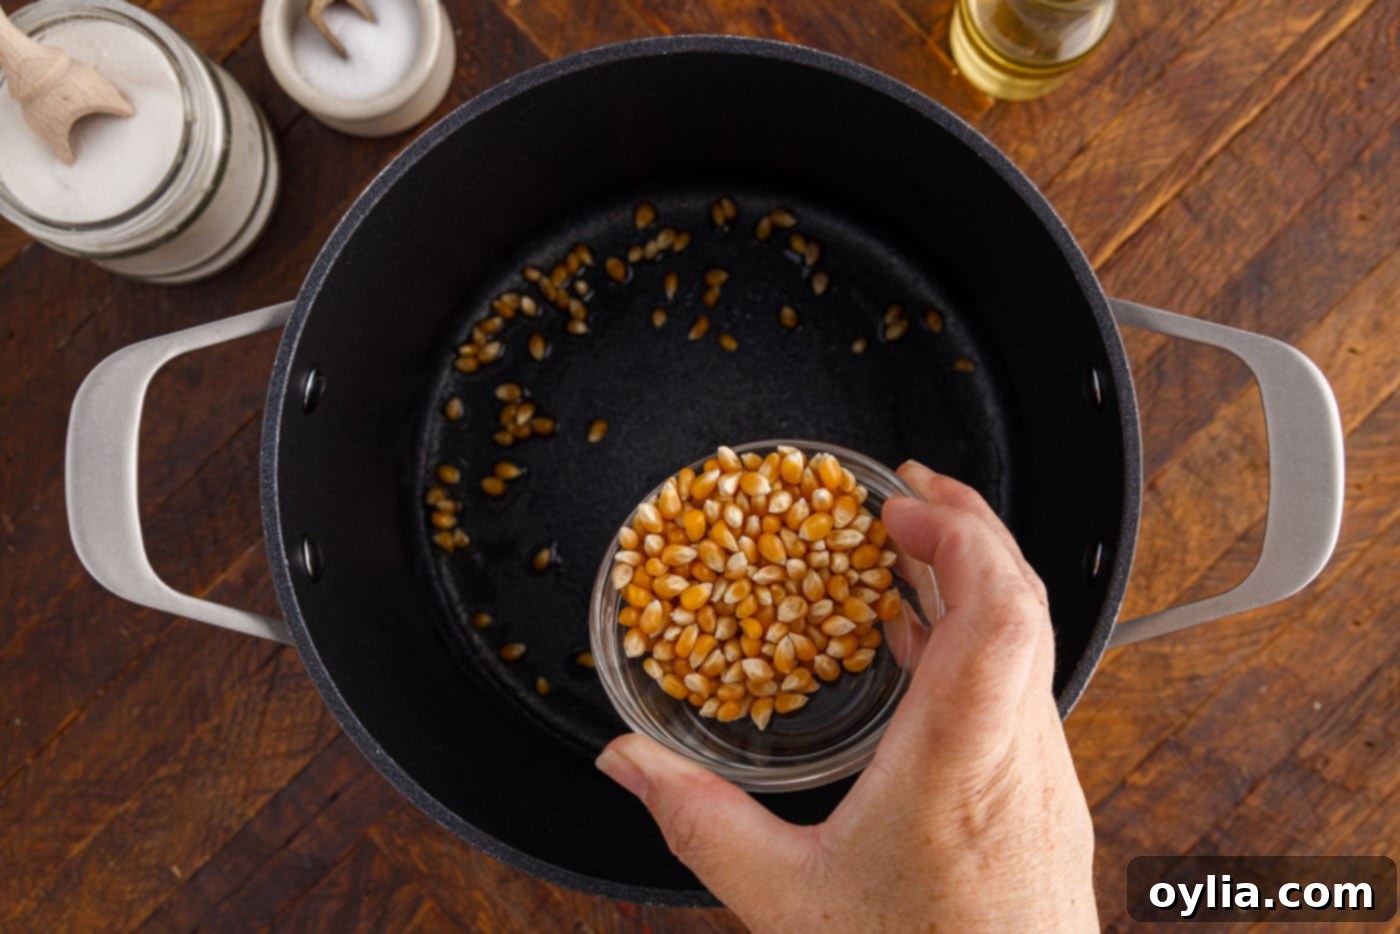
- Add Corn Kernels: Carefully sprinkle the corn kernels into the hot pan. Give the pan a gentle shake to ensure all kernels are lightly coated in the oil. This step helps them pop more evenly.

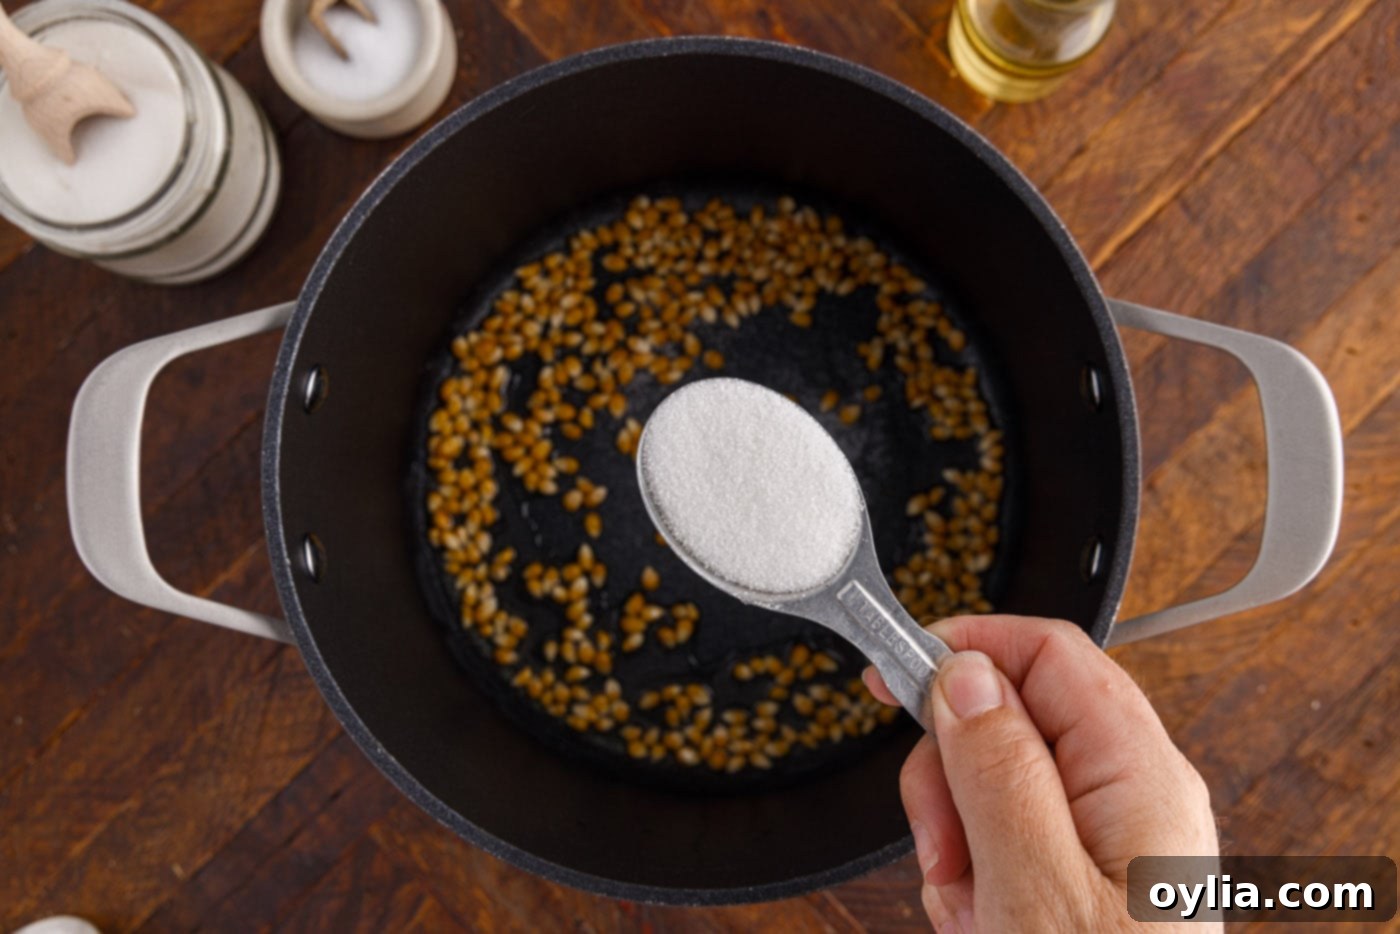
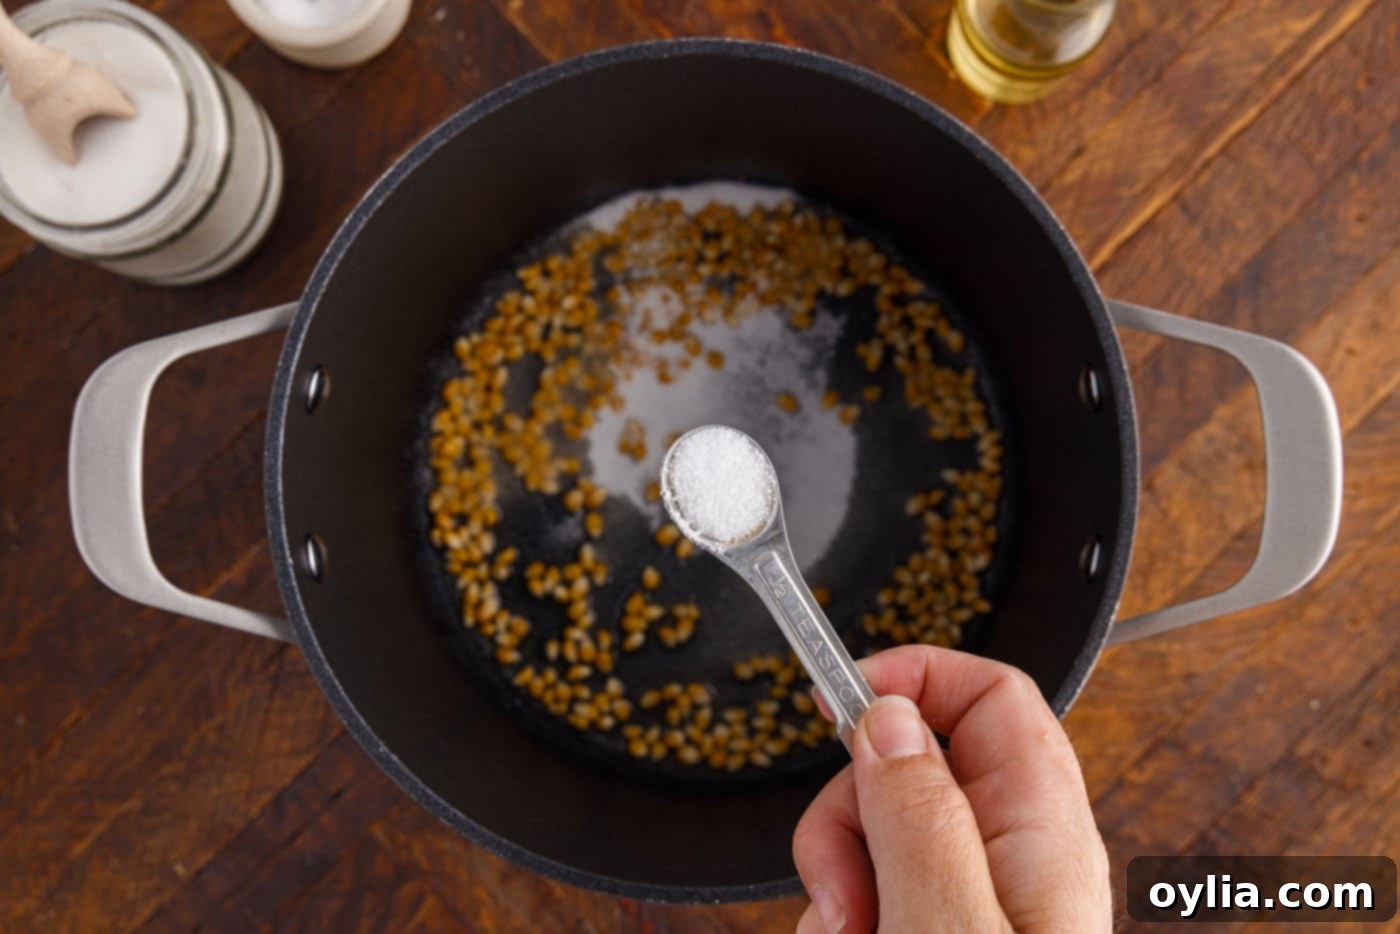
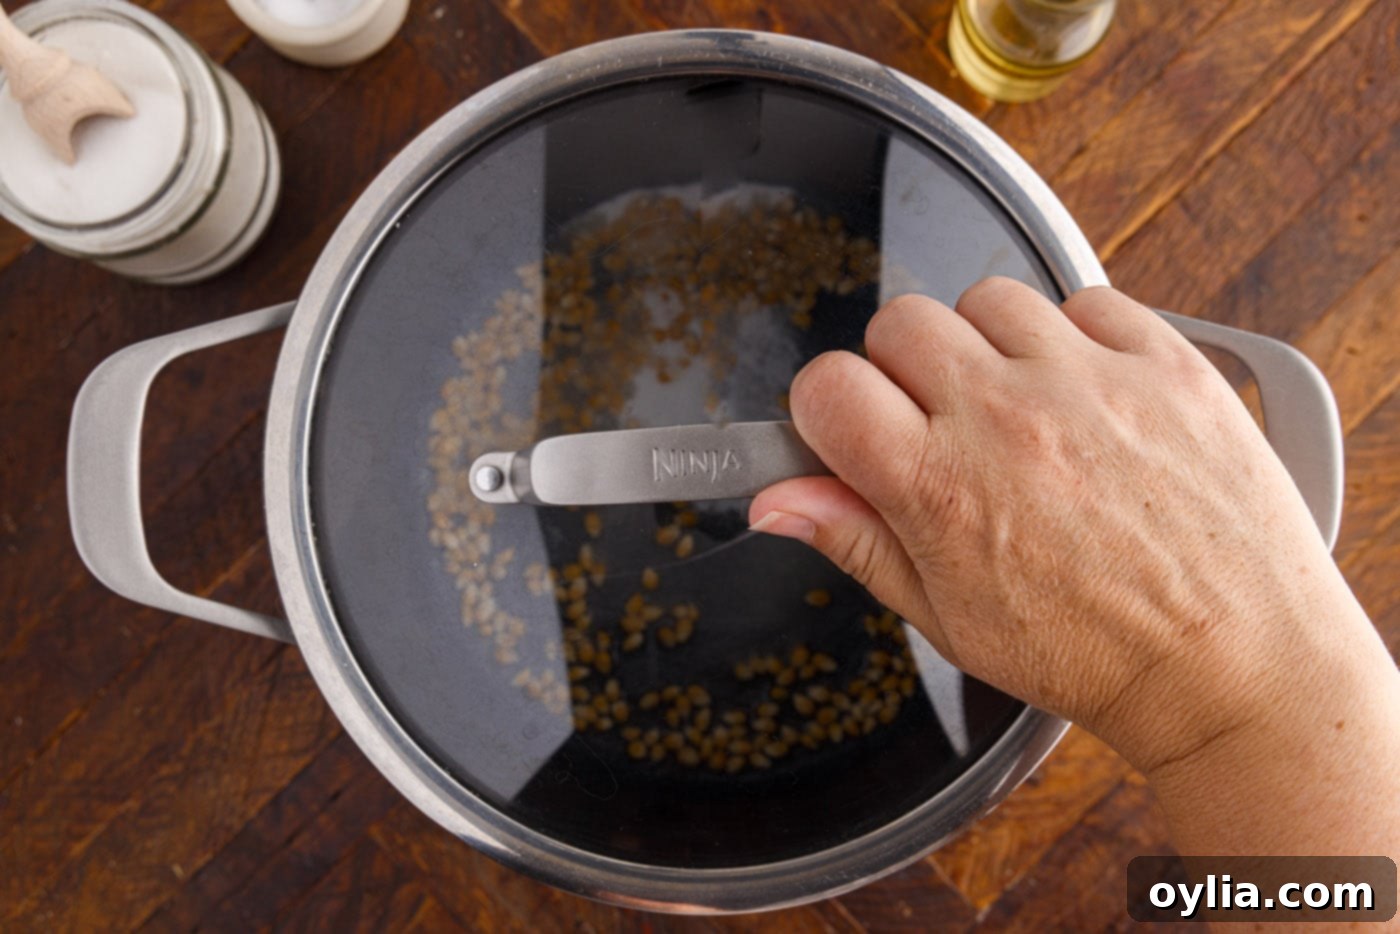
- Season and Cover: Evenly sprinkle the granulated sugar and salt over the corn kernels. Immediately place the lid firmly on the pot. This traps the heat and moisture, which are essential for popping, and ensures the sugar and salt will adhere to the popcorn as it cooks.


- Shake Constantly: Continue cooking over medium-high heat, but here’s the crucial step: shake the pan constantly! This isn’t just for fun; it keeps the kernels moving around, preventing the sugar from settling and burning on the bottom of the pot. Continuous shaking also helps ensure even popping and caramelization.
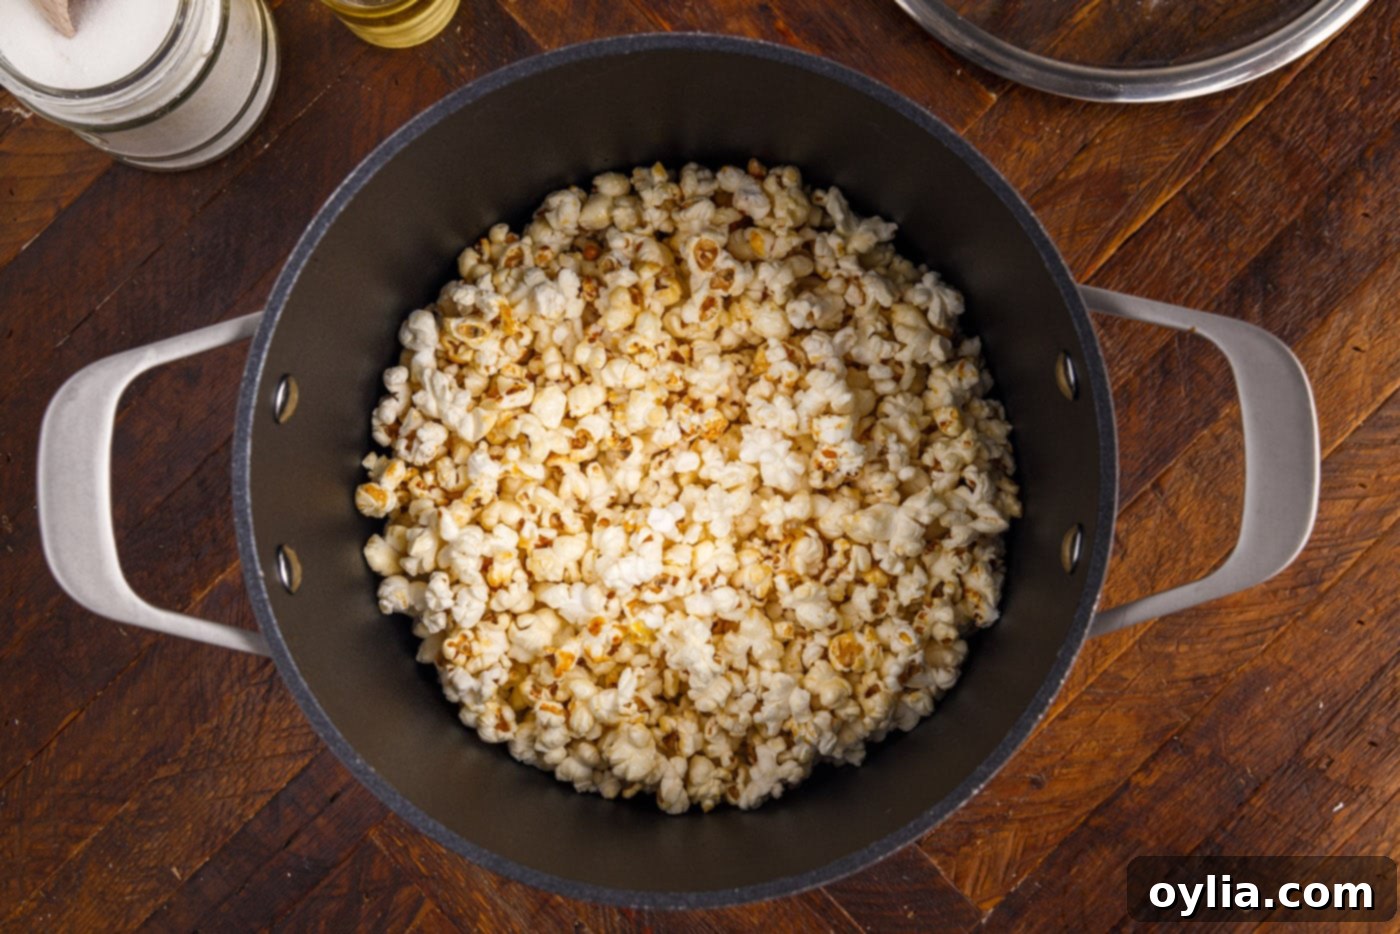
- Listen for the Pauses: The kernels will soon begin to pop. Keep shaking! Continue cooking until most of the corn has popped, and you hear only a one-second pause between pops. This typically takes about 2-3 minutes once the popping begins over medium heat. Don’t try to get every last kernel to pop; that’s often when the sugar starts to burn. It’s better to have a few unpopped kernels than burnt kettle corn!

- Cool Immediately: As soon as the popping slows significantly, immediately pour the hot kettle corn into a separate large bowl or spread it out onto a baking sheet. This stops the cooking process and prevents the sugar from over-caramelizing and sticking to the bottom of the pot or burning the popcorn.
- Break Apart and Serve: Once the kettle corn has cooled slightly, it may form some clumps due to the melted sugar. Gently break apart any large chunks and remove any unpopped kernels. Your delicious homemade kettle corn is now ready to serve and enjoy!
Frequently Asked Questions & Expert Tips for Perfect Kettle Corn
While we believe kettle corn is truly best enjoyed immediately, especially since it’s so quick and easy to make fresh, you can certainly store any cooled leftovers. To maintain its delightful crunch and flavor, place the kettle corn in an airtight container or a sealed ziptop bag. Store it at room temperature for up to 5-6 days. The key to preserving freshness is ensuring the container is tightly sealed; exposure to air will quickly make the popcorn stale and chewy.
Burning sugar is a common challenge with kettle corn, but it’s easily avoidable with the right technique. Because sugar caramelizes and burns at a lower temperature than oil, you must keep the kernels in constant motion. Here’s why and how to prevent it:
- Constant Shaking: This is the most critical step. Shake the pot continuously throughout the cooking process. This prevents the sugar from sitting in one spot on the hot bottom of the pan, where it would quickly burn.
- Prompt Removal: As soon as the popping slows to about one pop every second, immediately remove the popcorn from the heat and transfer it to a separate bowl or baking sheet. Do not try to pop every last kernel; the risk of burning the sugar outweighs the benefit of a few extra popped kernels.
- Pan Choice: Use a lightweight, heavy-bottomed pot. A heavy bottom helps distribute heat more evenly, reducing hot spots. A lightweight pot makes it easier to maintain the constant shaking motion. Ensure the pan has plenty of room for the corn to expand (don’t overcrowd it) and a secure lid to keep steam in and prevent popcorn from flying out.
- Heat Level: Keep the heat at medium-high. Too high and the sugar will scorch before the kernels pop; too low and the popcorn will be chewy or won’t pop at all.
No, this specific kettle corn recipe, which relies on sugar caramelizing directly onto the kernels during popping, cannot be made in an air popper or microwave. Air poppers use hot air, which would blow the sugar and salt around without melting or adhering properly. Microwave popcorn bags are pre-seasoned and designed for a different cooking method. The stovetop method in a pot with oil is essential for achieving that characteristic sweet and salty coating.
A large, heavy-bottomed pot (like a Dutch oven or a sturdy stockpot) or a deep skillet with a tight-fitting lid is ideal. The heavy bottom helps to retain and distribute heat evenly, which is crucial for preventing the sugar from burning. A large volume ensures there’s ample space for the popcorn to expand, and a secure lid is essential for safety and to keep moisture in, which aids in popping. Using a lighter pot can make continuous shaking easier, but always prioritize a heavy bottom for heat management.

Serving Suggestions for Your Homemade Kettle Corn
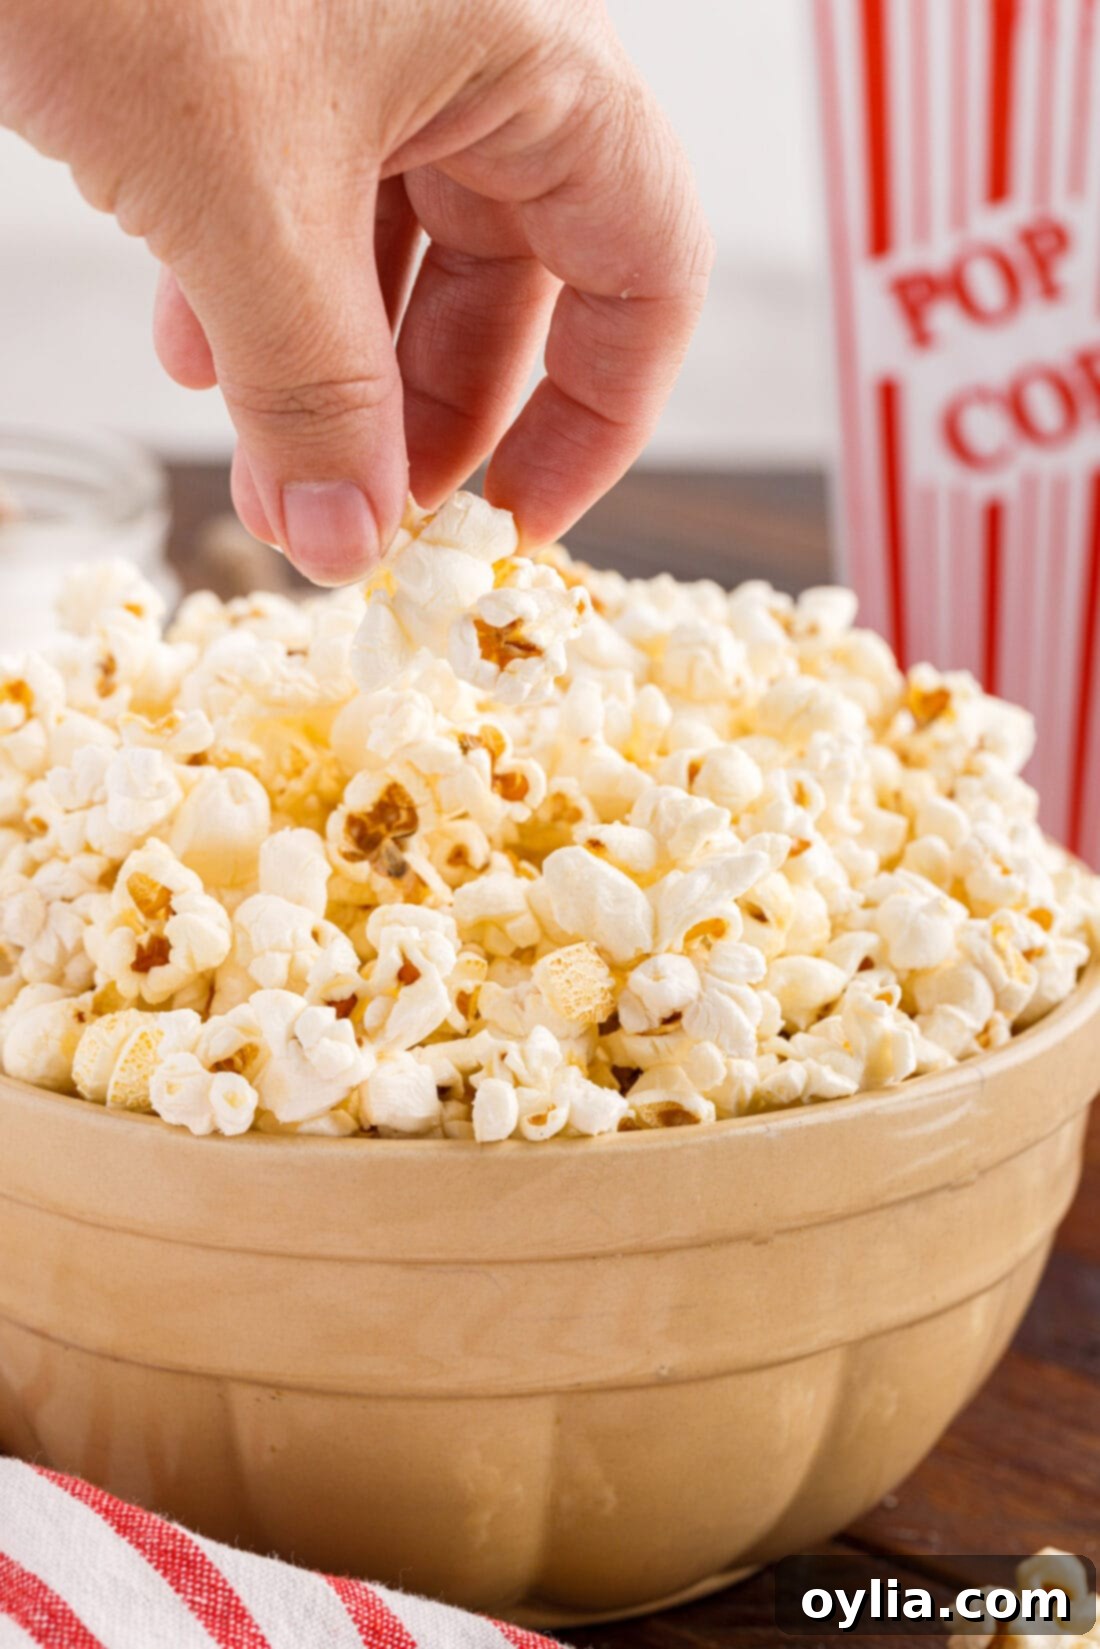
There’s nothing quite like serving kettle corn warm and fresh, straight from the skillet. The slight warmth enhances the sweet and salty flavors, and the crunch is absolutely divine. However, it’s also wonderfully delicious once it has cooled to room temperature, making it a versatile snack for various occasions.
For parties and larger gatherings, consider making a generous batch and serving it in charming popcorn buckets for a fun, eye-catching display. It’s a guaranteed crowd-pleaser! If you’re aiming for a full carnival-themed party, don’t stop at kettle corn. You might as well go all out and whip up some homemade funnel cakes to complement your sweet and salty popcorn. This combination will transport your guests right to the fairgrounds, offering an unforgettable and delicious experience.
Kettle corn also pairs surprisingly well with a variety of beverages. Enjoy it with a cold glass of lemonade or iced tea for a refreshing contrast, or with a warm mug of hot chocolate or cider during cooler months. It’s truly a snack that fits any season and any mood.
More Delightful Snack Recipes to Try
If you’re a fan of easy, delicious snacks, then you’re in the right place! After mastering this kettle corn recipe, be sure to explore some of our other popular snack ideas. From savory to sweet, there’s something for everyone to enjoy:
- Chex Mix: A classic savory, crunchy snack perfect for any occasion.
- Muddy Buddies: Also known as Puppy Chow, this chocolate and peanut butter coated Chex cereal is a sweet favorite.
- Keto Cheese Crackers: A low-carb, crispy alternative for cheese lovers.
- Sweet and Salty Pretzels in a Jar: An addictive snack that combines the best of both worlds.
- Crunchy Popcorn Chocolate Bark: Elevate your popcorn game with this decadent chocolate treat.
I love to bake and cook and share my kitchen experience with all of you! Remembering to come back each day can be tough, that’s why I offer a convenient newsletter every time a new recipe posts. Simply subscribe and start receiving your free daily recipes!
Kettle Corn
IMPORTANT – There are often Frequently Asked Questions within the blog post that you may find helpful. Simply scroll back up to read them!
Print It
Pin It
Rate It
Save ItSaved!
Ingredients
- 1-2 Tablespoons vegetable oil
- ¼ cup corn kernels
- 2 Tablespoons granulated white sugar
- ½ teaspoon sea salt
Things You’ll Need
-
Large pot or deep skillet with lid
Before You Begin
- Using a lightweight pot makes it easier to maintain shaking the pot throughout the cook time. Choose a pan with plenty of room for the corn to expand when popping and one with a secure lid.
- Because of the sugar in the recipe, the popcorn can burn or scorch easily. For this reason, we want to keep the kernels moving in the pan and get the popped corn out of the hot pan as quickly after it has popped as possible. Err on the side of having some unpopped kernels instead of trying to pop them all and risk burning the sugar.
- The salt can be reduced to 1⁄4 teaspoon, but we liked the balance of 2 tablespoons of sugar and 1⁄2 teaspoon salt.
- Though we would argue that kettle corn is best served immediately, especially because it’s so quick and easy to make fresh, you can store cooled leftovers in an air-tight container or sealed ziptop bag kept at room temperature for 5-6 days. Make sure whatever you store it in is tightly sealed to aid in freshness.
Instructions
-
Coat the bottom of a large pot or deep skillet with oil. Heat over medium high until oil shimmers.
-
Sprinkle the corn kernels into the pan and shake a bit to coat the kernels in oil.
-
Sprinkle the sugar and salt over the corn kernels and place the lid on the pot.
-
Continuing to cook over medium high heat, shake the pan constantly to keep the kernels moving around in the pan.
-
The kernels will begin popping. Cook until most of the corn has popped and there is just a one second pause between popping.
Over medium heat, my kettle corn took about 2 minutes to pop once the kernels were added to the hot oil.
-
Immediately pour the kettle corn into a separate bowl or onto a sheet pan to cool.
-
Once cool, break apart any kettle corn chunks and remove unpopped kernels. Serve.
Nutrition
The recipes on this blog are tested with a conventional gas oven and gas stovetop. It’s important to note that some ovens, especially as they age, can cook and bake inconsistently. Using an inexpensive oven thermometer can assure you that your oven is truly heating to the proper temperature. If you use a toaster oven or countertop oven, please keep in mind that they may not distribute heat the same as a conventional full sized oven and you may need to adjust your cooking/baking times. In the case of recipes made with a pressure cooker, air fryer, slow cooker, or other appliance, a link to the appliances we use is listed within each respective recipe. For baking recipes where measurements are given by weight, please note that results may not be the same if cups are used instead, and we can’t guarantee success with that method.
