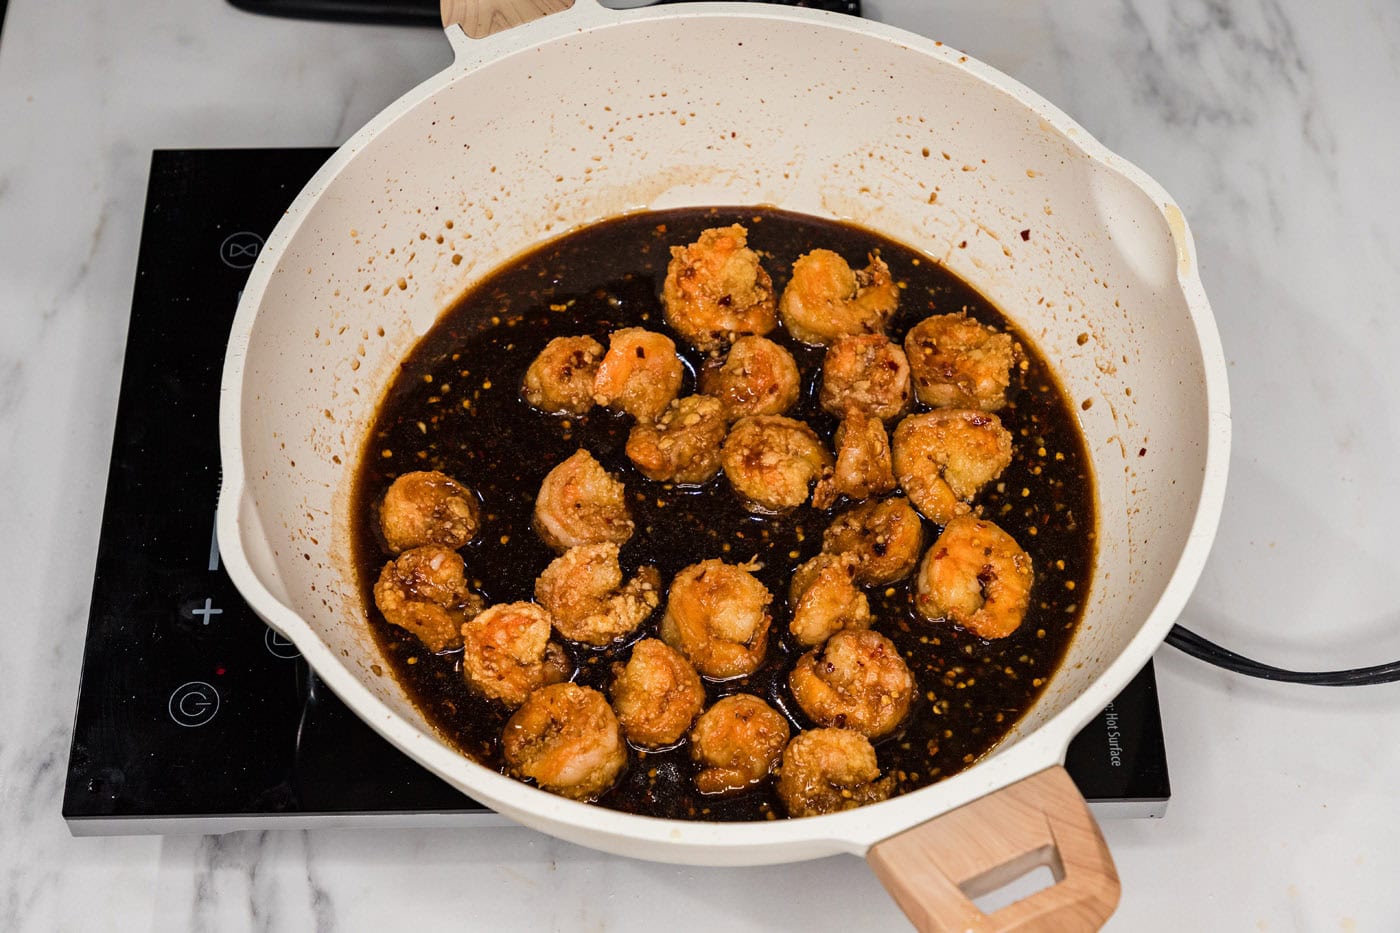
Homemade Mongolian Shrimp: Sweet, Savory, and Spicy Takeout Perfection
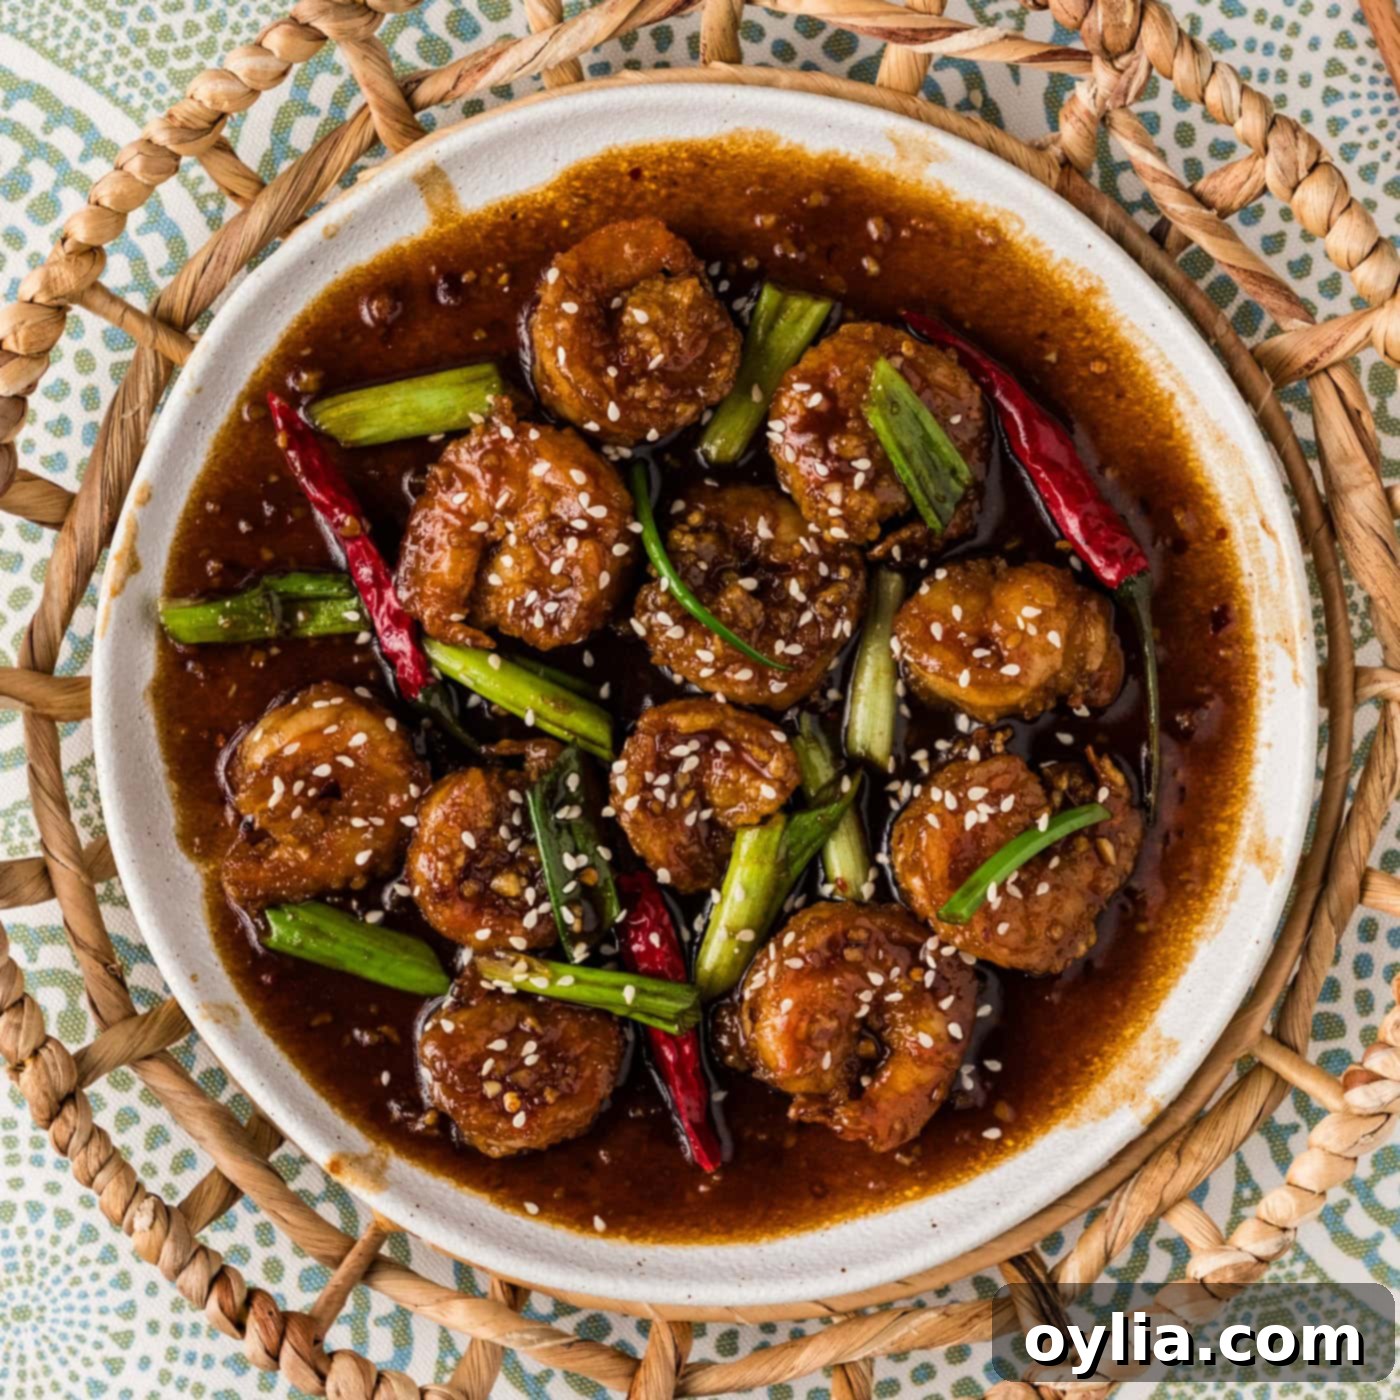
Prepare to elevate your weeknight meals with this incredible homemade Mongolian Shrimp recipe! Combining succulent, crispy breaded shrimp with a rich, Asian-inspired sauce that perfectly balances sweet, savory, and spicy notes, this dish is a true crowd-plepleaser. Forget your usual takeout; this recipe brings the vibrant flavors of your favorite Chinese restaurant right into your kitchen, delivering a meal that’s both exciting and deeply satisfying.
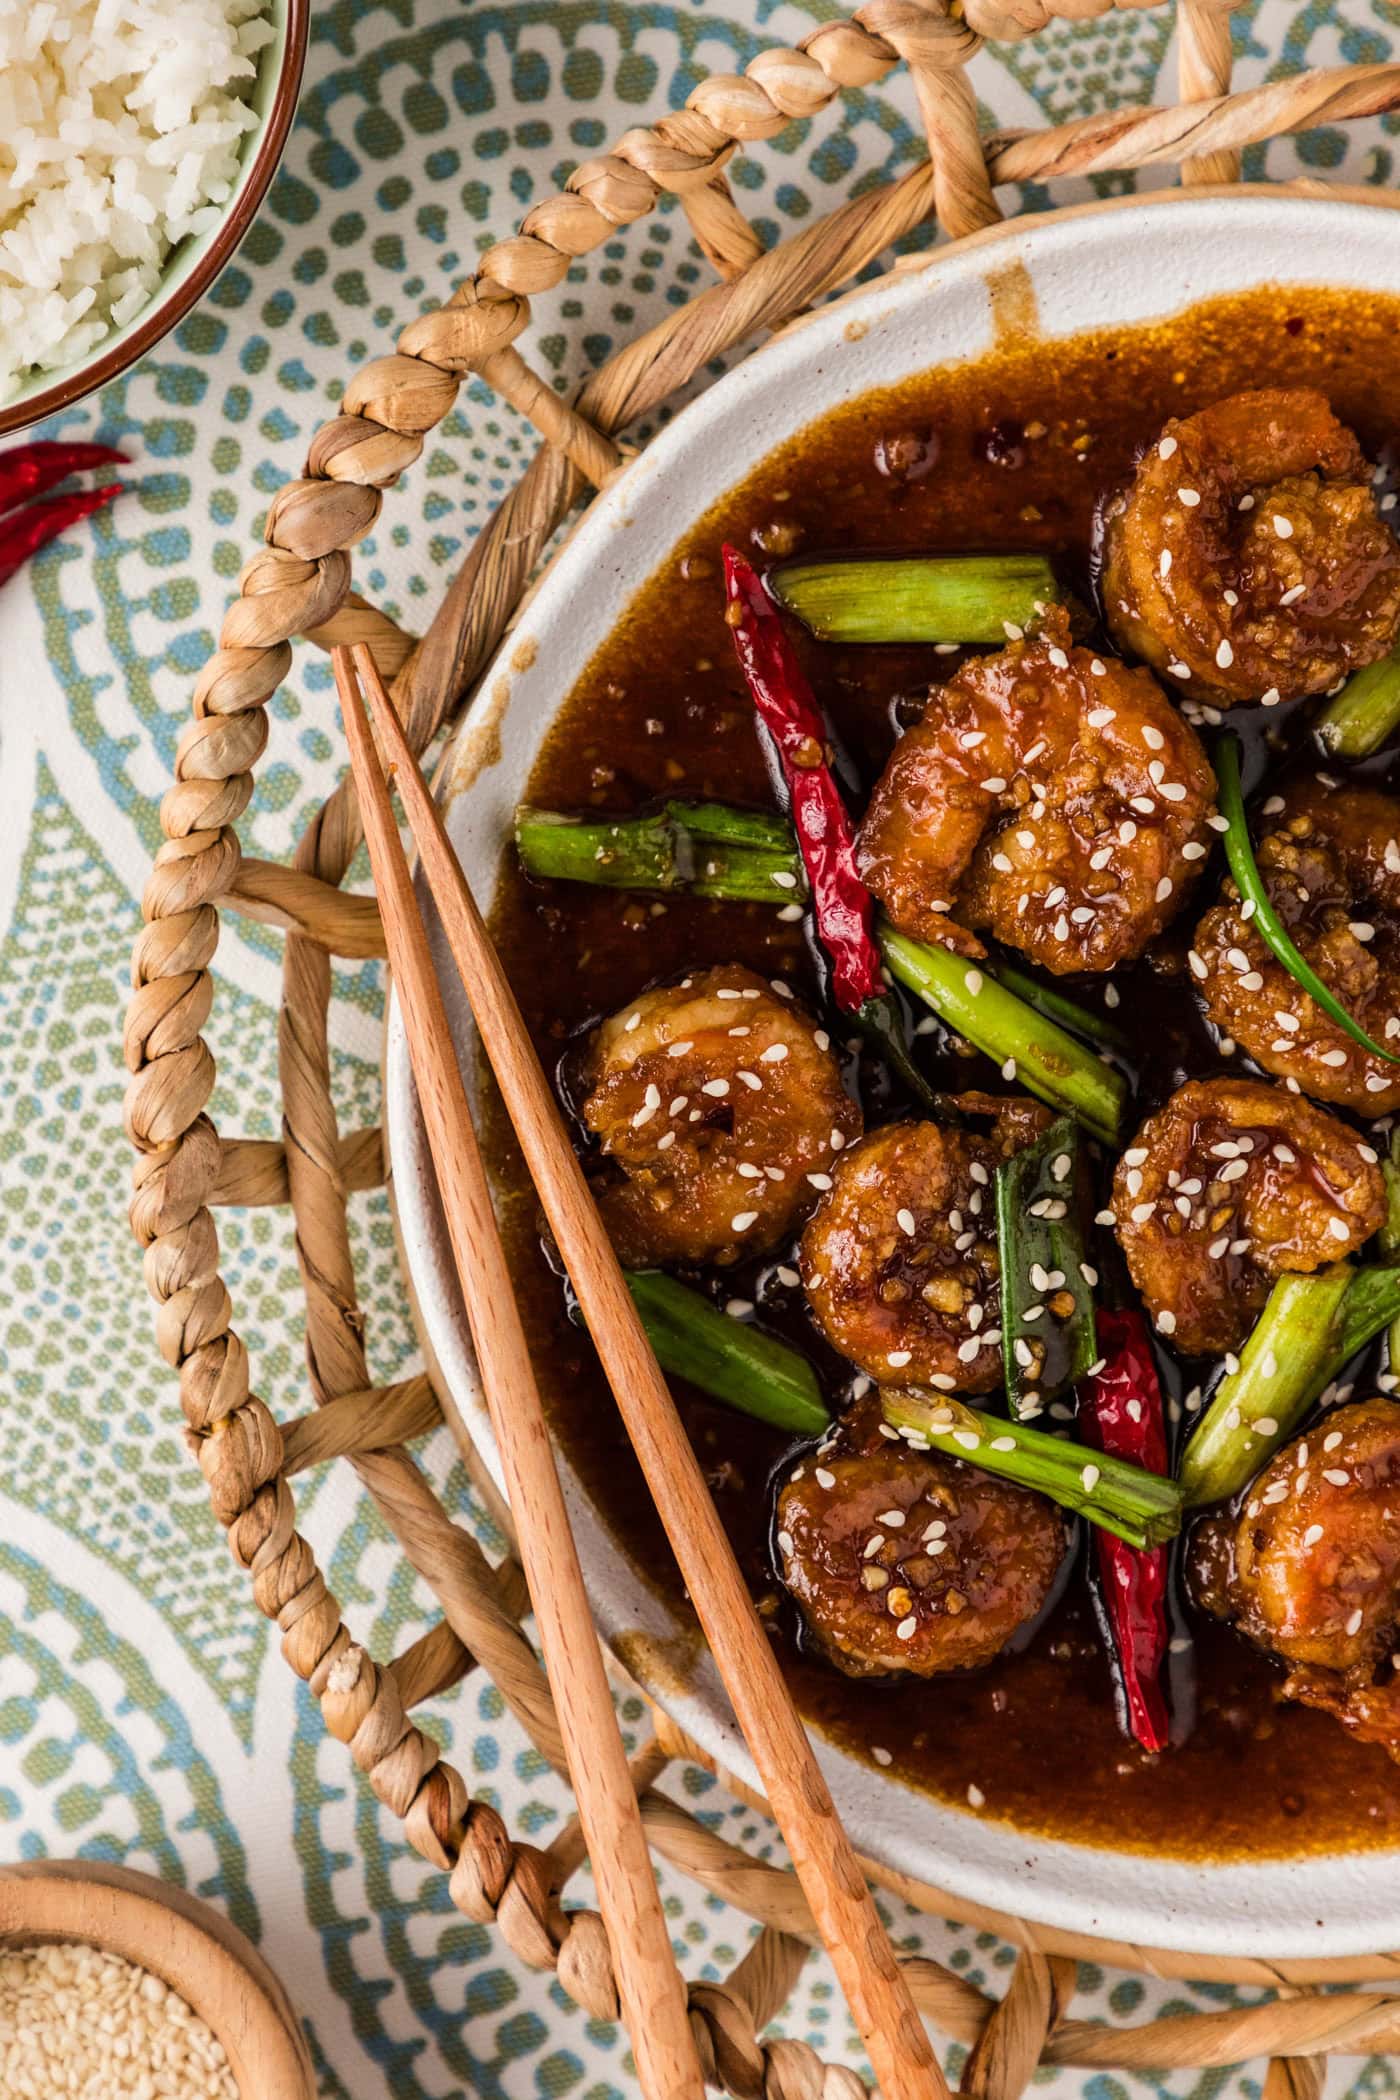
Why This Mongolian Shrimp Recipe Is a Must-Try
This Mongolian Shrimp recipe isn’t just another dinner idea; it’s a culinary experience designed for maximum flavor and enjoyment. The magic lies in its perfect fusion of textures and tastes. Imagine succulent shrimp, coated in a light, crispy breading, then tossed in a velvety, complex sauce. This isn’t a watery, bland sauce you sometimes encounter; it’s robust, rich, and clings beautifully to every piece of shrimp.
Our Asian-inspired sauce is a carefully crafted symphony of ingredients, each playing a vital role: aromatic garlic and ginger provide a pungent warmth, golden honey adds natural sweetness and a beautiful glaze, savory oyster sauce deepens the umami, and a touch of red pepper flakes introduces that signature mild heat. The result is a profoundly flavorful sauce that makes these breaded shrimp truly unforgettable. While it offers a gentle kick, you can easily amplify the spice level with extra red pepper flakes or even a few Thai chili peppers for an authentic heat sensation.
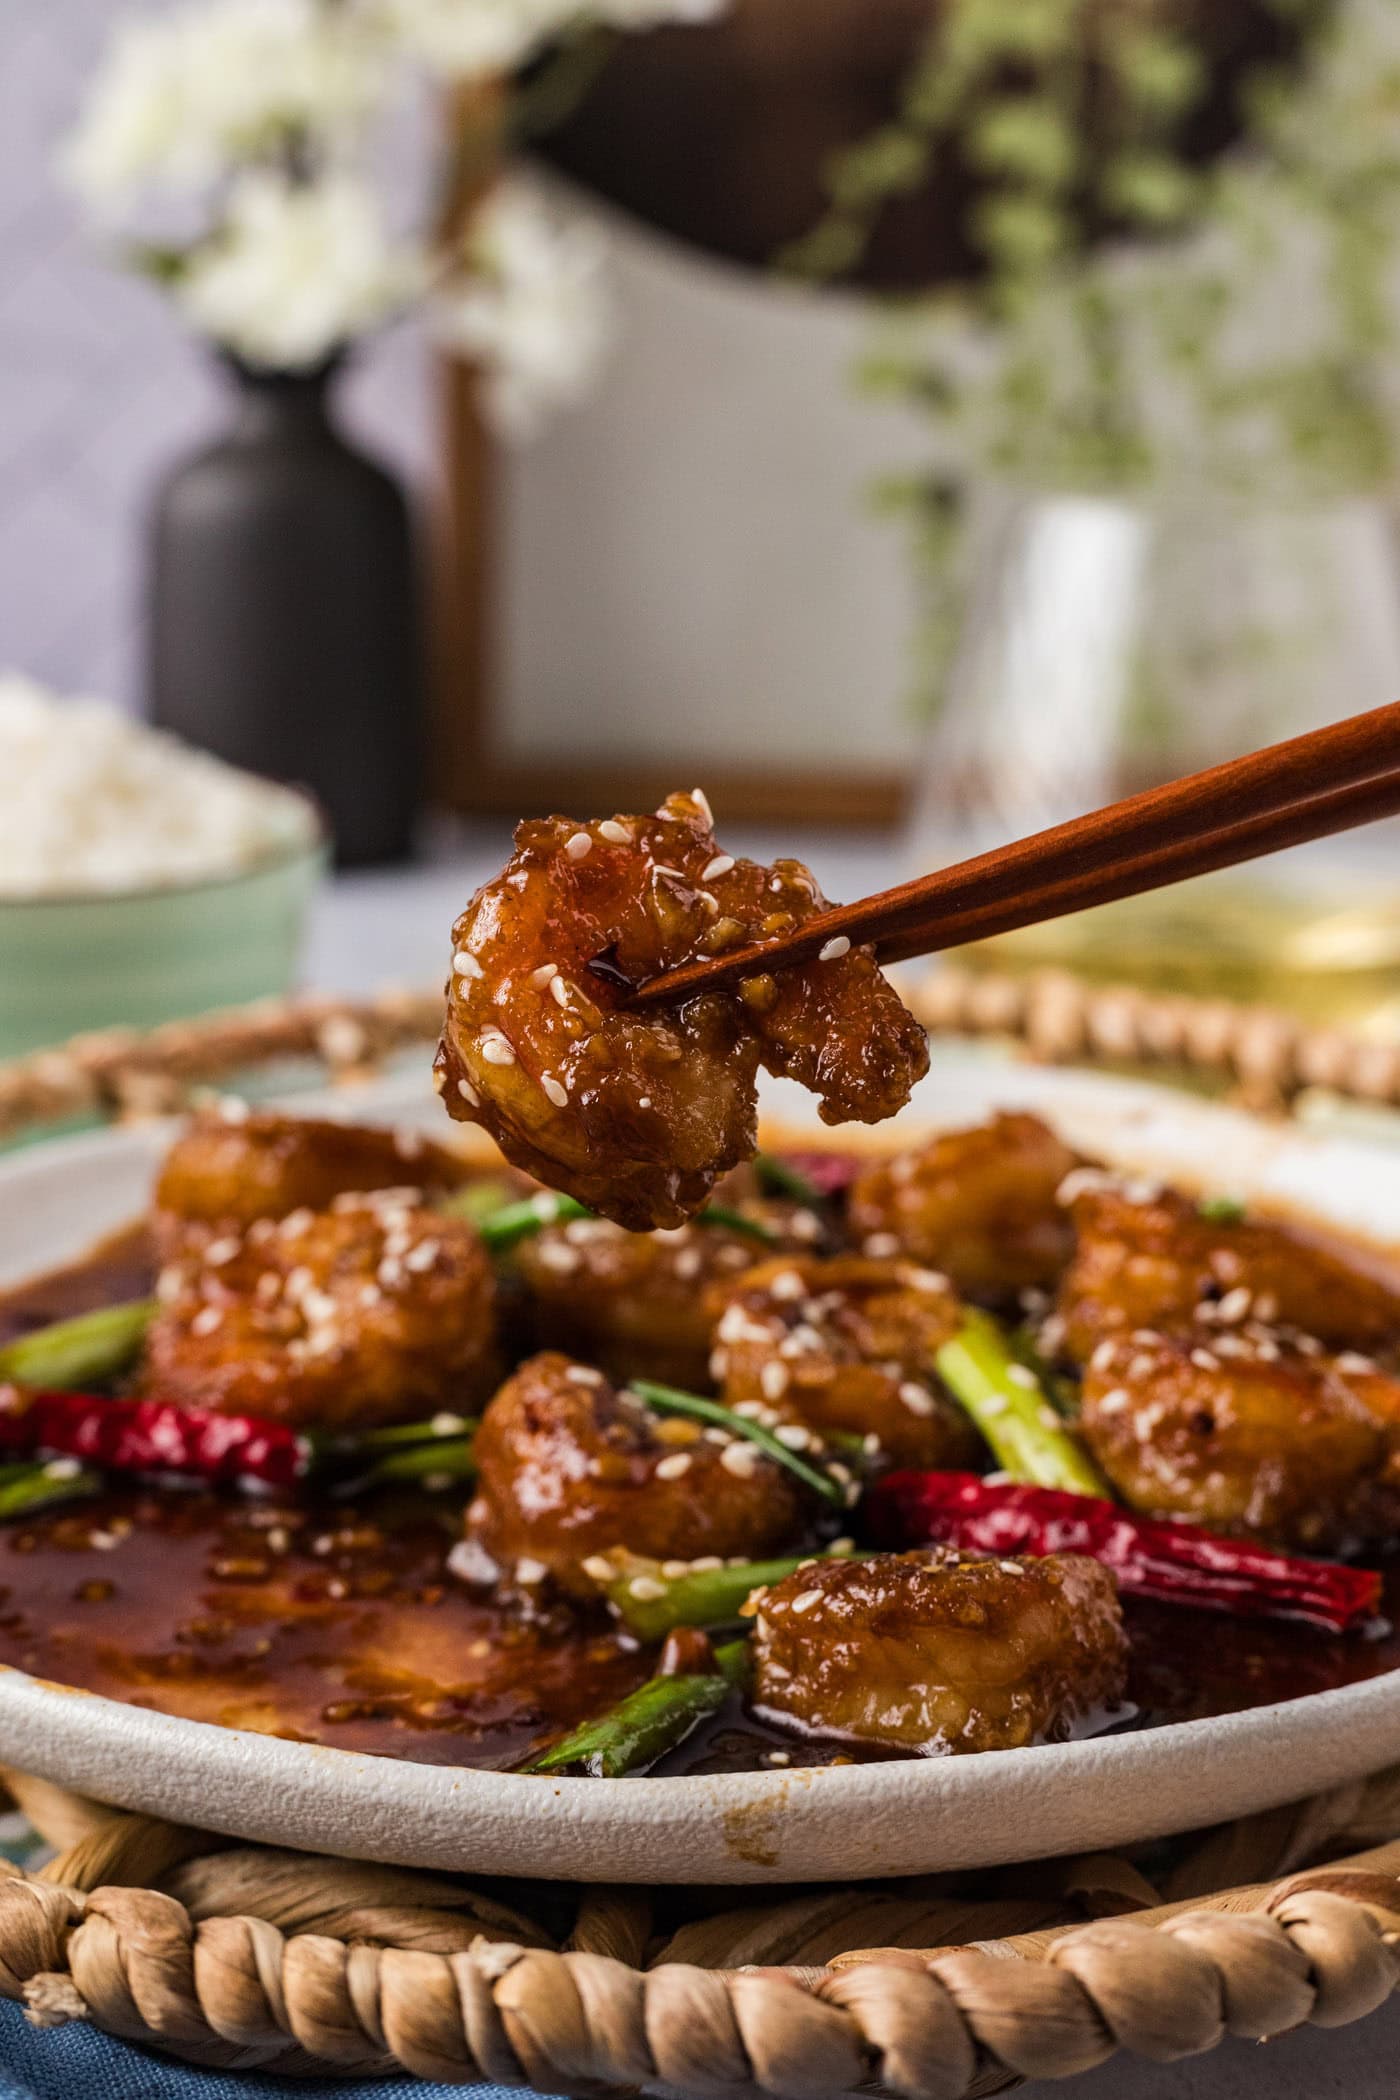
You’re likely familiar with the popularity of Mongolian Beef from your local Chinese takeout. This Mongolian Shrimp recipe captures that same beloved flavor profile but with the delicate, juicy texture of shrimp, offering a fantastic seafood alternative. It’s an ideal choice for those who love Asian cuisine, crave restaurant-quality dishes at home, or simply want to try something new and exciting for dinner. The combination of crispy fried shrimp and that iconic sweet, savory, and subtly spicy sauce ensures this dish will become a staple in your recipe rotation.
Gather Your Ingredients for Mongolian Shrimp
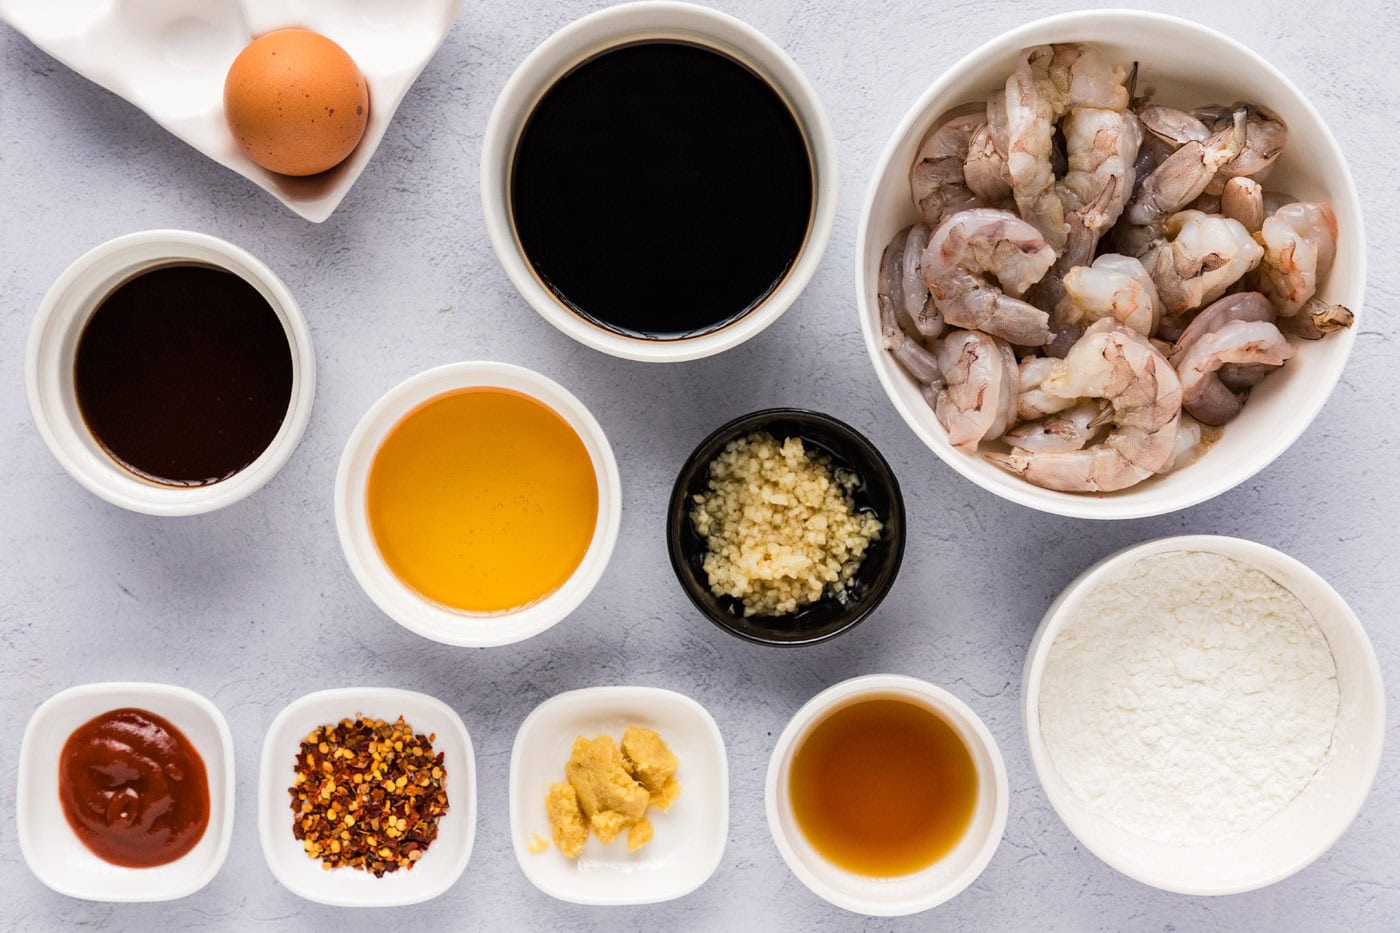
Creating this tantalizing Mongolian Shrimp dish starts with a selection of fresh, high-quality ingredients. Most of these items are likely already in your pantry or easily found at any grocery store. For precise measurements and step-by-step instructions, make sure to refer to the printable recipe card located at the end of this post.
Ingredient Information and Smart Substitutions
To ensure your Mongolian Shrimp turns out perfectly every time, here’s a closer look at the key ingredients and some helpful substitution tips:
- SHRIMP – You will need one pound of raw, large shrimp, thoroughly peeled, deveined, and with the tails removed. While fresh shrimp are always fantastic, it’s perfectly acceptable, and often more convenient, to use frozen shrimp (most shrimp are sold this way). Just remember to thaw them completely before you begin cooking. For a quick thaw, place the sealed bag of frozen shrimp in a bowl of cold water, changing the water every 15-20 minutes until thawed. Patting them dry afterward is crucial for achieving that crispy breading. For best results, use shrimp that are roughly the same size for even cooking.
- ALL-PURPOSE FLOUR & LARGE EGG – These are the foundational elements for our delicious breading. The egg provides a binder for the flour, ensuring it adheres well to the shrimp, leading to that desirable crispy exterior once fried. For a gluten-free alternative, you can substitute the all-purpose flour with a 1:1 gluten-free flour blend.
- COOKING OIL – For frying the shrimp, you’ll need a neutral-flavored oil with a high smoke point, such as vegetable oil, peanut oil, or canola oil. The key is to use enough oil to partially submerge the shrimp (about ½-inch up the sides of your pan) and to heat it to the correct temperature of 350°F for optimal crispiness without burning.
- OLIVE OIL – Used for sautéing the aromatics. While we specify olive oil, any neutral cooking oil will work well here.
- MINCED GARLIC & MINCED GINGER – These two aromatics are non-negotiable for authentic Asian-inspired flavor. Freshly minced garlic and ginger will provide the most potent and vibrant taste. In a pinch, you can use pre-minced versions, but adjust quantities to taste as their flavor can be less intense.
- SESAME OIL – This adds a distinct nutty, toasty aroma that is characteristic of many Asian dishes. A little goes a long way, so stick to the recommended amount. Do not substitute this with other oils if you want the authentic flavor profile.
- HONEY – Provides the essential sweetness and a lovely sticky glaze to the sauce. You can experiment with maple syrup or brown sugar for a slightly different sweet note, but honey offers a unique depth.
- OYSTER SAUCE – A cornerstone of the sauce, oyster sauce delivers rich umami and a hint of sweetness. It’s crucial for the authentic flavor. If you’re vegetarian or vegan, look for a mushroom-based “vegetarian oyster sauce” substitute.
- KETCHUP – This might seem surprising, but ketchup adds a subtle tang and a touch of sweetness, contributing to the sauce’s well-rounded profile and its slightly reddish hue.
- RED PEPPER FLAKES – Provides the “kick” of heat. Adjust the amount to your personal preference. For more heat, you can add finely chopped fresh Thai chilies. For less heat, reduce or omit the flakes entirely.
- SOY SAUCE – The primary source of savory, salty flavor. We recommend using low-sodium soy sauce to better control the overall saltiness of the dish, allowing you to add more to taste if desired. For a gluten-free version, use tamari or a gluten-free soy sauce alternative.
- CORNSTARCH & WATER (CORNSTARCH SLURRY) – This combination is essential for thickening the sauce, giving it that desirable glossy, rich consistency that coats the shrimp beautifully. Always mix cornstarch with cold water first to create a “slurry” before adding it to hot liquids to prevent lumps.
Step-by-Step Guide: Crafting Your Mongolian Shrimp
These step-by-step photos and detailed instructions are here to help you visualize how to prepare this delicious recipe. For the complete printable version, including all measurements and a condensed instruction list, please jump to the recipe card at the bottom of this post.
- Prepare Your Breading Stations: Begin by whisking one large egg in one of your breading trays. In a separate breading tray, pour out the all-purpose flour. Having these stations ready will make the breading process smooth and efficient.
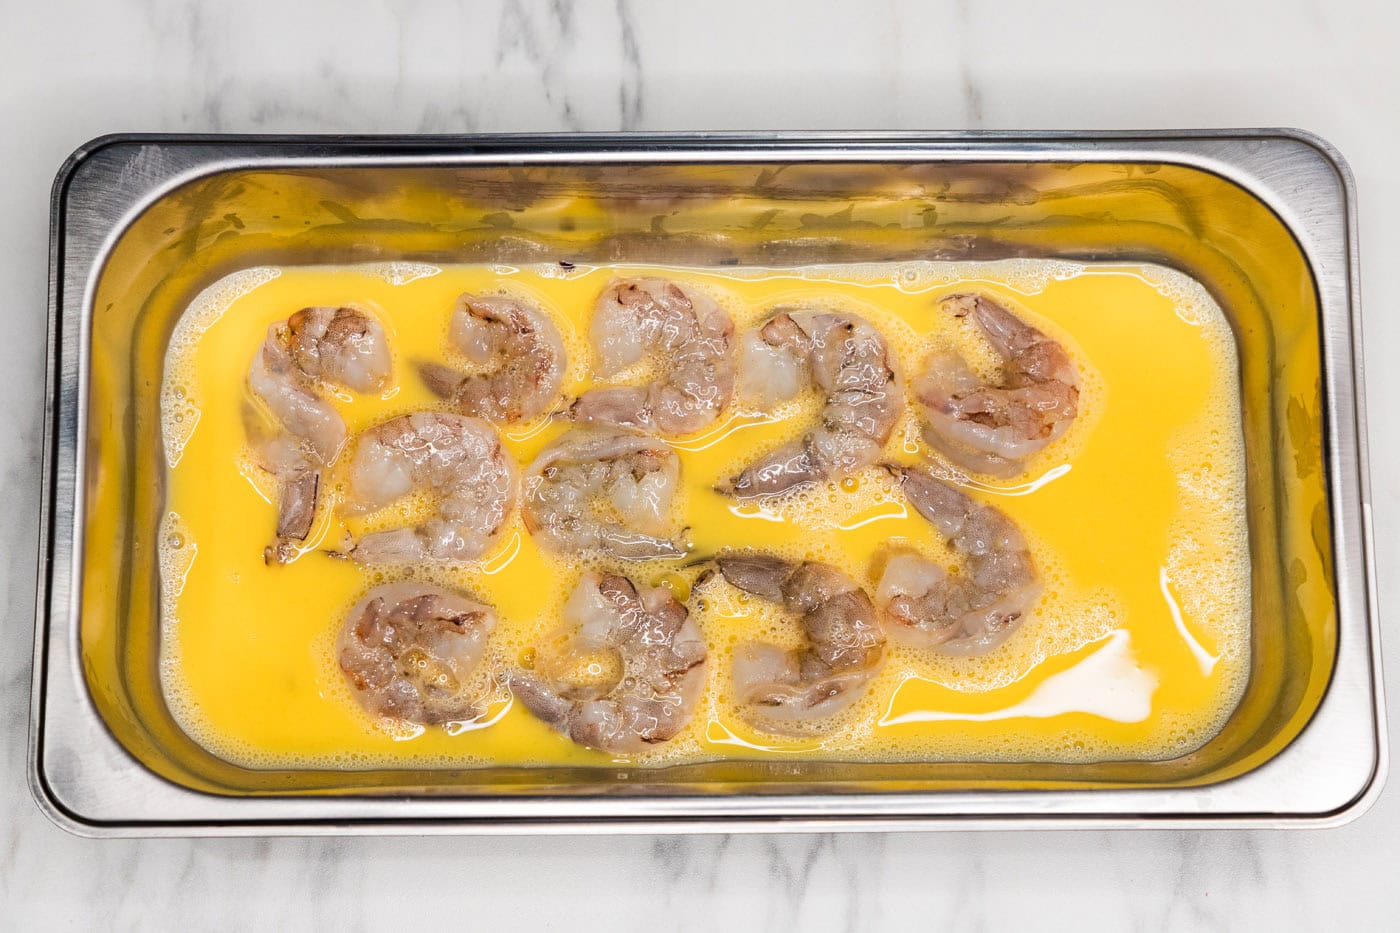
- Egg Coating: Take your peeled and deveined shrimp and coat both sides thoroughly in the whisked egg. Ensure each shrimp is fully moistened to allow the flour to adhere properly.
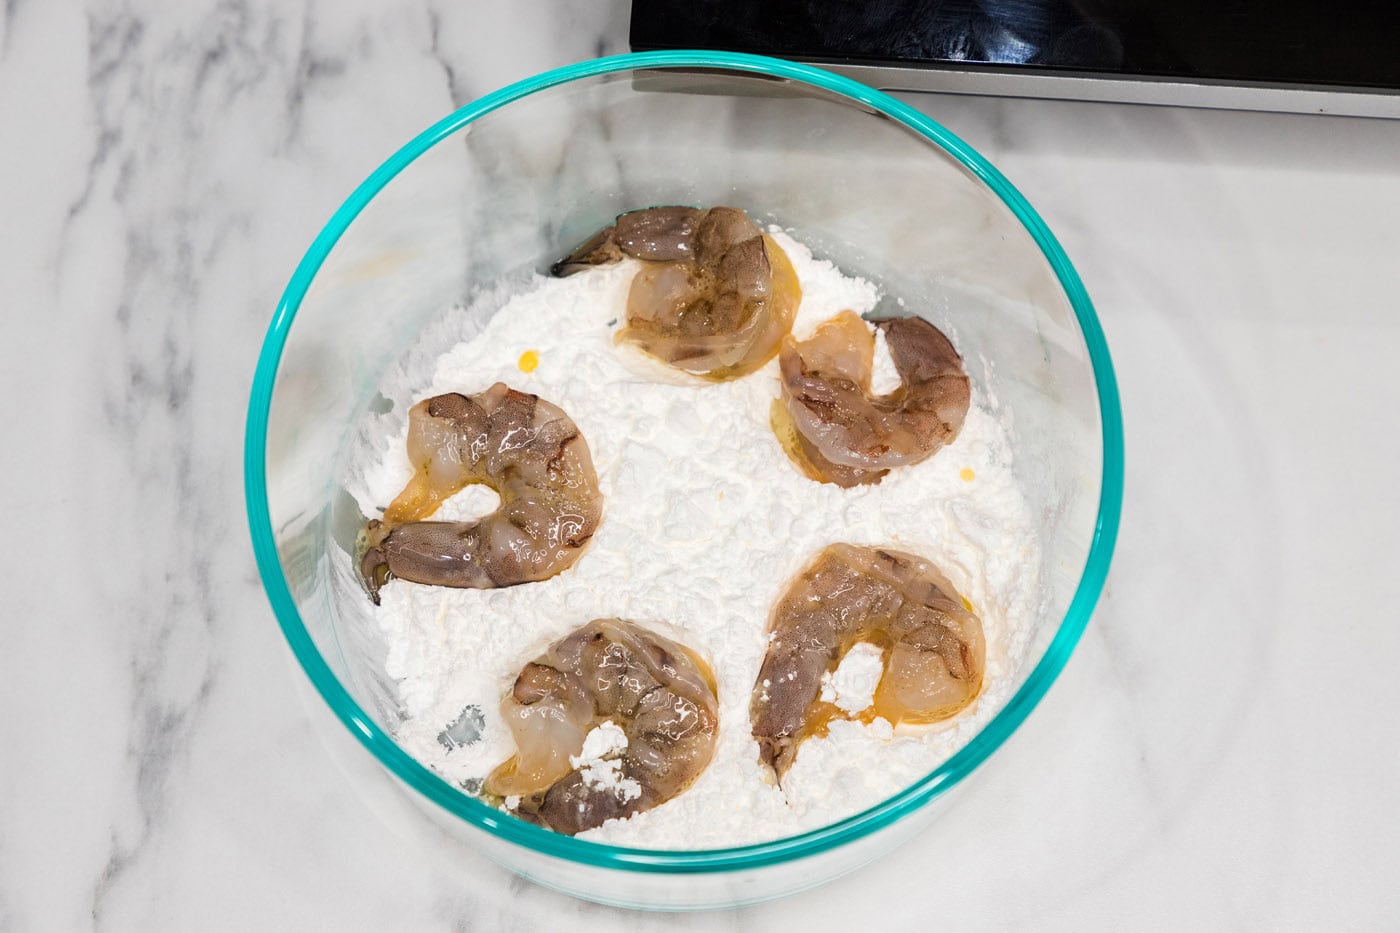
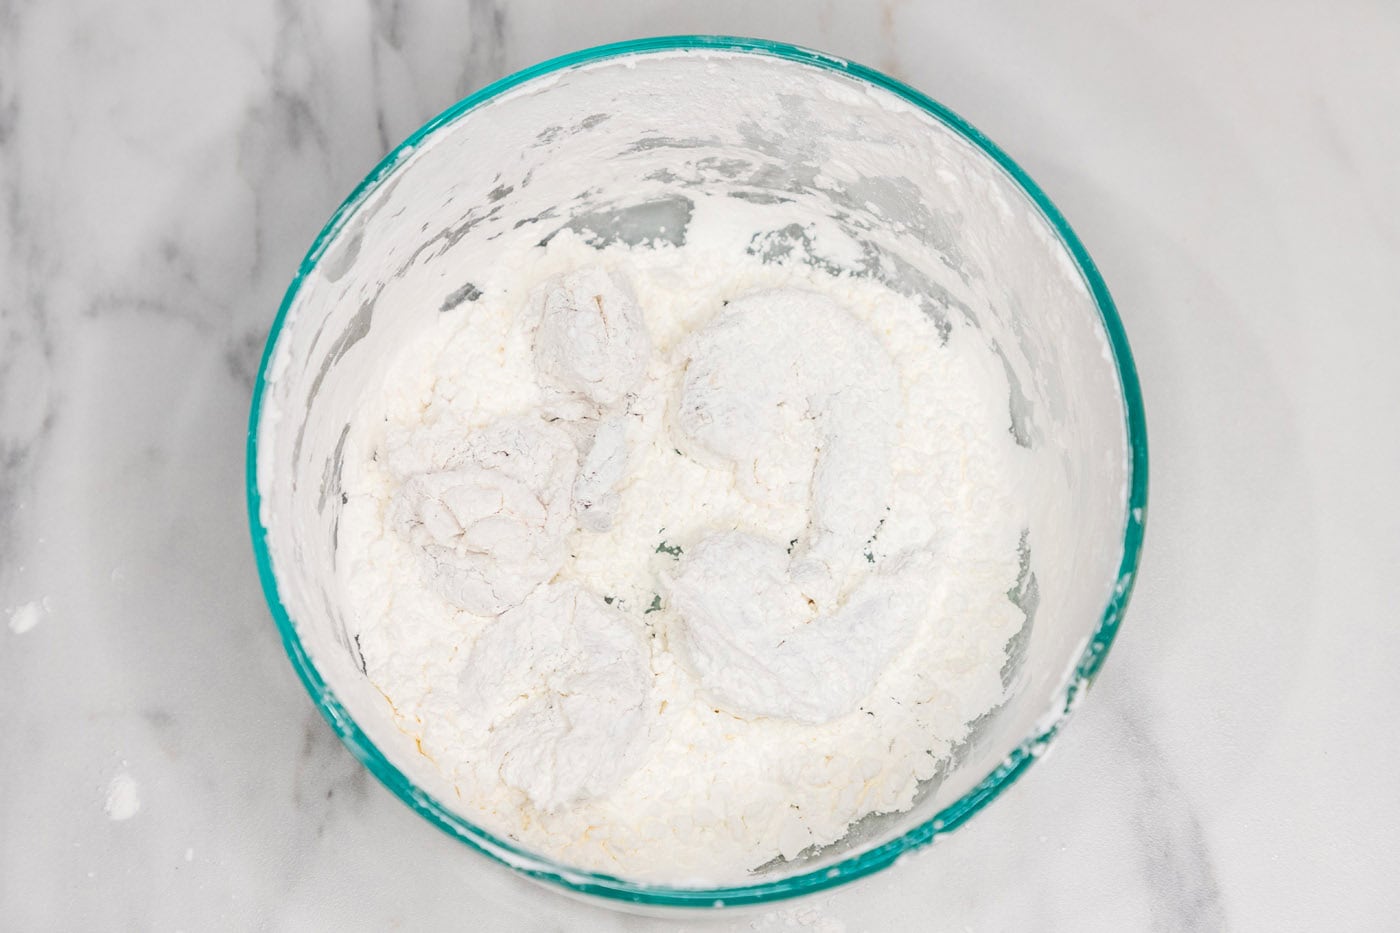
- Flour Dredging: Next, transfer the egg-coated shrimp into the tray with the flour. Dredge each shrimp generously, ensuring it’s completely covered. Shake off any excess flour lightly.


- Resting the Shrimp: Place the breaded shrimp onto a wire rack. Allowing them to rest for a few minutes helps the coating adhere better, resulting in a crispier fry.
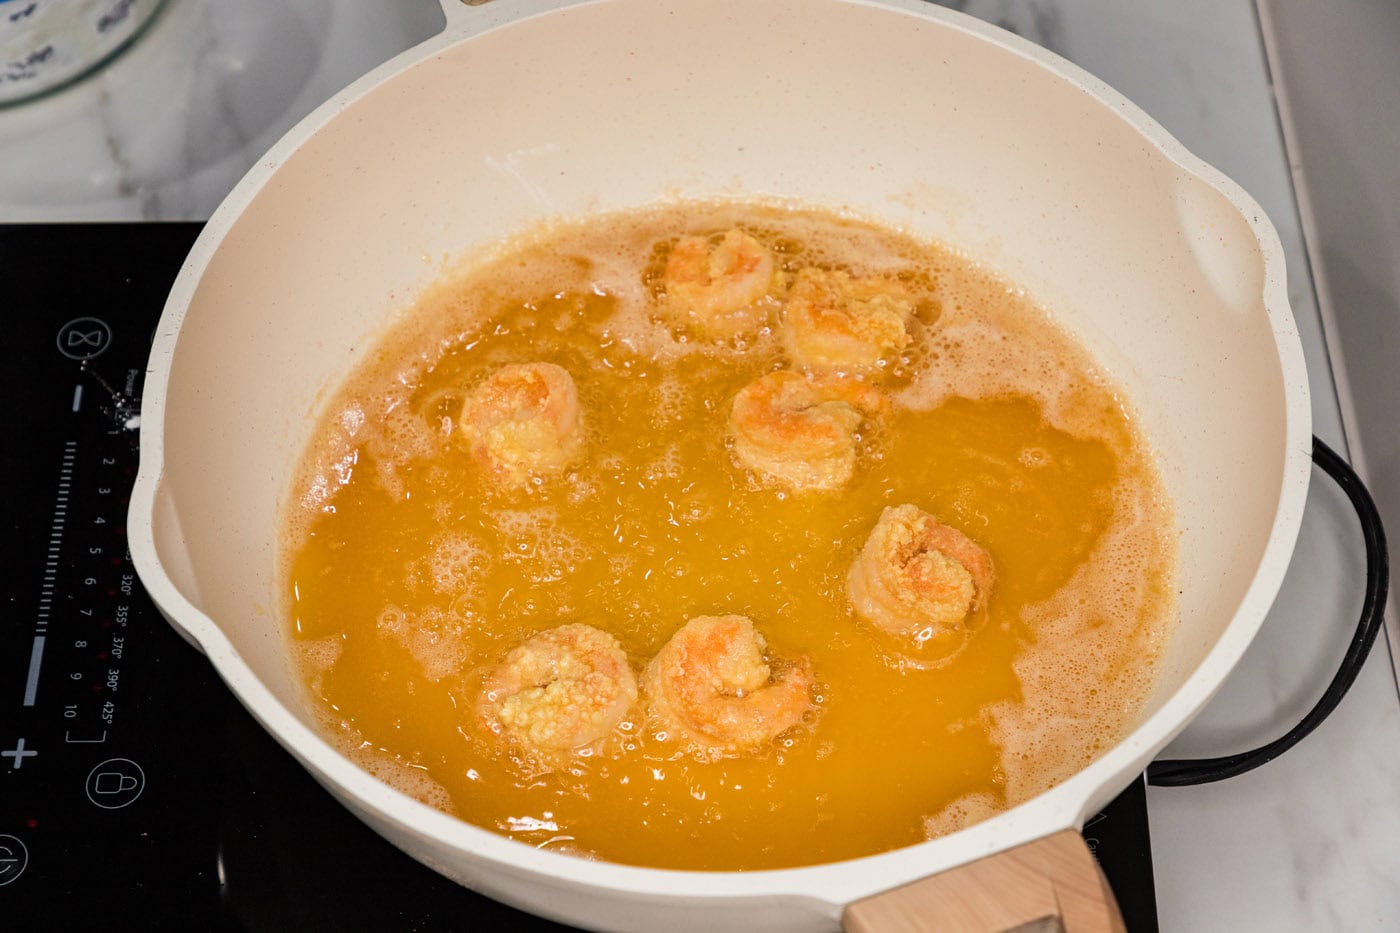
- Frying the Shrimp: In a large, heavy-bottomed skillet, add enough cooking oil to reach a depth of about ½-inch. Heat the oil over medium-high heat until it reaches a temperature of 350°F. A candy thermometer is highly recommended for accuracy. Carefully place the breaded shrimp into the hot oil, ensuring not to overcrowd the pan. Cook in batches if necessary. Fry for 2-3 minutes, or until golden brown and cooked through. Remove the cooked shrimp and place them back on the wire rack to drain any excess oil.
CHEF TIP – Achieving the right oil temperature is key to crispy, non-greasy shrimp. If the oil isn’t hot enough, the shrimp will absorb too much oil; if it’s too hot, the coating will burn before the shrimp cooks.

- Prepare the Sauce Base: Once all shrimp are fried, carefully empty the used cooking oil from the skillet and wipe it clean with a paper towel. Return the skillet to medium-high heat. Add the olive oil and allow it to heat until shimmering. Then, add the minced garlic and ginger, stirring constantly for about 30 seconds until fragrant. Be careful not to burn them.
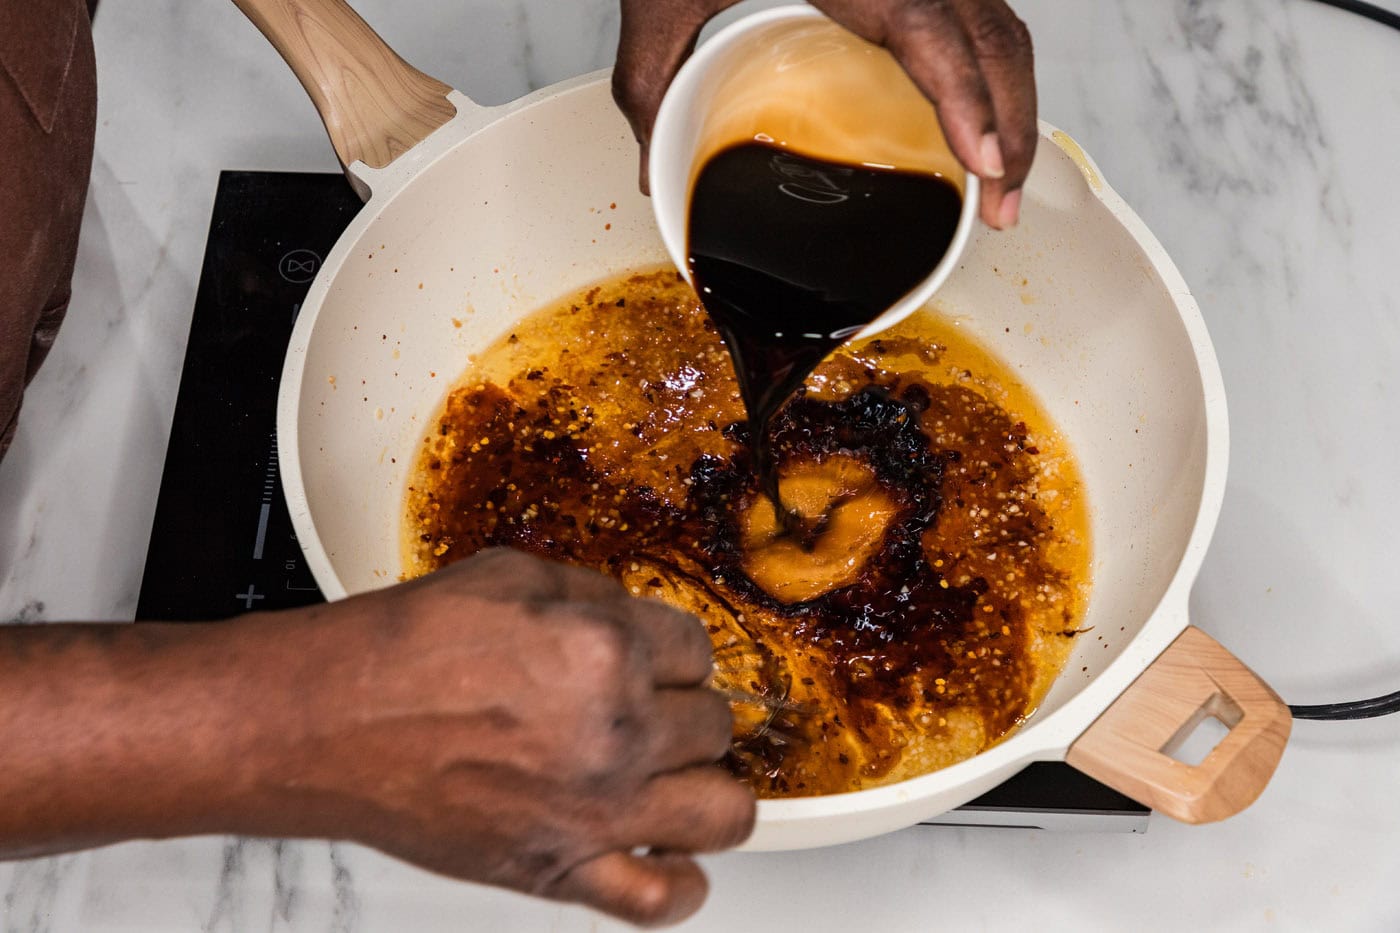
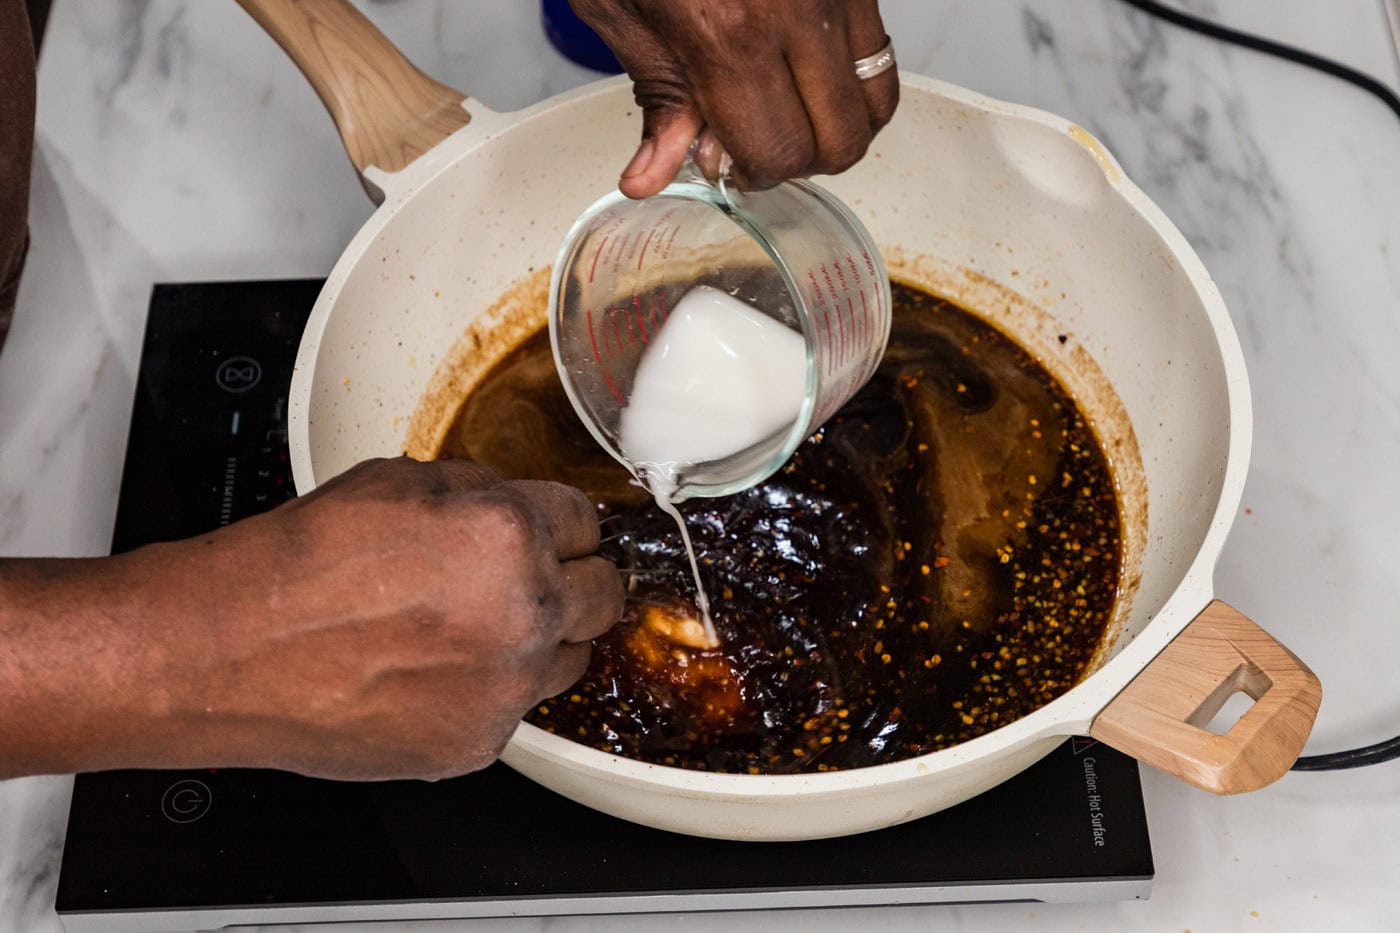
- Combine Sauce Ingredients: Add the remaining sauce ingredients to the skillet: sesame oil, honey, oyster sauce, ketchup, red pepper flakes, soy sauce, and the cornstarch slurry (cornstarch mixed with water). Whisk the mixture together vigorously to combine all ingredients smoothly.


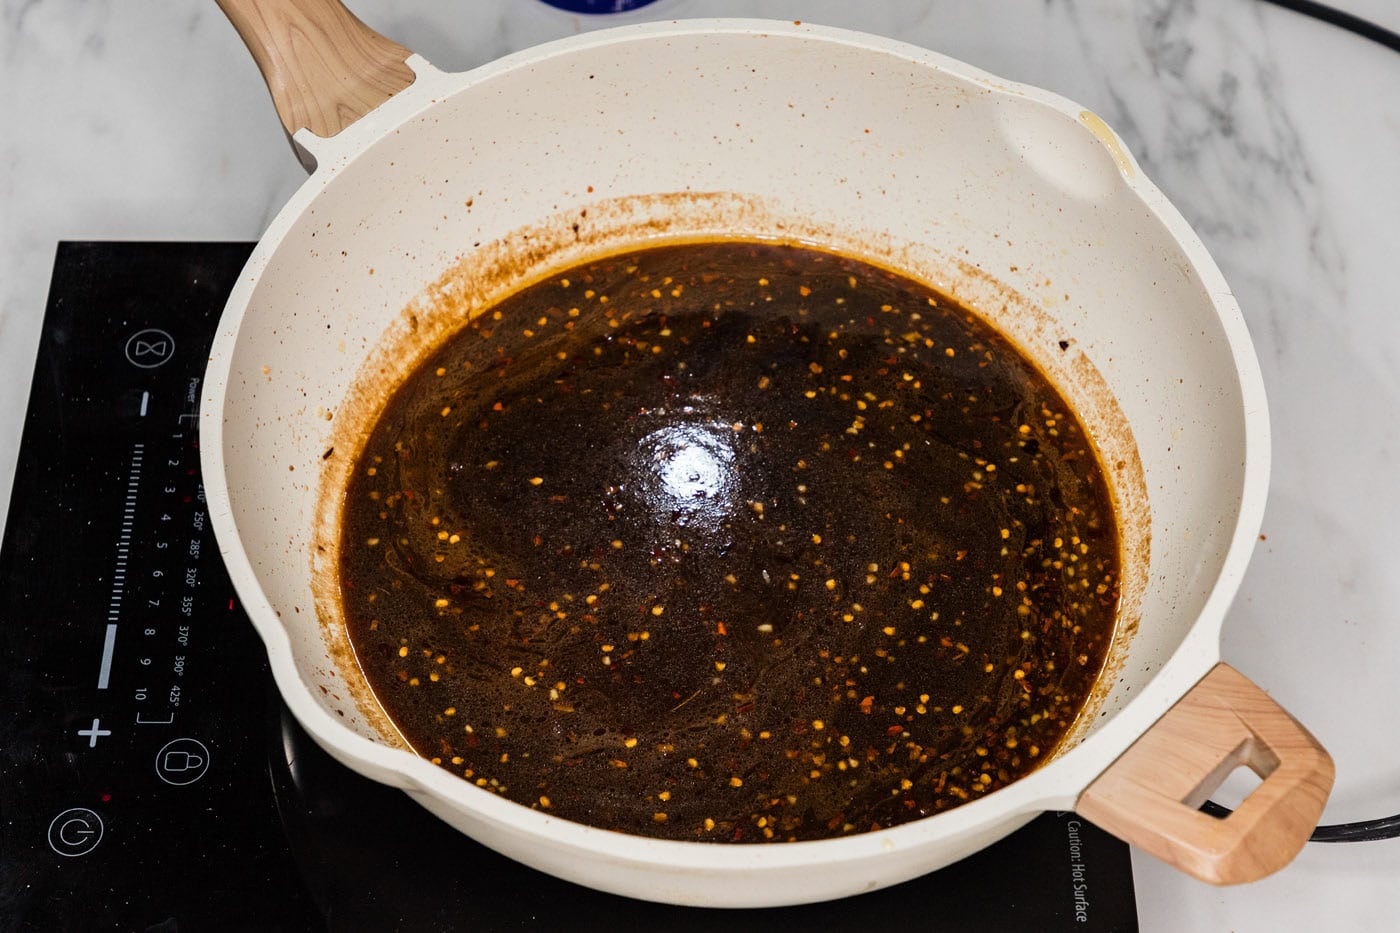
- Thicken the Sauce: Continue heating the mixture over medium-high heat, stirring frequently, until the sauce begins to thicken to a glossy, desirable consistency that will coat the back of a spoon. This should only take a few minutes.

- Combine and Serve: Add the crispy fried shrimp back into the skillet with the thickened Mongolian sauce. Gently toss and turn the shrimp to ensure every piece is thoroughly coated in the rich, savory, and sweet glaze. Serve immediately and enjoy the irresistible flavors!

Frequently Asked Questions & Expert Tips for Mongolian Shrimp
Absolutely! This versatile homemade Mongolian sauce is incredibly adaptable and delicious with a variety of proteins. It’s fantastic with thinly sliced chicken breast or thighs, tender strips of beef (just like classic Mongolian beef), or even crispy pan-fried tofu. For a vegetarian option, it also makes an excellent stir-fry sauce for your favorite vegetables. Simply cook your chosen protein or vegetables until done, then toss them in the thickened sauce, just as you would with the shrimp. The rich flavor profile pairs wonderfully with almost anything!
Yes, and it’s highly recommended! Adding vegetables is a fantastic way to boost nutrition and texture in this dish. This recipe is excellent with as many or as few vegetables as you prefer. Some popular choices include vibrant broccoli florets, crisp snow peas, thinly sliced bell peppers (red, yellow, or orange for color), earthy mushrooms, or delicate julienned carrots. For best results, sauté your chosen vegetables in a separate pan or in the same skillet (after frying the shrimp and before making the sauce) until they are crisp-tender. Because shrimp cooks very quickly, cook your vegetables first, then add them to the sauce along with the cooked shrimp, tossing gently to coat everything evenly. This ensures your vegetables are perfectly cooked and infused with the delicious sauce.
To maintain freshness and flavor, store any leftover Mongolian shrimp in an airtight container in the refrigerator for up to 2 days. Reheating shrimp can be a bit tricky, as overcooking can make them rubbery. For best results, avoid high heat. You can gently rewarm them in a microwave at a lower power setting, reheating in short bursts (30-60 seconds) and stirring in between until just heated through. Alternatively, toss the mixture along with the shrimp into a skillet and gently rewarm over low heat on the stovetop, adding a tablespoon of water or broth if the sauce seems too thick. This method helps preserve the texture of the shrimp and the integrity of the sauce.
Absolutely! Making this recipe gluten-free is quite simple. The main adjustments you’ll need to make are: 1) Substitute the all-purpose flour with a 1:1 gluten-free flour blend for breading the shrimp. 2) Ensure you use a gluten-free soy sauce, such as tamari, which is widely available. Most other ingredients are naturally gluten-free, but always double-check labels, especially for oyster sauce, as some brands may contain wheat. With these simple swaps, you can enjoy a delicious gluten-free Mongolian Shrimp dish.
The spice level in this Mongolian Shrimp recipe is easily customizable to suit your palate. The recipe calls for 2 teaspoons of red pepper flakes, which provides a mild to moderate warmth. If you prefer a milder dish, you can reduce the amount of red pepper flakes to 1 teaspoon or even omit them entirely. For those who love a fiery kick, feel free to increase the red pepper flakes to 3-4 teaspoons, or for a fresh, intense heat, finely mince and add 1-2 small Thai chili peppers to the sauce along with the garlic and ginger. Always taste the sauce before adding the shrimp and adjust as needed.
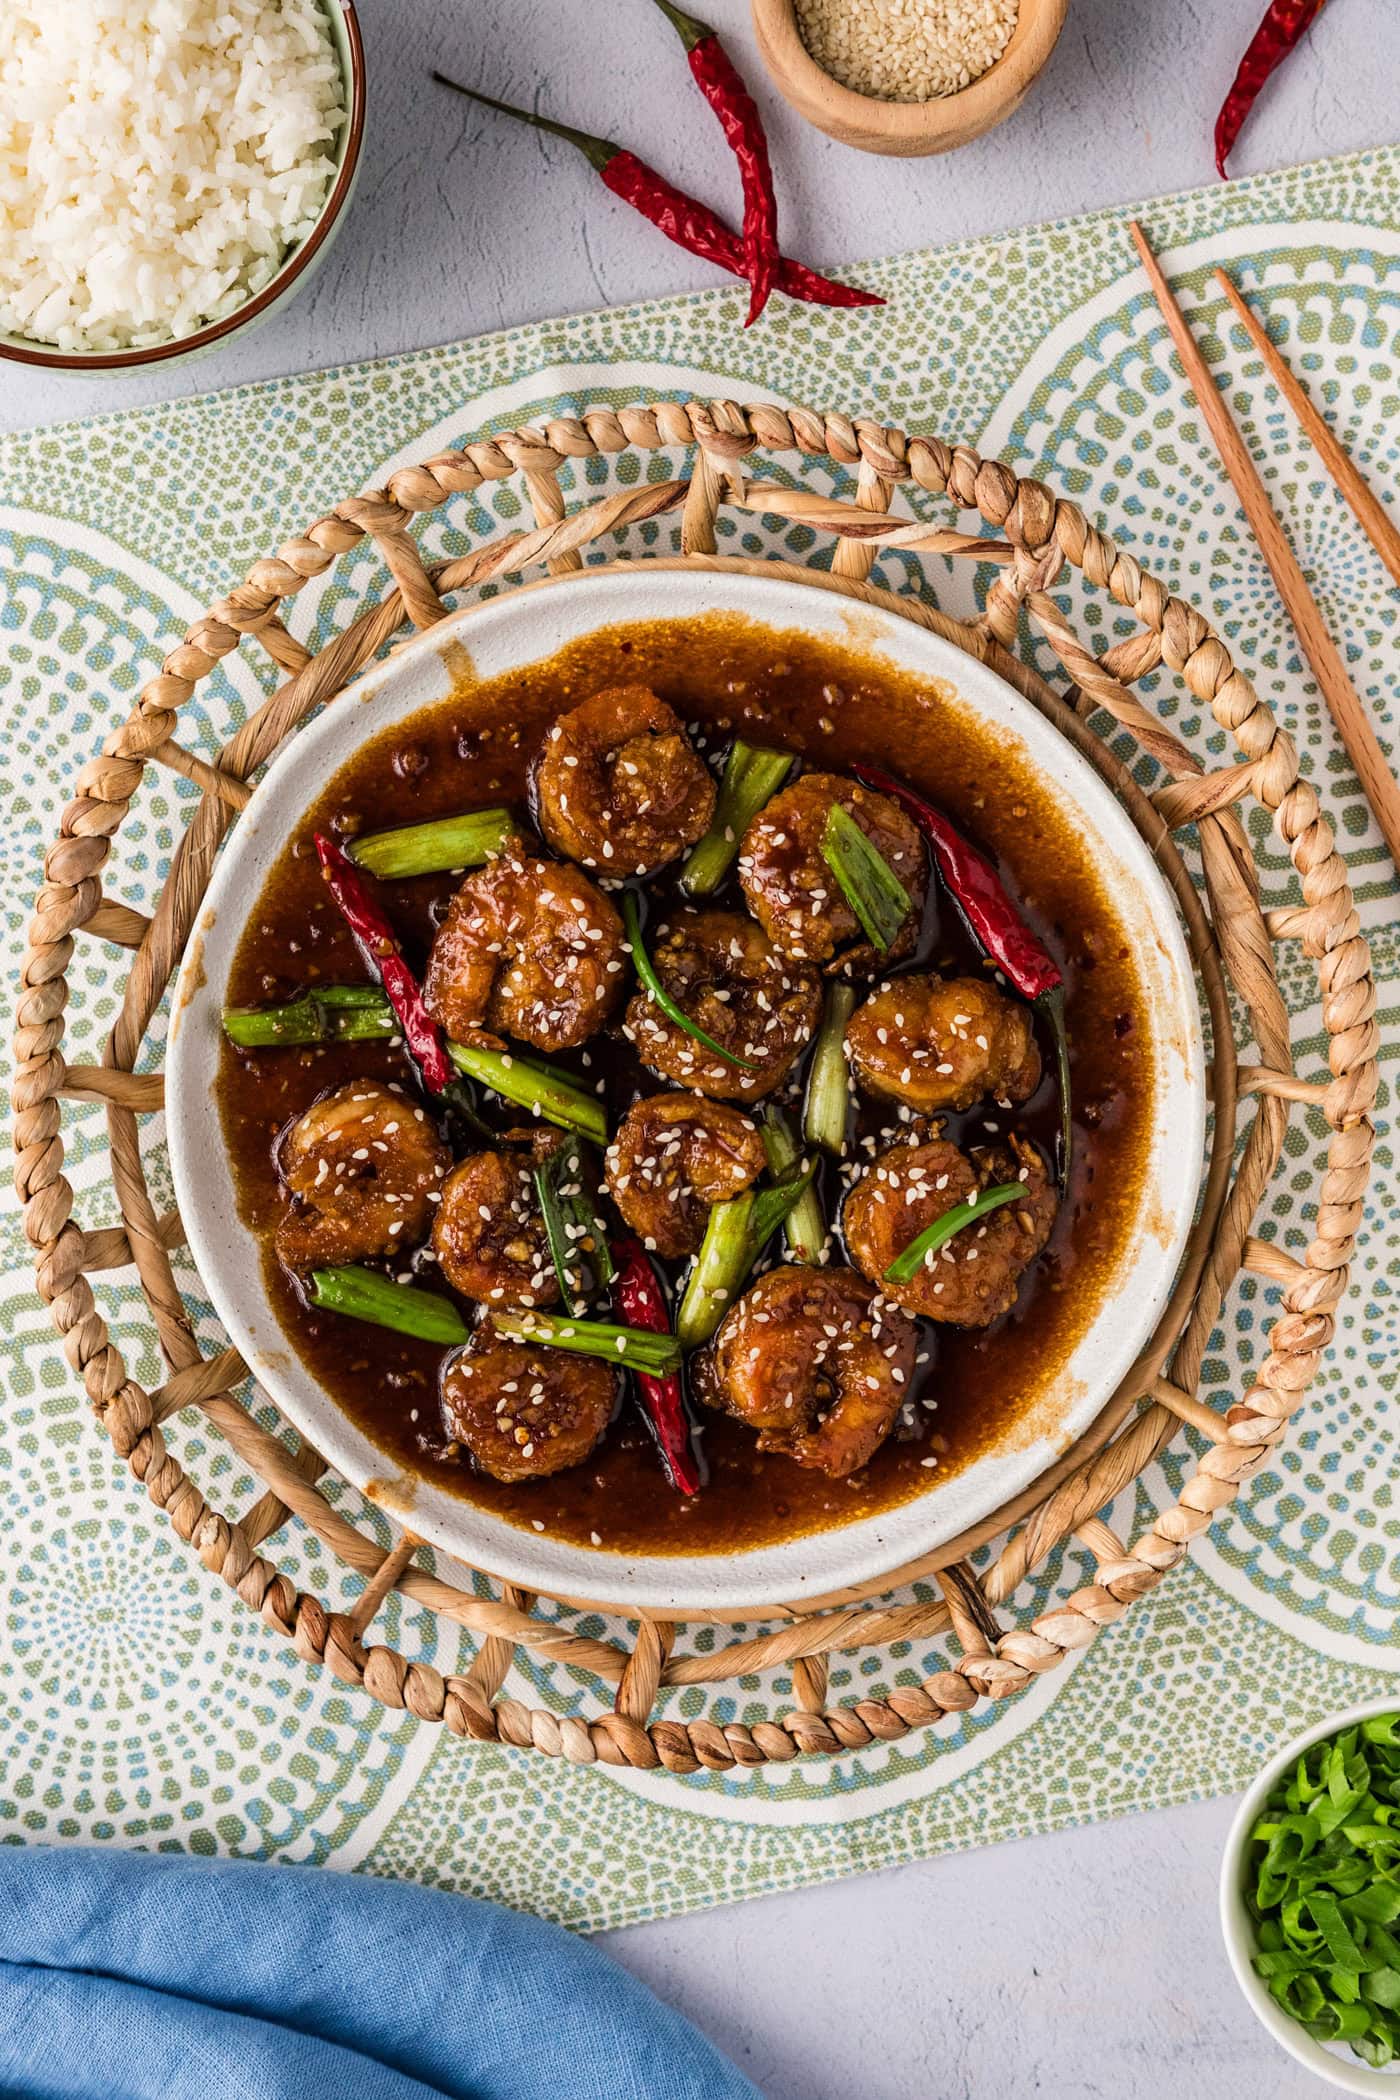
Delicious Serving Suggestions for Mongolian Shrimp
Once your irresistible Mongolian Shrimp is ready, the possibilities for serving are endless! For a classic and comforting meal, serve it generously over a bed of fluffy white rice, which soaks up all the glorious sauce. Alternatively, pair it with slippery Lo Mein or Cantonese egg noodles for a satisfying noodle dish. For added freshness and a pop of color, don’t forget to garnish with thinly sliced green onions (scallions) and a sprinkle of toasted sesame seeds. If you’re looking for extra sides, a simple steamed vegetable medley or a light cucumber salad would complement the rich flavors beautifully. Get ready to impress your family and friends with this outstanding homemade Asian delight!
Explore More Delicious Shrimp Recipes
If you’re a fan of seafood and enjoyed this Mongolian Shrimp, you’ll love these other fantastic shrimp dishes:
- Hunan Shrimp
- Kung Pao Shrimp
- Citrus Pepper Shrimp
- Sweet and Sour Shrimp
- Shrimp with Lobster Sauce
I love to bake and cook and share my kitchen experience with all of you! Remembering to come back each day can be tough, that’s why I offer a convenient newsletter every time a new recipe posts. Simply subscribe and start receiving your free daily recipes!
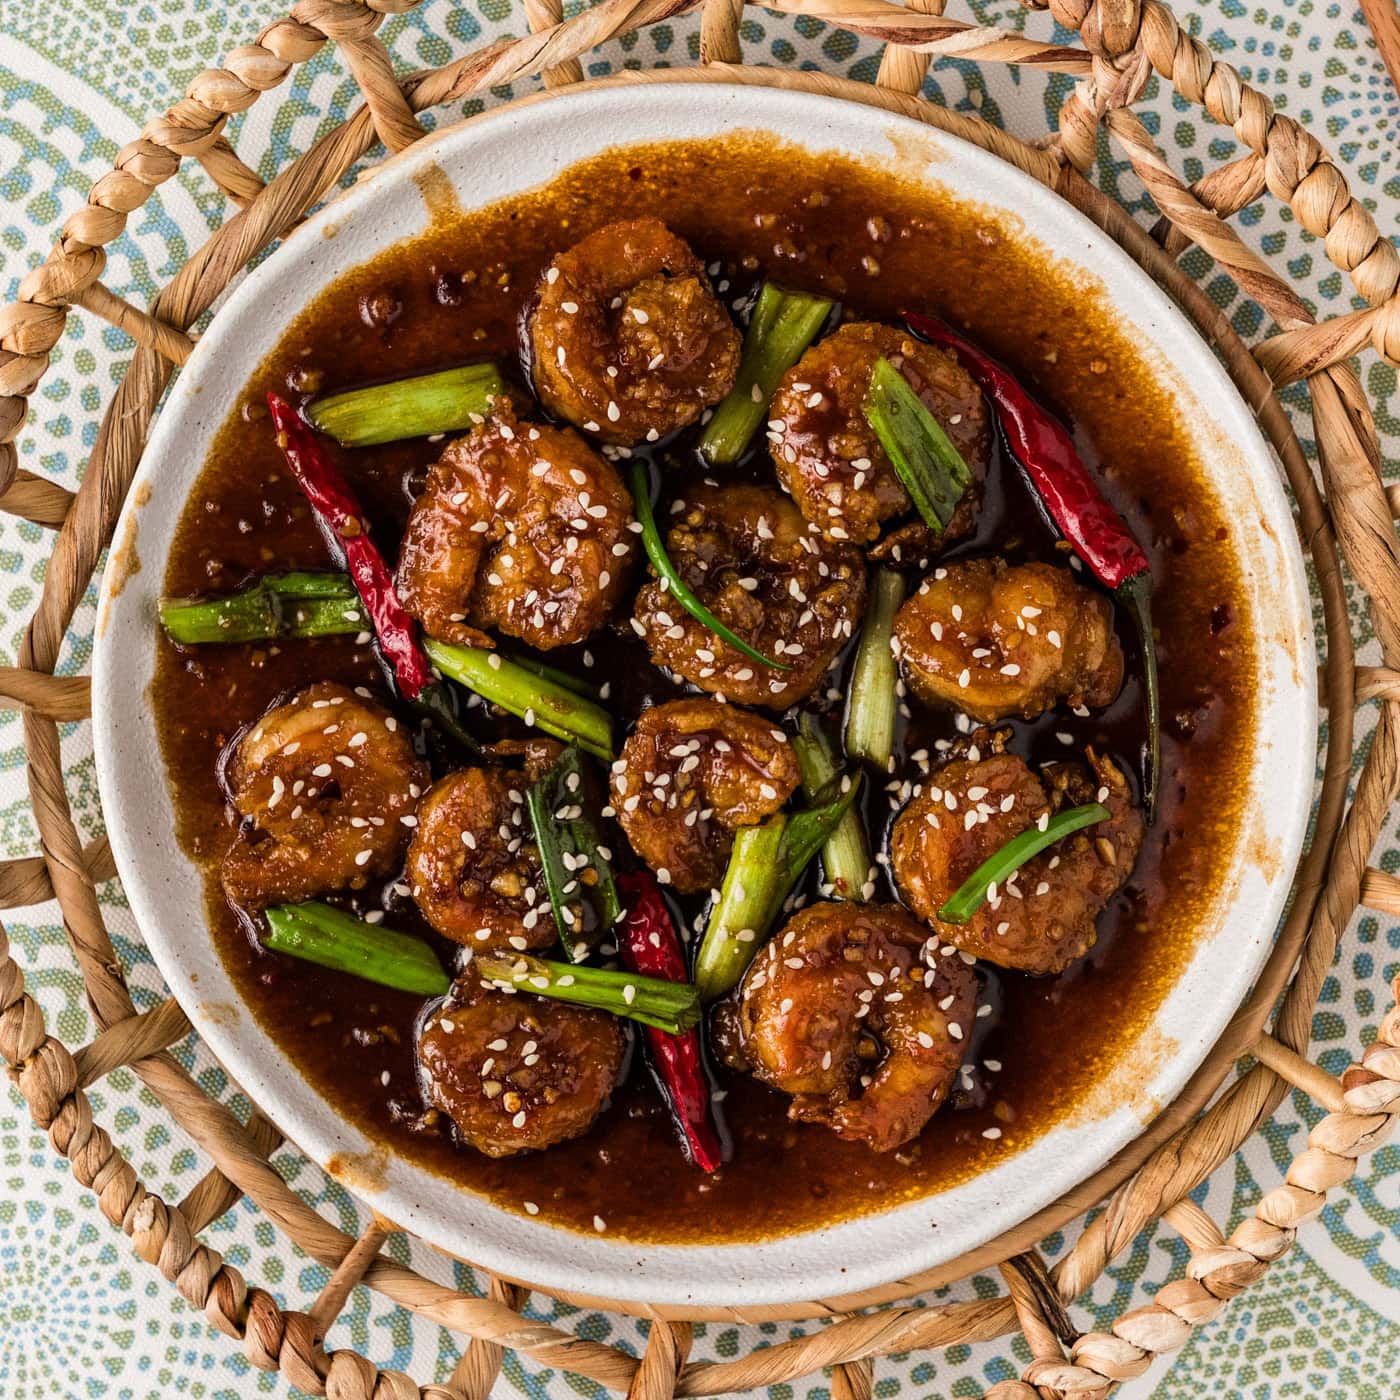
Mongolian Shrimp
IMPORTANT – There are often Frequently Asked Questions within the blog post that you may find helpful. Simply scroll back up to read them!
Print It
Pin It
Rate It
Save It
Saved!
Course: Dinner
Cuisine: American, Asian
Ingredients
- 1 large egg
- ½ cup all purpose flour
- 1 pound raw large shrimp peeled, deveined, tails removed
- cooking oil for frying. such as vegetable, peanut, or canola oil
Sauce
- 1 Tablespoon olive oil
- 1 Tablespoon minced garlic
- 2 teaspoons minced ginger
- 1 Tablespoon sesame oil
- ¼ cup honey
- ¼ cup oyster sauce
- 1 Tablespoon ketchup
- 2 teaspoons red pepper flakes
- ½ cup soy sauce
- 2 teaspoons cornstarch
- ¼ cup water
Things You’ll Need
-
2 Breading trays
-
Whisk
-
Large heavy bottomed skillet
-
Wire cooling rack
-
Candy thermometer
Before You Begin
- It’s perfectly okay to use frozen shrimp (most come that way anyhow), however, you will want to thaw them completely before beginning. To thaw shrimp quickly, place them in a sealed bag submerged in a bowl of cold water, changing the water every 15-20 minutes until thawed. Pat them very dry before breading for the best crispy results.
- Ensure your oil is heated to 350°F (175°C) for frying. Using a kitchen thermometer is highly recommended to achieve perfectly crispy, not greasy, shrimp.
Instructions
-
In one breading tray, whisk a large egg. In a second breading tray, place the all-purpose flour.1 large egg, 1/2 cup all purpose flour
-
Coat both sides of the raw shrimp thoroughly in the whisked egg.1 pound raw large shrimp
-
Dredge the egg-coated shrimp in the flour, ensuring each piece is generously and evenly coated. Lightly shake off any excess flour.
-
Place the breaded shrimp on a wire rack and allow them to rest for a few minutes.
-
In a large skillet, add enough cooking oil to come about 1/2-inch up the sides of the pan. Heat the oil over medium-high heat until it reaches a temperature of 350°F (175°C). Carefully place the breaded shrimp into the hot oil, ensuring not to overcrowd the pan. Cook for 2-3 minutes, turning once, until golden brown and cooked through. Remove shrimp to a wire rack to drain.cooking oil
-
Carefully empty the used oil from the skillet and wipe it clean with a paper towel. Heat olive oil in the skillet over medium-high heat until shimmering. Add minced garlic and minced ginger, and sauté for about 30 seconds until fragrant.1 Tablespoon olive oil, 1 Tablespoon minced garlic, 2 teaspoons minced ginger
-
Add the remaining sauce ingredients to the skillet: sesame oil, honey, oyster sauce, ketchup, red pepper flakes, soy sauce, and the cornstarch slurry (cornstarch mixed with water). Whisk the mixture together until well combined.1 Tablespoon sesame oil, 1/4 cup honey, 1/4 cup oyster sauce, 1 Tablespoon ketchup, 2 teaspoons red pepper flakes, 1/2 cup soy sauce, 2 teaspoons cornstarch, 1/4 cup water
-
Continue heating the mixture, stirring frequently, until the sauce begins to thicken to a glossy consistency.
-
Add the crispy fried shrimp to the skillet with the thickened sauce and gently turn to coat every piece evenly. Serve immediately.
Expert Tips & FAQs
- Store leftovers in an air-tight container in the refrigerator for up to 2 days. Reheating shrimp can be finnicky when trying not to overcook them; gently warm in the microwave on low power in short bursts, or toss in a skillet over low heat with a splash of water until just heated through.
- Serve your Mongolian shrimp over a bed of fluffy white rice, Lo Mein, or Cantonese egg noodles. Garnish with fresh sliced green onions and a sprinkle of toasted sesame seeds for an authentic touch.
- For an extra layer of flavor and crunch, try adding some chopped peanuts or cashews as a garnish.
- If you prefer a richer sauce, consider adding an extra tablespoon of oyster sauce, but be mindful of the saltiness.
Nutrition
Tried this Recipe? Pin it for Later!Follow on Pinterest @AmandasCookin or tag #AmandasCookin!
The recipes on this blog are tested with a conventional gas oven and gas stovetop. It’s important to note that some ovens, especially as they age, can cook and bake inconsistently. Using an inexpensive oven thermometer can assure you that your oven is truly heating to the proper temperature. If you use a toaster oven or countertop oven, please keep in mind that they may not distribute heat the same as a conventional full sized oven and you may need to adjust your cooking/baking times. In the case of recipes made with a pressure cooker, air fryer, slow cooker, or other appliance, a link to the appliances we use is listed within each respective recipe. For baking recipes where measurements are given by weight, please note that results may not be the same if cups are used instead, and we can’t guarantee success with that method.
