The Ultimate Homemade Bourbon Cherry Pie Recipe: Sweet, Tart & Irresistible
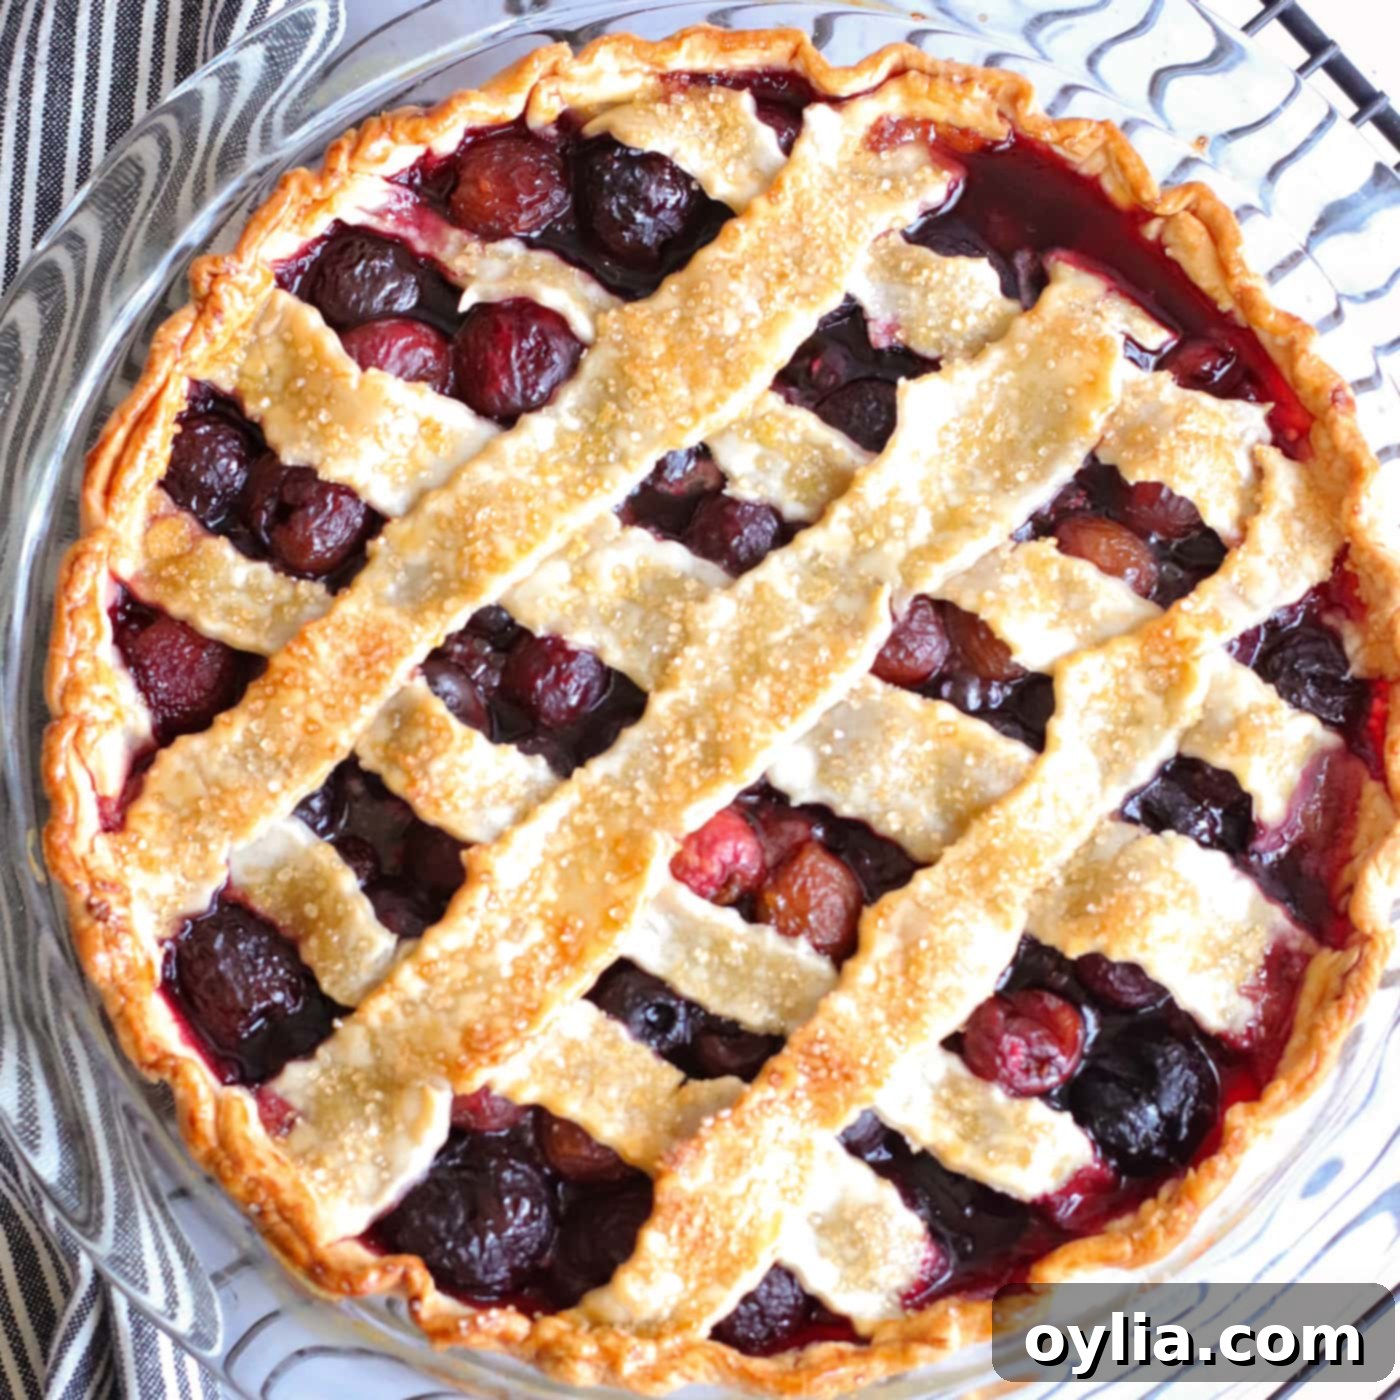
There are few desserts as comforting and universally loved as a slice of classic cherry pie. Its vibrant red filling, encased in a flaky, golden crust, evokes feelings of nostalgia and warmth. However, this particular homemade cherry pie takes that timeless appeal to an elevated level, transforming a beloved classic into something truly extraordinary. By incorporating plump, juicy sweet cherries and a thoughtful hint of bourbon, we create a symphony of flavors that is both familiar and exciting. The bourbon doesn’t overpower; instead, it acts as a masterful harmonizer, weaving together the natural sweetness of the cherries with subtle nutty undertones and a delicate warmth, resulting in a pie that is simply irresistible.
Why This Bourbon Cherry Pie Recipe Works So Well
The bourbon provides a subtle yet distinct nutty and caramel-like component, which beautifully complements the bright tartness and sweet notes of the cherries. It acts as a flavor bridge, skillfully tying together the vanilla extract, almond extract, and other ingredients, allowing each element to shine in harmony. This results in a filling that is rich, deep, and incredibly satisfying, far superior to anything you’d find in a store-bought can.
Forget about those convenient but often overly sweet and artificial store-bought cherry pie fillings. Today, we are embracing the magic of fresh (or frozen, if fresh aren’t in season) sweet cherries, creating a filling from scratch that bursts with authentic fruit flavor. And don’t let the idea of “homemade” intimidate you; this recipe is surprisingly straightforward. In fact, it takes only about 10 minutes of active prep time to get this magnificent pie into your oven, proving that exceptional taste doesn’t have to mean endless hours in the kitchen.
RELATED: Perfecting your pie starts with a great crust! You might also like this recipe – How to Make Pie Crust.
Key Ingredients for Your Homemade Cherry Pie
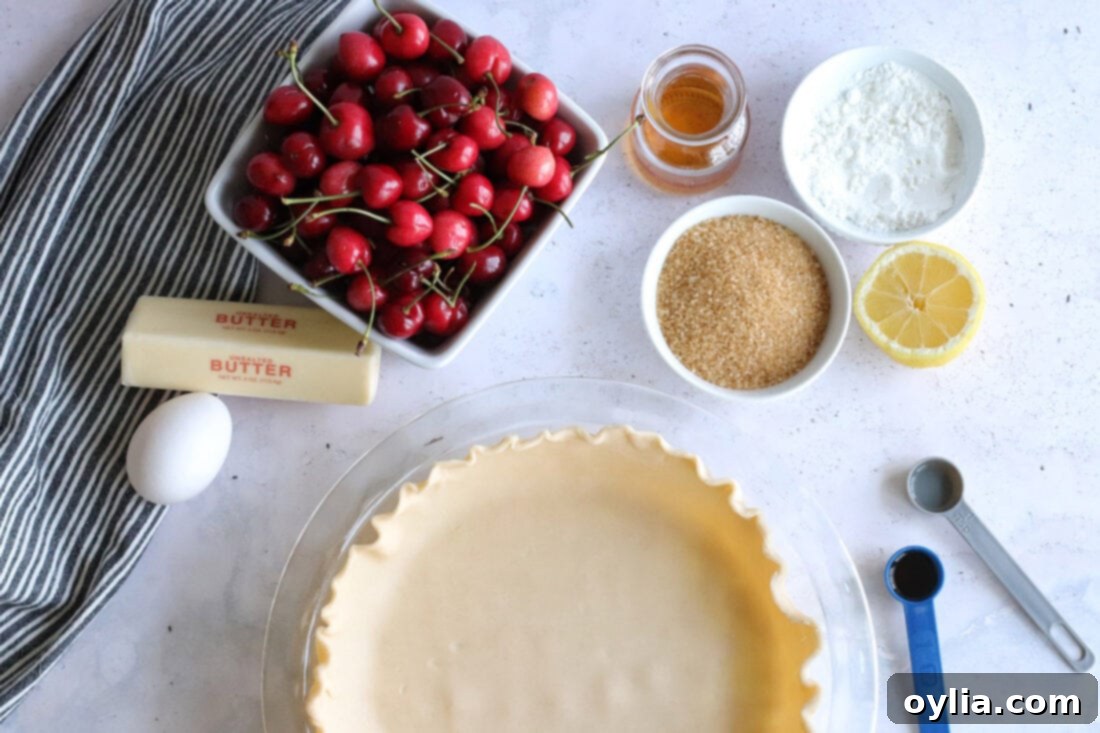
To embark on this delightful baking journey, you’ll need a selection of fresh, high-quality ingredients. While the full, detailed list with exact measurements can be found in the printable recipe card at the very end of this post, here’s a quick overview of what you’ll be gathering to create your magnificent Bourbon Cherry Pie:
Ingredient Spotlight & Smart Substitutions
Understanding each ingredient’s role and knowing when and how to make substitutions can elevate your baking experience. Here’s a deeper look into the components of our Bourbon Cherry Pie:
CRUST – The foundation of any great pie is its crust. While a homemade pie crust offers unparalleled flakiness and flavor, it does require a bit more time and effort. If you have a cherished family recipe for a buttery, flaky pie crust, by all means, use it! However, for ultimate convenience and to streamline your baking process, high-quality premade refrigerated pie crusts are an excellent option. They perform beautifully, saving you significant prep time without sacrificing much in terms of texture. Just ensure they are properly thawed before handling to prevent cracking.
CHERRIES – The star of the show! We primarily recommend using luscious **dark sweet cherries** for their rich color and naturally sweet flavor profile. These cherries deliver a robust, jammy filling that is simply divine. If you prefer a pie with a slightly more tart edge, **Rainier cherries** make an excellent substitute, offering a beautiful golden hue and a brighter flavor. Don’t worry if fresh cherries aren’t in season; **frozen cherries** work just as wonderfully! The key is to use them straight from the freezer – no need to thaw. This helps maintain their structure and prevents the filling from becoming too watery. Just make sure they are pitted, whether fresh or frozen.
ADDITIONS for Flavor and Texture – These are the secret weapons that transform a good cherry pie into a truly magnificent one:
- Bourbon: This is our signature touch. Bourbon adds a remarkable depth, introducing warm, vanilla, and subtly nutty notes that beautifully complement the fruit. It enhances the overall complexity of the pie without making it taste overtly alcoholic, as the alcohol largely cooks off during baking, leaving behind a rich essence. If you prefer to exclude alcohol, you have a couple of excellent alternatives:
- Bourbon Extract: A few drops of bourbon extract can mimic the flavor profile without the alcohol content.
- Cranberry Juice or Cranberry Cherry Juice: Swapping the bourbon entirely for a tablespoon of cranberry juice or cranberry-cherry juice will still provide a lovely tart counterpoint to the sweet cherries and add a layer of fruity complexity that keeps the pie from being one-dimensional.
- Cornstarch: This is crucial for achieving the perfect filling consistency. Cherries release a lot of liquid when baked, and cornstarch acts as a thickening agent, ensuring your pie filling sets beautifully and doesn’t become a watery mess. It creates that desirable luscious, spoonable texture that holds its shape when sliced.
- Butter: Small cubes of butter dotted over the cherry filling before baking serve a dual purpose. Firstly, as it melts, it adds a luxurious richness and a silky mouthfeel to the filling. Secondly, and perhaps more importantly, the butter helps to “seal” the filling, preventing it from becoming overly liquidy and bubbling out excessively over the edges of your beautiful pie crust during baking. It helps create a more controlled, perfectly set filling.
- Lemon Juice: Just a touch of fresh lemon juice brightens the overall flavor of the cherry filling, cutting through the sweetness and enhancing the natural tartness of the fruit. It’s a small addition that makes a big difference.
- Vanilla and Almond Extract: These extracts are not just for sweetness; they add layers of aromatic complexity. Vanilla provides a classic warmth, while almond extract perfectly complements cherries, enhancing their stone-fruit flavor profile.
- Raw Sugar (Turbinado Sugar): Using raw sugar not only adds sweetness but also a delightful textural crunch and a glistening finish to the crust when sprinkled on top.
Step-by-Step Guide to Baking Your Bourbon Cherry Pie
These step-by-step photos and detailed instructions are here to help you visualize how to create this incredible pie. For a quick reference or to print, you can Jump to Recipe to get the concise printable version of this recipe, complete with precise measurements and instructions at the bottom.
- Prepare Your Crusts: Remove your refrigerated pie crusts from the fridge. Allow them to sit at room temperature for approximately 15-20 minutes. This crucial step softens the dough, making it pliable and much easier to unroll and handle without cracking.
- Preheat Oven: While your crusts are softening, preheat your oven to a steady 375 degrees Fahrenheit (190°C). This ensures the oven is at the correct temperature for immediate baking once the pie is assembled.
- Prepare the Cherries: If you are using fresh cherries, you’ll need to meticulously pit them and remove their stems. A cherry pitter makes this task much easier and quicker. If using frozen cherries, there’s no need to thaw them beforehand; they can go directly into the mixing bowl, which saves you an extra step!
- Initial Cherry Mixture: Place all the prepared cherries into a large mixing bowl. Pour in the bourbon (or your chosen substitute) and add ½ cup of the raw sugar (Turbinado sugar). Gently toss to combine. Remember to reserve the remaining sugar for later use on the crust.
- Complete the Filling: To the cherry and sugar mixture, add the cornstarch, fresh lemon juice, vanilla extract, and almond extract. With a spoon or spatula, thoroughly mix all the ingredients until the cherries are completely coated. The cornstarch should be evenly distributed to ensure proper thickening during baking.
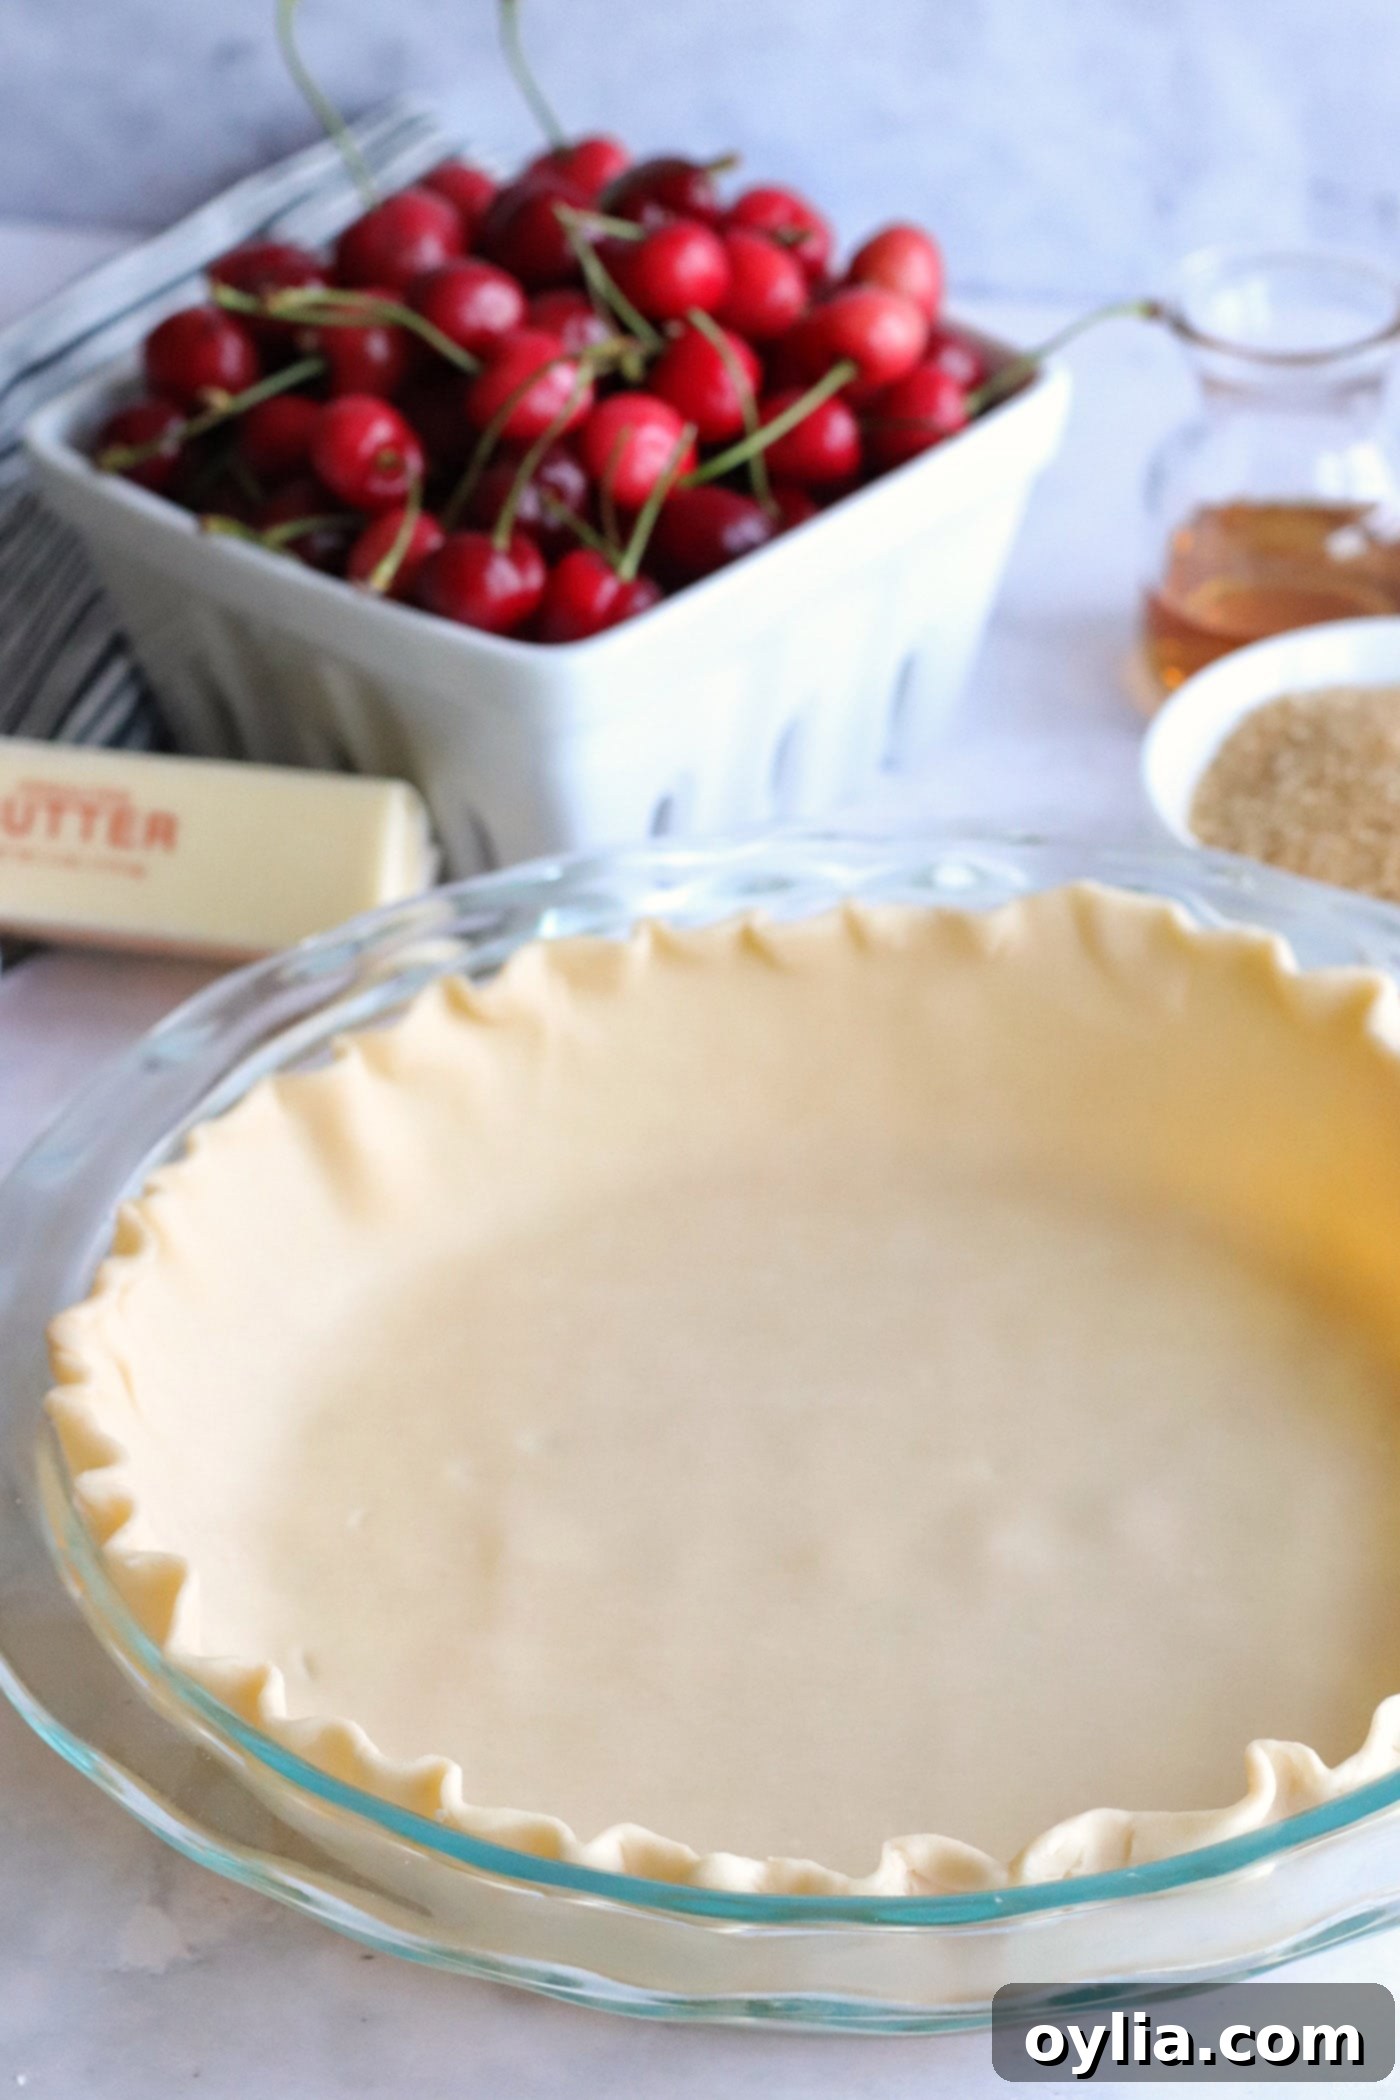
- Bottom Crust Placement: Carefully unroll one of your thawed pie crusts and gently lay it into a 9-9.5 inch pie dish. Press it lightly against the bottom and sides, ensuring it fits snugly without tearing.

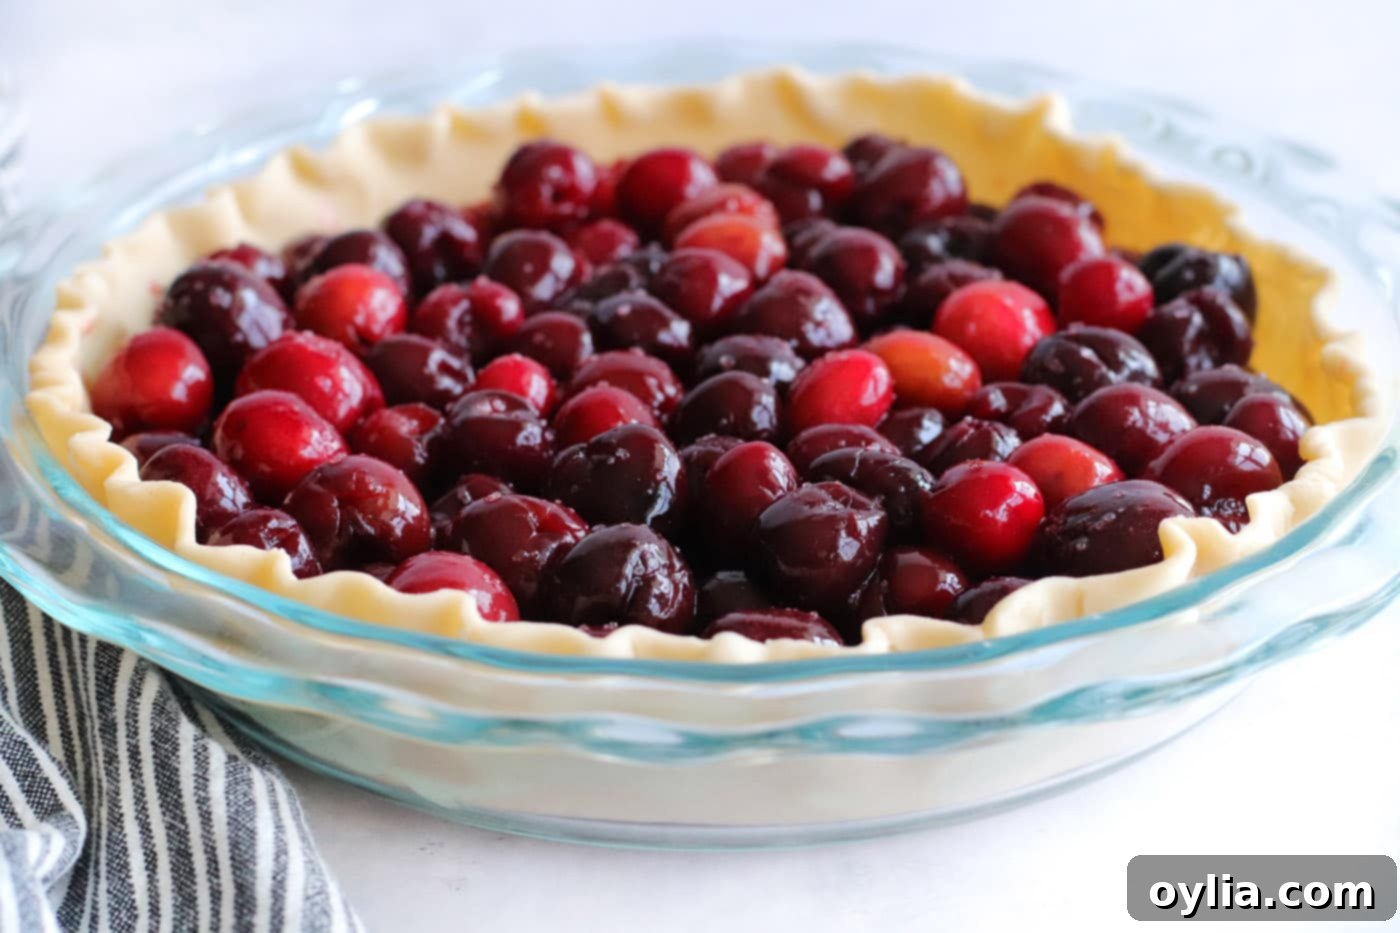
- Add the Filling: Carefully spoon the bourbon cherry filling directly into the prepared pie crust, spreading it evenly. Aim for a slightly mounded center, as the filling will settle during baking.

- Dot with Butter: Cut the tablespoon of butter into small, pea-sized pieces. Evenly distribute these butter pieces over the top of the cherry filling. This will contribute to the richness and help prevent excessive bubbling.
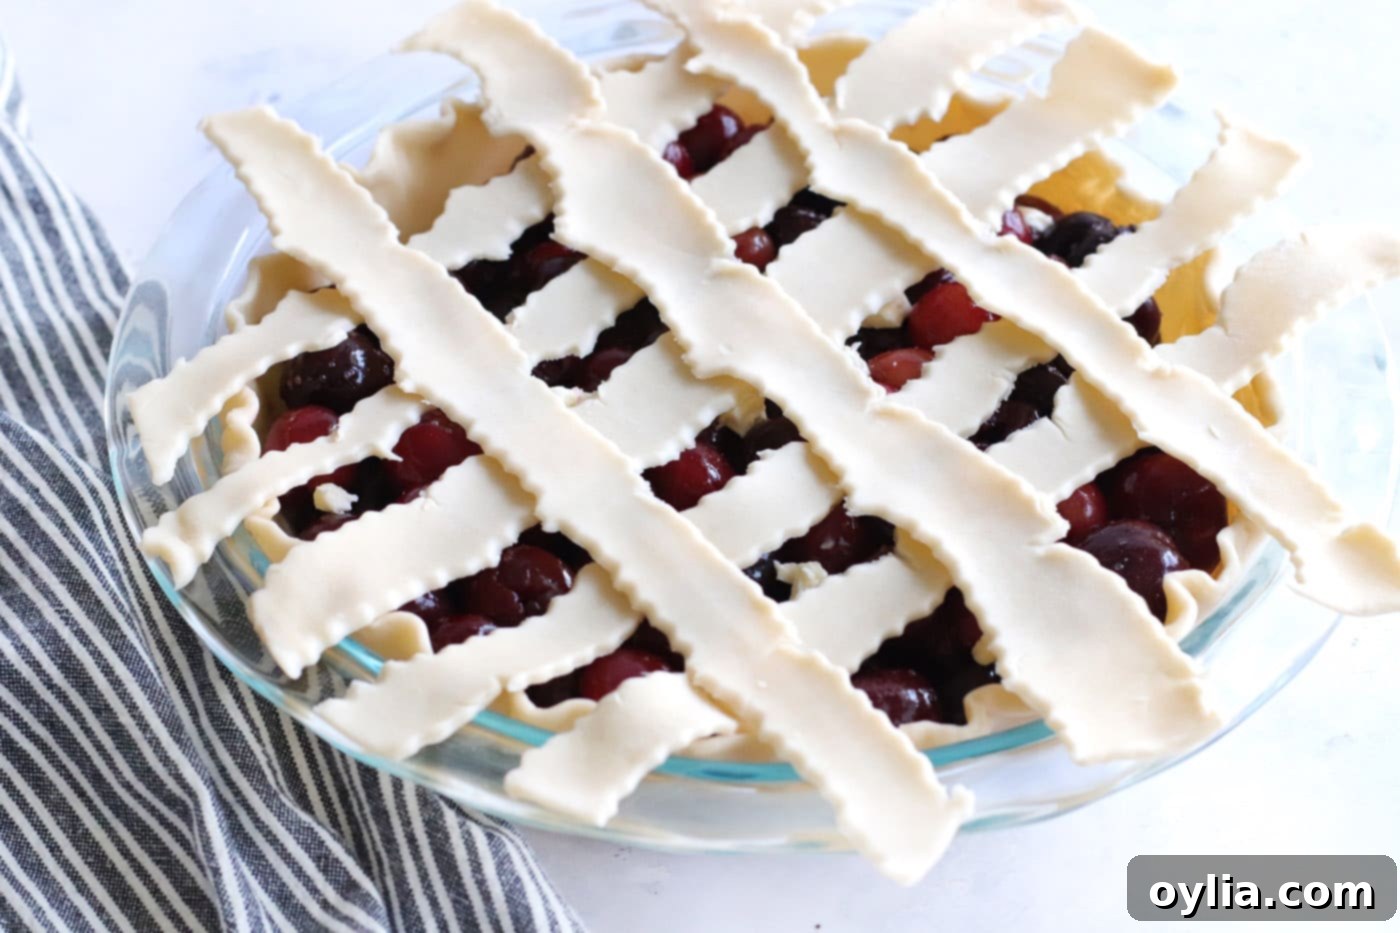
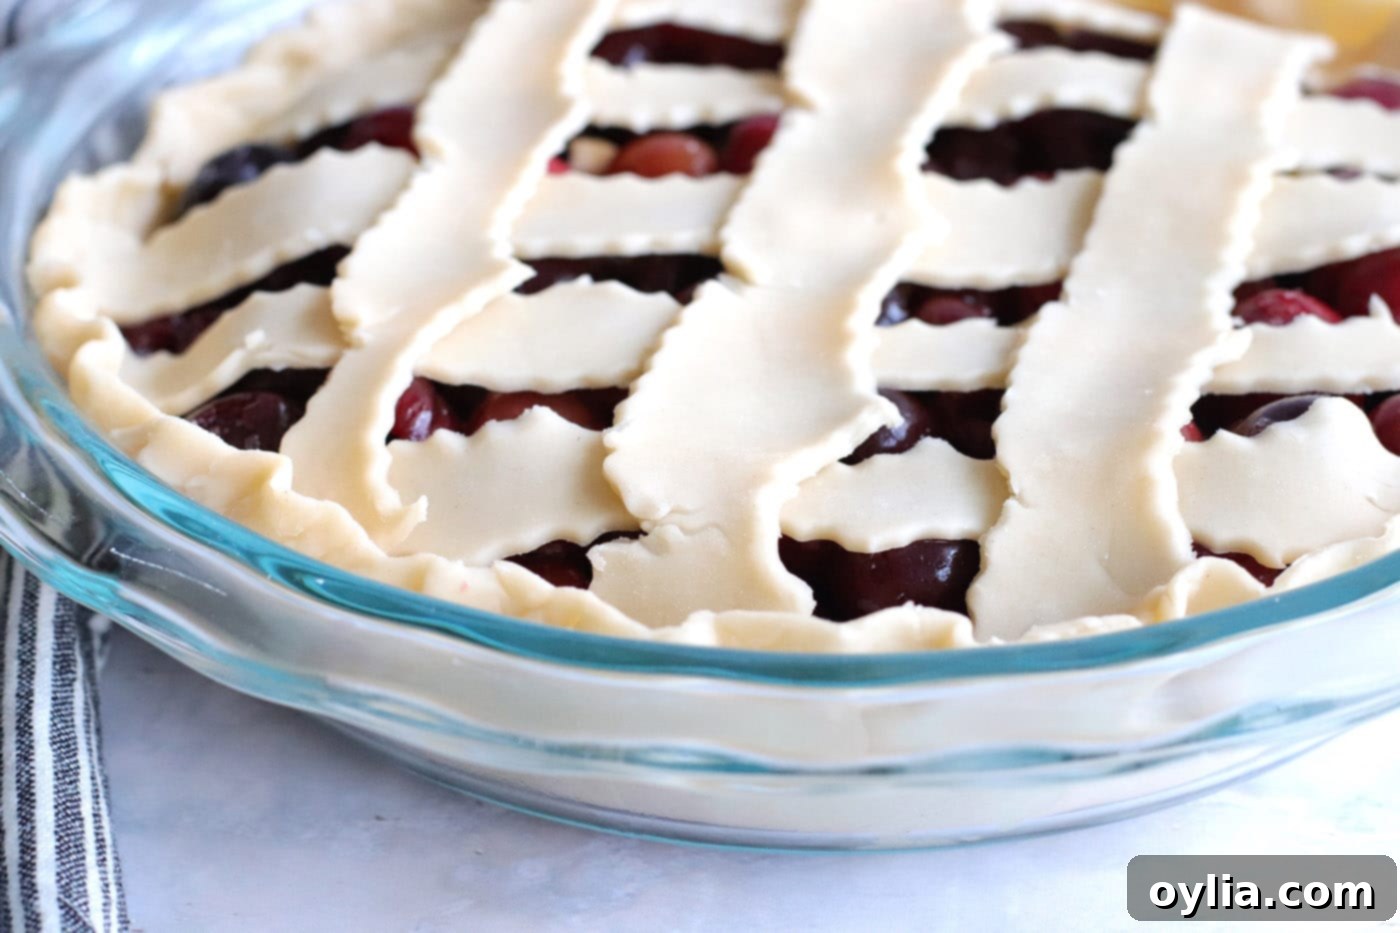
- Prepare the Top Crust: Unroll your second pie crust onto a piece of parchment paper. Using a pastry wheel, a decorative cookie cutter edge, or a sharp knife, cut the crust into about 8-10 even strips, approximately 1-inch wide.
- Create a Lattice (or other design): Artfully arrange the strips on top of the cherries. A classic lattice pattern is beautiful and allows steam to escape. For a simple lattice, lay five strips vertically across the pie, evenly spaced. Then, take three more strips and weave them horizontally over and under the vertical strips, starting from the center. Get creative with your design!

- Seal the Edges: Once your top crust design is complete, trim off any excess dough hanging over the edge of the pie dish. Gently tuck the edges of the top crust underneath the bottom crust, pressing them together to create a sealed edge. You can crimp the edges decoratively with your fingers or a fork. If you find the dough isn’t sticking well, a tiny sprinkle of water along the edges can help them adhere.

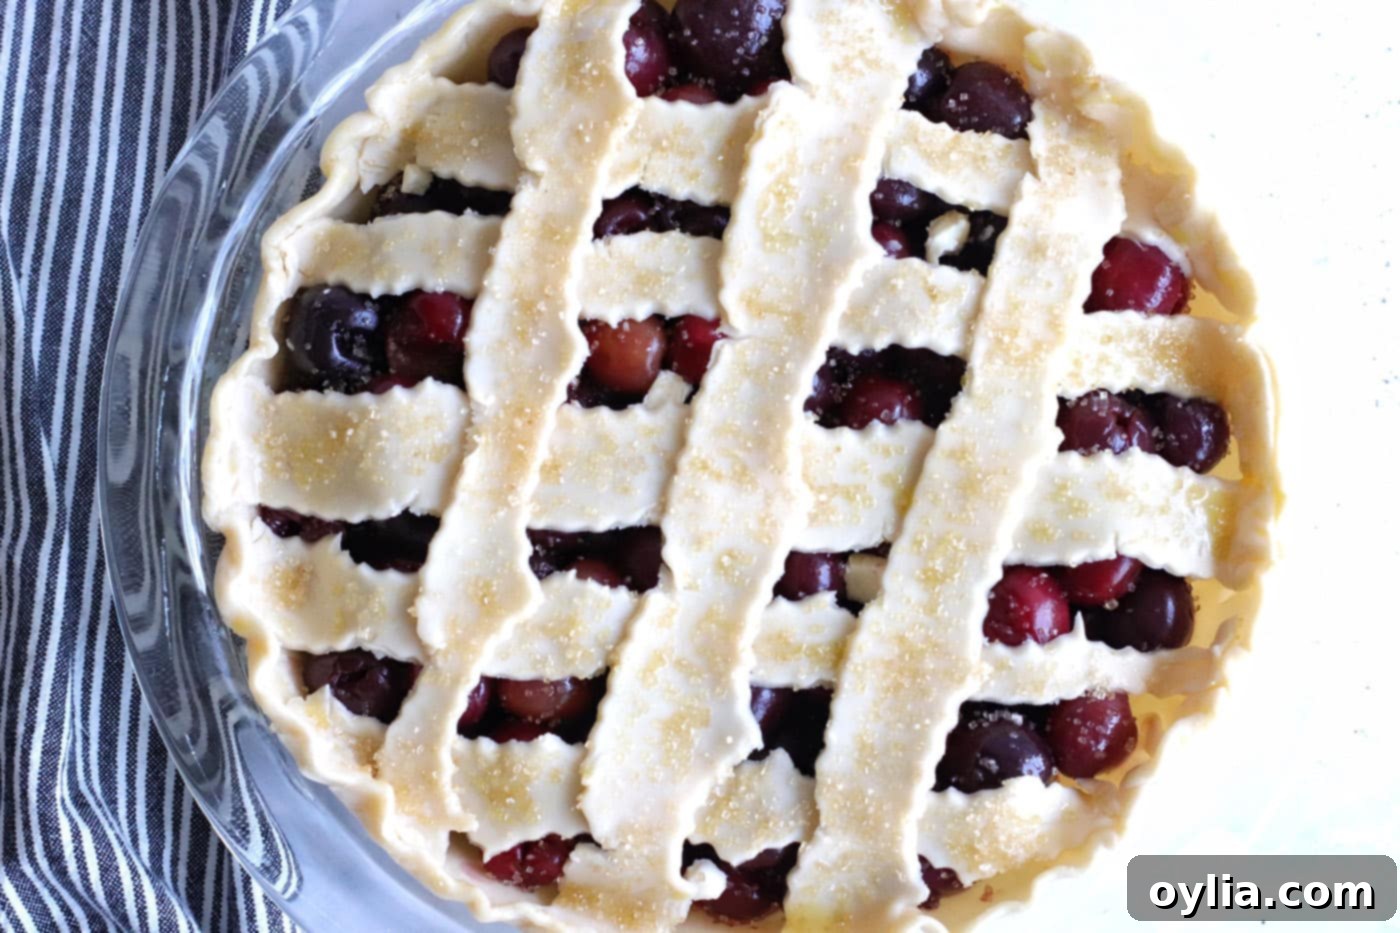
- Egg Wash & Sugar Sprinkle: In a small bowl, crack the egg and add about 1 tablespoon of room-temperature water. Whisk these together to create a simple egg wash. Brush this egg wash evenly over the entire top crust of the pie. This will give your crust a beautiful golden sheen and help the sugar adhere. Immediately sprinkle the remaining raw sugar generously over the egg-washed crust for a delightful sparkle and crunch.

- First Bake Phase: Carefully place the pie into your preheated 375°F (190°C) oven. Bake for approximately 30-35 minutes. During this initial phase, the crust begins to firm up and lightly brown, and the filling starts to heat through.
- Protect the Edges: After 30-35 minutes, check your pie. If the edges of the crust are beginning to brown too quickly or appear excessively dark, it’s time to protect them. You can use a pie crust protector (a reusable metal or silicone ring) or create a makeshift one with aluminum foil. Simply fold a strip of foil so it only covers the outer edges of the pie in a circular fashion, leaving the center exposed. This prevents the edges from burning while allowing the rest of the pie to continue baking.
- Second Bake Phase: Place the protected pie back into the oven, reducing the heat to 350°F (175°C). Continue to bake for an additional 30 to 40 minutes, or until the pie reaches perfect doneness.
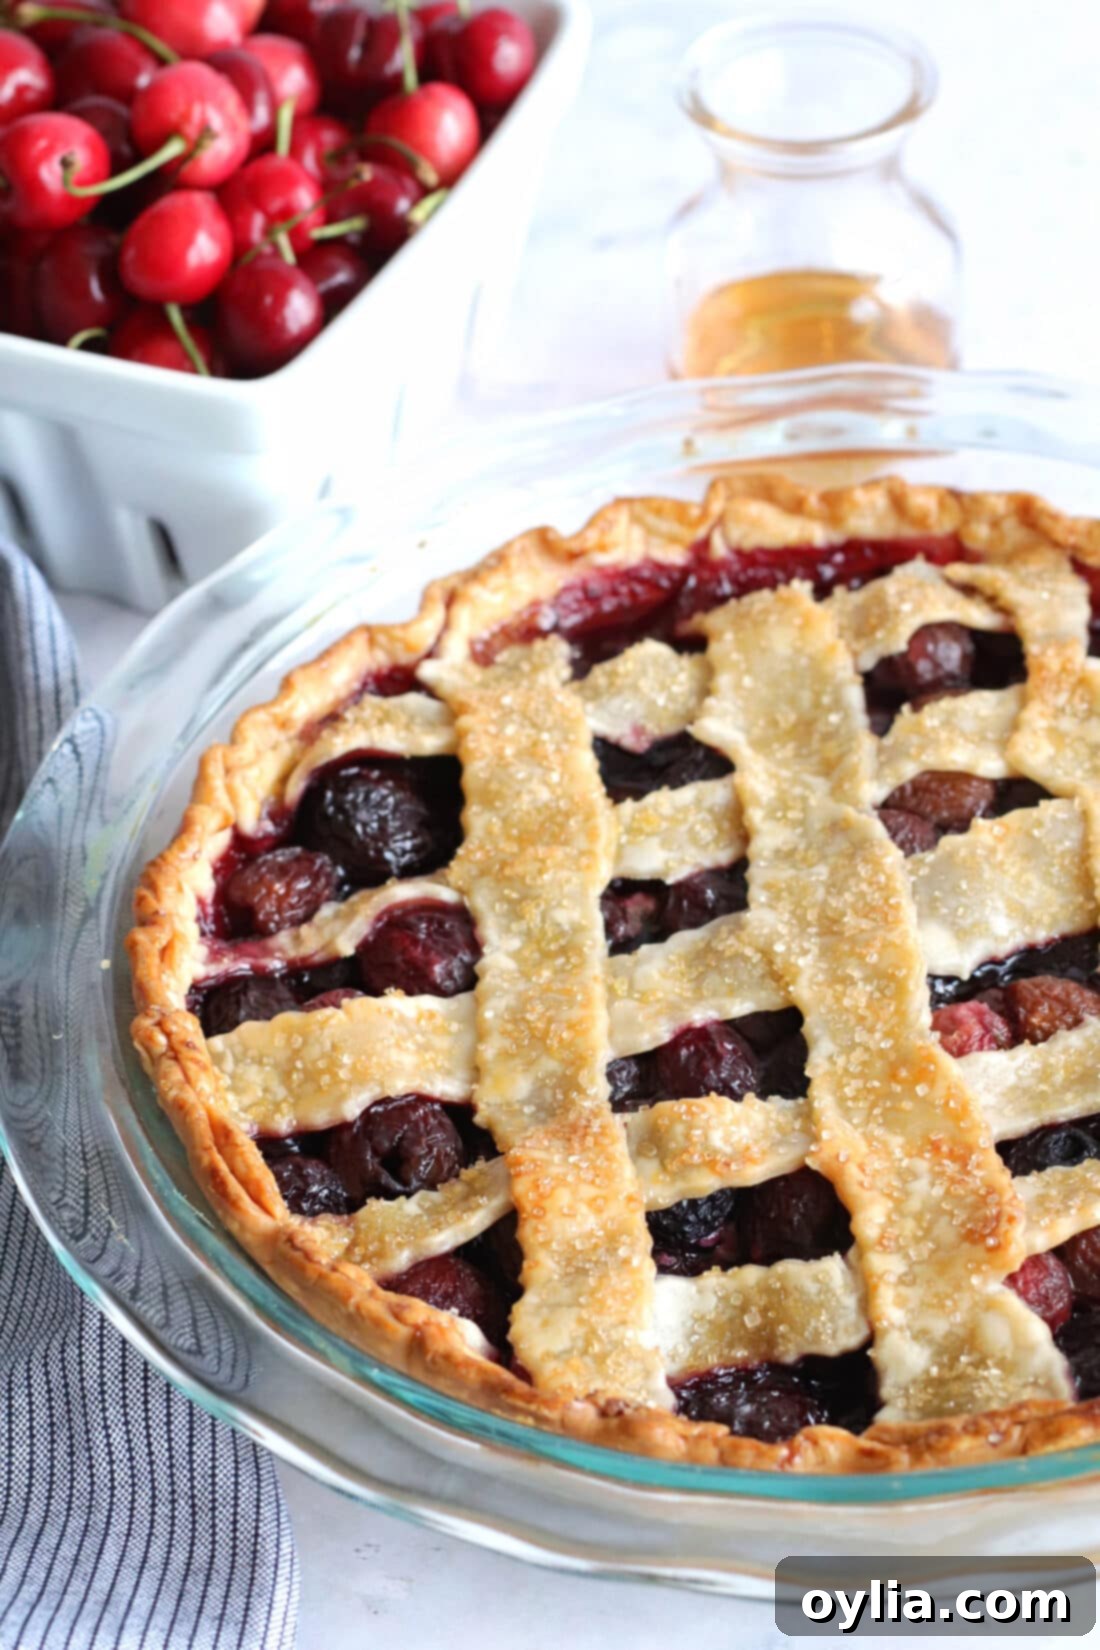
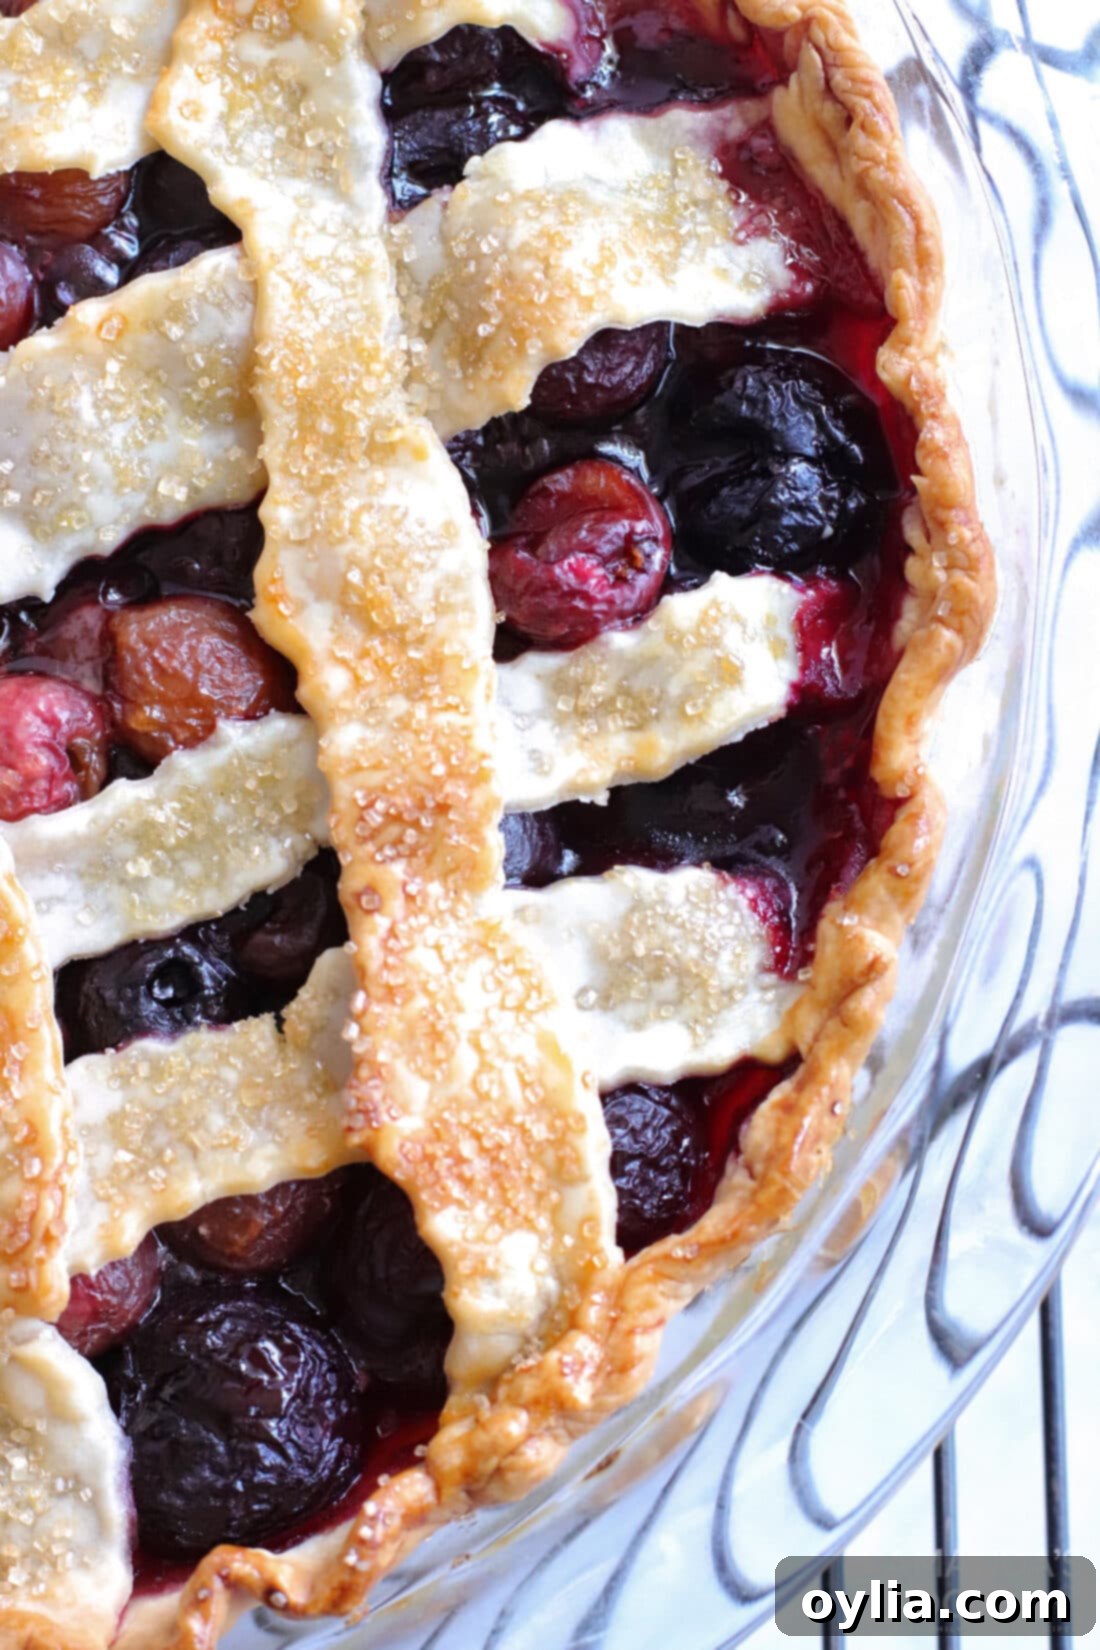
EXPERT TIP – Oven temperatures and baking times can vary significantly, especially with pies. To confirm your pie is perfectly cooked: your crust should be a beautiful, even golden brown all over, you should see the cherry filling actively bubbling through the lattice or vent holes, and the bottom crust, when gently lifted (if possible with a spatula), should no longer look translucent or raw but instead appear cooked through and slightly golden. A digital thermometer inserted into the filling (away from the center vent) should register at least 200-210°F (93-99°C).
- Cool Completely: Once the pie is baked to perfection, carefully remove it from the oven. Transfer it to a wire cooling rack and allow it to cool completely for at least 3 hours. This cooling period is absolutely essential! It allows the cornstarch-thickened filling to fully set, preventing a runny pie when sliced. Patience is key for a picture-perfect slice!
Frequently Asked Questions & Expert Tips for Cherry Pie Perfection
For the richest flavor and deepest color, dark sweet cherries are our top recommendation and go-to choice. They create a beautifully balanced pie. However, if you prefer a pie with a more pronounced tartness, Rainier cherries are a fantastic alternative, offering a lovely golden hue and a brighter flavor profile. Both fresh and frozen cherries work wonderfully in this recipe. If you’re using fresh, remember to pit them meticulously. If opting for frozen cherries, there’s no need to thaw them; they can be added directly to the mixture, which actually helps maintain their shape and prevents the filling from becoming too watery. Always ensure any cherries used are pitted for a pleasant eating experience.
Pitting cherries by hand can be a bit time-consuming, especially if you have a large batch. We highly recommend investing in a good cherry pitter; it makes the process incredibly quick and mess-free. If you don’t have a pitter on hand, you can improvise! A common method is to use a chopstick, a sturdy wooden skewer, or even a paper clip. Simply push the end of the tool through the stem end of the cherry until the pit pops out from the other side. Be prepared for a bit of juice, and consider wearing an apron!
For optimal freshness and to maintain its quality, store your baked cherry pie loosely wrapped with aluminum foil or plastic wrap in the refrigerator. It will stay delicious for up to 4 days. If your kitchen isn’t overly warm, you can store it at room temperature, loosely covered, for about 2 days. Always cover it to prevent it from drying out or absorbing other odors. For reheating, a quick warm-up in a moderate oven (around 300°F/150°C) can bring back some of its warmth and crispness, though it’s also delightful served chilled.
While it’s best to assemble and bake the pie shortly after preparing the filling to prevent the crust from getting soggy, you can prep the cherries (pitting them, etc.) a day in advance and store them in an airtight container in the refrigerator. Mix the filling ingredients just before you plan to bake the pie.
A runny filling is a common issue with fruit pies. Often, it’s due to not enough thickener or insufficient baking time. Ensure you’re using the correct amount of cornstarch as specified in the recipe. Also, make sure the pie is fully cooked; the filling should be visibly bubbling in the center, and its internal temperature should reach at least 200-210°F (93-99°C) to activate the cornstarch fully. Adequate cooling time (at least 3 hours) is also critical, as the filling continues to set as it cools.
Yes, cherry pie freezes beautifully! You can freeze it unbaked or baked. For an unbaked pie, assemble it completely, then wrap it tightly in several layers of plastic wrap and then foil. Freeze for up to 3 months. When ready to bake, place it directly in a preheated oven (no thawing needed), adding about 20-30 minutes to the baking time. For a baked pie, allow it to cool completely, then wrap tightly as above and freeze for up to 2-3 months. Thaw in the refrigerator overnight, then reheat in a moderate oven until warmed through.
Perfect Pairings & Serving Suggestions
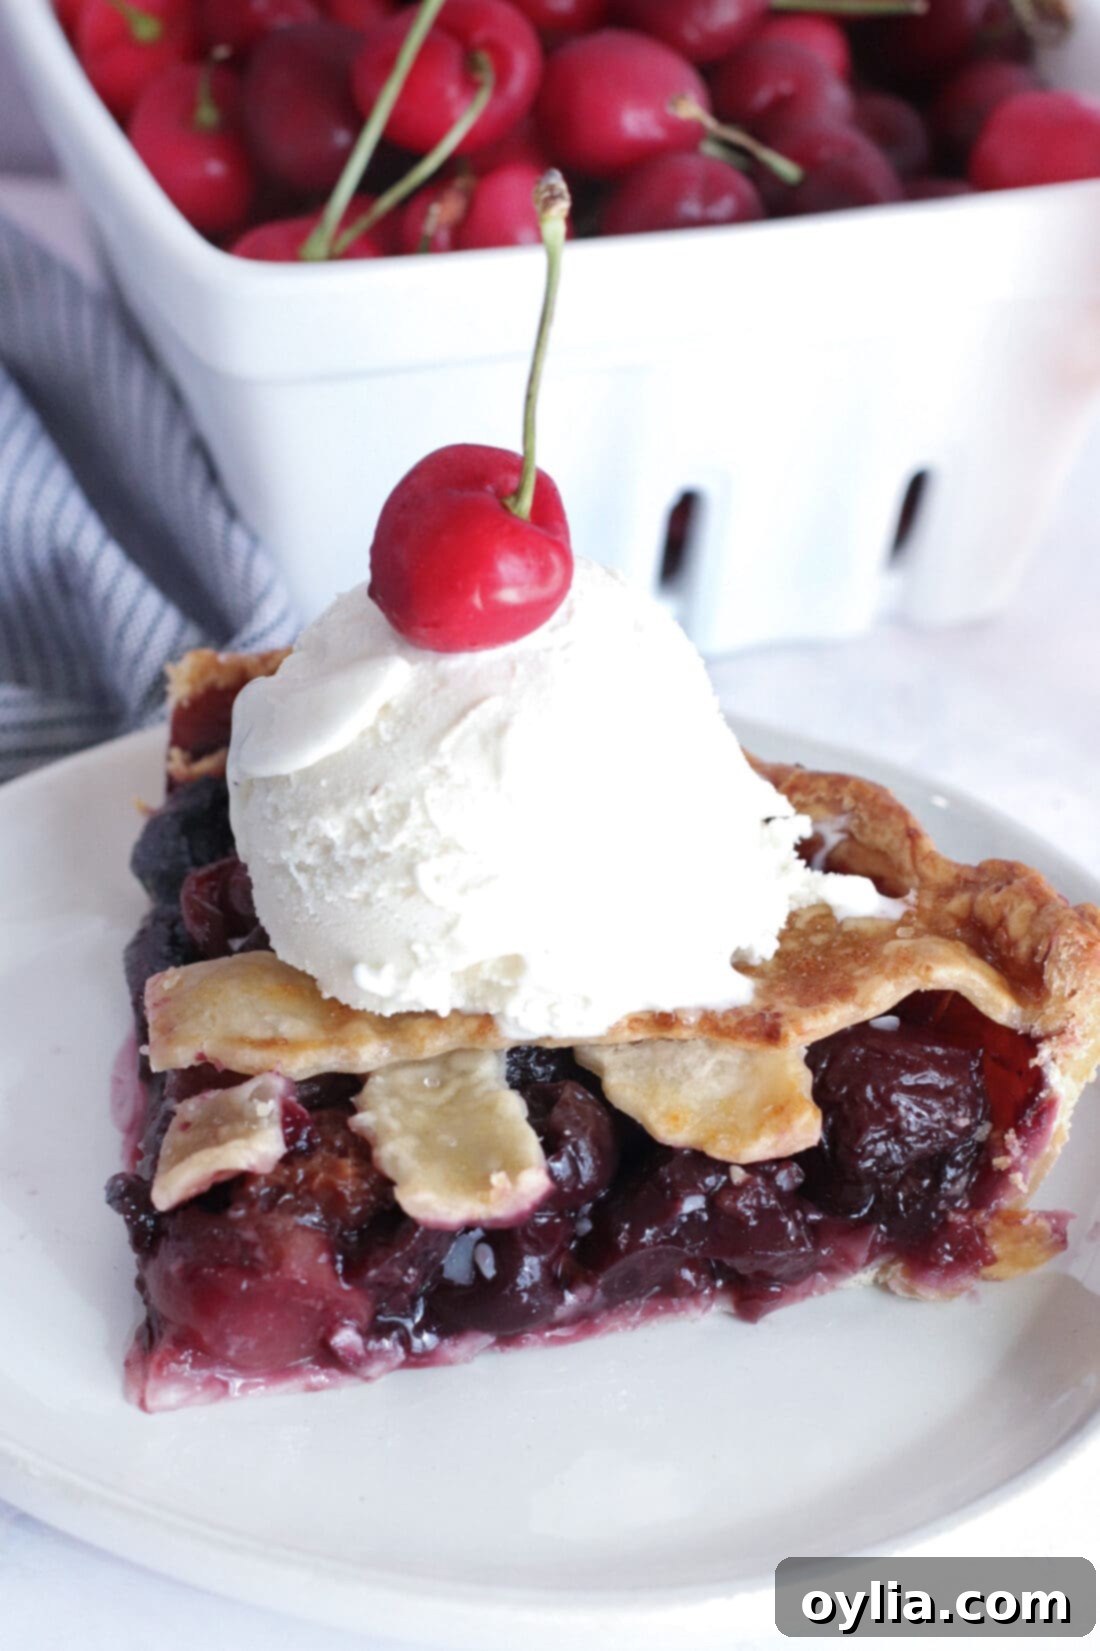
This homemade Bourbon Cherry Pie is a star on its own, but it truly shines when paired with certain accompaniments. For a classic indulgence, serve a warm slice with a generous dollop of freshly whipped cream or a heaping scoop of premium vanilla bean ice cream that slowly melts into the warm, fruity filling. A light dusting of powdered sugar can also add an elegant touch. This pie is a fantastic dessert year-round, bringing a burst of summer flavor even in colder months. However, it’s particularly popular during late spring and early summer when fresh cherries are at their peak, and it makes an exceptional addition to holiday tables, especially Thanksgiving, offering a vibrant alternative to more traditional pumpkin or apple pies.
Explore More Cherry Dessert Delights
If you’re a true cherry enthusiast, you’ll love these other fantastic recipes that celebrate the juicy fruit:
- Cherry Fluff
- Cherry Lush
- Spiked Cherries
- Cherry Cake with Cherry Frosting
- Cherry Cream Cheese Coffee Cake
- Crockpot Chocolate Cherry Cobbler
I love to bake and cook and share my kitchen experience with all of you! Remembering to come back each day can be tough, that’s why I offer a convenient newsletter every time a new recipe posts. Simply subscribe and start receiving your free daily recipes!
Bourbon Cherry Pie
IMPORTANT – There are often Frequently Asked Questions within the blog post that you may find helpful. Simply scroll back up to read them!
Print It
Pin It
Rate It
Save ItSaved!
Ingredients
- 2 refrigerated pie crusts
- 4 cups dark sweet cherries pitted, or frozen
- 1 Tbsp bourbon or cranberry juice
- ¾ cup raw sugar turbinado sugar, divided
- 4 Tbsp cornstarch
- 1 Tbsp lemon juice
- 1 tsp vanilla extract
- 1 tsp almond extract
- 1 Tbsp butter
- 1 egg
Things You’ll Need
-
9 inch pie pan
-
Mixing bowls
-
Cherry pitter
Chef’s Notes & Expert Tips
- Ovens can vary significantly, especially when baking pies. For a perfectly cooked pie, ensure your crust is a beautiful, even golden brown all over, the cherry filling is visibly bubbling, and the bottom crust is cooked through, no longer translucent. Using an oven thermometer can help ensure accurate oven temperature.
- Both fresh and frozen cherries yield excellent results. If using fresh, remember to pit them. For frozen cherries, add them directly from the freezer; no thawing is required. Feel free to substitute dark sweet cherries with Rainier cherries for a slightly tarter flavor.
- If you prefer to omit alcohol, a few drops of bourbon extract can mimic the flavor, or you can substitute the bourbon with an equal amount of cranberry juice or cranberry-cherry juice. This alternative still provides a wonderful fruity depth and balance to the pie’s flavors.
- Allow the pie to cool completely for at least 3 hours on a wire rack. This is crucial for the filling to set properly, ensuring clean, beautiful slices.
Instructions
-
Remove your pie crusts from the fridge and allow them to thaw for about 15-20 minutes to make them pliable.
-
Preheat your oven to 375 degrees F (190°C).
-
If using fresh cherries, pit and remove stems. Frozen cherries do not need thawing.
-
Place cherries in a bowl. Add the bourbon (or substitute) and ½ cup of raw sugar. Save the rest of the sugar.
-
Add cornstarch, lemon juice, vanilla extract, and almond extract to the cherries. Mix until fully coated.
-
Place one pie crust into a 9-9.5 inch pie dish.
-
Pour the cherry filling into the crust, spreading evenly.
-
Cut butter into small pieces and place them evenly on top of the cherries.
-
Place the other pie crust on parchment paper. Cut into 8-10 even strips using a pastry wheel or knife.
-
Lay the strips over the cherries in your desired pattern (e.g., a lattice: five vertically, then three horizontally woven over/under).
-
Trim excess dough, then tuck and pinch the edges of the top crust into the bottom crust to seal (a little water can help if needed).
-
Whisk 1 egg with 1 Tbsp room temperature water to make an egg wash.
-
Brush the top of the pie crust with the egg wash. Sprinkle with the remaining raw sugar.
-
Bake in the preheated oven for 30-35 minutes.
-
If crust edges brown too quickly, cover them with a pie protector or aluminum foil, leaving the center exposed.
-
Return pie to the oven, reduce heat to 350 degrees F (175°C), and bake for another 30-40 minutes, or until golden brown and filling is bubbly.
-
Remove from oven and cool completely on a wire rack for at least 3 hours before slicing and serving.
Nutrition Information
The recipes on this blog are tested with a conventional gas oven and gas stovetop. It’s important to note that some ovens, especially as they age, can cook and bake inconsistently. Using an inexpensive oven thermometer can assure you that your oven is truly heating to the proper temperature. If you use a toaster oven or countertop oven, please keep in mind that they may not distribute heat the same as a conventional full sized oven and you may need to adjust your cooking/baking times. In the case of recipes made with a pressure cooker, air fryer, slow cooker, or other appliance, a link to the appliances we use is listed within each respective recipe. For baking recipes where measurements are given by weight, please note that results may not be the same if cups are used instead, and we can’t guarantee success with that method.
