Fluffy & Easy: The Ultimate 4-Ingredient Marshmallow Frosting Recipe for Cakes & Cupcakes
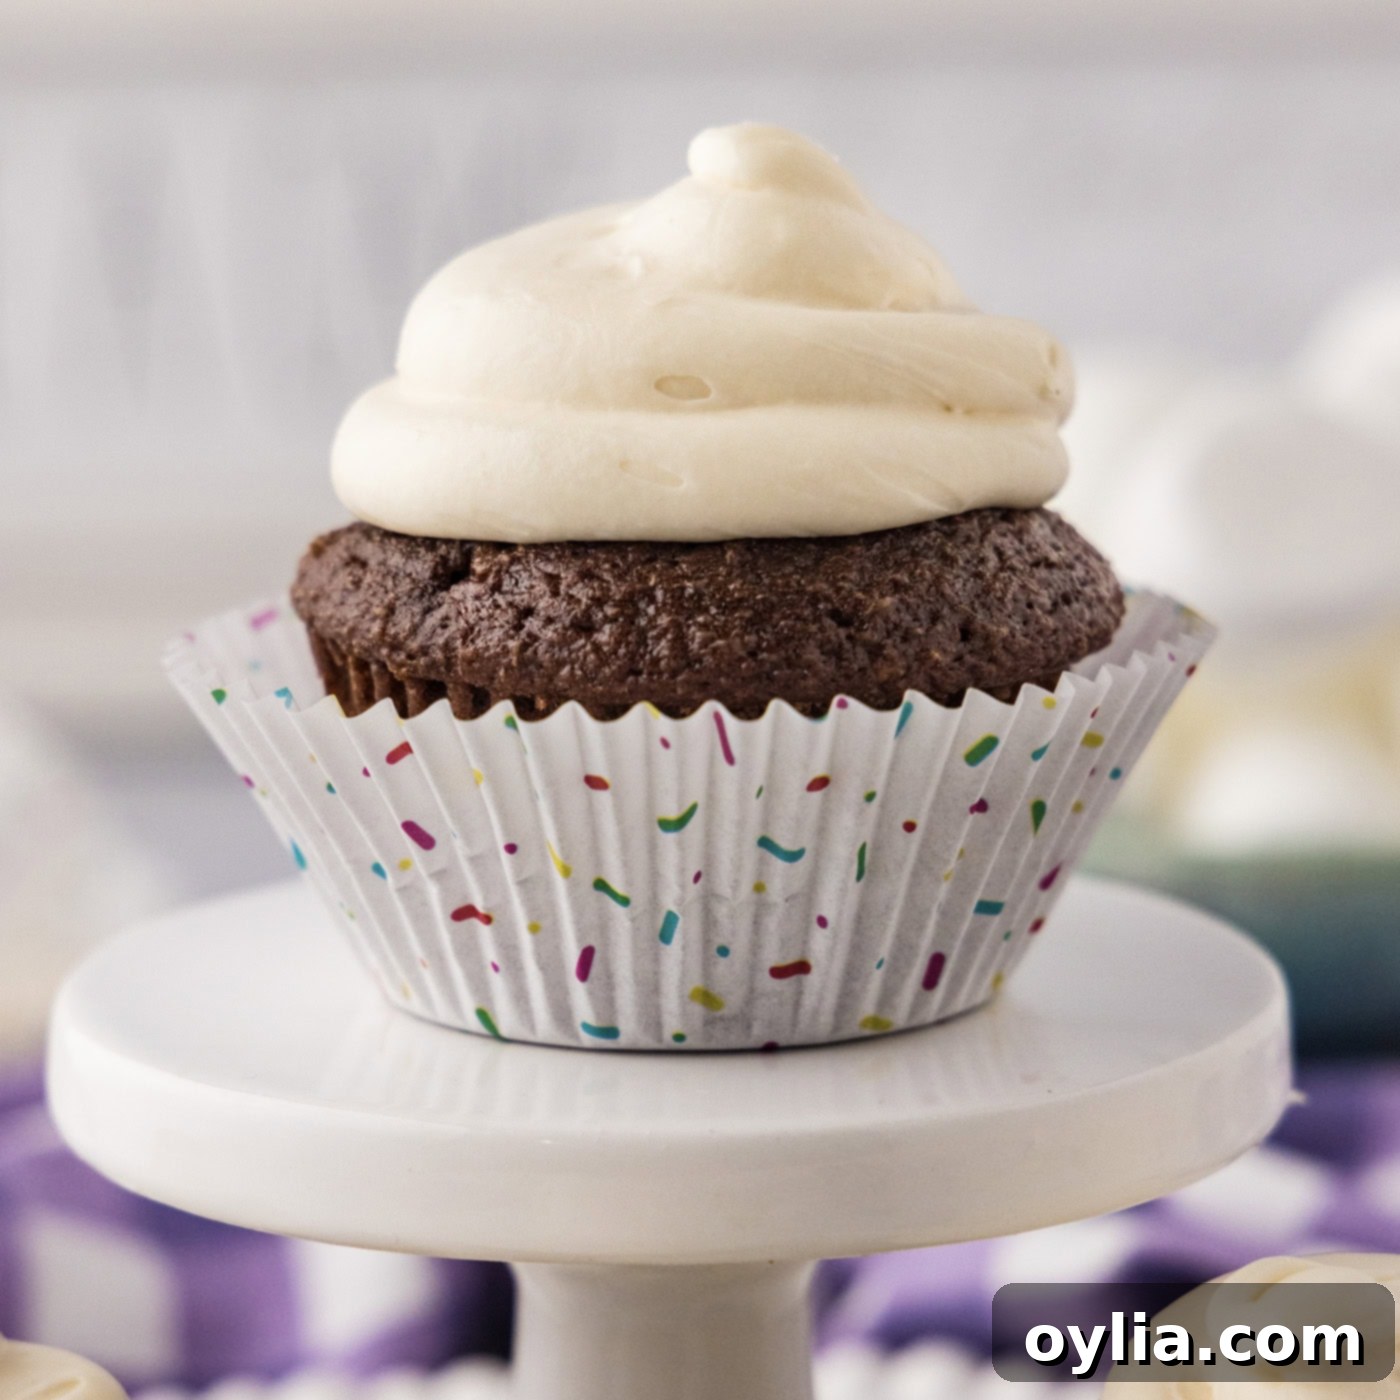
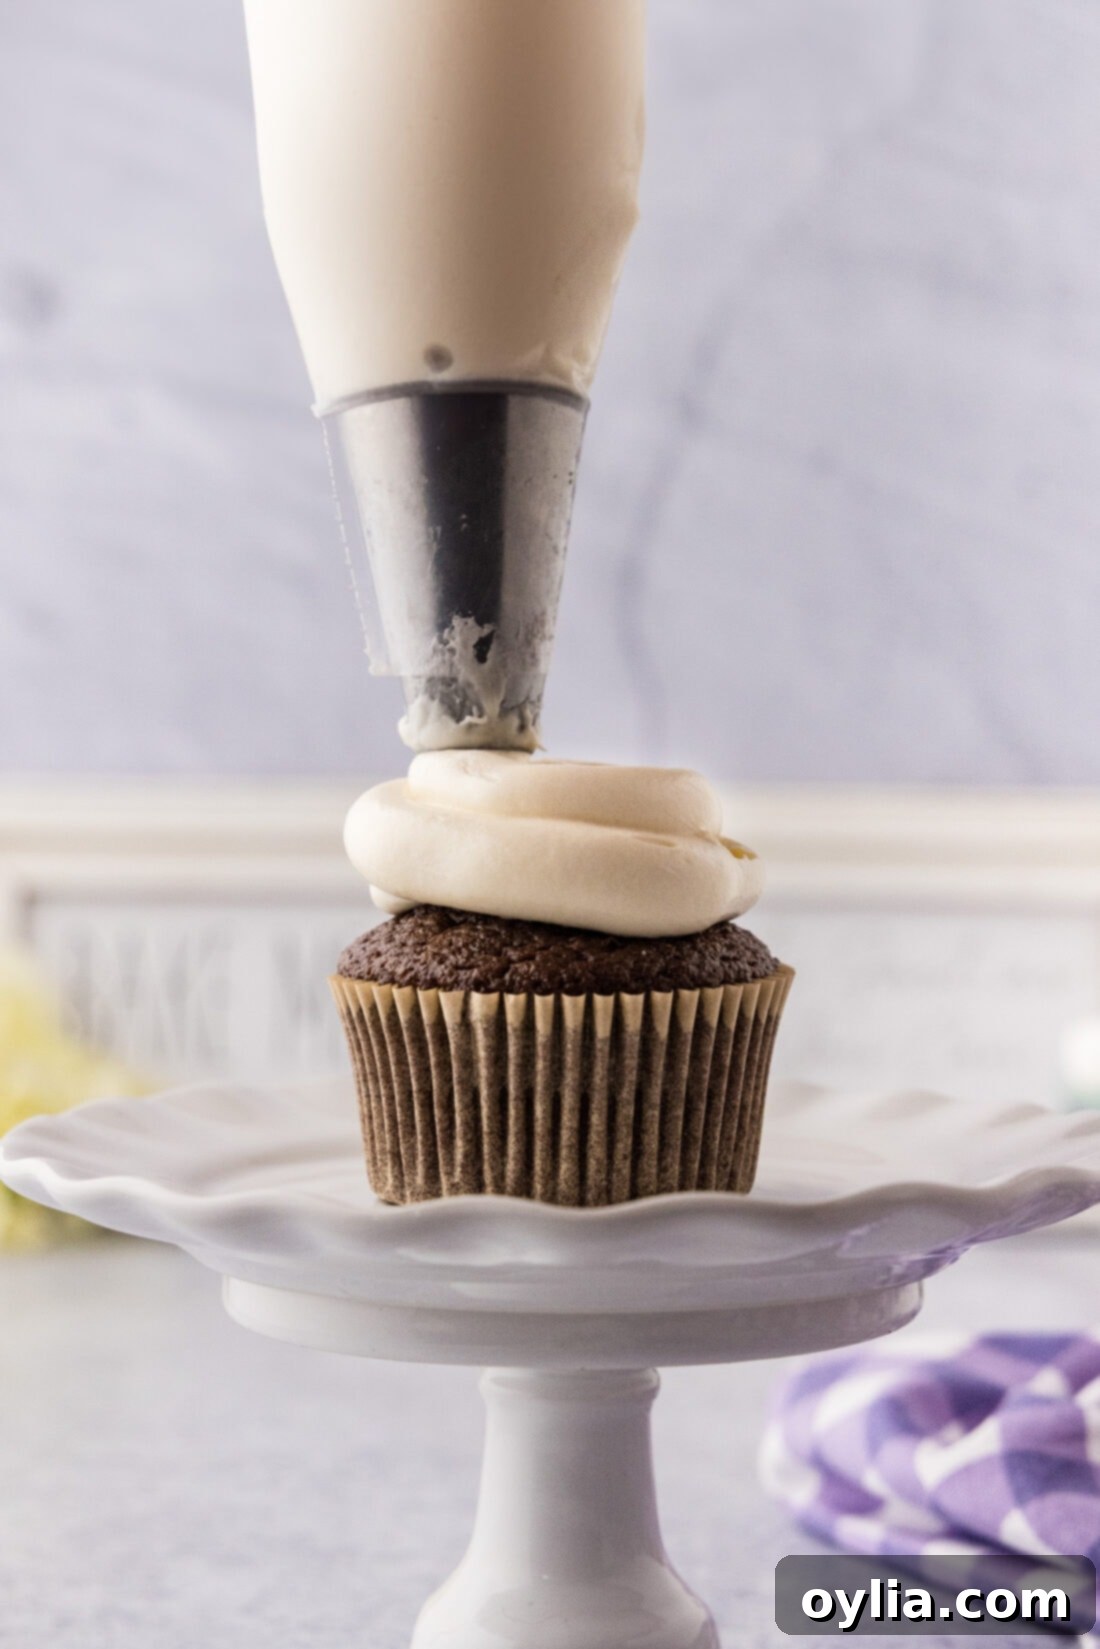
Imagine a frosting so light and airy, it feels like biting into a sweet, pillowy cloud. This incredible 4-ingredient marshmallow frosting recipe delivers exactly that – a silky, fluffy, and utterly delicious topping that will elevate your favorite cookies, cakes, and cupcakes to new heights. Forget complicated steps or lengthy ingredient lists; this recipe focuses on simplicity without compromising on a truly dreamy texture and flavor.
Why This Marshmallow Frosting Recipe Is a Must-Try
This marshmallow frosting stands out as one of the best you’ll ever taste, and it all begins with a simple, readily available ingredient: marshmallow fluff. Unlike more traditional buttercream recipes that can sometimes be overly rich or dense, this marshmallow frosting offers a wonderfully light and airy texture that perfectly complements a wide range of desserts. With just a touch of butter, powdered sugar, and vanilla extract, the marshmallow fluff transforms into a glossy, sticky, and utterly irresistible concoction.
The magic of this recipe lies in its balanced simplicity. While it only calls for four core ingredients, the method is designed to ensure maximum fluffiness and stability. We’ve meticulously tested this recipe multiple times to guarantee a consistent, perfect result for you. Adhering to our specific tips, particularly regarding mixing times and temperature control, is key to achieving that ideal glossy, pipable consistency that makes this frosting so dreamy. It’s especially fantastic on rich desserts like S’mores cupcakes, where its light sweetness provides a delightful contrast.
Many people shy away from marshmallow frosting, thinking it’s too difficult or messy. However, this recipe breaks down the process into manageable steps, making it accessible for even novice bakers. The result is a homemade frosting that rivals professional patisserie creations, offering a unique texture that’s both satisfyingly sticky and delightfully melt-in-your-mouth soft. Prepare to impress your friends and family with this sweet, airy delight!
Key Ingredients for Dreamy Marshmallow Frosting
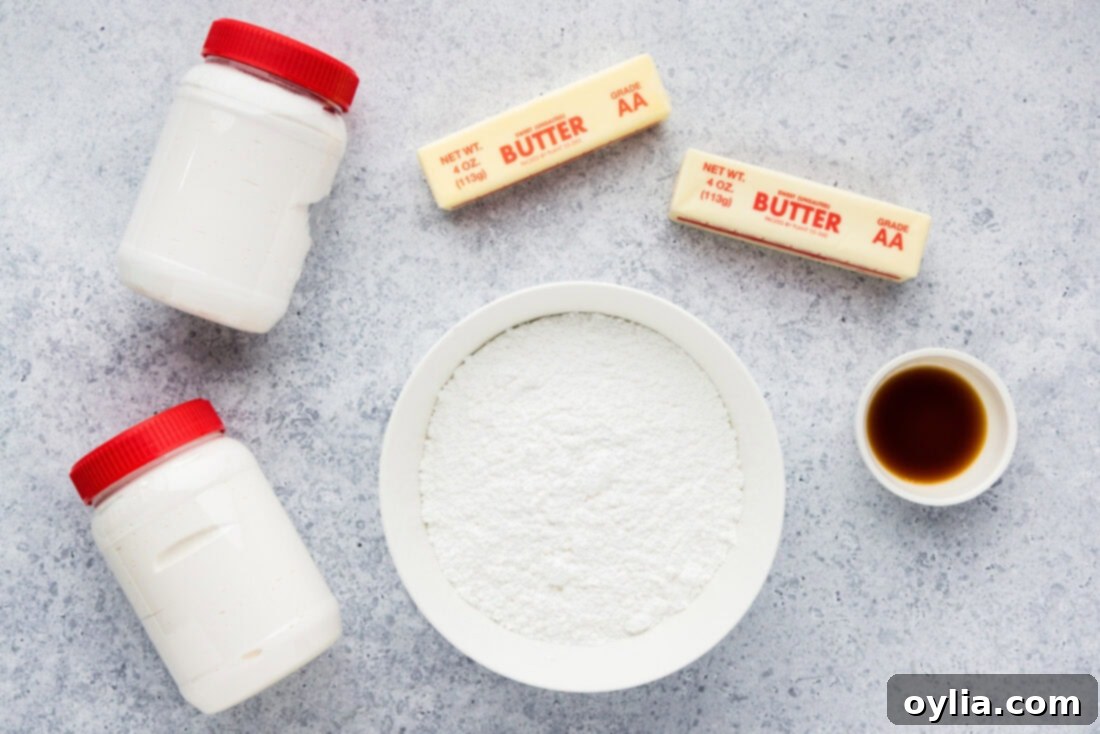
To create this magnificent marshmallow frosting, you’ll only need a handful of accessible ingredients. The full list with precise measurements can be found in the printable recipe card at the end of this post, but let’s dive into some important details about each one.
Ingredient Spotlight & Smart Substitutions
- MARSHMALLOW FLUFF: This is the star of our show! While you might be tempted to use marshmallow creme, or even melted marshmallows, for this recipe, marshmallow fluff is distinctly different and crucial for achieving the desired consistency. Marshmallow fluff has a lighter, airier texture right out of the jar, which contributes to the pillowy nature of this frosting. We have not tested this specific recipe with marshmallow creme, but many similar recipes suggest it can be used as a substitute, though the final texture might be slightly different. It’s important to note: marshmallow fluff is *not* the same as melted marshmallows. Melted marshmallows tend to be too sticky and dense for this type of frosting, making it much harder to achieve the smooth, pipable consistency we’re aiming for. Stick with the fluff for best results!
- UNSALTED BUTTER: Softened, unsalted butter is essential. Using unsalted butter allows you to control the salt content in your frosting. Make sure your butter is truly at room temperature – soft enough to easily indent with your finger, but not melted or greasy. This will ensure it creams properly with the powdered sugar, creating a smooth base and incorporating enough air for a light texture. If your butter is too cold, your frosting will be lumpy; too warm, and it will be greasy and runny.
- POWDERED SUGAR (CONFECTIONERS’ SUGAR): This fine sugar dissolves easily, contributing to the silky smooth texture of the frosting. There’s no need to sift it unless it’s particularly lumpy. Powdered sugar is critical for both sweetness and structure, binding the butter and marshmallow fluff together.
- VANILLA EXTRACT: A good quality vanilla extract adds a lovely depth of flavor that complements the sweet marshmallow beautifully. Feel free to experiment with other extracts like almond, lemon, or even a touch of peppermint for seasonal variations, depending on what you’re pairing the frosting with.
Crafting Your Perfect Marshmallow Frosting: Step-by-Step Guide
These step-by-step photos and detailed instructions are here to help you visualize how to make this recipe with ease. For a printable version of this recipe, complete with precise measurements and instructions, simply Jump to Recipe at the bottom of the page.
- Cream the Butter: In the bowl of a stand mixer fitted with the paddle attachment, begin by beating your softened unsalted butter on medium speed. Continue until it reaches a creamy, light yellow consistency. Then, increase the speed to medium-high and beat for a full 4 minutes. This crucial step incorporates air into the butter, making it light and fluffy, which is essential for the overall texture of your frosting.
- Incorporate Powdered Sugar: With the mixer on low speed, gradually add the powdered sugar to the creamed butter. Beat on low until the powdered sugar is fully incorporated with the butter and no dry spots remain. You will need to stop the mixer and scrape down the sides and bottom of the bowl once or twice with a rubber spatula to ensure everything is thoroughly combined. This prevents lumps and ensures an even consistency.
- Whip Until Fluffy: Once the sugar and butter are combined, increase the mixer speed to medium-high and beat for another 4 minutes. This additional beating time further aerates the mixture, creating a light and fluffy buttercream base before we add the marshmallow.
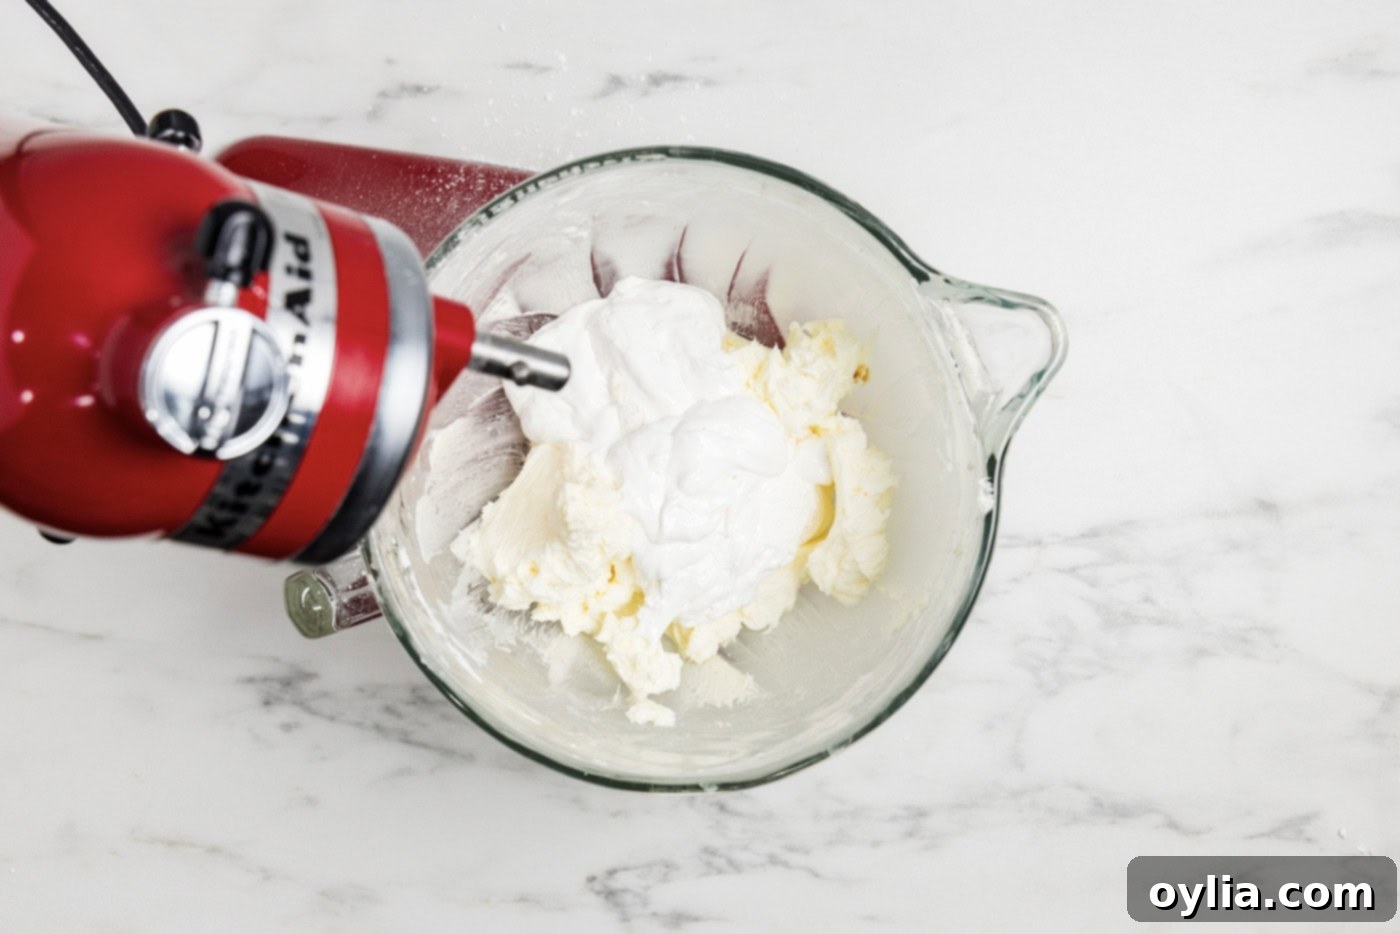
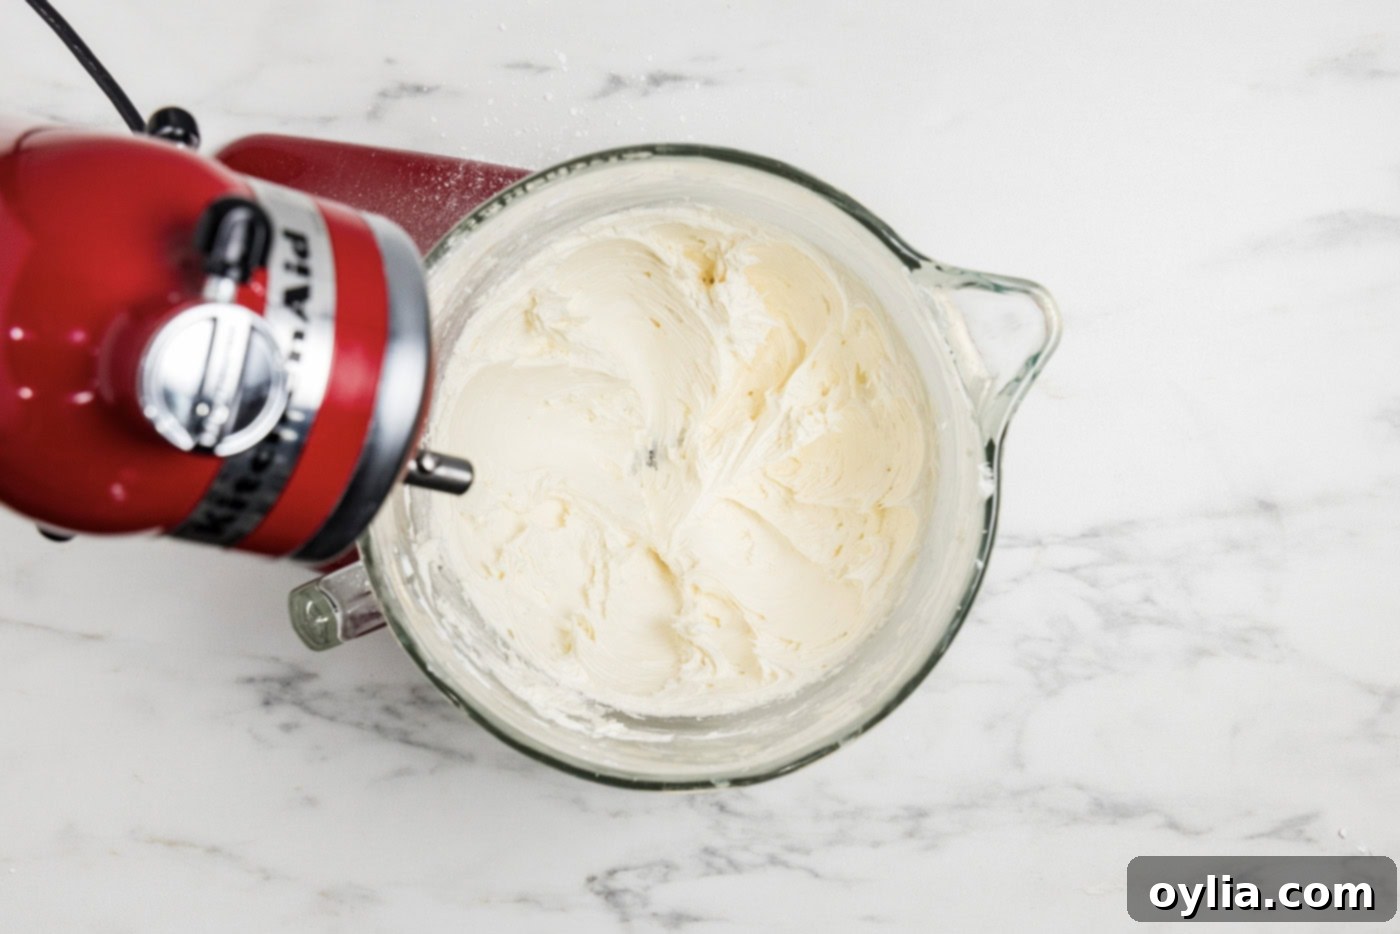
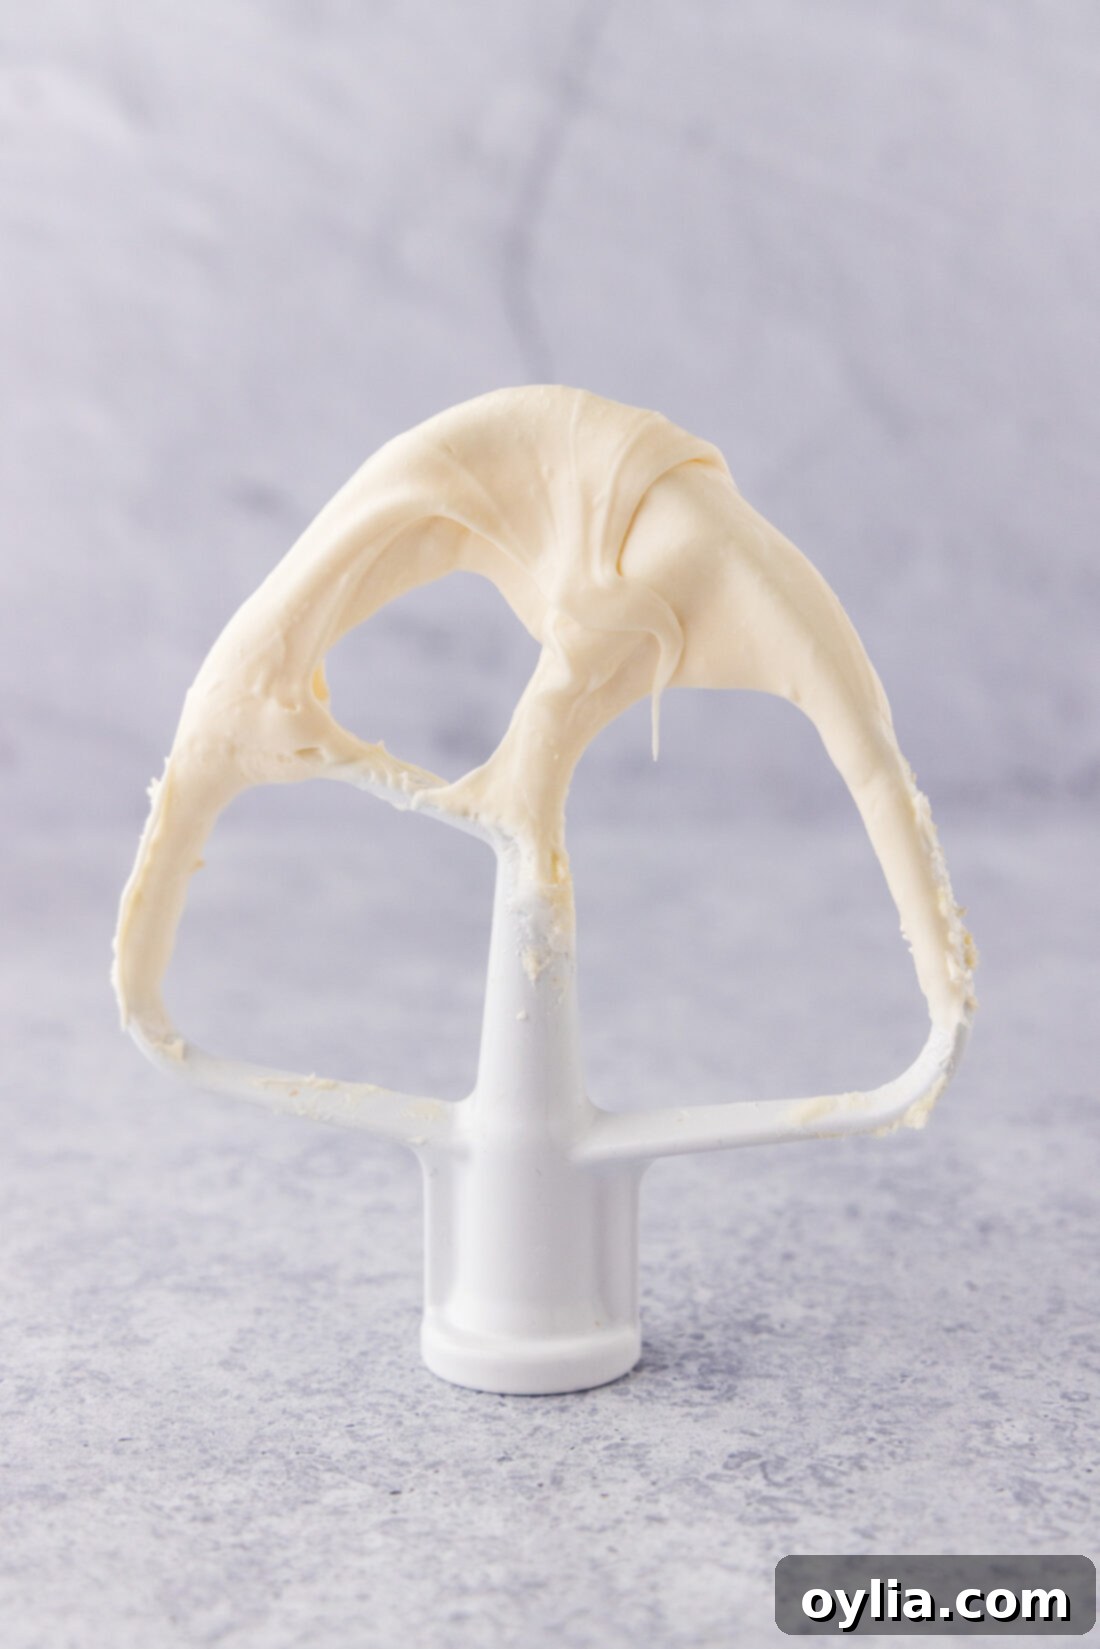
- Add Marshmallow Fluff and Vanilla: Now for the star ingredients! Add the vanilla extract and all of the marshmallow fluff to the mixing bowl. Start the mixer on medium speed to gently incorporate these sticky additions. Once combined, increase the mixer to medium-high and beat for a full 5 minutes. During this final beating phase, make sure to scrape down the sides and bottom of the bowl at least once halfway through. This extensive beating time is critical for achieving that signature glossy, elastic, and smooth marshmallow frosting texture. It allows the ingredients to fully emulsify and become a cohesive, delightful spread.


- Prepare for Piping (and Chill): Transfer the prepared frosting into your piping bag (fitted with your chosen tip, like a Piping tip 808). Place the piping bag in the refrigerator for 30 minutes. This chilling period is crucial: it allows the butter in the frosting to firm up slightly, making the frosting more stable and easier to pipe with defined shapes. Be careful not to leave it in for too long, as overly firm butter will make piping impossible.
- Pipe and Chill Again: Pipe the frosting onto one cupcake, then immediately place that cupcake into the refrigerator. Repeat this process for each cupcake until all are frosted and chilling. This individual chilling step is vital for maintaining the structural integrity of the frosting. Allowing the cupcakes to chill for an additional 30-45 minutes after piping will ensure the frosting sets beautifully and holds its shape, preventing it from melting or slumping, especially in warmer environments.
Frequently Asked Questions & Expert Tips for Success
The most common reason for runny marshmallow frosting is insufficient beating time. It’s absolutely crucial to beat the frosting for the full durations suggested in this recipe, as this process incorporates air and develops the structure needed for stability. Set a timer to ensure you’re not cutting this step short. If, after adequate beating, your frosting still seems too soft, gently pop the entire bowl of frosting into the refrigerator for 30-45 minutes. This cooling period will help the butter re-solidify slightly, firming up the frosting. After chilling, you can re-whip it briefly with the mixer or stir it by hand. Remember, this frosting has a lighter, softer consistency than a dense traditional buttercream, so don’t be tempted to add extra powdered sugar. Surprisingly, adding more powdered sugar can actually make the frosting runnier because sugar dissolves, increasing the liquid content, rather than thickening it.
Unused marshmallow frosting should be stored in an airtight container in the refrigerator for up to 4 days. Storing it chilled helps maintain the butter’s stability, ensuring the frosting remains firm enough for piping when you’re ready to use it. If you plan to spread the frosting rather than pipe it, you can frost your cupcakes or cake and then store the finished desserts at room temperature for up to 2 days. However, for best texture and safety, especially in warmer climates, refrigeration is recommended.
Yes, absolutely! You can prepare the marshmallow frosting up to 2-3 days in advance. Store it in an airtight container in the refrigerator. When you’re ready to use it, let it come to room temperature for about 30 minutes, then re-whip it in your stand mixer on medium-high speed for a few minutes until it’s light, fluffy, and smooth again. This re-whipping process brings back its airy texture and makes it easier to pipe or spread.
For perfectly softened butter, plan ahead! Take your butter out of the refrigerator 1-2 hours before you start baking. If you’re short on time, you can cut the butter into smaller pieces to speed up the process. Alternatively, place the wrapped butter in a bowl of warm (not hot!) water for about 10-15 minutes, or microwave it for 10 seconds at a time, flipping between each interval, until it’s pliable but not melted. Avoid completely melting it, as this will lead to a greasy, unstable frosting.
Can I Brown This Marshmallow Frosting with a Kitchen Torch?
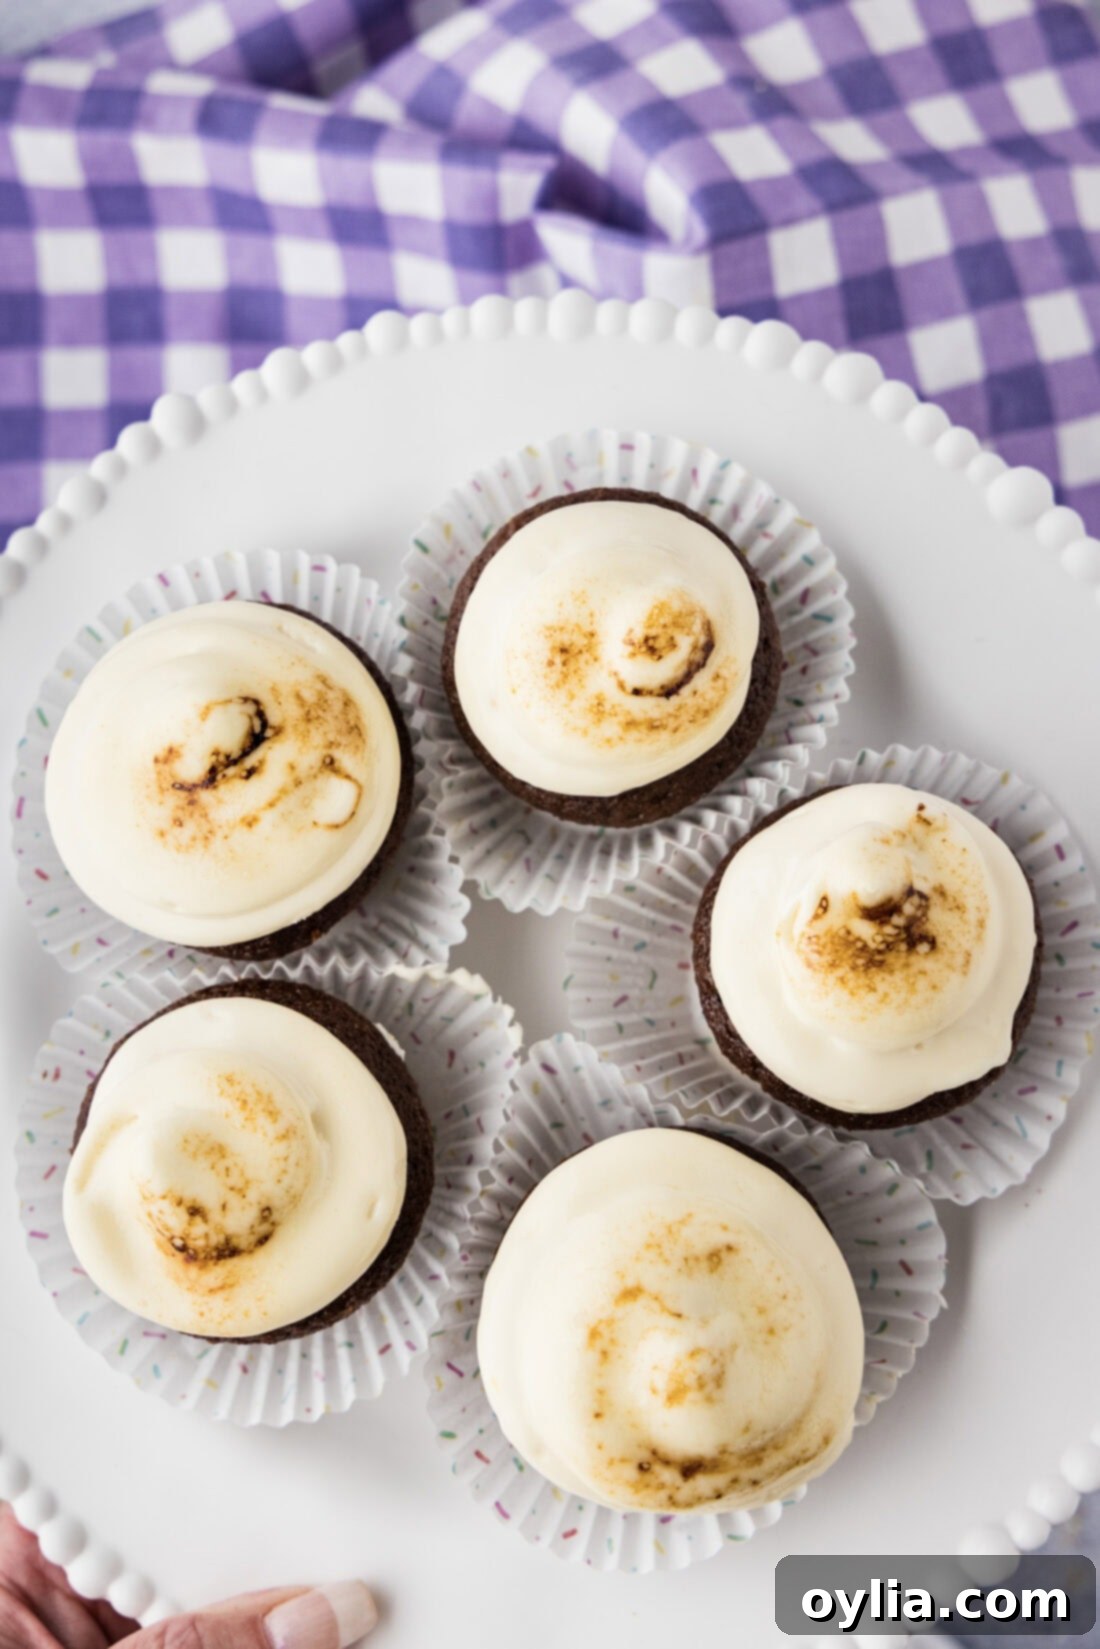
This is a common and exciting question, and our testing reveals a nuanced answer: yes, but with certain expectations and caveats. This marshmallow frosting will not brown in quite the same way as a traditional meringue or a direct flame on a marshmallow. Because this frosting contains butter and powdered sugar, the direct heat from a kitchen torch tends to melt the frosting rather than simply caramelize its surface. It won’t develop that beautifully crisp, toasted meringue-like crust without some melting.
However, if you don’t mind a slightly “melted” appearance and prioritize that delicious torched marshmallow flavor, it is absolutely possible to brown this frosting. The key is extreme cold. To successfully torch this frosting, you must freeze the frosted cupcakes or cake for at least one hour beforehand. This deep chill will provide enough stability to help the frosting withstand the heat for a few precious seconds. Hold the flame close to the frosting (and be extra careful not to ignite your paper cupcake liners!) and work very quickly in short bursts. You’ll see some browning, but also some melting around the edges.
Ultimately, while the appearance might not be as perfectly defined as a torched meringue, the added smoky, caramelized flavor from the torch is often worth the slight textural change. If you’re aiming for a S’mores-inspired dessert, this method can add an authentic touch, even if it looks a little rustic. Just manage your expectations regarding the visual outcome, and focus on the incredible taste experience!
Creative Serving Suggestions for Your Marshmallow Frosting
This versatile marshmallow frosting isn’t just for cupcakes! Its light, airy texture and sweet flavor make it a fantastic topping for a multitude of desserts. If you prefer a simpler application, you can easily spread it onto a cake or cookies with an offset spatula instead of piping. If you choose this method, you can skip the initial refrigeration step for the piping bag and just spread it directly after making it.
Here are some delicious ideas to enjoy your homemade marshmallow frosting:
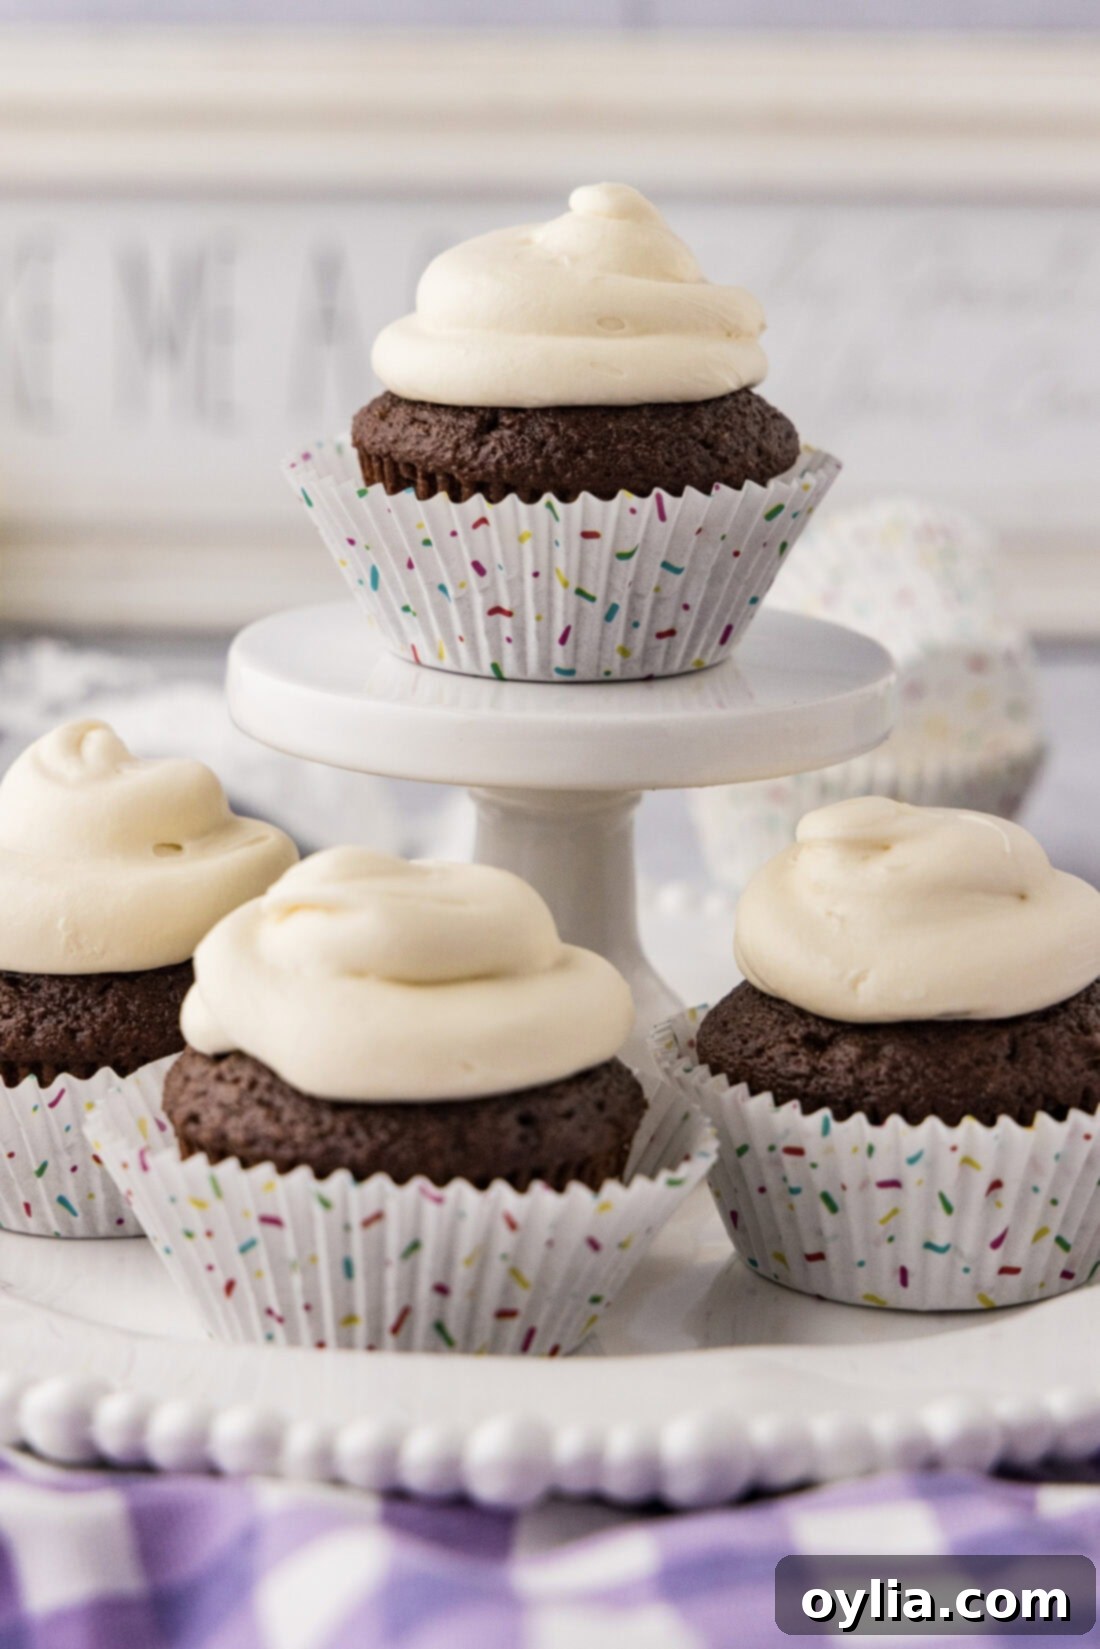
- Classic Cupcakes: Pipe this fluffy frosting over rich double chocolate cupcakes, decadent chocolate peanut butter cupcakes, or of course, the ever-popular S’mores cupcakes for a truly authentic experience.
- Layer Cakes: Use it as a filling and frosting for a vanilla, chocolate, or even a spice cake. Its lightness prevents cakes from feeling too heavy.
- Brownies & Bars: Spread a thick layer over warm brownies, blondies, or chocolate chip cookie bars. The slight warmth will make it melt just enough to create a delightful gooey topping.
- Cookies: Perfect for sandwiching between two graham cracker cookies or simply spreading on sugar cookies.
- Pie Topping: Try a dollop over a chocolate cream pie or a sweet potato pie for an unexpected and delightful twist.
- Hot Chocolate Bar: Offer small bowls of this frosting alongside whipped cream, sprinkles, and chocolate shavings for a gourmet hot chocolate experience.
However you choose to enjoy it, this marshmallow frosting is guaranteed to bring a smile to your face. Enjoy the sweet, pillowy goodness!
Explore More Delicious Frosting Recipes
Looking to expand your frosting repertoire? Here are some other fantastic recipes to try for all your baking needs:
- Brown Butter Frosting
- Cream Cheese Frosting
- Chocolate Fudge Frosting
- Peanut Butter Frosting
I love sharing my passion for baking and cooking with all of you! To make sure you never miss a new recipe, I offer a convenient newsletter delivered directly to your inbox. Simply subscribe and start receiving your free daily recipes!
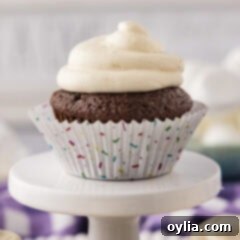
Marshmallow Frosting
IMPORTANT – There are often Frequently Asked Questions within the blog post that you may find helpful. Simply scroll back up to read them!
Print It
Pin It
Rate It
Save ItSaved!
Ingredients
- 1 cup unsalted butter softened at room temperature
- 8 ounces powdered sugar 2 cups
- 2 teaspoons vanilla extract
- 14 ounces marshmallow fluff two 7 ounce jars
Equipment You’ll Need
-
Stand mixer with paddle attachment
-
Rubber spatula
-
Piping bag
-
Piping tip 808
Before You Begin: Expert Tips for Perfect Frosting
- Beat Adequately: It’s absolutely vital to beat the frosting for the full suggested times in the recipe. Use a timer to ensure accuracy. This extensive beating incorporates air, creating a fluffy texture that holds its shape beautifully for piping.
- Chill is Critical: The refrigeration steps are not optional. Both chilling the piping bag and the individual cupcakes after frosting are crucial. This allows the butter to stabilize, preventing the frosting from becoming too soft and ensuring it maintains its structure. Don’t over-chill the piping bag, however, as the butter can harden too much.
- Troubleshooting Runny Frosting: If your frosting appears runny despite thorough beating, don’t panic! Place the entire bowl of frosting into the refrigerator for 30-45 minutes. The cold will help the butter firm up. After chilling, you can re-mix it briefly or stir by hand. Remember, this frosting is naturally softer than traditional buttercream; adding more powdered sugar can surprisingly make it runnier as sugar dissolves.
- Room Temperature Butter is Key: Ensure your butter is properly softened at room temperature. It should yield to gentle pressure but not be melted or oily. This aids in smooth incorporation and achieving an airy texture.
- No Melted Marshmallows: For this recipe, stick to marshmallow fluff. Melted marshmallows create a much denser, stickier consistency that will not yield the light, pipable frosting you desire.
Instructions
-
In a stand mixer with the paddle attachment, beat softened butter on medium speed until creamy. Increase speed to medium high and beat for 4 minutes until light and fluffy.1 cup unsalted butter
-
Add powdered sugar gradually with the mixer on low speed. Beat on low until the powdered sugar and butter are fully combined. Scrape down the sides and bottom of the bowl once or twice as needed.8 ounces powdered sugar
-
Increase speed to medium-high and beat for another 4 minutes to further aerate the mixture.
-
Add vanilla extract and marshmallow fluff to the mixing bowl. Turn mixer on medium to incorporate ingredients, then increase mixer to medium-high and beat for a full 5 minutes, ensuring to scrape down the sides and bottom of the bowl halfway through for even mixing.2 teaspoons vanilla extract, 14 ounces marshmallow fluff
-
Transfer the frosting to your piping bag and place it in the refrigerator for 30 minutes. This helps the butter firm up, making the frosting easier to pipe. Do not leave it in for too long, or the butter will harden excessively.
-
Pipe frosting onto one cupcake, then immediately place that cupcake into the refrigerator. Repeat for each cupcake until all are in the fridge. This crucial step maintains the integrity and shape of the frosting. Allow cupcakes to chill for 30-45 minutes before serving.
Additional Expert Tips & FAQs
- Store leftover frosting in an airtight container in the refrigerator for up to 4 days. Re-whip briefly before use if needed. If you plan to spread, not pipe, the frosting, you can apply it directly to your baked goods and store frosted items at room temperature for up to 2 days.
- For Browning with a Torch: While possible, expect a slightly melted look rather than a crisp meringue. Freeze frosted cupcakes for at least an hour before torching to help the frosting hold its shape. Work quickly with the flame, being careful not to burn cupcake liners. The flavor benefits outweigh the minor appearance change.
- Avoid Excess Powdered Sugar: If your frosting is runny, resist the urge to add more powdered sugar. This can actually make it thinner as the sugar dissolves. Focus on adequate beating and chilling.
Nutrition Facts
Calories: 156cal |
Carbohydrates: 24g |
Protein: 0.1g |
Fat: 8g |
Saturated Fat: 5g |
Polyunsaturated Fat: 0.3g |
Monounsaturated Fat: 2g |
Trans Fat: 0.3g |
Cholesterol: 20mg |
Sodium: 1mg |
Potassium: 3mg |
Sugar: 19g |
Vitamin A: 236IU |
Calcium: 2mg |
Iron: 0.01mg
Tried this Recipe? Pin it for Later!Follow on Pinterest @AmandasCookin or tag #AmandasCookin!
The recipes on this blog are tested with a conventional gas oven and gas stovetop. It’s important to note that some ovens, especially as they age, can cook and bake inconsistently. Using an inexpensive oven thermometer can assure you that your oven is truly heating to the proper temperature. If you use a toaster oven or countertop oven, please keep in mind that they may not distribute heat the same as a conventional full sized oven and you may need to adjust your cooking/baking times. In the case of recipes made with a pressure cooker, air fryer, slow cooker, or other appliance, a link to the appliances we use is listed within each respective recipe. For baking recipes where measurements are given by weight, please note that results may not be the same if cups are used instead, and we can’t guarantee success with that method.
