Irresistible No-Bake Chocolate Peanut Butter Balls: Your Easiest Dessert Dream Come True
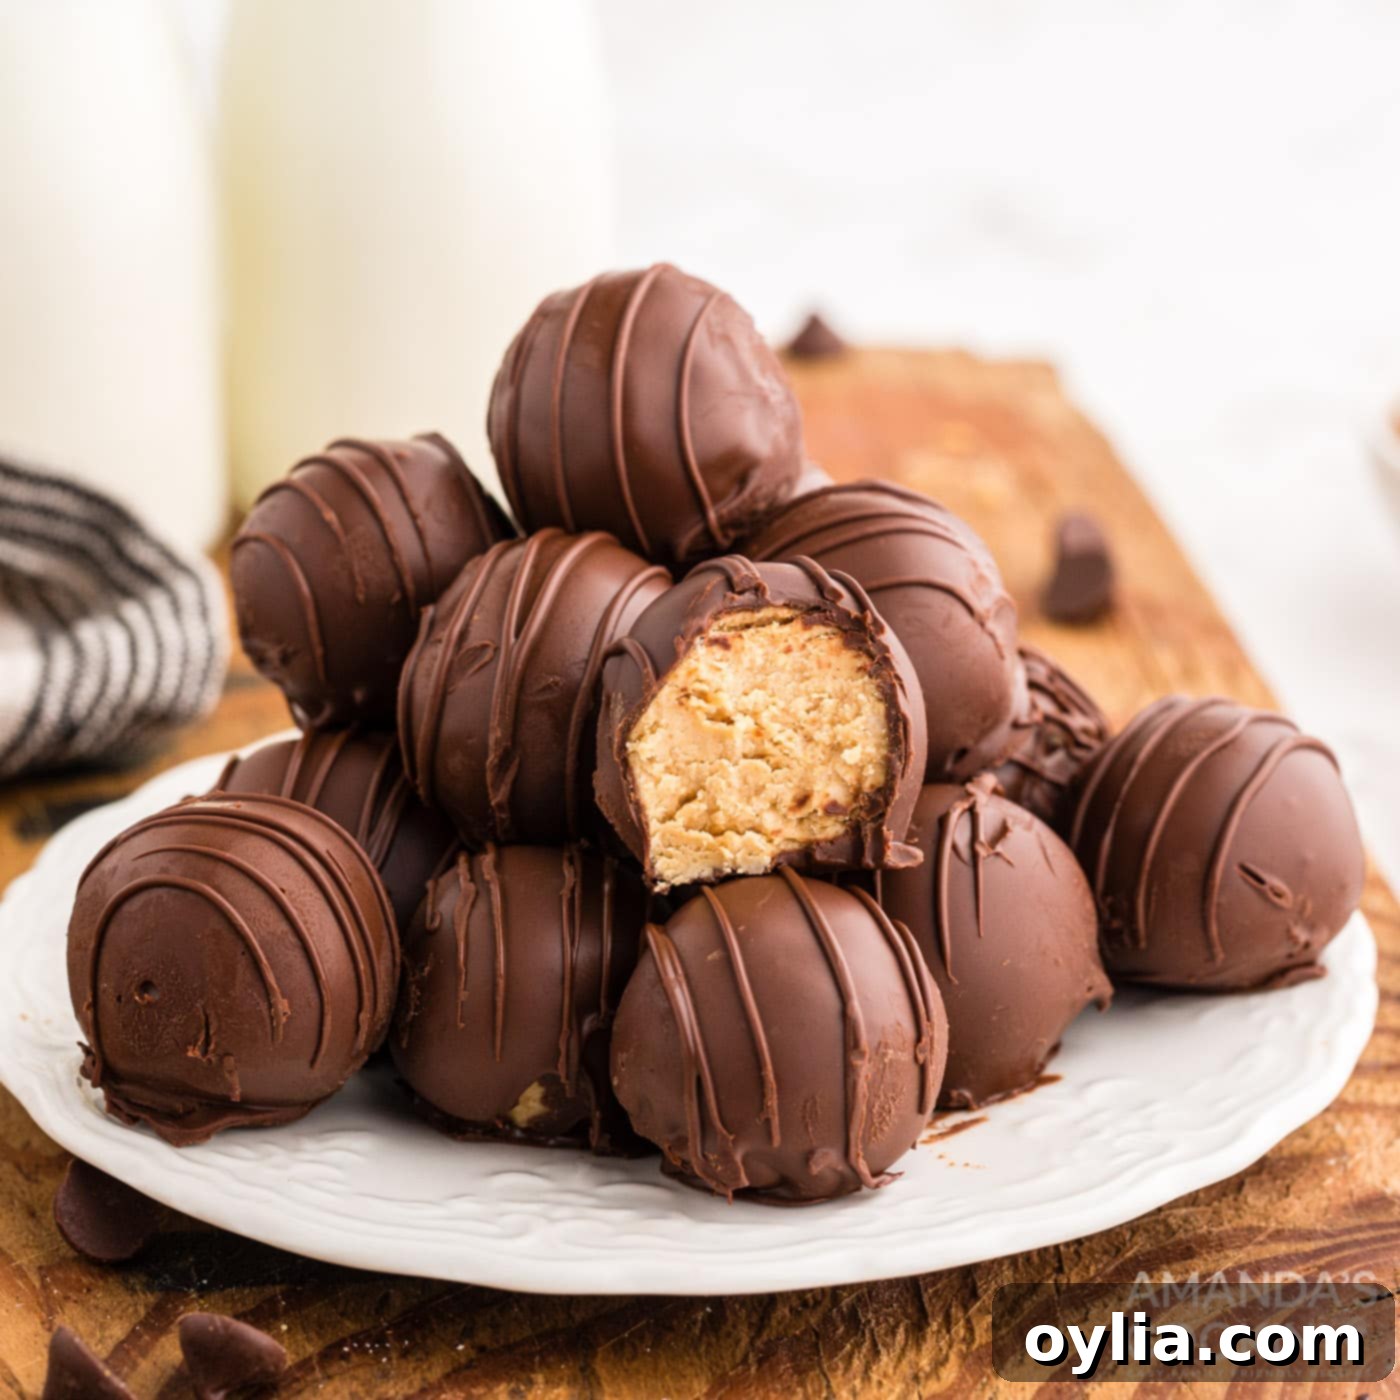
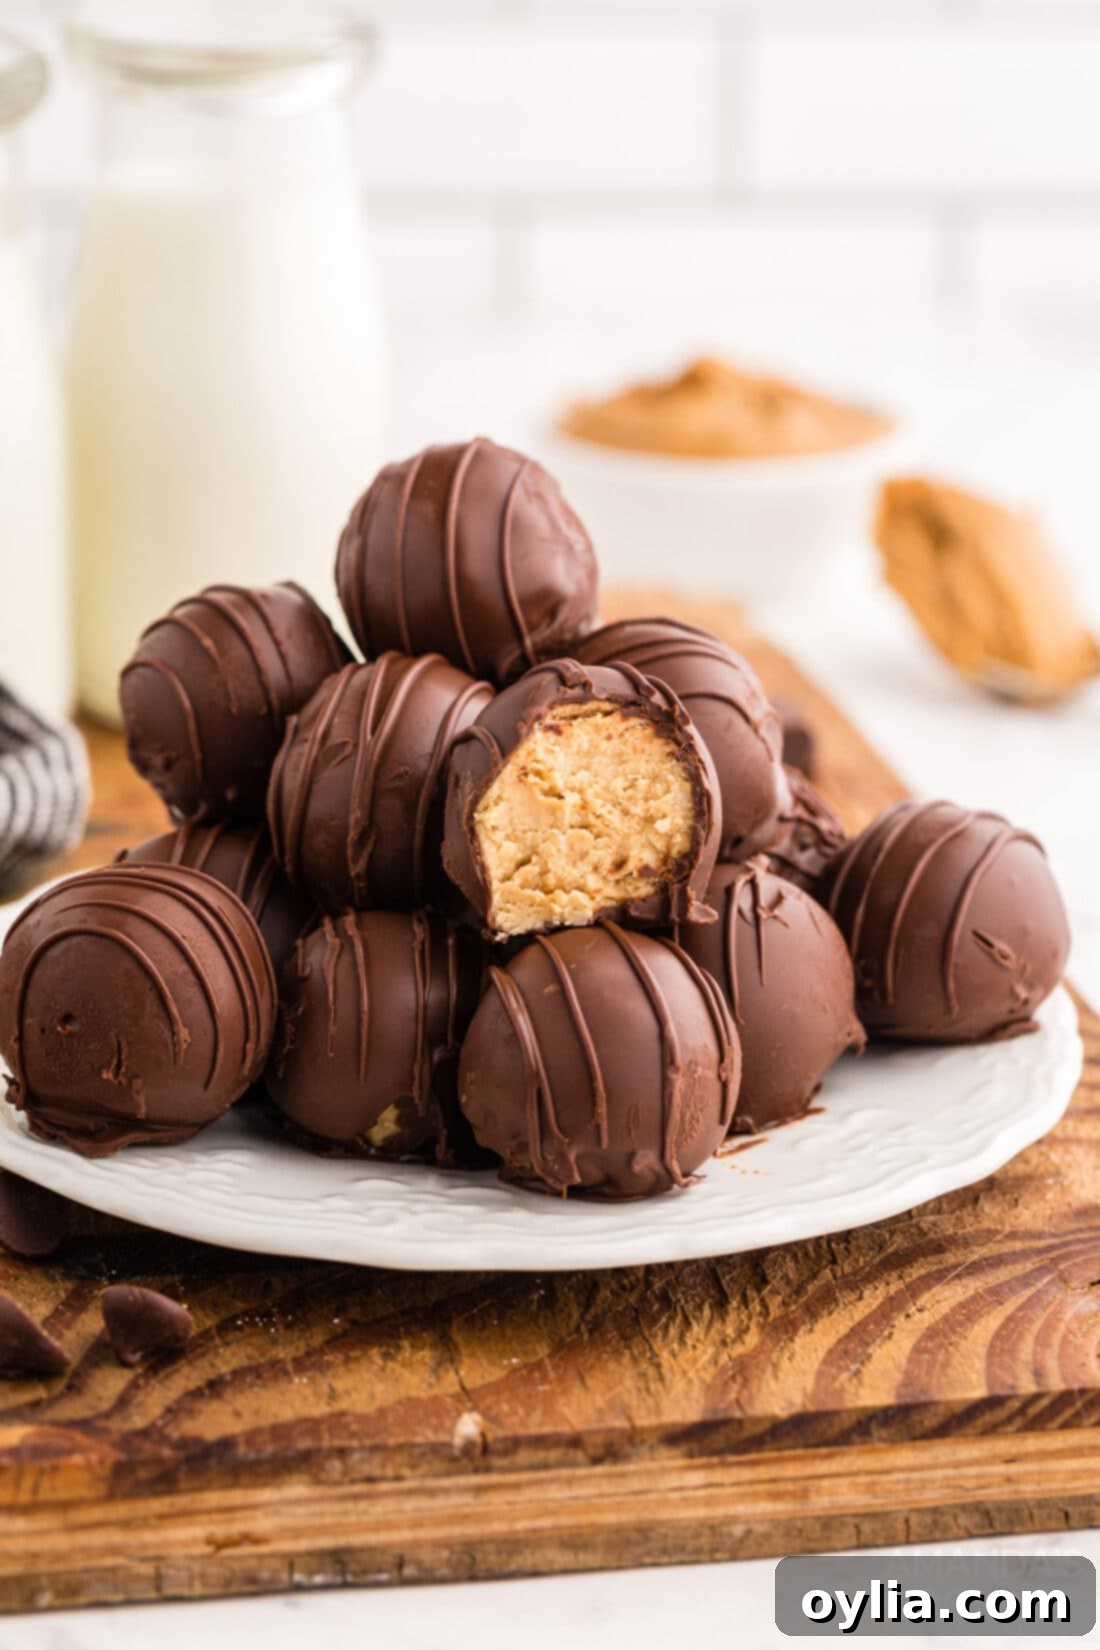
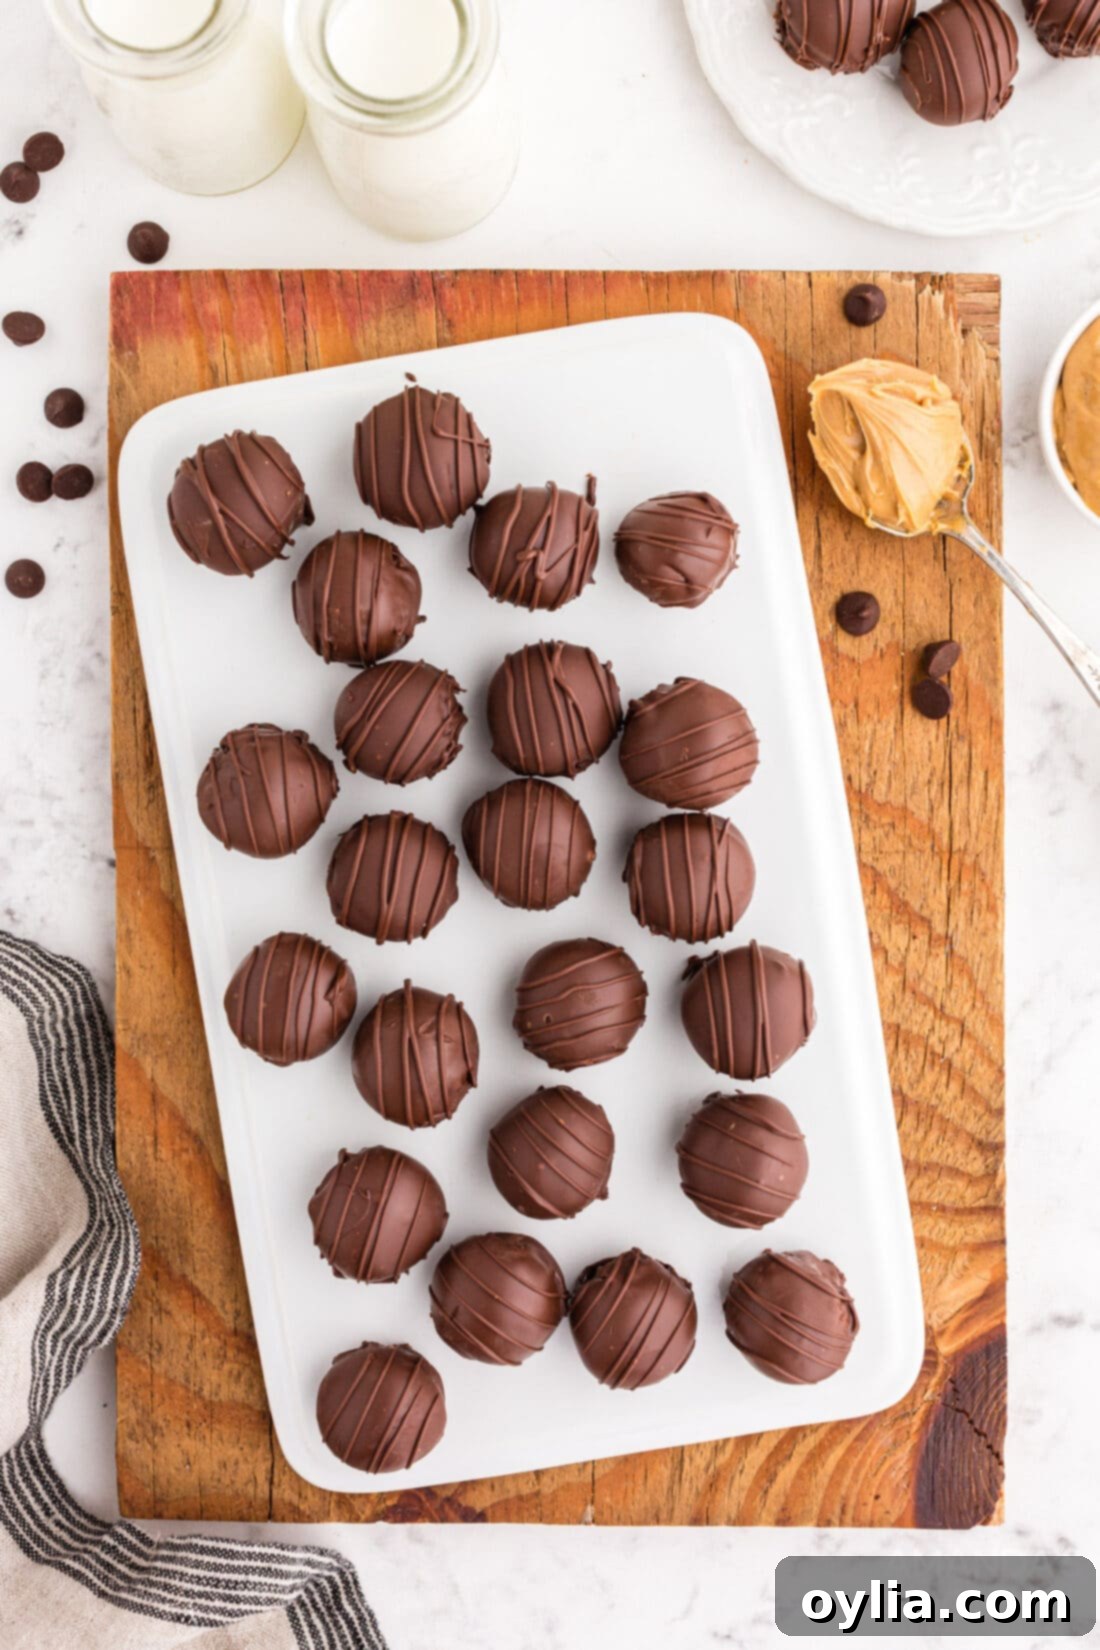
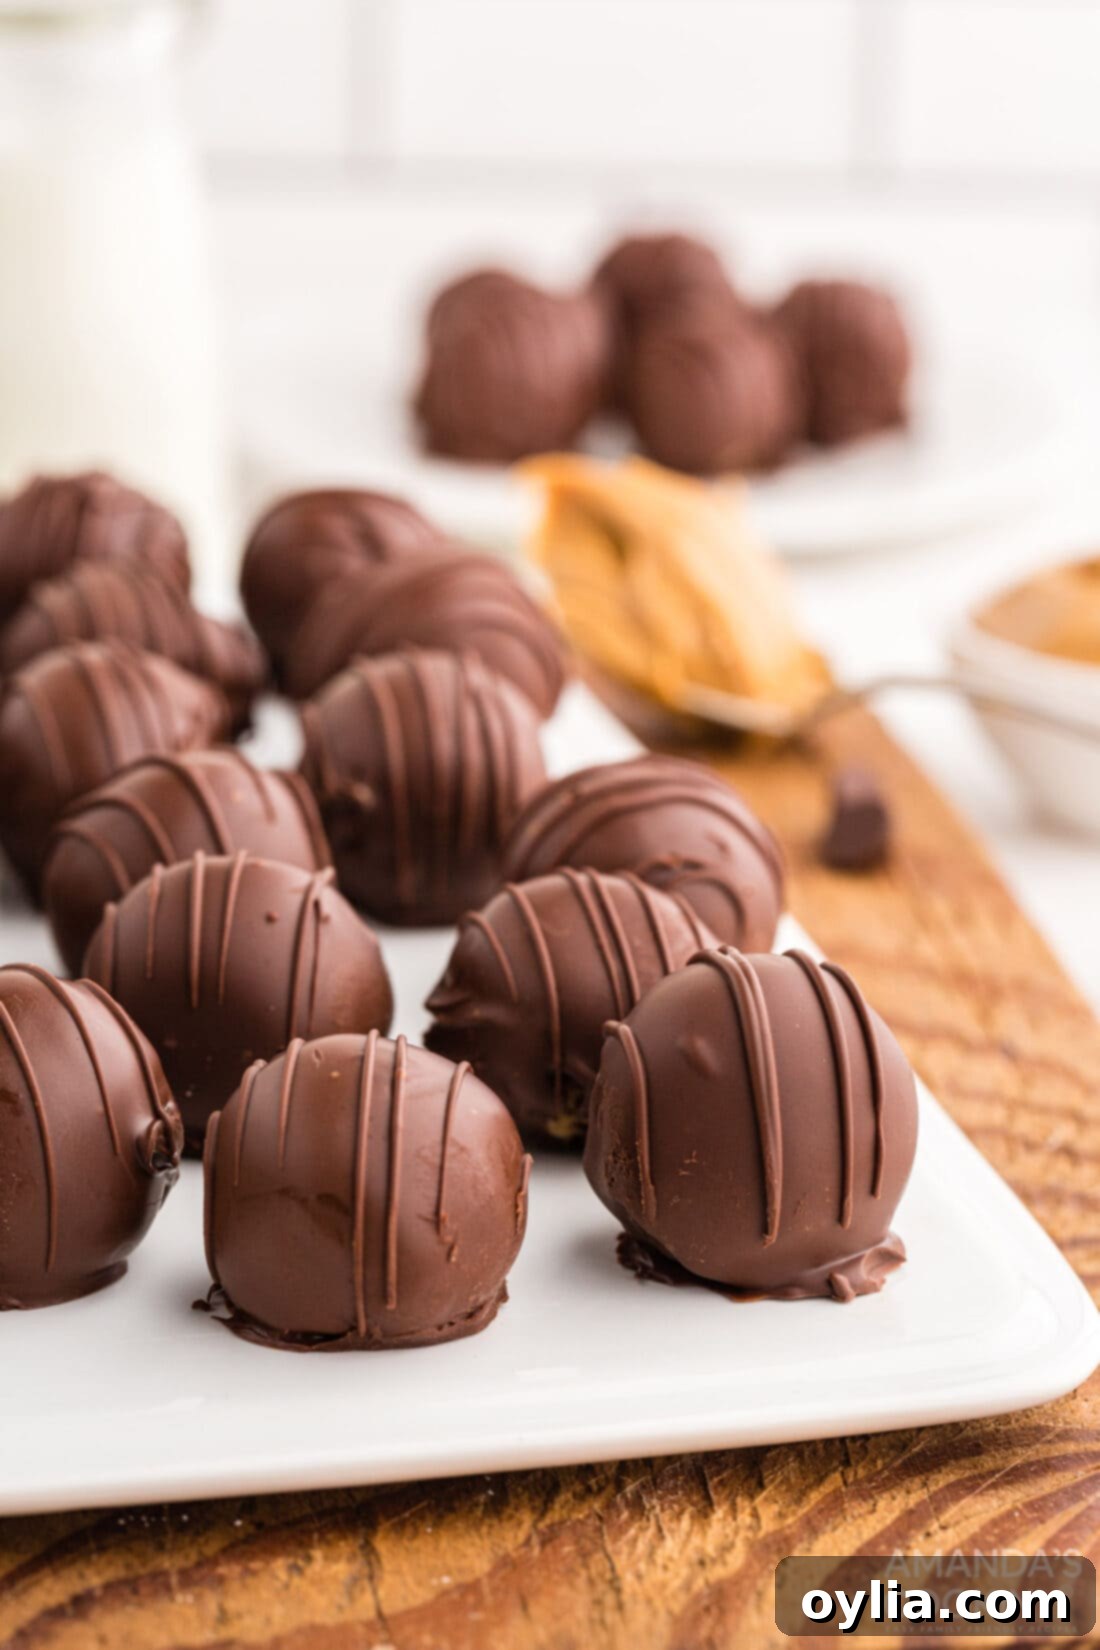
Prepare yourself for an utterly irresistible experience with these **No-Bake Chocolate Peanut Butter Balls**! These bite-sized delights are the epitome of simple elegance, offering a perfectly balanced symphony of flavors and textures that will captivate any palate. Imagine a rich, creamy, and slightly crumbly peanut butter core, handcrafted to perfection, then generously dipped and artfully drizzled with luscious semi-sweet chocolate. This classic combination is more than just a dessert; it’s a nostalgic journey to childhood favorites, yet sophisticated enough for any adult gathering. Forget the oven and lengthy baking times – these sensational treats come together with minimal effort, making them the ultimate solution for a quick craving, a last-minute party contribution, or a delightful edible gift.
Why These No-Bake Chocolate Peanut Butter Balls Are a Must-Try
There’s a reason why **No-Bake Chocolate Peanut Butter Balls** consistently steal the show at any event. This recipe is a true marvel of simplicity and flavor, delivering maximum impact with minimal fuss. Much like our popular no-bake chocolate peanut butter bars, these treats capitalize on the legendary pairing of chocolate and peanut butter. However, by transforming them into perfectly portioned, bite-sized spheres, we elevate them from a simple bar to a more elegant and versatile confection. Each ball is a concentrated burst of creamy, nutty goodness, encased in a satisfying snap of chocolate.
What truly sets this recipe apart is its incredible ease. As the name suggests, there’s absolutely no baking required! This makes them ideal for busy schedules, warm weather when you want to avoid heating up the kitchen, or for novice bakers looking for a foolproof dessert. The process involves just a few simple steps: mixing the rich peanut butter core, chilling to firm, and then dipping into silky melted chocolate. It’s a rewarding experience that yields professional-looking results every time.
These delightful morsels transcend traditional dessert categories. They possess the satisfying chew of a premium cookie, the rich indulgence of a gourmet truffle, yet maintain a unique charm that sets them apart. They are a staple on holiday dessert tables, bringing cheer to Christmas and Thanksgiving feasts, but their universal appeal means they are truly a year-round treat. Whether it’s a summer picnic, a birthday celebration, or just a quiet evening craving, a peanut butter and chocolate treat in this convenient, bite-sized form is always a good idea.
Essential Ingredients for Your No-Bake Chocolate Peanut Butter Balls
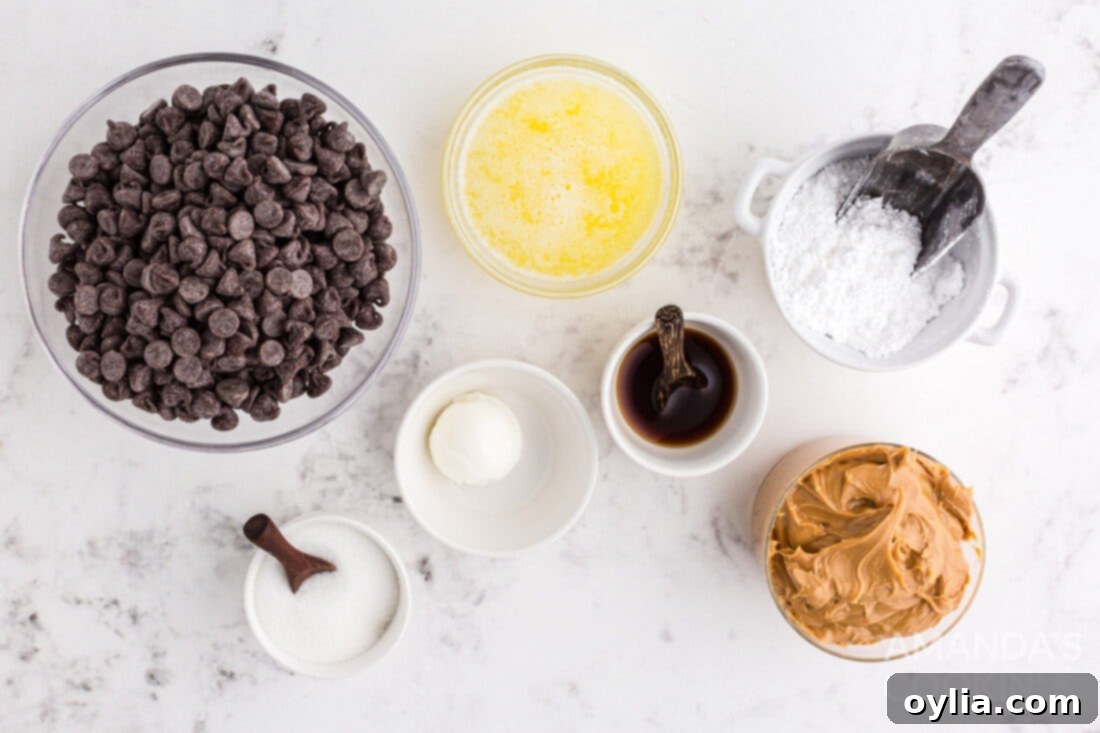
Creating these heavenly **No-Bake Chocolate Peanut Butter Balls** requires a handful of common pantry staples. The beauty of this recipe lies in its simplicity, relying on readily available ingredients that, when combined, produce an extraordinary flavor. For exact measurements, a comprehensive ingredient list, and detailed instructions, please refer to the printable recipe card located at the conclusion of this article. For now, let’s dive into what you’ll need and why each component is crucial for achieving that perfect balance of texture and taste.
Gathering your ingredients beforehand, often called “mise en place” in culinary terms, will ensure a smooth and enjoyable preparation process. While the recipe is forgiving, using quality ingredients always enhances the final product. Here’s a brief overview of the key players that will transform into your new favorite treat.
Detailed Ingredient Information & Expert Substitution Tips
Understanding your ingredients is key to mastering any recipe, especially one as seemingly simple yet subtly nuanced as these **Chocolate Peanut Butter Balls**. Here’s a deeper dive into each core component and how you can experiment to tailor these treats to your preference or dietary needs.
- CHOCOLATE: The Essential Coating
The type of chocolate you choose will significantly impact the flavor profile and final appearance of your peanut butter balls. While we’ve opted for classic **semi-sweet chocolate chips** for their balanced sweetness and rich cocoa notes, feel free to personalize your coating. **Milk chocolate** will yield a sweeter, creamier taste that’s often a hit with younger palates. For those who prefer a more intense, less sweet experience, **dark chocolate** (anywhere from 60-80% cacao) provides a wonderful counterpoint to the sweet peanut butter filling. You can even venture into using **white chocolate** for a distinct flavor and visual appeal, though ensure it’s high quality to avoid a waxy texture. Beyond chocolate chips, products like **almond bark or melting wafers** are excellent choices for ease of melting and a consistently smooth, quick-setting coating. They often contain stabilizers that make the dipping process even simpler, providing a beautiful, glossy finish without the need for additional shortening.
- PEANUT BUTTER: The Heart of the Treat
For the optimal creamy and firm center, we strongly recommend using a **regular, creamy, no-stir peanut butter**. Brands like Jif or Skippy are perfect for this. The consistency of these types of peanut butter is crucial; they provide the necessary thickness and stability for rolling into balls that hold their shape beautifully. We advise caution when considering **natural peanut butter** or **sunbutter**, as these often separate and tend to be much thinner and oilier. This thinner consistency can make the peanut butter mixture too soft and difficult to form into stable balls. If you do wish to experiment with natural peanut butter, you might need to adjust the amount of powdered sugar to achieve the desired crumbly-yet-formable consistency. For a delightful textural contrast, don’t hesitate to experiment with **crunchy peanut butter**. The added nut pieces will introduce a satisfying bite, enhancing the overall experience.
- SHORTENING: The Secret to a Smooth Coat
The addition of **shortening** to your melted chocolate might seem like a small detail, but it plays a vital role in the success of your chocolate coating. Its primary function is to thin out the melted chocolate, creating a wonderfully smooth and fluid consistency that makes dipping the peanut butter balls effortless and ensures an even, professional-looking coat. Beyond texture, shortening also acts as a preventative measure against “bloom.” Chocolate bloom is the unsightly gray or white discoloration that can appear on the surface of chocolate, often caused by temperature fluctuations or fat separation. While harmless, it can make your treats look less appealing. The shortening helps maintain a uniform fat distribution, preventing this bloom. It’s important to note that while shortening helps achieve a smooth, stable coat, it won’t create the hard, snappy shell characteristic of tempered chocolate. If you desire a truly crisp, hard chocolate shell, traditional chocolate tempering methods would be required, but shortening offers a fantastic, user-friendly shortcut that delivers excellent results for this no-bake recipe.
Step-by-Step Guide: Crafting Your Perfect Chocolate Peanut Butter Balls
Creating these delightful **No-Bake Chocolate Peanut Butter Balls** is a straightforward and enjoyable process. This section provides detailed step-by-step instructions, complete with visual aids, to guide you through each stage of preparation. For those who prefer a concise, printable format with precise measurements, you can easily Jump to the Recipe Card at the bottom of this post.
Follow these instructions closely to ensure your peanut butter balls turn out perfectly firm, creamy, and beautifully coated.
- **Prepare Your Workspace:** Begin by lining a sturdy sheet pan with parchment paper. This non-stick surface is crucial for preventing the peanut butter balls from sticking as they chill and once they are coated in chocolate. Set this prepared pan aside, ready for your delicious creations.
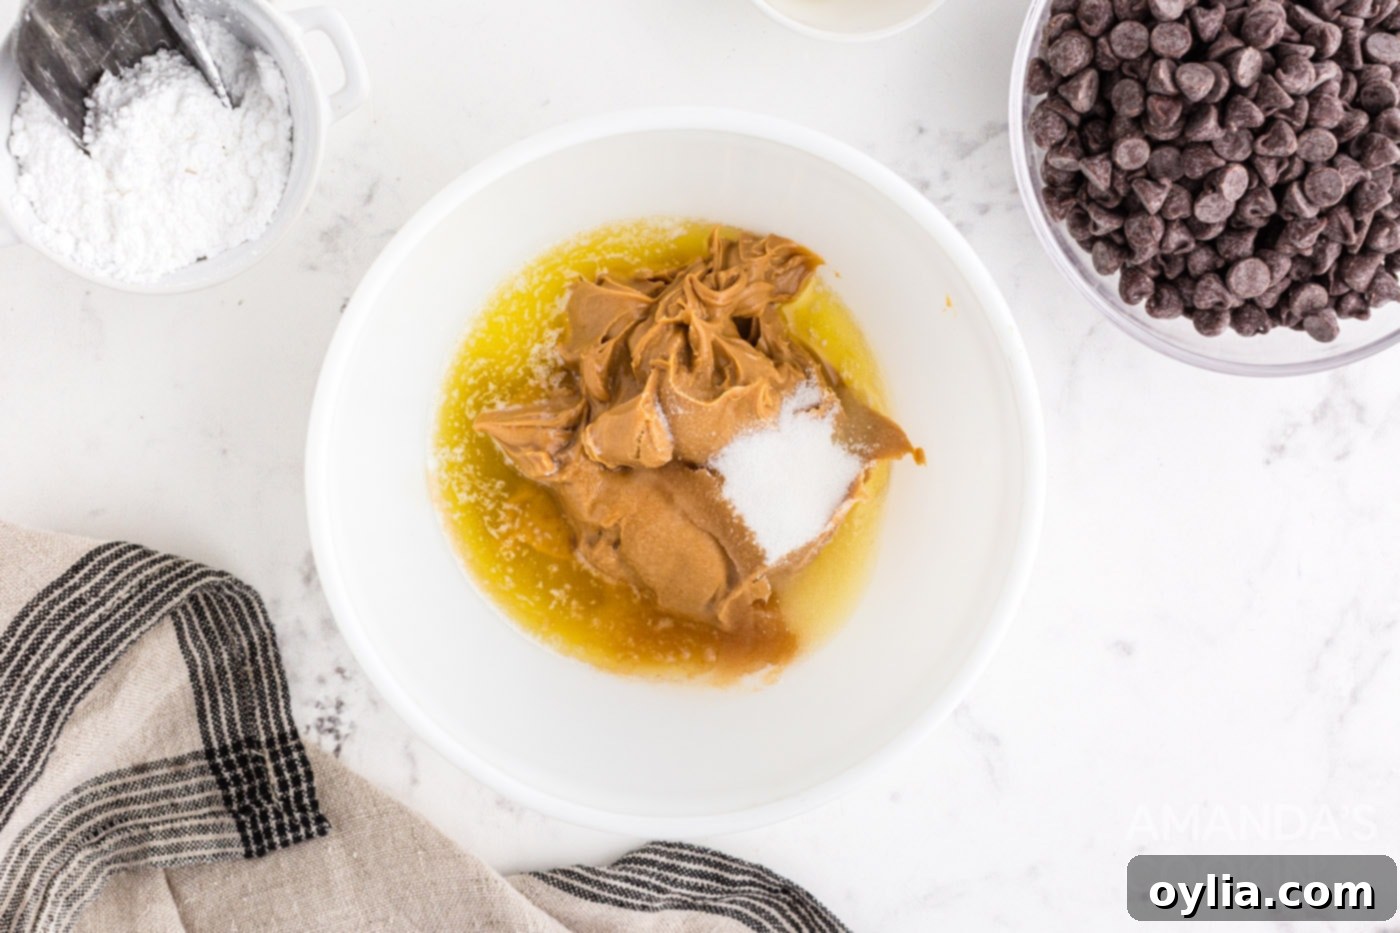
- **Create the Peanut Butter Base:** In a medium-sized mixing bowl, combine the cooled melted butter, creamy peanut butter, granulated sugar, and vanilla extract. Use either a hand mixer or a standing mixer fitted with a paddle attachment. Beat these ingredients together on medium speed until they are thoroughly combined and smooth. Ensure there are no streaks of butter or sugar visible. This forms the rich, flavorful foundation of your treats.

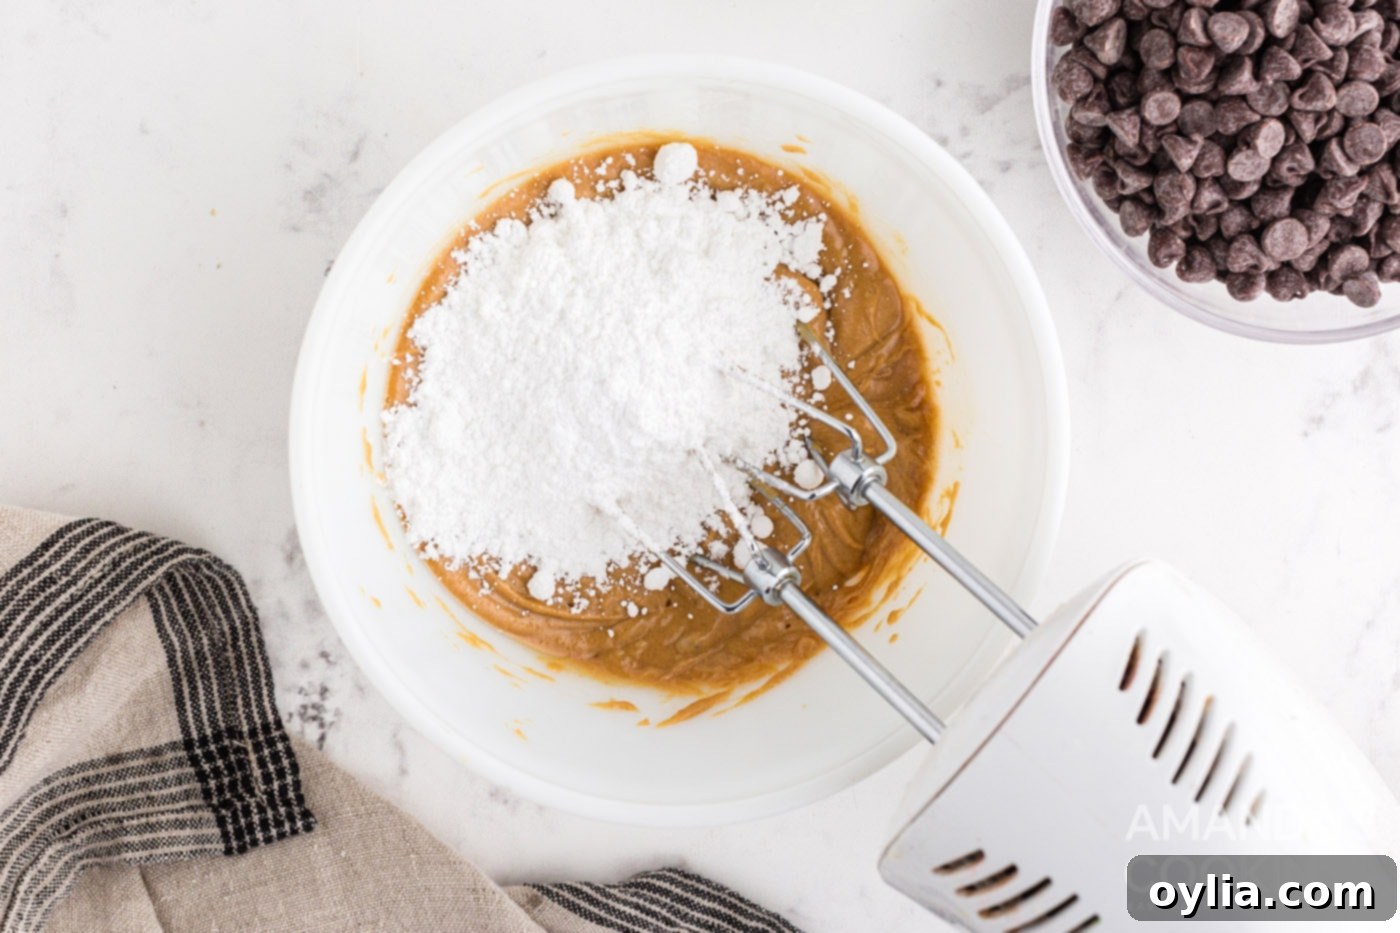
- **Incorporate Powdered Sugar:** Gradually add the powdered sugar to the peanut butter mixture. Continue mixing with your electric mixer until the powdered sugar is fully incorporated. At this stage, the mixture will transform into a crumbly, yet cohesive, dough-like consistency. It should be firm enough to handle and roll, but still moist. If it seems too dry, a tiny bit more melted butter can be added; if too wet, a touch more powdered sugar.

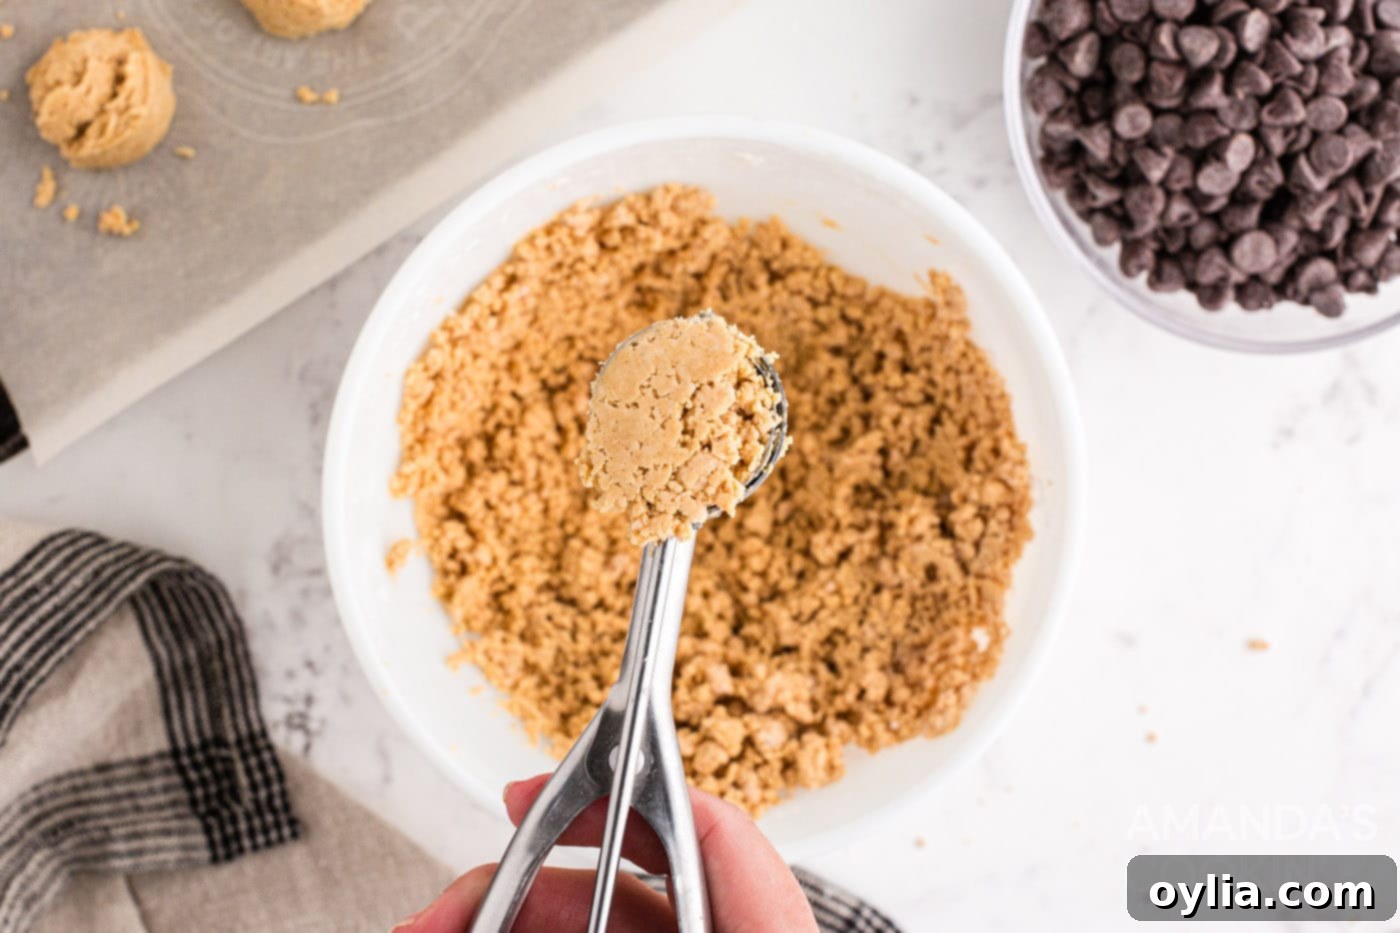
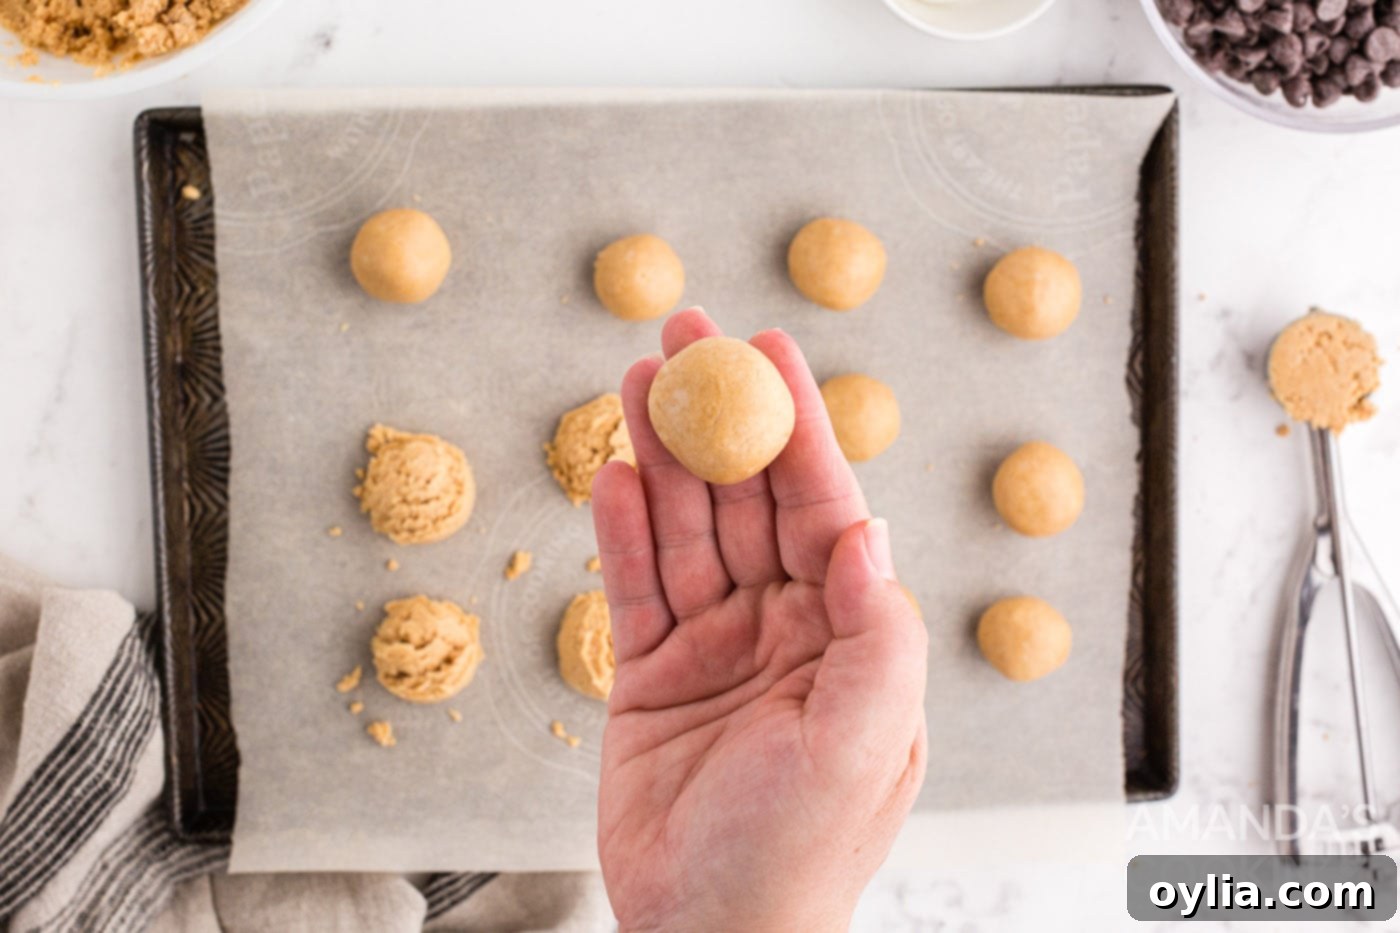
- **Scoop and Portion:** For uniform size and professional presentation, use a 1 tablespoon cookie scoop to portion out approximately 28 balls of the peanut butter mixture. Consistency in size ensures even chilling and dipping, leading to a more appealing final product.

- **Form the Balls:** Take each scooped portion and gently roll it between the palms of your hands to create a smooth, round ball. Place each perfectly formed peanut butter ball onto the parchment-lined sheet pan, leaving a small space between each one to prevent sticking. A smooth surface will ensure a beautiful chocolate coating.

- **Chill for Firmness:** Transfer the sheet pan with the peanut butter balls to the freezer for a minimum of 30 minutes. This chilling step is absolutely crucial. It allows the peanut butter mixture to firm up significantly, making the balls much easier to handle during the dipping process. More importantly, it helps the chocolate coating set almost instantly upon contact, ensuring a smooth, even, and quickly hardened shell from the inside out. Once thoroughly chilled, you can proceed to prepare your chocolate coating.
EXPERT TIP: Don’t skip the chilling! Well-chilled peanut butter balls are key to a successful chocolate coating. They will be less prone to falling apart and will help the chocolate set beautifully. If time allows, you can even chill them for an hour or two for extra firmness.
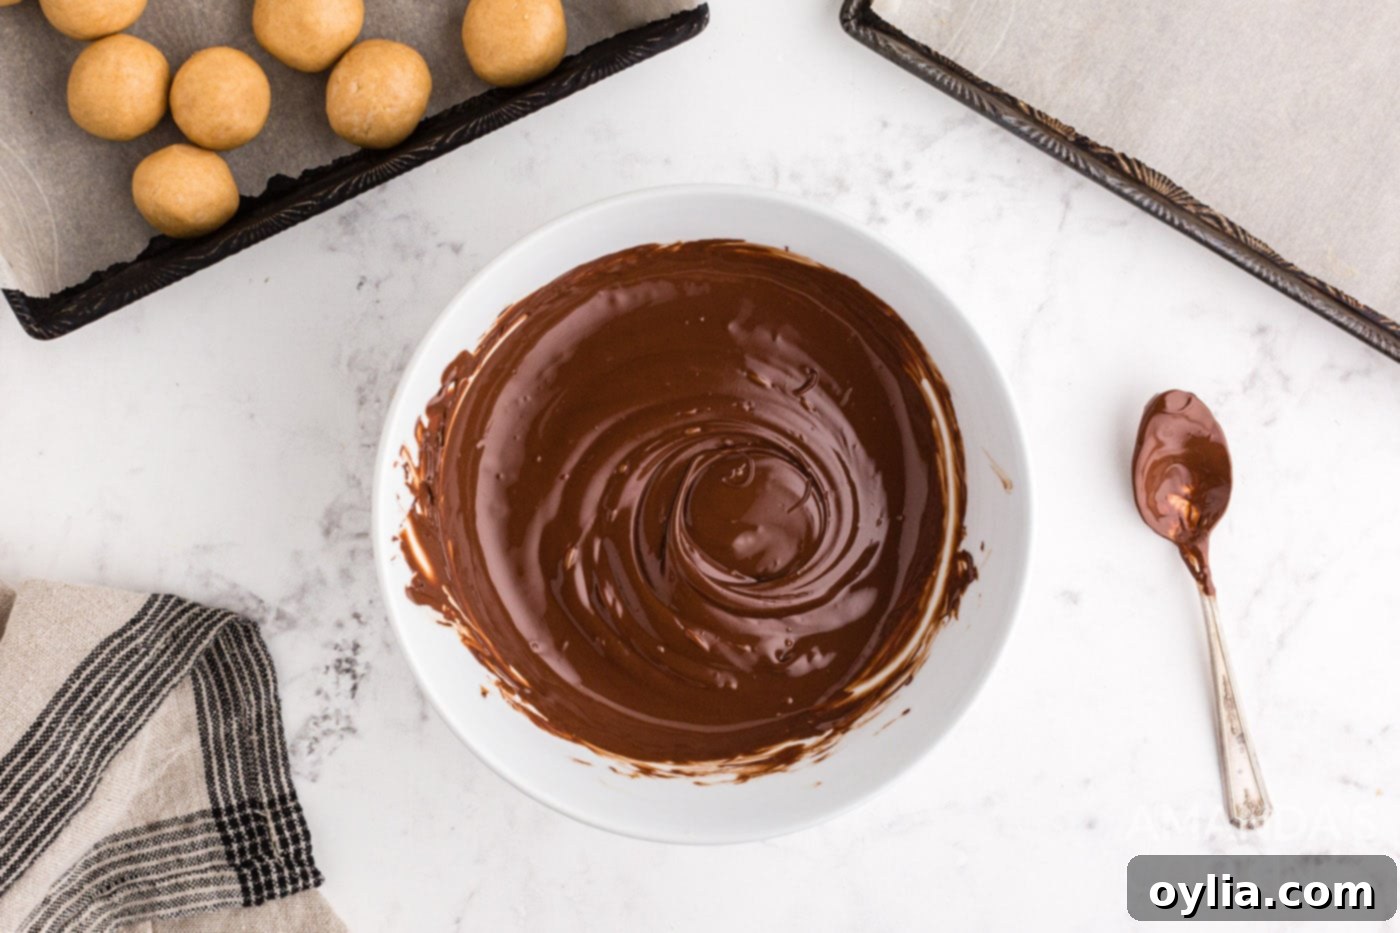
- **Melt the Chocolate Coating:** In a heatproof bowl, combine your chosen chocolate chips and the shortening. Place the bowl in the microwave and heat in 30-second increments, stirring thoroughly after each interval. Continue this process until the chocolate is completely smooth and melted. Be careful not to overheat the chocolate, as this can cause it to seize or burn. If a few small solid pieces remain, simply stir vigorously; the residual heat will usually melt them, resulting in a perfectly smooth, glossy chocolate ready for dipping.

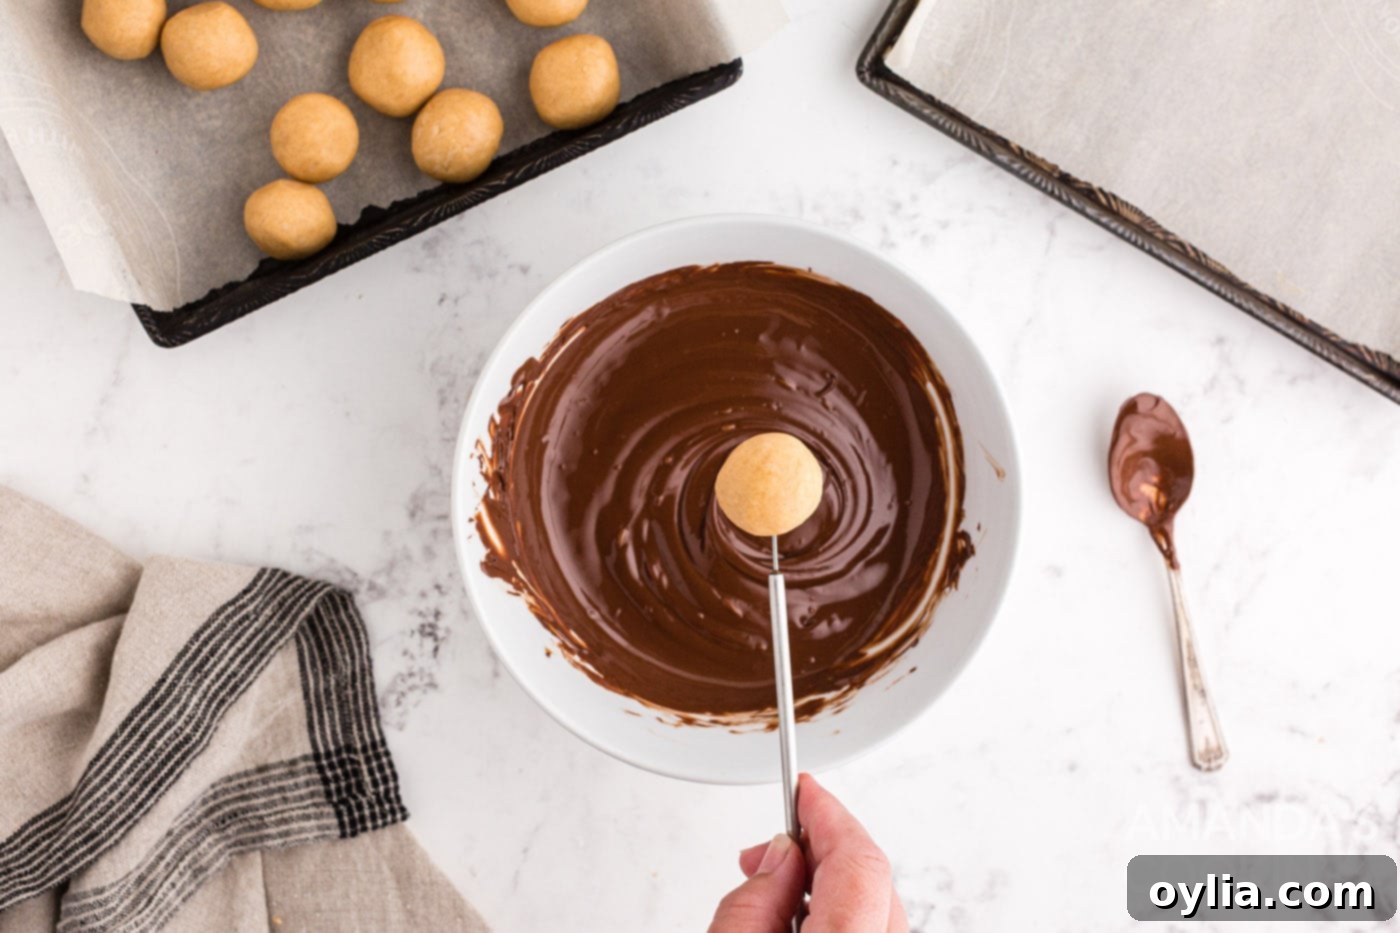
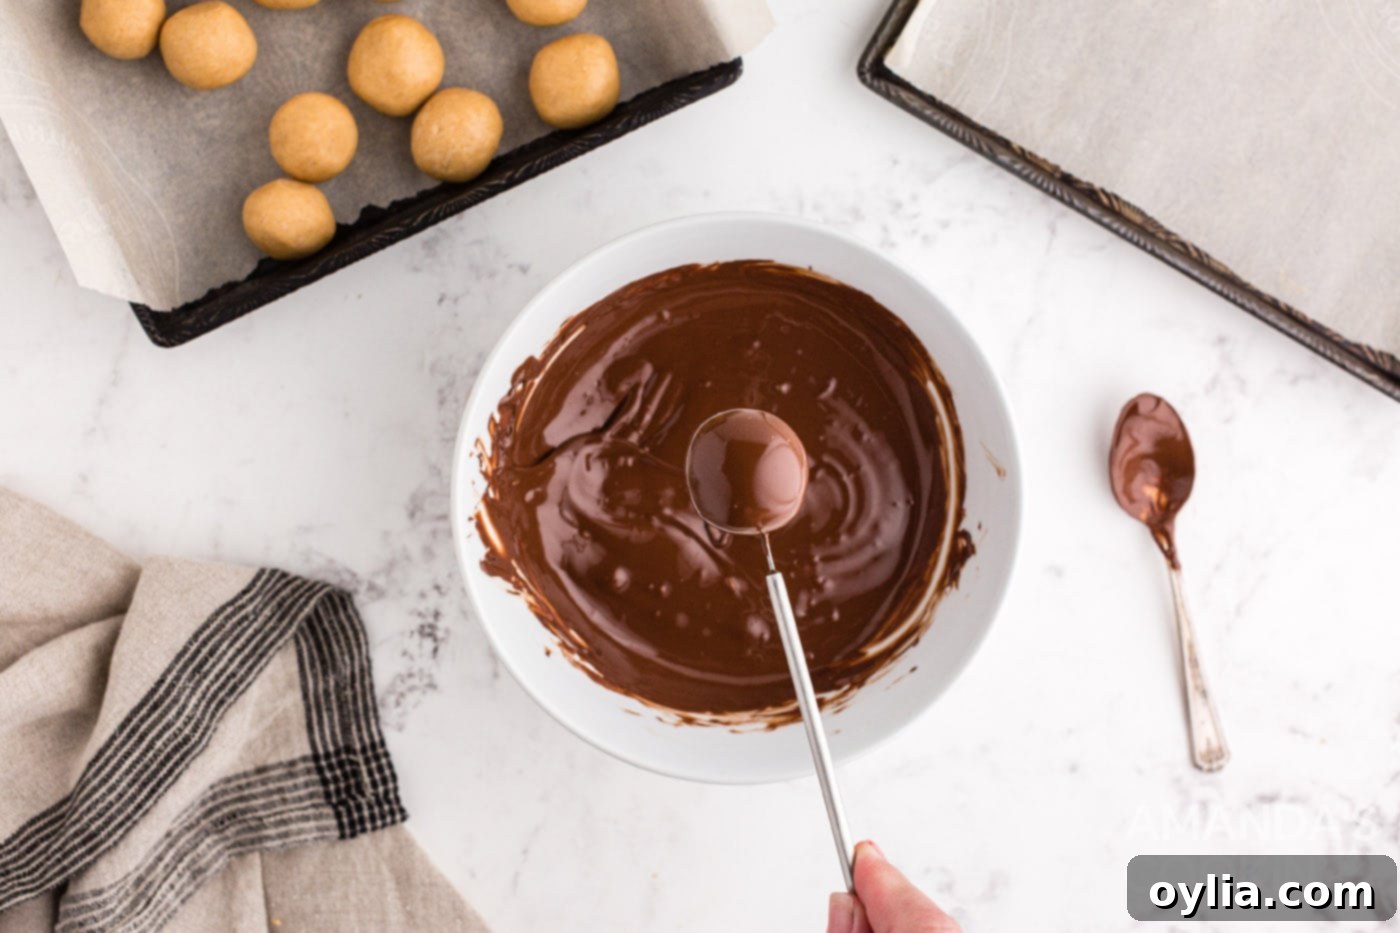
- **Dip and Coat:** Using a fork or a specialized chocolate dipping tool, gently submerge each chilled peanut butter ball into the melted chocolate. Turn the ball to ensure it’s completely coated. Lift it out, tapping the fork or tool against the edge of the bowl to allow any excess chocolate to drip off. This creates a clean, even coating. Carefully transfer the coated ball back onto the parchment-lined sheet pan.
EXPERT TIP: To maintain the ideal temperature of both the peanut butter balls and the melted chocolate, remove only a few balls from the freezer at a time for dipping. Keeping them very cold ensures the chocolate sets quickly and smoothly, preventing melting of the peanut butter center or overly thick coating. If your melted chocolate starts to thicken as you work, simply reheat it in the microwave for 10-15 seconds and stir until smooth again.


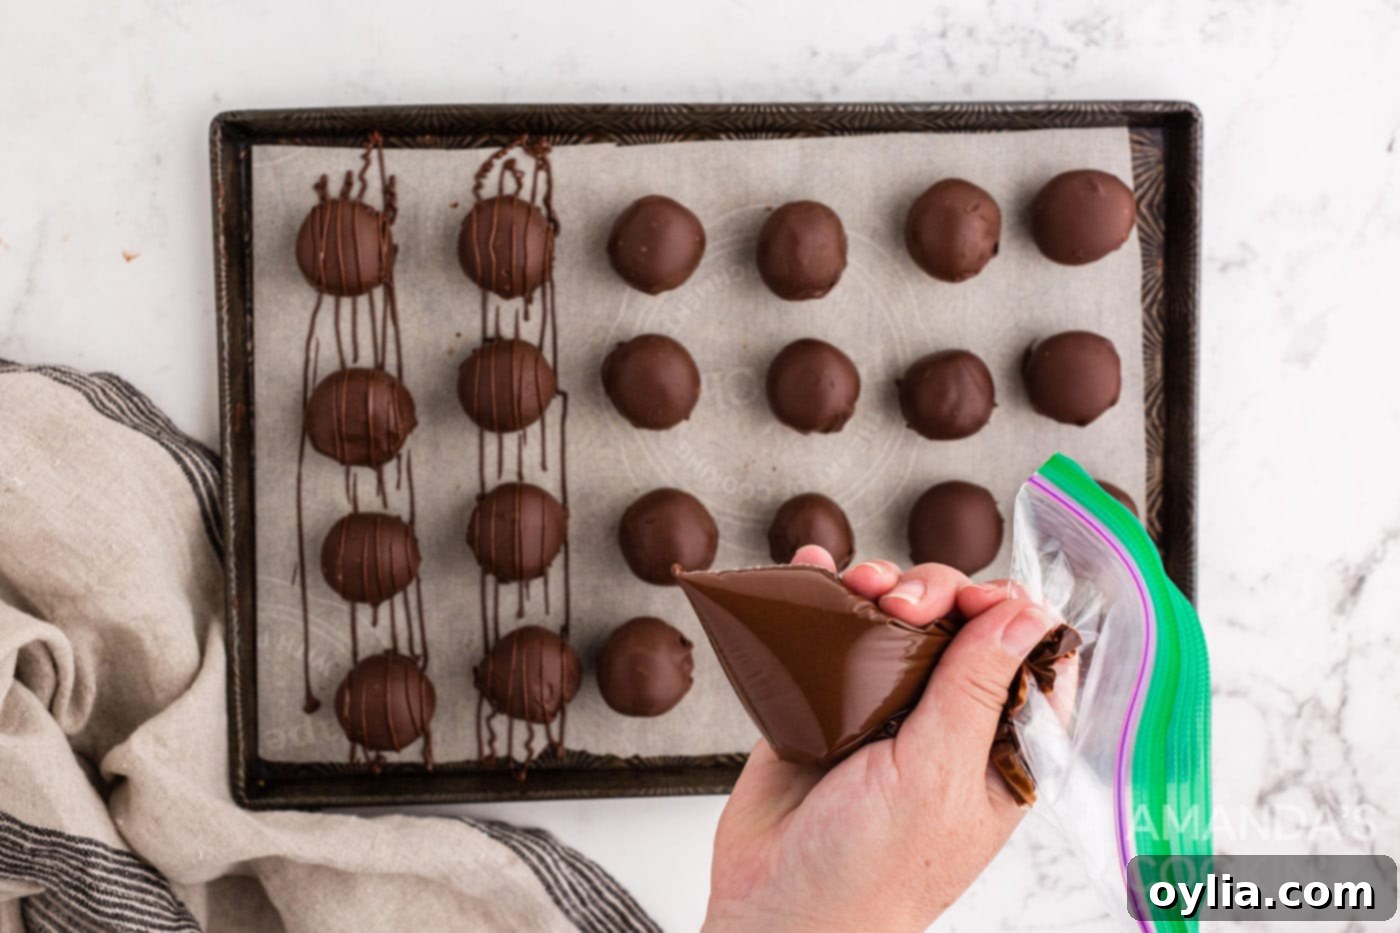
- **Drizzle for Decoration (Optional but Recommended):** Once all the balls have been dipped and the chocolate has begun to harden, collect any remaining melted chocolate. Transfer it into a plastic Ziploc bag or a piping bag. Snip a very tiny corner off the bag to create a fine opening. Drizzle the chocolate artfully over the coated peanut butter balls. This adds a beautiful, professional touch and an extra layer of chocolatey goodness.

- **Set and Serve:** Allow the chocolate drizzle to set completely at room temperature or by placing the pan back in the refrigerator for a few minutes. Once the chocolate is firm to the touch, your gorgeous **No-Bake Chocolate Peanut Butter Balls** are ready to be served and enjoyed immediately!
Frequently Asked Questions & Expert Tips for Perfect No-Bake Peanut Butter Balls
Here are some common questions and additional expert tips to ensure your **Chocolate Peanut Butter Balls** are a resounding success and stay delicious.
To maintain their freshness and flavor, store your **No-Bake Chocolate Peanut Butter Balls** in an airtight container. They can be kept at room temperature for up to 3-4 days, especially if your home is cool. For extended freshness and a firmer texture, it’s best to store them in the refrigerator for up to 7 days. Ensure they are in a single layer or separated by parchment paper to prevent sticking.
Absolutely! These **Chocolate Peanut Butter Balls** freeze beautifully. Arrange them in a single layer on a parchment-lined tray and freeze until solid. Once frozen, transfer them to an airtight freezer-safe bag or container, separating layers with parchment paper. They can be stored in the freezer for up to 3 months. While freezing, you might notice some slight discoloration or “speckling” on the chocolate surface (a harmless phenomenon known as sugar bloom), but this will not affect the taste or texture. To serve, simply defrost them in the refrigerator for a few hours before bringing them to room temperature, if desired.
Yes, with a few careful substitutions! To make them **vegan**, ensure your butter is a plant-based butter stick (not margarine) and choose vegan-friendly chocolate chips (many dark chocolate brands are naturally vegan, just check ingredients). For a **gluten-free** version, this recipe is inherently gluten-free as long as all your ingredients (especially chocolate chips and peanut butter) are certified gluten-free. Always double-check labels to be safe.
The consistency of the peanut butter mixture is key. If it’s too sticky, try adding a tablespoon or two more powdered sugar until it reaches a firm, rollable consistency. If it’s too crumbly and dry, add a tiny bit (1-2 teaspoons) more melted butter or a touch more peanut butter, mixing until it comes together. Remember that different brands of peanut butter can vary slightly in consistency, so minor adjustments might be necessary.
Beyond the FAQs, here are some extra expert tips to guarantee success:
- **Temperature Control for Chocolate:** Always melt chocolate gently. Overheating can cause it to seize, becoming thick and unusable. If using the microwave, always stir well between short bursts of heat. A double boiler is another excellent method for controlled melting.
- **Keep Your Hands Cool:** When rolling the peanut butter mixture, if your hands get warm and the mixture becomes sticky, rinse them in cold water, dry thoroughly, and continue. Cooler hands help keep the balls firm.
- **Creative Toppings:** After dipping, consider adding sprinkles, sea salt flakes, chopped nuts, or even a different color chocolate drizzle while the chocolate is still wet for extra flair and flavor.
Creative Serving Suggestions for Your Chocolate Peanut Butter Balls
While these **Chocolate Peanut Butter Balls** are utterly delicious on their own, their versatility allows for numerous creative serving possibilities. As previously mentioned, they are an undeniable hit during the holiday season, gracing Christmas cookie platters and Thanksgiving dessert spreads with their festive charm. However, their appeal extends far beyond holiday festivities.
- **Edible Gifts:** Package them beautifully in small boxes or cellophane bags tied with ribbons for elegant, homemade edible gifts for birthdays, hostess presents, or just to show appreciation. Everyone loves a thoughtful, delicious treat!
- **Party Platters:** Arrange them artfully on dessert platters alongside other small bites like cookies, brownies, or fresh fruit for a visually appealing spread at any party or gathering. Their uniform size and appealing coating make them a standout.
- **Chocolate Peanut Butter Pops:** For a fun, whimsical twist, especially popular with children and at themed parties, insert lollipop sticks into the chilled peanut butter balls before dipping them in chocolate. This transforms them into delightful “chocolate peanut butter pops” – an interactive and mess-free way to enjoy this classic flavor combination.
- **Temperature Versatility:** These treats are equally delightful served at room temperature or chilled. When served chilled, they offer a firmer, almost fudge-like center and a crispier chocolate shell. At room temperature, the peanut butter filling becomes softer and melt-in-your-mouth. If you find your peanut butter balls are becoming a bit too soft or sticky at warmer room temperatures, a quick 5-10 minute chill in the refrigerator or freezer will firm up the chocolate again, ensuring perfect presentation and handling.
- **Beyond Dessert:** While primarily a dessert, consider serving them alongside coffee or tea for an elevated afternoon treat, or even as a sweet finish to a savory meal. Their rich flavor means a little goes a long way.
Explore More Irresistible Chocolate and Peanut Butter Recipes
If you’re a true devotee of the glorious combination of chocolate and peanut butter, then your culinary adventure doesn’t have to end with these delightful no-bake balls! We understand the magic that happens when these two flavors unite, and we have a treasure trove of other recipes that celebrate this iconic pairing. Whether you’re seeking more no-bake wonders, classic baked goods, or innovative desserts, there’s something here to satisfy every chocolate peanut butter craving. Dive into these other fantastic recipes:
- Peanut Butter Blossoms: Classic, soft peanut butter cookies adorned with a Hershey’s Kiss.
- Buckeye Candy: Another beloved no-bake treat, very similar to these balls but typically only partially dipped to resemble a buckeye nut.
- Chocolate Peanut Butter Fudge: Rich, dense, and incredibly decadent, perfect for gifting.
- Homemade Peanut Butter Cups: Better than store-bought, with customizable chocolate and peanut butter ratios.
- Chocolate Peanut Butter Cupcakes: Moist chocolate cupcakes topped with a fluffy peanut butter frosting.
- Chocolate Peanut Butter Lasagna: A layered no-bake dessert masterpiece with creamy, chocolatey, and peanut buttery goodness.
- No Bake Peanut Butter Cornflake Cookies: A crunchy, chewy no-bake cookie that’s quick and satisfying.
Each of these recipes offers a unique take on the chocolate and peanut butter dynamic, ensuring your sweet tooth is always delighted!
My passion lies in the joy of creating delicious food and sharing my culinary adventures with fellow food enthusiasts like you! I understand how easy it is to miss out on new and exciting recipes amidst our busy daily lives. That’s precisely why I’ve made it effortless for you to stay updated: subscribe to my convenient newsletter. Every time a fresh, delectable recipe is posted, it will be delivered straight to your inbox, absolutely free. Simply subscribe here and embark on a journey of receiving delightful daily recipes that will inspire your cooking and baking endeavors!
Chocolate Peanut Butter Balls
IMPORTANT – There are often Frequently Asked Questions within the blog post that you may find helpful. Simply scroll back up to read them!
Print It
Pin It
Rate It
Save It
Saved!
Course: Dessert
Cuisine: American
Ingredients
- ¼ cup salted butter melted and cooled
- 1 cup creamy peanut butter
- ¼ cup granulated sugar
- 1 tsp vanilla extract
- 2 cups powdered sugar
- 12 oz semi sweet chocolate chips
- 1 Tbsp shortening
Things You’ll Need
-
Sheet pan
-
Cookie scoop
-
Hand mixer
Before You Begin
- Store in an airtight container on the counter or in the refrigerator for up to 7 days. Freeze up to 3 months, though discoloration/speckling may occur. Defrost in the refrigerator before serving.
- If the chocolate starts to become thick or gloppy, reheat for 15 seconds at a time until it is nice and smooth and thin again for coating.
- If it is particularly warm in your house, you can pop the dipped balls back into the refrigerator or freezer to help them set more quickly – sometimes this will affect the sheen of the chocolate coating, but it will not affect the flavor!
Instructions
-
Line a sheet pan with parchment paper and set aside.
-
Combine melted butter, peanut butter, granulated sugar, and vanilla extract in a medium bowl and beat together (with a hand mixer or standing mixer) until combined.
-
Add the powdered sugar and beat again until combined – the mixture will be crumbly.
-
Use a 1 tablespoon cookie scoop to scoop out about 28 balls of peanut butter mixture.
-
Roll each scoop between the palms of your hands to form a ball and place each ball on the prepared sheet pan.
-
Place the sheet pan in the freezer for 30 minutes. After the peanut butter balls are fully chilled, prepare the chocolate coating.
-
Combine the chocolate chips and shortening in a heatproof bowl. Heat and stir in 30-second increments in the microwave until the chocolate is smooth and melted completely (if there are just a few solid pieces of chocolate left in the bowl, discontinue heating and simply stir until all of the chocolate melts and is smooth).
-
Using a fork or chocolate dipping tool, dunk peanut butter balls into the chocolate and turn to fully coat them. Tap the excess chocolate off of the ball and place it onto a sheet of parchment paper. You may need to remove balls from the freezer just a few at a time so that they are fully chilled when going into the chocolate. This helps the chocolate harden more quickly.
-
Allow chocolate to harden. After all of the balls have been dipped, scoop the excess melted chocolate into a plastic baggy or piping bag. Snip a small corner from the bag and drizzle over the chocolate coated peanut butter balls.
-
Allow drizzle to set and serve immediately.
Nutrition
Tried this Recipe? Pin it for Later!Follow on Pinterest @AmandasCookin or tag #AmandasCookin!
The recipes on this blog are tested with a conventional gas oven and gas stovetop. It’s important to note that some ovens, especially as they age, can cook and bake inconsistently. Using an inexpensive oven thermometer can assure you that your oven is truly heating to the proper temperature. If you use a toaster oven or countertop oven, please keep in mind that they may not distribute heat the same as a conventional full sized oven and you may need to adjust your cooking/baking times. In the case of recipes made with a pressure cooker, air fryer, slow cooker, or other appliance, a link to the appliances we use is listed within each respective recipe. For baking recipes where measurements are given by weight, please note that results may not be the same if cups are used instead, and we can’t guarantee success with that method.
