The Ultimate Homemade Hot Cross Buns Recipe for a Perfect Easter
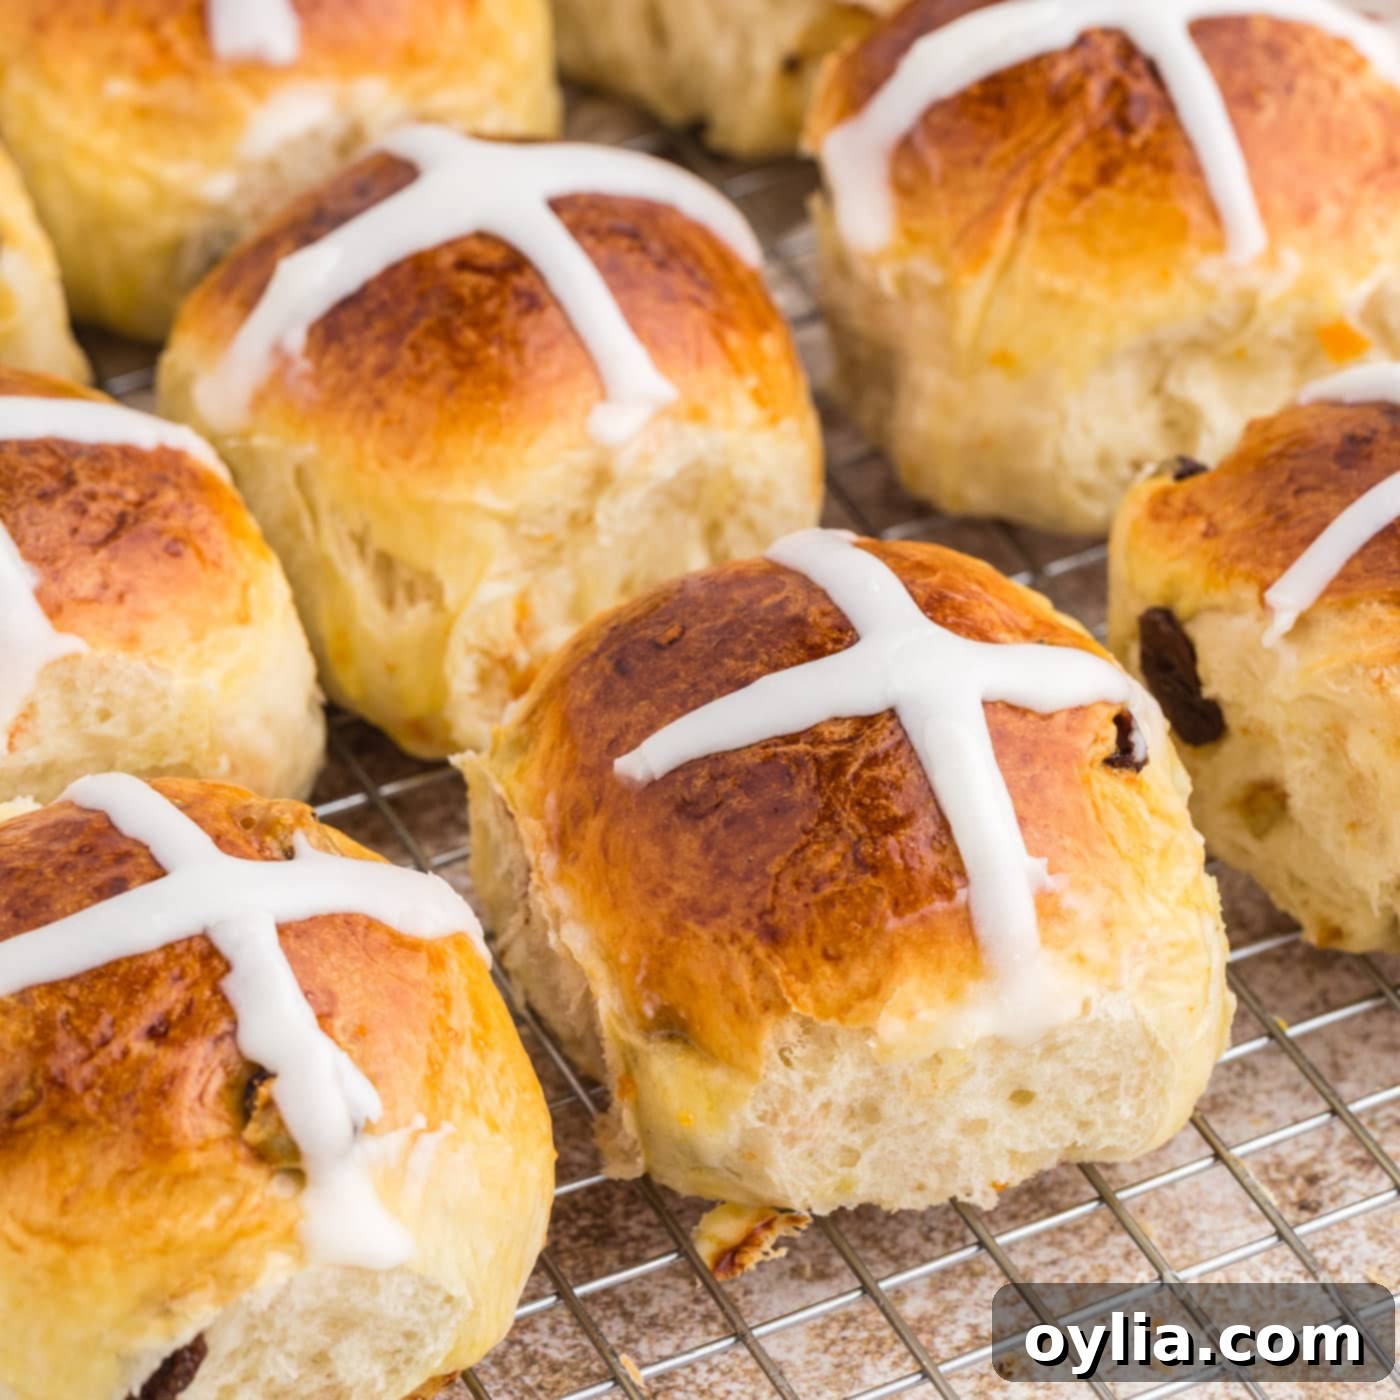
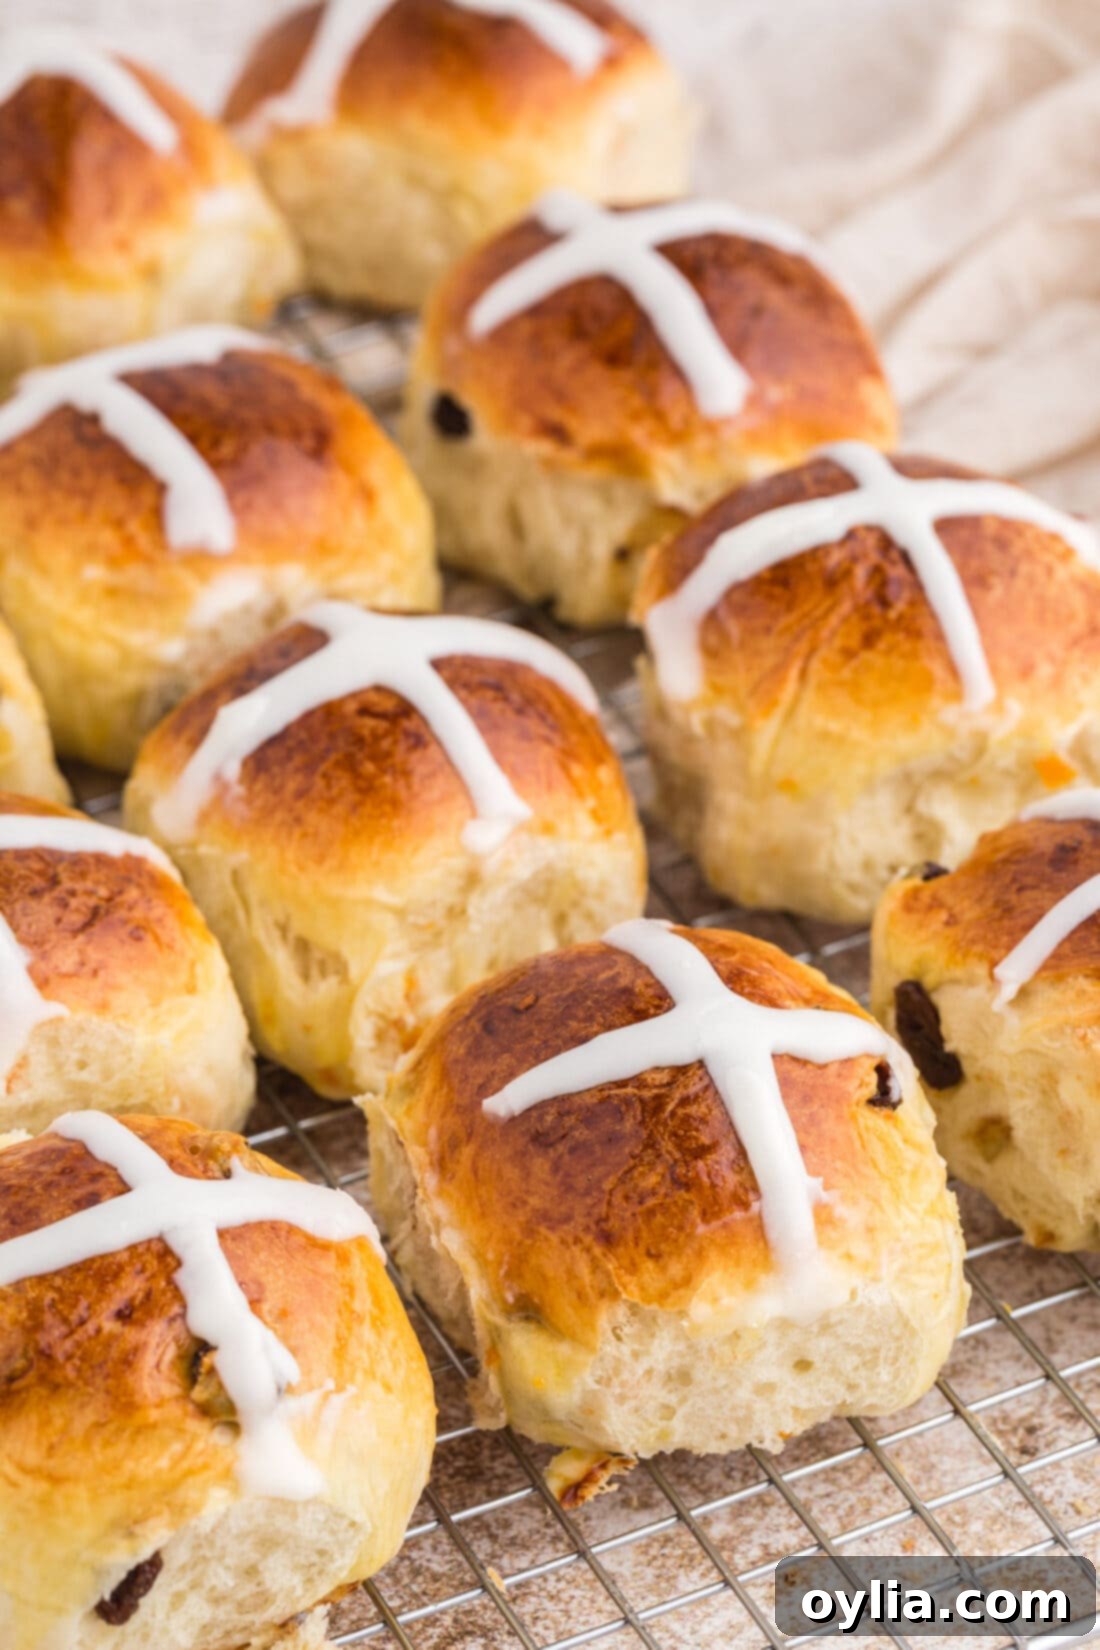
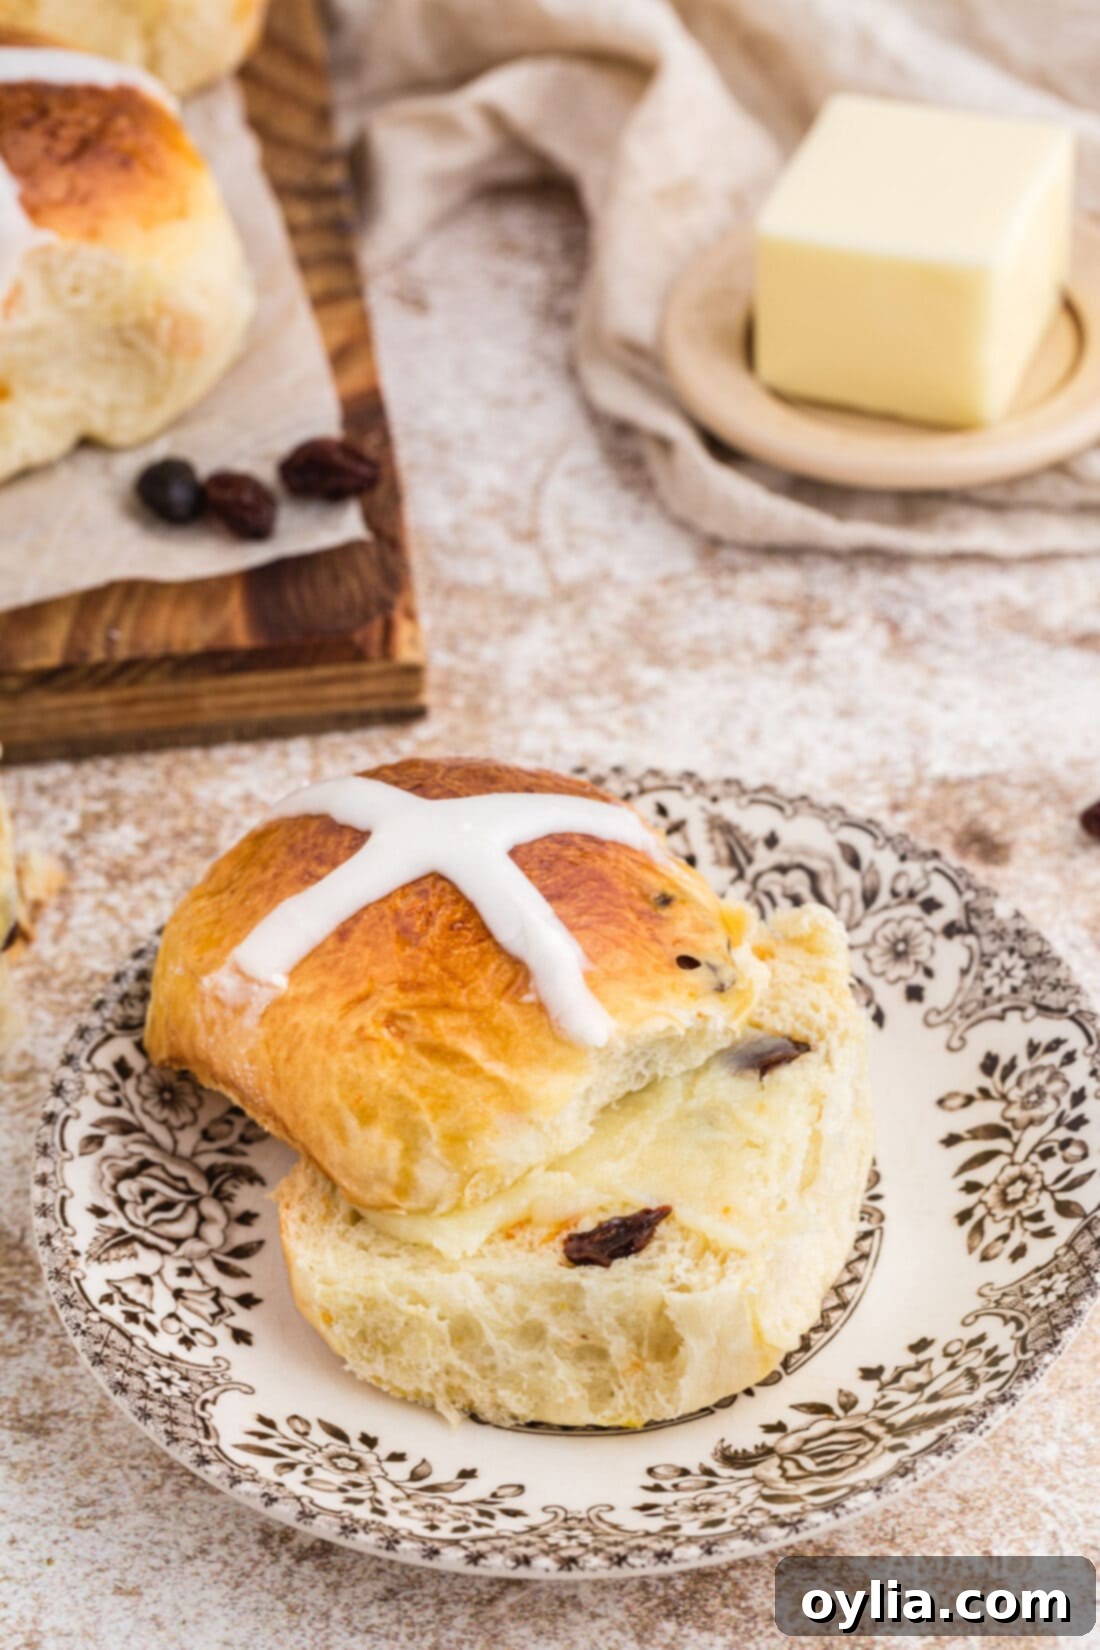
Welcome to the enchanting world of homemade Hot Cross Buns! These delightful, pillowy soft sweet buns, lovingly dotted with plump raisins and aromatic candied orange peels, are truly a hallmark of Easter and Good Friday traditions. Crowned with a perfectly sweet icing cross, they are not just a treat for the palate but also a comforting symbol of the holiday season.
Imagine the warm, inviting aroma filling your kitchen as these golden-brown beauties bake to perfection. There’s something incredibly satisfying about creating these traditional pastries from scratch, bringing a piece of culinary history right to your family table. This comprehensive guide will walk you through every step, ensuring your homemade hot cross buns are nothing short of spectacular.
Why This Hot Cross Buns Recipe is a Must-Try for Easter
Hot cross buns are a cherished tradition, particularly during Easter and Good Friday. This particular recipe stands out for several reasons, ensuring you achieve that perfect balance of softness, sweetness, and a hint of fruit that makes these buns so irresistible.
- Perfectly Pillowy Texture: We focus on proper yeast activation and gentle kneading techniques to produce buns that are incredibly soft and airy. Each bite offers a tender, melt-in-your-mouth experience that is characteristic of truly well-made hot cross buns.
- Balanced Sweetness: The sweetness in these buns is carefully balanced. Granulated sugar in the dough pairs beautifully with the natural sweetness of plump raisins and the delicate, slightly tart notes of candied orange peels, creating a flavor profile that is rich without being overly sugary.
- Aromatic Fruit Medley: The classic combination of dark seedless raisins and fragrant candied orange peels infuses the buns with a wonderful aroma and bursts of sweet-citrusy flavor. This traditional duo is what gives hot cross buns their distinctive and beloved taste.
- Signature Icing Cross: The simple yet elegant icing cross isn’t just for show; it adds the iconic visual element that makes these buns instantly recognizable for Easter, along with a final, delicate touch of sweetness.
Beyond their symbolic value, this Easter bread is wonderfully versatile. It can be served warm with a slather of butter as a delightful accompaniment to your morning coffee or tea. It also makes an excellent addition to your holiday brunch spread or even alongside a savory main course, like our orange bourbon glazed ham, adding a touch of sweet comfort to your festive table.
Key Ingredients for Delicious Hot Cross Buns
Crafting perfect hot cross buns begins with understanding the role each ingredient plays. Below is a detailed look at what you’ll need and some expert tips for best results. You’ll find all exact measurements and detailed instructions in the printable recipe card at the very end of this post.
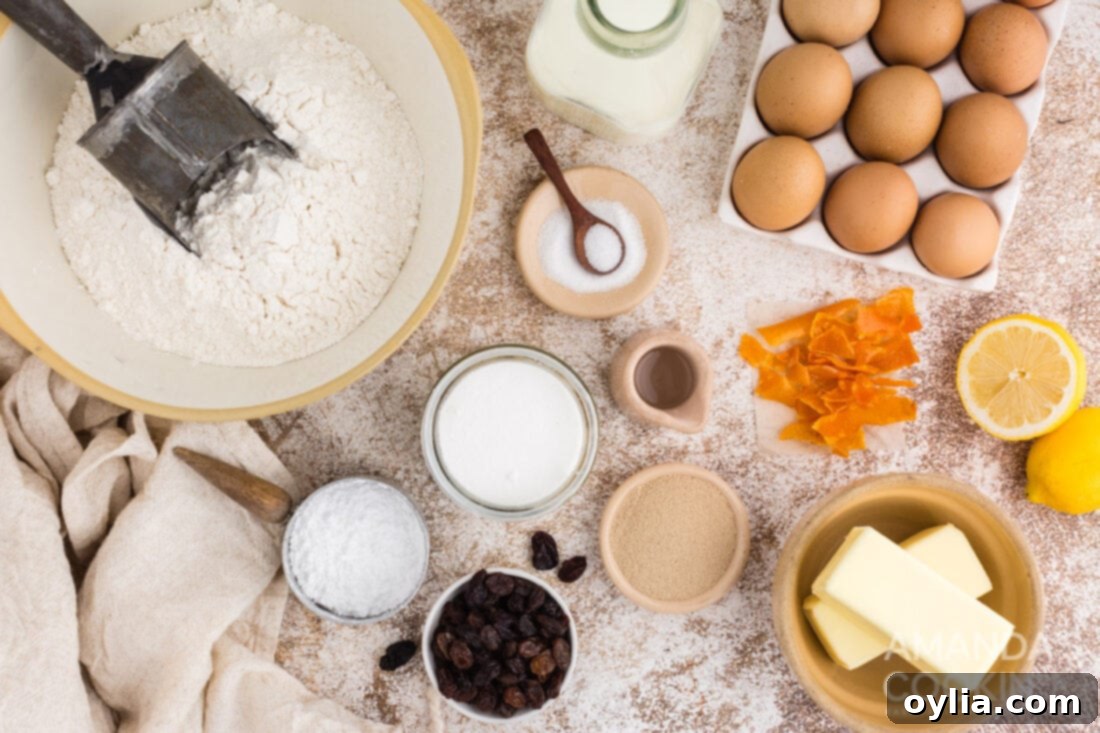
FLOUR – This recipe primarily uses regular all-purpose flour, which provides a tender crumb perfect for these sweet buns. The moderate protein content of all-purpose flour helps create a dough that is easy to work with and results in a soft, light texture. If you’re looking to incorporate whole wheat flour for added nutrition or a slightly heartier texture, we recommend substituting no more than half of the all-purpose flour with whole wheat flour. Using a higher proportion of whole wheat can result in denser rolls due to its higher protein content and different gluten structure. For a chewier bun with more structure, you can also successfully use bread flour; simply swap it out using the same measurements, adjusting liquid slightly if the dough seems too stiff.
YEAST – We are using active dry yeast, which requires a little patience as it needs time to activate and allow the dough to rise. If your yeast is fresh and within its expiration date, you can typically mix it directly with the dry ingredients as instructed in this recipe, and it will dissolve when the warm liquid is added. This modern approach often works well and simplifies the process. However, if you’re unsure about the freshness of your yeast or prefer to be extra cautious, you can “proof” it: dissolve it in a small portion of the warm milk and a pinch of sugar from the recipe for 5-10 minutes until it becomes foamy. If it doesn’t foam, your yeast may be expired, and a fresh batch should be used. You can also substitute active dry yeast with quick-rising or instant yeast; these types can usually be added directly to your dry ingredients without prior proofing and may result in slightly faster rise times.
DAIRY – Milk and unsalted butter are crucial for adding richness, tenderness, and moisture to the hot cross buns. Whole milk provides body and a delicate sweetness, while butter contributes to the luxurious texture and flavor. Heating the milk and butter until warm helps dissolve the butter evenly and activates the yeast without scalding it. Using unsalted butter allows you precise control over the overall salt content in the recipe.
SWEETENER – Granulated sugar provides the foundational sweetness for the dough, balancing the flavors and aiding in yeast activation. Its presence also contributes to the beautiful golden-brown color of the baked buns and keeps the dough soft and moist.
EGGS – Eggs are essential in this recipe, adding richness and contributing to the overall structure and tenderness of the buns. They also help achieve a beautiful golden color and a soft, pillowy texture.
FRUITS – These sweet buns traditionally feature a generous amount of dried fruits. Our recipe uses a delightful combination of dark seedless raisins and candied orange peels. Raisins offer a classic sweetness and soft chew, while candied orange peels provide a bright, slightly zesty, and aromatic counterpoint that perfectly complements the rich dough. If you’re feeling adventurous and want to deepen the citrus notes, you can even learn how to make your own candied citrus peels! Feel free to customize with your favorite dried fruits such as currants (a very traditional choice), dried cranberries, chopped dried apricots, or even dried cherries. If your dried fruits seem a bit dry or hard, you can soak them in warm water or a little rum for about 15-20 minutes, then drain them thoroughly before adding to the dough, to ensure they remain soft and plump after baking.
SPICES (Optional) – While our basic dough recipe doesn’t call for them, many traditional hot cross bun recipes incorporate warm spices for a deeper, more complex flavor. You can easily add 1-2 teaspoons of ground cinnamon, a pinch of ground nutmeg, or even a touch of ground cloves or allspice to the dry ingredients for a truly aromatic and spiced bun. This is a fantastic way to personalize your batch and lean into classic British hot cross bun flavors!
ICING INGREDIENTS – Confectioners’ sugar (also known as powdered sugar), milk, softened butter, and a touch of fresh lemon juice create a smooth, pipeable icing that forms the iconic cross. The lemon juice adds a subtle bright note that helps cut through the sweetness and provides a lovely fresh finish.
How to Bake Perfect Hot Cross Buns from Scratch: Step-by-Step Guide
These step-by-step photos and detailed instructions are designed to help you visualize each stage of making this delicious recipe, ensuring your baking process is smooth and successful. For a quick reference to the printable version, complete with all exact measurements and instructions, simply Jump to Recipe at the bottom of this post.
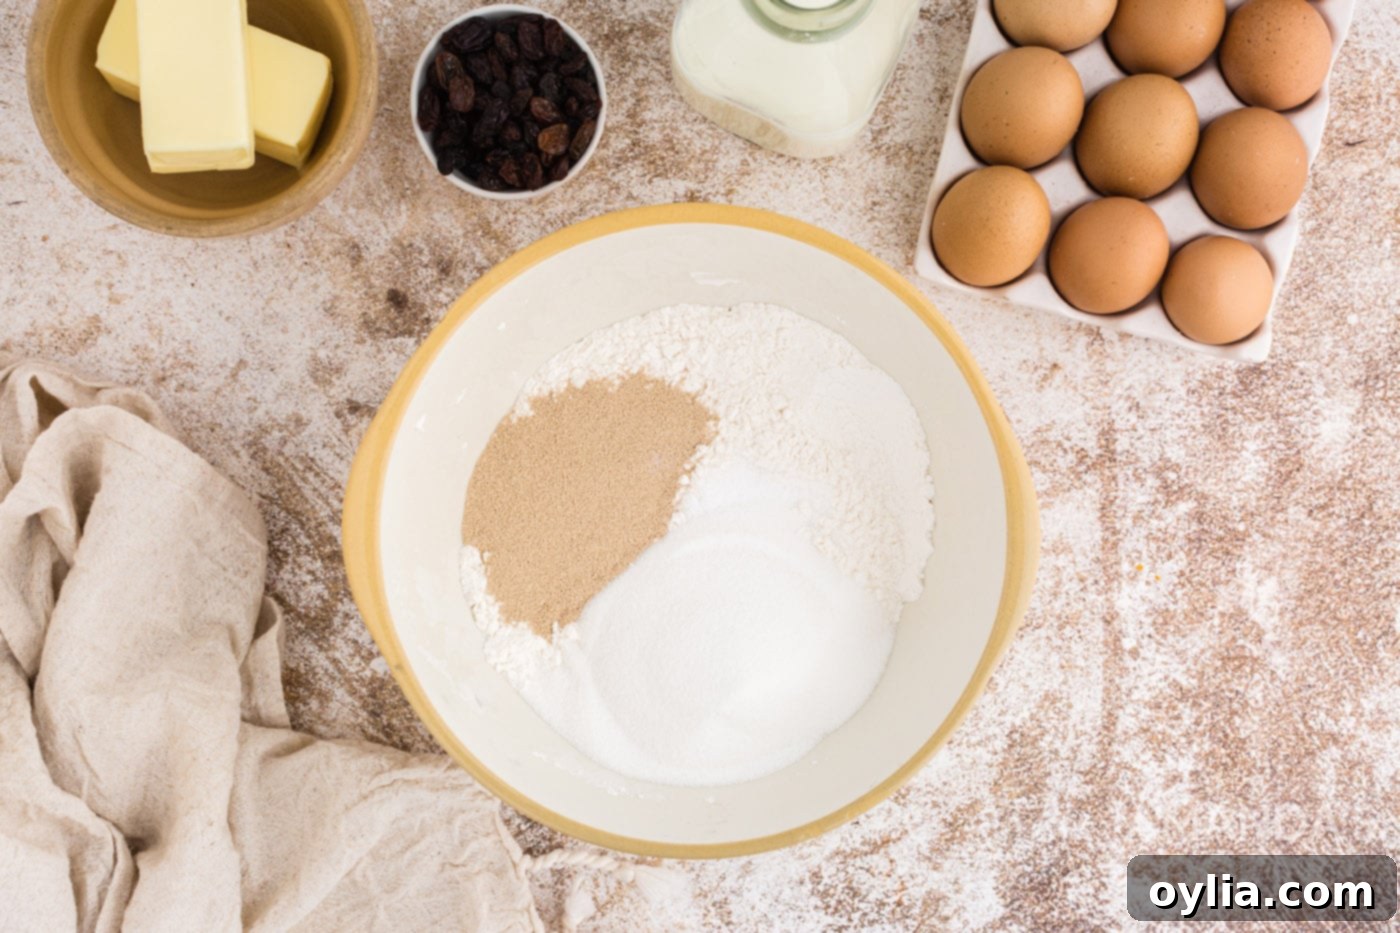
- Combine Dry Ingredients: In a large mixing bowl, whisk together the granulated sugar, salt, active dry yeast, and the first 2 cups of all-purpose flour. Ensure these dry ingredients are thoroughly combined to distribute the yeast and leavening agents evenly.
EXPERT TIP – For reliable active dry yeast that is within its expiration date, it can often be added directly to the dry ingredients as instructed here. It will successfully dissolve and activate once the warm liquids are introduced. This method simplifies the process by skipping a separate proofing step. However, if you are working with older yeast or simply want to confirm its vitality, you can proof it by combining a small amount of the warm milk and a pinch of sugar from the recipe with the yeast, letting it sit for 5-10 minutes until a foamy layer appears on top. If no foam forms, your yeast may be inactive, and a fresh batch is needed.

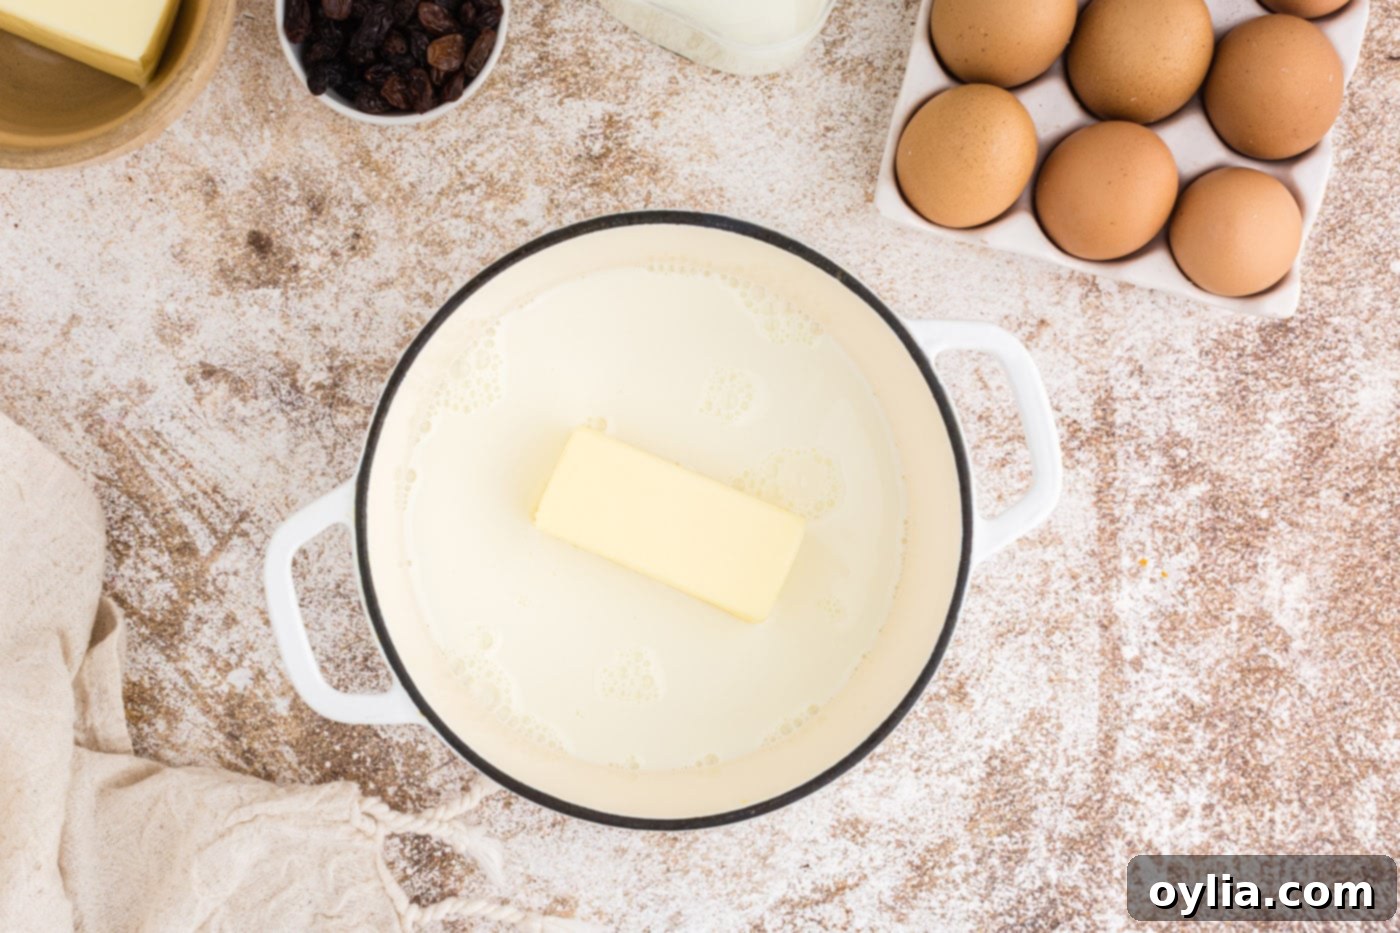
- Warm Milk and Butter: In a small saucepan, gently heat the milk and unsalted butter over low heat until warm. The butter doesn’t need to be completely melted, but it should be very soft or mostly melted. The ideal temperature for the liquid is crucial for yeast activity, typically around 105-115°F (40-46°C). It should feel warm to the touch, like a baby’s bath, but not hot, which could kill the yeast.

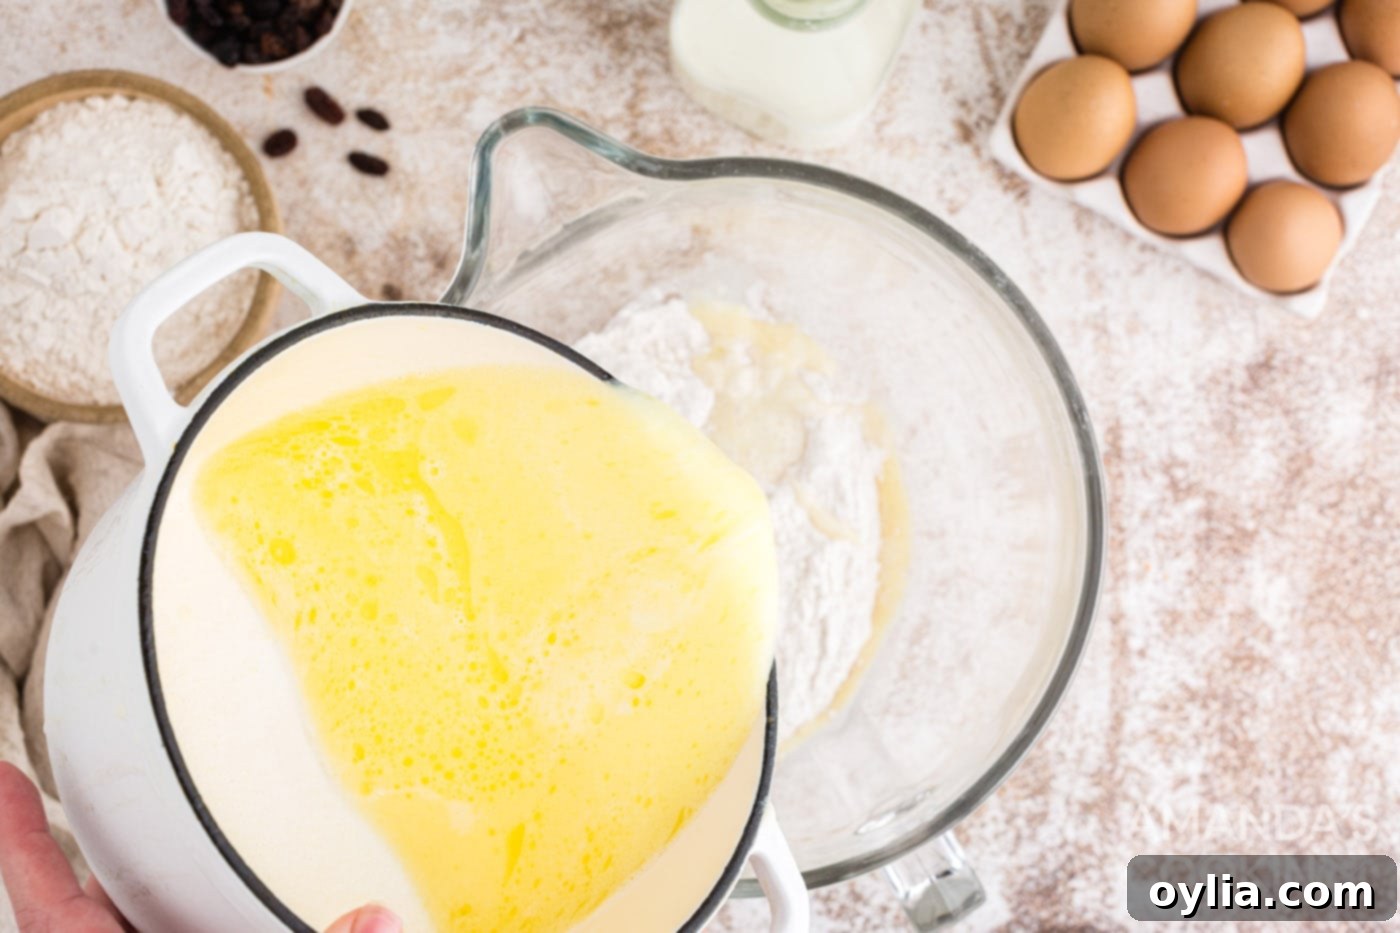
- Initial Mixing of Wet and Dry: Using a stand mixer fitted with a dough hook (or a large bowl and sturdy wooden spoon for hand mixing), slowly beat the warm wet ingredients into the dry mixture on low speed. This gradual addition helps prevent a cloud of flour and ensures the liquids are incorporated smoothly.

- Develop the Dough: Once lightly combined, increase the mixer speed to medium and continue beating for an additional 2 minutes. During this stage, the ingredients will start to come together into a shaggy dough. Remember to occasionally scrape down the sides of the bowl to ensure all ingredients are thoroughly incorporated and evenly mixed.
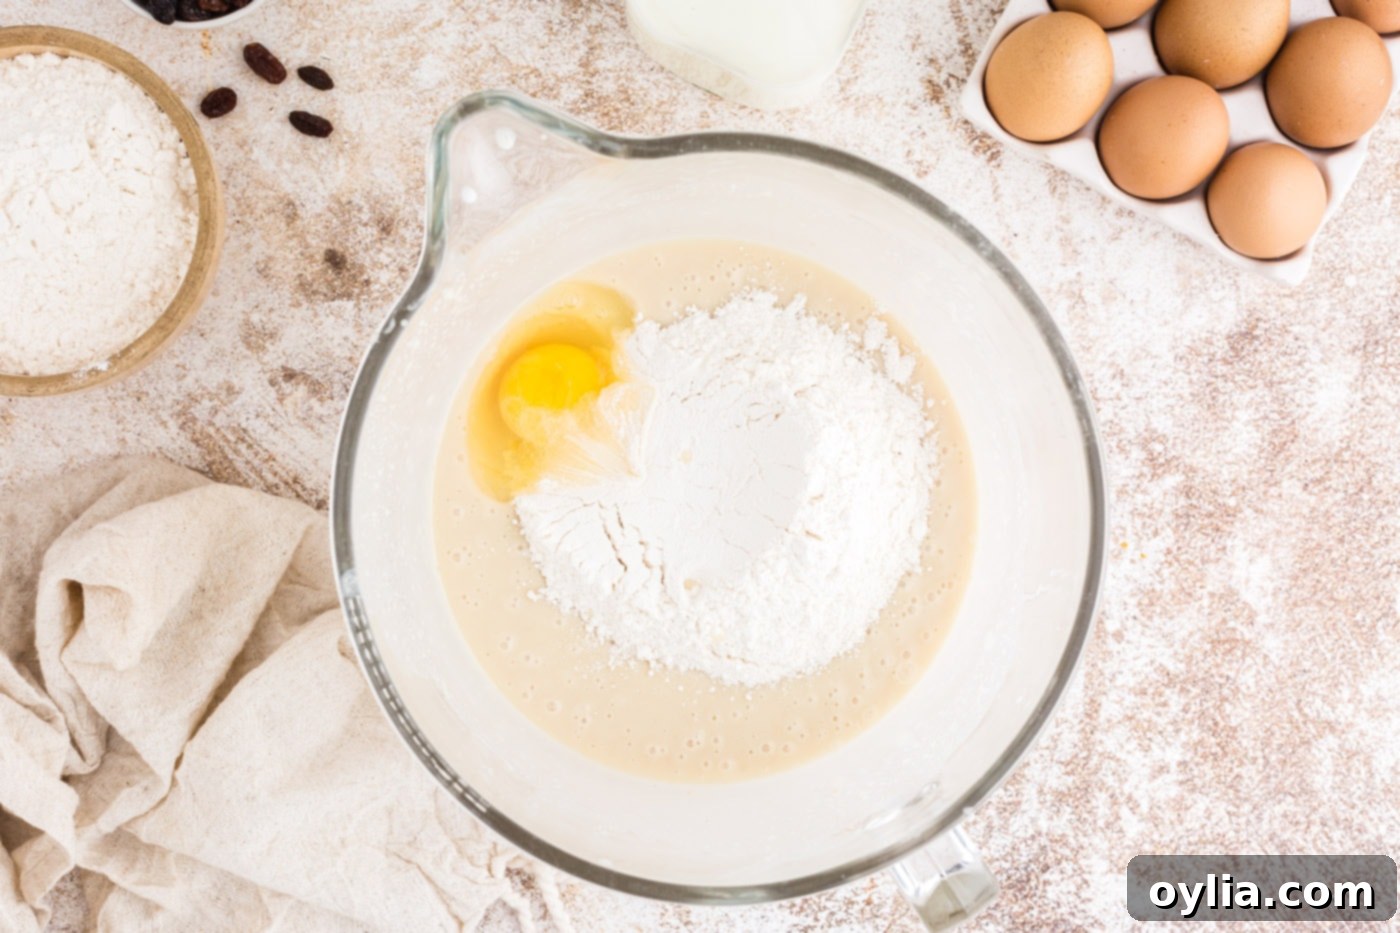
- Add Remaining Flour and Egg: Incorporate the egg and another 2 cups of all-purpose flour into the mixture. Continue mixing on medium speed for 2 more minutes. At this point, the dough will start to consolidate further and become more cohesive.

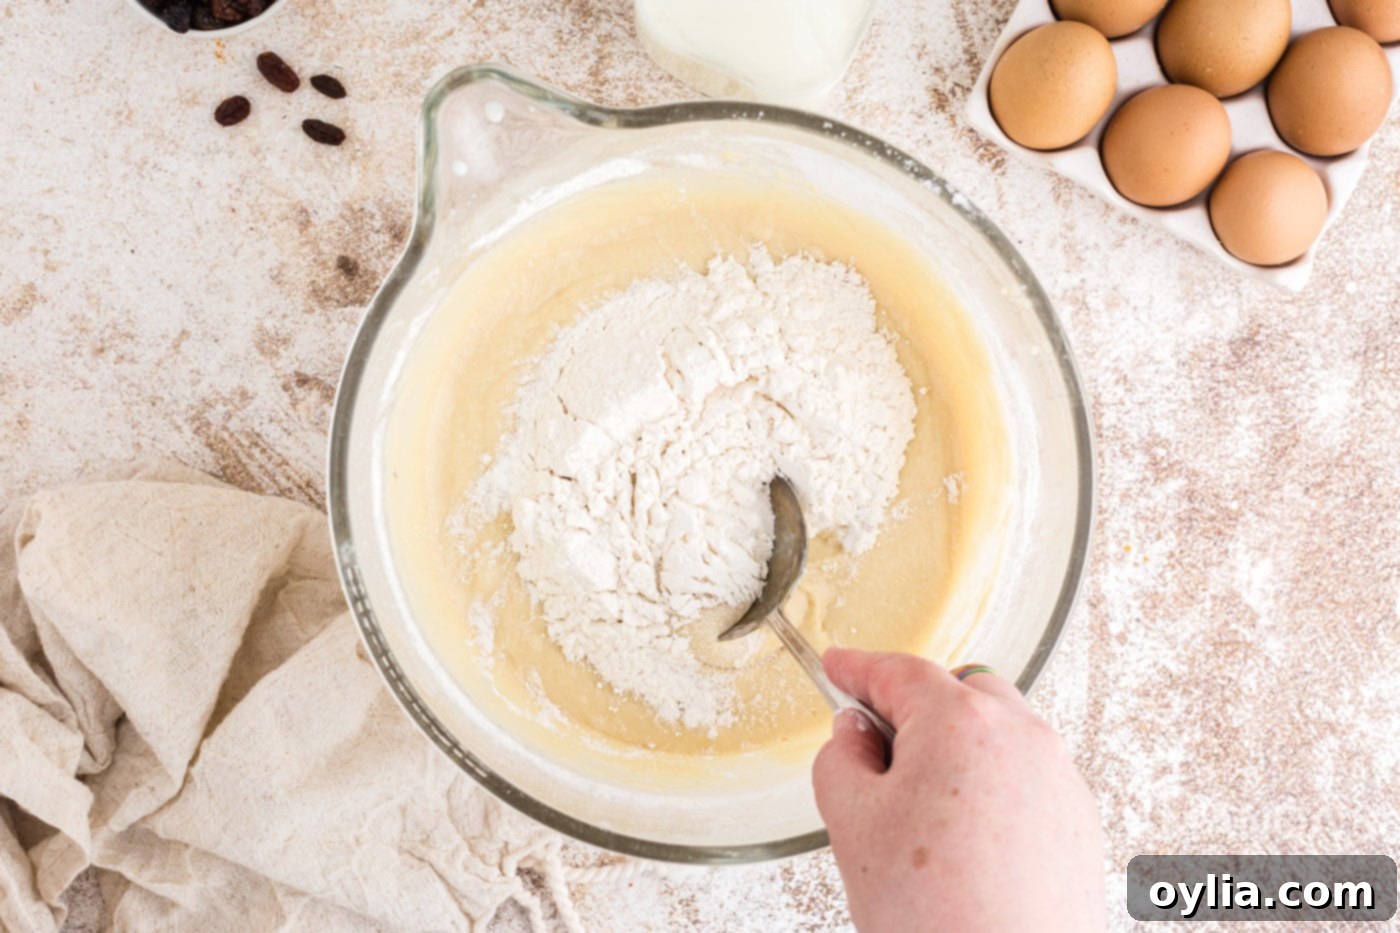
- Achieve Soft Dough Consistency: Gradually stir in a little extra flour (approximately ½ cup or less), adding it slowly, a tablespoon at a time, until you achieve a soft, slightly sticky dough that pulls away from the sides of the bowl but still feels pliable and extensible. The exact amount of flour needed can vary based on factors like humidity and the specific flour brand, so trust the feel of the dough rather than strictly adhering to the measurement. Avoid adding too much flour, as this can lead to dry, dense buns.

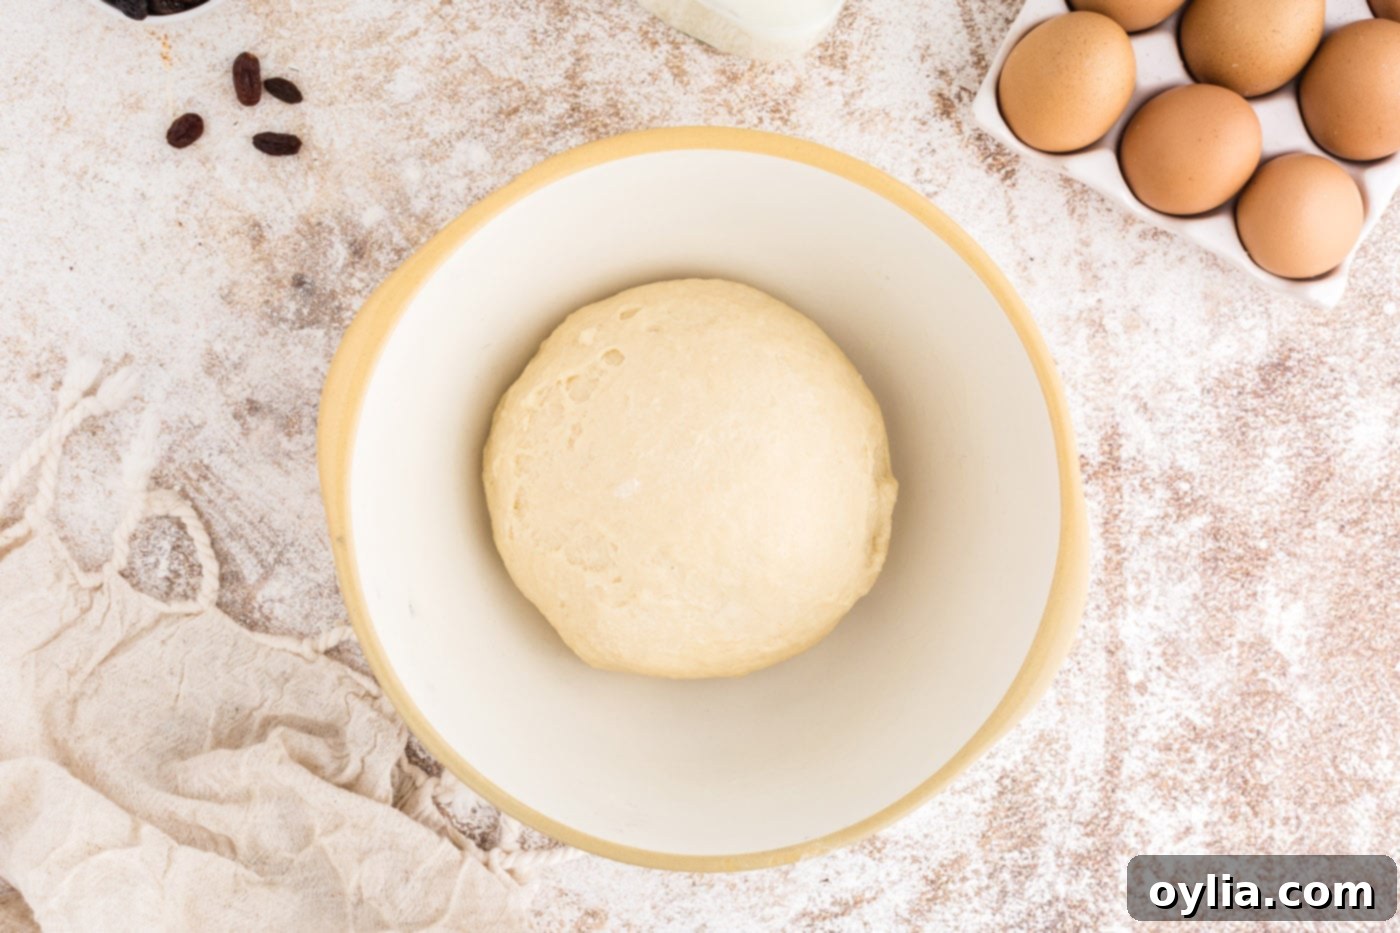
- Knead the Dough: Turn the soft dough out onto a lightly floured surface. Knead the dough vigorously for about 10 minutes (or 15-20 minutes if kneading by hand) until it becomes smooth, elastic, and no longer sticky. Kneading is a critical step for developing the gluten strands, which are essential for giving the buns their characteristic soft and chewy texture. To check if it’s sufficiently kneaded, perform the “windowpane test”: gently stretch a small piece of dough; if it stretches thin enough to see light through without tearing, it’s ready. Once smooth, form the dough into a neat ball.
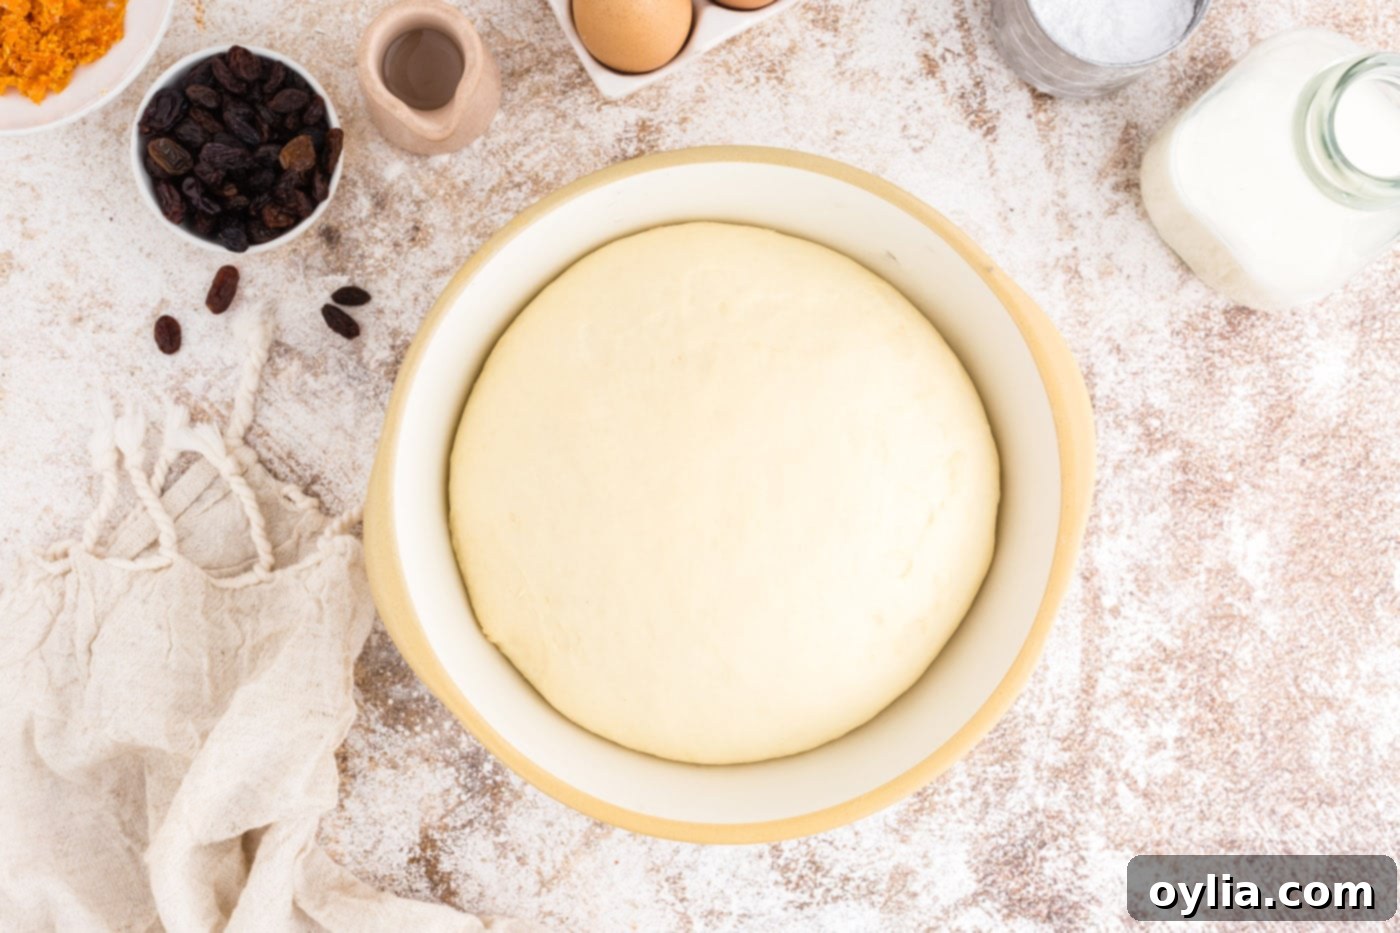
- First Rise: Lightly grease a large bowl with oil or cooking spray. Place the kneaded dough ball into the bowl, then turn it over once to ensure the top surface is also lightly greased. This prevents a dry crust from forming during the rising process. Cover the bowl tightly with plastic wrap or a clean, damp kitchen towel and let it rise in a warm, draft-free area until it has visibly doubled in size. This usually takes around 1 to 1.5 hours, but times can vary depending on your kitchen’s ambient temperature and the activity of your yeast. A slightly warm (but not hot) oven with the light on can create an ideal proofing environment.


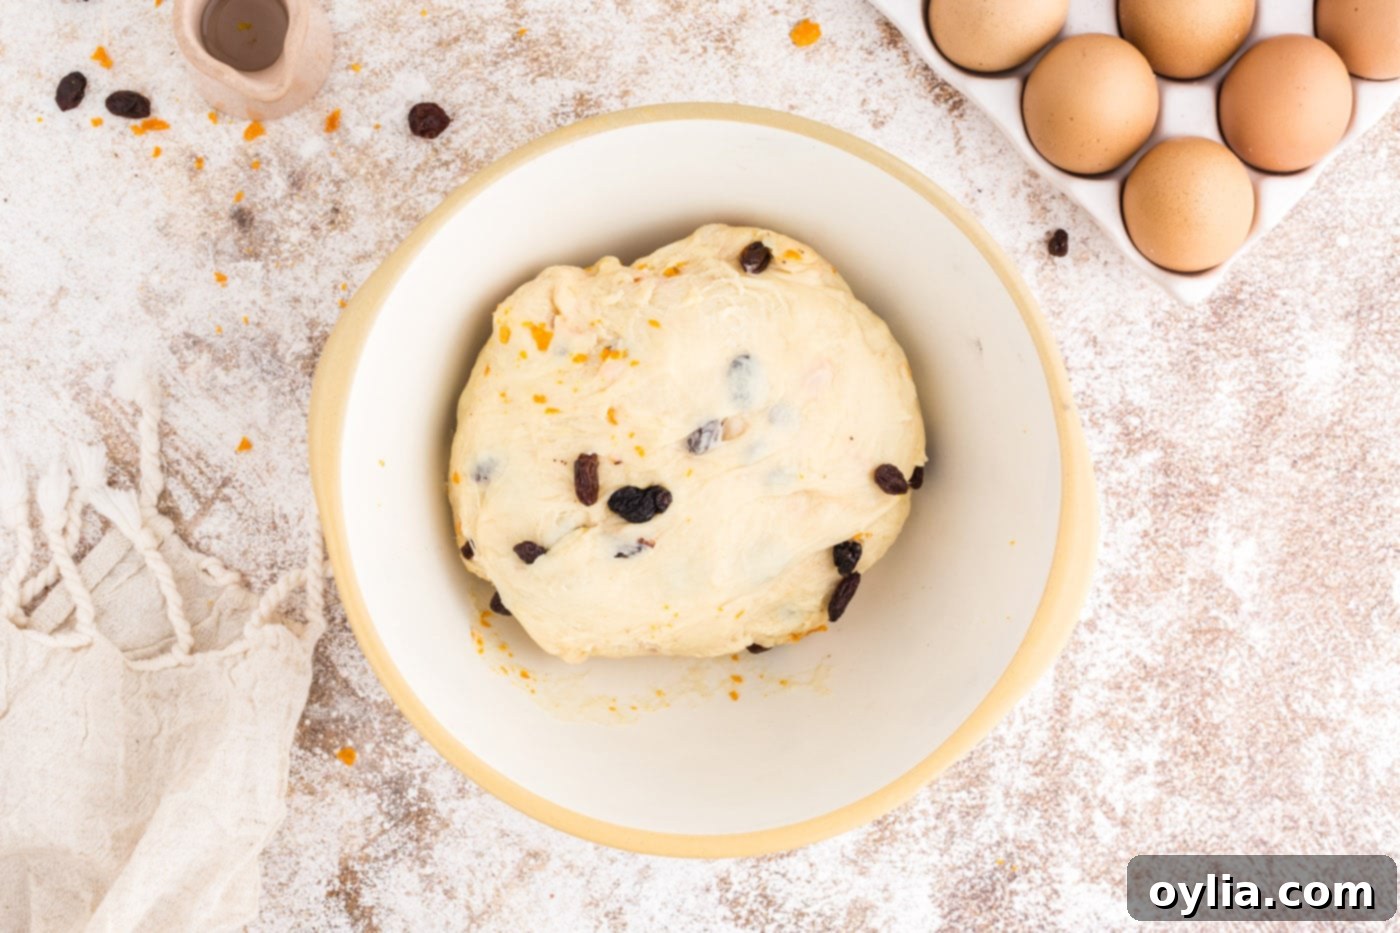
- Incorporate Fruits: Once the dough has doubled in size, gently punch it down to release the accumulated air. Add the dark seedless raisins and chopped candied orange peels. Knead the dough just until the fruits are evenly incorporated throughout. It’s important to be careful not to over-knead at this stage, as excessive handling can tear the delicate gluten structure you’ve worked to develop.

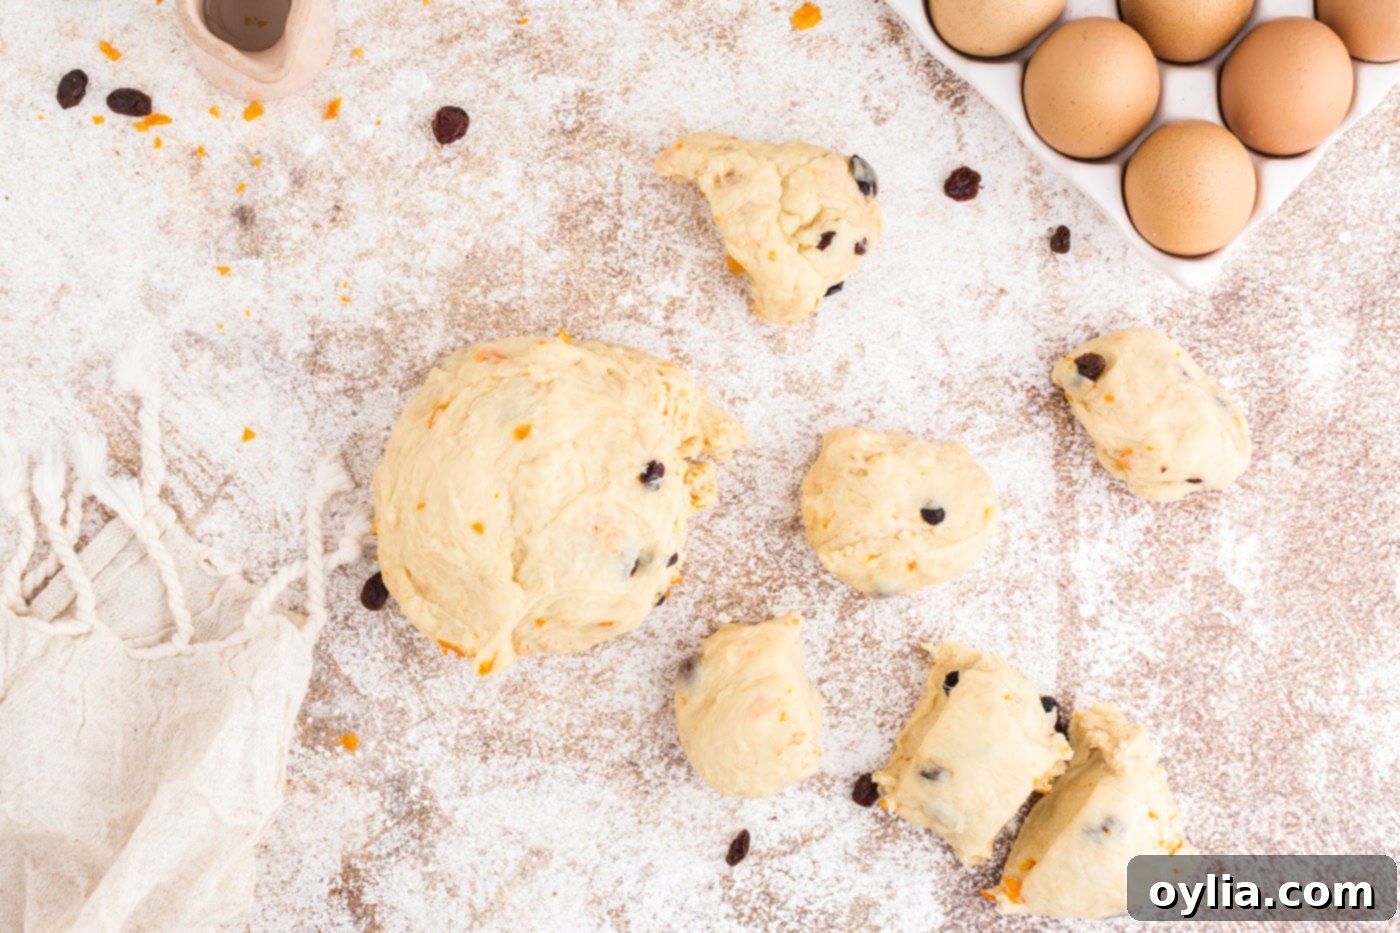
- Divide and Rest: Turn the fruit-filled dough out onto a lightly floured surface. Divide the dough into 12 equal pieces. For the most uniform results, use a kitchen scale to ensure each piece weighs the same. Cover the divided pieces with a clean kitchen towel and let them rest for 15 minutes. This resting period is crucial as it allows the gluten in the dough to relax, making the pieces much easier to shape without fighting against them.

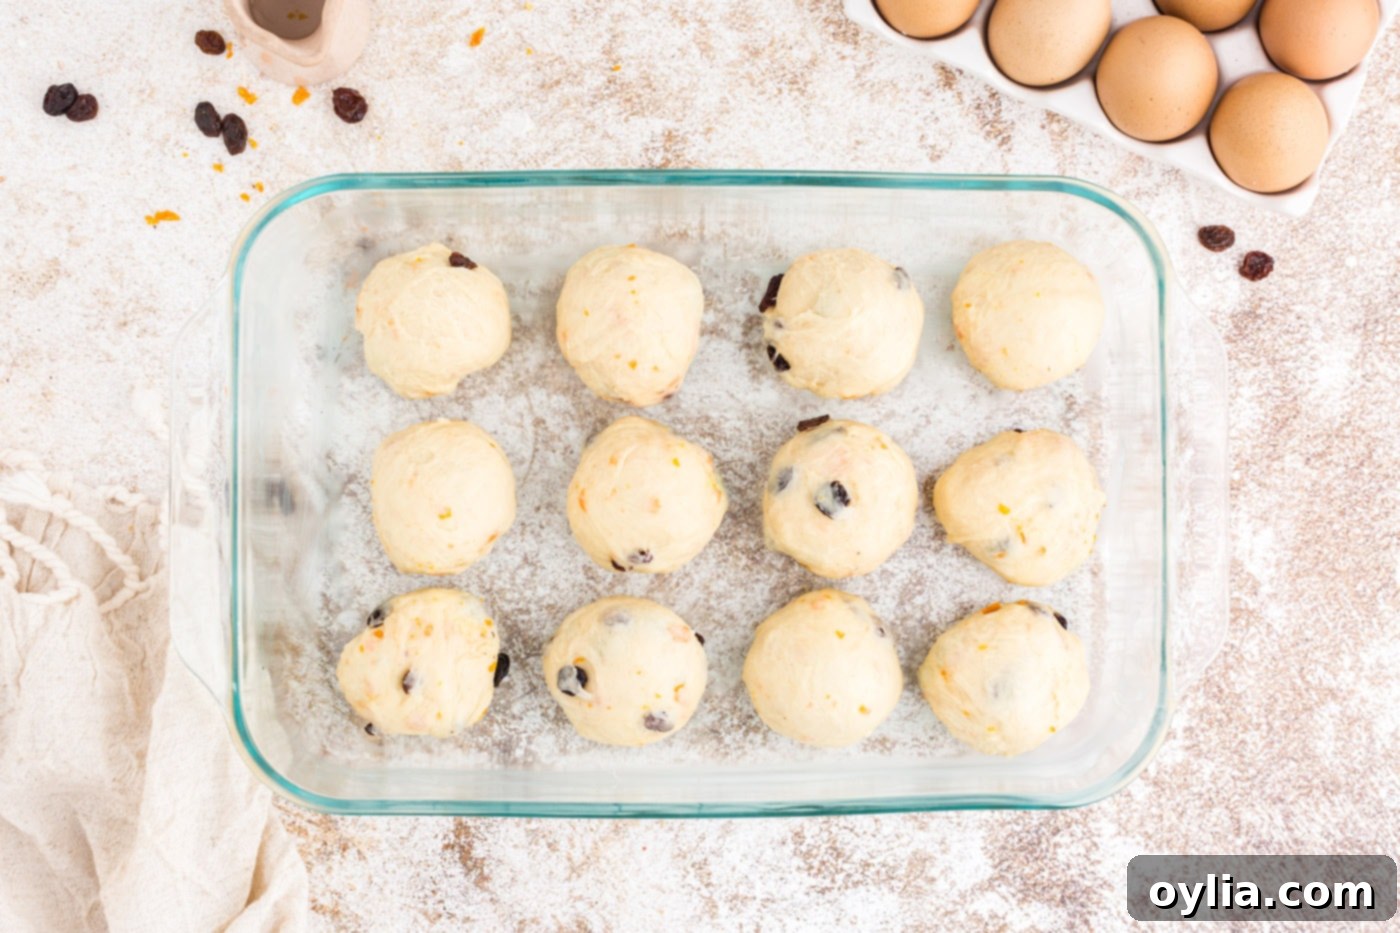
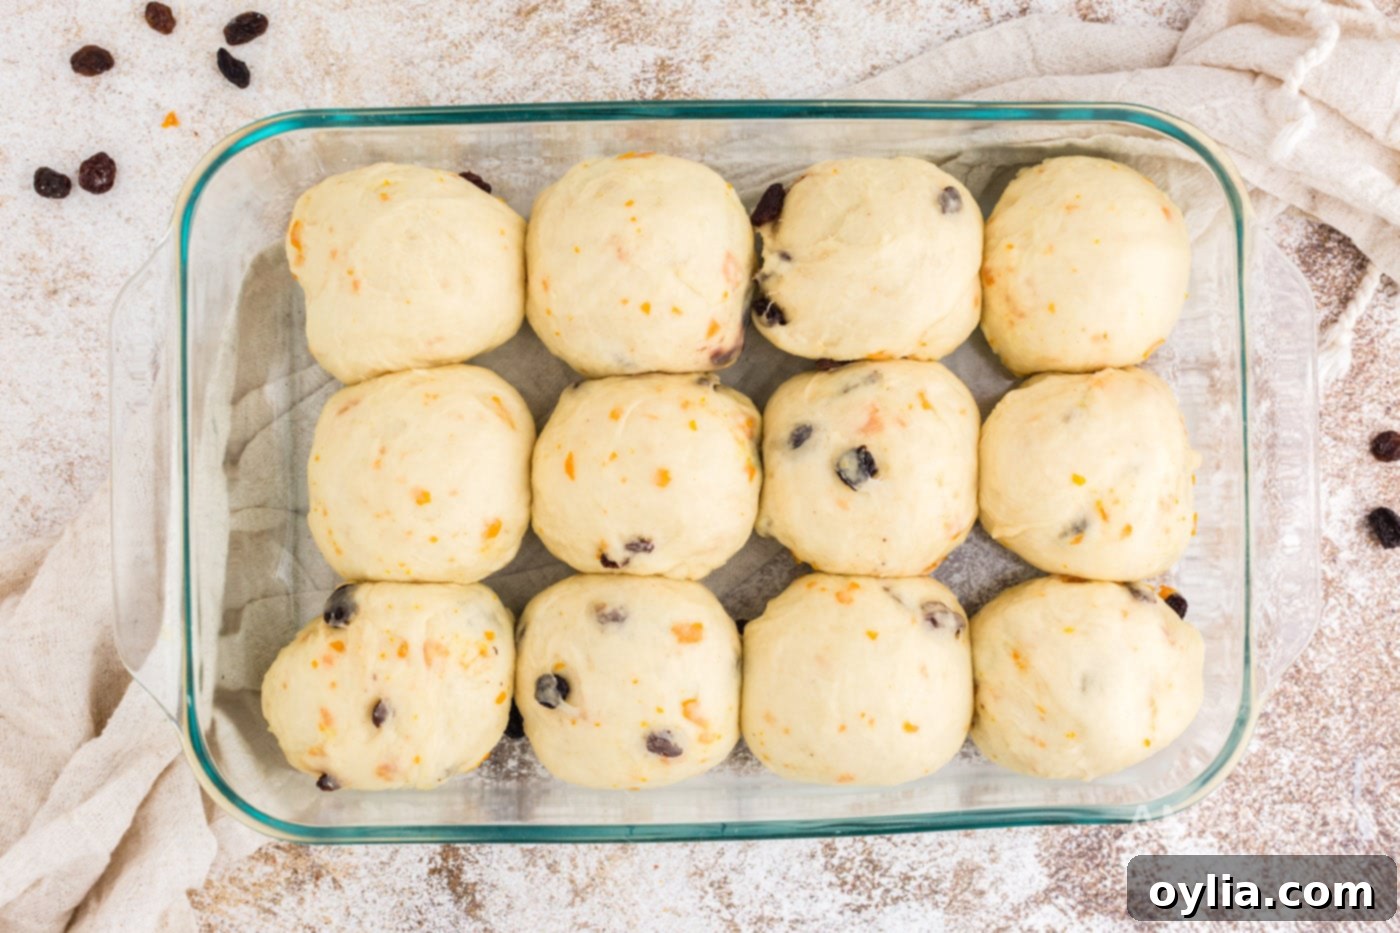
- Shape and Second Rise: Gently shape each dough piece into a smooth, tight ball. This helps create a uniform texture and appearance. Arrange the balls in a greased 13×9 inch baking dish, leaving a small amount of space between them as they will expand significantly during the second rise and baking. Cover the dish with a clean kitchen towel and let the dough balls rise again in a warm, draft-free place until they have nearly doubled in size, which typically takes another hour. This second rise, often called proofing, is absolutely crucial for achieving light, airy, and fluffy buns.


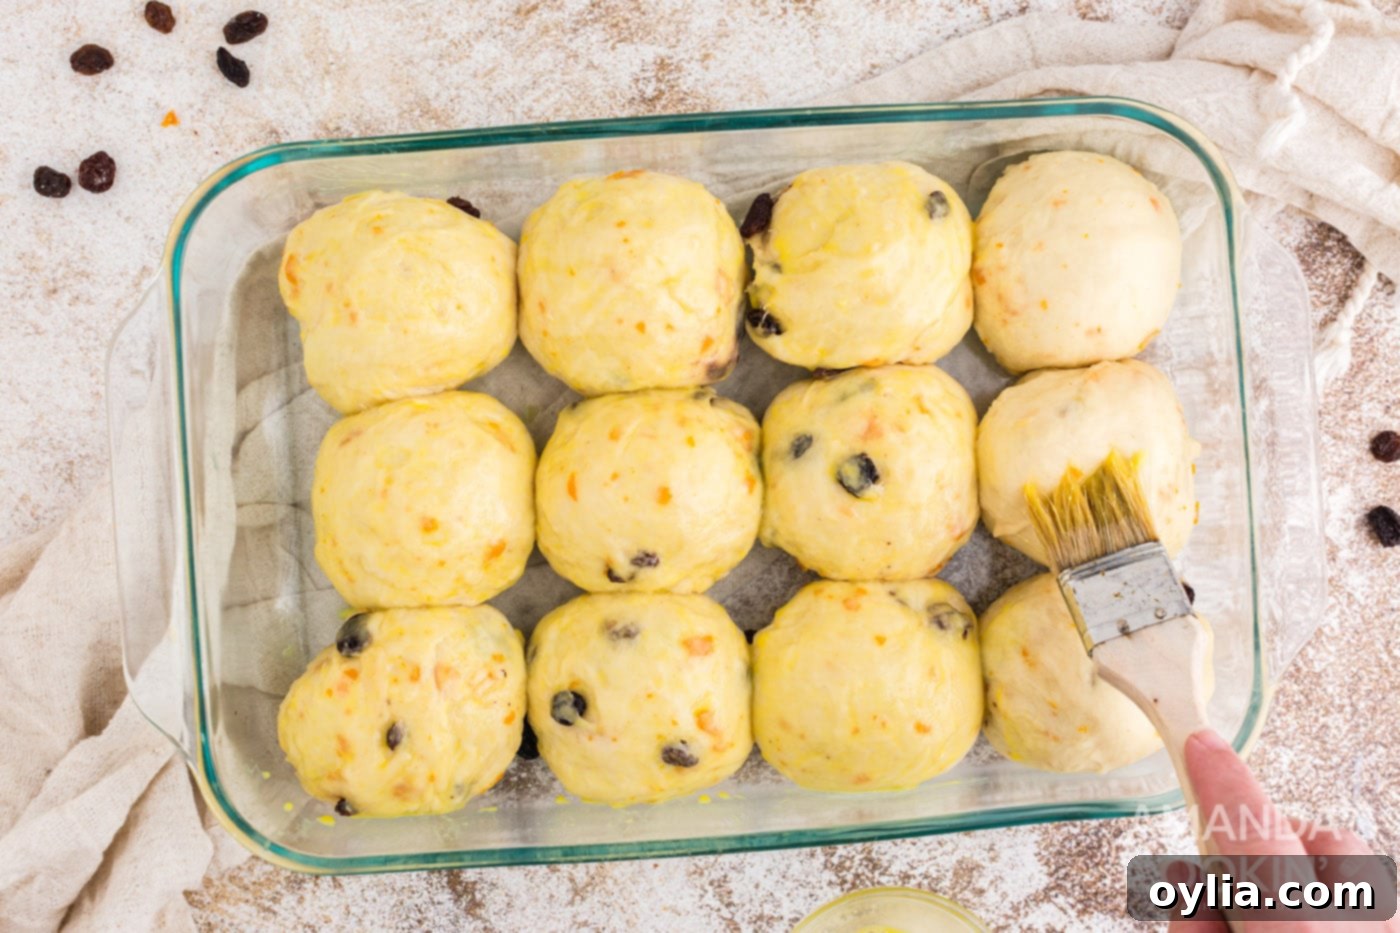
- Preheat Oven & Egg Wash: Preheat your oven to 350°F (175°C). While the oven heats, prepare an egg wash. In a small bowl, whisk together the remaining egg yolk with 1 teaspoon of water until well combined. Lightly brush the tops of the risen buns with this egg wash. This step is important for giving the buns a beautiful golden-brown, glossy crust and an appealing finish as they bake.

- Bake the Buns: Carefully place the baking dish into the preheated oven. Bake the hot cross buns for approximately 30 minutes, or until they are beautifully golden brown on top and cooked through. To confirm doneness, an instant-read thermometer inserted into the center of a bun should read around 200-210°F (93-99°C).
- Prepare the Icing: While the buns are baking and cooling, prepare your perfectly sweet icing. In a small mixing bowl, using a hand mixer or stand mixer set to low speed, combine the confectioners’ sugar, milk, softened butter, and a touch of lemon juice. Mix until the icing is completely smooth, creamy, and free of any lumps. If the icing is too thick, add a tiny bit more milk; if it’s too thin, add a little more powdered sugar until you reach a pipeable consistency.
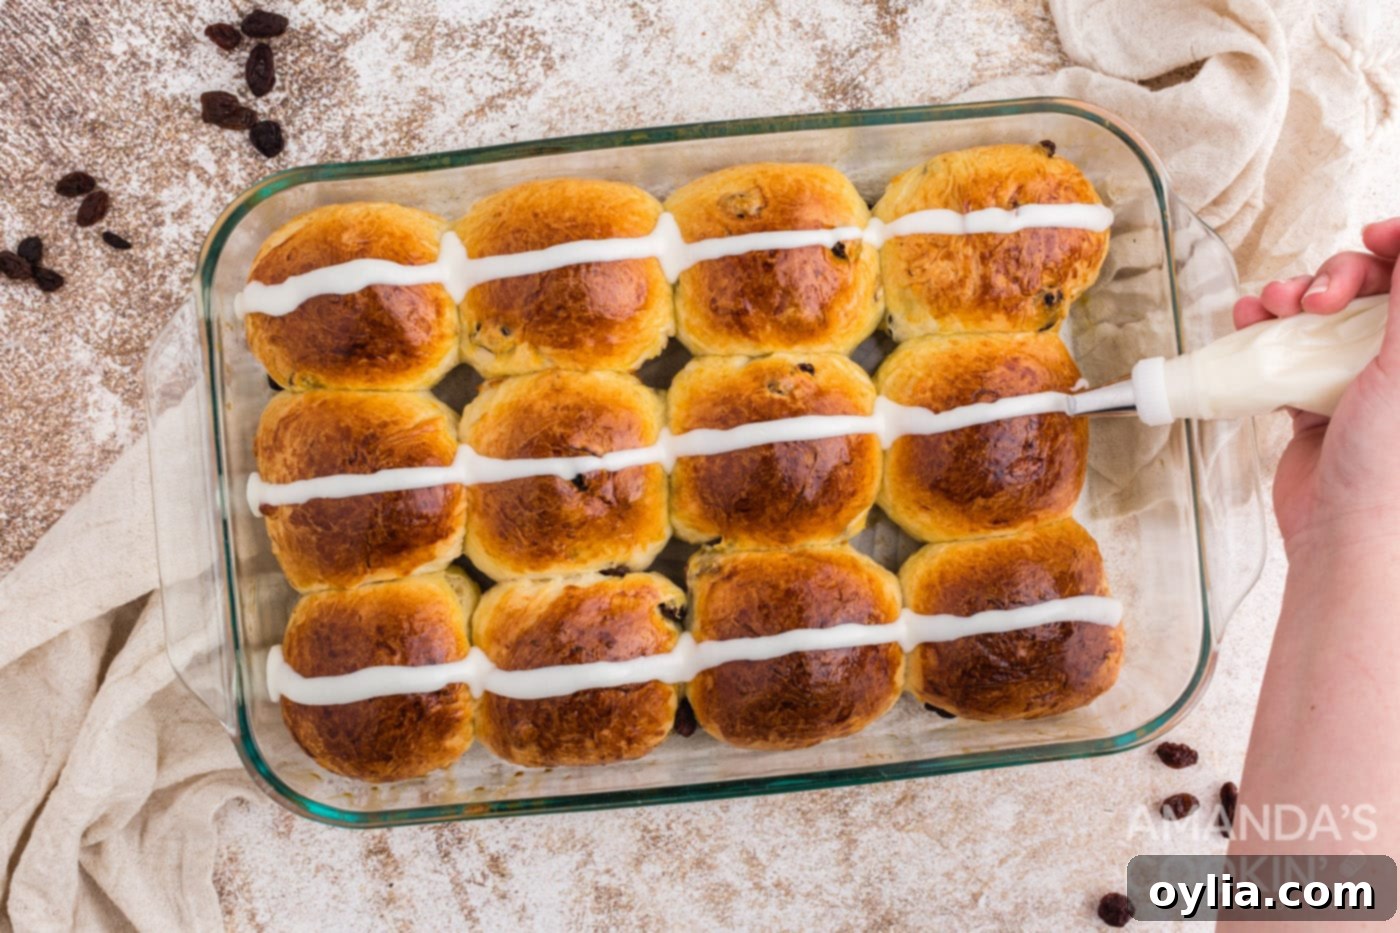
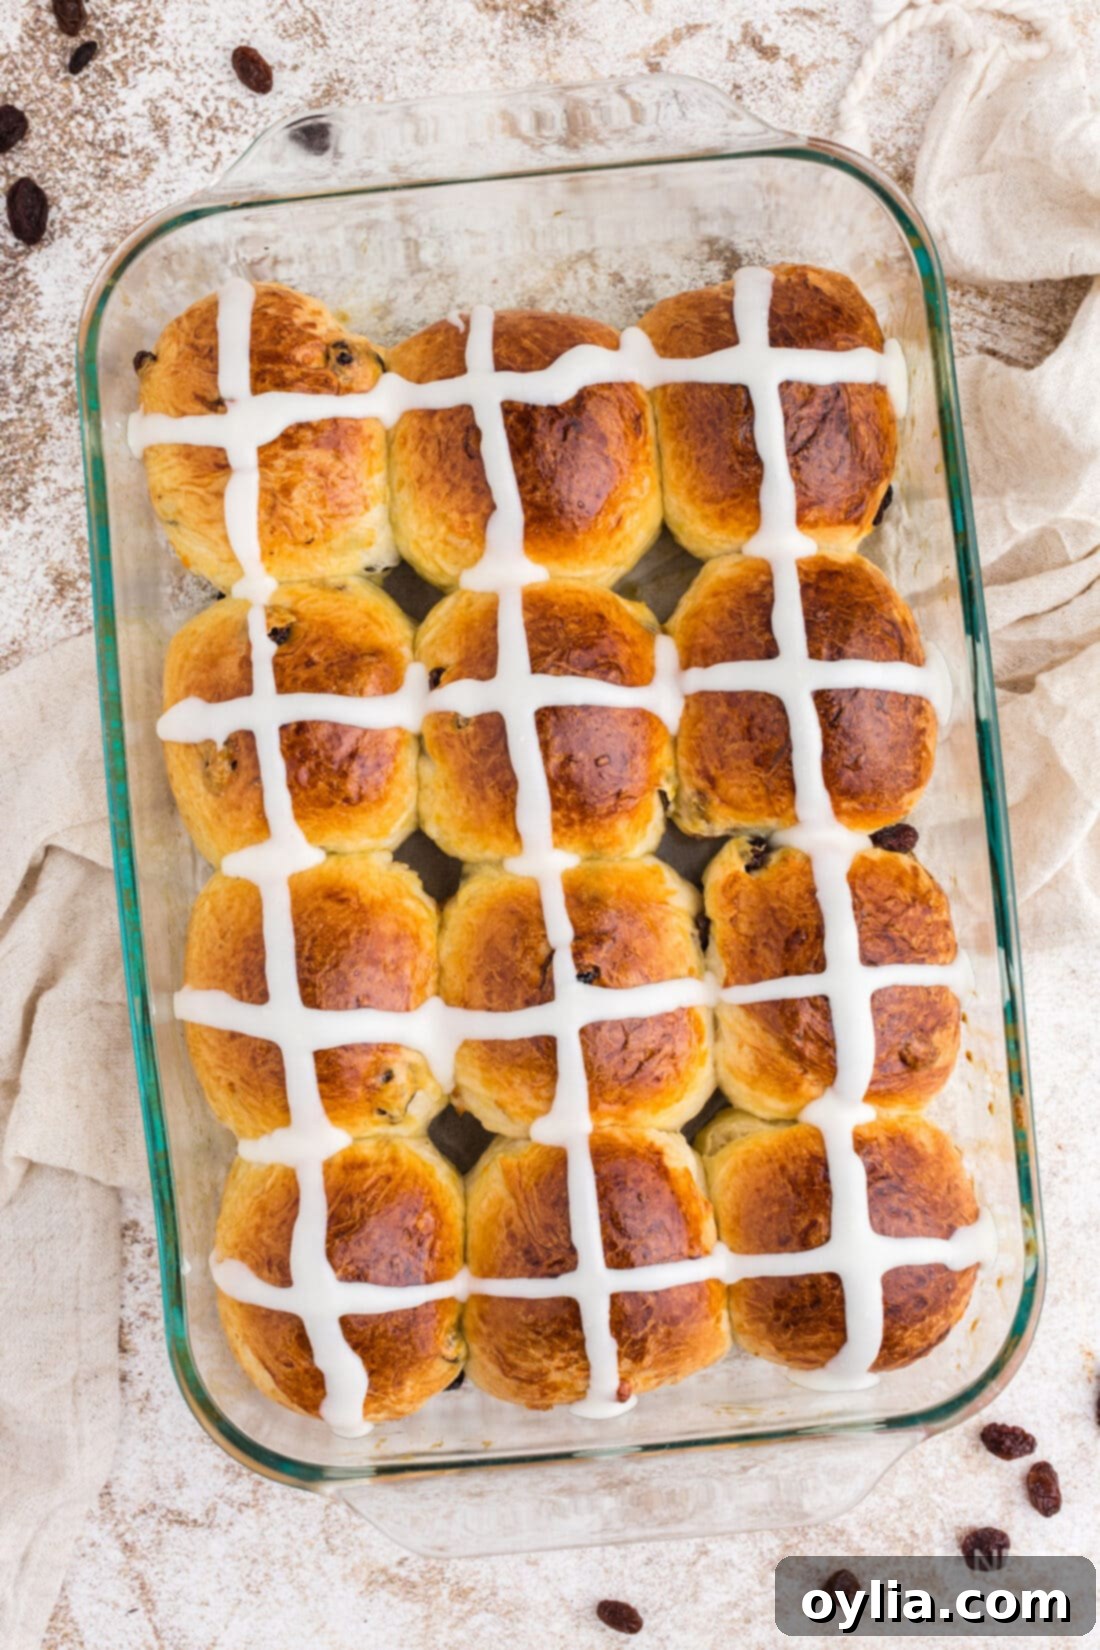
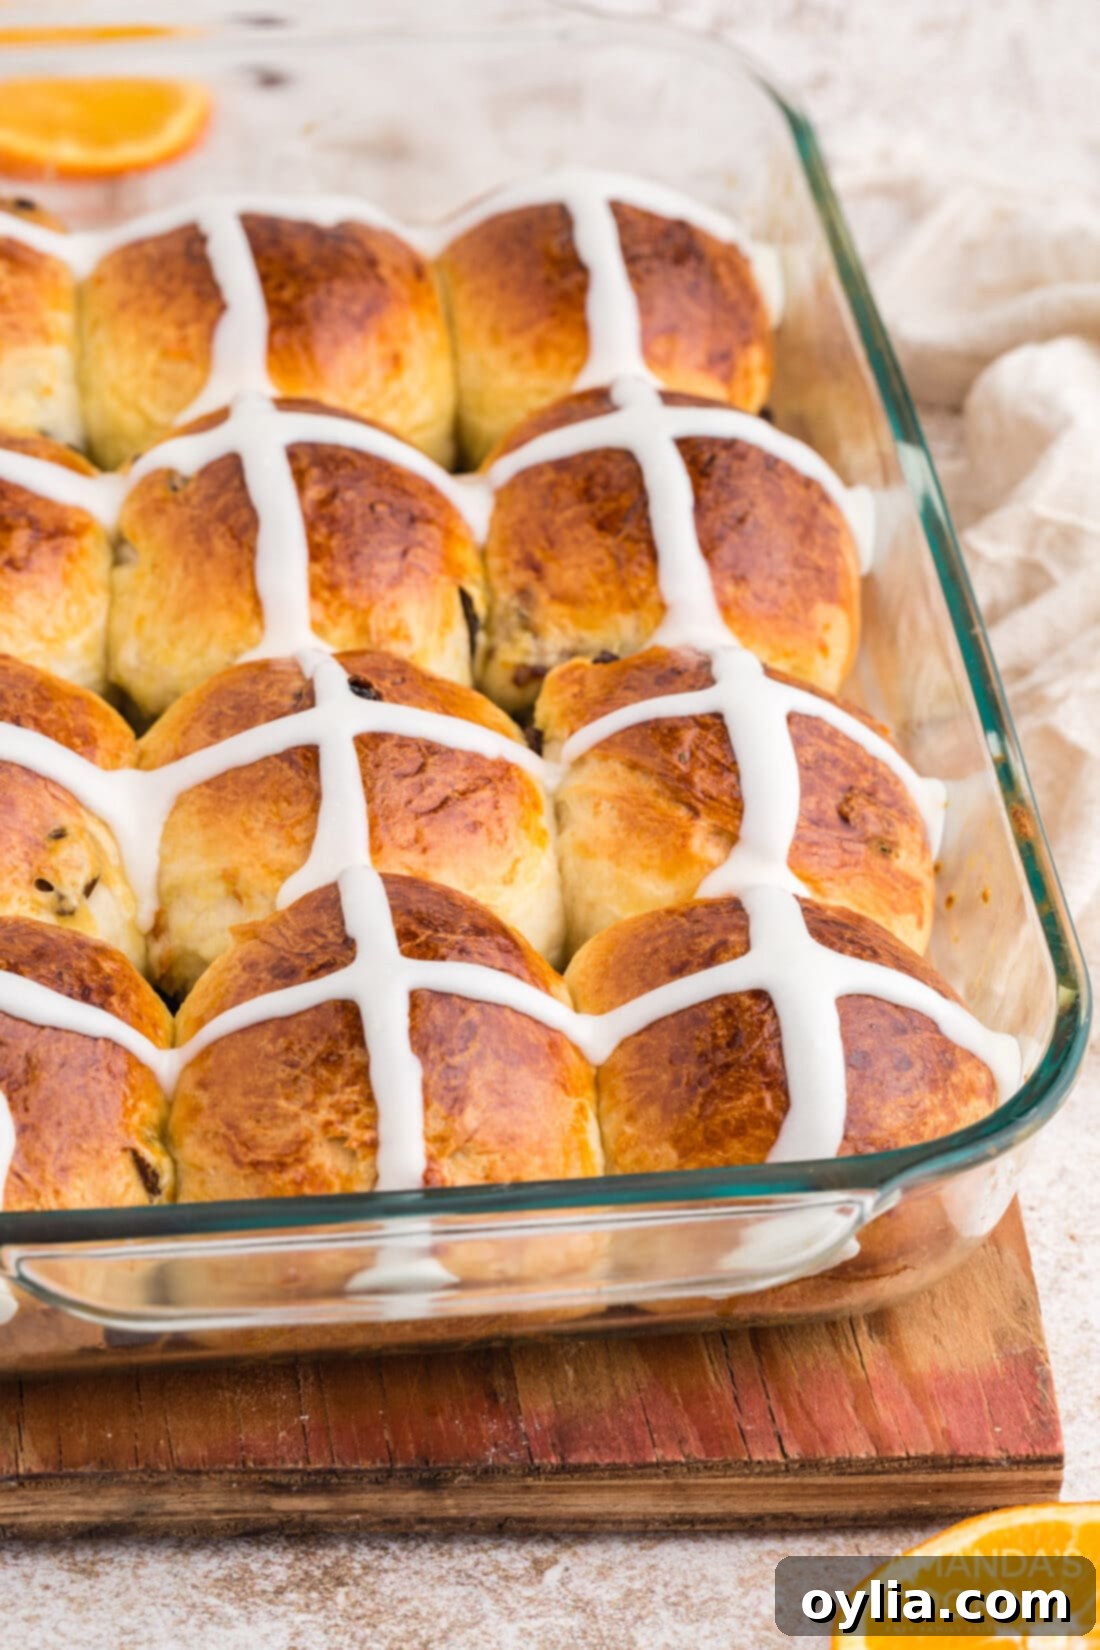
- Create the Iconic Cross: Once the buns are out of the oven, let them cool slightly in the baking dish on a wire rack for about 10-15 minutes. They should still be warm, but not piping hot. Transfer the prepared icing to a piping bag fitted with a small round tip, or simply use a ziplock bag with a tiny corner snipped off. Gently squeeze the icing to create distinct horizontal lines across the rows of buns, then repeat with vertical lines to form the signature crosses on top of each bun. Allowing the buns to be warm helps the icing set into a beautiful, delicate glaze rather than a hard, brittle coating.

Expert Tips for Baking Fluffy Hot Cross Buns Every Time
Achieving bakery-quality hot cross buns at home is easier than you think with these helpful tips:
- Check Your Yeast: Always ensure your yeast is fresh and active. Inactive yeast is the most common reason for doughs not rising. If in doubt, proof it as described in the instructions.
- Control Liquid Temperature: The milk and butter mixture should be warm (105-115°F or 40-46°C), not hot. Liquids that are too hot will kill the yeast, while liquids that are too cold won’t activate it effectively. Use a kitchen thermometer for accuracy.
- Don’t Over-Flour: Resist the urge to add too much flour during mixing and kneading. A slightly sticky dough that pulls away from the sides of the bowl is ideal for soft, tender buns. Too much flour will result in dense, dry, and tough buns. Adjust flour gradually based on dough consistency.
- Create a Warm Environment for Rising: Yeast thrives in warmth. If your kitchen is cool, you can create an ideal proofing spot by turning your oven on to its lowest setting for a few minutes, then turning it off and letting the dough rise inside with the oven light on.
- Knead Thoroughly: Proper kneading develops the gluten, which is essential for the structure and soft, airy texture of the buns. Don’t cut this step short, as under-kneaded dough will produce heavy buns.
- Incorporate Fruits Gently: Add dried fruits after the first rise and knead them in just enough to distribute them evenly. Over-kneading with fruits can tear the delicate gluten strands.
- Icing Consistency is Key: For a perfect, pipeable cross, the icing should be thick enough to hold its shape but fluid enough to flow smoothly. Adjust with tiny amounts of milk or powdered sugar as needed.
- Ice When Warm, Not Hot: Piping the icing onto warm (but not fresh-from-the-oven hot) buns allows it to set nicely into a light glaze without completely melting or running off the buns.
Storage and Reheating Hot Cross Buns
Hot cross buns are undoubtedly best enjoyed fresh from the oven, but they store remarkably well for a few days and can even be frozen for longer enjoyment, allowing you to savor them beyond the Easter season.
- Room Temperature: Once completely cooled, store your homemade hot cross buns in an airtight container at room temperature for up to 2-3 days. This helps maintain their softness and prevents them from drying out.
- Refrigerator: For slightly extended freshness, you can keep them in an airtight container in the refrigerator for up to 5 days. Be aware that refrigeration can sometimes alter the texture of baked goods, making them a little firmer.
- Freezing (Baked Buns): To freeze baked buns, allow them to cool completely. For best results, wrap each bun individually in plastic wrap, then place them in a freezer-safe bag or an airtight container. They can be frozen for up to 3 months. When ready to enjoy, thaw them at room temperature or gently reheat.
- Freezing (Unbaked Dough): You can also prepare the dough ahead of time and freeze the shaped dough balls after their second rise (before the egg wash). Arrange them on a baking sheet and freeze until solid, then transfer to a freezer bag. To bake, thaw them overnight in the refrigerator, then let them come to room temperature and finish rising for about 1-2 hours before proceeding with the egg wash and baking as usual.
- Reheating: To bring stored buns back to their warm, soft glory, you can reheat them in a microwave for 15-30 seconds (be careful not to over-microwave, or they can become tough). Alternatively, warm them in a preheated oven at 300°F (150°C) for 5-10 minutes until they are warmed through and fragrant.
Serving Suggestions and Delicious Variations
While truly delicious on their own, hot cross buns can be enjoyed in many delightful ways, and their recipe can be easily adapted to suit your personal taste preferences or dietary needs.
Serving Suggestions:
- Classic Warm with Butter: The most traditional and arguably the best way to enjoy them! A generous smear of softened butter enhances their rich flavor and tender texture.
- With Your Morning Coffee or Tea: Perfect for a leisurely breakfast, a comforting snack, or an afternoon treat, these buns pair wonderfully with your favorite hot beverage.
- Alongside Holiday Brunch or Dinner: Their subtle sweetness complements savory dishes beautifully, making them a superb addition to your Easter brunch spread or even alongside roasted ham or lamb for dinner.
- Jam or Marmalade: Elevate the flavor by spreading your favorite fruit preserves, such as apricot jam or orange marmalade, for an extra layer of sweetness and fruitiness.
- French Toast Style: For a truly decadent breakfast, slice day-old hot cross buns in half and use them to make a rich, spiced French toast.
Variations to Customize Your Buns:
- Spiced Hot Cross Buns: For a more traditional and deeply aromatic flavor profile, add a blend of warm spices to your dry ingredients. Incorporate 1-2 teaspoons of ground cinnamon, ½ teaspoon of ground nutmeg, ¼ teaspoon of ground cloves, and a pinch of allspice. Cardamom is also a wonderful addition.
- Different Dried Fruits: Experiment with other dried fruits beyond raisins and orange peels. Chopped dried cranberries offer a tart counterpoint, while dried apricots or figs provide a different texture and sweetness. You could even use a mix of “fruit mince” for a British-inspired touch.
- Citrus Zest: For an extra burst of fresh citrus flavor, add the finely grated zest of one lemon or orange to the dough along with the dried fruits. This brightens the overall flavor profile beautifully.
- Chocolate Chip Hot Cross Buns: For a modern twist that kids and adults alike will adore, fold in ½ to ¾ cup of mini chocolate chips instead of, or in addition to, some of the dried fruits. Dark chocolate chips create a particularly rich flavor.
- Honey Glaze (instead of icing): For a simpler, slightly less sweet, and naturally glossy finish, brush the warm buns with a light honey-butter glaze (made by melting a tablespoon of butter with a tablespoon of honey) instead of the powdered sugar icing.
Frequently Asked Questions About Hot Cross Buns
Yes, absolutely! Instant yeast (also known as rapid-rise or quick-rise yeast) can be used as a direct substitute for active dry yeast in this recipe, typically in the same quantities. The main difference is that instant yeast doesn’t require prior proofing in warm liquid; you can simply mix it directly with your dry ingredients. You might also notice that dough made with instant yeast tends to rise a bit faster, so keep an eye on your dough during the rising stages, as they may take less time to double in size.
This recipe is quite flexible when it comes to dried fruits, allowing for delicious customization. Instead of raisins, you can use other small dried fruits like currants (which are very traditional in some hot cross bun recipes), dried cranberries, chopped dried plums (prunes), or dried cherries. For the candied orange peels, you can substitute with candied lemon peel, candied lime peel, or a pre-made mixed candied citrus peel blend often found in baking aisles. You could also experiment with chopped dried apricots or figs for a different flavor profile. Just ensure any larger dried fruits are chopped into small, even pieces for optimal distribution and texture within the buns.
Yes, bread flour is an excellent substitute for all-purpose flour in this recipe and will likely yield a slightly chewier bun with a bit more structure, thanks to its higher protein content. Simply swap it out using the same measurements as you would for all-purpose flour. You may find you need a tiny bit more liquid or slightly less flour, as bread flour can absorb more liquid than all-purpose flour; always observe your dough’s consistency and adjust as needed to achieve a soft, pliable dough.
There are a few common reasons for dough not rising effectively. The most frequent culprits include using expired or inactive yeast (always check the expiration date and proof if unsure!), liquids (milk and butter) that are too hot (which can kill the yeast organisms) or too cold (which inhibits yeast activation), or a cold or excessively drafty environment for the dough to rise in. Ensure your yeast is fresh, your milk/butter mixture is between 105-115°F (40-46°C), and your dough is in a cozy, draft-free spot for both of its rises.
Absolutely! Hot cross buns are a fantastic make-ahead treat, especially for busy holiday mornings. Here are a few options:
- Overnight Rise: After shaping the buns and placing them in the baking dish for their second rise (step 11), cover them tightly with plastic wrap and refrigerate overnight (for up to 12-18 hours). The next morning, take them out of the fridge and let them come to room temperature and finish rising for about 1-2 hours before proceeding with the egg wash and baking.
- Freezing Dough: As mentioned in the storage section, you can freeze shaped, unbaked dough balls. Arrange them on a baking sheet and freeze until solid, then transfer to a freezer bag. Thaw overnight in the refrigerator, then let them come to room temperature and rise again before baking.
- Freezing Baked Buns: Baked and cooled buns can be wrapped individually and frozen for up to 3 months. Thaw at room temperature and reheat gently before serving for best results.
While a stand mixer with a dough hook makes the kneading process significantly easier and quicker, it’s certainly not essential! You can absolutely make these hot cross buns by hand. The kneading process will take a bit longer (around 15-20 minutes of vigorous kneading) and require more arm strength, but the result will be just as delicious. Just ensure you knead until the dough is smooth, elastic, and passes the windowpane test to ensure proper gluten development.
These homemade hot cross buns are an absolute delight, extra delicious when served warm with a generous smear of butter! They are more than just a sweet treat; they’re a lovely, comforting, and deeply traditional Easter bread that will undoubtedly become a cherished part of your holiday table for years to come. We hope you enjoy baking and sharing them as much as we do!
More Delightful Easter Recipes to Explore
Looking for more festive inspiration to complete your Easter celebration? Here are some of our other favorite recipes that are perfect for the holiday, from charming treats to classic staples:
- Easter Bunny Pull Apart Bread
- Adorable Bunny Butt Cupcakes
- Classic Deviled Eggs
- Charming Bird Nest Cookies
- Decadent Carrot Cake Trifle
I love to bake and cook and share my kitchen experience with all of you! Remembering to come back each day can be tough, that’s why I offer a convenient newsletter every time a new recipe posts. Simply subscribe and start receiving your free daily recipes!

Hot Cross Buns
IMPORTANT – There are often Frequently Asked Questions within the blog post that you may find helpful. Simply scroll back up to read them!
Print It
Pin It
Rate It
Save It
Saved!
Ingredients
- ½ cup granulated sugar
- ½ tsp salt
- 3 ½ Tbsp active dry yeast
- 4 ½ cup all-purpose flour divided
- 1 cup milk
- ½ cup unsalted butter
- 1 egg
Additions
- ½ cup dark seedless raisins
- ⅓ cup candied orange peels chopped
- (Optional) 1-2 tsp ground cinnamon, and a pinch of nutmeg/cloves for spiced buns
For the Egg Wash & Icing
- 1 egg yolk for egg wash
