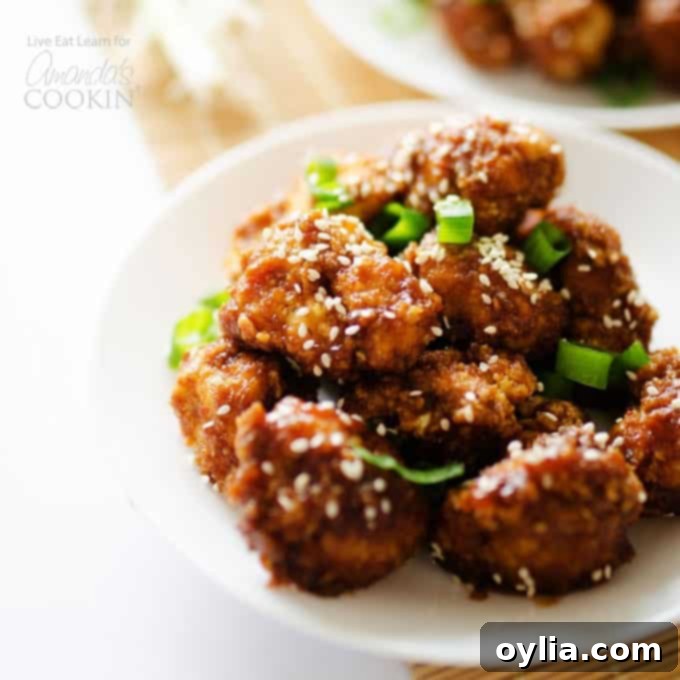
Sticky Garlic Cauliflower: Your Healthy, Crispy, and Flavorful Chinese Takeout Favorite at Home
Do you ever find yourself craving the irresistible flavors of Chinese takeout but wish there was a healthier, plant-based option? Look no further! This incredible Sticky Garlic Cauliflower recipe delivers all the amazing taste and texture of your favorite sticky garlic chicken dishes, but it’s made entirely from vegetables. It’s the perfect solution for a weeknight meal that’s both satisfying and surprisingly light, allowing you to enjoy those beloved Asian-inspired flavors guilt-free.
If you’re already a fan of creative cauliflower recipes, you might also love our General Tso’s Cauliflower, which offers another fantastic way to enjoy this versatile veggie in a classic Chinese style. But today, we’re diving into the sweet, savory, and slightly spicy world of sticky garlic goodness!
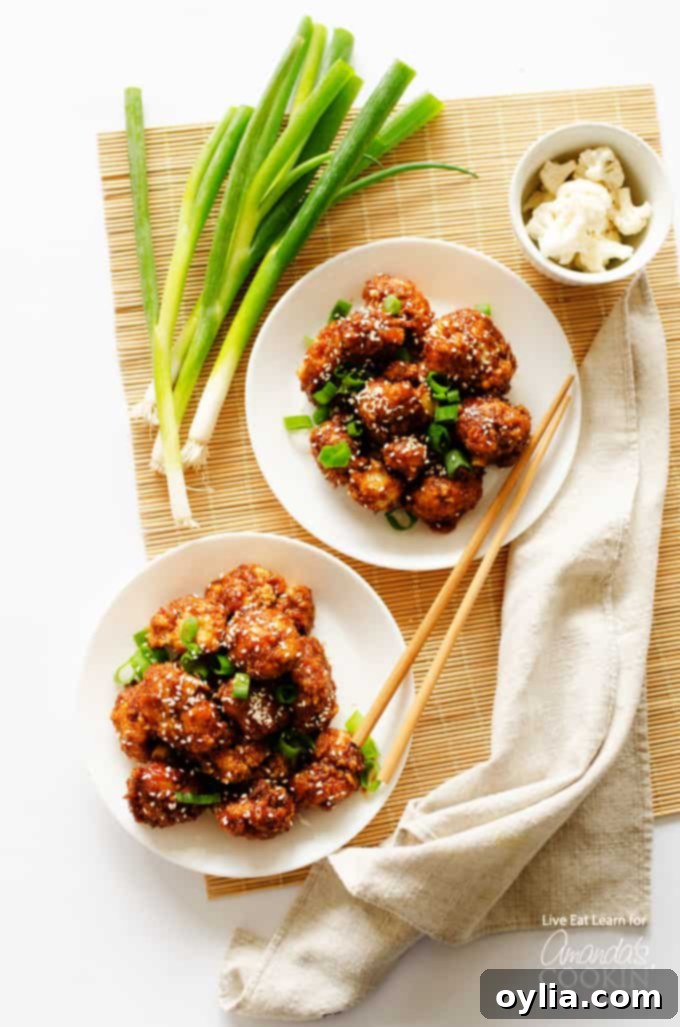
Discover the Magic of Sticky Garlic Cauliflower
As a food blogger, I’m constantly experimenting with various cooking methods. However, there’s one technique I genuinely dislike: deep-frying. It’s not because it’s inherently unhealthy, but simply because I’m a bit of a kitchen klutz and find frying to be a rather intimidating, messy, and sometimes dangerous endeavor. Yet, this aversion often leads to exciting culinary innovations, pushing me to create healthier and equally delicious alternatives. This Asian-style cauliflower recipe is a perfect example.
The secret to achieving perfectly crispy cauliflower without any frying? A simple, quick dredge in panko breadcrumbs before baking! Panko creates an unbelievably light and crunchy coating that rivals anything you’d get from a deep fryer, but without the added oil, fuss, or guilt.
Why Cauliflower is the Ultimate Plant-Based Star
Cauliflower has gained immense popularity in recent years, and for good reason. Its mild flavor makes it a fantastic canvas for absorbing bold sauces, while its florets provide a satisfyingly meaty texture when cooked correctly. It’s also incredibly nutritious, packed with vitamins C and K, and a good source of fiber. When coated and baked, cauliflower transforms from a humble vegetable into a truly craveable, crispy bite that perfectly mimics the experience of eating saucy chicken pieces.
The Simple Steps to Perfect Sticky Garlic Cauliflower
Making this Sticky Garlic Cauliflower is surprisingly easy and comes together quicker than you might expect. You’ll start by preparing your cauliflower: chopping it into bite-sized florets. These florets then go through a three-step breading process: first a light coating of flour, then a dip in whisked egg, and finally, a generous roll in panko breadcrumbs seasoned with salt and pepper. This layering ensures maximum crispiness and flavor adhesion.
Once breaded, the cauliflower is baked until it’s beautifully tender on the inside and irresistibly crispy on the outside. While the cauliflower bakes, you’ll whip up the star of the show: the sticky garlic sauce. This involves heating a blend of delicious ingredients until they simmer down into a thick, glossy, and incredibly flavorful glaze. The final step is simply tossing the baked cauliflower with the warm, sticky sauce to ensure every floret is perfectly coated. Serve immediately and prepare for a taste sensation!
Essential Ingredients for Sticky Garlic Cauliflower
To recreate this delicious Chinese takeout experience at home, you’ll need a handful of accessible ingredients. The beauty of this recipe lies in how a few key components come together to create such a profound flavor profile. Here’s a detailed look:
- ½ head of cauliflower: The star of our dish, providing a neutral base and satisfying texture.
- ½ cup flour: Helps create a dry surface for the egg and panko to adhere to.
- 2 large eggs: The binding agent for our crispy panko coating.
- 1 cup panko breadcrumbs: Crucial for that extra crispy, airy texture that mimics fried dishes without the oil. Seasoned with ¼ tsp each salt and pepper for a flavorful crust.
- ½ cup soy sauce: Provides the fundamental savory, umami flavor characteristic of Asian cuisine. Choose low-sodium if preferred.
- ½ cup hoisin sauce: A thick, fragrant sauce that adds sweet, tangy, and savory notes, giving the sauce its depth and color.
- 2 Tbsp honey: The secret to the “sticky” factor and a touch of natural sweetness to balance the savory elements.
- 4 cloves garlic, minced: Essential for the pungent, aromatic “garlic” kick in our sauce. Don’t skimp on fresh garlic!
- 1 Tbsp fresh grated ginger: Adds a zesty, warm, and slightly spicy note that brightens the entire dish.
- 1 Tbsp sriracha: For a delightful kick of heat. Adjust to your preferred spice level!
- To serve: Fresh green onions (chopped for freshness and color) and sesame seeds (toasted for nutty flavor and visual appeal).
Useful Kitchen Products for Your Culinary Adventure
Having the right tools can make your cooking experience even more enjoyable and efficient. Here are a few items you might find helpful when preparing your Sticky Garlic Cauliflower:
- Dredging bowls: These make the breading process much cleaner and organized.
- Baking sheet: Essential for baking the cauliflower to crispy perfection in a single layer.
- Chef’s knife: A sharp knife is key for safely and efficiently cutting your cauliflower florets.
- Chopsticks: Perfect for serving and enjoying your homemade Chinese-inspired dish!
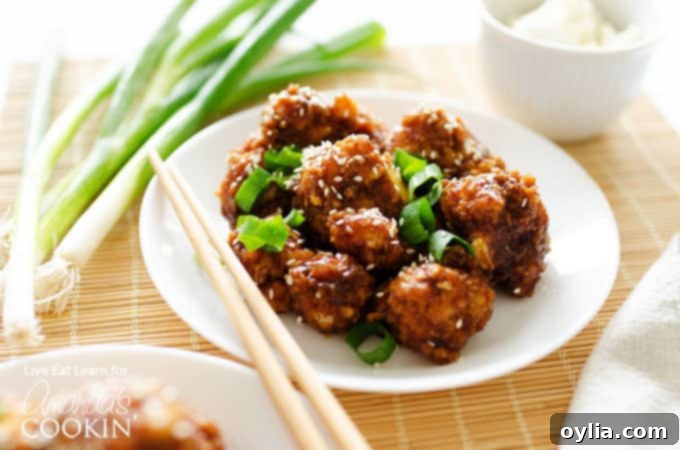
Tips for Success and Delicious Variations
To ensure your Sticky Garlic Cauliflower turns out perfectly every time, here are a few expert tips:
- Don’t Overcrowd the Pan: When baking the cauliflower, make sure to arrange the florets in a single layer with a little space between them. This allows for proper air circulation, ensuring they get truly crispy instead of steaming. Use two baking sheets if necessary.
- Pat Cauliflower Dry: Before dredging, make sure your cauliflower florets are as dry as possible. Excess moisture can make the breading soggy.
- Adjust Spice to Taste: The sriracha adds a pleasant heat. If you prefer it milder, reduce the amount, or omit it entirely. For more heat, feel free to add a bit more or even a pinch of red pepper flakes.
- Serving Suggestions: This dish is fantastic served over steamed jasmine rice, brown rice, or even quinoa for a complete meal. Add a side of steamed broccoli or snap peas for extra veggies and a pop of color. Don’t forget to garnish with fresh green onions and sesame seeds for that authentic takeout feel!
- Make it Gluten-Free: To adapt this recipe for a gluten-free diet, use a gluten-free all-purpose flour blend and ensure your panko breadcrumbs are certified gluten-free. Most soy sauces contain wheat, so opt for tamari (gluten-free soy sauce) instead.
- Add Other Vegetables: Feel free to toss in some bell pepper strips or broccoli florets along with the cauliflower during the last few minutes of baking, then coat with the sauce.
Storage and Reheating
Leftovers of this Sticky Garlic Cauliflower are still incredibly delicious, though the crispiness might slightly soften. Store any remaining cauliflower in an airtight container in the refrigerator for up to 3-4 days. To reheat and bring back some of its crisp texture, spread the cauliflower on a baking sheet and reheat in a preheated oven at 350°F (175°C) for about 10-15 minutes, or in an air fryer for 5-7 minutes, until heated through and slightly re-crisped.
Why Choose Homemade Sticky Garlic Cauliflower?
Beyond the simple fact that it’s healthier, making your own Sticky Garlic Cauliflower gives you complete control over the ingredients. You can adjust the sodium, sugar, and spice levels to your preference, ensuring a dish that perfectly suits your taste and dietary needs. Plus, the satisfaction of creating such a flavorful and impressive meal from scratch is unparalleled.
In the time it would take for you to browse a menu, place a delivery order, and wait for it to arrive, this delicious plate of Sticky Garlic Cauliflower could be warm, fresh, and ready on your table. It’s a game-changer for anyone looking for a quick, healthy, and incredibly tasty meal!
Don’t miss out on more deliciously healthy recipes like these Chickpea Gyro Lunch Boxes, this Mix and Match Healthy Meal Prep, or this Fall Quinoa Salad!
More Delightful Cauliflower Recipes You’ll Love
Cauliflower is truly a culinary chameleon, capable of transforming into countless delicious dishes. If you’re eager to explore more ways to enjoy this incredible vegetable, here are some other fantastic cauliflower recipes that will inspire your cooking:
- Cauliflower Risotto
- Cauliflower Casserole
- Cauliflower Pizza Bites
- Mexican Cauliflower Rice
- General Tso’s Cauliflower
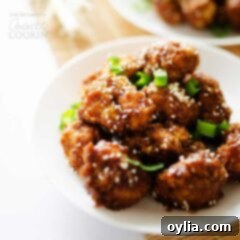
Sticky Garlic Cauliflower
IMPORTANT – There are often Frequently Asked Questions within the blog post that you may find helpful. Simply scroll back up to read them!
Print It
Rate It
Save ItSaved!
Ingredients
Cauliflower
- ½ head of cauliflower
- ½ cup flour
- 2 large eggs
- 1 cup panko breadcrumbs
- ¼ tsp each salt and pepper
Sauce
- ½ cup soy sauce
- ½ cup hoisin sauce
- 2 Tbsp honey
- 4 cloves garlic minced
- 1 Tbsp fresh grated ginger
- 1 Tbsp sriracha
Garnish:
- 1 tablespoon green onions
- 1 tsp sesame seeds
Instructions
-
Preheat oven to 400 degrees F. Arrange workspace, placing flour, egg, and panko in separate bowls. Mix salt and pepper into panko.
-
Cut cauliflower into bite-sized florets. Working in batches, coat the florets in flour, then egg, then breadcrumbs. Set on a parchment paper-lined baking sheet. Bake for 15 to 20 minutes, or until crispy.
-
Set a small saucepan over medium heat and add all “Sauce” ingredients. Whisk to combine and bring to a simmer and cook for about 5 minutes, until it begins to thicken.
-
Drizzle sauce over the baked cauliflower and gently toss to evenly coat.
Nutrition
The recipes on this blog are tested with a conventional gas oven and gas stovetop. It’s important to note that some ovens, especially as they age, can cook and bake inconsistently. Using an inexpensive oven thermometer can assure you that your oven is truly heating to the proper temperature. If you use a toaster oven or countertop oven, please keep in mind that they may not distribute heat the same as a conventional full sized oven and you may need to adjust your cooking/baking times. In the case of recipes made with a pressure cooker, air fryer, slow cooker, or other appliance, a link to the appliances we use is listed within each respective recipe. For baking recipes where measurements are given by weight, please note that results may not be the same if cups are used instead, and we can’t guarantee success with that method.
