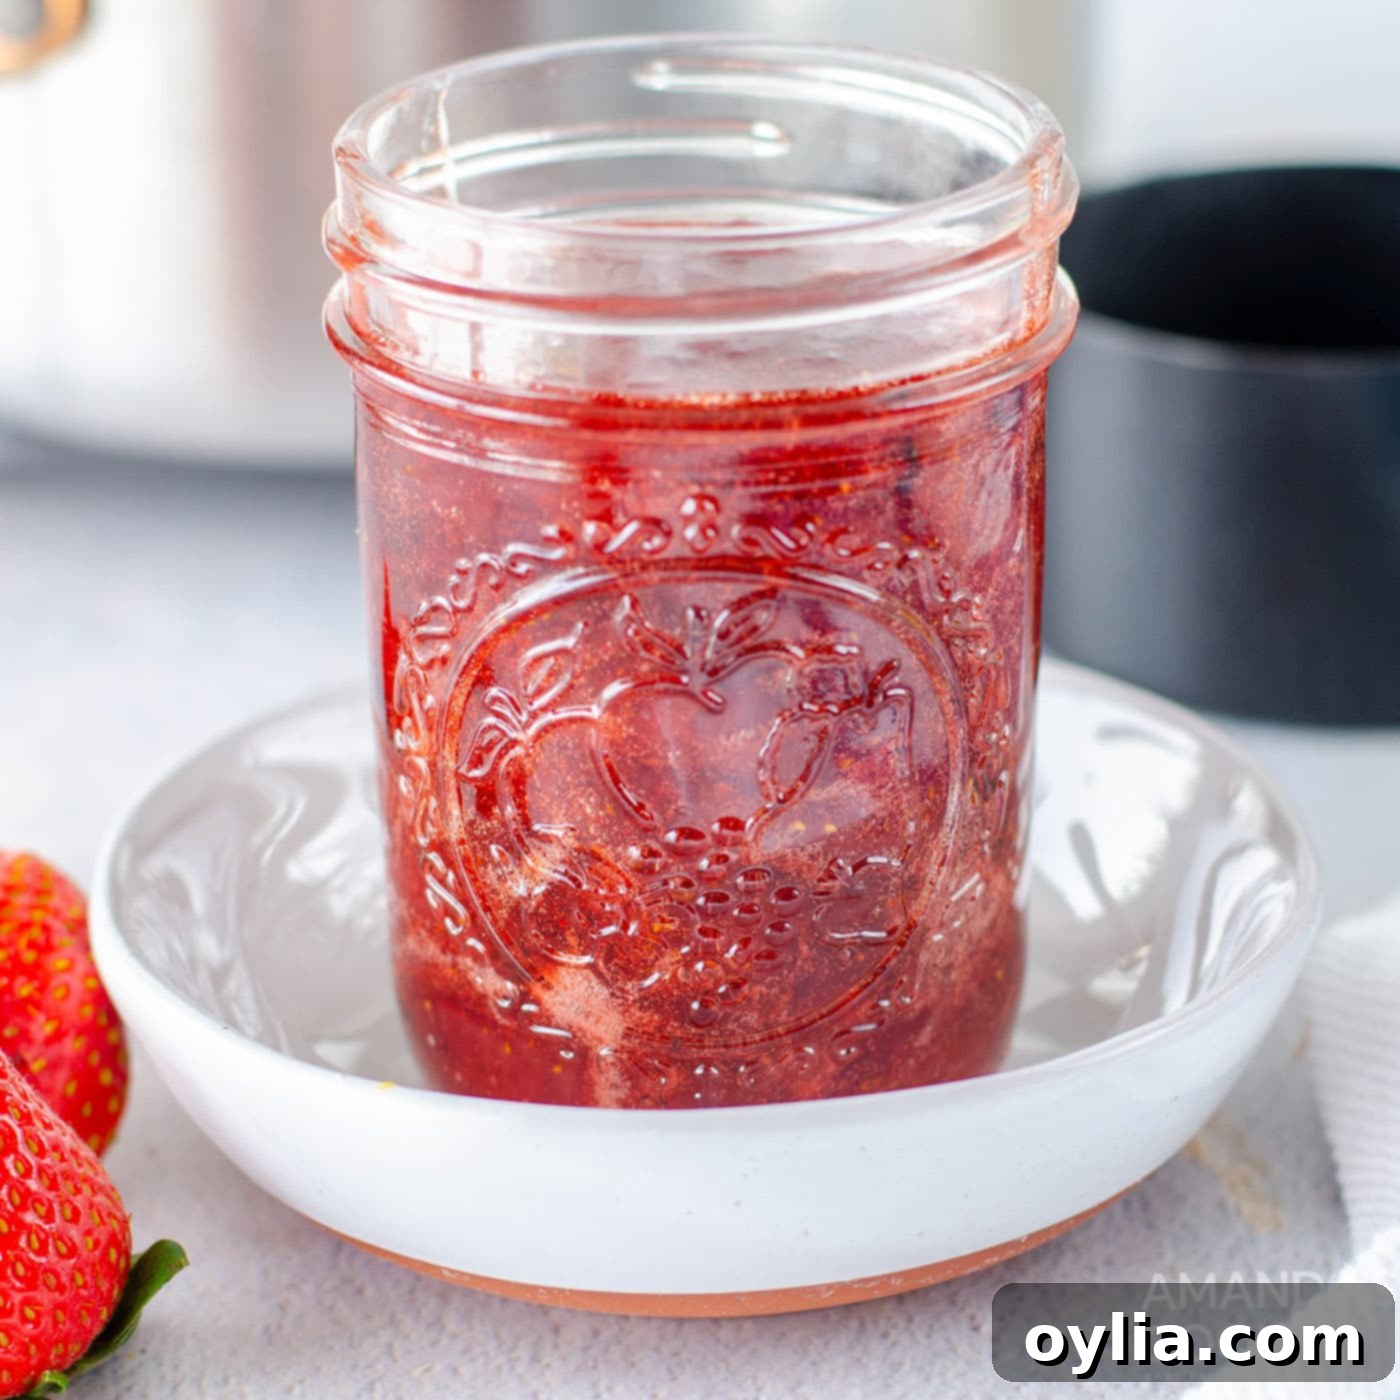
Easy 3-Ingredient Homemade Strawberry Jam: A Pectin-Free Delight
Imagine the sweet, vibrant taste of summer strawberries captured in a jar, ready to brighten your breakfast, elevate your desserts, or simply be enjoyed by the spoonful. This incredibly simple, 3-ingredient homemade strawberry jam makes that dream a reality! Forget complicated canning processes or the need for added pectin. All you require are fresh (or frozen) strawberries, granulated sugar, and a splash of lemon juice to create a naturally set, wonderfully flavorful jam that you can enjoy however and whenever your heart desires.
Making your own jam from scratch is a deeply rewarding experience, filling your kitchen with an irresistible aroma and providing a delicious, wholesome spread free from artificial preservatives and excessive additives. This pectin-free method is perfect for beginners and seasoned jam-makers alike, yielding a beautiful jam with a natural, fruit-forward flavor and a delightfully soft consistency. Get ready to transform a simple bounty of strawberries into a treasured homemade treat!
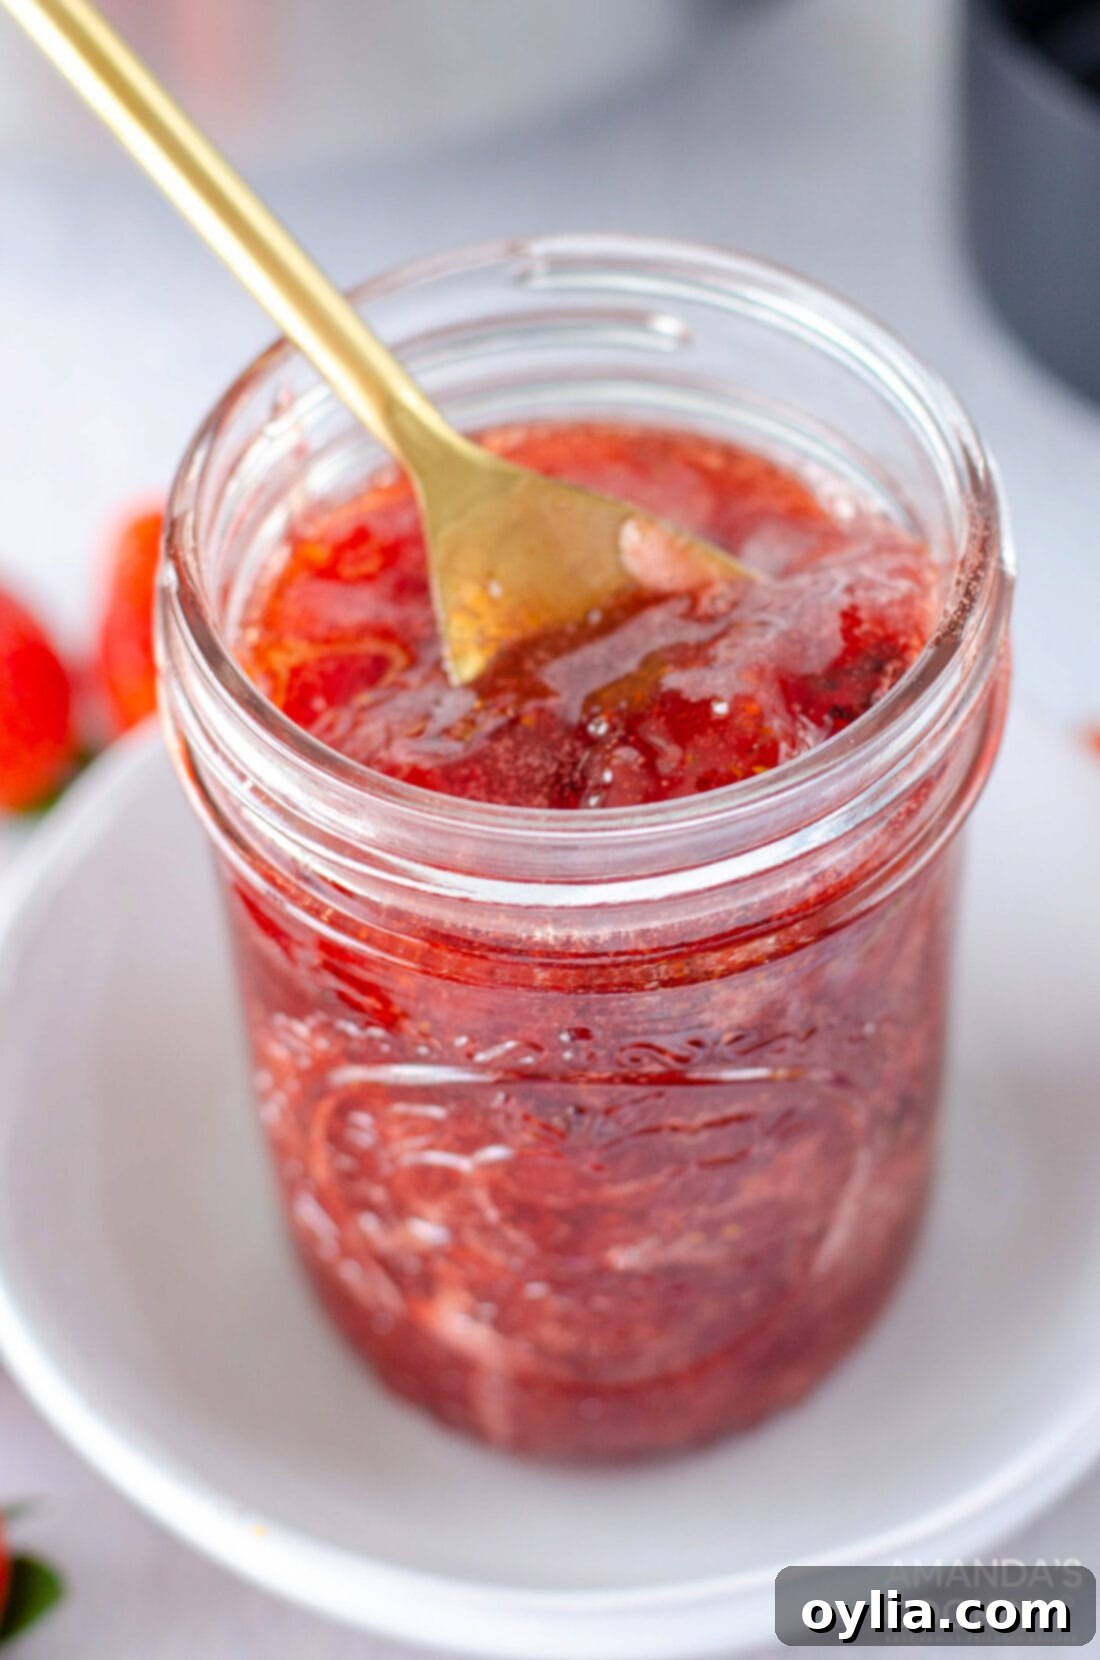
Why You’ll Love This Easy 3-Ingredient Strawberry Jam
This strawberry jam recipe stands out for its incredible simplicity and fantastic results. Whether you’re harvesting a fresh-picked bounty from your garden or a local strawberry field, or simply picked up some beautiful berries from the grocery store, this recipe is designed to help you transform them into a luscious, spreadable homemade preserve. The beauty of this recipe lies in its minimal ingredient list and straightforward cooking method, making it accessible to even the most novice home cooks.
Many traditional jam recipes rely on commercial pectin to achieve a thick, set consistency. While effective, pectin-free jams allow the natural fruit flavor to truly shine through. In this recipe, we harness the natural pectin present in strawberries (especially when combined with a little acid) and the gelling power of sugar. The lemon juice not only brightens the strawberry flavor but also provides the necessary acidity to help the jam set properly, ensuring a perfectly spreadable texture without any synthetic thickeners.
Furthermore, this stove-top method means you don’t need any special canning equipment. It’s a refrigerator jam, which means it’s designed for immediate enjoyment and short-term storage in the fridge, or longer storage in the freezer. This takes away the intimidation often associated with home canning, allowing you to focus purely on the joy of making and tasting your own delicious jam. If you’re eager to explore more berry jam options, our homemade berry jam recipe offers three different variations that are just as quick and satisfying to make.
Essential Ingredients for Your Homemade Strawberry Jam
For precise measurements, a full list of ingredients, and detailed instructions, please refer to the printable recipe card at the conclusion of this post.
With only three core ingredients, this jam truly lets the natural goodness of strawberries shine. Here’s a closer look at what you’ll need and why each component is crucial:
STRAWBERRIES: The Star of the Show
- Fresh Strawberries: For the best flavor and texture, fresh, ripe strawberries are highly recommended. Choose berries that are bright red, firm, and fragrant. Ensure they are thoroughly washed, hulled (stems removed), and diced before cooking.
- Frozen Strawberries: Don’t have fresh? Frozen strawberries work wonderfully too! They are often picked at their peak ripeness and flash-frozen, locking in flavor. If using frozen, there’s no need to thaw them beforehand. Simply add them directly to the saucepan. Keep in mind that frozen berries contain more water, so you may need to increase the cook time slightly to reach the desired consistency and temperature. They might also yield a slightly runnier jam, but it will still be incredibly delicious.
SUGAR: Sweetness and Structure
- Granulated White Sugar: Sugar plays a multifaceted role in jam-making. Beyond providing sweetness, it acts as a preservative, inhibiting microbial growth and extending the jam’s shelf life. Crucially, sugar also interacts with the fruit’s natural pectin and the added lemon juice to help the jam set and achieve its characteristic thick, spreadable consistency. Without adequate sugar, your jam would remain a runny sauce.
LEMON: The Natural Setting Agent and Flavor Enhancer
- Lemon Juice: Freshly squeezed lemon juice is preferred for its vibrant flavor, but bottled lemon juice works just fine. Lemon juice is vital for two main reasons:
- Acidity: It lowers the pH of the jam mixture, which is essential for activating the natural pectin in strawberries and enabling the jam to set properly.
- Flavor: The bright, tart notes of lemon juice perfectly complement and enhance the sweet flavor of the strawberries, preventing the jam from tasting overly sweet and adding a delicious complexity.
- Substitution Note: While lemon juice is highly recommended for both setting and flavor, if absolutely necessary, you could substitute it with 1 cup of water. However, be aware that the jam’s setting might be slightly less reliable, and the overall flavor will not be as bright and balanced.
How to Make Perfect Pectin-Free Strawberry Jam: Step-by-Step
These step-by-step photos and instructions are designed to help you visualize each stage of making this delightful jam. For a printable version of this recipe, complete with precise measurements and comprehensive instructions, you can Jump to Recipe at the bottom of this page.
- Prepare the Strawberries: Begin by thoroughly washing your fresh strawberries under cold running water. Hull them by removing the green caps and stems. Then, dice the strawberries into small, uniform pieces. Aim for about 2 cups of diced strawberries from 1 pound of fresh berries.
- Combine and Start Cooking: In a medium saucepan or a heavy-bottomed pot (which helps prevent burning), add your diced strawberries and the granulated sugar. Mix these two ingredients well with a spoon or spatula until the strawberries are evenly coated with sugar. Place the saucepan over medium-high heat and bring the mixture to a soft boil, stirring occasionally to prevent sticking.
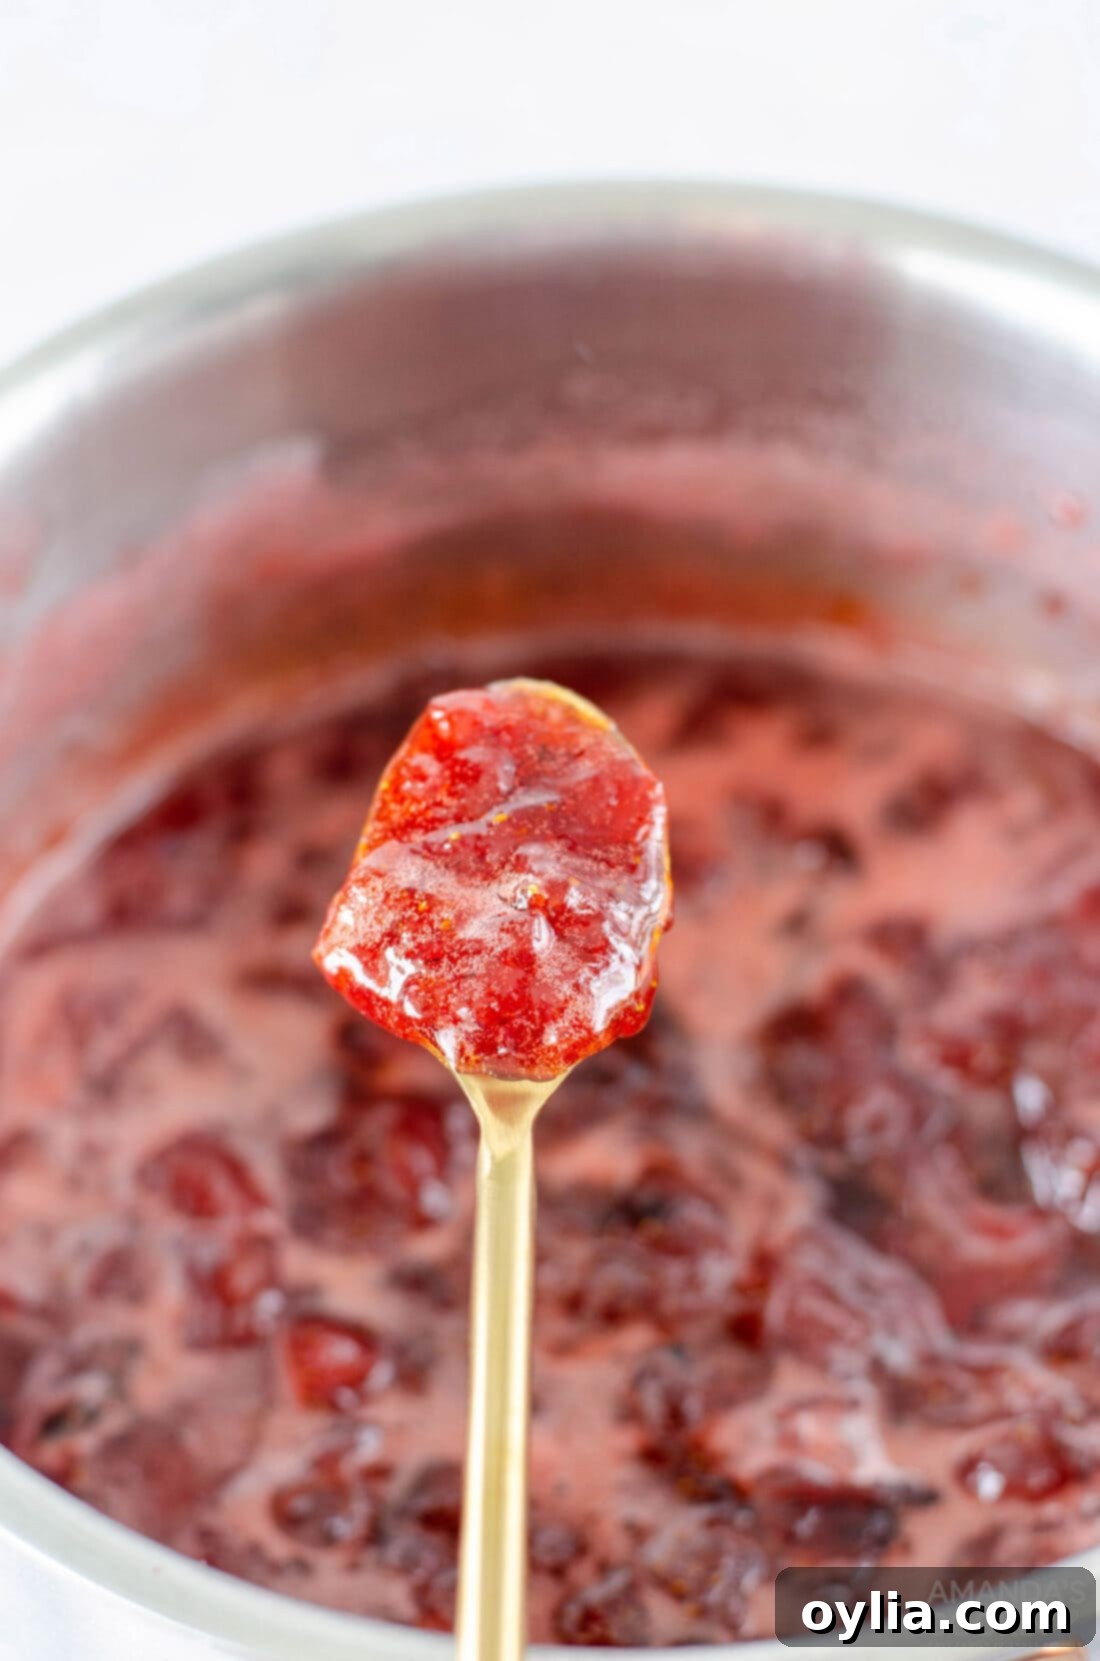
- Add Lemon Juice and Simmer: Once the strawberry and sugar mixture is actively boiling, reduce the heat to a low-medium setting. Now, add the lemon juice. Continue to simmer the jam gently for approximately 30 minutes. During this simmering phase, it’s crucial to stir the jam regularly. This prevents the strawberries from sticking to the bottom of the pan and burning, ensuring an even cook. The jam is done when it thickens enough to coat the back of a spoon, and more importantly, when it reaches a temperature of 220°F (104°C) on an instant-read thermometer.
- Cool Down: Once the jam has reached the target temperature, carefully remove the saucepan from the heat. Allow the jam to cool completely at room temperature before transferring it to jars. As it cools, the jam will continue to thicken significantly.
- Achieve Desired Consistency: After cooling, you have the option to mash your strawberries further if you prefer a smoother jam. For a chunkier preserve with more fruit pieces, you can leave them as they are. Use a potato masher or a fork to gently break down any larger strawberry chunks to your liking.
- Jar and Store: Spoon the cooled jam into a clean pint-sized jar or any airtight container. You can enjoy your fresh homemade strawberry jam immediately! For storage, cover the jar tightly with a lid and place it in the refrigerator.
Tips for the Best Homemade Strawberry Jam
- Don’t Skimp on the Stirring: During the simmering process, consistent stirring is key. This prevents the sugar from caramelizing too quickly and the strawberries from sticking and burning, which can ruin the flavor.
- The Thermometer is Your Best Friend: Reaching 220°F (104°C) is the most reliable way to ensure your jam will set. A sugar thermometer clipped to the side of the pot or an instant-read thermometer used periodically are invaluable tools.
- Patience for Setting: It’s common for jam to appear quite liquidy even after reaching the correct temperature. Don’t worry! Jam needs time to cool and set. It can take anywhere from 12 to 48 hours in the refrigerator for it to fully firm up to the perfect spreadable consistency.
- Adjust Sweetness to Taste: While the recipe calls for a specific amount of sugar, you can slightly adjust it based on the sweetness of your strawberries and your personal preference. Keep in mind that reducing sugar too much might affect the jam’s setting and shelf life.
- Sterilize Your Jars (for longer fridge life): While this is a refrigerator jam, sterilizing your jars (washing them thoroughly and heating them in boiling water or an oven) can help extend its freshness in the fridge.
Frequently Asked Questions About Strawberry Jam
Absolutely! Freezing is an excellent way to extend the life of this jam, especially if you’ve made a double or triple batch. Once your jam has cooled completely, simply transfer it into freezer-safe jars or containers. Make sure to leave about 1/2 to 1 inch of headspace at the top of the jar. This is crucial because jam, like most liquids, expands when frozen, and without enough space, the jar could crack. Properly sealed and frozen, your homemade strawberry jam can last for up to a year, allowing you to enjoy summer flavors all year long!
While it’s technically possible to can jams, this particular recipe is formulated as a refrigerator jam and does not contain added preservatives typically found in shelf-stable canned goods. We have not tested this specific recipe for traditional water-bath canning methods. For long-term preservation beyond a few weeks, we strongly recommend freezing this jam in sealed, freezer-safe jars, as detailed above, to ensure both safety and quality.
This delicious pectin-free strawberry jam will last for up to 2 weeks when stored properly in an airtight container in the refrigerator. If you opt to freeze it, as recommended for longer storage, it will maintain its quality and flavor for up to 1 year in the freezer.
The most accurate indicator that your strawberry jam is perfectly cooked and ready to set is when it reaches a temperature of 220°F (104°C) on an instant-read thermometer. It’s important to use a reliable thermometer, perhaps even a candy thermometer clipped to the side of your pot, to monitor the temperature closely as the jam boils. Don’t be concerned if the jam appears somewhat runny immediately after you remove it from the heat; it requires time—up to 48 hours—to cool completely and fully set in the refrigerator.
Yes, absolutely! Frozen strawberries are a perfectly acceptable substitute for fresh ones, especially when fresh berries are out of season or expensive. There’s no need to thaw them before cooking; you can add them directly to the pot with the sugar. Just be aware that frozen strawberries tend to release more liquid, which might result in a slightly runnier jam or require a slightly longer cooking time to reach the target temperature of 220°F (104°C) and achieve the desired consistency. The flavor will still be wonderfully rich and fruity.
There are a few common reasons why jam might not set properly. The most frequent culprit is not cooking it to the correct temperature (220°F/104°C). Ensure you’re using an accurate thermometer. Another factor could be insufficient lemon juice, as the acid helps activate pectin. Lastly, sometimes patience is key! Jam can take up to 48 hours in the refrigerator to fully set. If after 48 hours it’s still too runny, you can gently reheat it and cook for a bit longer, or embrace it as a delicious strawberry sauce!
While delicious as is, you can easily customize the flavor! Consider adding a teaspoon of vanilla extract at the end of cooking for a warm note. A pinch of ground cardamom or a sprig of fresh basil added during simmering can also introduce unique and delightful aromas. For a touch of spice, a tiny amount of finely grated fresh ginger can be lovely. Always taste and adjust to your preference!
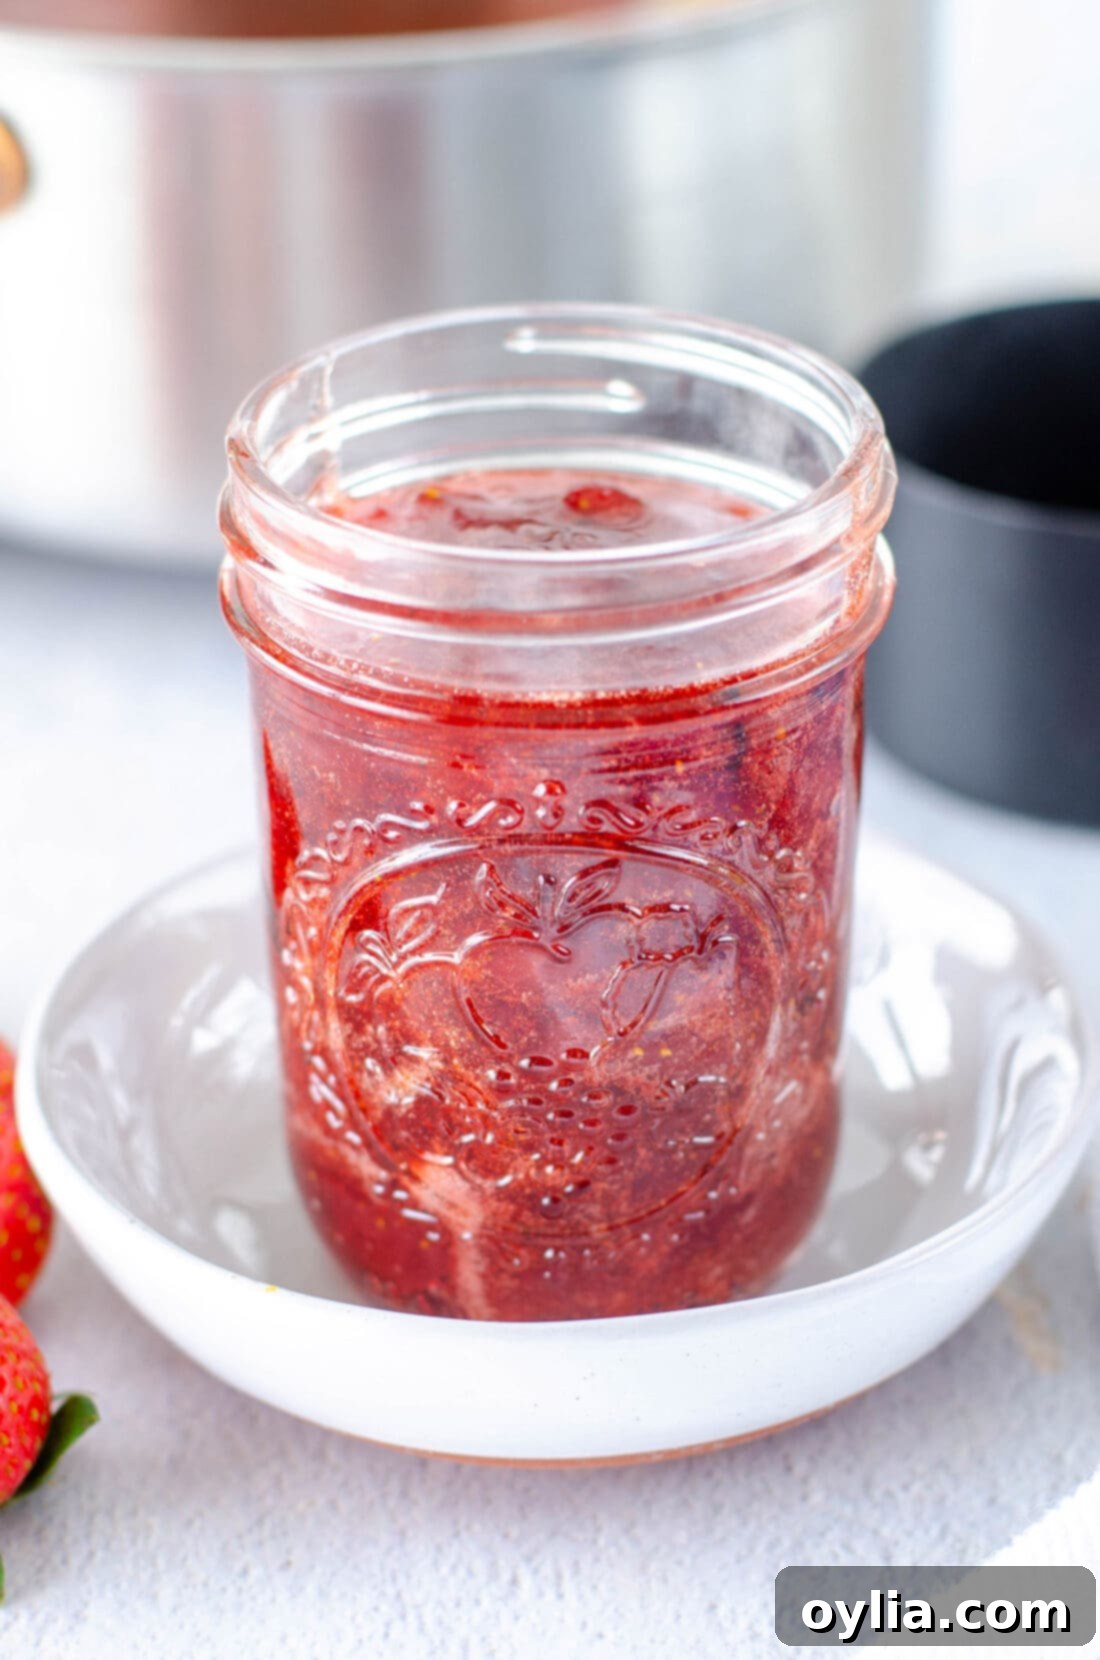
Making your own luscious homemade strawberry jam is an incredibly satisfying endeavor, especially when it’s as effortless as this 3-ingredient, pectin-free recipe. With just a handful of basic ingredients you likely already have in your pantry, you can create a vibrant, flavorful spread that far surpasses anything store-bought. This simple technique is perfect for cooks of all experience levels, allowing even novices to successfully tackle jam-making and revel in the sweet rewards of their kitchen efforts. Enjoy the pure taste of strawberries, preserved perfectly in every spoonful!
More Irresistible Fresh Strawberry Recipes
If you find yourself with an abundance of fresh strawberries or simply can’t get enough of their delightful flavor, here are some other fantastic recipes to try:
- Zesty Strawberry Salsa
- Fluffy Fresh Strawberry Muffins with Vanilla Lemon Glaze
- No-Bake Strawberry Icebox Cake
- Creamy Strawberry Dream Dessert
- Refreshing Strawberry Smoothie
- Classic Strawberry Shortcake
I absolutely adore baking and cooking, and my greatest pleasure is sharing my kitchen adventures and perfected recipes with all of you! Remembering to check back daily for new content can sometimes be a challenge, which is why I offer a convenient newsletter delivered straight to your inbox every time a new recipe is posted. Simply subscribe today and start receiving your free daily recipes, ensuring you never miss a delicious update!
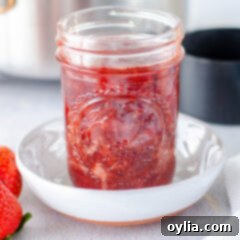
Strawberry Jam
IMPORTANT – There are often Frequently Asked Questions within the blog post that you may find helpful. Simply scroll back up to read them!
Print It
Pin It
Rate It
Save ItSaved!
Ingredients
- 1 cup granulated white sugar
- ¼ cup lemon juice
- 1 lb strawberries 2 cups, diced
Things You’ll Need
-
Saucepan
-
Instant read thermometer
-
Pint size mason jar
Before You Begin
- This recipe will make 1 pint of strawberry jam. You can easily double or triple the recipe.
- You can tell when your jam is done cooking when it reaches 220F on an instant-read thermometer. Don’t be off-put if your jam seems too liquidy as it can take up to 48 hours for it to fully set in the refrigerator. It’s best to clip a sugar thermometer to the side of your pot as the jam boils or to use an instant-read thermometer to test the temperature before taking the mixture off of the heat.
Instructions
-
Wash, hull, and dice your strawberries.
-
In a medium saucepan, add the diced strawberries and sugar. Mix to combine and bring to a soft boil. Once boiling, add your lemon juice.
-
Turn down the heat and simmer for 30 minutes, or until the sauce coats the back of a spoon. Stir regularly so the strawberries don’t burn or stick to the bottom of the pan. Your jam will be done when it reaches 220F on an instant read thermometer.
-
Remove from heat and allow to cool.
-
You can mash your strawberries or leave them alone, depending on the consistency you want.
-
Place the cooled jam in a pint sized jar. Enjoy immediately or cover with a lid and store in the refrigerator.
Expert Tips & FAQs
- This is a refrigerator jam, we have not tried canning it because it does not contain preservatives. If you’d like to store your jam longer, you can freeze it sealed in a jar (be sure to leave some space at the top for the jam to expand). Your jam will last up to 2 weeks in the refrigerator and up to 1 year in the freezer.
Nutrition
The recipes on this blog are tested with a conventional gas oven and gas stovetop. It’s important to note that some ovens, especially as they age, can cook and bake inconsistently. Using an inexpensive oven thermometer can assure you that your oven is truly heating to the proper temperature. If you use a toaster oven or countertop oven, please keep in mind that they may not distribute heat the same as a conventional full sized oven and you may need to adjust your cooking/baking times. In the case of recipes made with a pressure cooker, air fryer, slow cooker, or other appliance, a link to the appliances we use is listed within each respective recipe. For baking recipes where measurements are given by weight, please note that results may not be the same if cups are used instead, and we can’t guarantee success with that method.
This post was originally published on this blog on April 8, 2021. This revised and expanded version provides even more detail and helpful tips for making your best homemade strawberry jam.
