Homemade Heart Shaped Pop Tarts: An Easy & Adorable Valentine’s Day Treat
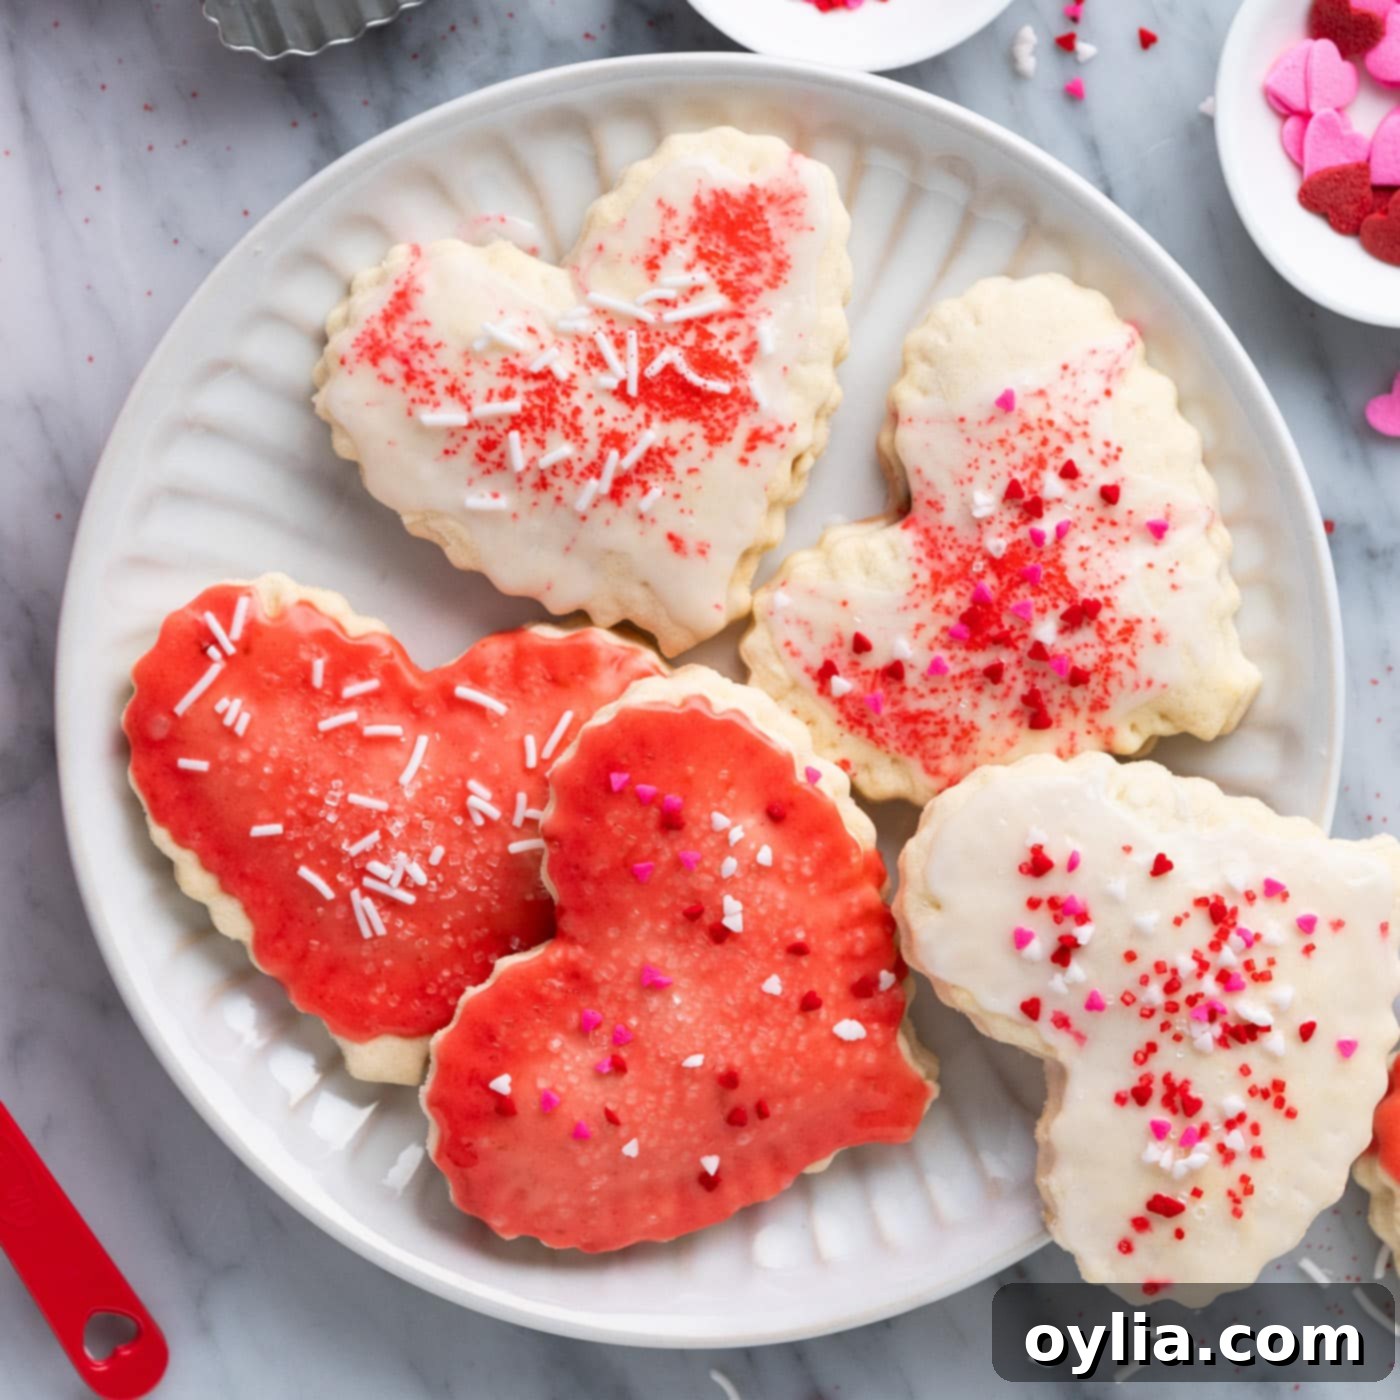
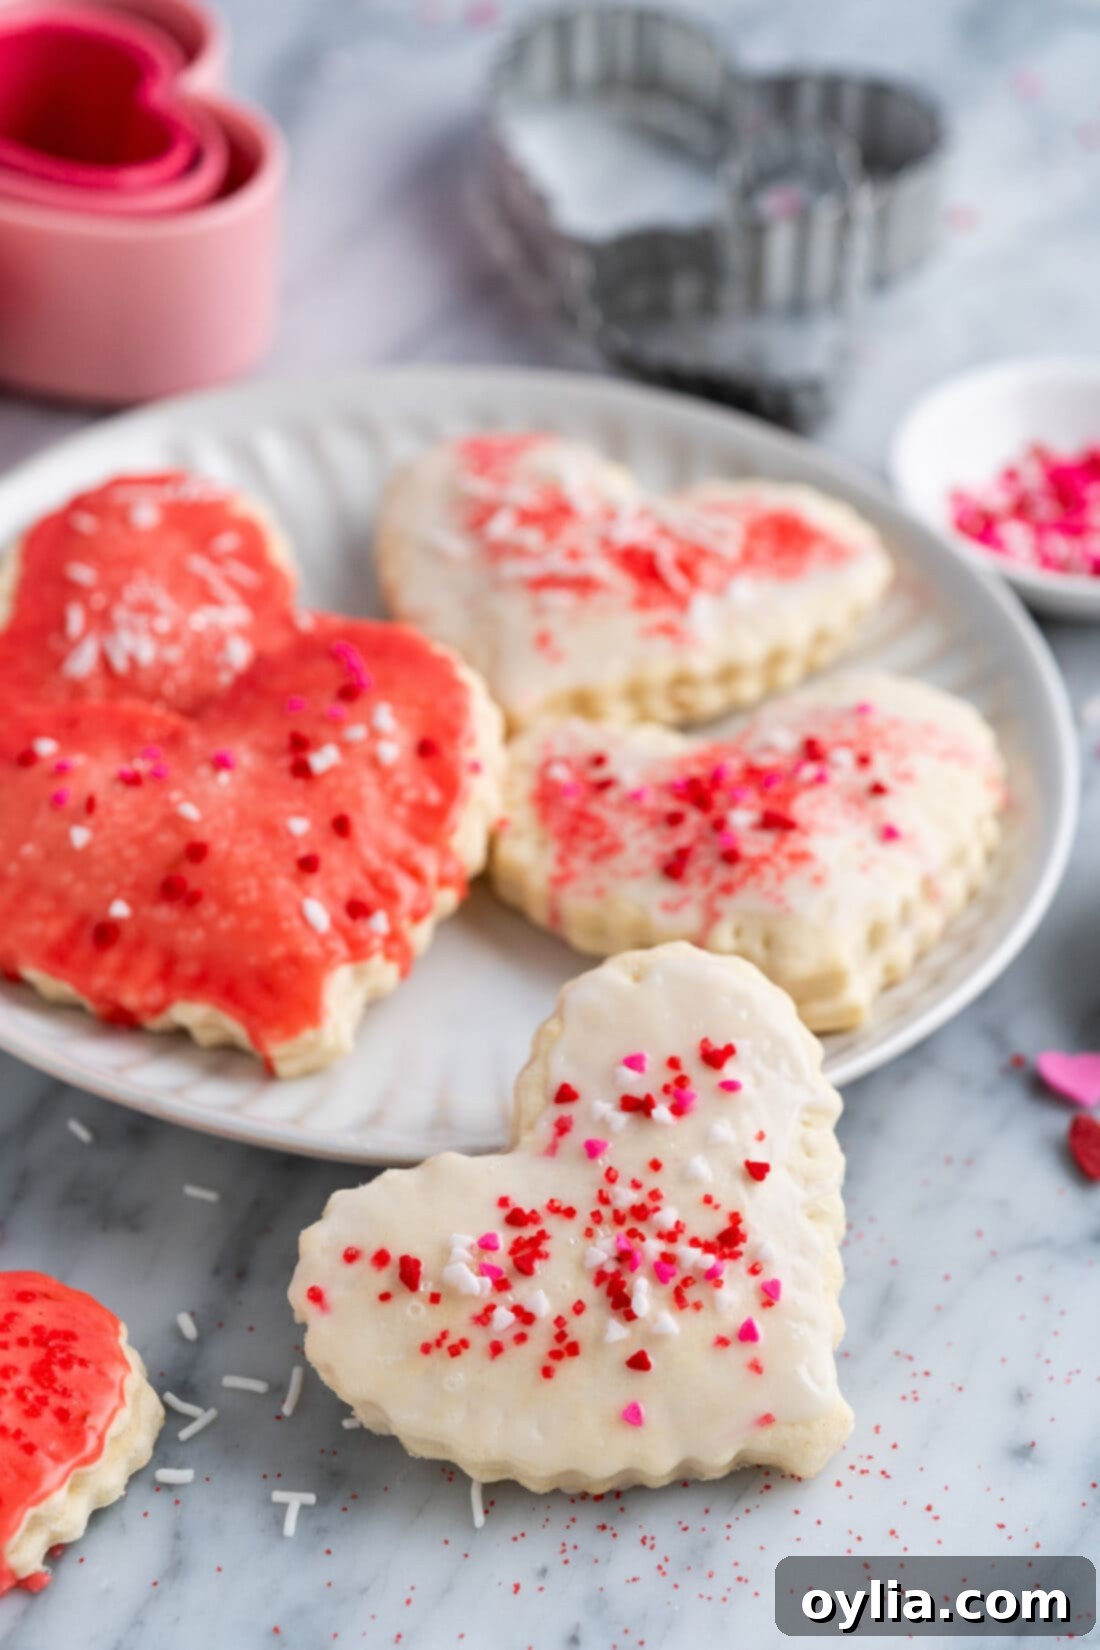
There’s something truly special about a homemade treat, especially when it’s crafted with love and shaped to perfection. These adorable heart-shaped pop tarts are the quintessential sweet surprise, perfect for celebrating Valentine’s Day or simply showing someone you care. Forget the store-bought versions; these delightful hand pies are surprisingly easy to make and infinitely more satisfying. Featuring a flaky, golden crust made from a convenient pie crust mix and a luscious strawberry jam filling, they are a burst of fruity flavor in every bite. Drizzle them with a frosty glaze and adorn them with festive sprinkles for a truly irresistible, personalized touch that will win hearts.
Why This Recipe Is a Sweetheart’s Dream
This recipe takes the beloved concept of our homemade pop tarts and gives it a charming, festive twist, transforming them into sweet hand pies that are absolutely perfect for Valentine’s Day. The magic lies in its simplicity and delicious results. We start with a convenient Jiffy pie crust mix, which makes preparing the dough incredibly easy, ensuring a consistently flaky and tender crust without the fuss of making dough from scratch. This shortcut is a game-changer, especially for busy home bakers or those new to pastry making.
Layered inside this wonderfully soft crust is vibrant strawberry jam, offering a classic and universally loved flavor. However, the beauty of this recipe is its versatility – you can easily swap the strawberry for any jam flavor your heart desires, from tangy raspberry to sweet blueberry or even apple butter. The process is straightforward: shape, fill, bake, and then decorate with a simple, frosty glaze. With only four main ingredients (plus the glaze components), it’s a quick project that even the kids can enjoy helping with, making it a fantastic family activity.
What makes these heart-shaped pop tarts truly shine is their balanced sweetness. They aren’t overly sugary, making them a delightful breakfast pastry that feels indulgent without being heavy. But don’t let their breakfast appeal fool you – they easily double as an adorable, heartfelt dessert or a thoughtful homemade gift. Imagine presenting a plate of these to your loved ones; it’s a gesture that speaks volumes. These treats are more than just food; they are a tangible expression of love, making them ideal for Valentine’s Day or any occasion where you want to add a little extra warmth and affection. Let’s get baking and spread some love!

Ingredients You Will Need for These Sweet Treats
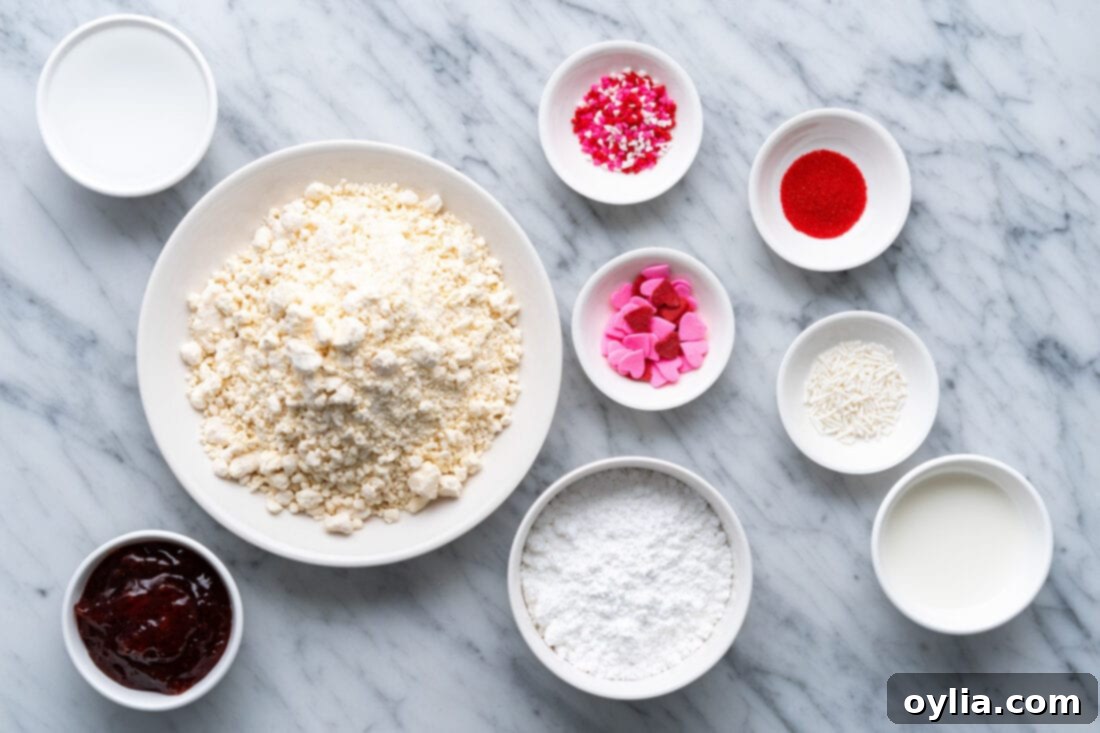
Gathering your ingredients is the first exciting step towards creating these charming heart-shaped pop tarts. This recipe keeps things simple, requiring just a few basic items to achieve a truly delightful result. For precise measurements, a detailed list of ingredients, and comprehensive instructions, you’ll find everything you need in the printable version located at the very end of this post. Make sure to have everything ready before you begin to ensure a smooth and enjoyable baking experience!
Ingredient Information & Smart Swaps
Understanding your ingredients and knowing when to make substitutions can elevate your baking experience. Here’s a closer look at what you’ll need and how to adapt if necessary:
CRUST – For ultimate convenience and consistent results, we highly recommend using an easy Jiffy pie crust mix. It’s designed to produce a perfectly flaky and tender pastry every time, saving you time and effort. We’ve experimented with refrigerated pie dough in the past, but found it yields fewer pop tarts due to its pre-rolled thickness and smaller quantity. If you prefer to bake from scratch and have more time, a homemade pie dough would also be an excellent choice, offering that unparalleled fresh taste. When working with the dough, there’s no need for chilling – simply roll it out on a well-floured surface to prevent sticking. After cutting your heart shapes, remember to gently shake or wipe off any excess flour before placing them on the baking tray to ensure a smooth, golden finish.
JAM – The filling is where you can truly let your creativity shine! While strawberry jam provides that classic, sweet-tart flavor and pretty pink hue, feel free to use whichever jam flavor you personally adore or have on hand. Popular and delicious choices include vibrant blueberry, rich blackberry, sweet raspberry, or even comforting apple butter. A crucial tip for a perfect pop tart is to avoid overfilling the pastries. Using approximately 1/2 tablespoon of jam per heart allows for sufficient flavor without the risk of the jam bubbling out from the sides during baking, which can make your pop tarts messy and sticky.
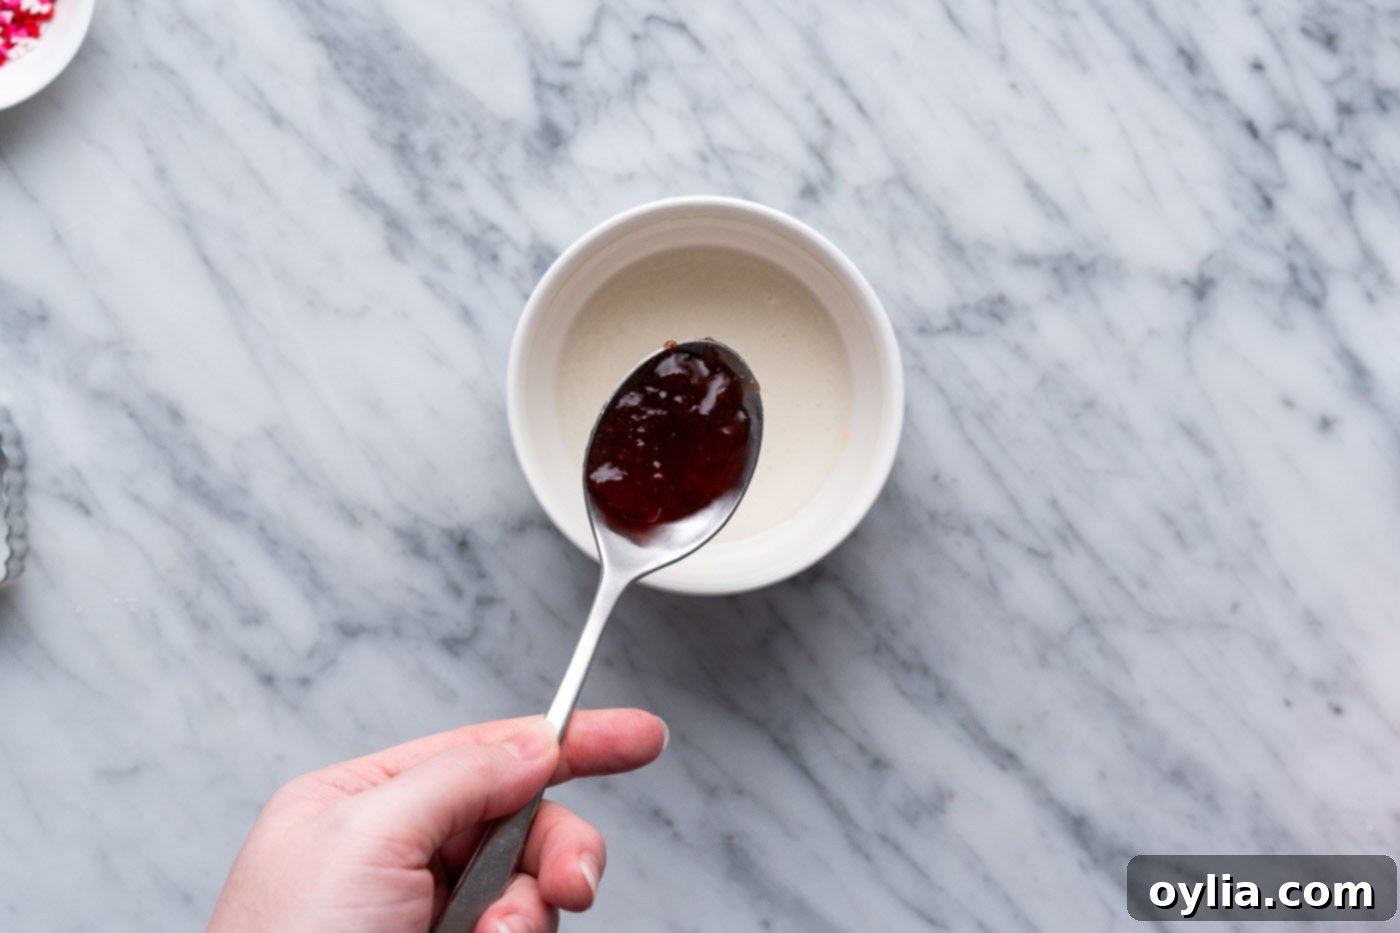
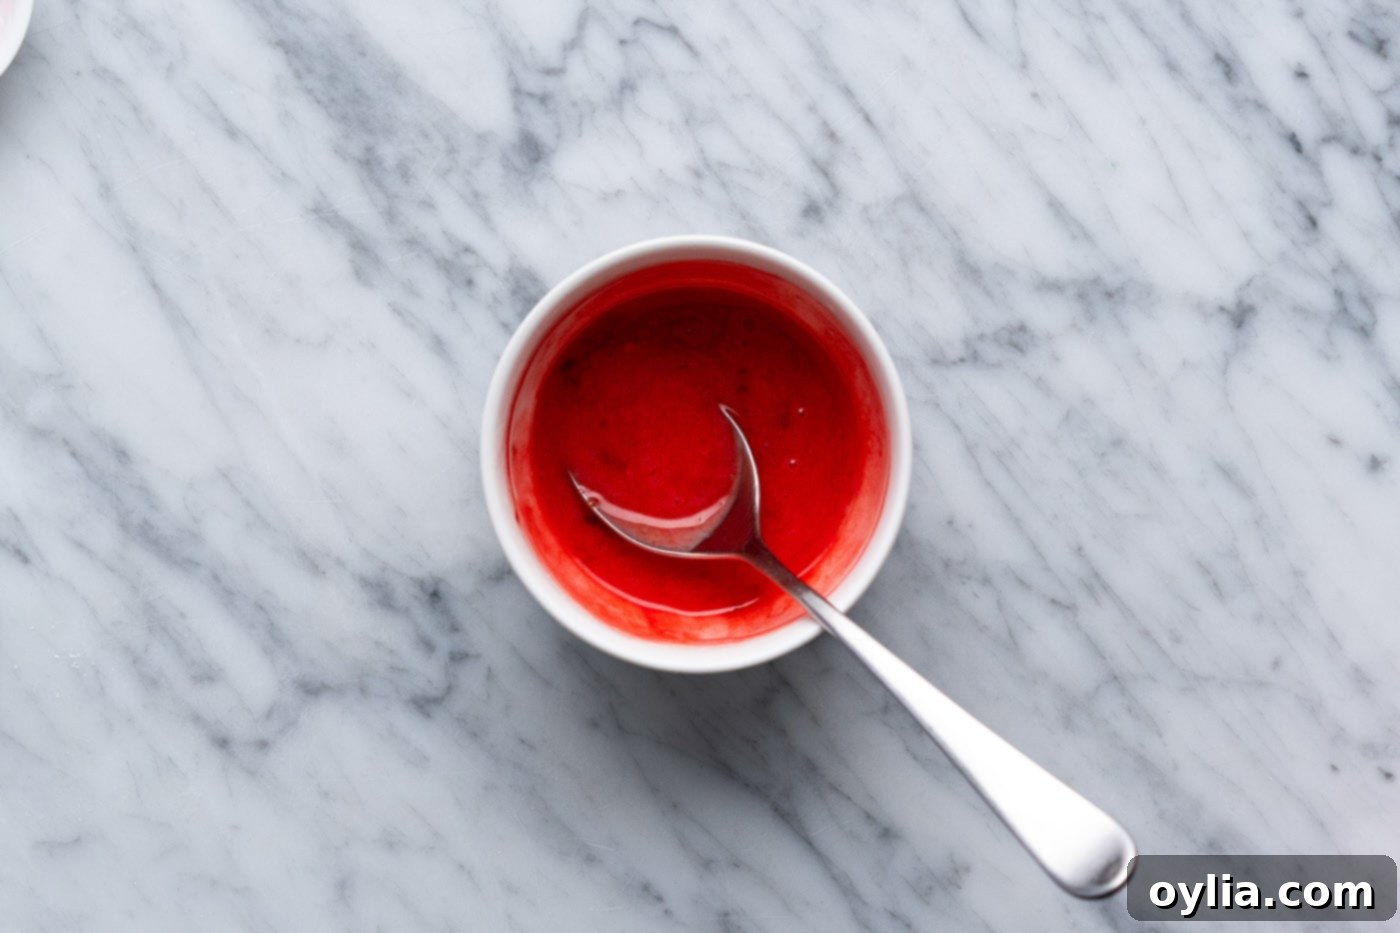
GLAZE – The sweet, frosty glaze is the crowning glory of these pop tarts. It’s incredibly simple to whip up, requiring just powdered sugar and milk for a basic white glaze. To enhance the flavor and add a lovely pink tint that’s perfect for Valentine’s Day, we suggest incorporating an optional teaspoon of strawberry jam into the glaze. If, after mixing, your strawberry glaze appears more beige than the desired romantic pink, a tiny drop of red food coloring can easily fix this. Remember, food coloring is potent, so add it gradually, literally a drop at a time, mixing well after each addition until you achieve your preferred shade. A little truly goes a long way!
How to Make Heart Shaped Pop Tarts: A Step-by-Step Guide
These step-by-step photos and instructions are here to help you visualize how to make this recipe. You can Jump to Recipe to get the printable version of this recipe, complete with measurements and instructions at the bottom.
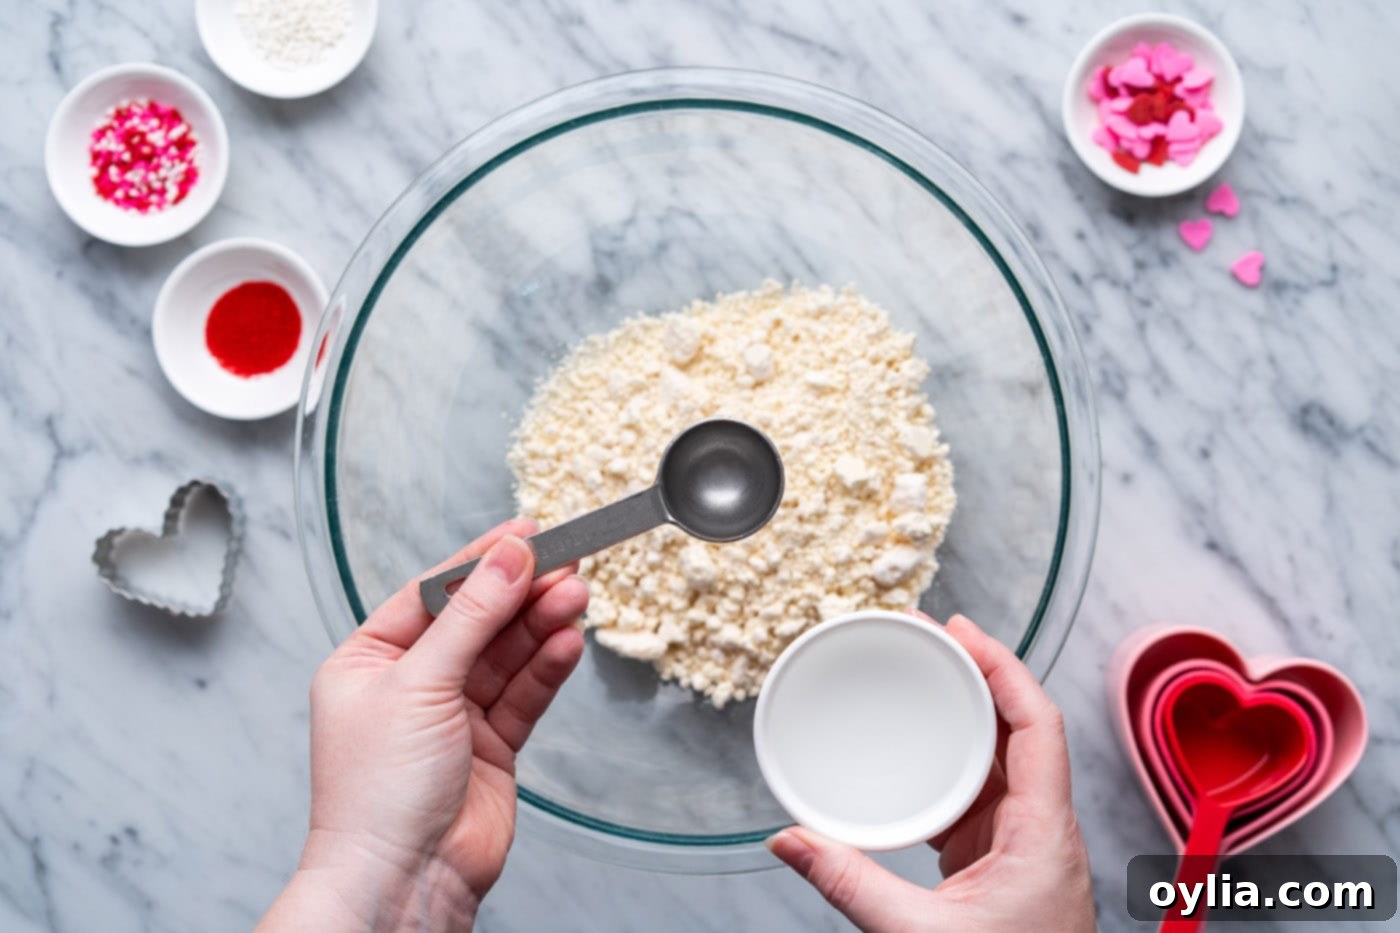
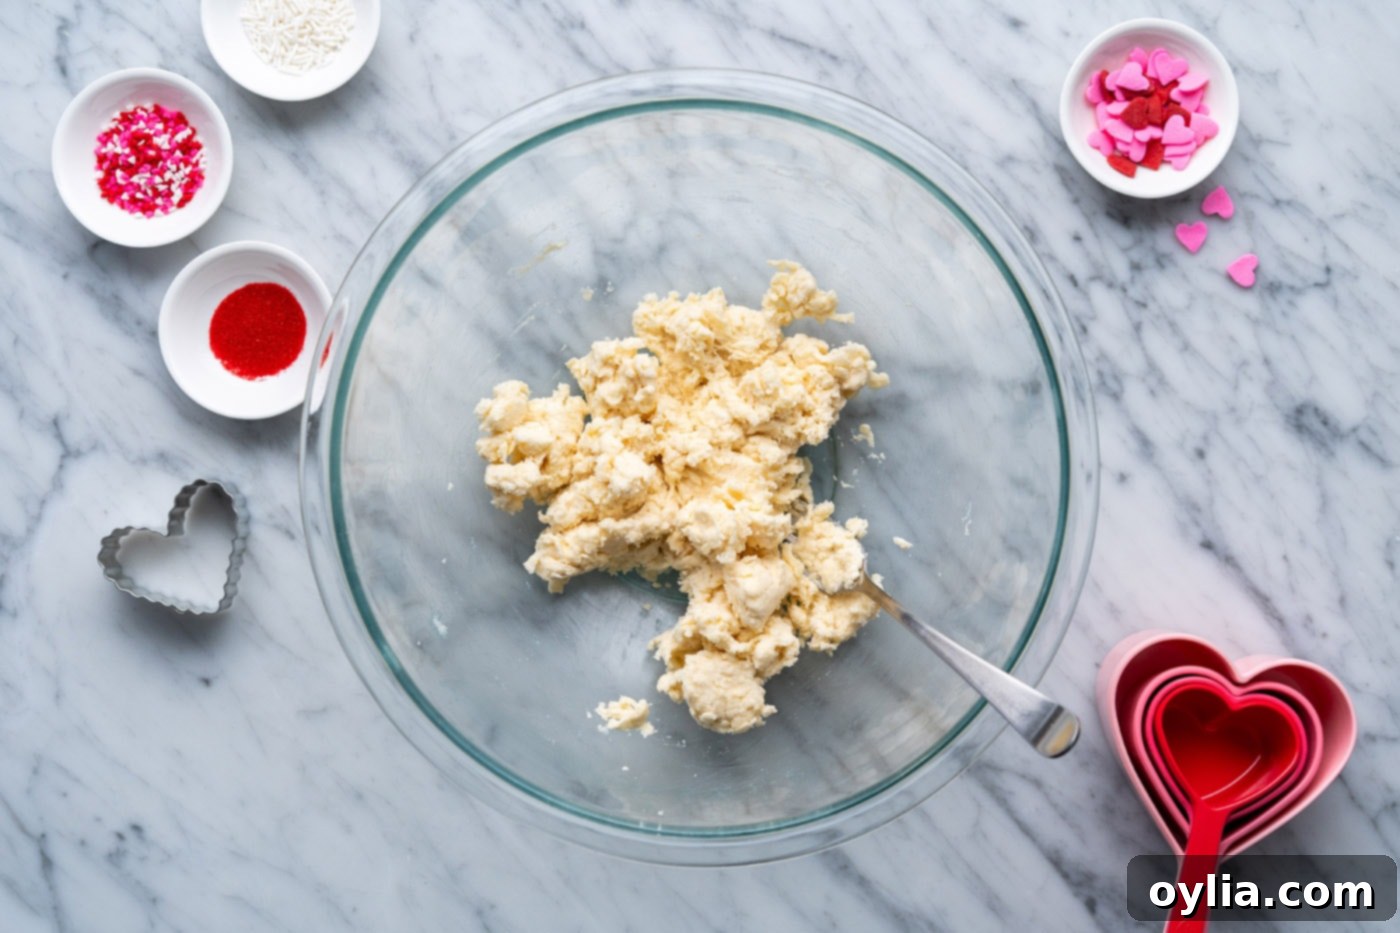
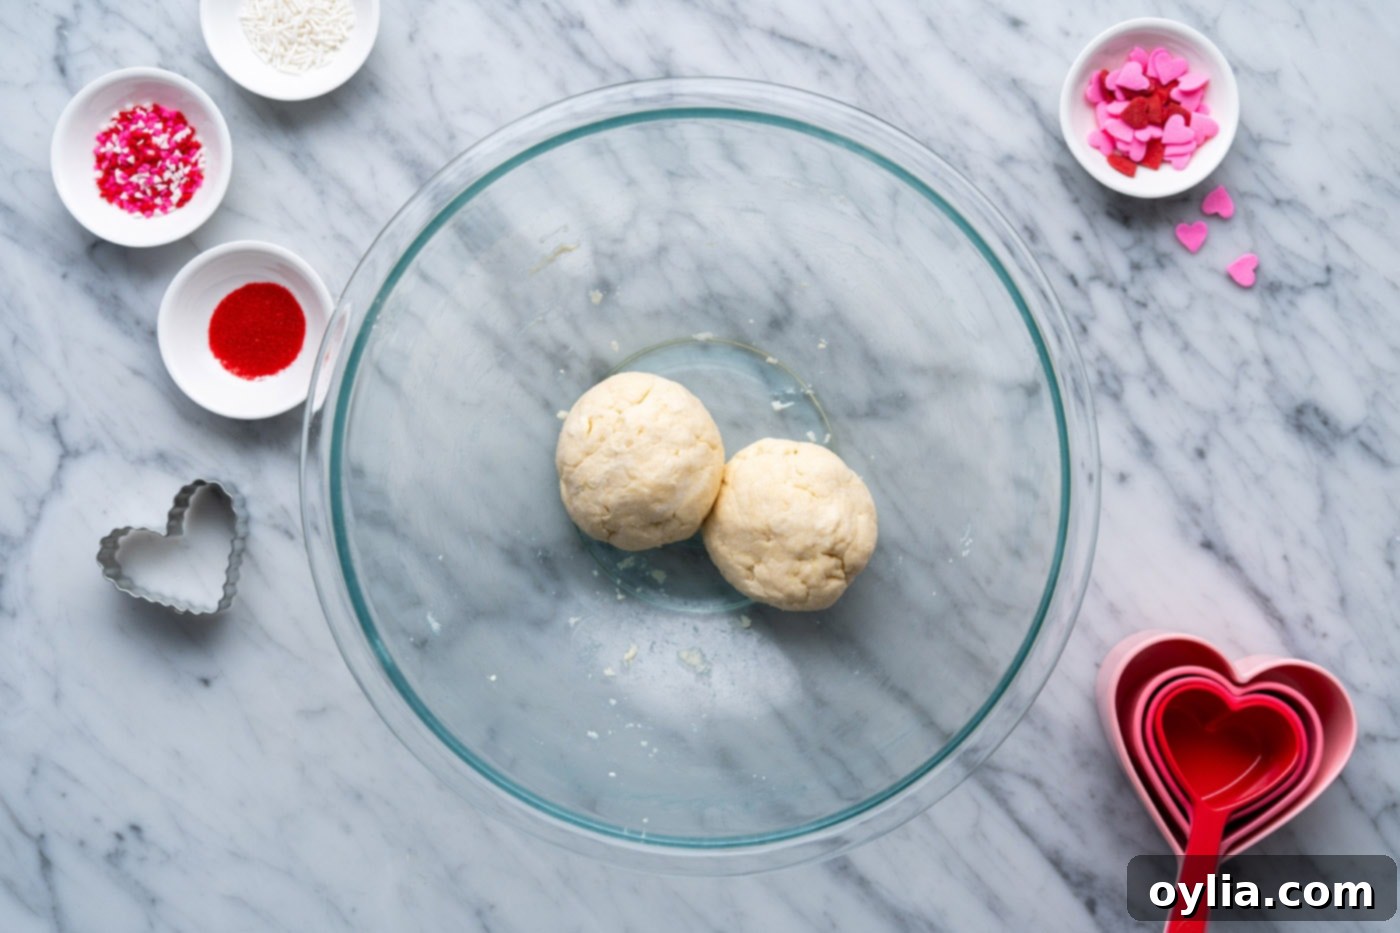
- Prepare the Oven and Dough Base: Begin by preheating your oven to 400°F (200°C). In a large mixing bowl, combine the pie crust mix. Gradually add water, one tablespoon at a time, mixing continuously with a fork until a cohesive dough forms. The goal is a pliable dough that holds together but isn’t sticky. Once formed, divide the dough into two equal balls; this makes the rolling process much more manageable.


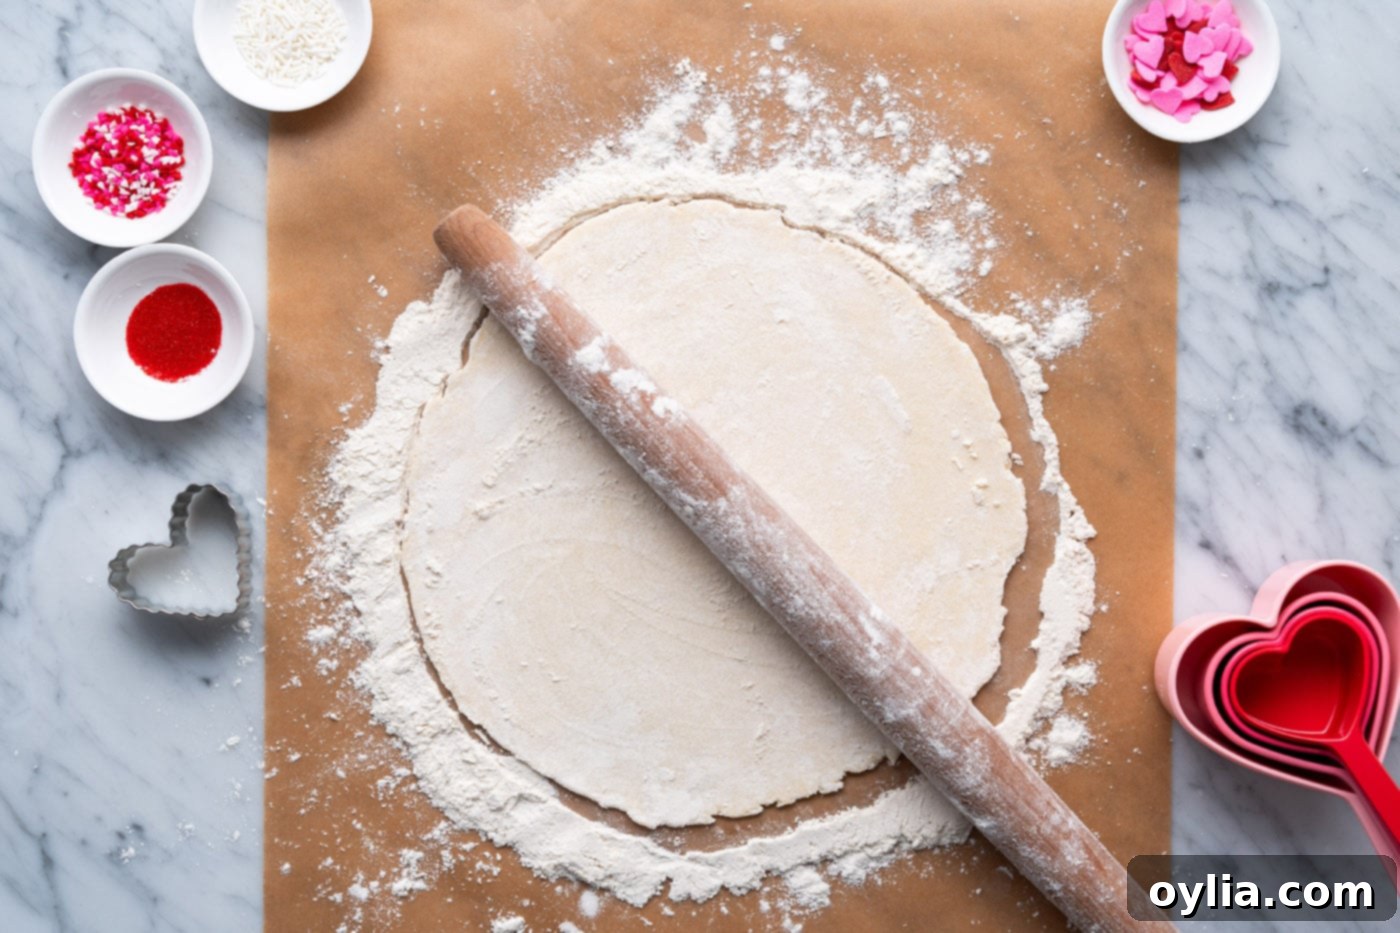
- Roll Out the Dough: On a generously floured surface, take one dough ball and use a rolling pin to roll it out into a circle approximately 10 inches in diameter. The thickness should be consistent, similar to a pie crust.

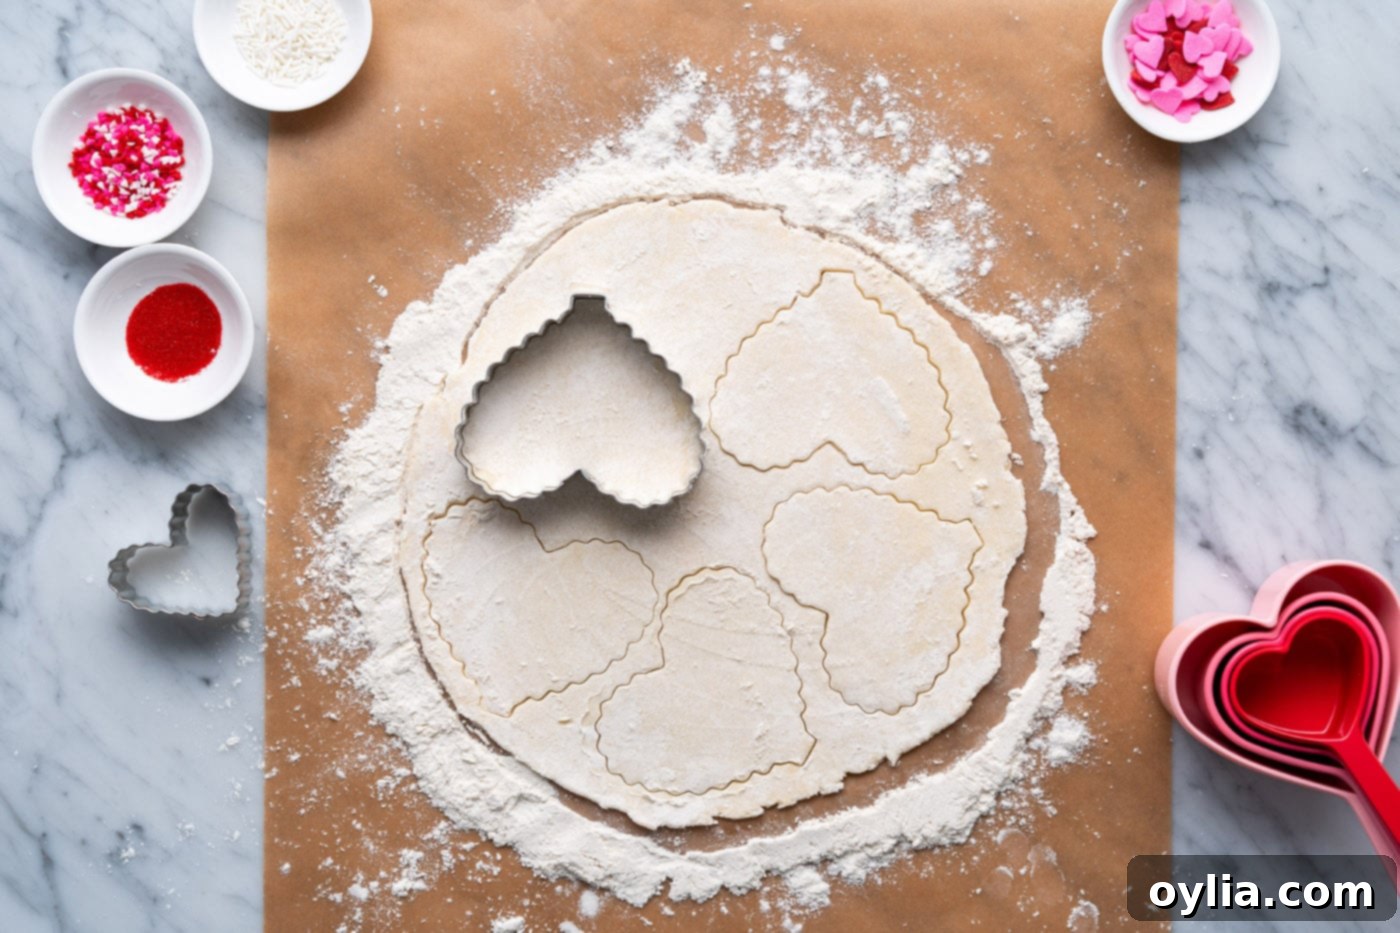
- Cut the Heart Shapes: Use a heart-shaped cookie cutter (ideally around 4 inches across at its widest point) to stamp out as many heart shapes as possible from the rolled dough. Repeat this process with the second ball of dough. Don’t waste the scraps! Gather all the leftover dough, gently form it back into a ball, roll it out again, and cut out more hearts. This technique ensures you get the maximum yield. You should end up with enough hearts to create 7 complete pop tarts (14 individual heart pieces total).

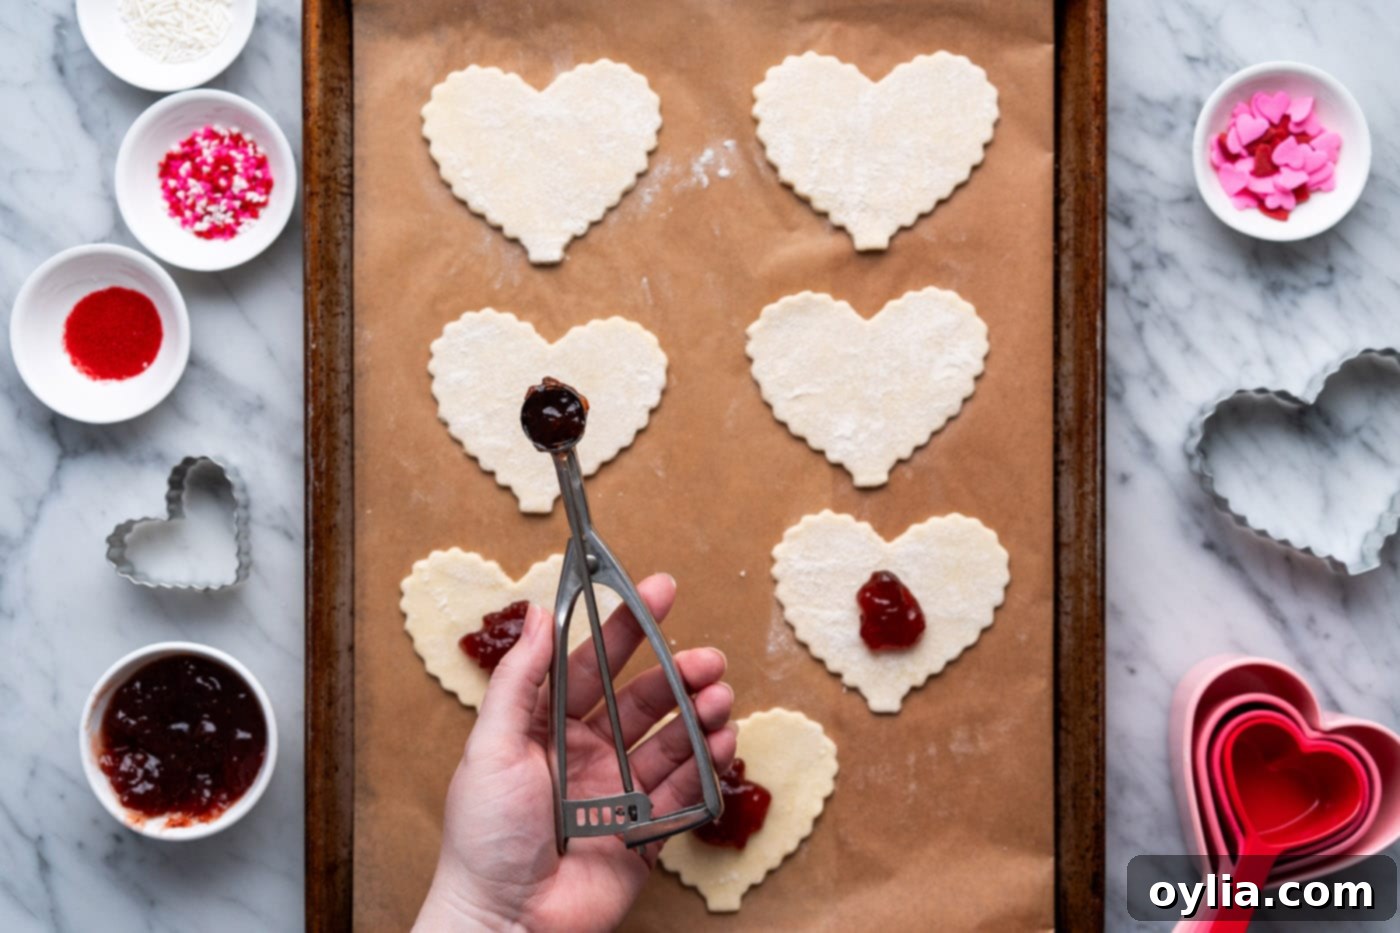
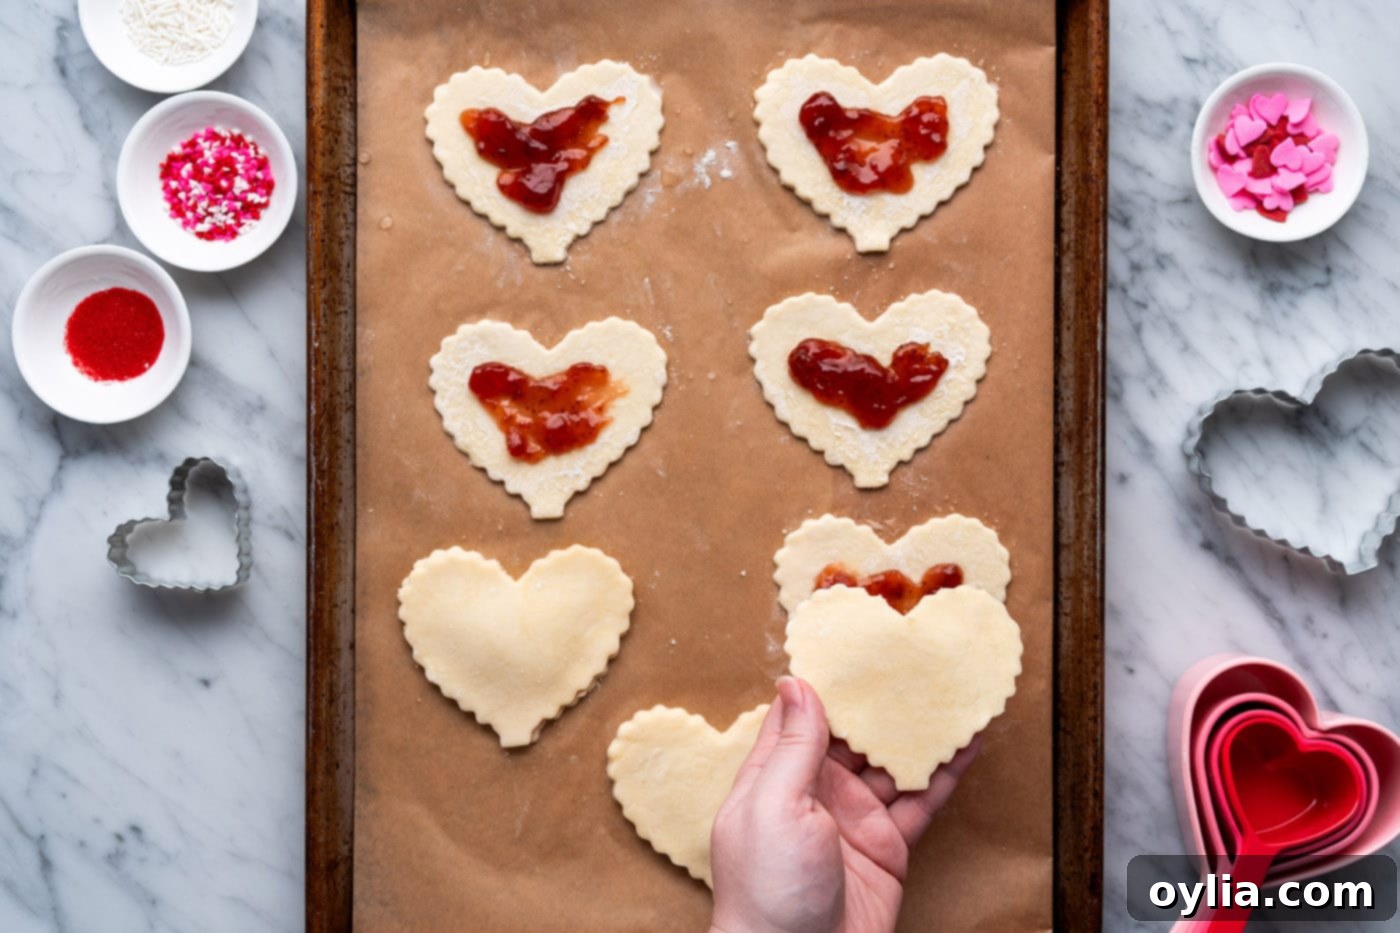
- Fill the Hearts: Line a large baking tray with parchment paper for easy cleanup. Arrange 7 of the dough hearts on the prepared tray. Place about 1/2 tablespoon of your chosen jam onto the center of each heart. Gently spread the jam out, making sure to leave a clear border of at least 1/4-inch all the way around the edge. This border is crucial for sealing the pop tarts properly.

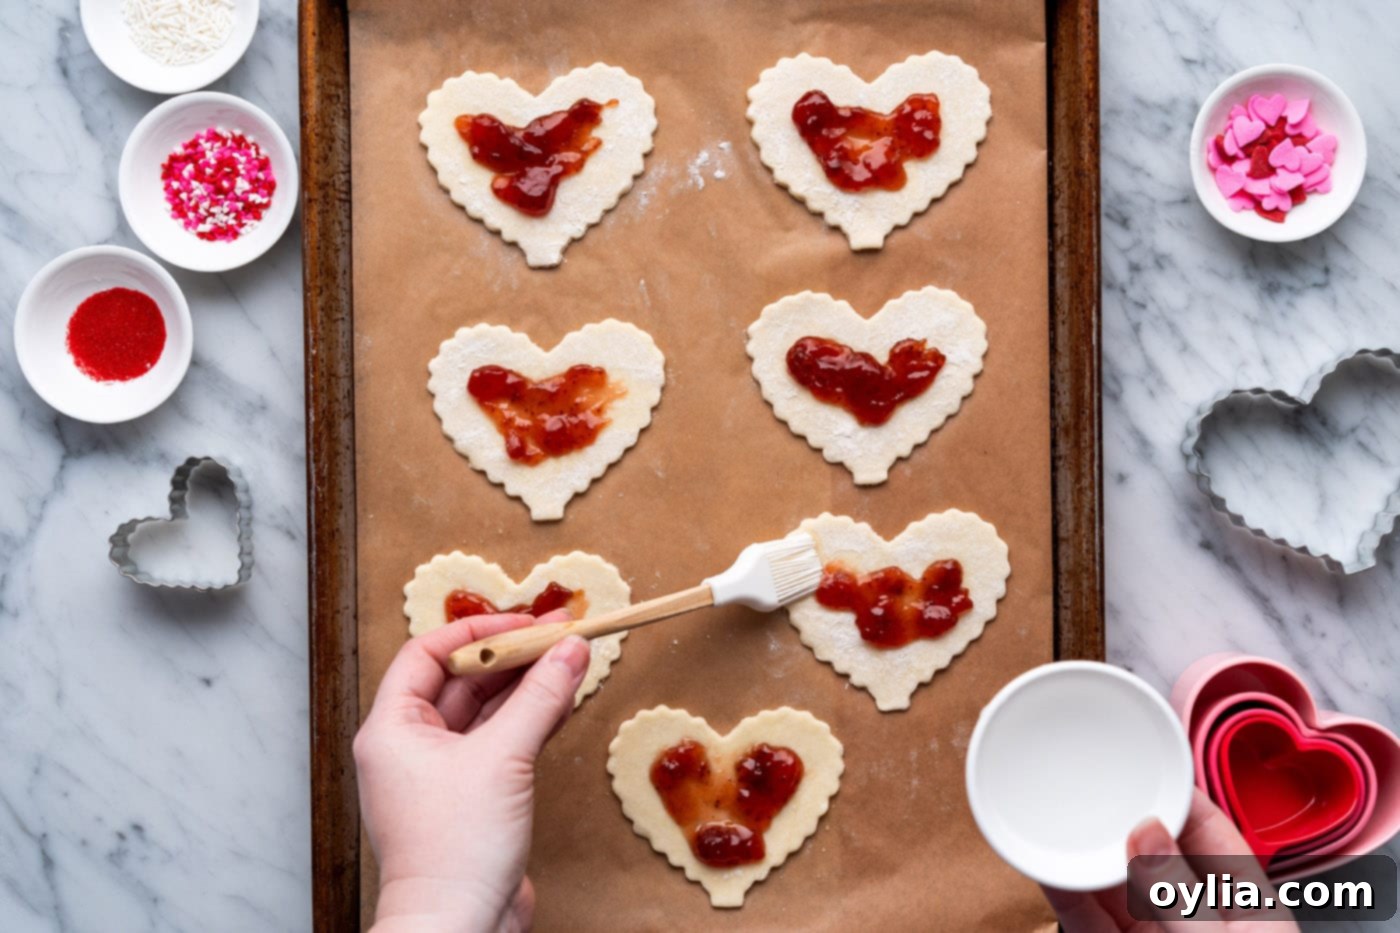
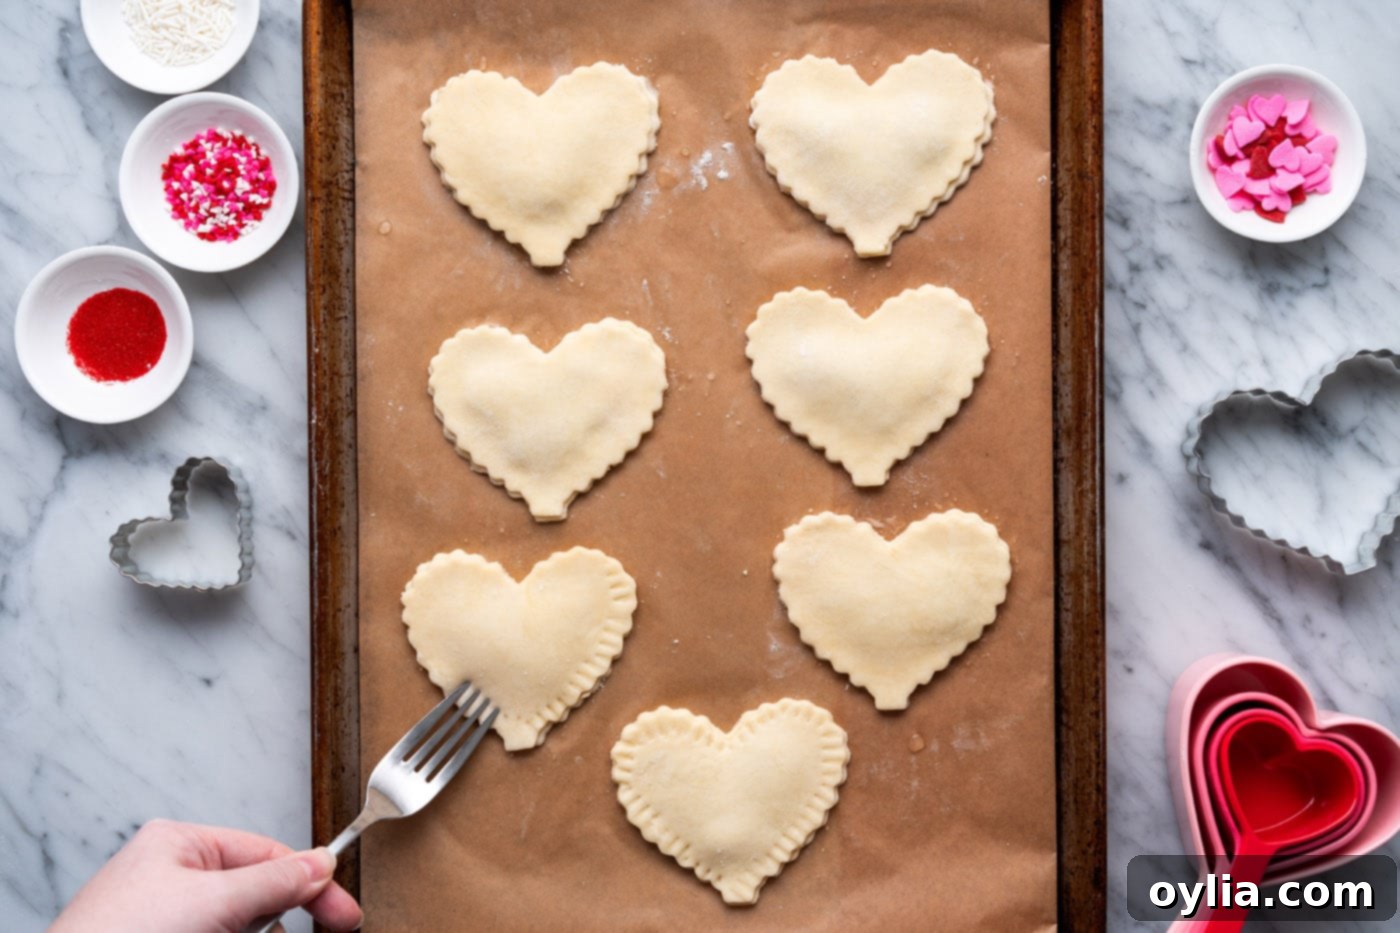
- Seal the Pop Tarts: Lightly brush the clean dough border of each jam-topped heart with a little water. This helps create a strong seal. Carefully place a second heart-shaped piece of dough on top of each, aligning the edges perfectly. Then, use the tines of a fork to gently but firmly crimp all around the edges of each heart. This not only creates a beautiful decorative border but, more importantly, seals the jam securely inside, preventing it from oozing out during baking.


- Bake to Golden Perfection: Place the baking tray with your pop tarts into the preheated oven. Bake for approximately 10 to 12 minutes, or until the crust is beautifully golden brown and set. Keep an eye on them, as oven temperatures can vary.
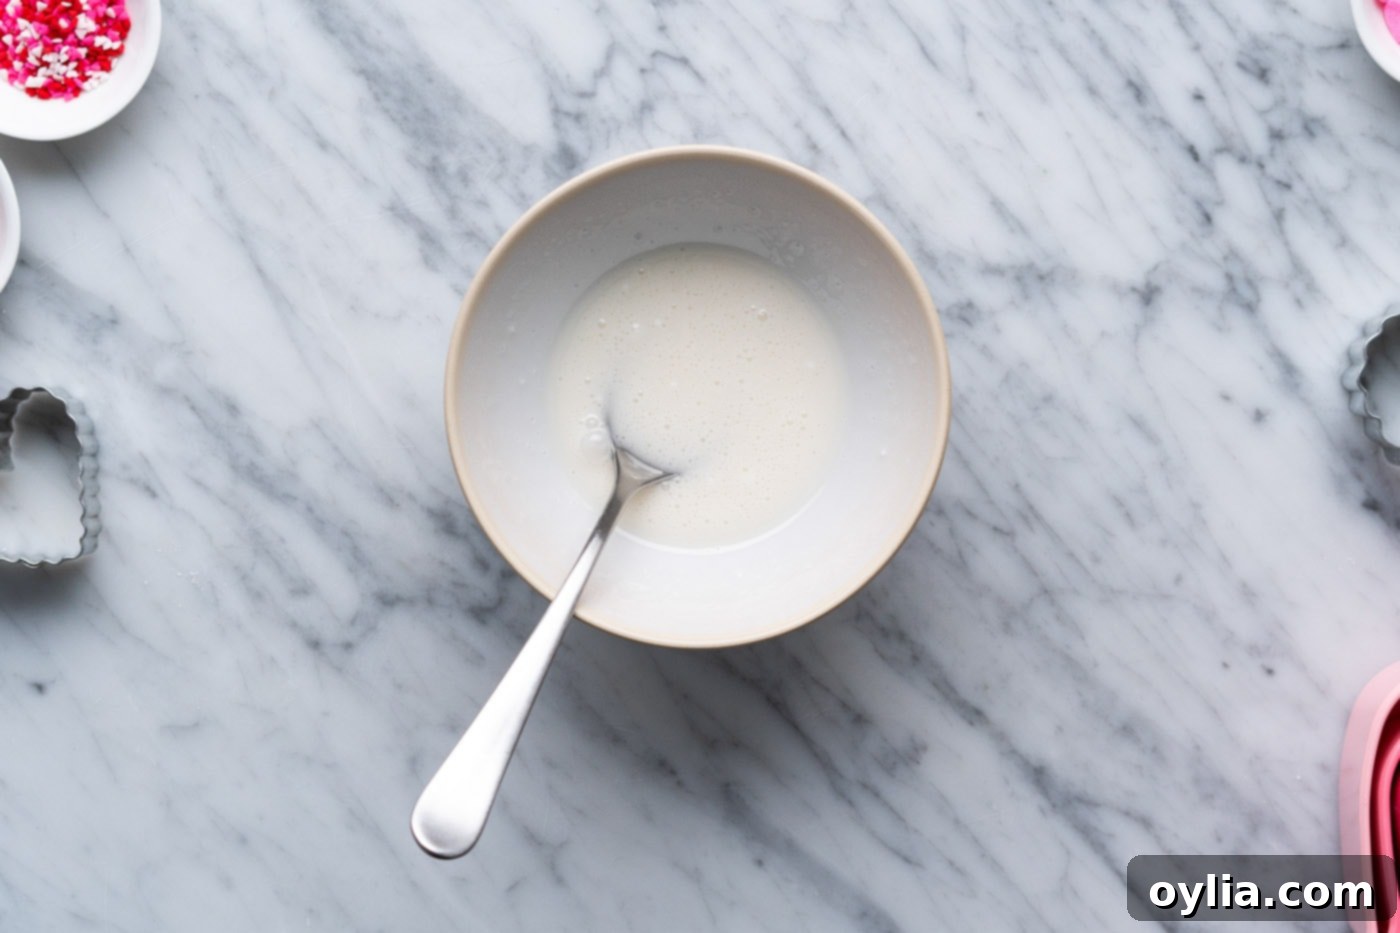
- Prepare the Glaze: While the pop tarts are baking or cooling slightly, it’s time to prepare the dreamy glaze. In a small bowl, whisk together the powdered sugar, milk, and the optional teaspoon of strawberry jam. Continue mixing until the glaze is smooth and free of lumps. You’re looking for a consistency that is thick enough to coat a spoon but still pourable.


TIP – If your strawberry glaze is more beige than pink, you can add a little bit of red food coloring. Be careful because a little goes a long way!

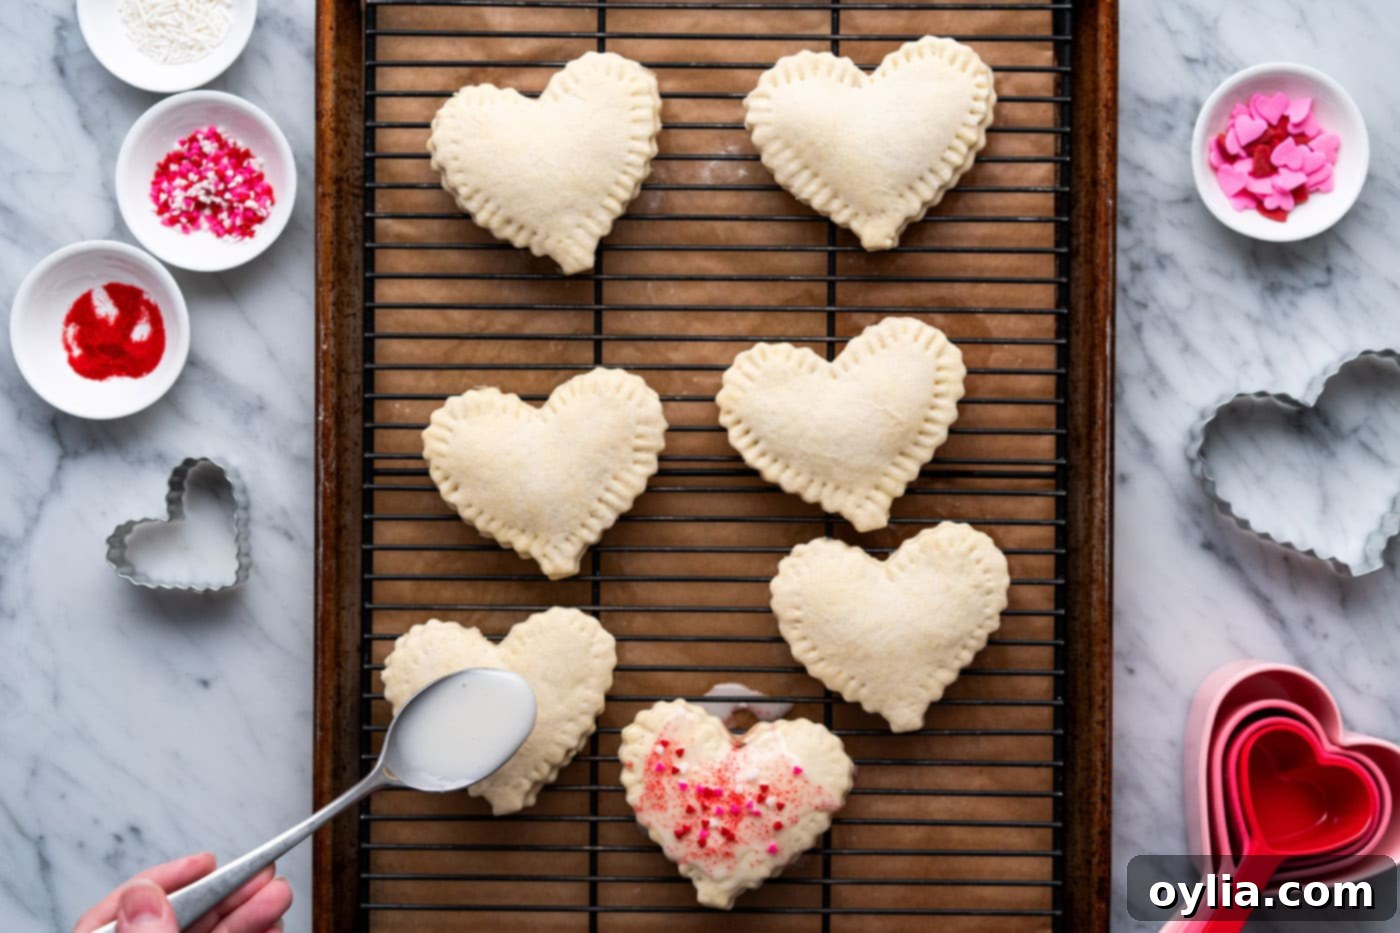
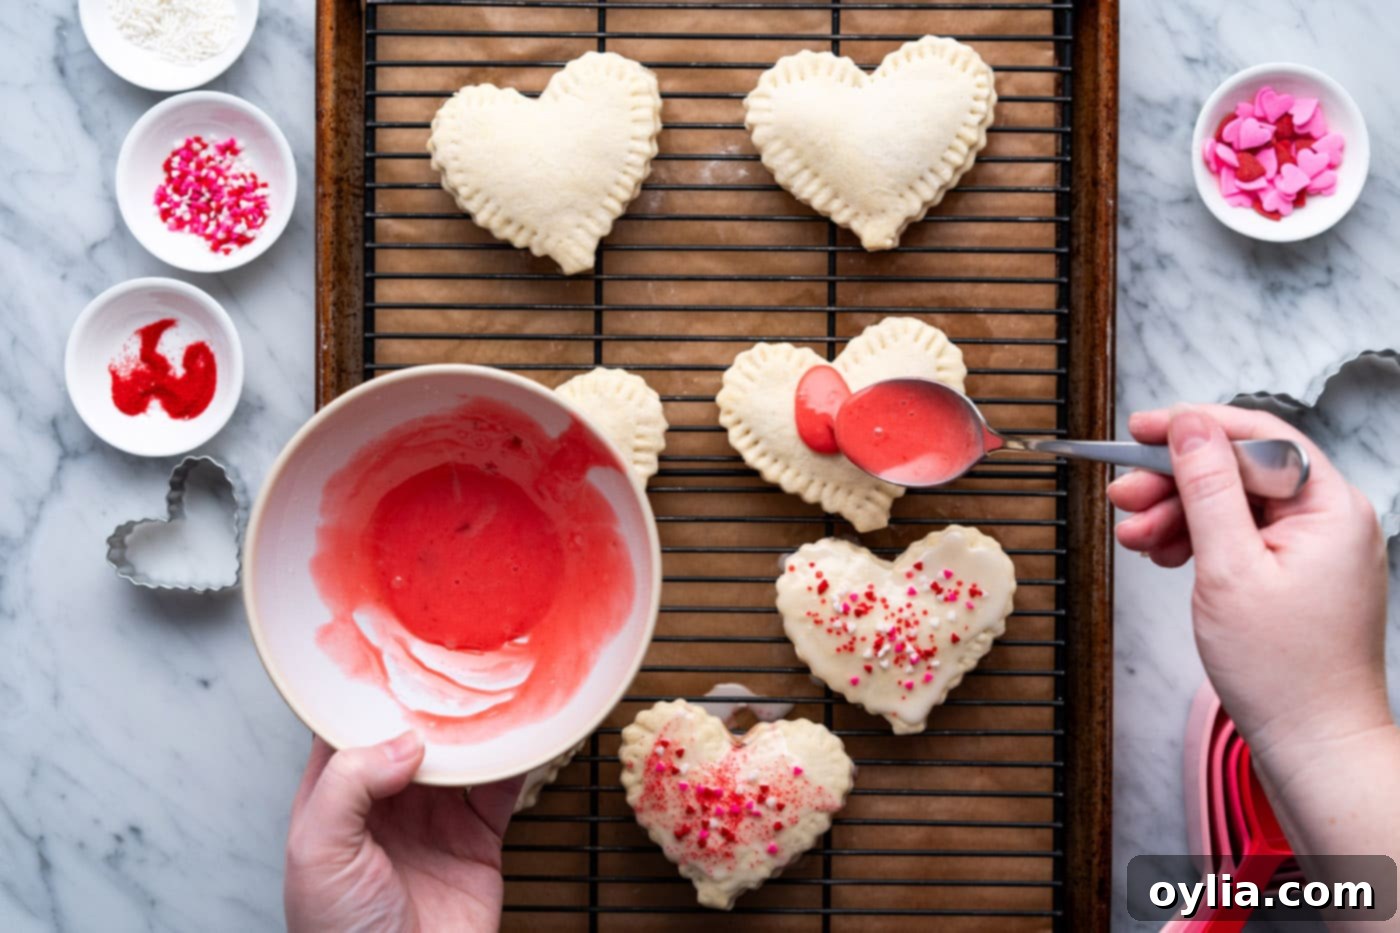
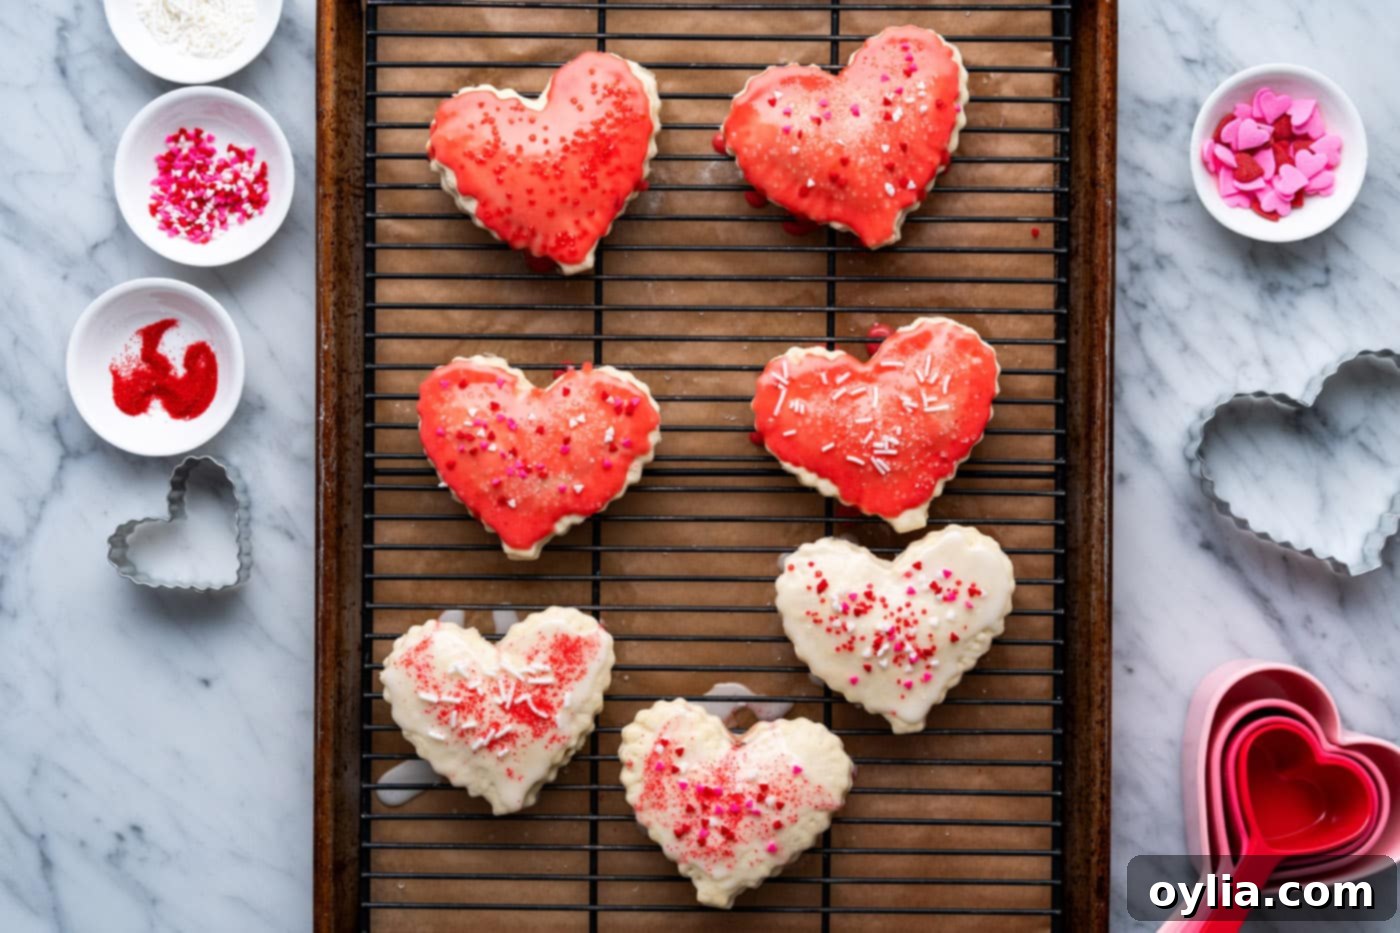
- Glaze and Decorate: Once your pop tarts are baked, transfer them while they are still warm to a wire rack. Place the wire rack over a baking tray to catch any excess glaze. Spoon the prepared glaze generously over each pop tart, allowing it to drip down the sides. Immediately, before the glaze has a chance to set, sprinkle your chosen Valentine’s Day sprinkles over the top. The warmth of the pop tart helps the glaze spread beautifully and adhere the sprinkles.


Frequently Asked Questions & Expert Tips
Baking should be fun and stress-free! Here are some common questions and a few expert tips to ensure your heart-shaped pop tarts turn out perfectly every time.
No cookie cutter? No problem! Creativity is key in the kitchen. You can easily create a template by drawing a heart shape (approximately 4 inches wide at its widest point) on a piece of parchment paper or cardstock. Carefully cut out your paper heart, place it on the rolled-out dough, and use a sharp knife or pizza cutter to trace around it. This method works beautifully for achieving perfectly shaped hearts without specialized equipment.
To maintain their freshness and deliciousness, store your homemade pop tarts in a sealed Ziploc bag or an airtight container. At room temperature, they will stay fresh and enjoyable for up to 3 days. If you want to extend their shelf life, you can keep them in an airtight container in the refrigerator for up to 1 week. Always ensure they are completely cooled before storing to prevent condensation, which can make them soggy.
Absolutely! These homemade pop tarts freeze exceptionally well, making them perfect for meal prep or enjoying a sweet treat whenever a craving strikes. Once your pop tarts have completely cooled to room temperature, place them in a freezer-safe bag or an airtight container. They can be stored in the freezer for up to 3 months. When you’re ready to enjoy them, simply let them thaw at room temperature for a bit, then pop them into a toaster or toaster oven for a warm, crispy delight. This brings them back to life with a fresh-baked texture.
Expert Tips for Perfect Pop Tarts:
- Dough Consistency: When mixing the pie crust, add water gradually until the dough just comes together. Overmixing can lead to a tough crust, while too little water will make it crumbly and hard to roll.
- Flour Your Surface Wisely: A well-floured surface is essential for rolling out the dough without sticking. However, make sure to brush off any excess flour from your cut dough hearts before baking. Too much flour on the surface can make the crust dry or prevent the edges from sealing properly.
- Don’t Overfill: This is crucial! Using just enough jam (about 1/2 tablespoon per heart) prevents it from bubbling out of the sides during baking. Overfilling can lead to sticky messes on your baking sheet and less aesthetically pleasing pop tarts.
- Secure Sealing: Don’t skip brushing the edges with water and crimping firmly with a fork. This ensures a tight seal, keeping the jam inside and contributing to the classic pop tart look.
- Cooling Rack is Your Friend: Always transfer baked pop tarts to a wire rack to cool slightly before glazing. This allows air to circulate, preventing the bottoms from becoming soggy and preparing them for an even glaze application.
- Immediate Sprinkles: For the best adherence, add sprinkles immediately after applying the glaze. The glaze will begin to set quickly, so act fast to get those colorful decorations to stick!
Serving Suggestions & Gifting Ideas
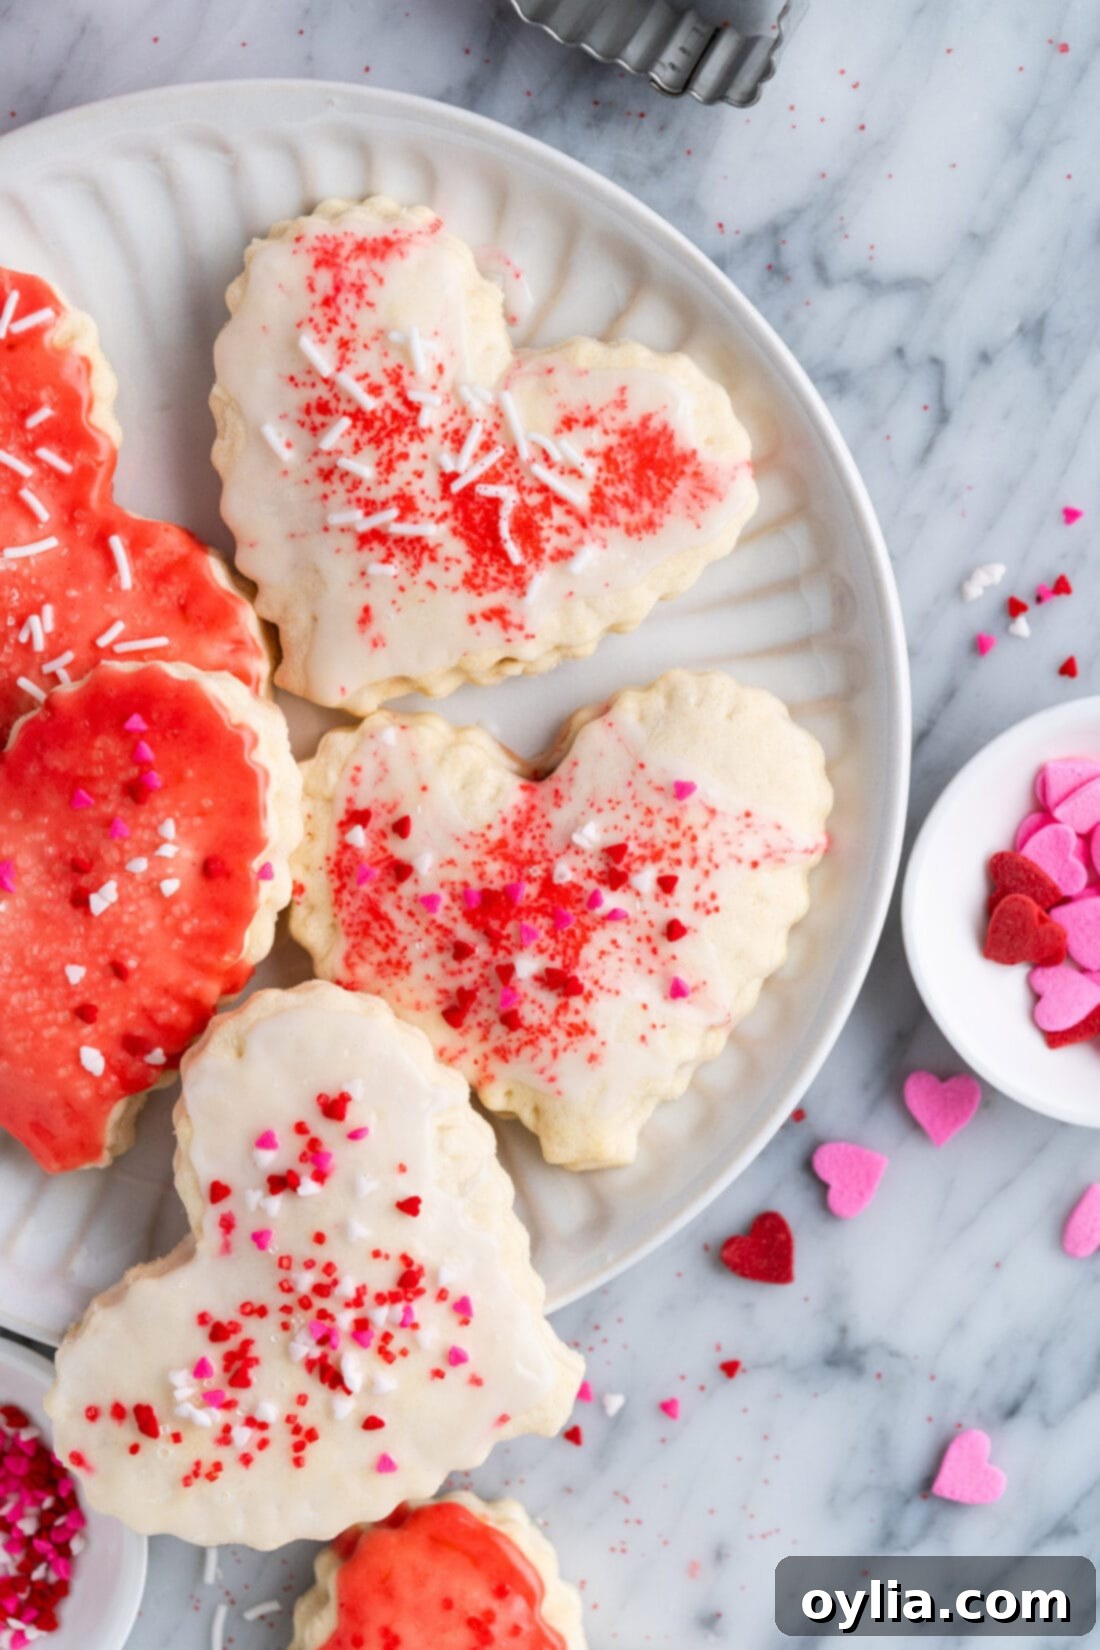
These heart-shaped pop tarts are not just delicious; they’re also incredibly versatile in how you can serve and present them. For a truly festive Valentine’s Day experience, lean into the theme with your garnishes! Opt for charming heart-shaped sprinkles in shades of red, pink, and white. Classic nonpareils or colorful jimmies in complementary hues also make for an eye-catching finish. While the frosty glaze adds a delightful sweetness and texture, you have full control over how much to use. If you prefer a lighter touch, simply drizzle a thin layer over each pop tart. For those who aren’t big fans of glaze, these pop tarts are still wonderfully flavorful and can be enjoyed plain, allowing the flaky crust and fruit jam to be the stars.
When it comes to enjoying them, the choice is entirely yours! For a nostalgic breakfast experience, pop your homemade pop tarts into a toaster or toaster oven for a few minutes until warmed through and the crust becomes slightly crisp. Alternatively, they are equally delicious enjoyed at room temperature, making them a perfect grab-and-go snack or a lovely addition to a breakfast spread or dessert platter. Their compact size makes them ideal for individual servings.
Thinking of sharing the love? These heart-shaped treats make fantastic homemade gifts. You can beautifully wrap one or two pop tarts in a clear cellophane baggy, tying it with a festive ribbon. For a more elegant presentation, gently stack several pop tarts in a small pastry box, perhaps nestled on a bed of tissue paper. They’re a heartfelt present that’s sure to bring a smile to anyone’s face, whether it’s your sweetheart, friends, family, or even a thoughtful gesture for a teacher or coworker.
More Valentine’s Day Recipes to Love
If you’re still in the mood for spreading love through delicious food, here are some other wonderful Valentine’s Day recipes from our kitchen:
- Valentine Muddy Buddies
- Conversation Heart Cookies
- Valentine Cherry Hand Pies
- Valentine’s Day Heart Cupcakes
- Valentine Cake Pops
I love to bake and cook and share my kitchen experience with all of you! Remembering to come back each day can be tough, that’s why I offer a convenient newsletter every time a new recipe posts. Simply subscribe and start receiving your free daily recipes!

Heart Shaped Pop Tarts
IMPORTANT – There are often Frequently Asked Questions within the blog post that you may find helpful. Simply scroll back up to read them!
Print It
Pin It
Rate It
Save ItSaved!
Ingredients
Pop Tarts
- 9 ounce box of Jiffy pie crust mix
- 4-5 Tablespoons water
- 4 Tablespoons strawberry jam about 1/2 tablespoons per pop tart
- water to seal the pop tarts
Glaze
- ½ cup powdered sugar
- 1-2 Tablespoons milk
- 1 teaspoon strawberry jam optional
Things You’ll Need
-
Rolling pin
-
Mixing bowls
-
Heart shaped cookie cutter 4 inches wide
-
Baking sheet
Before You Begin
- If you don’t have a heart-shaped cookie cutter about 4 inches wide at its widest part, you can draw a heart about this size on paper, cut it out, and use it as a stencil to cut the dough into hearts.
- We’re using an easy Jiffy pie crust mix. We have also tried using a refrigerator pie dough, but you won’t get very many pop tarts out of it, so we suggest a pie crust mix or even a homemade pie dough.
- There’s no need to chill this pie dough before rolling it out, but make sure you roll it out on a well-floured surface. Gently shake or wipe off any excess flour when you place the hearts on the baking tray.
- You can use whichever flavor of jam you’d like. Strawberry, blueberry, blackberry, raspberry jam, and even apple butter are all great choices! Don’t overfill the pastries with jam or you risk them oozing out from the sides.
Instructions
-
Preheat the oven to 400F.
-
Add the pie crust mix to a large bowl, and then add in the water 1 tablespoon at a time while mixing with a fork until it forms dough. Form the dough into 2 balls so they’re easier to roll out.
-
Roll out the dough balls one at a time on a well-floured surface to a circle about 10 inches in diameter.
-
Use a heart-shaped cookie cutter (about 4 inches across at its widest part) to stamp out as many hearts as you can. Repeat this process with the second ball of dough. Gather all the dough scraps into a ball, roll them out again, and stamp out more hearts. You should get enough hearts for 7 pop tarts (14 hearts total).
-
Arrange 7 hearts on a large baking tray lined with parchment paper. Put about 1/2 tablespoon of jam on each heart and slightly spread it out (but leave a border at least 1/4-inch all the way around).
TIP – You can line your baking tray with silpat baking mats or parchment paper for easy cleanup if desired.
-
Lightly brush the outside of each jam-topped heart with water. Place another heart-shaped piece of dough on top of each. Use the tines of a fork to lightly crimp the edges of each heart and seal the jam inside.
-
Bake until set, about 10 to 12 minutes.
-
Once the pop tarts are baked, whisk together all ingredients for the glaze.
TIP – If your strawberry glaze is more beige than pink, you can add a little bit of red food coloring. Be careful because a little goes a long way!
-
To glaze the pop tarts, transfer them while they’re still warm to a wire rack placed on a baking tray. Spoon the glaze onto each, letting the excess drip off. Top with sprinkles immediately before the glaze sets.
Expert Tips & FAQs
- You can store your pop tarts in a sealed ziplock bag or an air-tight container kept at room temperature for up to 3 days. You can also keep them in an air-tight container in the refrigerator for up to 1 week.
- Freeze – Place your room temperature pop tarts in a freezer safe bag or container and transfer to the freezer for up to 3 months. When you’re ready to eat them, let them thaw at room temperature and pop in the toaster!
Nutrition
The recipes on this blog are tested with a conventional gas oven and gas stovetop. It’s important to note that some ovens, especially as they age, can cook and bake inconsistently. Using an inexpensive oven thermometer can assure you that your oven is truly heating to the proper temperature. If you use a toaster oven or countertop oven, please keep in mind that they may not distribute heat the same as a conventional full sized oven and you may need to adjust your cooking/baking times. In the case of recipes made with a pressure cooker, air fryer, slow cooker, or other appliance, a link to the appliances we use is listed within each respective recipe. For baking recipes where measurements are given by weight, please note that results may not be the same if cups are used instead, and we can’t guarantee success with that method.
