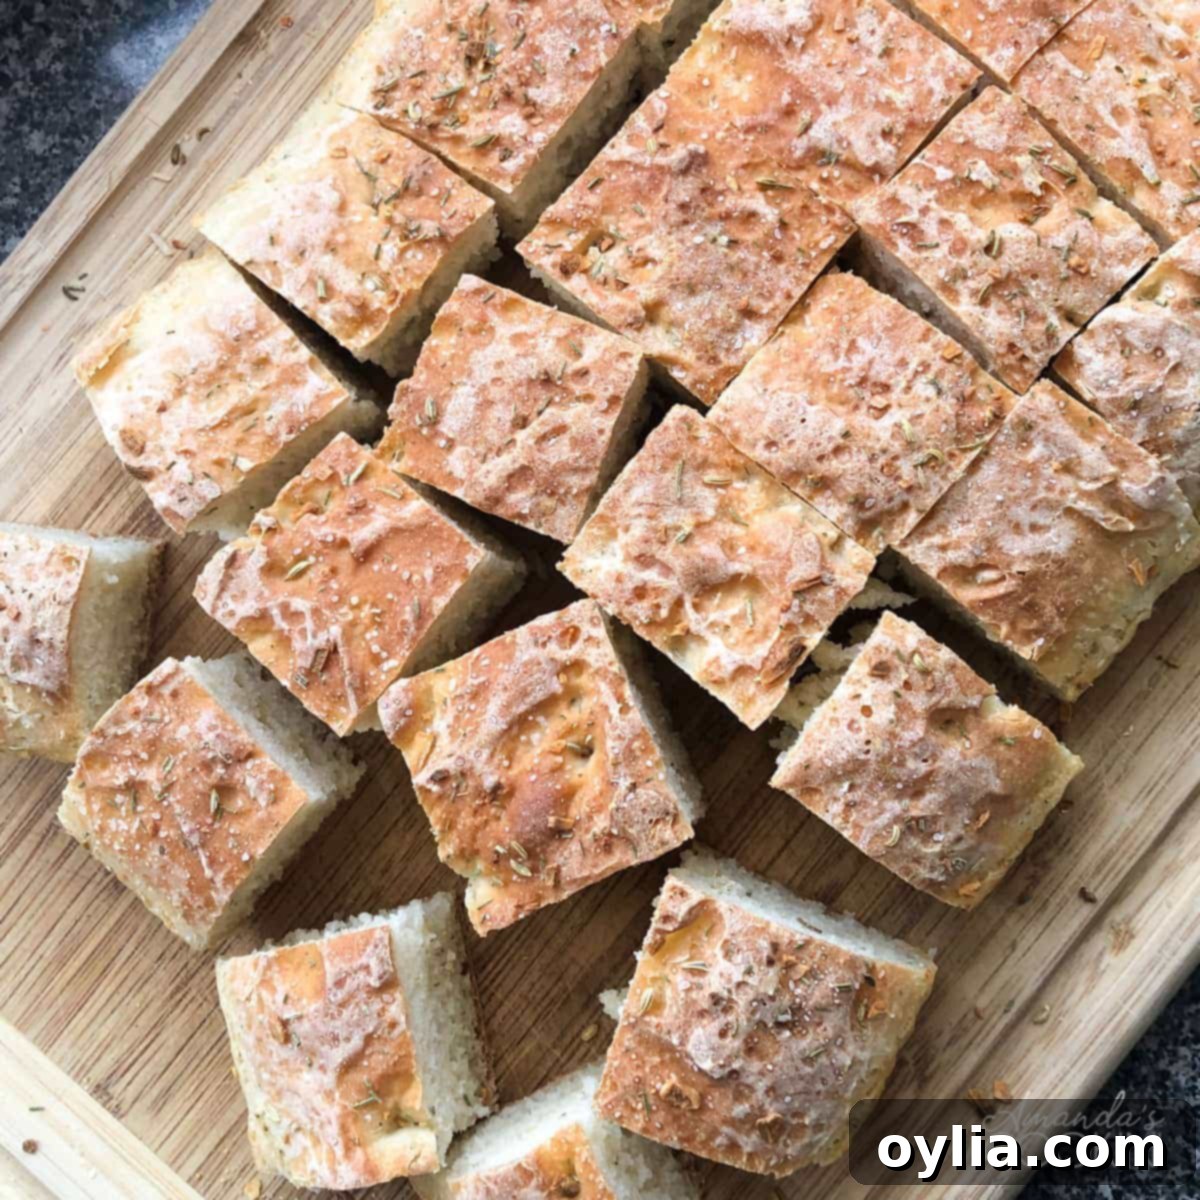
Effortless Everything Peasant Bread: Your Go-To No-Knead Recipe for Chewy, Flavorful Homemade Bread
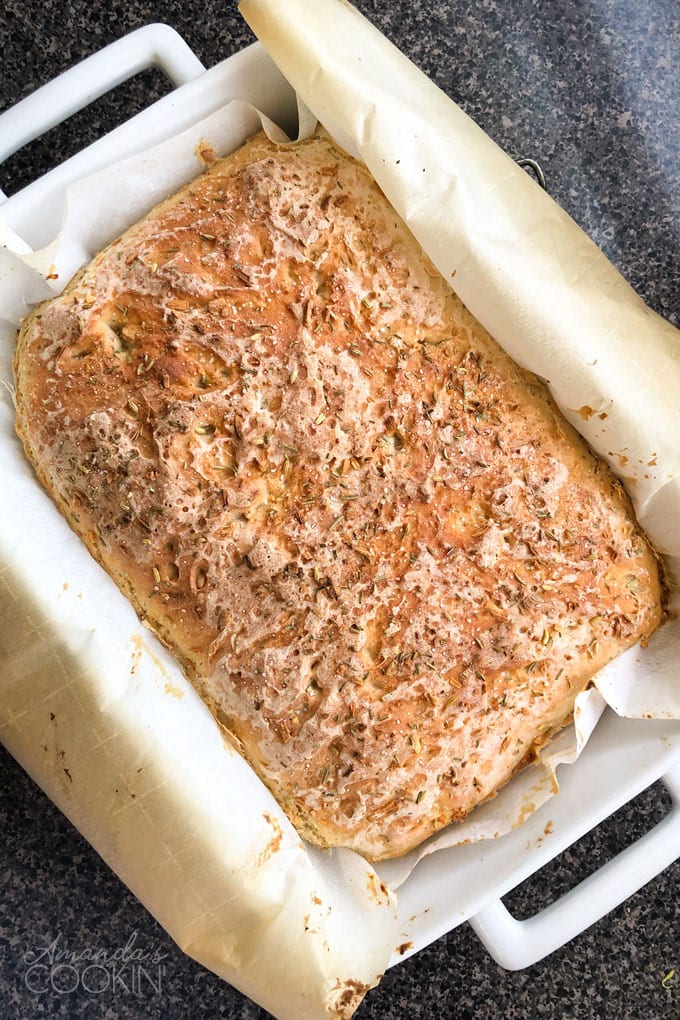
Baking homemade bread can seem daunting, with all the kneading, rising, and precise techniques involved. But what if we told you there’s a simple, no-fuss way to achieve a remarkably delicious, chewy, and aromatic loaf right in your own kitchen? Introducing our Effortless Everything Peasant Bread – a recipe designed for both seasoned bakers and complete novices. This incredibly easy no-knead bread bakes beautifully in a standard 13×9 baking dish, filling your home with an irresistible aroma that hints at the delightful flavors within. Get ready to impress your family and friends with minimal effort!
Why You’ll Love This No-Knead Peasant Bread Recipe
This isn’t just another bread recipe; it’s a game-changer. The simplicity of this no-knead peasant bread makes it a favorite for many reasons:
The Magic of No-Knead Baking
Forget the strenuous workout of traditional bread making. Our recipe completely eliminates the need for kneading. Instead, time and hydration do all the work, developing the gluten structure that gives bread its signature chewiness. This hands-off approach means less mess and less effort for you, making homemade bread a realistic weekday treat, not just a weekend project.
Unbeatable Aroma and Flavor
Prepare for your kitchen to transform into an aromatic haven! As this peasant bread rises, the carefully selected blend of dried rosemary, fennel seeds, dried onion, and dried minced garlic fills the air with an intoxicating fragrance. Once baked, these savory herbs and spices infuse every bite, creating a bread that’s bursting with an “everything bagel” inspired flavor profile. It’s so good, you might find yourself sharing slices with neighbors, just like I did, only for them to immediately ask for the recipe!
Versatility and Pure Comfort
Whether served warm with a slather of butter, alongside a hearty soup, or as the base for a gourmet sandwich, this peasant bread is incredibly versatile. Its wonderfully chewy texture and robust flavor make it perfect for any occasion. It’s the kind of comforting bread that brings warmth and joy to any meal, truly elevating the simple act of eating.
Essential Ingredients for Your Peasant Bread
Creating this flavorful loaf requires a handful of common pantry staples and a selection of aromatic spices. Here’s a detailed look at what you’ll need, making sure you’re set for success before you even begin.
For the Irresistible Bread Dough
- Warmed Water and Milk: The liquid base for our dough. Warming them to 105-115°F (40-46°C) is crucial for activating the yeast without killing it. This temperature range is warm to the touch but not hot.
- Instant Yeast or Active Dry Yeast: Both types work perfectly in this recipe. Instant yeast can be mixed directly with dry ingredients, while active dry yeast usually needs to be proofed first (which we do in this recipe by mixing with warm liquids and sugar). One standard packet (2 1/4 teaspoons) is exactly what you’ll need.
- Sugar: A small amount of sugar acts as food for the yeast, helping it to activate and produce those wonderful air pockets that make bread light and airy. It also adds a subtle sweetness that balances the savory notes.
- Unbleached All-Purpose Flour: This is the backbone of our bread. Unbleached flour generally has a slightly higher protein content, which contributes to the desired chewy texture.
- Salt: Essential for flavor, salt also plays a vital role in controlling yeast activity and strengthening the gluten structure.
- Dried Rosemary: Adds a distinct earthy, piney aroma and flavor.
- Fennel Seeds: These offer a subtle, sweet, and licorice-like note, a classic component of “everything” seasoning.
- Dried Onion: Provides a savory, umami depth.
- Dried Minced Garlic: Imparts a pungent, savory flavor that enhances the overall profile.
For that Signature “Everything” Topping
The topping is what truly makes this “Almost Everything” Peasant Bread shine, providing an extra layer of flavor and a delightful crunch. You’ll use a combination of the same aromatic spices found in the dough, plus a sprinkle of Kosher salt:
- Dried Rosemary: For continued herbaceous notes.
- Fennel Seeds: Reinforces the unique flavor.
- Dried Onion: Adds more savory crunch and taste.
- Dried Minced Garlic: Boosts the garlic presence.
- Kosher Salt: Its coarser texture provides a satisfying pop of saltiness and a visual appeal.
The “Everything Bagel Seasoning” Shortcut
If you’re a fan of convenience or already have some on hand, feel free to substitute my custom spice blend with an equal amount of your favorite everything bagel seasoning. Many brands offer excellent versions – I’ve heard great things about the one from Trader Joe’s!
Expert Tips for Perfect Peasant Bread Every Time
Achieving a bakery-quality loaf at home is easier than you think, especially with these helpful tips:
- Yeast Versatility: Whether you opt for active dry or instant yeast, the instructions remain the same for this recipe. A single standard envelope or packet of yeast (typically 2 1/4 teaspoons) is the ideal amount, so there’s no need to open a second one.
- Temperature is Key for Yeast: Ensure your water and milk mixture is between 105-115°F (40-46°C). Too cold, and the yeast won’t activate; too hot, and it will die. An instant-read thermometer is your best friend here.
- The “Everything” Flavor: This bread boasts an incredible chewy texture and rich flavor from the custom herb and spice mix. As mentioned, feel free to replace my specific blend with an equal amount of your favorite store-bought everything bagel seasoning for a convenient alternative.
- Don’t Overmix: Since this is a no-knead recipe, once the flour is incorporated, resist the urge to keep mixing. A shaggy dough is perfectly fine and desired. Overmixing can lead to a tougher bread.
- A Warm, Draft-Free Spot for Rising: Yeast thrives in warmth. Find a cozy spot in your kitchen away from open windows or air conditioning vents for optimal rising. A slightly warmed oven (turned off!) or a sunny windowsill can work wonders.
- Parchment Paper is Your Friend: Lining your baking dish with parchment paper is essential. It prevents sticking and, more importantly, creates convenient “handles” to easily lift the warm, baked bread out of the pan.
- Adjust Baking Time for Your Oven: Ovens can vary. Keep an eye on your bread during the last stages of baking. It should be golden brown and sound hollow when tapped on the bottom. If it’s browning too quickly, you can loosely tent it with foil.
Equipment You’ll Need
Gathering your tools before you start makes the baking process smooth and enjoyable:
- 13×9 baking dish: The perfect size for this rustic loaf.
- Mixing bowls: You’ll need at least two – one large for the wet ingredients and one medium for the dry.
- Wooden spoon: Ideal for mixing the dough without overworking it.
- Cutting board: For cooling and slicing your delicious bread.
- Bread Knife: While not strictly necessary, a good serrated bread knife makes slicing warm, crusty bread a dream.
- Measuring cups and spoons: For accurate ingredient proportions.
How to Make Effortless Everything Peasant Bread: Step-by-Step Guide
Follow these simple steps to bake your very own irresistible no-knead peasant bread:
Step 1: Activate the Yeast
- In a large bowl, combine the warm water and milk. The ideal temperature is between 105-115°F (40-46°C).
- Sprinkle the yeast and sugar over the liquid mixture. Gently stir.
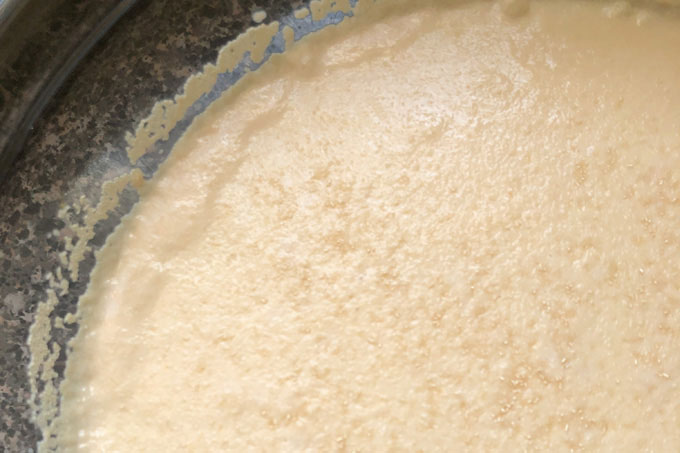
- Let this mixture sit for 5-10 minutes. You’ll know the yeast is active and healthy when it becomes foamy and bubbly on the surface. This is a crucial step to ensure your bread will rise beautifully.
Step 2: Combine Dry Ingredients
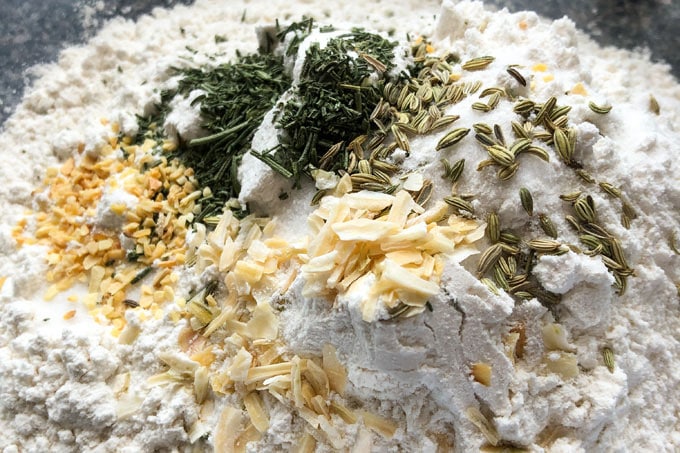
- While your yeast is proofing, take a medium bowl and combine the flour, salt, dried rosemary, fennel seeds, dried onion, and dried minced garlic.
- Whisk these dry ingredients together thoroughly to ensure the spices and salt are evenly distributed throughout the flour. Remember, these are the spices intended for the bread dough, not the topping.
Step 3: Mix and First Rise
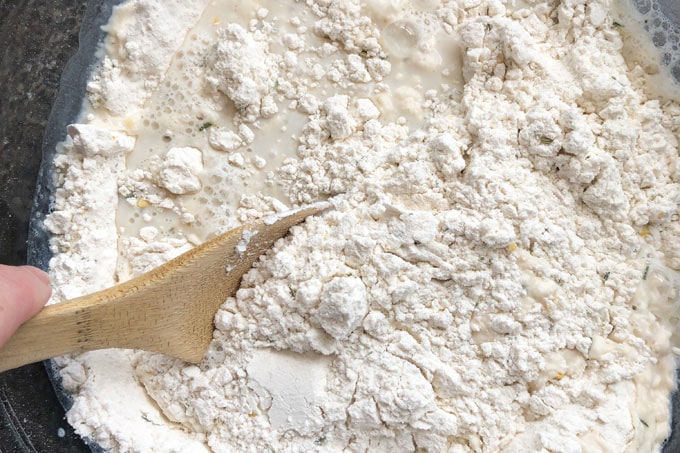
- Once your yeast mixture is foamy, add the combined flour and spice mixture to the wet ingredients in the large bowl.
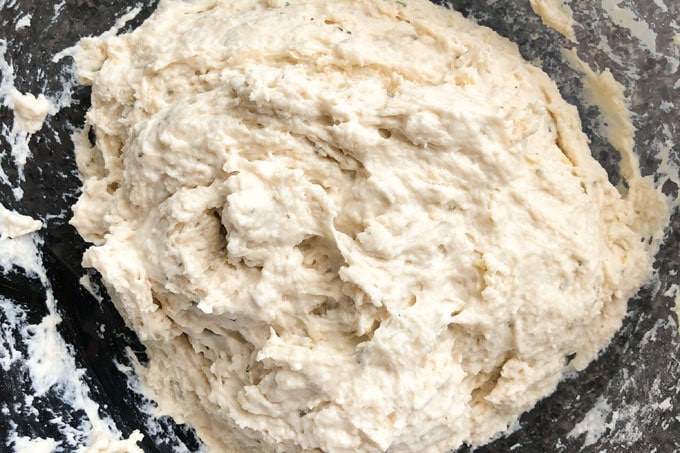
- Using a sturdy wooden spoon, stir until all the ingredients are just combined and no dry streaks of flour remain. The dough will be shaggy and sticky – this is normal and desired for no-knead bread!
- Cover the bowl with a clean towel or cloth and place it in a warm, draft-free location. Let the dough rise for 40-60 minutes, or until it has visibly doubled in size. This first rise allows the yeast to work its magic and develop flavor.
Step 4: Prepare the Baking Pan
- Line a 13×9 inch baking dish with parchment paper. Make sure to leave an overhang of paper on the sides; these will serve as convenient handles to lift the bread out later. This also prevents the sticky dough from adhering to the pan.
Step 5: Second Rise in the Pan
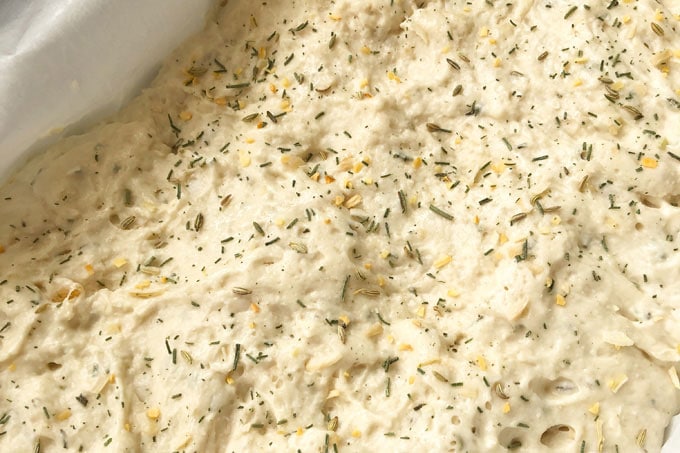
- Carefully scrape the sticky dough into the prepared parchment-lined baking dish. Resist the urge to press or shape it too much.
- Lightly spray a piece of plastic wrap with cooking spray and gently place it over the dough in the pan. This prevents the plastic from sticking to the rising dough.
- Allow the dough to rise again for another 35-45 minutes in a warm, draft-free spot. This second rise contributes to the bread’s airy texture.
Step 6: Preheat and Top
- While the dough is on its second rise, preheat your oven to 425°F (220°C). This high initial temperature helps create a beautiful crust.
- Once the dough has risen and the oven is preheated, carefully remove the plastic wrap.
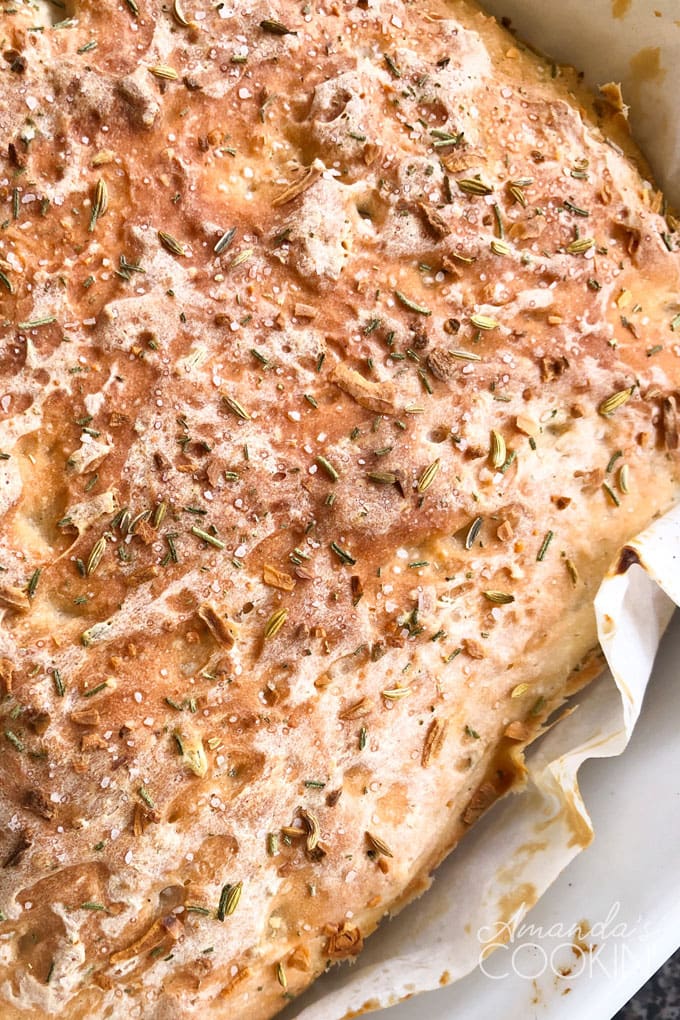
- Generously sprinkle the top of the dough with your chosen topping ingredients: fennel seeds, rosemary, dried onion, dried minced garlic, and Kosher salt. This will form the signature “everything” crust.
Step 7: Bake to Golden Perfection
- Place the baking dish in the preheated oven. Bake at 425°F (220°C) for 20 minutes.
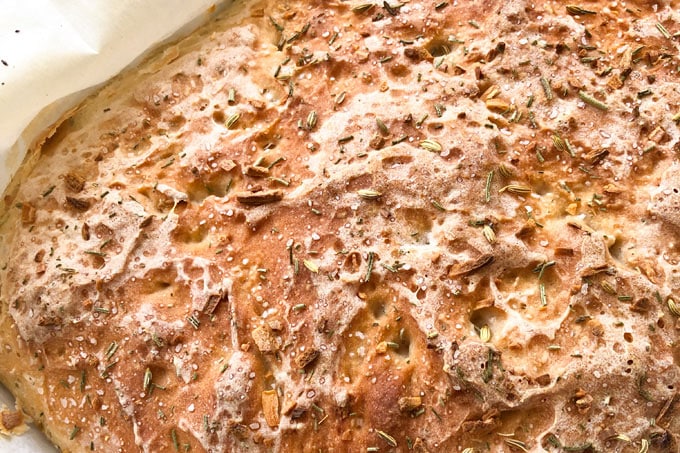
- After 20 minutes, reduce the oven temperature to 375°F (190°C) and continue baking for another 15 minutes, or until the bread is golden brown and sounds hollow when tapped. This two-stage baking ensures a crispy crust and a thoroughly cooked interior.
Step 8: Cool and Serve
- Allow the bread to cool in the pan for 10 minutes. This helps it set and makes it easier to handle.
- Using the parchment paper handles, carefully lift the bread out of the pan and transfer it to a wire cooling rack to cool completely, or at least for another 20-30 minutes if you prefer warm bread.
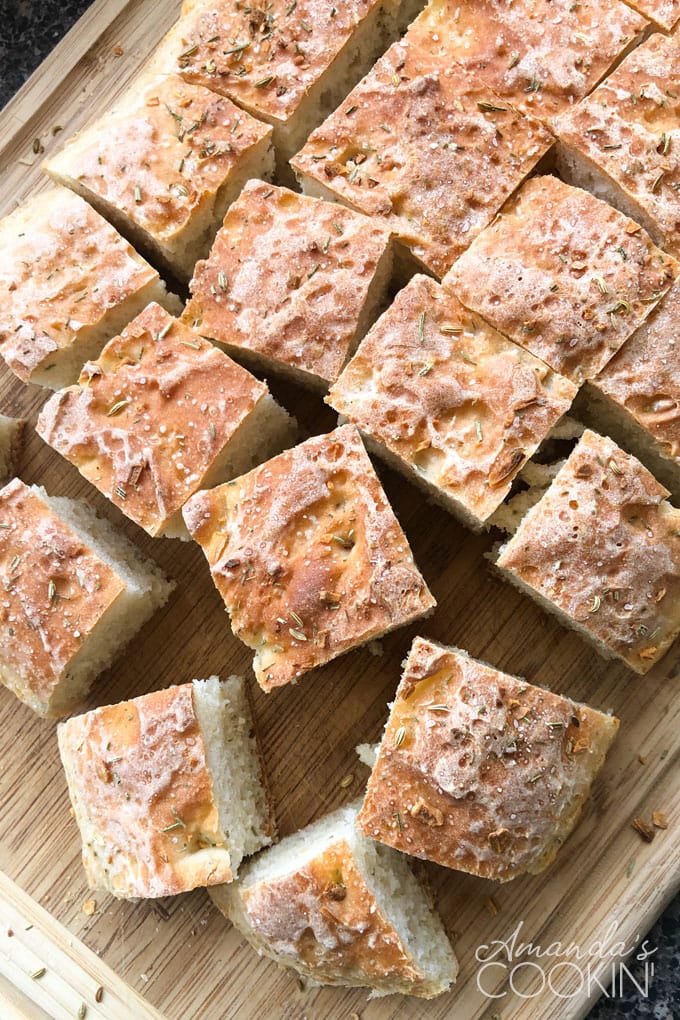
- Once cooled enough to handle, cut the bread into squares or slices using a bread knife. It can be enjoyed while still warm, but a bit of cooling allows the flavors and texture to fully develop.
Serving Suggestions and Storage
This “Everything” Peasant Bread is fantastic on its own, but here are some ideas to enjoy it even more:
- With Butter: A classic pairing, especially when the bread is still warm.
- Soups and Stews: Perfect for soaking up flavorful broths.
- Cheese Board: Its savory notes complement a variety of cheeses.
- Sandwiches: Makes an excellent foundation for hearty sandwiches.
- Toasted: Slice and toast for a crispy morning treat.
Storage: Store leftover bread at room temperature in an airtight container or bread bag for up to 3-4 days. For longer storage, slice the bread and freeze it in an airtight freezer bag for up to 2-3 months. Reheat slices in a toaster or oven.
Frequently Asked Questions (FAQ)
What kind of yeast should I use?
This recipe is versatile and works well with both instant yeast and active dry yeast. The instructions provided, including proofing the yeast in warm liquid, are suitable for either type. One standard packet (2 1/4 teaspoons) is the perfect amount for this recipe.
Can I substitute other herbs and spices?
Absolutely! While the “everything” seasoning blend (rosemary, fennel, onion, garlic) is highly recommended for its unique flavor, you can certainly experiment with other herbs and spices. Dried oregano, thyme, or even a dash of red pepper flakes could add interesting twists. You can also easily use a store-bought “everything bagel seasoning” blend as a convenient substitute.
How do I know my yeast is active?
After sprinkling the yeast and sugar over the warm water and milk and letting it sit for 5-10 minutes, the mixture should become foamy and bubbly. This foam indicates that the yeast is alive and active, ready to make your bread rise. If you don’t see foam, your water might be too cold or too hot, or your yeast might be expired, and it’s best to start over with fresh yeast.
How should I store leftover peasant bread?
To keep your peasant bread fresh, store it at room temperature in an airtight container, a bread box, or wrapped tightly in plastic wrap for up to 3-4 days. For longer preservation, slice the bread and freeze it in a freezer-safe bag or container for up to 2-3 months. Thaw slices as needed or toast directly from frozen.
Can I make this bread ahead of time?
Yes, you can prepare the dough for its first rise and then refrigerate it overnight for a slower, more flavorful fermentation. When ready to bake, let the dough come to room temperature for about 30-60 minutes, then proceed with transferring it to the baking dish for the second rise and baking as usual.
More Delicious Bread Recipes
If you loved making this easy peasant bread, explore these other fantastic bread recipes:
- Homemade Italian Bread
- 1963 Homemade White Bread
- Make Your Own Pizza Dough
- How to Make German Pretzels
- One Hour Homemade Bread
Almost Everything Peasant Bread
Incredibly fragrant, deliciously chewy, and perfect alone or slathered in butter, you will love this Everything Peasant Bread!
Ingredients
Bread Dough
- 1 ½ cups water
- ½ cup milk
- 2 ½ teaspoon SAF instant yeast (or active dry yeast)
- 1 tablespoon sugar
- 4 cups unbleached all-purpose flour
- 2 teaspoons salt
- 1 ½ teaspoons dried rosemary
- ½ teaspoon fennel seeds
- 1 teaspoon dried onion
- ½ teaspoon dried minced garlic
Topping
- ¼ teaspoon Dried rosemary
- ¼ teaspoon Fennel seeds
- ½ teaspoon Dried onion
- ¼ teaspoon Dried minced garlic
- ¼ teaspoon Kosher salt
Things You’ll Need
- 13×9 baking dish
- Mixing bowls
- Wooden spoon
- Cutting board
- Bread Knife
Before You Begin
- You can use active dry or instant yeast; the instructions remain the same. One envelope/packet of yeast is 2 1/4 teaspoon and is totally fine for this recipe. No need to open a second packet.
- This bread has a wonderfully chewy texture and great flavor!
Instructions
- Combine the water and milk and warm to 105-115 F then place in a large bowl. Sprinkle yeast and sugar over the top of the water/milk mixture. Let yeast work for 5-10 minutes until foamy and bubbly.
- While the yeast is working, combine flour, salt, rosemary, fennel seed, dried onion and dried garlic in a medium bowl. Whisk to combine. (note that spices are from the bread ingredient list, not the topping list)
- When yeast is ready, add the flour mixture to the yeast mixture and stir to combine with a wooden spoon. Don’t knead the dough, just cover it with a clean towel or cloth and place it in a draft free location and let rise until doubled in size (40-60 minutes).
- Line a 13×9 baking dish with parchment paper allowing excess paper to hang over the edge to be used as handles.
- Scrape the dough into the pan, dough will be sticky. Spray a piece of plastic wrap and cover and let rise another 35-45 minutes.
- Preheat the oven to 425 F.
- Carefully remove plastic wrap and sprinkle the top of the dough with topping ingredients (fennel seed, rosemary, onion, garlic and Kosher salt).
- Bake @ 425 F for 20 minutes, then reduce temp to 375 F for 15 minutes more.
- Allow to cool in pan 10 minutes. Lift bread out of pan using parchment handles and place on a cooling rack. Cut into squares, can be cut while still warm.
Nutrition
Calories: 87 cal |
Carbohydrates: 18g |
Protein: 3g |
Fat: 1g |
Saturated Fat: 1g |
Cholesterol: 1mg |
Sodium: 222mg |
Potassium: 46mg |
Fiber: 1g |
Sugar: 1g |
Vitamin A: 8IU |
Vitamin C: 1mg |
Calcium: 10mg |
Iron: 1mg
Tried this Recipe? Pin it for Later!
Follow on Pinterest @AmandasCookin or tag #AmandasCookin!
The recipes on this blog are tested with a conventional gas oven and gas stovetop. It’s important to note that some ovens, especially as they age, can cook and bake inconsistently. Using an inexpensive oven thermometer can assure you that your oven is truly heating to the proper temperature. If you use a toaster oven or countertop oven, please keep in mind that they may not distribute heat the same as a conventional full-sized oven and you may need to adjust your cooking/baking times. In the case of recipes made with a pressure cooker, air fryer, slow cooker, or other appliance, a link to the appliances we use is listed within each respective recipe. For baking recipes where measurements are given by weight, please note that results may not be the same if cups are used instead, and we can’t guarantee success with that method.
