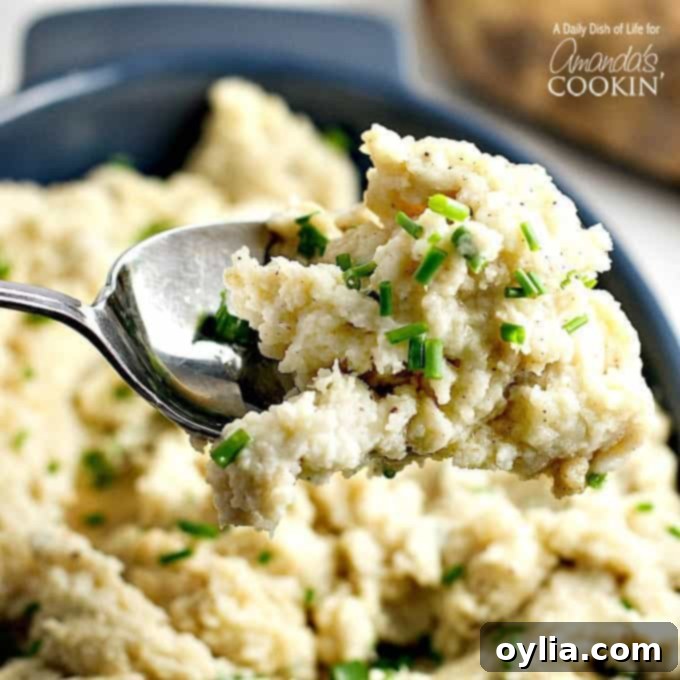
The Ultimate Guide to Perfect Brown Butter Mashed Potatoes: A Flavorful Thanksgiving Side Dish
Forget everything you thought you knew about classic mashed potatoes, because we’re about to introduce you to a game-changer: Brown Butter Mashed Potatoes. This simple yet incredibly impactful technique amplifies the flavor of your favorite side dish, transforming ordinary mashed potatoes into something truly extraordinary. Imagine perfectly creamy, fluffy potatoes infused with a rich, nutty, and subtly sweet aroma from browned butter. Positively delicious, these mashed potatoes are guaranteed to become a new staple at your dinner table, especially during the holidays.
With these foolproof tips, you’ll achieve perfect mashed potatoes every single time, making lumps and gluey textures a thing of the past. Get ready to impress your family and friends with a side dish that’s both comforting and gourmet.
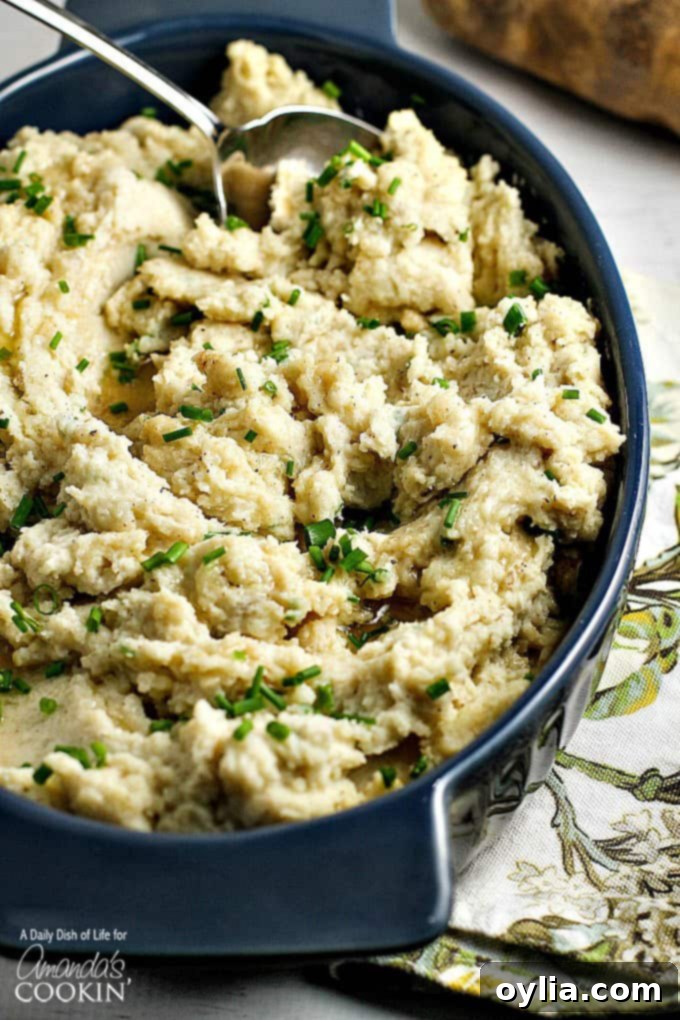
Why Brown Butter Mashed Potatoes are a Must-Try
Mashed potatoes are a classic for a reason – they’re the ultimate comfort food. And when Thanksgiving dinner rolls around, a generous helping of creamy mashed potatoes is simply non-negotiable. However, for a dish with so few ingredients, mastering the perfect mashed potato can be surprisingly tricky. Many home cooks struggle with achieving that ideal texture – often ending up with lumpy, dry, or even gluey potatoes.
That’s where the magic of brown butter comes in. Browning butter is a simple technique that creates a wonderfully complex flavor profile. As butter gently cooks, its milk solids toast, developing a rich, nutty aroma and a deeper, more sophisticated taste. This process, known as the Maillard reaction, transforms the butter from a simple fat into a fragrant, golden elixir that adds an unparalleled depth to your mashed potatoes. It’s an easy step that yields gourmet results, making your holiday spread even more memorable.
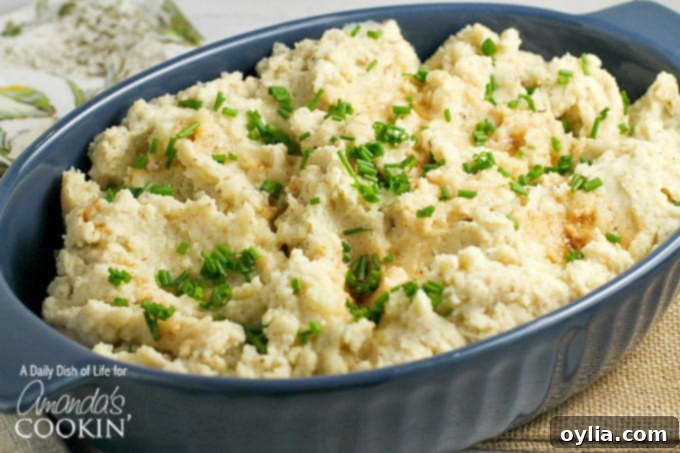
Secrets to Achieving the Perfect Brown Butter Mashed Potatoes Every Time
To ensure your brown butter mashed potatoes are consistently light, airy, and bursting with flavor, pay close attention to these critical steps:
1. Choose the Right Potato Variety
The foundation of great mashed potatoes lies in selecting the correct type of potatoes. For that desirable light and fluffy texture, opt for starchy potatoes like Russets (also known as Idaho potatoes) or Yukon Golds. Russets are particularly high in starch and low in moisture, which causes them to break down easily and absorb butter and cream beautifully, resulting in a cloud-like consistency. Yukon Golds offer a naturally buttery flavor and a slightly creamier, denser texture, making them an excellent choice for a rich mash. Avoid waxy potatoes such as red or new potatoes, as their higher moisture content and lower starch will lead to a gluey or pasty consistency that simply won’t absorb dairy well.
2. Select the Best Mashing Tool
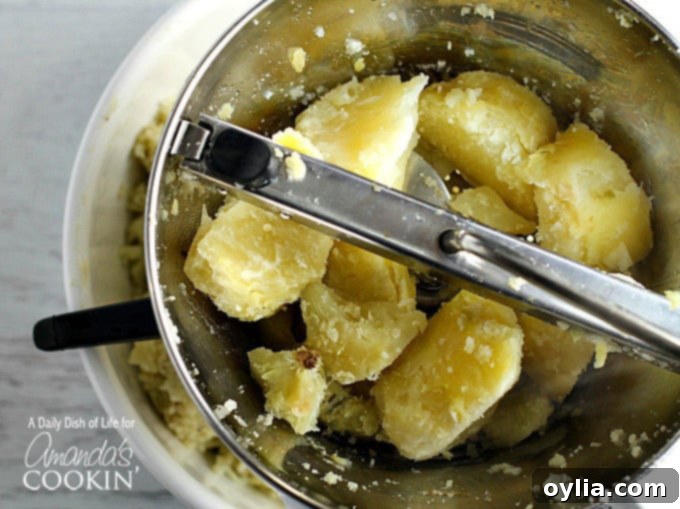
The tool you use to mash your potatoes significantly impacts the final texture. For the ultimate light and airy feel, putting your cooked potatoes through a food mill is highly recommended. Not only does it create an incredibly smooth, lump-free texture, but it also effortlessly removes any remaining skins. If a food mill isn’t available, a traditional potato masher is your next best bet, allowing you to achieve a creamy, slightly rustic mash. Be careful not to overwork the potatoes with a masher, which can activate too much starch. What you absolutely want to avoid is using a food processor or electric mixer. The high-speed blades will over-process the potatoes, breaking down their cell walls and releasing excessive starch, which results in an unappetizing, glue-like texture.
3. Master the Art of Browning Butter
Browning your butter is a simple technique that adds a remarkable depth of flavor to your mashed potatoes. Here’s how to do it perfectly:
- Use a Light-Colored Pan: This is crucial! A light-colored saucepan or skillet allows you to clearly monitor the butter’s color as it browns, preventing it from burning.
- Melt and Foam: Place your unsalted butter in the pan over medium-low heat. As it melts, it will begin to foam.
- Watch for Flecks: Continue cooking, stirring occasionally. The foam will subside, and the butter will start to change color from pale yellow to golden, then to an amber hue. Keep a close eye out for tiny, fragrant, brown flecks appearing at the bottom of the pan. These are the toasted milk solids, signaling that your butter is perfectly browned.
- Remove from Heat Immediately: Once you see those beautiful brown flecks (not black!), remove the pan from the heat right away to stop the cooking process. The residual heat in the pan will continue to cook the butter, so prompt removal is key to prevent burning.
- Sediment (Optional): While some recipes encourage including the brown flecks for maximum flavor, you can strain them out if you prefer a smoother texture. A little sediment won’t hurt, but for the purest brown butter flavor without any bitterness, some chefs strain. The brown butter will naturally impart a gorgeous golden tinge to your mashed potatoes regardless.
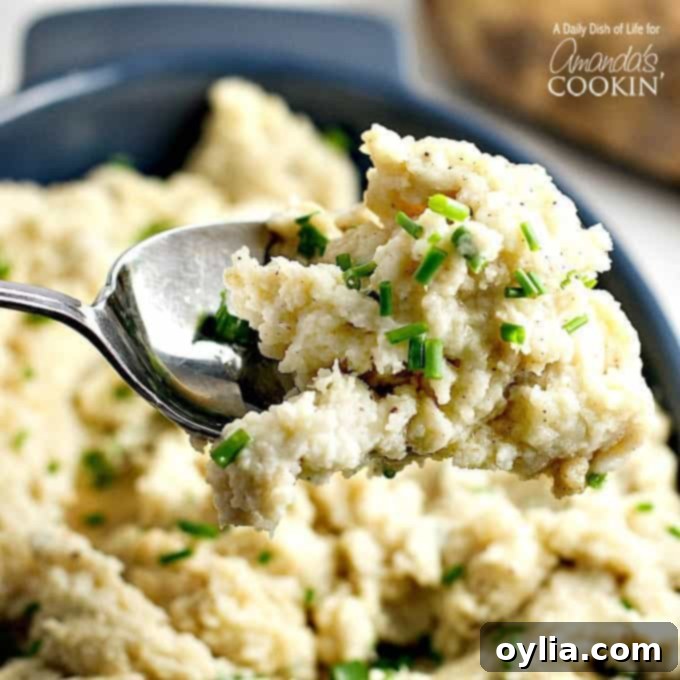
Ingredients for Brown Butter Mashed Potatoes
Gather these simple ingredients to create your unforgettable side dish:
- 4 lbs Russet or Yukon Gold potatoes: The star of the show. Choose firm, unblemished potatoes.
- 10 tablespoons unsalted butter, browned: Unsalted butter gives you control over the final seasoning, and browning it adds that incredible nutty depth.
- 1-1/2 cup light cream, warmed: Warming the cream ensures it incorporates smoothly into the potatoes without cooling them down, helping to maintain that creamy consistency.
- Salt and freshly ground black pepper to taste: Essential for seasoning, add generously!
- Chopped chives (optional): For a fresh, mild oniony garnish that adds color and a delicate flavor.
Useful Kitchen Tools
Having the right equipment makes all the difference for perfect mashed potatoes:
- Stock pot: A large pot for boiling the potatoes evenly.
- Food mill: Highly recommended for achieving the smoothest, airiest texture and effortlessly removing skins.
- Potato masher: A good alternative if you don’t have a food mill, for a slightly rustic mash.
- Light colored saucepan or skillet: Essential for browning butter so you can accurately monitor the color change.
- Kitchen knife: For preparing and cutting your potatoes.
Below you’ll find the full step-by-step recipe. Read on for even more tips and serving suggestions!
Step-by-Step Instructions for Perfect Brown Butter Mashed Potatoes
Follow these detailed steps for creamy, dreamy mashed potatoes:
- Prepare the Potatoes: Thoroughly scrub your potatoes to remove any dirt. Place them whole in a large stock pot. Add enough cold water to fully cover the potatoes by at least an inch. Generously salt the water – this seasons the potatoes from the inside out and enhances their flavor.
- Boil Until Tender: Bring the salted water to a rolling boil over high heat. Once boiling, reduce the heat slightly to maintain a steady simmer. Cook the potatoes until they are fork-tender, which typically takes about 20-25 minutes, depending on their size. You should be able to easily insert a knife all the way through a potato with no resistance.
- Drain and Chunk: Carefully drain the hot water from the pot. Allow the potatoes to sit in the empty hot pot for a minute or two to steam dry slightly – this helps remove excess moisture, preventing a watery mash. Once slightly cooled, cut the potatoes into large chunks. At this stage, some of the skins may already be falling off; you can easily peel off the larger pieces with your hands.
- Mill for Perfection (or Mash): Pass the potato chunks through a food mill. This process creates an incredibly airy and smooth texture, while simultaneously separating any remaining skins. If using a potato masher, mash until mostly smooth, being careful not to overwork them.
- Brown the Butter: While the potatoes are cooking or steaming, begin browning your butter. In a light-colored saucepan or skillet, melt the 10 tablespoons of unsalted butter over medium-low heat. Watch it closely as it melts, foams, and then begins to turn golden. Once small, fragrant brown flecks appear at the bottom of the pan, immediately remove it from the heat to prevent burning. The butter should smell nutty and rich.
- Combine and Season: Warm your light cream gently. Add most of the browned butter (reserving a couple of tablespoons for garnish) and the warmed light cream to your milled or mashed potatoes. Using a spoon or spatula, gently fold and mix everything together until just combined and creamy. Avoid overmixing, as this can activate starch and lead to a gluey texture.
- Taste and Adjust: Taste the mashed potatoes and season generously with salt and freshly ground black pepper. Adjust to your preference.
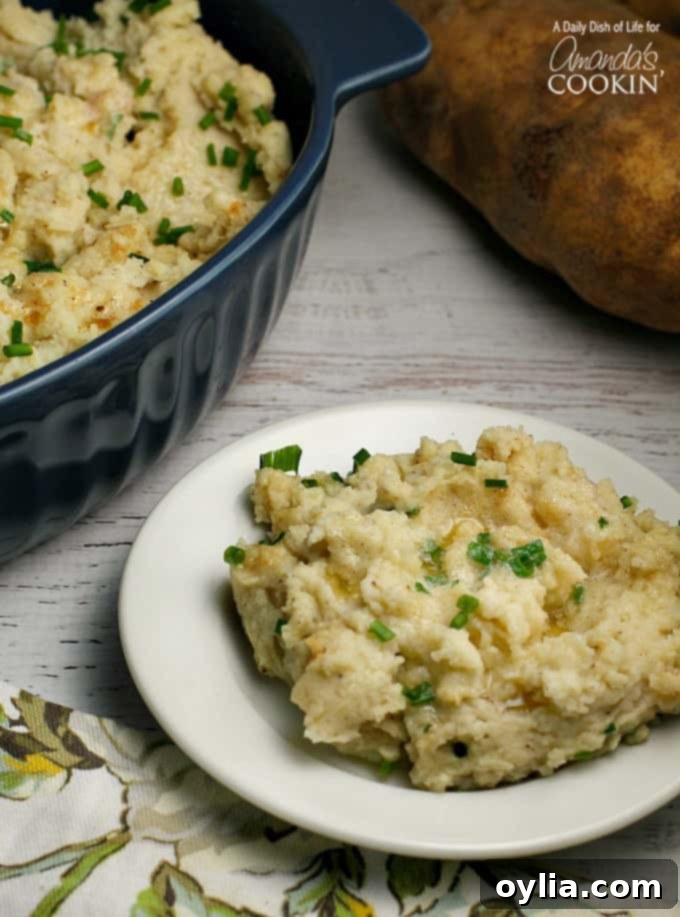
- Garnish and Serve: Transfer the creamy brown butter mashed potatoes to a serving bowl. Drizzle the remaining reserved browned butter over the top for an extra layer of flavor and a beautiful sheen. Garnish with freshly chopped chives, if desired. Serve immediately and enjoy!
Serving Suggestions and Variations
While delicious on their own, brown butter mashed potatoes pair beautifully with a variety of dishes and can be customized further:
- Classic Pairings: They are a natural complement to roasted turkey, ham, prime rib, or any pot roast. Don’t forget a generous ladle of homemade gravy!
- Herbaceous Touches: Beyond chives, consider fresh parsley, thyme, or a hint of sage for an added aromatic layer.
- Garlic Infusion: Roast a head of garlic, mash the cloves, and mix them into your potatoes for a subtle, sweet garlic flavor.
- Cheese Please: A sprinkle of freshly grated Parmesan or a sharp white cheddar can add a delightful tang and richness.
- Crispy Toppings: Fried shallots or crispy onions can provide a wonderful textural contrast.
Frequently Asked Questions (FAQs)
Can I make brown butter mashed potatoes ahead of time?
Yes, you can! Mashed potatoes can be made a day or two in advance. Store them in an airtight container in the refrigerator. When ready to serve, gently reheat them on the stovetop over low heat, stirring in a splash more warm cream or milk and a knob of butter until creamy again. You may need to add a bit more seasoning.
How do I prevent my mashed potatoes from becoming gluey?
The key is to avoid overworking the potatoes. Once cooked, mash them just enough to remove lumps and achieve your desired consistency. Over-mashing (especially with a food processor or electric mixer) breaks down too much starch, leading to that undesirable gluey texture. Also, ensure your potatoes are properly drained and dry before mashing.
What if I don’t have a food mill?
A potato ricer is another excellent tool for incredibly smooth and fluffy mashed potatoes. If you only have a traditional potato masher, use it carefully to avoid over-mashing. You can also press the potatoes through a fine-mesh sieve for a silky smooth result, though this is more labor-intensive.
Can I use different types of dairy?
While light cream provides the perfect balance of richness and texture, you can experiment. Whole milk can be used for a lighter mash, or half-and-half for something richer than milk but lighter than heavy cream. Just ensure it’s warmed before adding to the potatoes.
Is it important to warm the cream?
Yes, warming the cream (or milk) is an important step. Adding cold dairy to hot potatoes can cool them down quickly and make them harder to incorporate smoothly, sometimes resulting in a lumpier texture. Warmed cream blends more easily and keeps your mashed potatoes hot.
More Thanksgiving Recipes You Might Like
Thanksgiving is a time for feasting, and these brown butter mashed potatoes will fit right in! Here are some other holiday favorites to complete your festive spread:
- My daughter is a huge sweet potato casserole fan, and this gorgeous version has a delightful oatmeal cookie topping!
- I’ve always loved green bean casserole, but I’m not a fan of condensed soup. This homemade version is so much better and bursts with fresh flavor!
- Don’t forget the homemade stuffing! This dressing recipe includes several wonderful herbs like parsley, sage, rosemary, and thyme to tantalize your tastebuds.
- Every single Thanksgiving, I brine my turkey. It consistently comes out moist, tender, and incredibly delicious every time! Here’s exactly how to brine a turkey this year for a show-stopping centerpiece.
- For dessert, my family adores this homemade French Silk Pie, a rich and decadent treat.
- A holiday meal isn’t complete without some homemade bread; these pull-apart dinner rolls are soft, fluffy, and perfect for soaking up gravy.
- And of course, don’t forget the vibrant and tangy whole cranberry sauce and a refreshing Cranberry Relish to balance out the richness of the meal.
Conclusion
Brown butter mashed potatoes are a testament to how a small tweak can dramatically elevate a classic dish. By focusing on quality ingredients, the right tools, and a simple but effective technique like browning butter, you can transform your mashed potatoes into a culinary highlight. Whether you’re preparing a festive holiday meal or simply seeking to enhance a weeknight dinner, this recipe promises to deliver a rich, comforting, and undeniably delicious experience. Give it a try, and prepare to fall in love with your new favorite mashed potato recipe!
How to Make Perfect Brown Butter Mashed Potatoes
IMPORTANT – There are often Frequently Asked Questions within the blog post that you may find helpful. Simply scroll back up to read them!
Course: Sides
Cuisine: American
Servings: 8-10
Prep time: 10 minutes
Cook time: 35 minutes
Total time: 45 minutes
Author: Amanda Davis
Ingredients
- 4 lbs Russet or Yukon Gold potatoes
- 10 tablespoons unsalted butter, browned
- 1-1/2 cup light cream, warmed
- Salt and freshly ground black pepper (to taste)
- Chopped chives (optional, for garnish)
Instructions
- Scrub your potatoes clean and place them in a large pot. Add enough cold water to fully cover the potatoes and generously salt the water.
- Bring the water to a boil and cook until the potatoes are tender, about 20-25 minutes. A knife should easily slide through them.
- Drain the potatoes thoroughly and let them steam dry in the hot pot for a minute or two. Cut the potatoes into chunks.
- Pass the potato chunks through a food mill to achieve an airy texture and strain out any skins. Alternatively, mash them with a potato masher until creamy.
- In a light-colored saucepan, brown the unsalted butter over medium-low heat. Watch for the butter to foam, then subside, and small brown flecks to appear at the bottom. Immediately remove from heat once browned to prevent burning.
- Add most of the browned butter (reserve 2 tablespoons for garnish) and the warmed light cream to the mashed potatoes. Gently mix until just combined and creamy.
- Taste and season generously with salt and pepper.
- Serve immediately, drizzled with the reserved browned butter and garnished with chopped chives if desired.
The recipes on this blog are tested with a conventional gas oven and gas stovetop. It’s important to note that some ovens, especially as they age, can cook and bake inconsistently. Using an inexpensive oven thermometer can assure you that your oven is truly heating to the proper temperature. If you use a toaster oven or countertop oven, please keep in mind that they may not distribute heat the same as a conventional full sized oven and you may need to adjust your cooking/baking times. In the case of recipes made with a pressure cooker, air fryer, slow cooker, or other appliance, a link to the appliances we use is listed within each respective recipe. For baking recipes where measurements are given by weight, please note that results may not be the same if cups are used instead, and we can’t guarantee success with that method.
