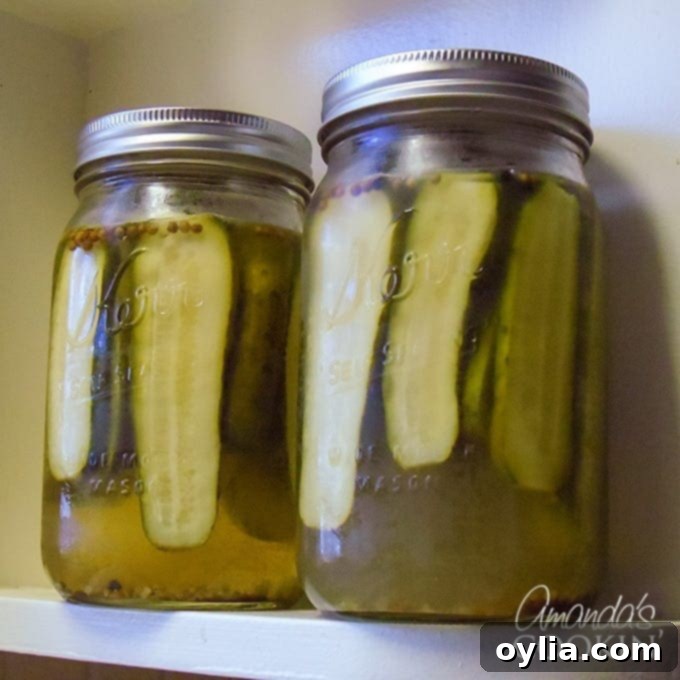
Homemade Claussen Pickles: Your Ultimate Copycat Recipe for Refrigerator Dill Pickles
For as long as I can remember, Claussen Kosher Dill Pickles have held a special place in my heart – and my refrigerator. There’s just something about their unparalleled crispness and perfectly balanced tangy-savory flavor that no other pickle can match. Sweet pickles or bread and butter varieties simply don’t do it for me; they lack that signature dill punch I crave. Even many shelf-stable dill pickles fall short, often tasting either too sweet or excessively vinegary. This long-standing preference for Claussen is precisely why, several years ago, I embarked on a journey to create my very own Claussen pickle copycat recipe.
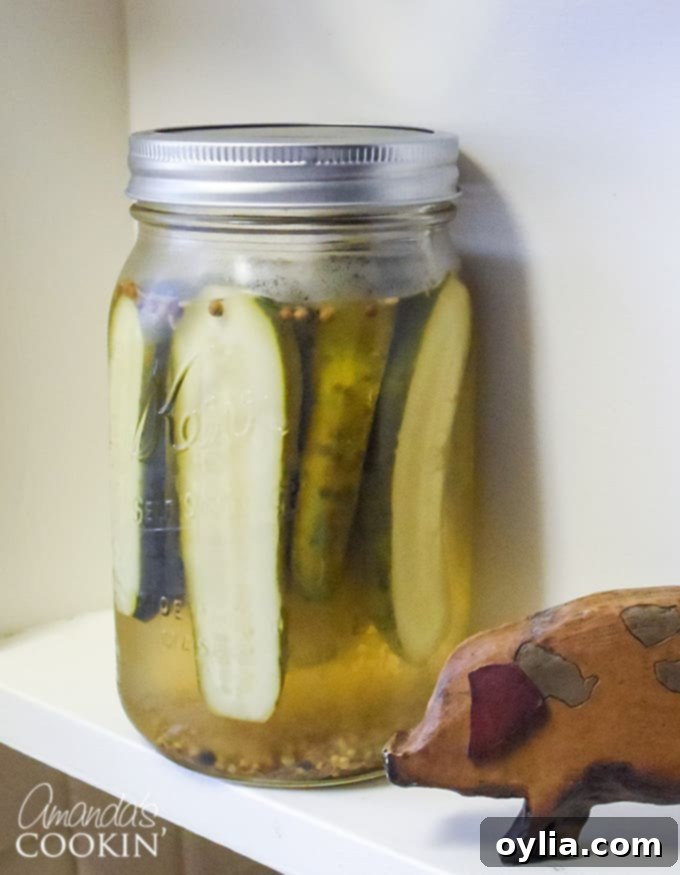
One of the biggest advantages of making pickles at home, especially a Claussen copycat, is opting for the refrigerator pickle method. This approach bypasses the complex, time-consuming steps of traditional canning, making it incredibly accessible for home cooks. While traditional canning allows for shelf-stable storage, refrigerator pickles, as their name suggests, require constant refrigeration. This trade-off is well worth it for the ease of preparation and the fresh, vibrant taste you achieve.
Crafting the Perfect Claussen Pickle Copycat at Home
My quest for the ultimate Claussen copycat wasn’t without its detours. Last year, I tried a canning method recipe that promised dill pickle perfection. However, it boasted a very high vinegar-to-water ratio, resulting in pickles that were far too sharp and vinegary to enjoy straight from the jar – a personal favorite pastime of mine! While they were passable on burgers and in potato salad, they lacked the nuanced balance I associate with Claussen. This experience only fueled my determination to find a recipe that truly captured that signature flavor profile.
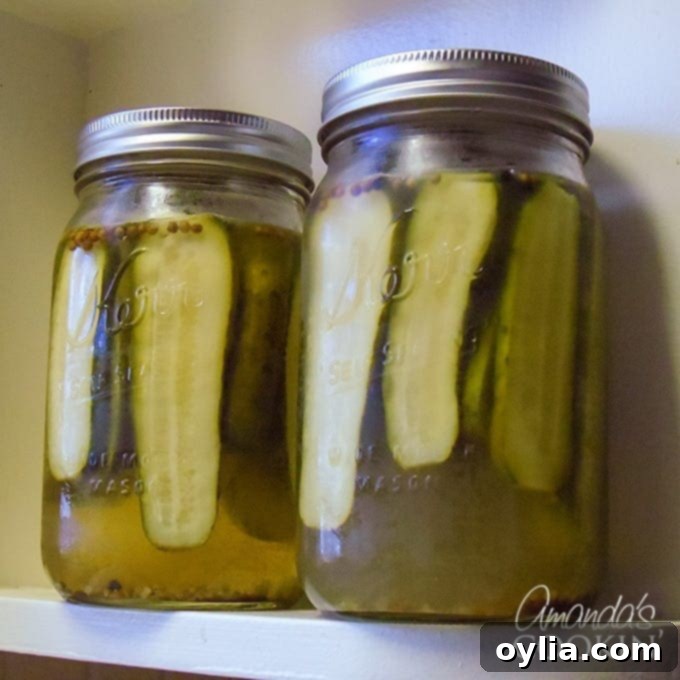
My initial search led me to a promising recipe that unfortunately called for apple cider vinegar. Despite the author sharing my aversion to sweet pickles, I worried that apple cider vinegar would introduce an unwanted sweetness or fruity note, veering away from the classic dill taste I was aiming for. My solution? A direct investigation into the source. I carefully examined the ingredient label of an actual jar of Claussen pickles, revealing that they use distilled white vinegar.
With this crucial piece of information, and noting other subtle differences in ingredients from the online recipe, I decided to use the existing copycat as a foundation. From there, I meticulously tweaked and experimented, developing my own version that aligned more closely with the authentic Claussen profile. This iterative process of refinement is key to creating truly outstanding homemade food.
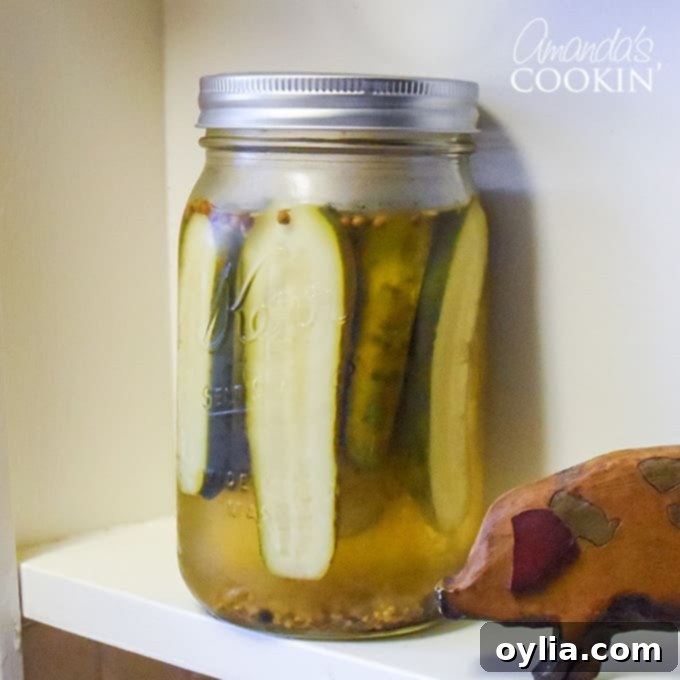
The Verdict? A resounding success! Everyone in my household absolutely adores these pickles. While they may not be an *exact* replica of Claussen, they are incredibly close – close enough that they disappear from the fridge almost as fast as I can make them. There’s a genuine satisfaction in creating something so delicious and beloved from scratch.
Making these pickles has become a surprisingly enjoyable activity for me. Though it would undoubtedly be simpler to just grab a jar of Claussen from the grocery store (and I still do occasionally), the process of crafting my own has a unique appeal. It allows for personalization and a deeper connection to the food we eat.
My first batch, while tasty, had a distinct mustard flavor and was a bit cloudy. Based on this experience, I adjusted the amount of mustard seed in the second batch, and I believe we’ve now found the winning formula. The clarity improved, and the flavor profile became even more balanced, bringing it closer to the iconic Claussen taste we all love. This journey of experimentation is part of the fun of home cooking!
Step-by-Step Guide to Making Your Claussen Copycat Pickles
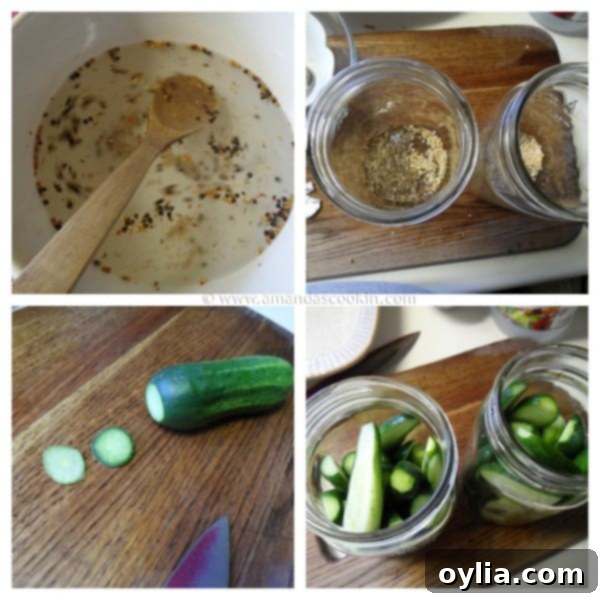
The process begins with preparing your brine. For maximum ease, I highly recommend mixing it directly in a 2-quart pitcher. You might see me using a bowl in some older pictures, but trust me, the pitcher method eliminates an extra step and makes pouring much simpler. Once your brine is mixed, the next step is to add the dill seed and dried garlic directly into your clean quart-sized jars. These spices lay the aromatic foundation for your pickles.
Next, give your pickling cucumbers a thorough rinse to ensure all dirt and debris are removed. A crucial step for crisp pickles is to trim the blossom end – this end contains enzymes that can make your pickles mushy. For good measure and uniform appearance, I always trim both ends. After trimming, cut each cucumber in half lengthwise and distribute them tightly among your prepared jars. The tighter they are packed, the less space there is for them to float, ensuring even brining.
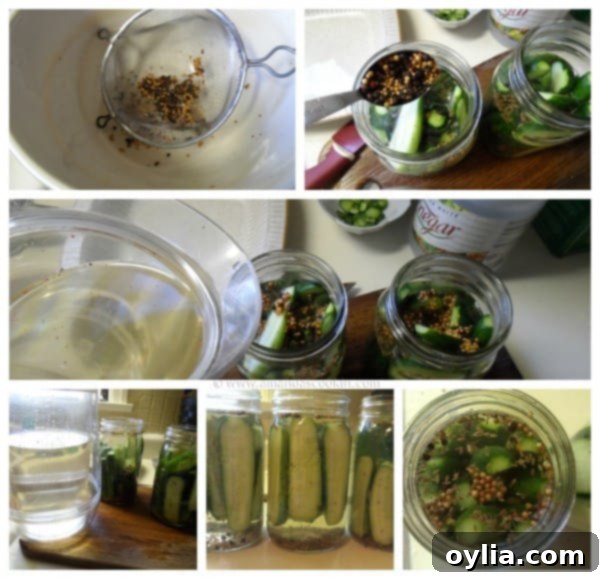
Before you pour the brine into the jars, remember to strain out the solids using a fine mesh colander. These flavorful solids – the coriander, mustard seed, peppercorns, and red pepper flakes – are essential. Distribute them evenly among your two jars, then carefully add the liquid brine until all the cucumbers are fully submerged. You might have some leftover brine, which can be discarded once you’ve filled your jars to the appropriate level.
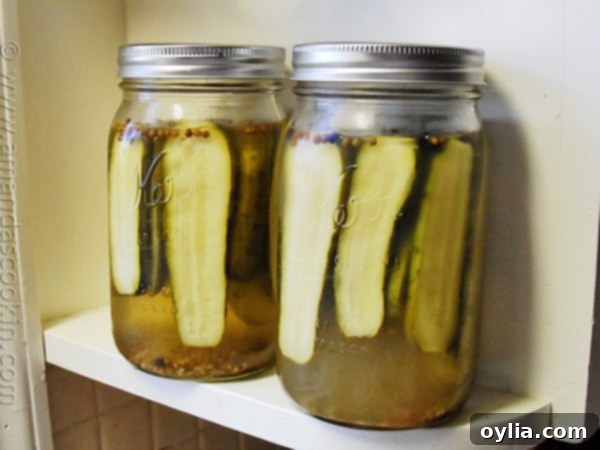
When covering your jars, it’s important not to create an airtight seal. Instead, perch the lid loosely on top. This allows air to circulate and fermentation gases to escape, which is vital for the pickling process. Proper airflow prevents pressure buildup and supports healthy fermentation.
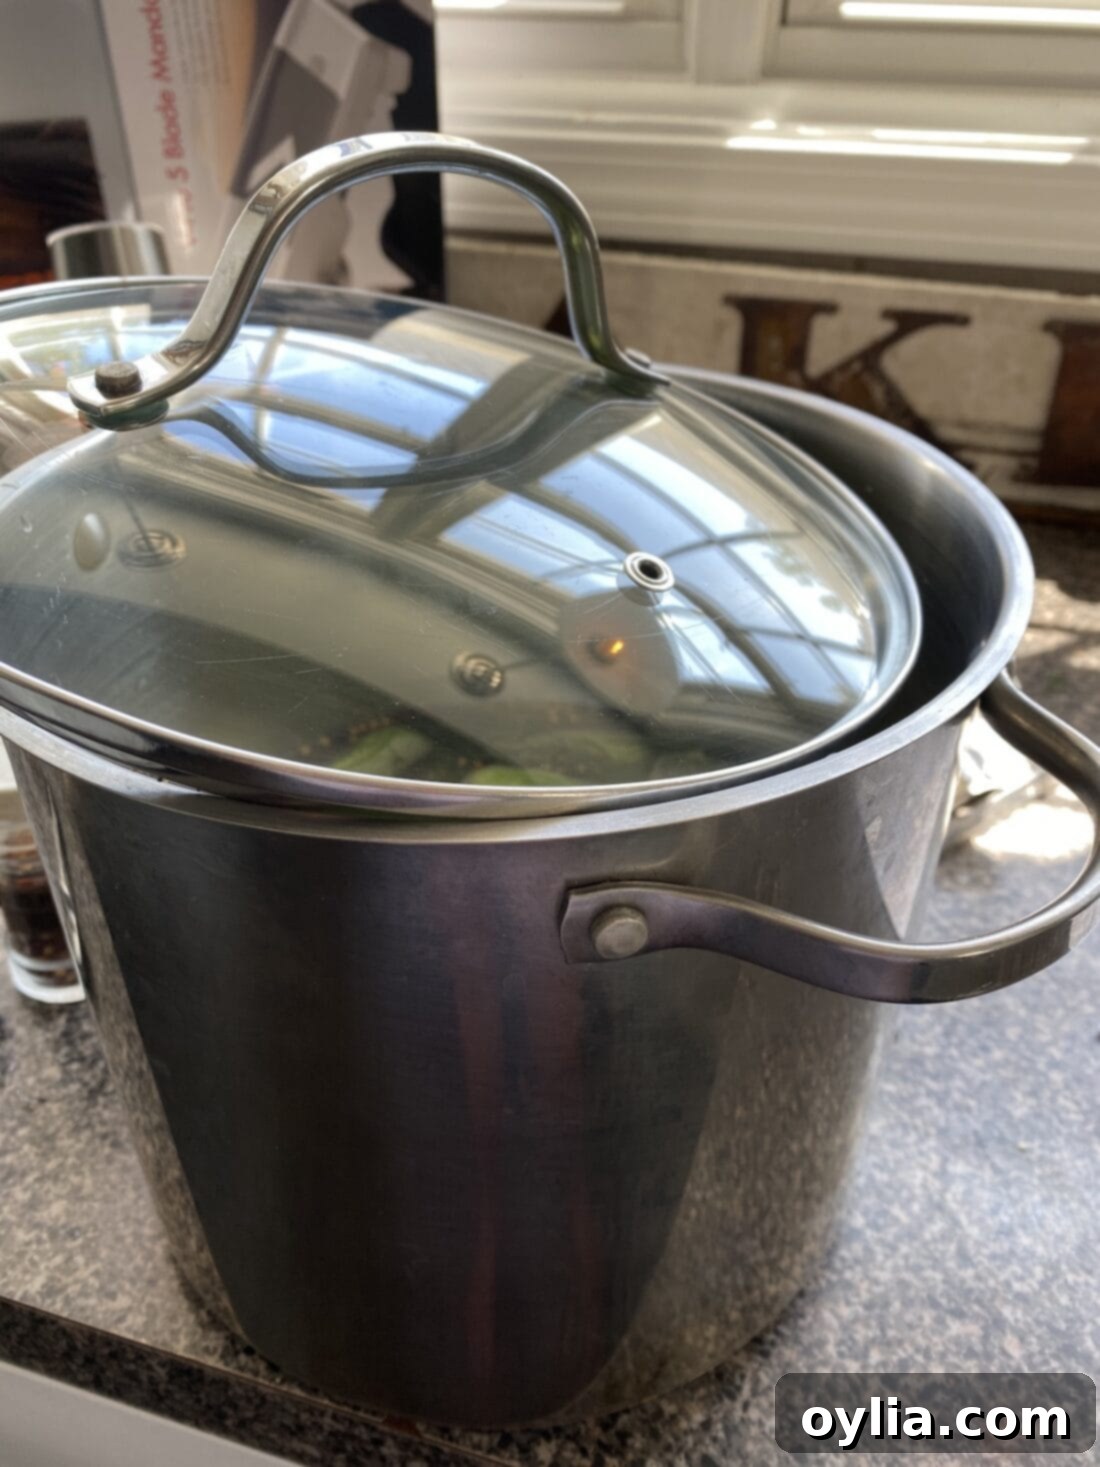
While the original instructions mention jars, I’ve since found a more convenient method for larger batches: I initially place my cucumbers in one big pot during the initial brining stage, then transfer them to a large covered glass container in the fridge for continued fermentation. This works particularly well if you’re making a significant quantity. For those curious about the “perched lid” technique, the image above clearly illustrates how the lid should rest loosely, allowing air exchange.
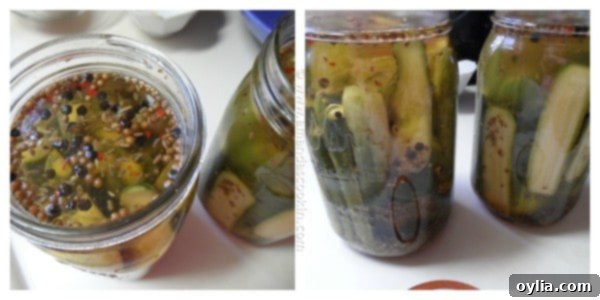
After about a day or so, your pickles will begin to show visible signs of fermentation, such as a slight color change and perhaps some cloudiness in the brine. The full pickling process typically takes between 2 to 4 days. My first batch, packed quite tightly, required the full four days to develop its flavor. However, my second batch, which I distributed among three jars and therefore packed less densely, was perfectly ready in just two and a half days. This suggests that the packing density can influence the fermentation time, so keep an eye (and a taste bud!) on your pickles.
Once they’ve reached your desired level of pickle-y goodness, it’s time to enjoy that satisfying crunch!
Troubleshooting Your Homemade Pickles: Common Concerns Addressed
When venturing into home pickling, especially fermentation-based recipes like this Claussen copycat, it’s common to encounter a few things that might seem concerning to beginners. Don’t worry, many are completely normal aspects of the process!
Scum or film on top – During the initial days of fermentation, you’ll likely observe bubbles rising to the surface. It’s also possible to see some “scum” or a thin film forming on the surface of the brine. This is a natural byproduct of the fermentation process, where beneficial bacteria are actively working. Simply skim this off with a clean spoon and discard it. It’s a completely normal and expected part of creating delicious fermented pickles.
White sediment at the bottom of the jar – If you notice a white layer settling at the bottom of your jars, there are usually two harmless explanations. According to Colorado State University, this sediment “may be caused by anti-caking agents in the salt or by the fermenting bacteria. Neither cause is harmful.” As long as your pickles smell and taste good, this sediment is nothing to worry about.
Factors leading to spoilage – While refrigerator pickles are generally very safe and easy, it’s good to be aware of what can go wrong. Colorado State University also highlights several factors that can lead to spoilage in pickles. These include:
- Failure to remove the blossom ends of cucumbers.
- Not thoroughly washing the produce before pickling.
- Not removing the scum that accumulates on curing brines (as mentioned above).
- Using a weak brine or vinegar solution (always stick to the recommended ratios).
- Not keeping the pickles fully covered with brine throughout the curing process.
- Using deteriorated ingredients, such as moldy garlic or old, decayed spices.
- Storing the pickles at a temperature that is too warm, especially during the fermentation stage.
Adhering to the recipe and these guidelines will help ensure safe and delicious results.
For more in-depth information and detailed safety guidelines on pickling, you can download the complete PDF document from The Colorado State University here.
Important Tips for Crunchy, Flavorful Pickles Every Time
Achieving that signature Claussen crispness and perfectly balanced flavor requires attention to detail. Here are some essential tips to ensure your homemade pickles are a triumph:
The Blossom End: Your Key to Crispness
This is perhaps one of the most critical steps for preventing mushy pickles. The blossom end of the cucumber (the end opposite from the stem, where the flower once was) contains enzymes that, if not removed, can cause your pickles to soften significantly during the brining process. Always cut it off. I personally trim off both ends for good measure and to help maintain a uniform shape and size, which also aids in even pickling.
Vinegar: The Foundation of Flavor and Safety
Always use vinegar with at least 5% acidity. Distilled white vinegar is preferred for this Claussen copycat recipe to keep the flavor clean and crisp, mirroring the original. It’s crucial not to reduce the amount of vinegar specified in the recipe. Vinegar not only contributes to the characteristic tangy flavor but also plays a vital role in preserving the pickles and inhibiting the growth of undesirable bacteria. Altering the vinegar ratio can impact both taste and safety.
Salt: Not All Salts Are Created Equal for Pickling
For successful pickling, stick to either pickling salt or coarse (but NOT flaky) Kosher salt. My go-to is always pickling salt. Regular table salt contains anti-caking agents and often iodine, both of which can lead to a cloudy brine and a less appealing appearance for your pickles. While using table salt won’t necessarily make your pickles unsafe, you will end up with a cloudy jar and white sediment at the bottom, which detracts from the visual appeal. Pickling salt is pure sodium chloride, designed to dissolve cleanly and evenly.
Cucumber Types: Select for Success
The type of cucumber you choose significantly impacts the final texture of your pickles. Opt for cucumbers from the “knobby” variety, specifically grown for pickling. These typically have thinner skins and fewer, smaller seeds, making them ideal for absorbing the brine and retaining their crunch. Check seed catalogs or your local farmers market to find varieties like Kirby or Gherkin. Avoid cucumbers with a wax coating, as the brine will not be able to penetrate them effectively. When selecting your cucumbers, always ensure they are firm and crisp, never soft or bruised, as this indicates they are past their prime for pickling.
Wash Your Hands! Hygiene is Paramount
This might seem obvious, but it’s an important reminder. When handling your cucumbers and touching the brine or inside of the jars, always make sure your hands are scrupulously clean. It’s tempting to reach in and adjust your cucumbers, but introducing any foreign oils, dirt, or bacteria from your skin could potentially disrupt the delicate balance of the brine and compromise the fermentation process. A quick, thorough handwash can prevent many potential problems.
Texture: Ensuring Maximum Crunch
If you’re particularly keen on achieving an extra-crisp pickle, a few of our discerning readers have shared a valuable tip: using a pickle crisper in their mixture. This product, often calcium chloride, helps prevent the pickles from getting soggy. If desired, you can add 1/4 teaspoon of pickle crisper to each quart-sized jar when you add your other spices.
Once your delicious homemade Claussen pickles are all gone, don’t be so quick to pour that flavorful pickle juice down the drain! It’s a culinary gem with many uses. Instead, explore these creative ideas for reusing pickle juice! And if you’re looking for a unique recipe to try with your freshly made pickles, consider making a Grilled Tomato Relish – it’s absolutely fantastic on burgers and hot dogs, complementing the tang of your dill pickles perfectly!
This Claussen pickle recipe was originally published here on September 18, 2012, and has since been updated and refined for optimal flavor and clarity.
More Delightful & Related Recipes to Explore
- Refreshingly Crisp Cucumber Salad
- Hearty Sweet Corn and Chickpea Salad
- Flavorful Grilled Corn and Zucchini Salad
- Sweet and Tangy Pickled Beets
- Versatile Pickled Onions
Homemade Claussen Pickles Copycat
IMPORTANT – There are often Frequently Asked Questions within the blog post that you may find helpful. Simply scroll back up to read them!
Print It
Pin It
Rate It
Save ItSaved!
Ingredients
- 20-25 small to medium pickling cucumbers
- 2 quarts cold water
- ½ cup white vinegar
- ⅓ cup canning/pickling salt or coarse Kosher salt
- 1 teaspoon coriander seed
- ½ teaspoon mustard seed
- ¼ teaspoon red pepper flakes
- 1 tablespoon black peppercorns
- 1 tablespoon dill seed
- ¼ teaspoon dried garlic
- Fine mesh colander
- 4- cup measuring cup
- pickle crisper optional
Before You Begin
- A couple of our readers have mentioned using pickle crisper in their mixture which helps prevent the pickles from getting soggy. You can add 1/4 teaspoon of pickle crisper to each quart size jar if desired.
Instructions
-
To make the brine, combine water and vinegar in a large pitcher. Add salt, coriander seed, mustard seed, red pepper flakes and black peppercorns. Stir until salt is dissolved. Set aside.
-
Wash cucumbers in water and trim 1/8-inch off of the blossom end of each one. Slice each cucumber in half lengthwise.
-
Divide the dill seed and dried garlic evenly between two clean quart sized jars. Fill jars with cucumber halves, fitting as many in as you can, they may be snug!
-
Stir brine again to mix ingredients. Place a fine mesh colander over a large bowl or measuring cup. Pour brine through the colander, catching the brine solids in the colander. DO NOT discard!
-
NOTE: You will not be able to fit all the water in this measuring cup or in the two jars. The goal here is to save the brine solids and use them, you will be discarding the left over vinegar and water mixture when finished.
-
Once all the solids have been removed from the brine, distribute them evenly among the jars. Using the brine liquid in the measuring cup, pour into the jars until all the cucumbers are covered.
-
Your brine level should cover your cucumbers and reach the bottom of the jar neck where the twisting begins. The cucumbers will also release some liquid as they brine, so don’t overfill the jar. Discard any remaining brine liquid.
-
Cover lightly with a lid perched on top but DO NOT close and seal. Leave on the counter (out of direct sunlight) for 1 day, then move to the refrigerator for 2-3 more days, or until the cucumbers taste like pickles throughout.
-
Secure lids on jars and refrigerate for up to six months.
Nutrition
The recipes on this blog are tested with a conventional gas oven and gas stovetop. It’s important to note that some ovens, especially as they age, can cook and bake inconsistently. Using an inexpensive oven thermometer can assure you that your oven is truly heating to the proper temperature. If you use a toaster oven or countertop oven, please keep in mind that they may not distribute heat the same as a conventional full sized oven and you may need to adjust your cooking/baking times. In the case of recipes made with a pressure cooker, air fryer, slow cooker, or other appliance, a link to the appliances we use is listed within each respective recipe. For baking recipes where measurements are given by weight, please note that results may not be the same if cups are used instead, and we can’t guarantee success with that method.
