The Best Homemade Turkey Gravy Recipe: From Roasting Pan to Perfect Sauce
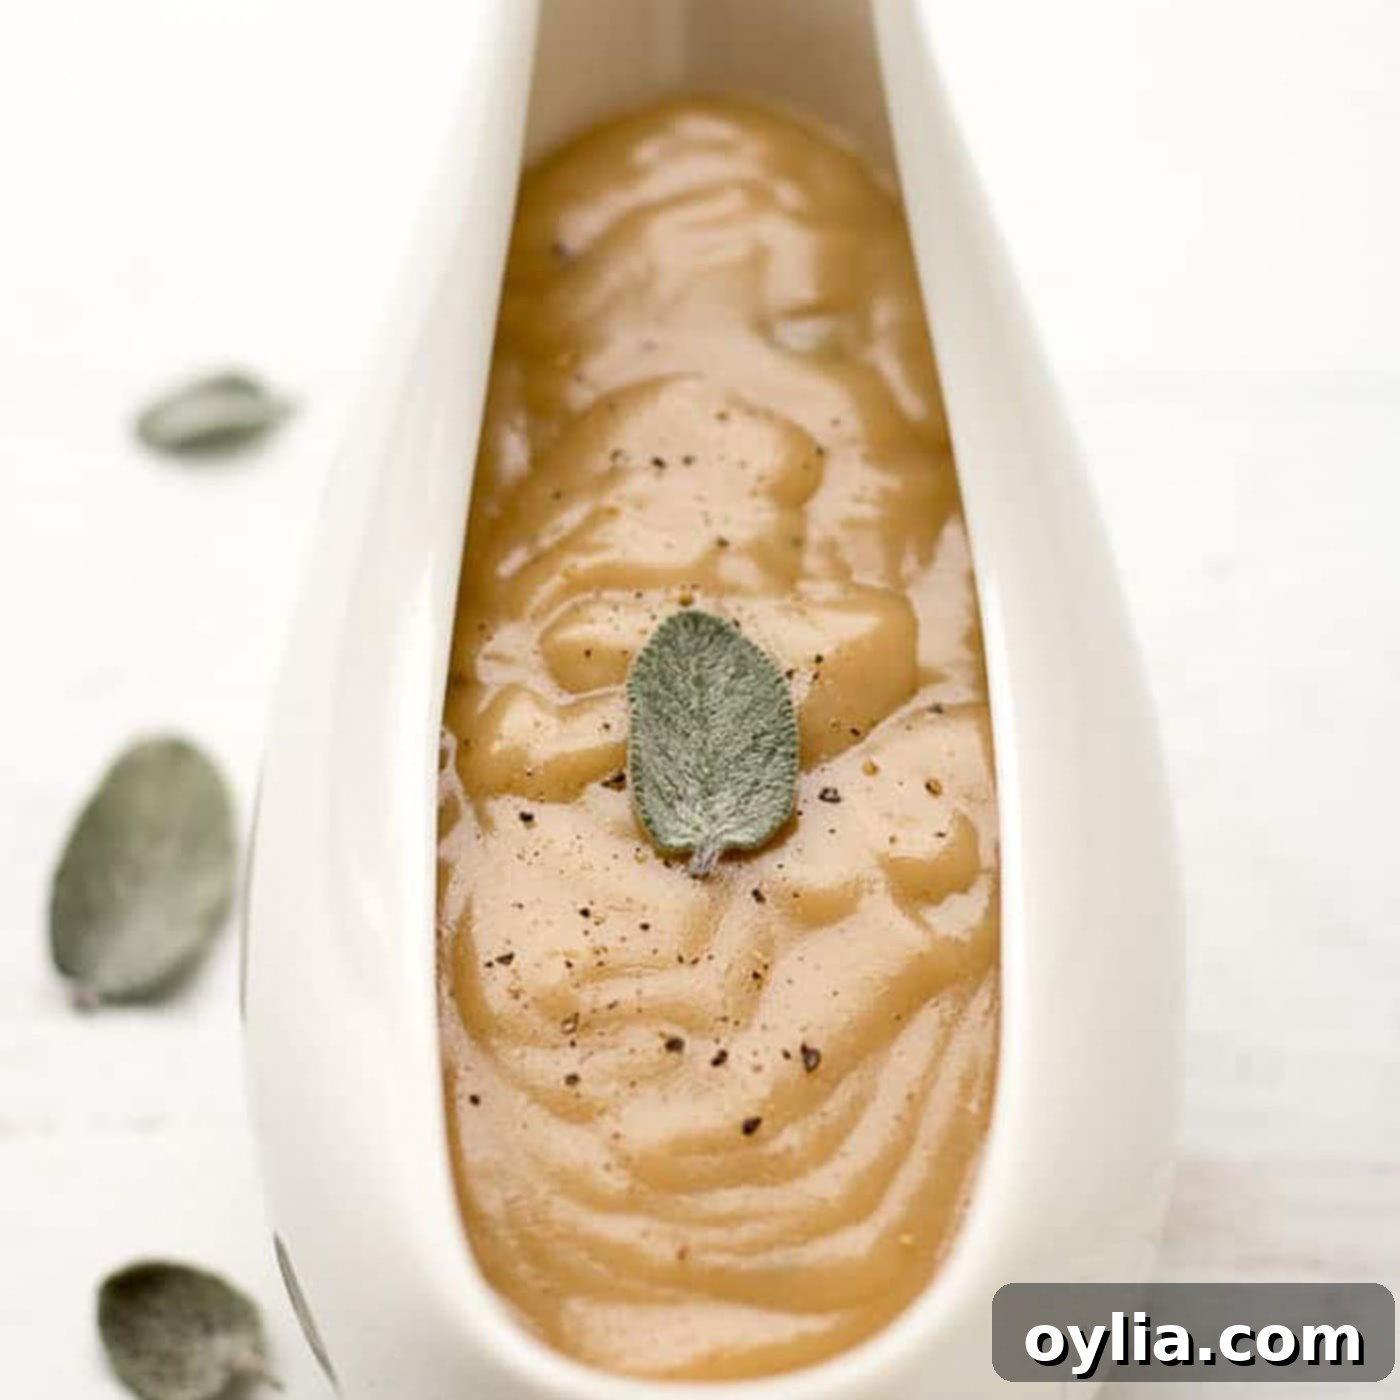
Imagine the aroma of a perfectly roasted turkey filling your kitchen, promising a feast. But what truly elevates that festive meal to extraordinary status? A rich, savory, and perfectly consistent homemade turkey gravy. This comprehensive tutorial guides you through creating the most delicious turkey gravy from scratch, transforming humble pan drippings into a luxurious sauce. It’s a savory masterpiece, thickened to perfection with all-purpose flour, infused with aromatic herbs like sage, rosemary, and thyme (optional), and brightened with a splash of sherry or white wine (optional). Prepare to impress your family and friends with a gravy that’s so good, it might just steal the show.
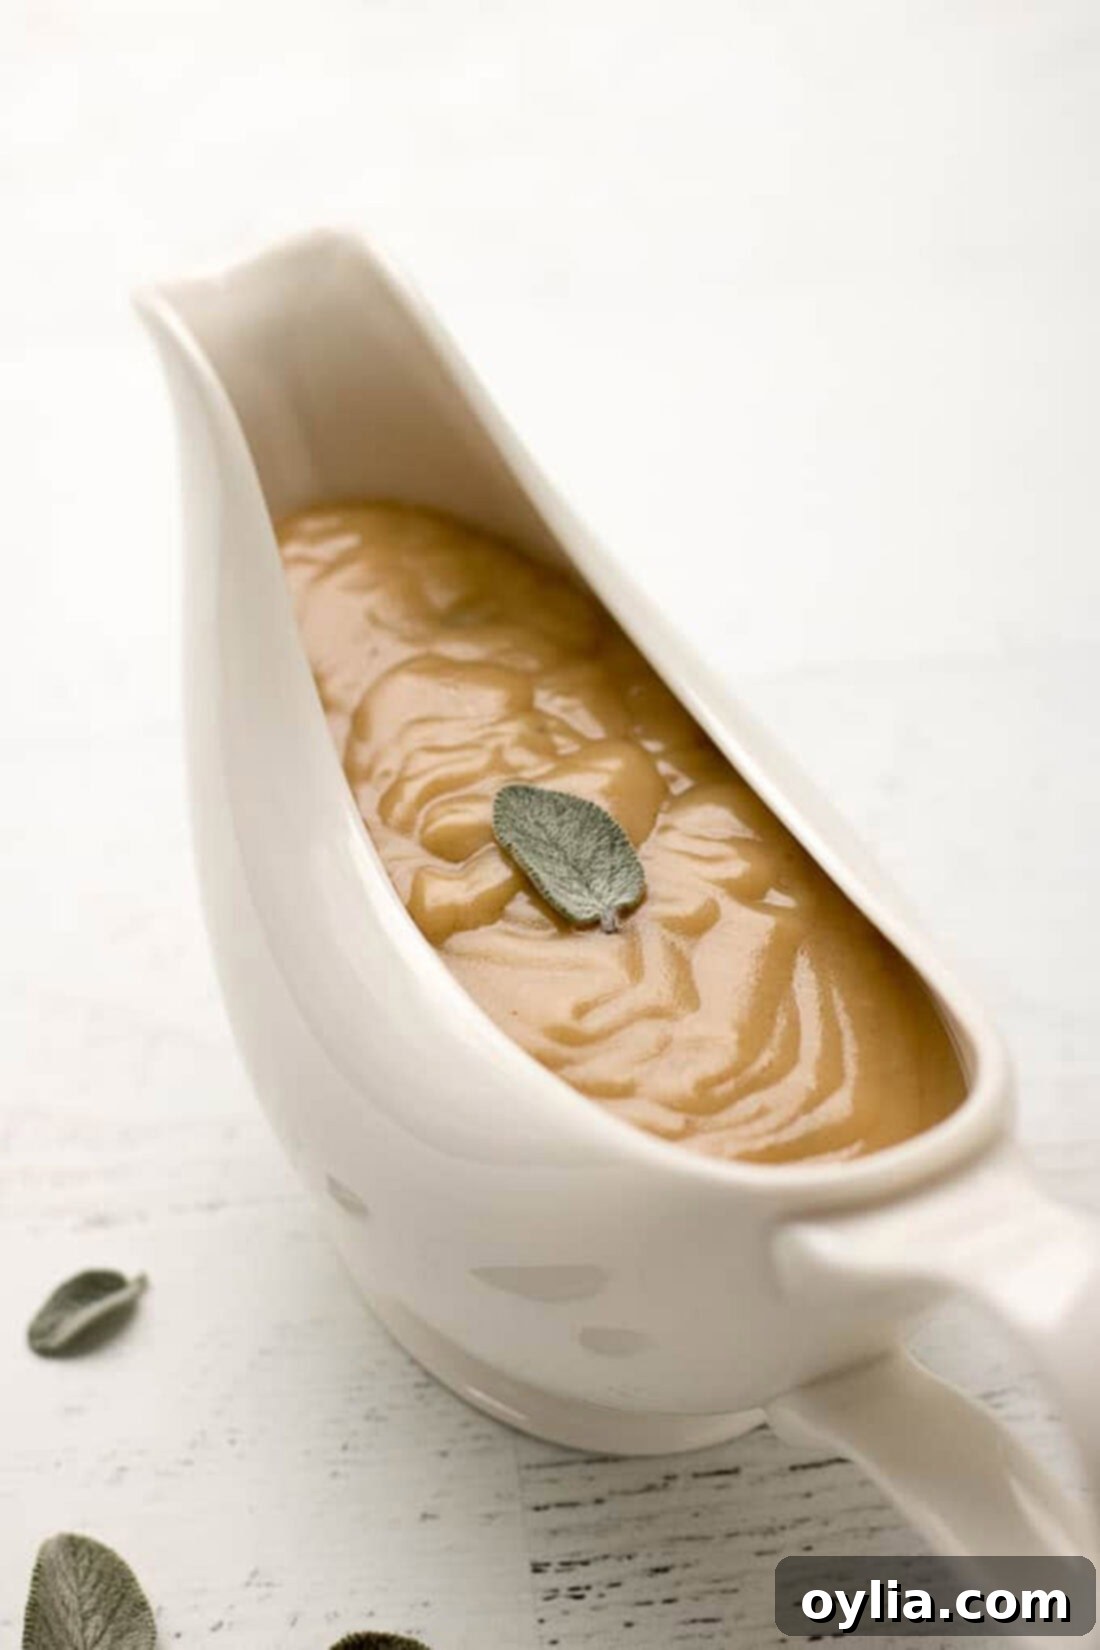
Why This Homemade Turkey Gravy Recipe is a Must-Try
Mastering the art of homemade turkey gravy is more than just a culinary skill; it’s a cherished tradition that brings warmth and flavor to holiday tables. This recipe is particularly effective because it leverages the rich, foundational flavors from your roasted turkey’s pan drippings, ensuring an unparalleled depth of taste that simply cannot be replicated by store-bought alternatives. It’s truly a “life skill” that will serve you well on special occasions like Thanksgiving and Christmas, or whenever you serve a magnificent whole roasted turkey.
One of the standout advantages of this method is its flexibility and make-ahead potential. You can prepare this turkey gravy well in advance and freeze it, relieving much of the last-minute stress during busy holiday preparations. This same adaptable technique can also be applied to make a equally delicious gravy for a whole roasted chicken, making it a versatile staple in your recipe repertoire. This recipe yields a generous 3 1/2 to 4 cups or more of luscious gravy, ensuring there’s plenty for everyone (and for delicious leftovers!). The inclusion of fresh herbs like sage, rosemary, and thyme is optional but highly recommended, as their earthy, aromatic notes beautifully complement both turkey and chicken, adding an extra layer of sophisticated flavor.
Essential Ingredients for Your Homemade Turkey Gravy
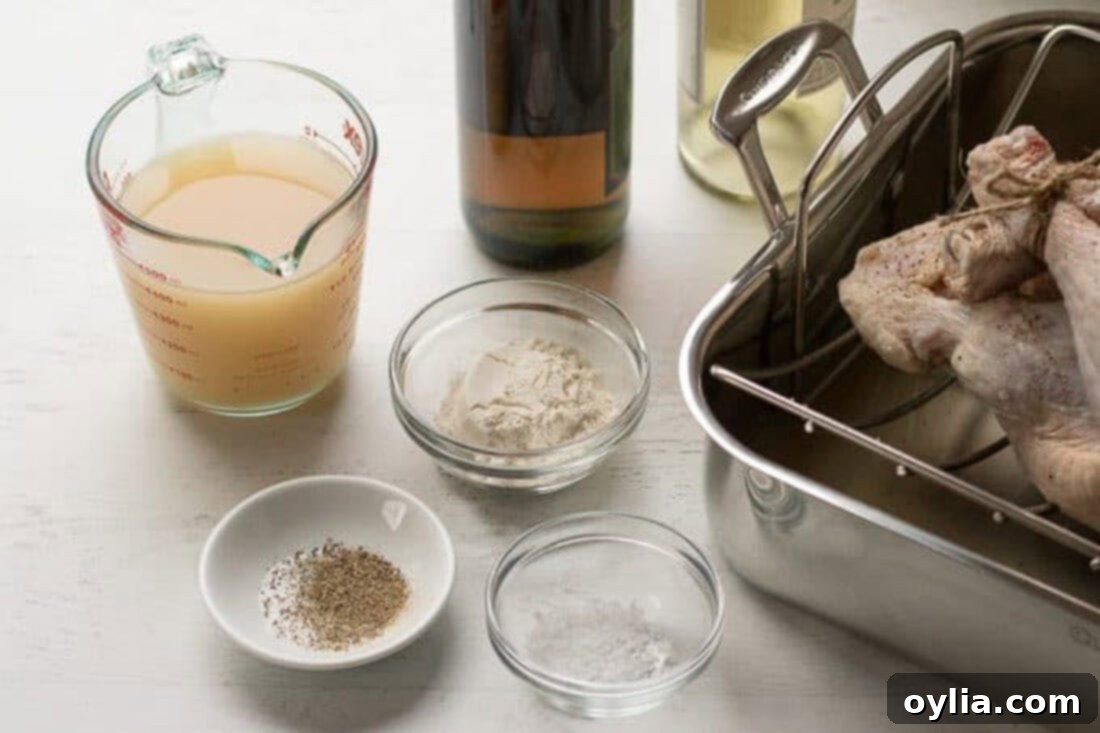
Gathering your ingredients is the first step to creating this delectable homemade turkey gravy. The beauty of this recipe lies in its reliance on the flavorful remnants of your roasted bird, combined with a few pantry staples to create a truly unforgettable sauce. All precise measurements, ingredients, and detailed instructions are available in the printable recipe version at the end of this post.
Ingredient Information and Smart Substitutions
Understanding each ingredient’s role will help you achieve the best possible gravy, and also know when and how to make effective substitutions.
DRIPPINGS – The foundation of any great homemade gravy! These flavorful juices and fat accumulate at the bottom of your roasting pan as the turkey cooks. I highly recommend using a fat separator to streamline the process of removing excess fat from your drippings. This handy kitchen tool makes it incredibly easy to get just the right amount of fat for your roux while retaining all the savory liquid goodness. If you don’t have a fat separator, don’t worry! You can simply pour the drippings into a large bowl or measuring cup, allow the fat to separate and rise to the top, and then carefully skim it off with a spoon. Refrigerating the drippings briefly will help the fat solidify, making it even easier to remove.
BROTH – Broth plays a crucial role in thinning the gravy to your desired consistency and adding additional liquid flavor. You can use chicken broth, vegetable broth, or even dedicated turkey stock, depending on your preference and what you have on hand. Opt for low-sodium broth to maintain control over the final saltiness of your gravy, as pan drippings can sometimes be quite salty. Remember, if your gravy turns out too thick, simply whisk in a little more broth until it reaches your perfect pourable consistency.
HERBS – Herbs are what truly make this gravy sing! Fresh herbs offer a vibrant, intense flavor, while dried herbs are a convenient alternative. Sage, rosemary, and thyme are classic choices that beautifully complement turkey and chicken. If you’re substituting dried herbs for fresh, remember this general rule of thumb: use one-third the amount of dried herbs compared to fresh. For instance, if a recipe calls for 3 teaspoons of fresh herbs, use 1 teaspoon of dried herbs. Always finely mince fresh herbs to ensure their flavor is well distributed and they don’t overpower the gravy with large pieces.
ALL-PURPOSE FLOUR – This is the key thickening agent for our roux, providing a smooth, velvety texture. While this recipe uses all-purpose flour, you could experiment with other thickeners like cornstarch or arrowroot powder for a gluten-free option. If using cornstarch, create a slurry with cold water before whisking into hot gravy to avoid lumps, and add at the end of the cooking process rather than as part of a roux.
DRY WHITE WINE or SHERRY (Optional) – A splash of dry white wine or sherry adds a wonderful depth and complexity to the gravy. The alcohol cooks off, leaving behind a subtle, sophisticated flavor that brightens the sauce and helps deglaze any flavorful bits stuck to the pan, intensifying the overall taste. Choose a dry variety like Sauvignon Blanc or a dry cooking sherry. If you prefer to omit alcohol, you can simply add extra broth instead, or even a tiny splash of apple cider vinegar for a touch of acidity.
How to Craft Your Perfect Homemade Turkey Gravy: Step-by-Step
These step-by-step photos and detailed instructions are here to guide you through making this incredible homemade turkey gravy. For a convenient printable version of this recipe, complete with precise measurements and instructions, simply Jump to Recipe at the bottom of the post.
-
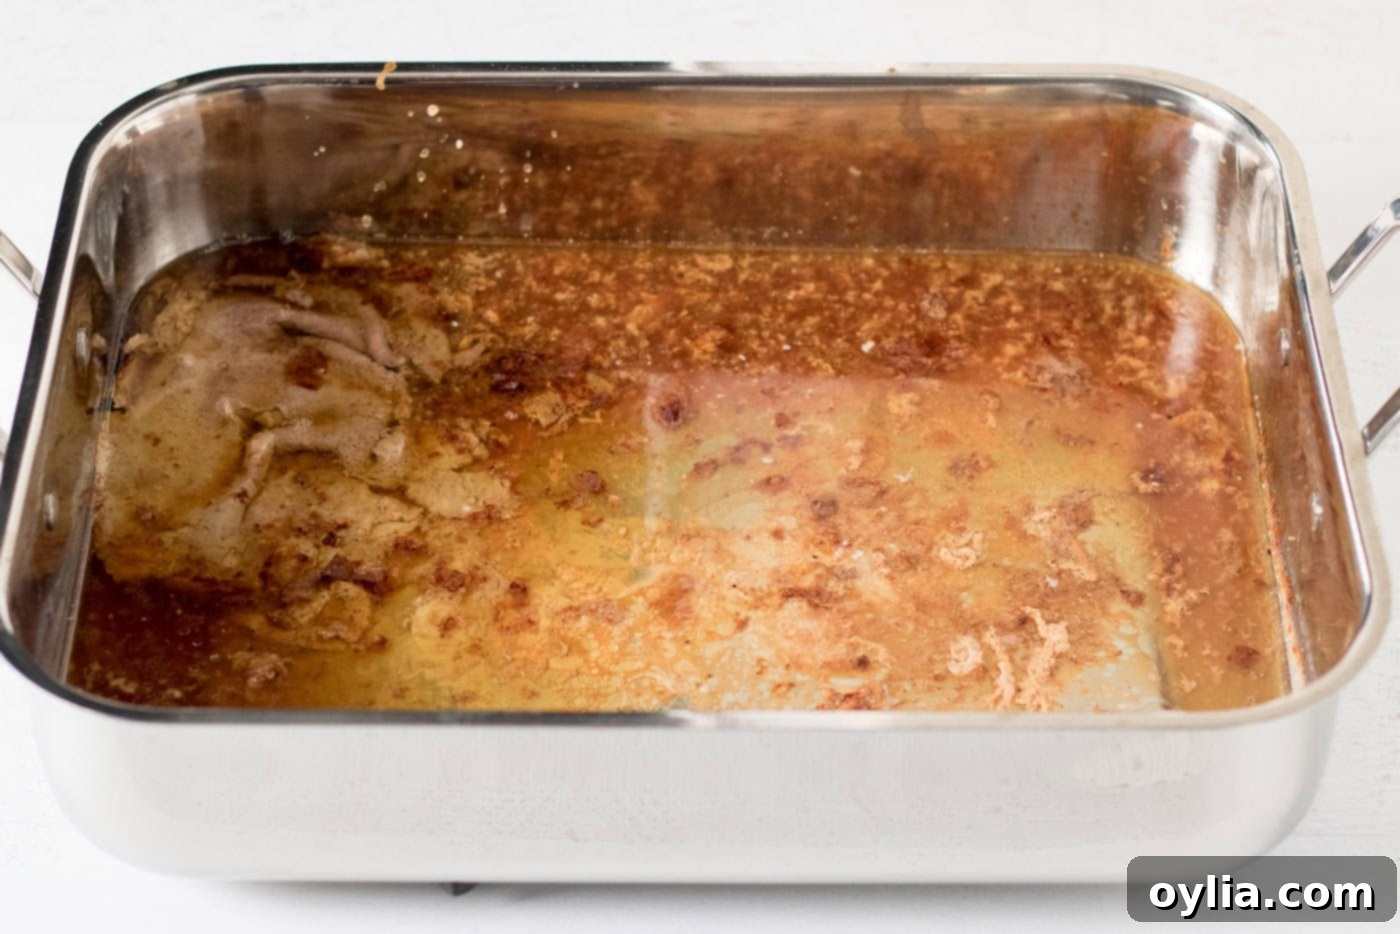
This delicious journey begins the moment you remove your magnificent whole roasted turkey from the oven. Carefully transfer the hot turkey to a large platter or a rimmed sheet pan to rest. This resting period is crucial for juicy meat, and it also leaves us with the precious pan drippings, which are the foundation of our gravy.

-
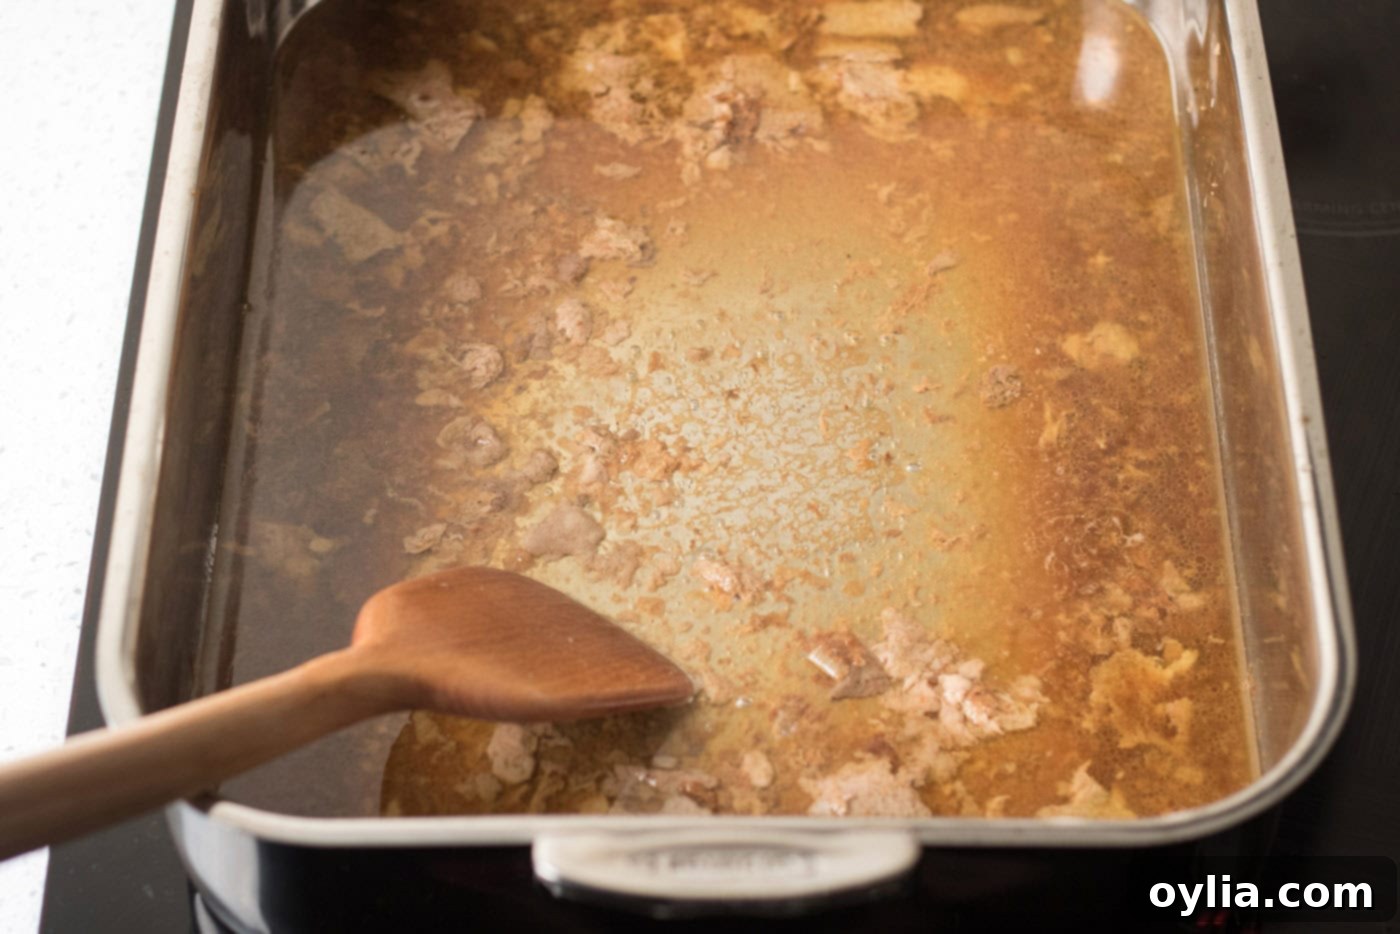
Place the large roasting pan across two burners on your stovetop. Turn the heat to medium-high. As the pan heats, the liquid and flavorful “fond” (the browned bits stuck to the bottom) will start to sputter and release. This deglazing step is vital for capturing all the concentrated turkey flavor.

-
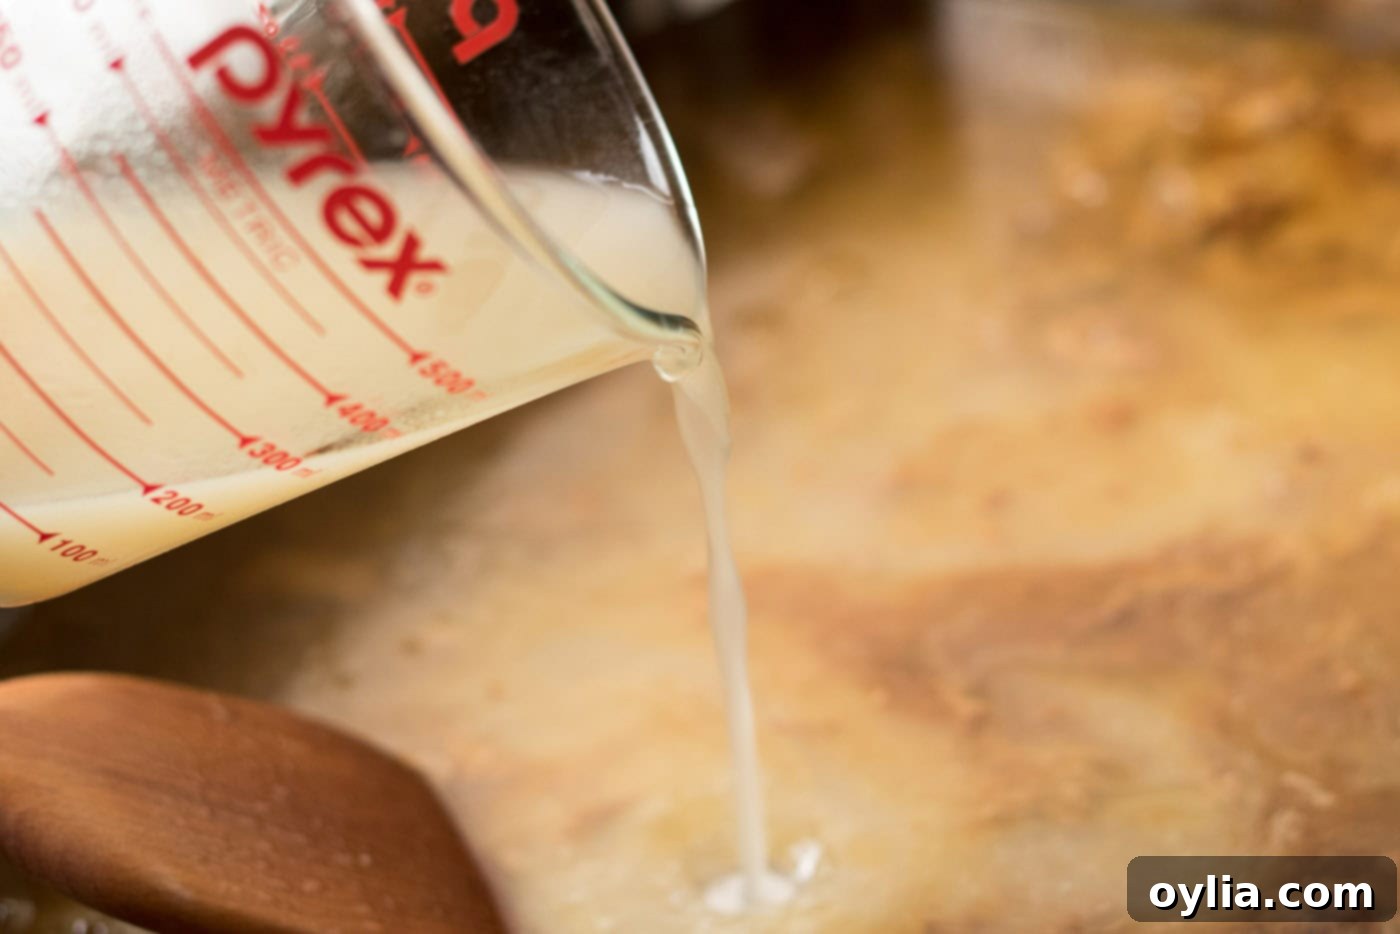
Pour 1 cup of broth into the hot roasting pan. Immediately use a sturdy spatula or a wooden spoon to vigorously scrape all the delicious, browned bits (the fond) from the bottom of the pan. This fond is packed with concentrated flavor, and by deglazing, you incorporate it into your gravy base.

-
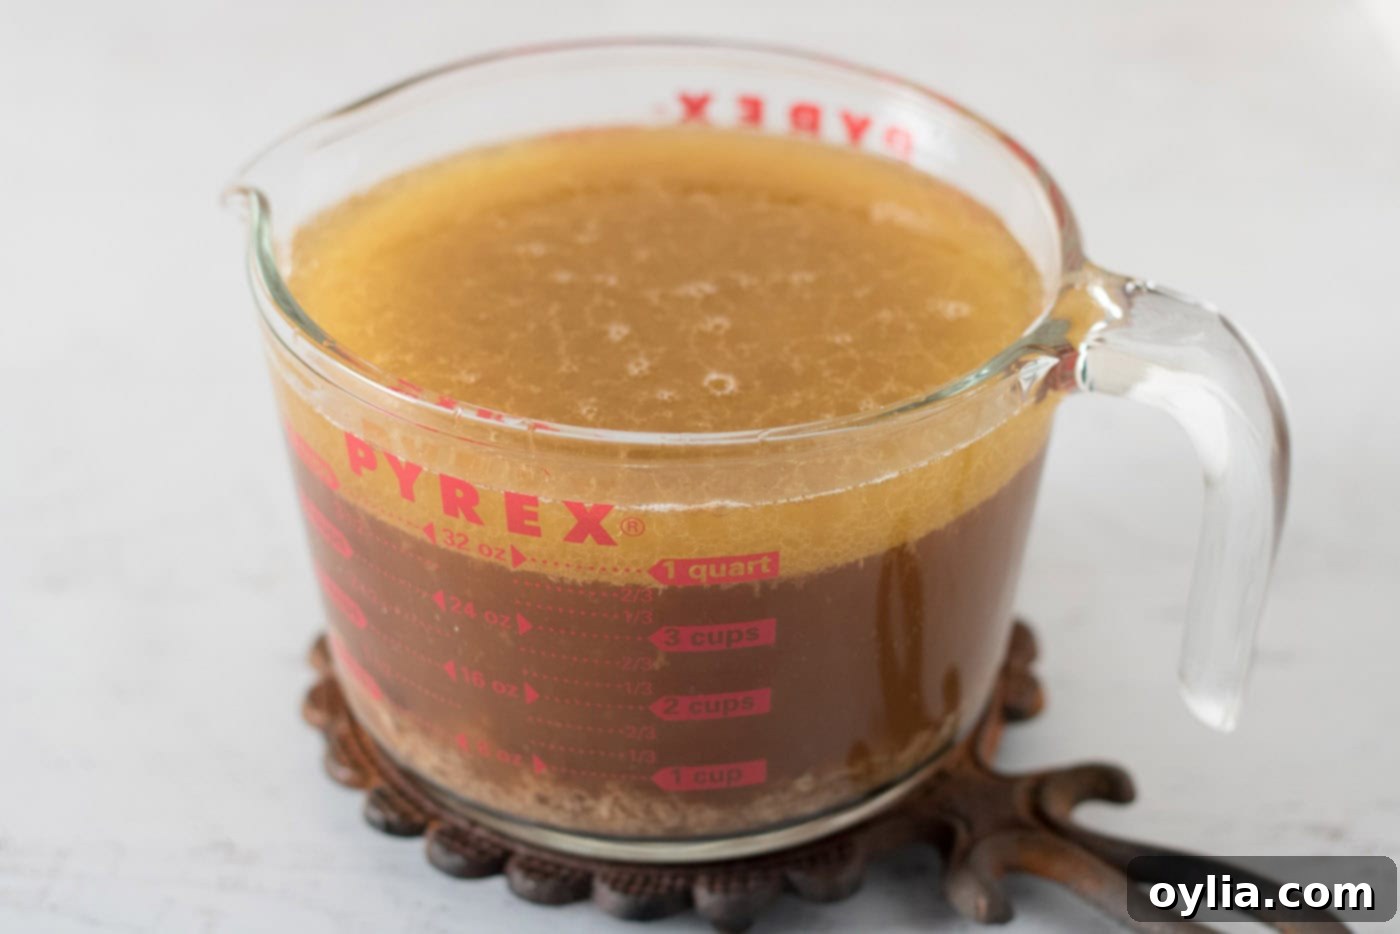
Carefully pour all the pan drippings, now enriched with the deglazed fond, into a large wet measuring cup or another heat-proof container. To allow the fat to separate and solidify, refrigerate the drippings for at least 30 minutes. If you’re making the gravy ahead of time, you can even refrigerate them overnight. This step makes skimming the fat much easier.

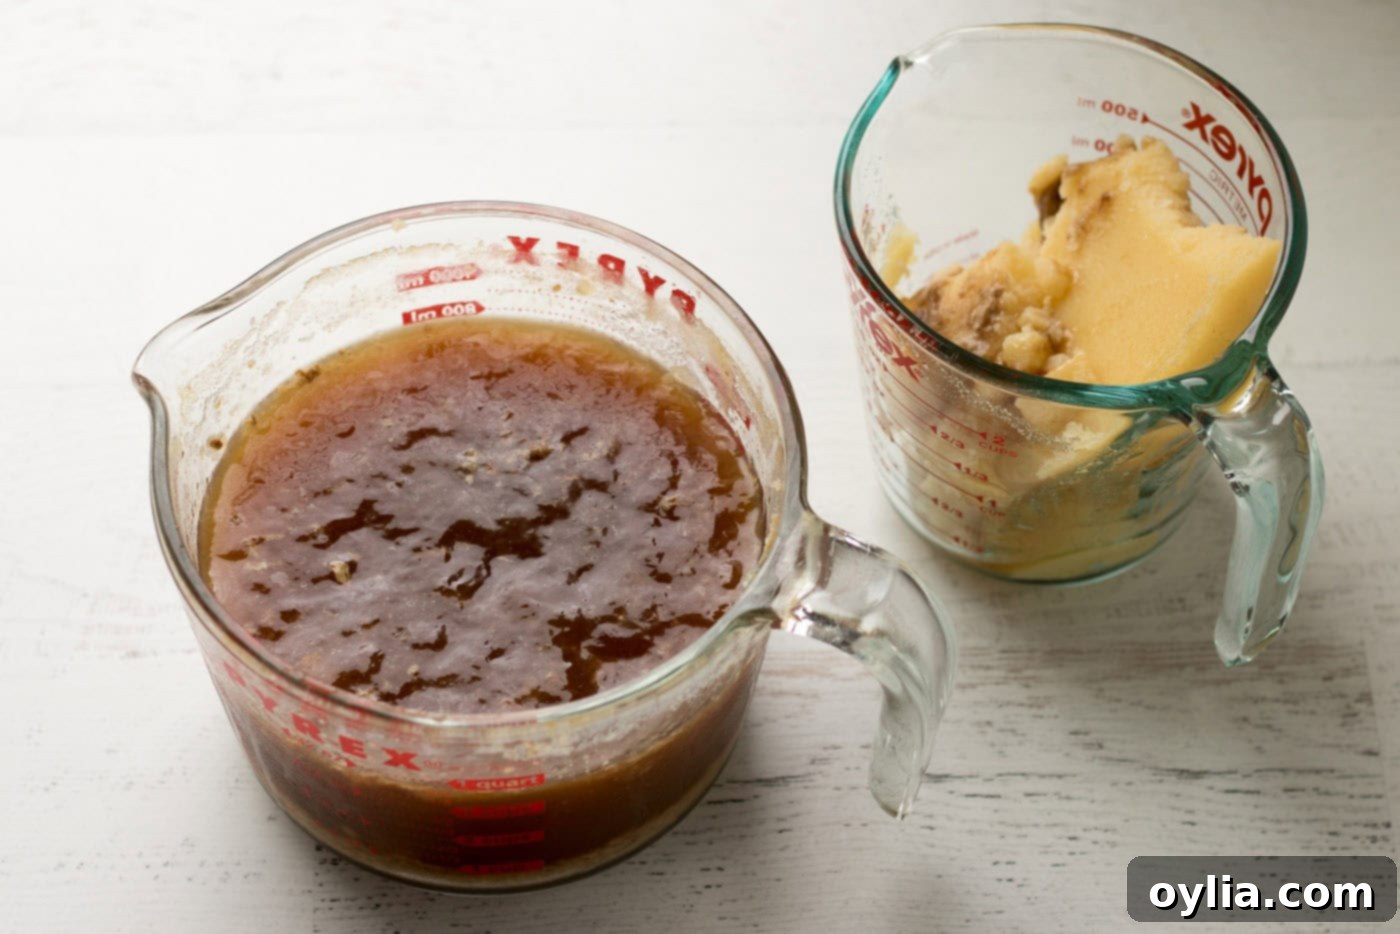
- Once the fat has congealed and become solid on the surface of the drippings, use a spoon or the fat separator to carefully scrape it off the top. Transfer this separated fat into a separate container. This fat will be used to create our roux.
-
Measure out 1/4 cup of the skimmed fat for your roux. Also, reserve exactly 1 cup of the rich, de-fatted pan drippings for the gravy base. Any remaining fat and pan drippings can be refrigerated or frozen for future gravy endeavors, ensuring no flavor goes to waste!

Crafting the Perfect Roux for Your Gravy
The roux is the thickening agent and flavor base for your gravy. It’s a simple mixture of fat and flour, cooked together to eliminate the raw flour taste and create a smooth sauce.
-
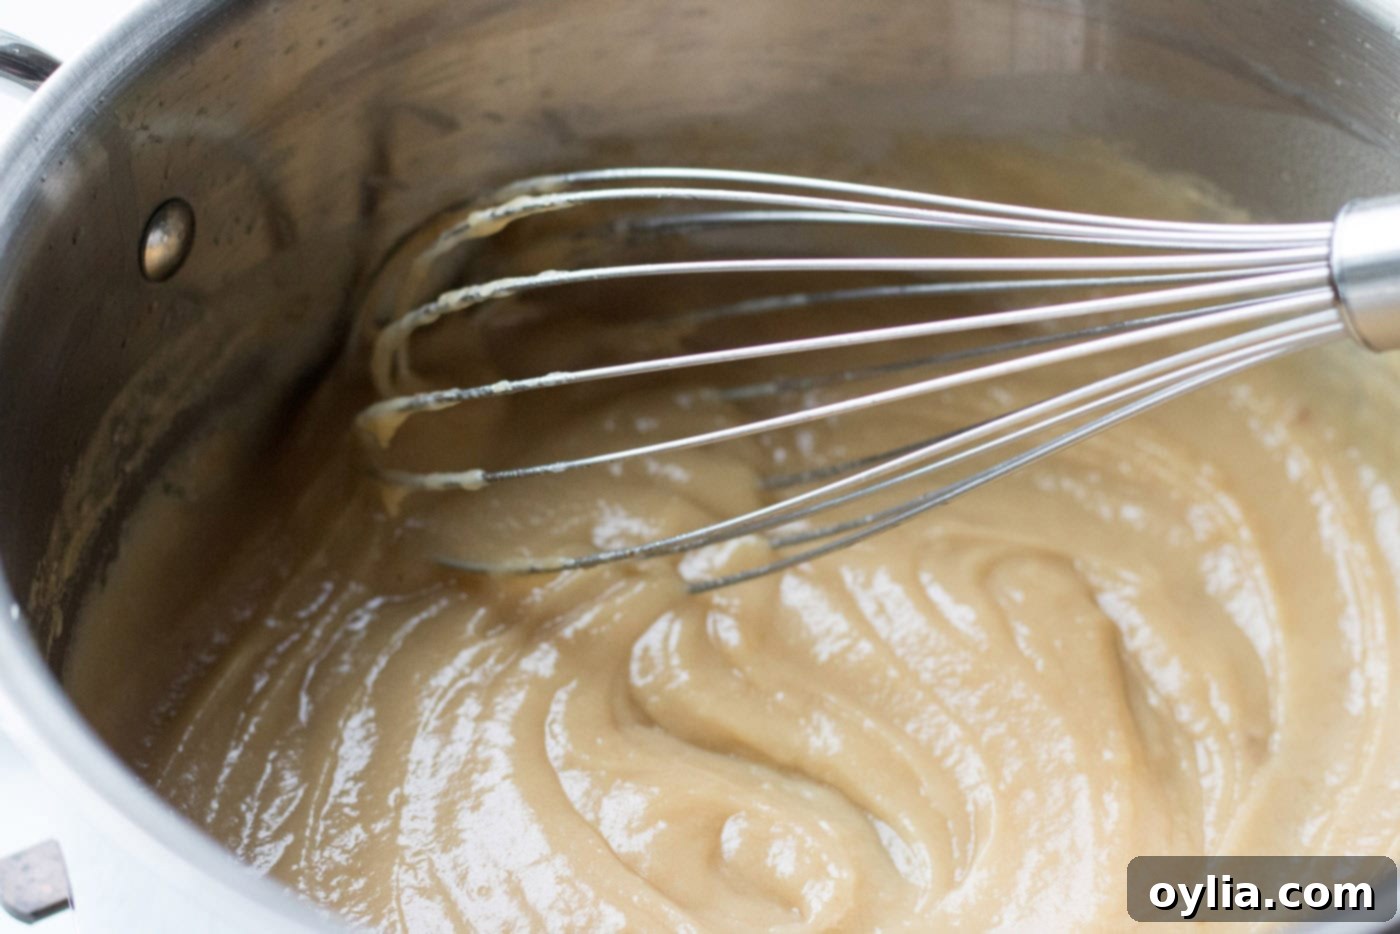
Take your measured 1/4 cup of turkey fat and melt it in a medium saucepan over medium-high heat. Once melted, add 1/4 cup of all-purpose flour. Using a metal whisk, vigorously mix the fat and flour together until you achieve a smooth, even consistency, known as a roux. Cook for 1-2 minutes, stirring constantly, until the roux turns a light golden color and smells slightly nutty. This removes the raw flour taste.

-
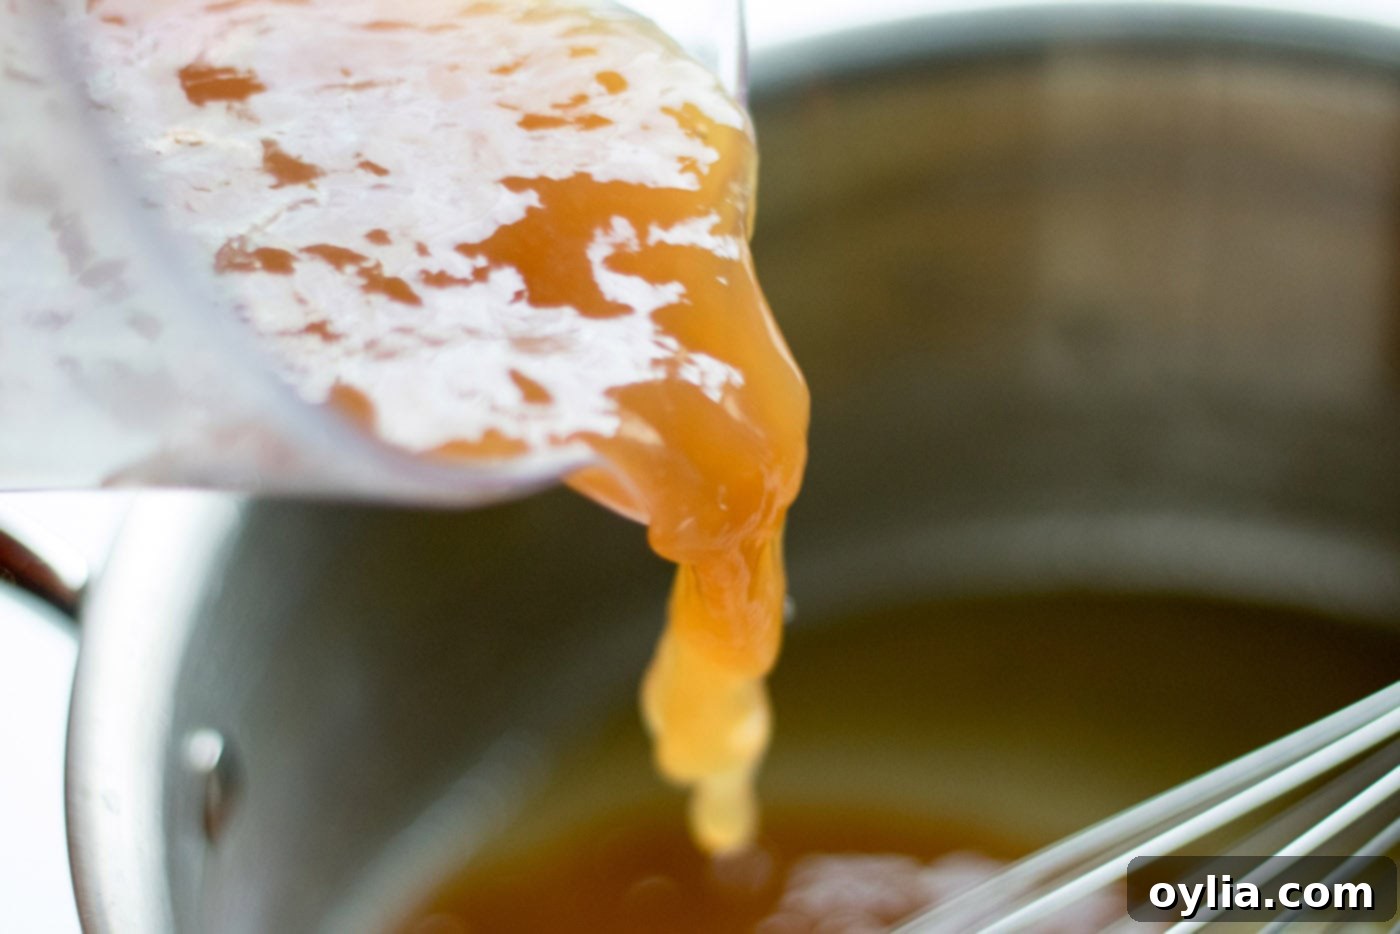
Gradually pour the reserved 1 cup of pan drippings into the roux while continuously whisking. Keep whisking diligently until the mixture is fully combined and smooth, with no lumps. The gravy will start to thicken almost immediately.

-
Now, incorporate 1/2 cup of the chicken or vegetable broth into the gravy, whisking until thoroughly combined. Continue to simmer the gravy over medium heat, stirring frequently. If you desire a thicker gravy, simply continue to simmer, allowing more liquid to evaporate. For a thinner consistency, gradually whisk in additional broth until it reaches your preferred pourable texture. Taste and adjust seasoning with kosher or sea salt and freshly ground black pepper as needed.

- If you desire an incredibly smooth, lump-free gravy, strain it through a fine-mesh sieve before transferring it to your gravy boat or serving container. This step removes any small lumps or herb pieces, leaving you with a silky-smooth finish.
Frequently Asked Questions & Expert Tips for Perfect Gravy
Once cooled, this homemade turkey gravy can be stored in an airtight container in the refrigerator for up to 1 week. For longer storage, you can freeze the gravy in an airtight container or freezer-safe bags for up to 3 months. To reheat, gently warm the gravy on the stove over low heat, whisking frequently to restore its smooth consistency. If it’s too thick after reheating, add a splash of broth or water.
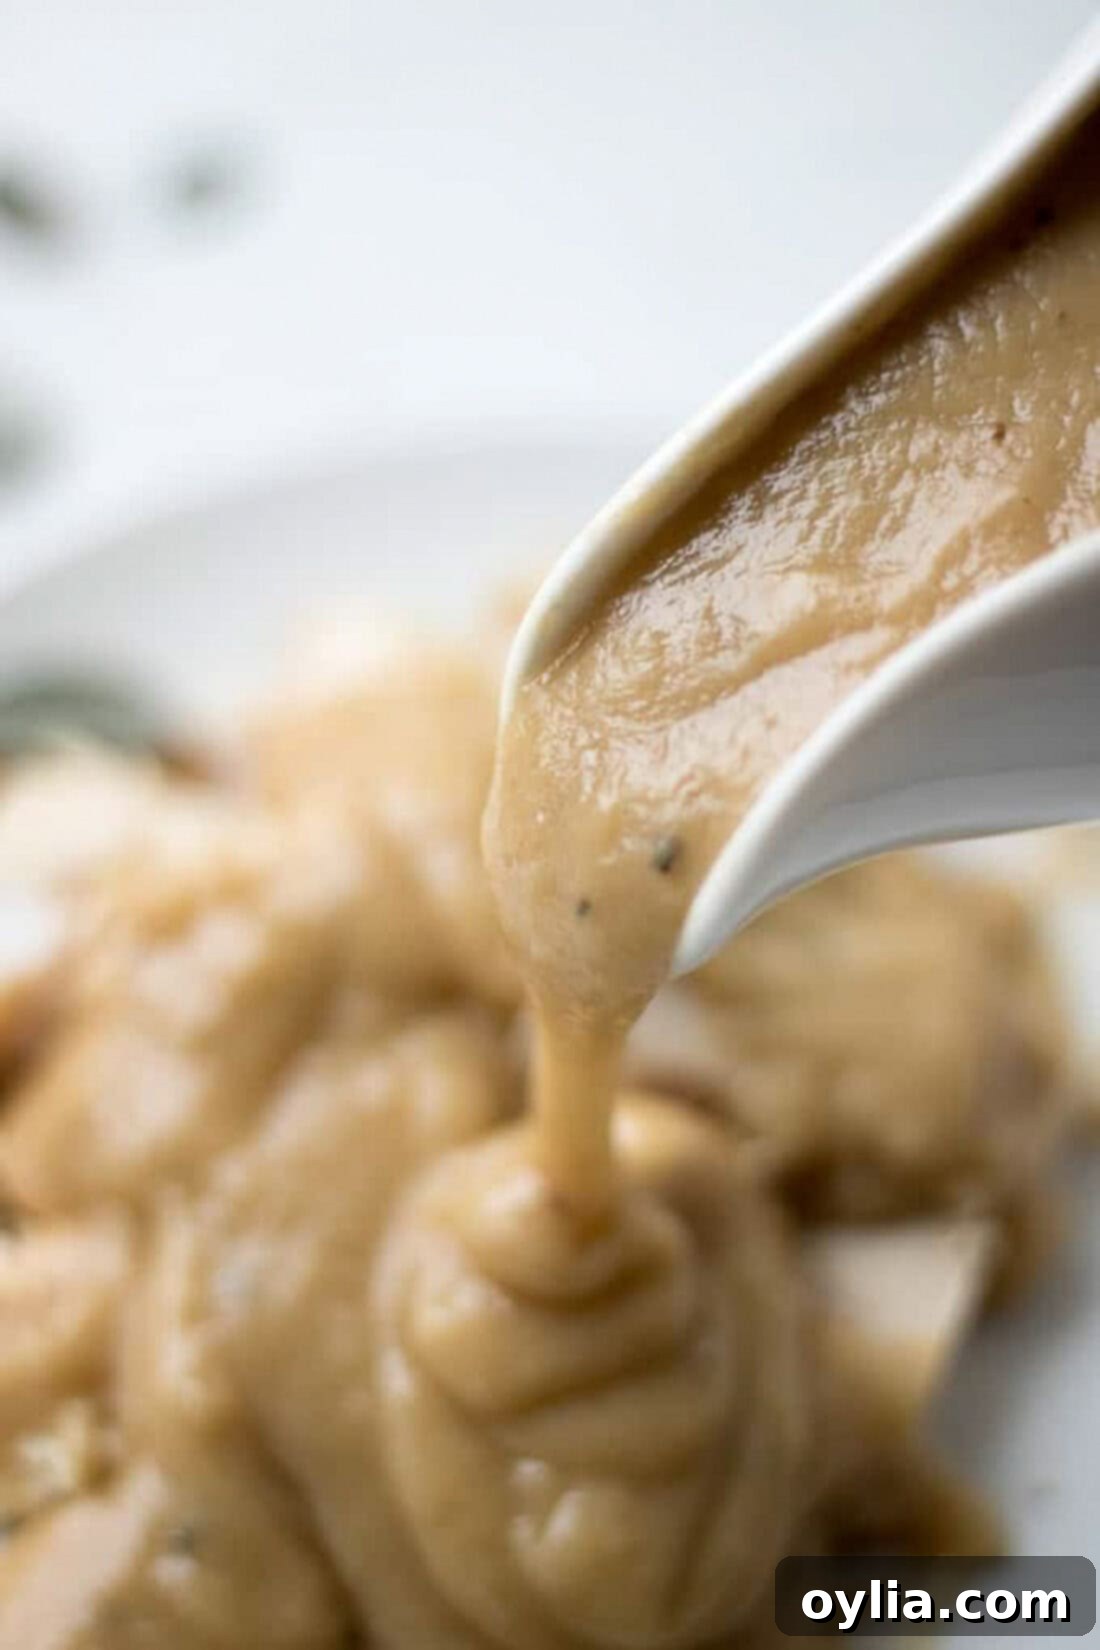
Adjusting gravy consistency is easy! To make turkey gravy thicker, simply continue to simmer it over low to medium heat, allowing more of the liquid to evaporate. Stir occasionally to prevent sticking. To thin out your gravy, gradually whisk in more chicken or vegetable broth, or even a little hot water, until it reaches your desired pourable consistency.
Lumpy gravy is a common challenge, but easily remedied! If your gravy has lumps, you have a few options:
- Whisk Vigorously: Often, a minute or two of vigorous whisking can smooth out small lumps.
- Sieve it: The most effective method is to pour your gravy through a fine-mesh sieve into another saucepan. Use a spoon or spatula to push all the liquid through, leaving the lumps behind.
- Immersion Blender: For a super smooth finish, an immersion blender can quickly pulverize any lumps directly in the saucepan.
If your gravy lacks punch, try these flavor enhancers:
- Seasoning: Add more salt and freshly ground black pepper, tasting as you go.
- Herbs: Stir in a pinch more of your fresh or dried herbs.
- Wine/Sherry: A tablespoon of dry white wine or sherry can deepen the flavor.
- Umami Boost: A dash of soy sauce or Worcestershire sauce (just a tiny bit!) can add a savory umami depth.
- Roasted Garlic/Onion: If you roasted garlic or onions with your turkey, a bit of their juices or finely mashed pieces can be stirred in.
Delightful Serving Suggestions for Your Gravy
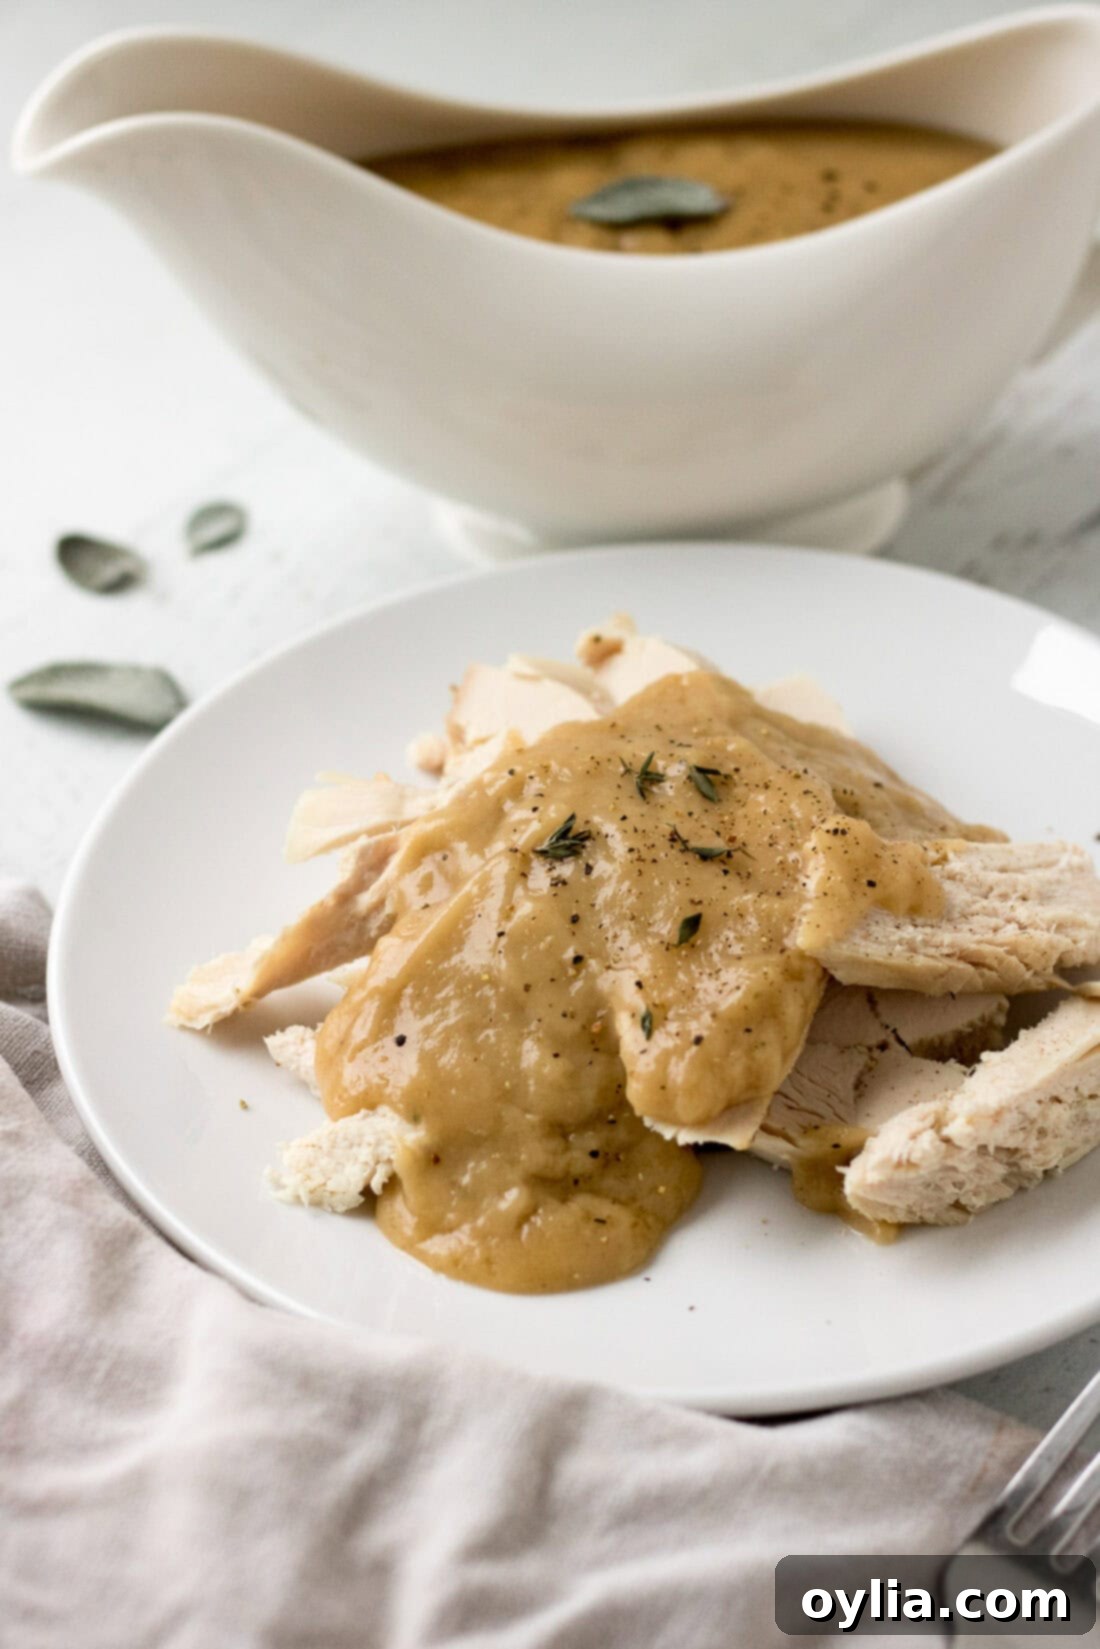
This exquisite homemade turkey gravy is the crowning glory for any holiday meal. While it’s absolutely essential with a freshly roasted turkey, its versatility extends far beyond! Drench your turkey slices in it, or ladle generously over classic side dishes. It’s a match made in heaven for creamy crockpot mashed potatoes or rich creamy traditional mashed potatoes. Don’t forget to use it over stuffing, biscuits, or even a simple slice of bread to soak up all that incredible flavor. Leftovers? They’re perfect for open-faced turkey sandwiches!
More Irresistible Thanksgiving Recipes
- Crockpot Green Bean Casserole
- Sweet Potato Casserole
- Mini Pumpkin Pies
- Crockpot Stuffing
- Pumpkin Deviled Eggs
I love to bake and cook and share my kitchen experience with all of you! Remembering to come back each day can be tough, that’s why I offer a convenient newsletter every time a new recipe posts. Simply subscribe and start receiving your free daily recipes!
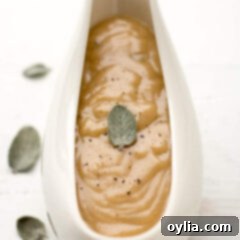
Homemade Turkey Gravy
IMPORTANT – There are often Frequently Asked Questions within the blog post that you may find helpful. Simply scroll back up to read them!
Print It
Pin It
Rate It
Save ItSaved!
Ingredients
- pan drippings from a 12-15 pound whole roasted turkey
- 1 cup chicken broth 1-2 cups, low sodium vegetable or chicken broth
- unsalted butter amount to taste
- ¼ cup all-purpose flour
- Kosher or sea salt amount to taste
- freshly ground black pepper
- 2 Tablespoons dry white wine 1-2 Tablespoons dry sherry or dry white wine
- 1 teaspoon fresh rosemary, sage, thyme combined stems removed, finely minced *see notes about substituting dried herbs
Things You’ll Need
-
Fat separator
-
Saucepan
Before You Begin
- Fresh vs. Dry Herbs: If you don’t have fresh herbs, substitute with dried using this ratio: 3 parts fresh herbs to 1 part dried herbs (e.g., 3 tsp fresh = 1 tsp dried).
- Note on finished recipe amount: This recipe yields approximately 3 1/2 to 4 cups of gravy, depending on your preferred thickness. If you save extra pan drippings and fat, you can easily scale up to make more gravy.
- Adjusting Consistency: Gravy too thick? Whisk in more broth. Too thin? Simmer longer to reduce.
Instructions
Deglaze the Roasting Pan
-
This recipe starts when you remove the whole roasted turkey from the oven. Remove the turkey to a platter or rimmed sheet pan to rest.
-
Span the large roasting pan over 2 burners and turn the heat onto medium-high. The liquid will start to sputter and the flavorful fond at the bottom will loosen.
-
Add 1 cup of broth to the pan and using a spatula, vigorously scrape all the browned bits (fond) from the bottom of the pan to incorporate into the liquid.
Refrigerate Drippings
-
Pour the deglazed drippings into a large wet measuring cup or other container and refrigerate for at least 30 minutes (or overnight if preparing ahead) to allow the fat to separate and solidify.
Separate & Measure the Fat
-
After the fat has solidified on top, carefully scrape it off and into another container.
-
Measure 1/4 cup of this skimmed fat and reserve 1 cup of the defatted pan drippings for your gravy. You can refrigerate or freeze any remaining fat and drippings for future use.
Make the Roux
-
In a medium saucepan over medium-high heat, melt the 1/4 cup of reserved fat. Add 1/4 cup of all-purpose flour and whisk continuously for 1-2 minutes until an even, light golden consistency (the roux) is achieved.
-
Gradually add the 1 cup of reserved pan drippings to the roux, whisking constantly until completely combined and smooth.
-
Whisk in 1/2 cup of broth. Continue to simmer and whisk until the gravy thickens to your desired consistency. For thicker gravy, simmer longer; for thinner, add more broth.
Adding Optional Ingredients
-
If using, stir in the 1-2 tablespoons of dry sherry or white wine and 1 teaspoon of combined fresh minced rosemary, sage, and thyme. Simmer for a few additional minutes to allow the flavors to meld. Taste and adjust seasoning (salt and pepper) as needed.
To Get Smooth Gravy
-
For an exceptionally smooth gravy, strain it through a fine-mesh sieve into your gravy boat or serving container before serving.
Expert Tips & FAQs (Summary)
- Storing your gravy: Keep in an airtight container for up to 1 week in the refrigerator, or freeze for up to 3 months. Reheat gently on the stove with whisking.
- Adjusting Gravy: Thicken by simmering longer; thin by adding more broth.
- Lumps: Whisk vigorously, use a sieve, or an immersion blender to remove lumps.
- Bland Gravy: Enhance flavor with more seasoning, herbs, a splash of wine, or a hint of soy/Worcestershire sauce.
Nutrition
The recipes on this blog are tested with a conventional gas oven and gas stovetop. It’s important to note that some ovens, especially as they age, can cook and bake inconsistently. Using an inexpensive oven thermometer can assure you that your oven is truly heating to the proper temperature. If you use a toaster oven or countertop oven, please keep in mind that they may not distribute heat the same as a conventional full sized oven and you may need to adjust your cooking/baking times. In the case of recipes made with a pressure cooker, air fryer, slow cooker, or other appliance, a link to the appliances we use is listed within each respective recipe. For baking recipes where measurements are given by weight, please note that results may not be the same if cups are used instead, and we can’t guarantee success with that method.
This post was originally published here on December 18, 2018.
