The Ultimate Guide to Baking Perfect Red Velvet Cupcakes with Tangy Cream Cheese Frosting
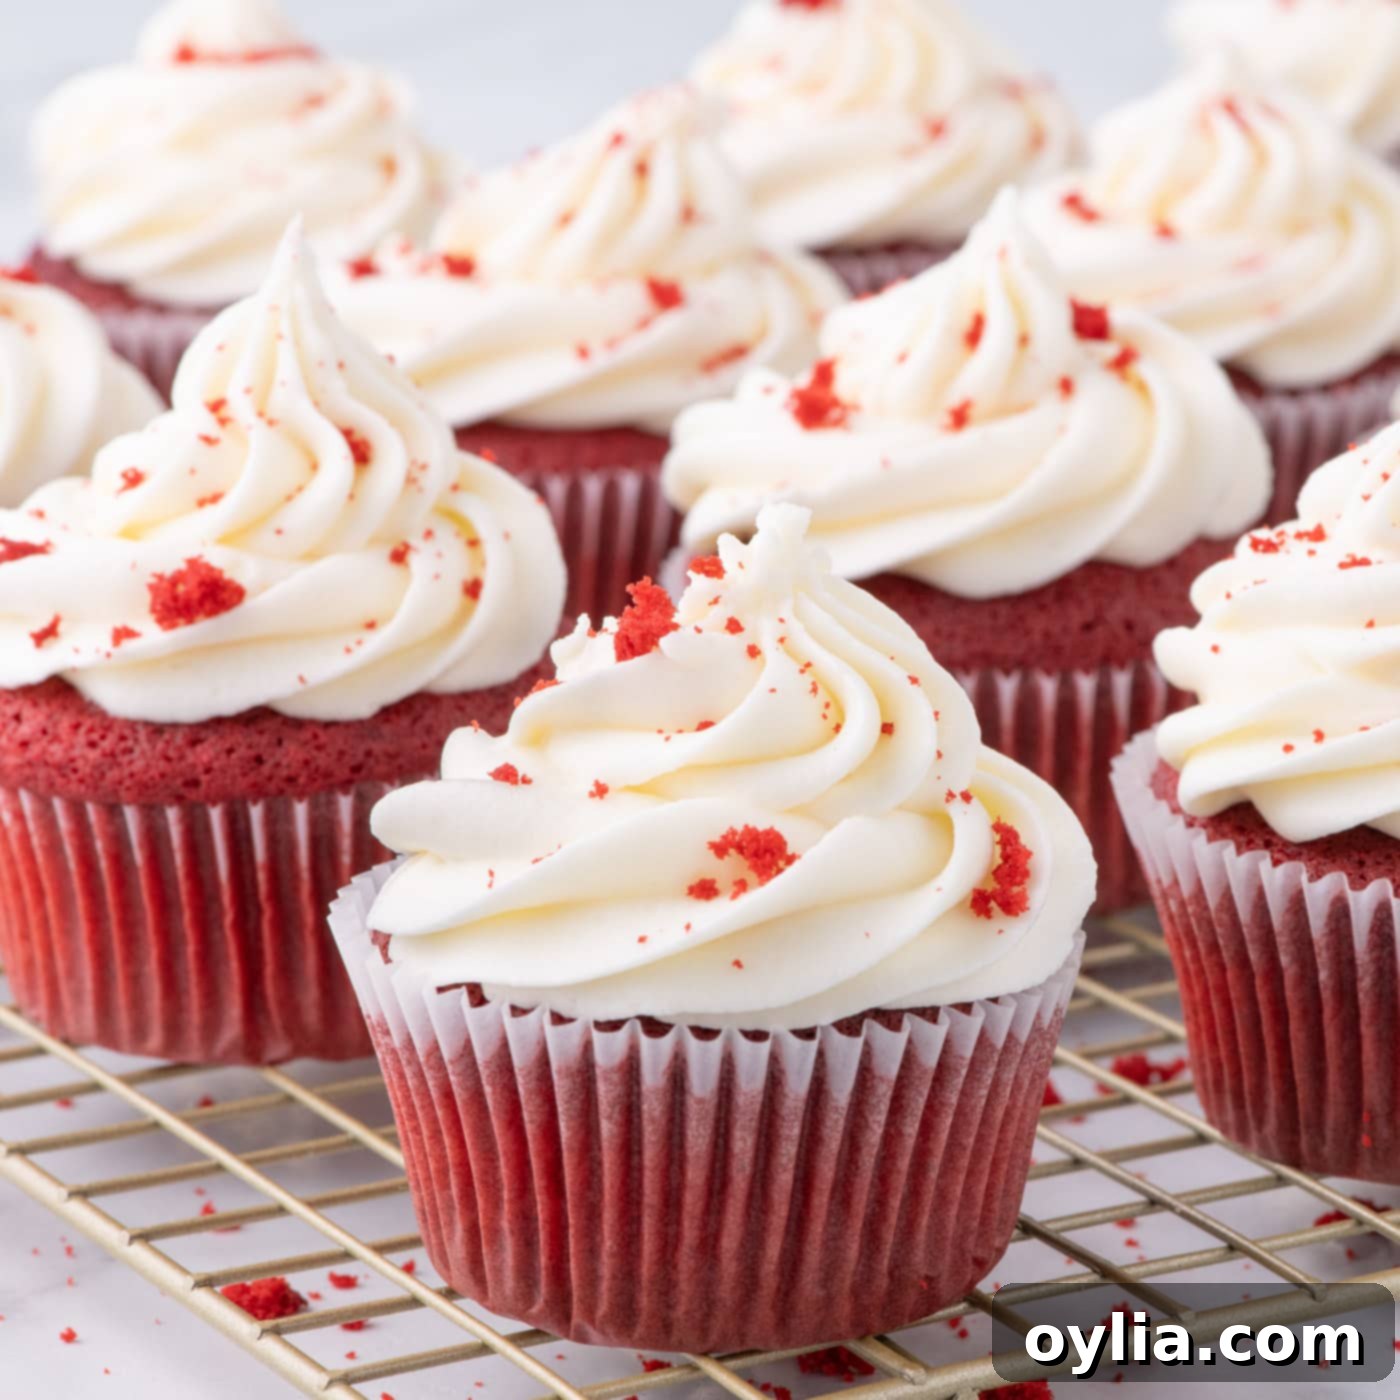
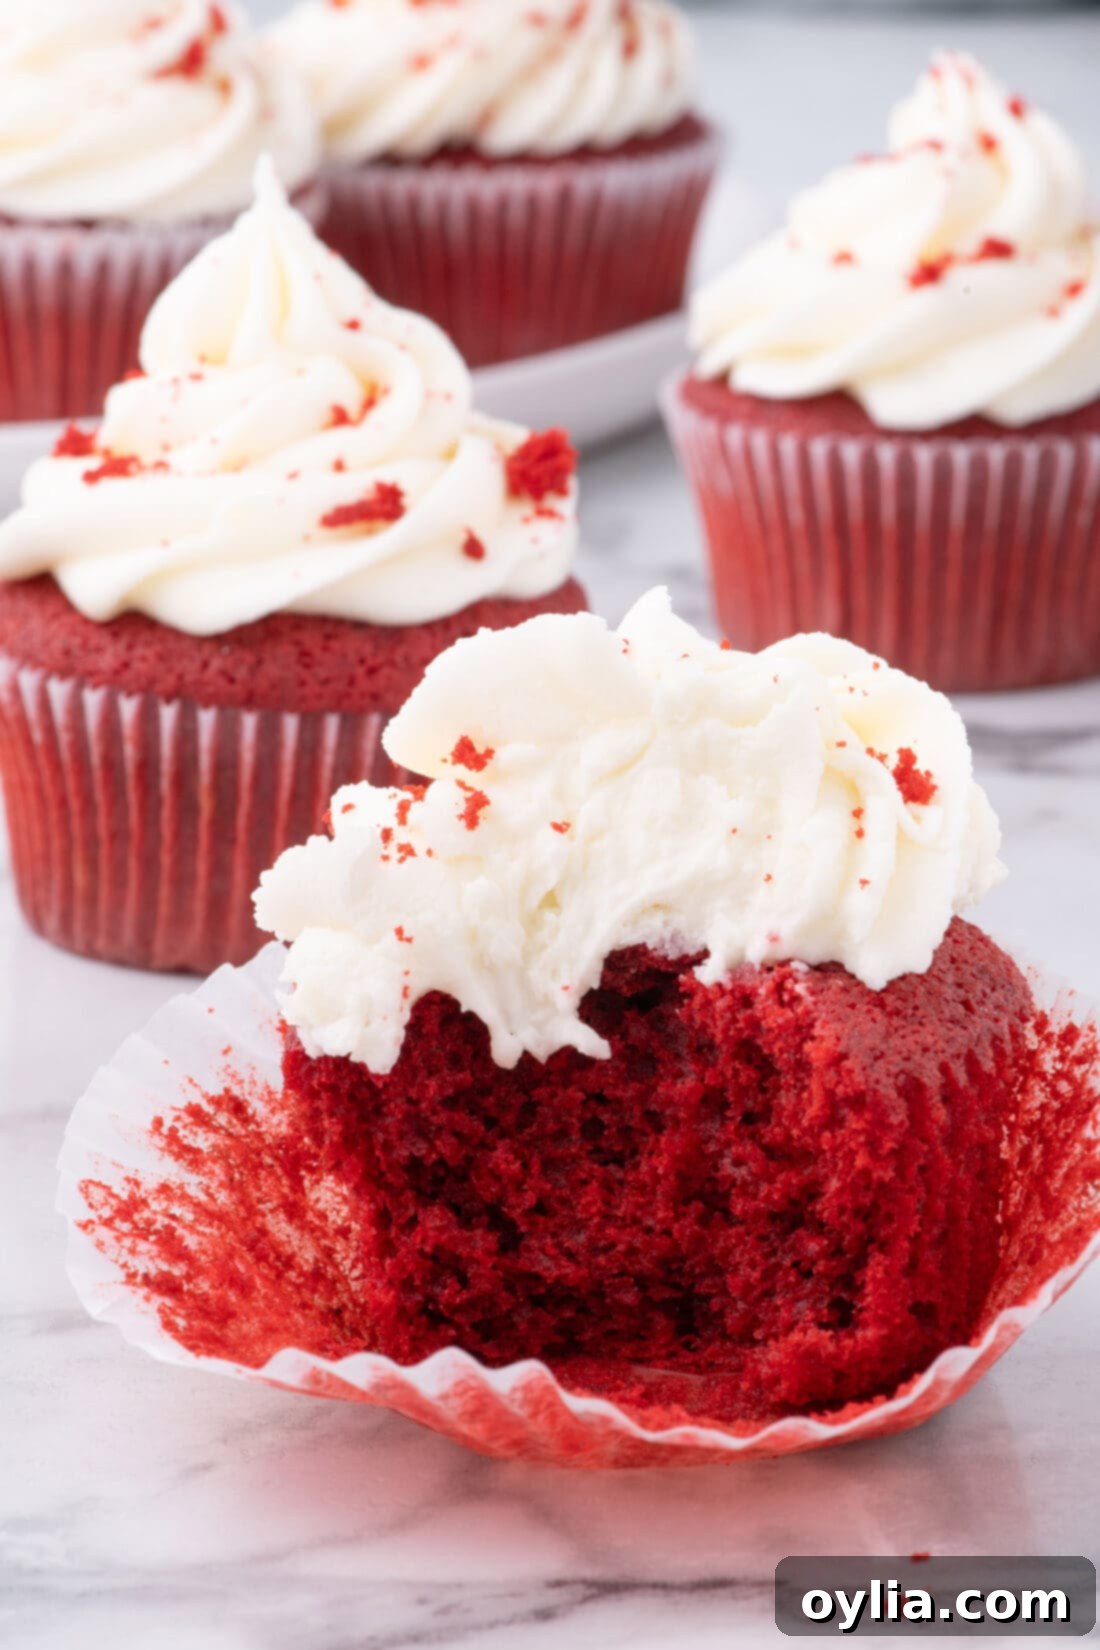
Few desserts capture hearts quite like the vibrant, velvety allure of Red Velvet Cupcakes. With their signature deep red hue, subtle cocoa flavor, and that irresistible tangy cream cheese frosting, they are a true classic. This comprehensive guide will walk you through creating the most *fluffy, moist, and utterly delicious homemade red velvet cupcakes*, ensuring a perfect texture and a smooth, creamy frosting every time. Get ready to bake a batch that will impress everyone at your next gathering or simply satisfy that sweet craving with these iconic treats. This recipe is designed to be straightforward yet deliver bakery-quality results right in your own kitchen.
Why This Red Velvet Cupcake Recipe Works Flawlessly
Our red velvet cupcake recipe isn’t just another sweet treat; it’s a carefully balanced symphony of flavors and textures designed for perfection. The undeniable magic of a *fluffy red velvet cupcake* truly comes alive when paired with a tangy, rich cream cheese frosting. This specific recipe works wonders because it meticulously balances key ingredients and techniques to achieve an unparalleled result. We utilize the precise ratio of cake flour for a tender crumb, alongside unsweetened cocoa powder which not only contributes a subtle chocolate note but also enhances the red color when combined with the acidic elements. The secret weapon? Buttermilk and white vinegar. These not only provide a distinctive tangy flavor but also react with the baking soda, creating tiny air pockets that result in an incredibly light and *moist red velvet cupcake*. This delightful marriage between the moist cake and the luscious frosting creates an over-the-top delicious confection perfectly suited for **all** occasions – from elegant parties to a cozy treat at home, making it a reliable and beloved choice for any dessert spread.
Essential Ingredients for Your Homemade Red Velvet Cupcakes
Crafting these exquisite *homemade red velvet cupcakes* requires a selection of fresh, high-quality ingredients. While the full list with precise measurements and detailed instructions is available in the printable recipe card at the end of this post, let’s delve into some important notes and substitution suggestions for key components. Understanding the role of each ingredient will help you achieve the best possible results and ensure your cupcakes turn out perfectly every time.
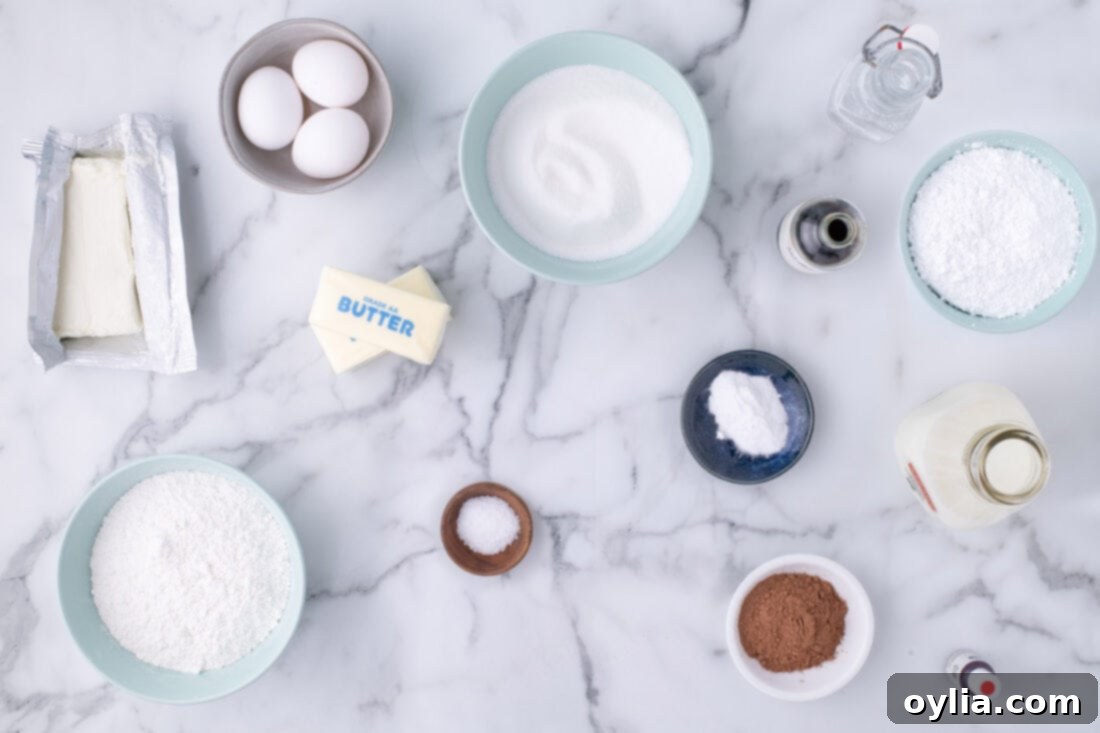
Ingredient Spotlight: Tips for Perfect Cupcakes and Frosting
For the Red Velvet Cupcakes:
- Cake Flour: The reason these cupcakes achieve such a light and airy texture is primarily due to the use of cake flour. Cake flour has a lower protein content than all-purpose flour, which results in a more tender and delicate crumb. If you don’t have cake flour on hand, you can easily make your own by sifting together 2 ½ cups of all-purpose flour with 5 tablespoons of cornstarch. This mixture mimics the properties of cake flour and will yield fantastic results.
- Unsweetened Cocoa Powder: A small amount of unsweetened cocoa powder is crucial. It doesn’t just add a subtle hint of chocolate flavor, but more importantly, its acidity reacts with the red food coloring and baking soda to deepen the rich red hue that defines red velvet, making the color pop.
- Buttermilk: Buttermilk is a key player in achieving the signature tang and incredibly moist texture of these cupcakes. Its acidity tenderizes the gluten in the flour, resulting in a softer crumb. If you don’t have buttermilk, you can easily create a substitute: stir 2 teaspoons of white vinegar (or lemon juice) into 1 cup of whole milk. Let it sit for 5-10 minutes until it slightly curdles. This homemade version works wonderfully.
- Granulated Sugar: We use granulated sugar for sweetness and to help create a tender crumb and moist texture. When creaming with butter, it helps incorporate air into the batter, which is essential for a light and airy cupcake structure.
- Unsalted Butter (Room Temperature): Always use unsalted butter for baking to control the salt content in your recipe. Ensure your butter is truly at room temperature (soft enough to indent with a finger, but not melted or greasy) for optimal creaming with sugar. This step is essential for trapping air and creating a light, fluffy batter.
- Eggs (Room Temperature): Room temperature eggs incorporate more easily and evenly into the batter, preventing curdling and contributing to a smoother, more emulsified mixture. This leads to a more consistent and tender cake.
- White Vinegar: Alongside buttermilk, white vinegar enhances the red color and reacts vigorously with the baking soda to give the cupcakes their impressive lift and characteristic tender, fine crumb.
- Red Gel Food Coloring: For the most vibrant and true red color, gel food coloring is highly recommended over liquid food coloring. Gel colors are more concentrated, so you’ll need less, which means less added liquid to your batter. Aim for a deep, rich red, but feel free to adjust the amount to your personal preference.
- Salt and Baking Soda: These are essential leavening and flavor-balancing agents. Baking soda reacts with the acidic buttermilk and vinegar to make the cupcakes rise beautifully, while salt enhances all the flavors, preventing the cupcakes from tasting bland or overly sweet.
For the Cream Cheese Frosting:
- Cream Cheese (Brick-Style, Room Temperature): This is absolutely critical for a stable, pipeable frosting! Always use full-fat, brick-style cream cheese, not the spreadable kind from a tub. Brick-style cream cheese has significantly less water content, making for a much firmer and more pipeable frosting. Ensure it’s at room temperature for 30-45 minutes (cut into cubes to speed this up), but absolutely do not microwave or melt it, as this will result in a runny, lumpy frosting that won’t hold its shape.
- Unsalted Butter (Room Temperature): Similar to the cupcake batter, room temperature unsalted butter is vital for a smooth, lump-free frosting. Make sure it’s soft enough to cream easily with the cream cheese but still holds its shape, indicating it’s not too warm.
- Powdered Sugar (Confectioners’ Sugar): This provides the sweetness and structure for the frosting. Sifting it can help prevent lumps, though mixing on low speed initially usually works well to incorporate it smoothly.
- Vanilla Extract & Salt: These balance the sweetness and tang of the cream cheese, enhancing the overall flavor of the frosting and making it truly irresistible.
Expert Tip: Precision in Baking – I highly recommend using a digital kitchen scale to weigh your dry ingredients like flour and sugar. This is the most accurate way to measure and ensures your cupcakes are perfectly balanced in texture and won’t turn out dry or crumbly due to too much flour. If you don’t have a digital kitchen scale, make sure to fluff your flour well, then spoon it into your measuring cup and level it off with the back of a butter knife. Avoid scooping directly with the measuring cup, as this can compact the flour and lead to excessive amounts, altering the final texture of your *homemade red velvet cupcakes*.
Step-by-Step Guide: Crafting Your Red Velvet Masterpiece
These step-by-step photos and detailed instructions are here to help you visualize how to make this delicious recipe from scratch. For a convenient printable version of this recipe, complete with all precise measurements and concise instructions for your kitchen, please Jump to Recipe at the bottom of this post.
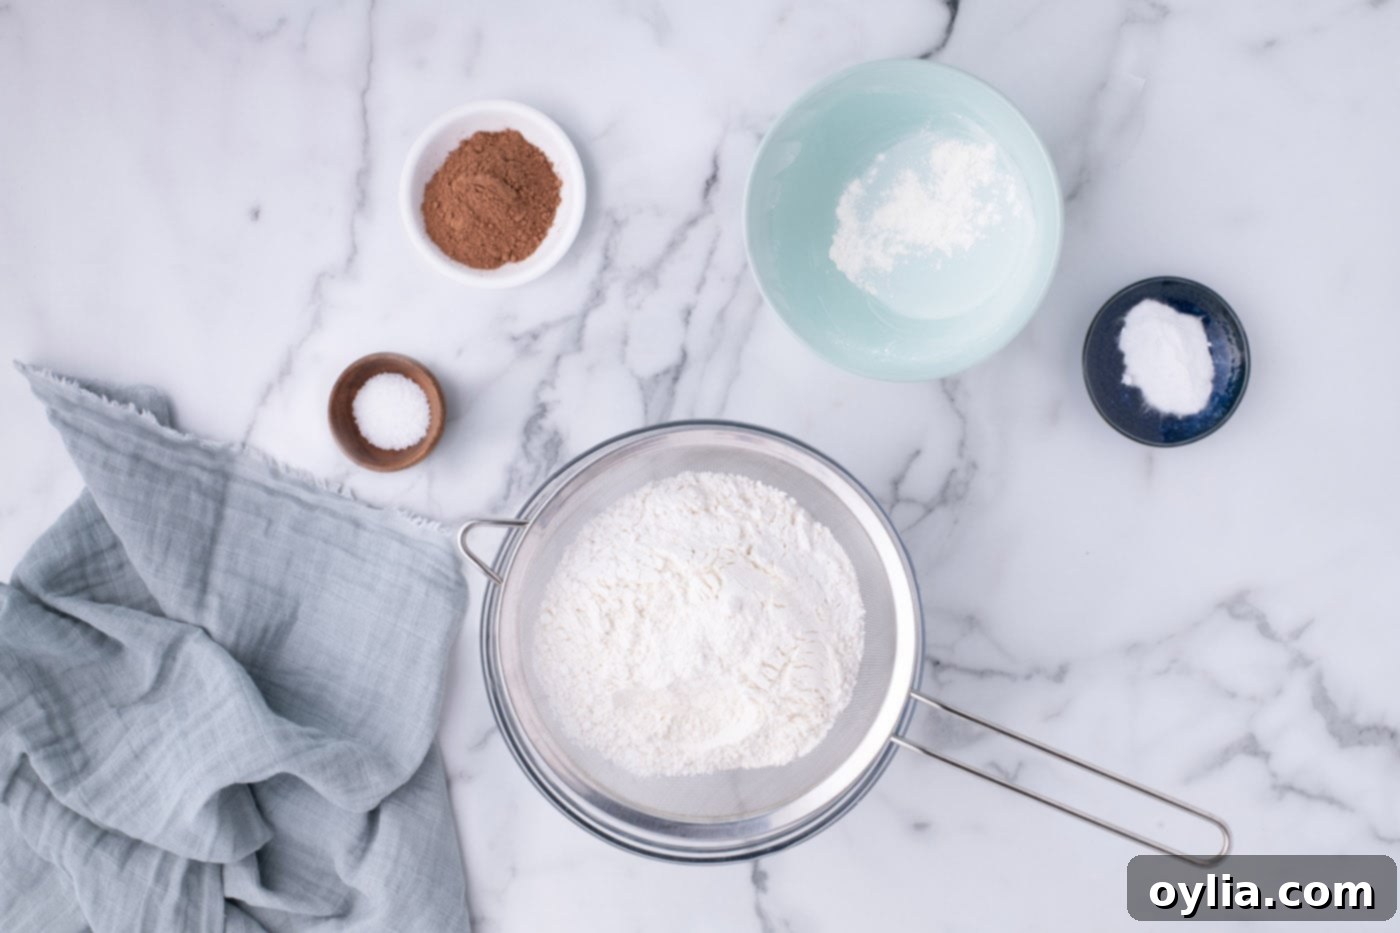
- Prepare Your Oven and Dry Ingredients: Preheat your oven to a precise 350°F (175°C). Line two 12-cup cupcake tins with paper liners – this recipe makes enough batter for approximately 26 cupcakes. In a large mixing bowl, sift together the cake flour, unsweetened cocoa powder, salt, and baking soda. Sifting ensures there are no lumps and helps to aerate the dry ingredients, contributing to a lighter cupcake. Set this mixture aside.

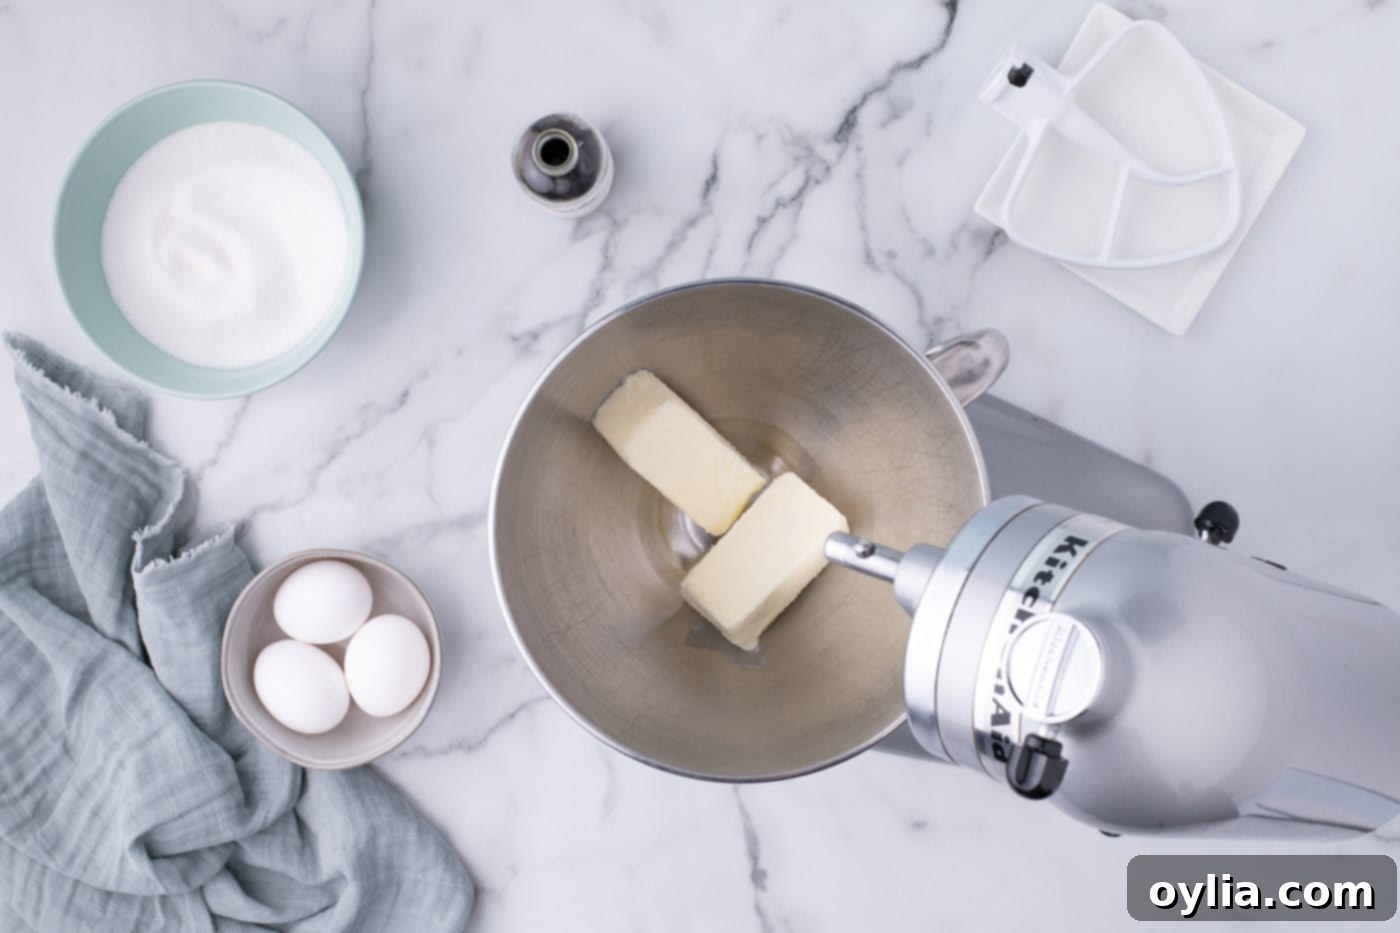
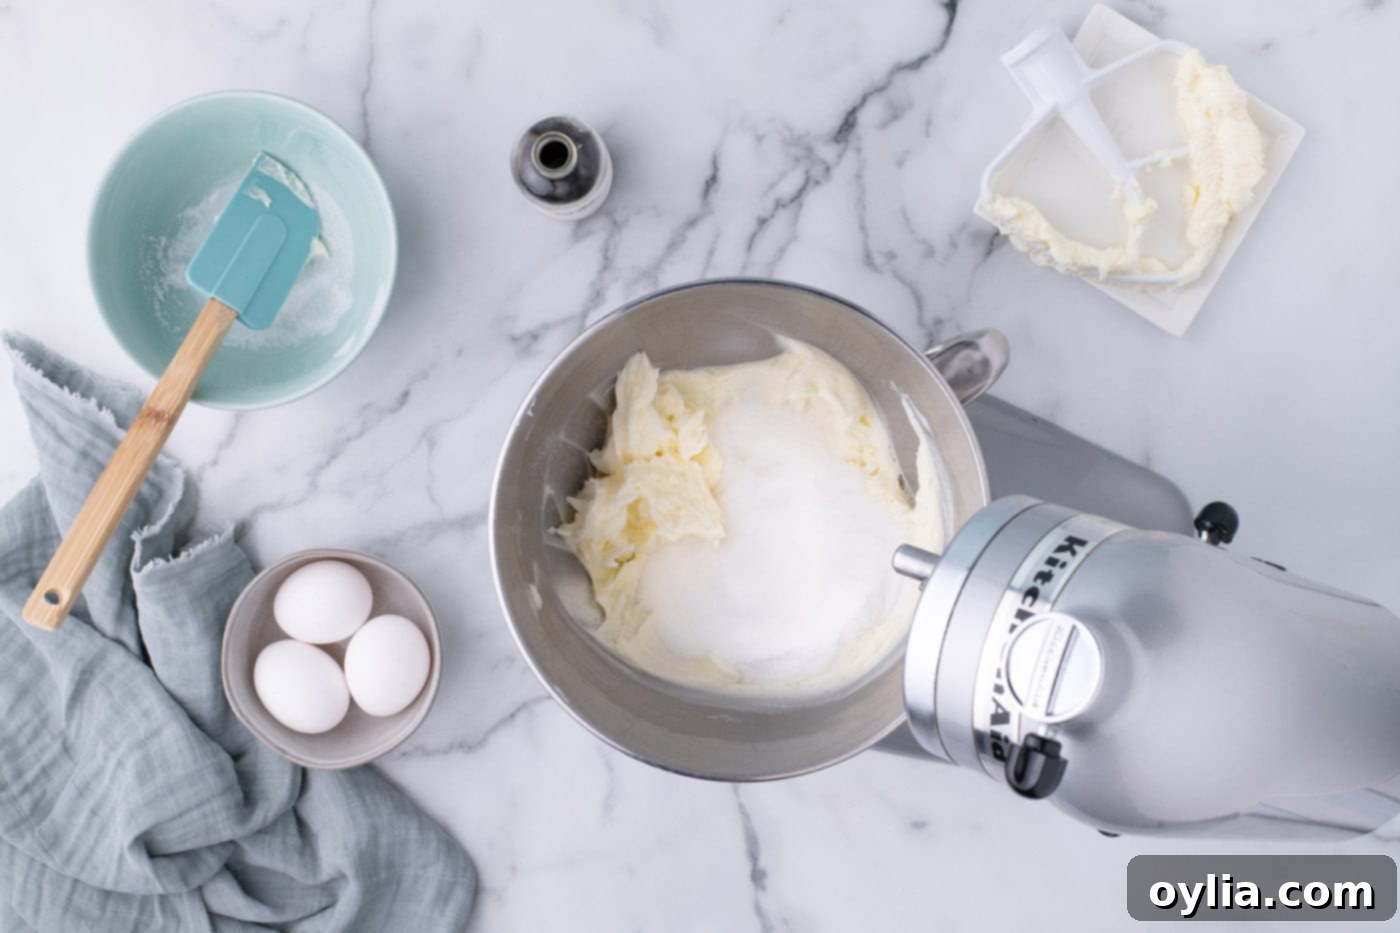
- Cream Butter and Sugar: In the bowl of a stand mixer fitted with a paddle attachment (or using a handheld mixer on medium speed), beat the room temperature unsalted butter until it is light in color and fluffy in texture. This usually takes about 2-3 minutes. Gradually add the granulated sugar, continuing to beat for another 3-5 minutes until the mixture is pale and airy, ensuring the sugar is fully incorporated and the mixture is light and voluminous. This creaming process is crucial for trapping air, which significantly contributes to the lightness and *fluffy texture* of your finished cupcakes.


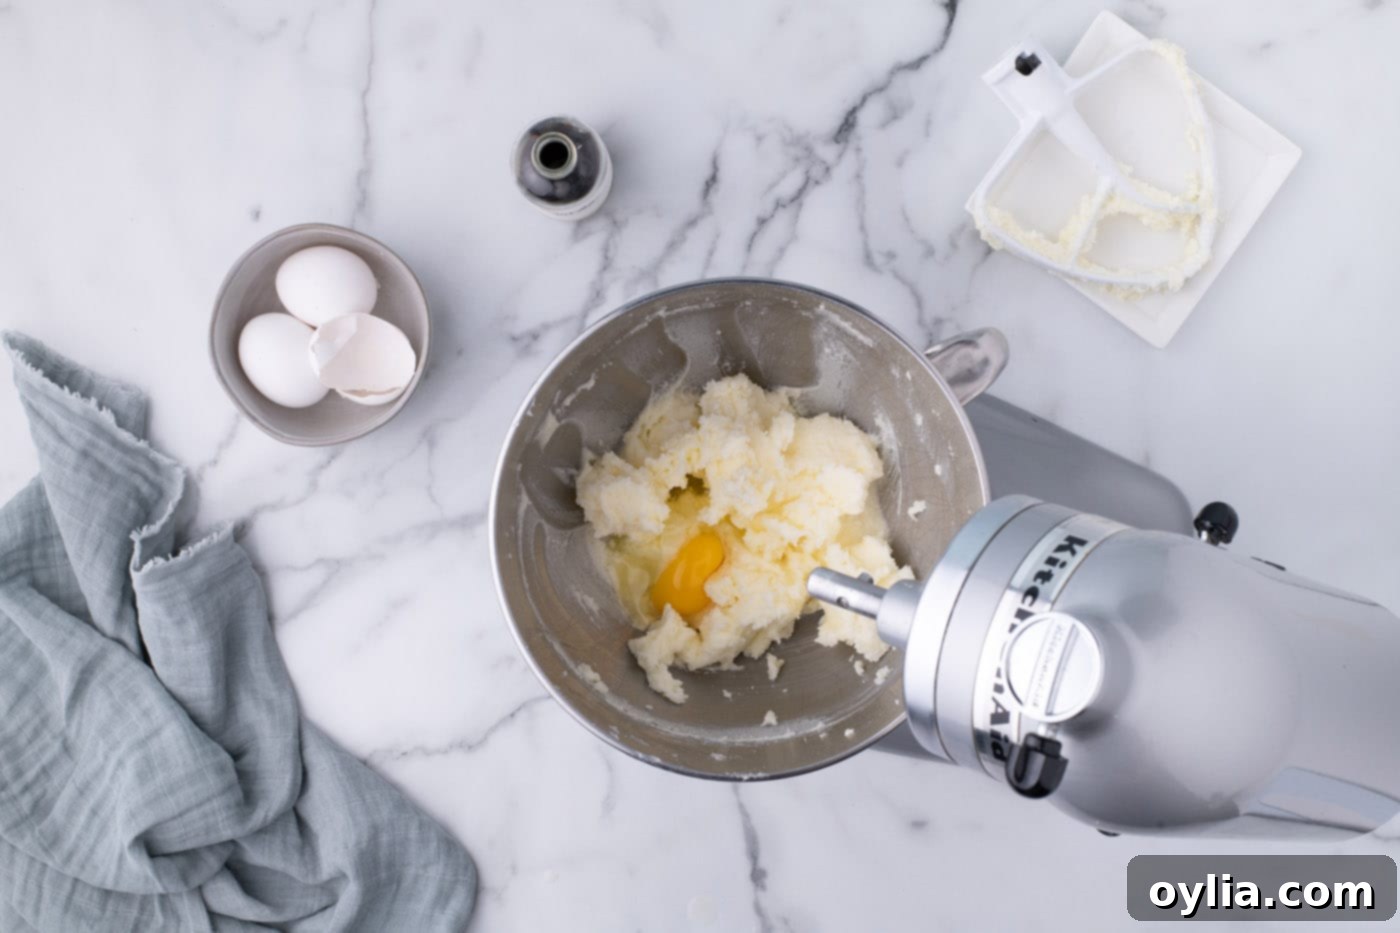
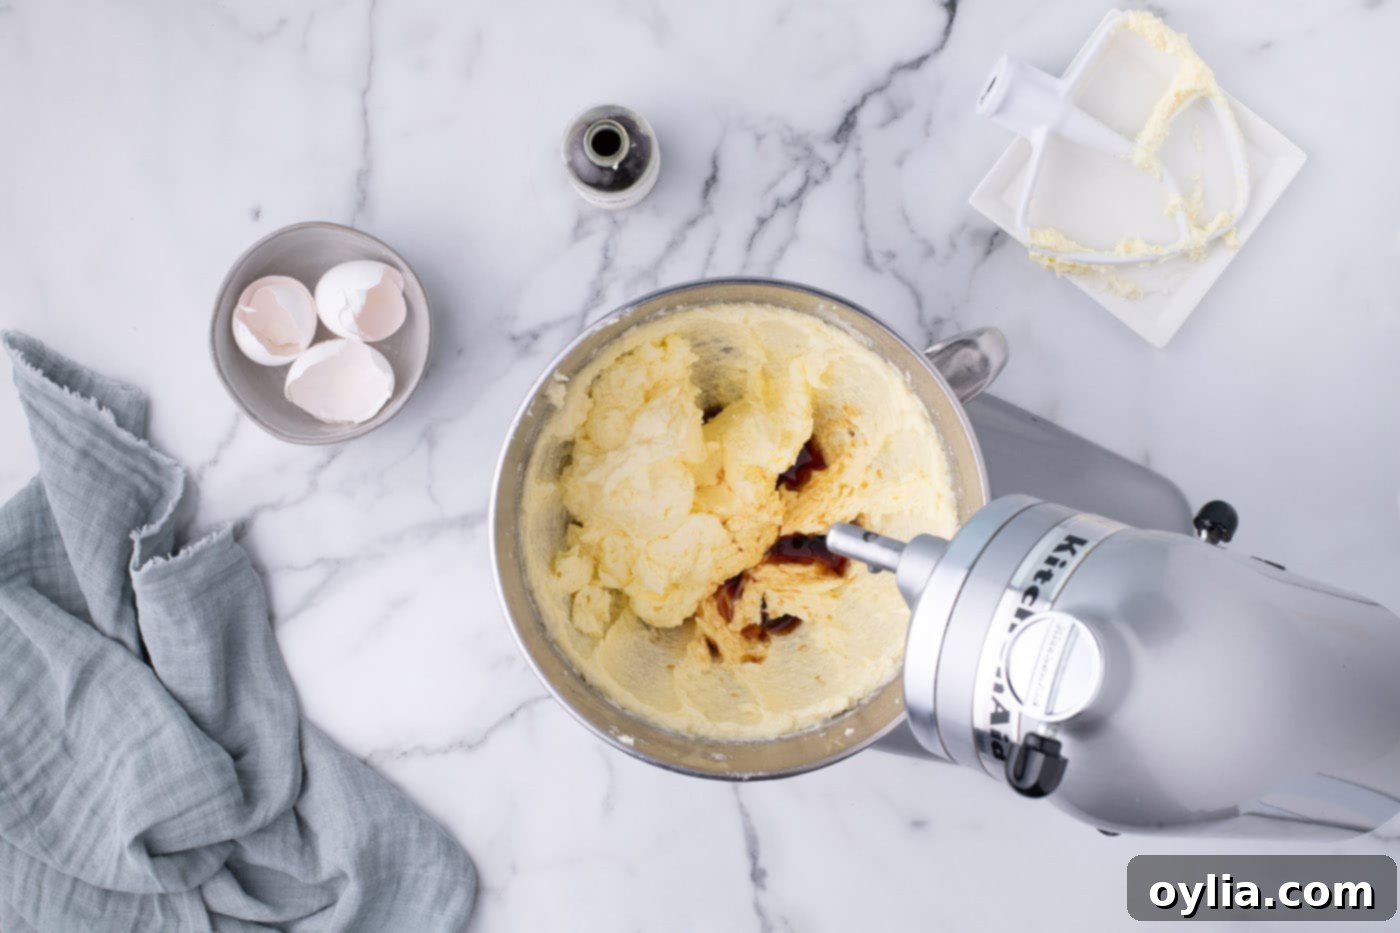
- Incorporate Eggs and Vanilla: Add the eggs one at a time, beating well after each addition until the egg is fully incorporated into the mixture. This ensures a smooth, emulsified batter, which prevents curdling. Once the eggs are in, add the vanilla extract and mix briefly. Use a soft silicone spatula to scrape down the sides and bottom of the bowl to ensure all ingredients are evenly combined and nothing is left unmixed.


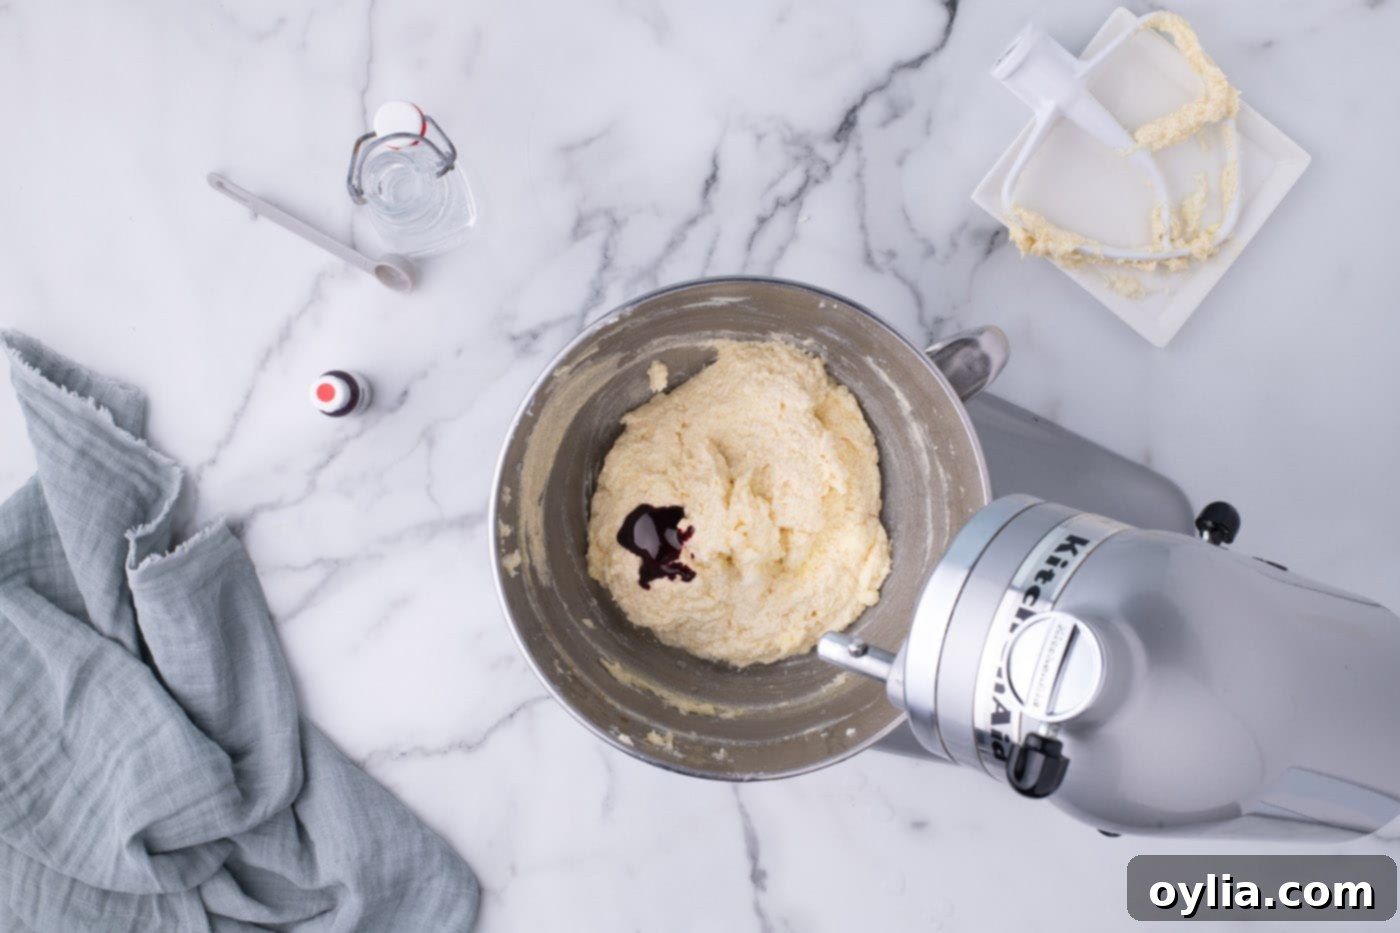
- Add Color and Acidity: Pour in the white vinegar and the red gel food coloring. Continue to mix on medium speed until the color is evenly distributed throughout the batter. Aim for a deep, vibrant red. This step is where your *red velvet cupcakes* get their iconic hue!

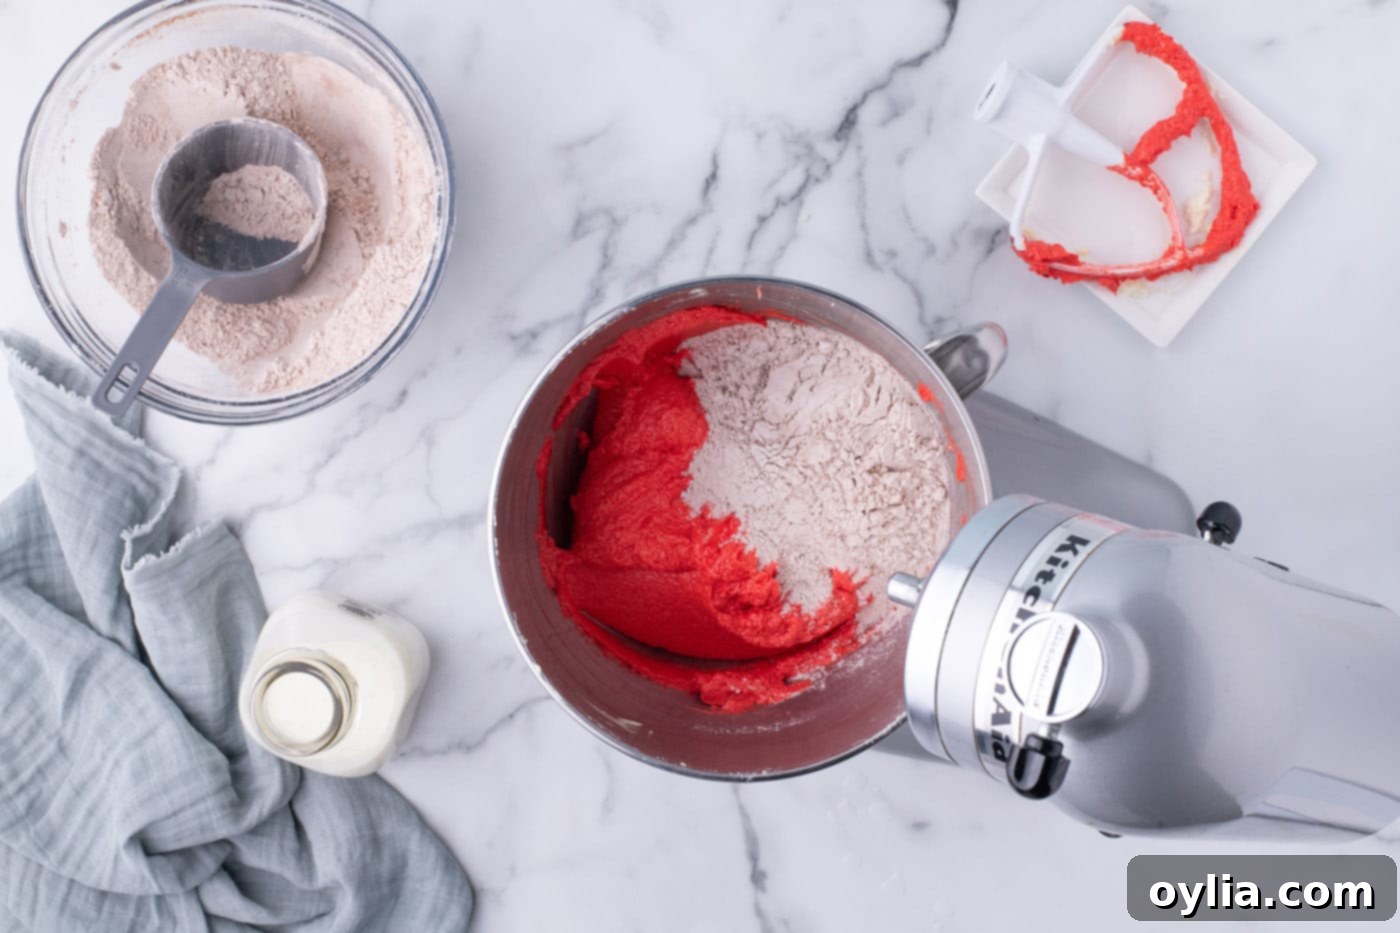
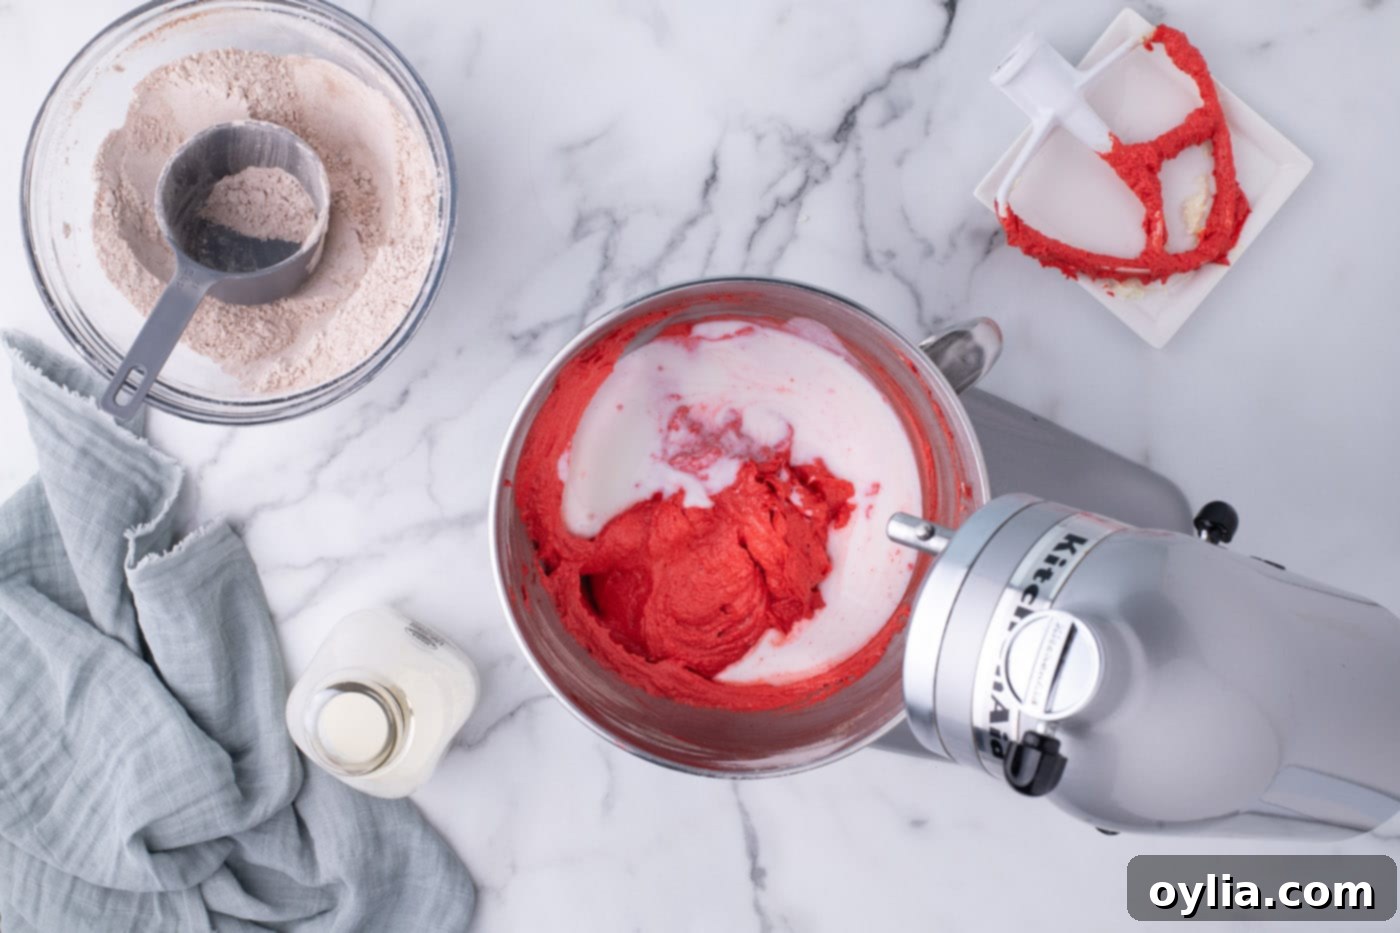
- Alternate Dry and Wet Ingredients: With the mixer on its lowest speed, stir in one-third of the sifted dry ingredients into the wet mixture, just until barely combined. Then, add half of the buttermilk and mix until incorporated. Repeat this process, alternating with the remaining dry ingredients and buttermilk, ensuring you end with the final one-third of the dry ingredients. Be careful not to overmix the batter at this stage, as overmixing can develop gluten and lead to dense, tough cupcakes. Mix only until no streaks of flour remain; a few small lumps are perfectly acceptable.


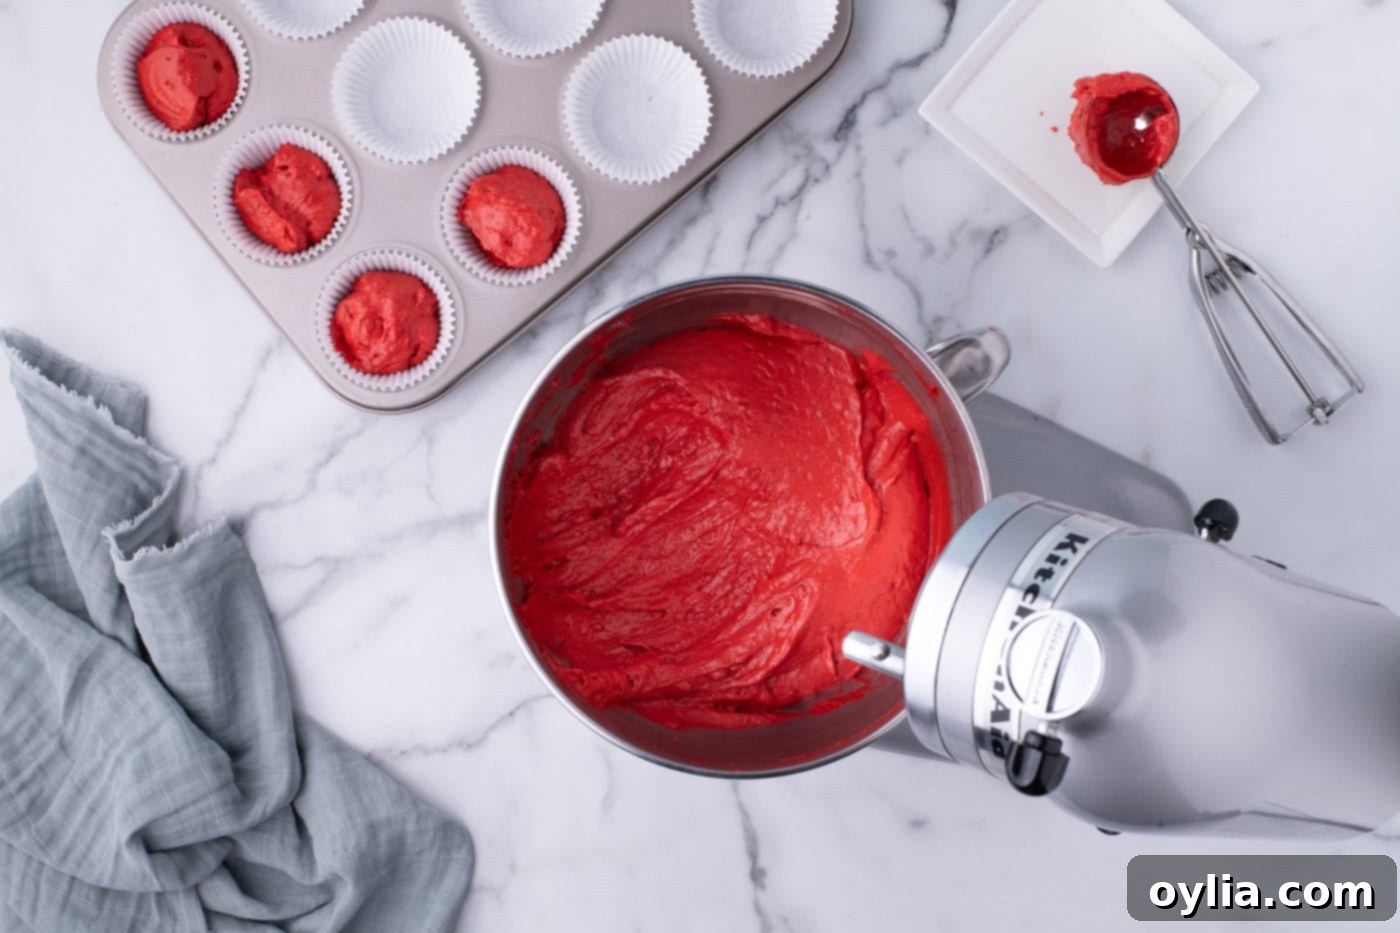
- Fill Cupcake Liners and Bake: Evenly scoop the red velvet batter into the prepared cupcake liners, filling each approximately 2/3 full. A large cookie scoop can help ensure consistent sizing and baking.
TIP – This recipe yields enough batter for 26 cupcakes. You will have enough batter leftover for two extra cupcakes beyond your two 12-cup tins; these two extra cupcakes will be used for garnish later, so bake them in separate liners.
Place the cupcake tins in the preheated oven and bake for 14 to 18 minutes. Baking times can vary depending on your oven (it’s wise to use an oven thermometer), so keep a close eye on them. To check for doneness, insert a toothpick into the center of a cupcake; if it comes out clean or with a few moist crumbs attached, they are ready.
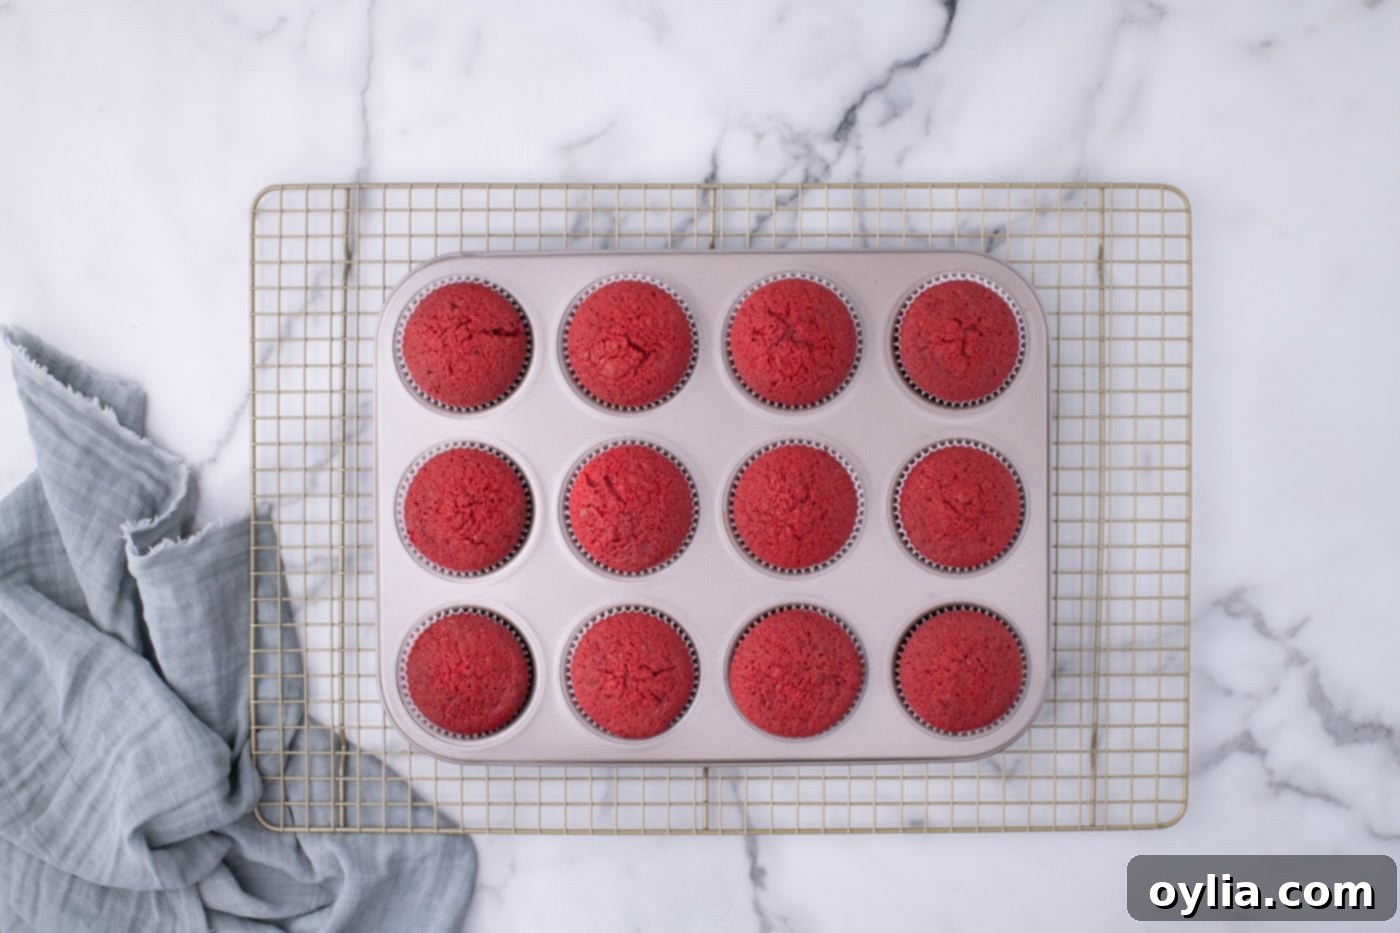
- Cool the Cupcakes: Once baked, remove the cupcake tins from the oven and immediately transfer the cupcakes to a wire rack to cool completely. Allowing them to cool fully is essential before frosting to prevent the frosting from melting and sliding off. Bake the remaining two garnish cupcakes and set them aside to cool as well, leaving them unfrosted for later crumbling.

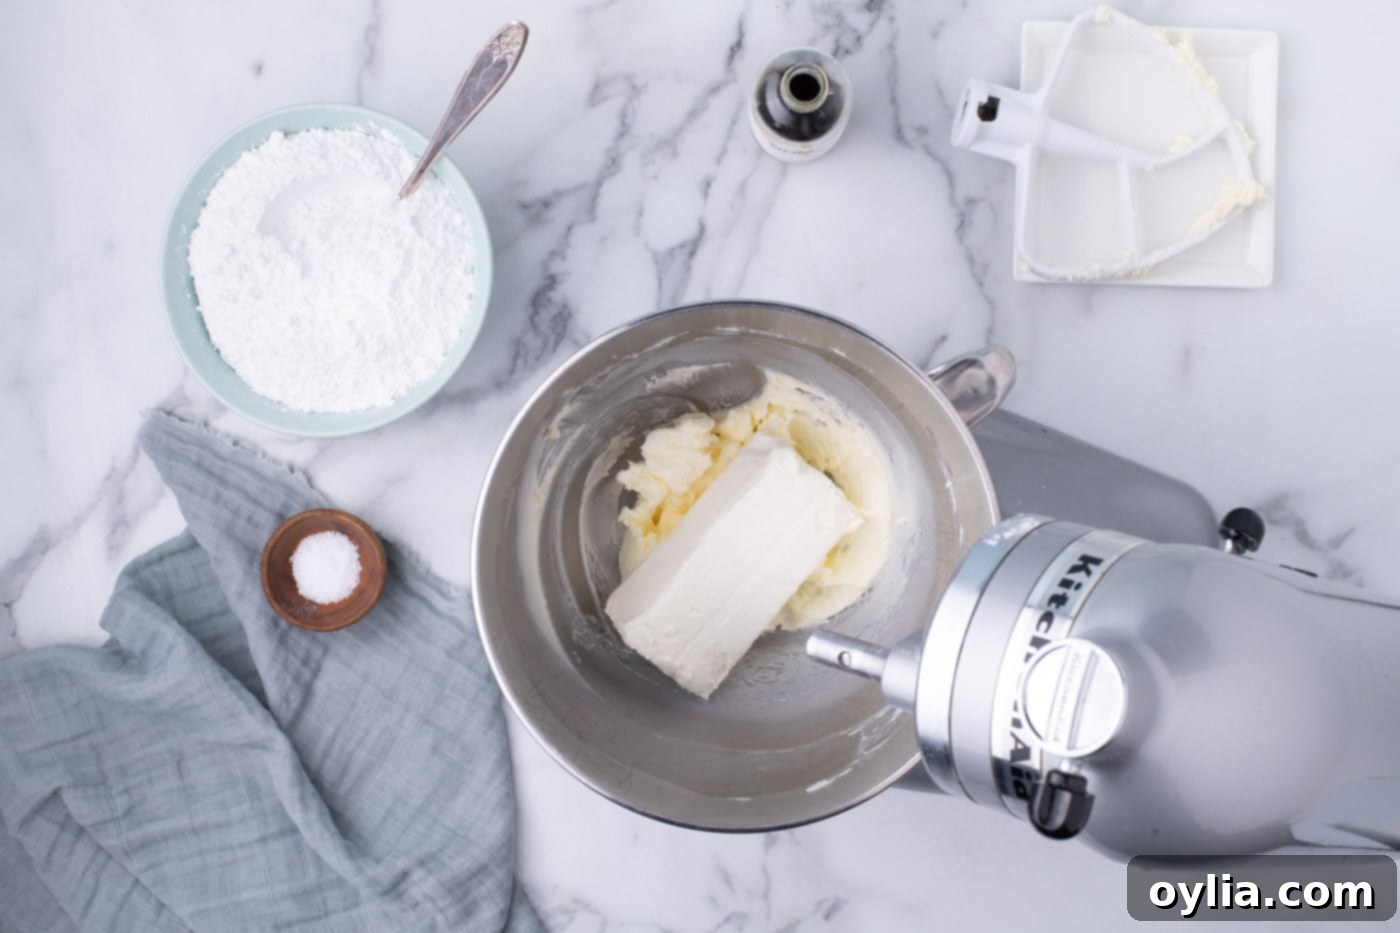
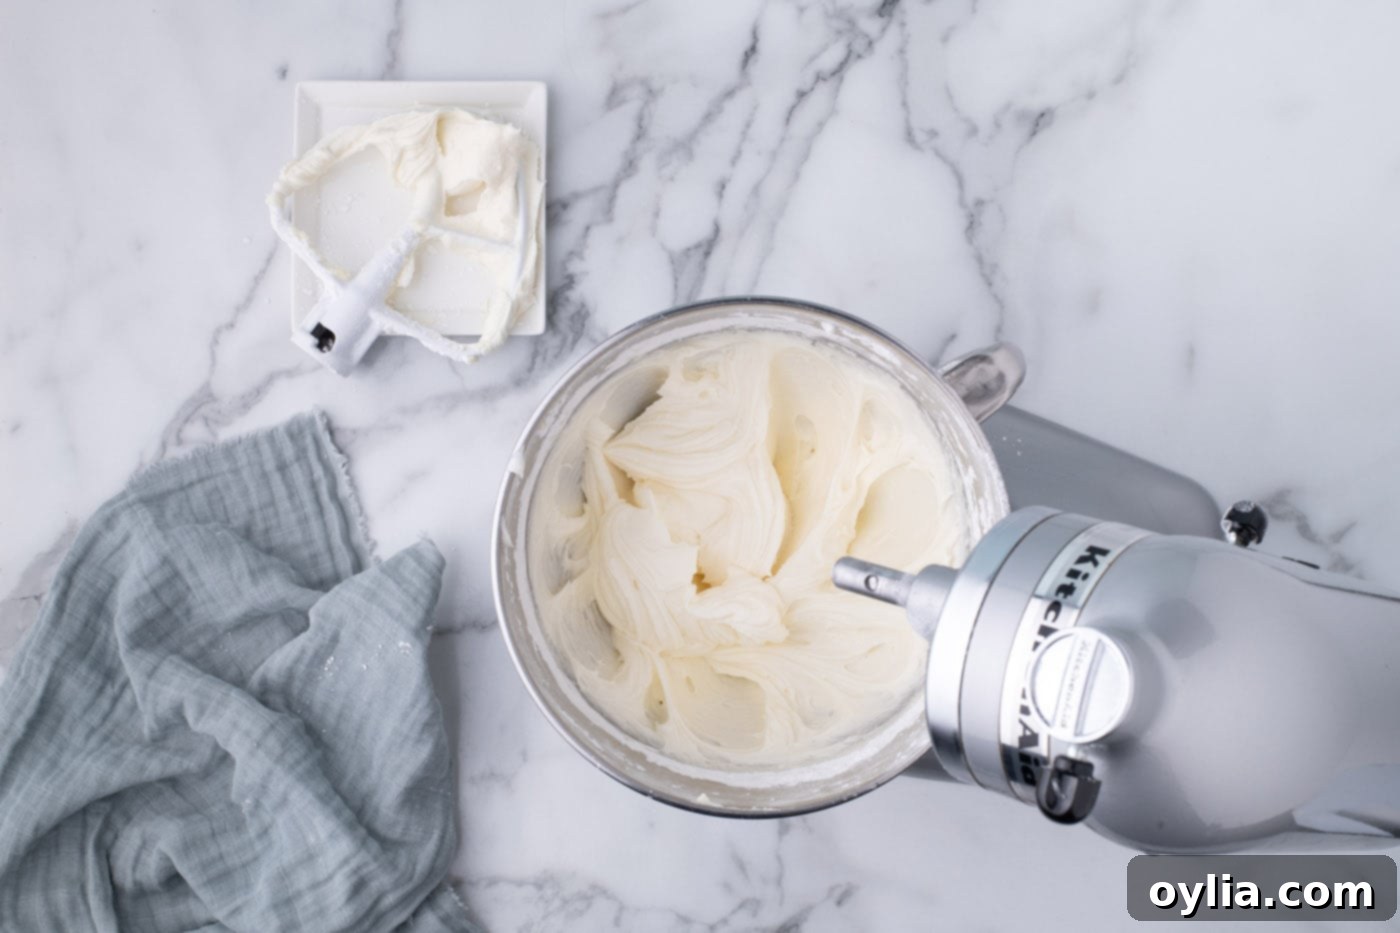
- Prepare the Cream Cheese Frosting: In the clean bowl of your stand mixer (or using a handheld mixer), beat the room temperature unsalted butter until it’s light and fluffy. This typically takes 2-3 minutes. Add the room temperature brick-style cream cheese and continue beating until the mixture is perfectly smooth and creamy, with no lumps. Be sure to scrape down the sides of the bowl as needed to ensure everything is thoroughly combined.


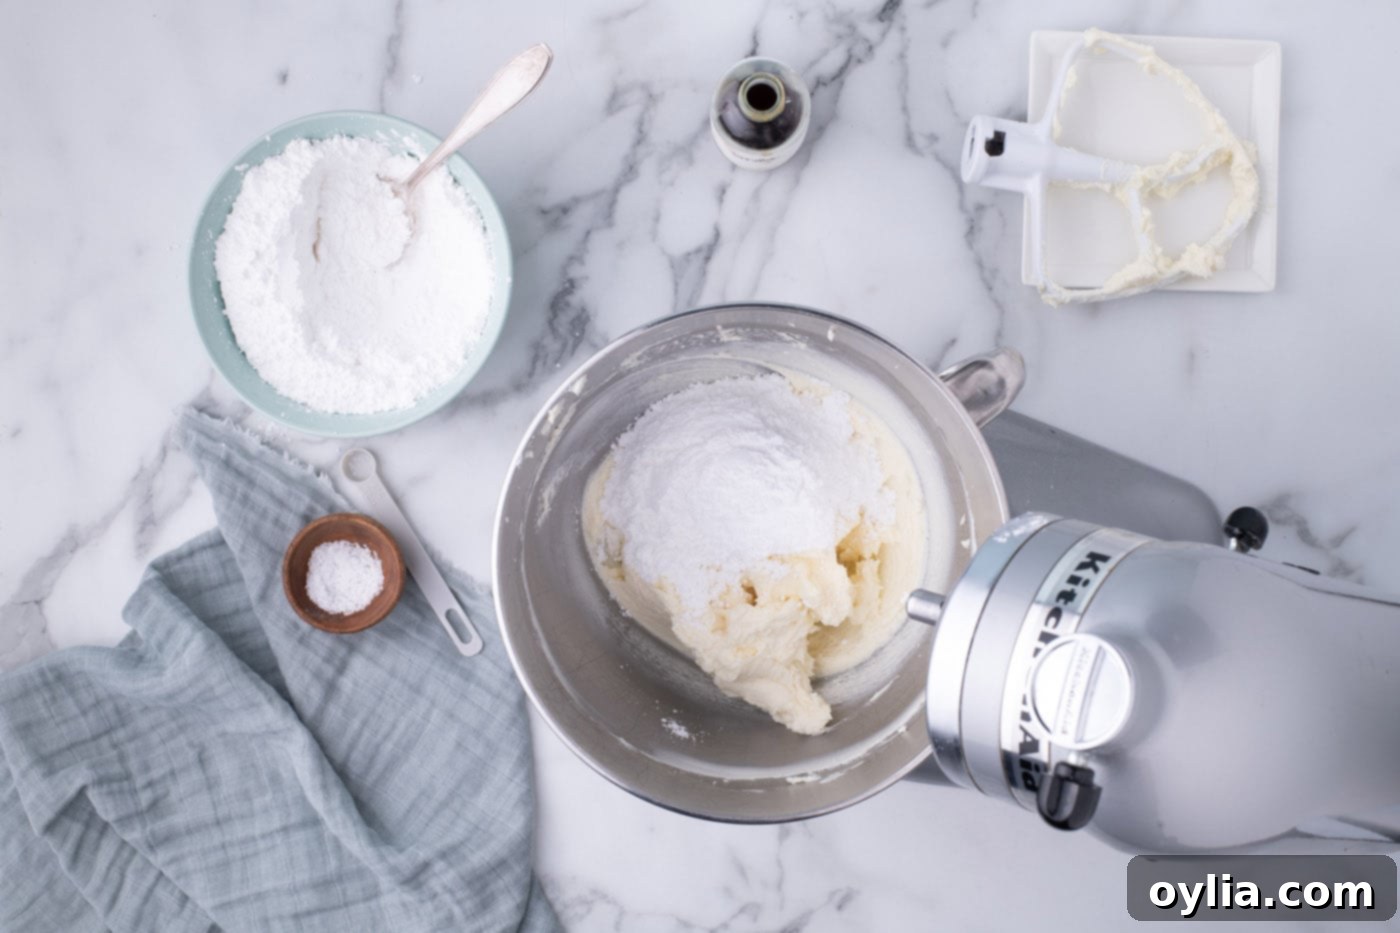
- Add Powdered Sugar, Vanilla, and Salt: With the mixer on its lowest speed, carefully add the powdered sugar, ¼ cup at a time. This slow addition prevents the sugar from flying out of the bowl and ensures smooth incorporation. Once all the powdered sugar is incorporated, add the salt and vanilla extract. Increase the speed to medium-high and beat for an additional 2-3 minutes until the frosting is wonderfully airy, light, and perfectly *fluffy cream cheese frosting*. This final whip creates that desirable light texture.

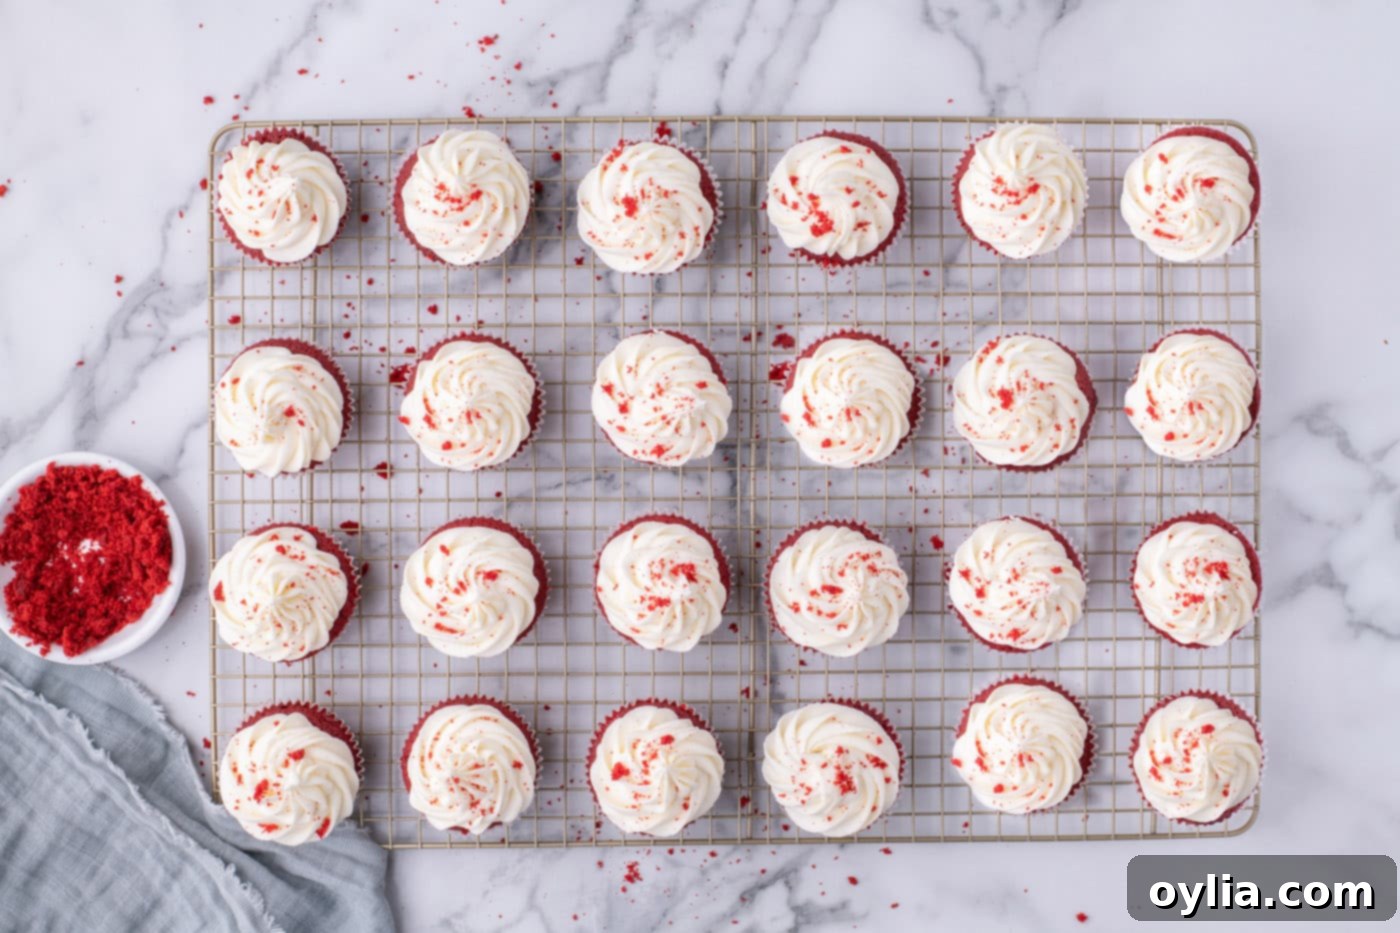
- Frost the Cupcakes: Transfer the prepared cream cheese frosting into a large piping bag fitted with your desired piping tip, such as a Wilton tip 1G (a classic drop flower tip) or another star tip. Once your cupcakes have completely cooled, frost all 24 of them piping them using an even circular motion for a beautiful swirl, or any design you prefer. If you notice your frosting becoming too soft or runny during piping, simply place the piping bag in the refrigerator for 5-10 minutes to firm it up slightly.
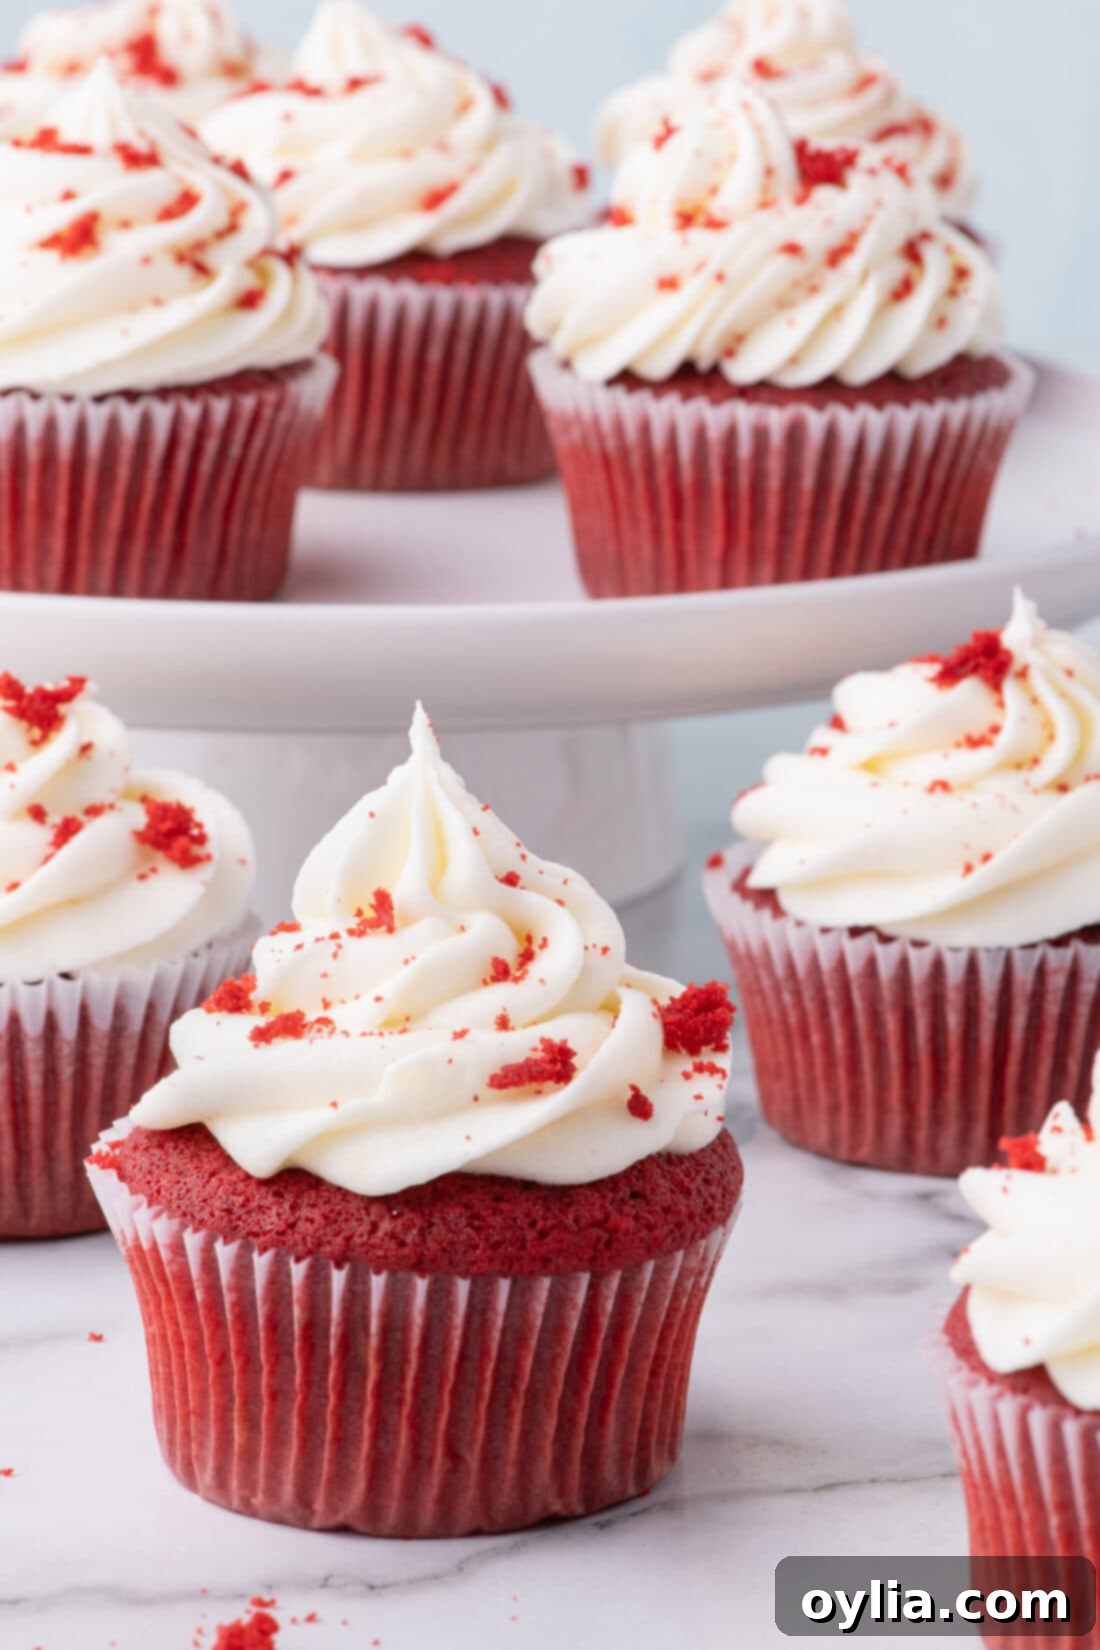
- Garnish and Serve: Take the two reserved, unfrosted red velvet cupcakes and crumble them into a small bowl. Use these delightful crumbs as a beautiful and tasty garnish on top of your frosted cupcakes, adding an extra touch of “red velvet” flair and texture. Your stunning *homemade red velvet cupcakes with cream cheese frosting* are now ready to be admired and devoured!

Frequently Asked Questions & Expert Tips for Red Velvet Success
Absolutely! While the recipe calls for cake flour to achieve that signature light and airy texture with a tender crumb, you can create your own substitute at home. Simply sift together 2 ½ cups of all-purpose flour with 5 tablespoons of cornstarch. The cornstarch helps to break down the gluten in the all-purpose flour, mimicking the lower protein content of cake flour. Once sifted, proceed with the recipe as directed. This simple trick ensures your cupcakes will still be wonderfully soft and delicate.
Due to the delicate nature of cream cheese frosting, *red velvet cupcakes* should always be stored in an airtight container or a cupcake carrier in the refrigerator. They will stay fresh and delicious for up to 5 days. For the best flavor and texture experience, allow them to come to room temperature for about 15-20 minutes before serving.
Yes, these cupcakes are excellent for making ahead, which is perfect for party planning or meal prep! You can prepare the cupcakes a day or two in advance. Allow them to cool completely, then store them unfrosted in an airtight container at room temperature. The cream cheese frosting can also be prepared a day or two in advance and stored in an airtight container in the refrigerator. Before frosting, let the frosting come to room temperature for about 15-20 minutes, then re-whip it for a minute or two to restore its fluffy texture. If you choose to pipe and store the frosted cupcakes ahead of time, always keep them in an airtight container in the refrigerator to maintain freshness and frosting stability.
Runny cream cheese frosting is a common issue, but easily avoidable with a few key tips! The main culprits are usually butter or cream cheese that are too soft (or melted), or using spreadable cream cheese from a tub instead of brick-style. Ensure both your butter and cream cheese are at room temperature – meaning soft enough to indent with a finger, but not greasy or melted. Always use full-fat, brick-style cream cheese for its lower water content and firmer consistency. If your frosting still seems too soft after mixing, try chilling it in the refrigerator for 15-30 minutes, then re-whipping. For extra stability, especially in warm environments or for intricate piping, you can add another ½ cup of powdered sugar to the recipe.
For the most vibrant red color, using gel food coloring is absolutely key. Liquid food coloring can dilute the batter and often requires much more product to achieve a deep hue, sometimes resulting in a pinkish shade rather than a true red. Gel colors are concentrated, so start with about 10 drops (or approximately 2 tablespoons if using a dropper bottle) and add more gradually, a few drops at a time, until you reach your desired deep, rich shade. The acidity from the buttermilk and vinegar also plays a crucial role in enhancing the red color and making it pop, so don’t skip those essential ingredients!
Yes, you absolutely can! Freezing is a fantastic way to extend the shelf life of your *homemade red velvet cupcakes*. For best results, freeze unfrosted cupcakes. Once completely cooled, wrap each cupcake individually in plastic wrap, then place them in an airtight freezer-safe container or bag. They can be safely frozen for up to 3 months. To thaw, simply place them in the refrigerator overnight, then bring them to room temperature for about an hour before frosting and serving. Frosted cupcakes can also be frozen, but they should be flash-frozen on a tray until solid, then wrapped individually in plastic wrap and stored in an airtight container to prevent the frosting from getting smushed.
Serving Suggestions for Your Delicious Red Velvet Cupcakes
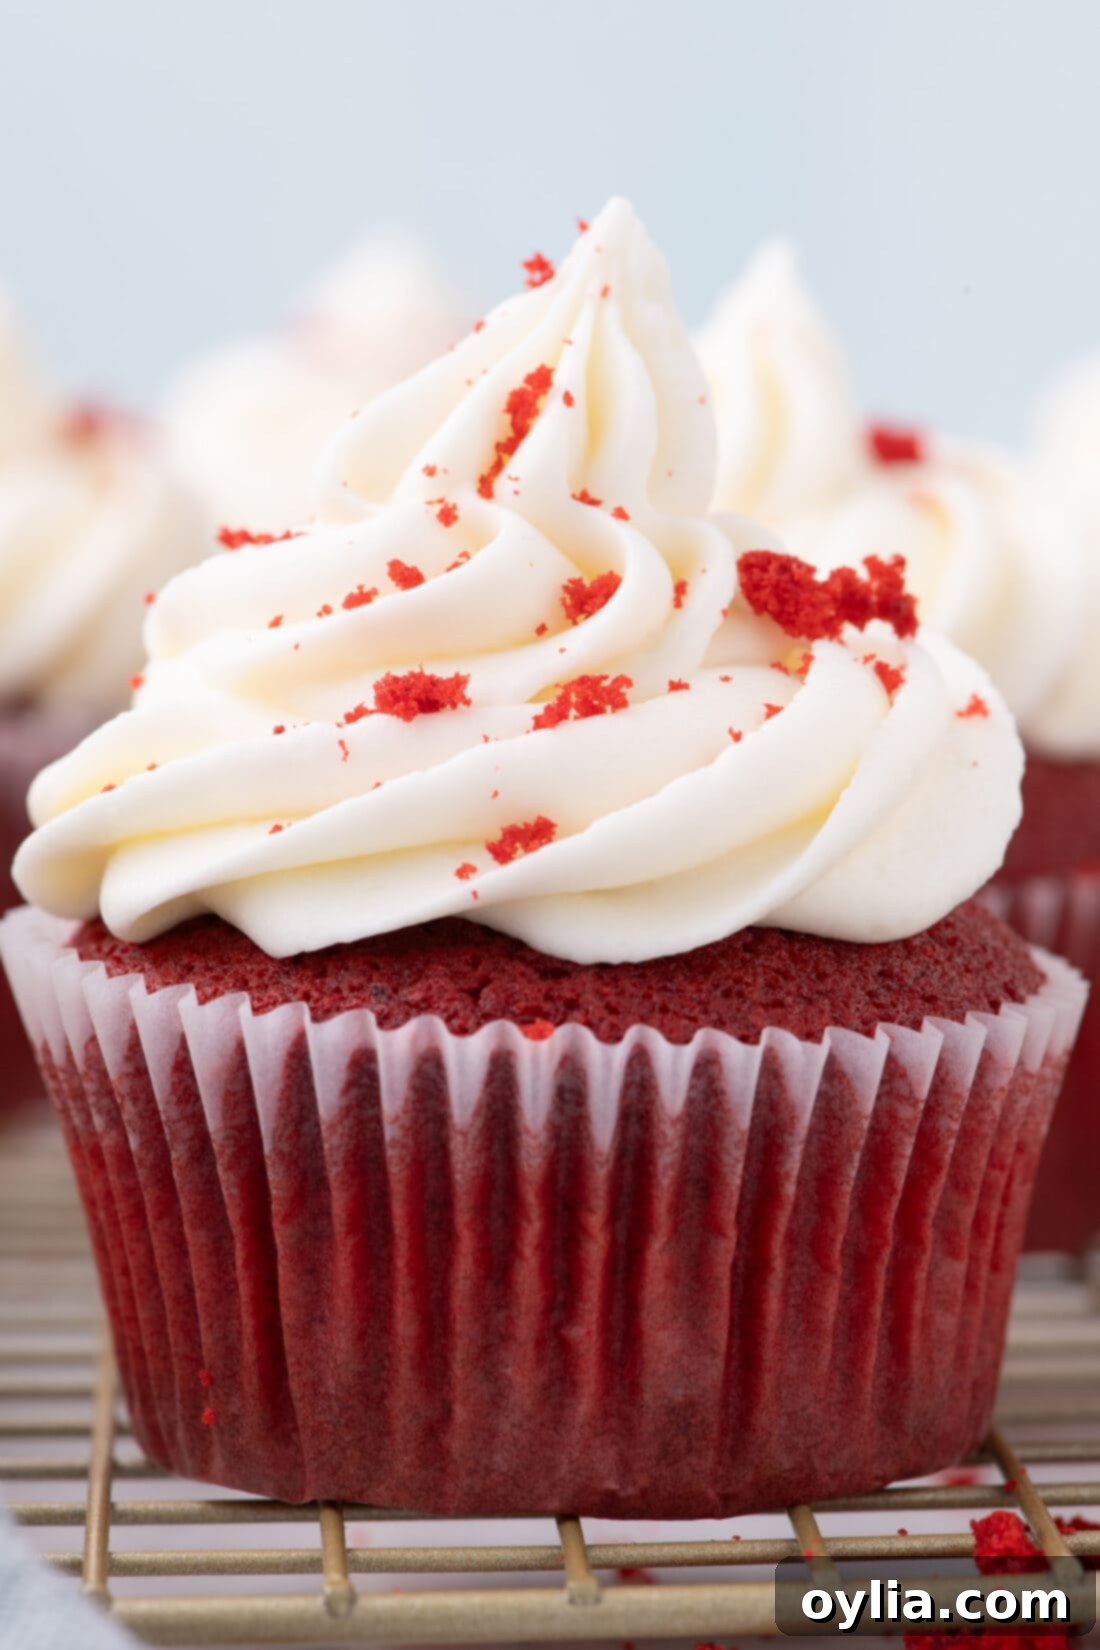
These exquisite *red velvet cupcakes* are incredibly versatile and perfect for almost any occasion. Their rich flavor and striking appearance make them a star! They can sneakily pass as a sweet treat alongside your morning coffee or tea, making a delightful start to the day. More traditionally, enjoy them as a show-stopping dessert for dinner parties, birthday celebrations, holiday gatherings, or simply as an indulgent treat after a long day. Their vibrant color also makes them ideal for themed events and special occasions.
- Garnish Options: Elevate your presentation with simple yet effective garnishes. Use the reserved crumbled red velvet cake (from the extra cupcakes you baked) for a classic, textured look. Alternatively, get creative with elegant chocolate shavings, a sprinkle of mini chocolate chips, or even a fresh raspberry perched on top for a pop of freshness and color.
- Holiday Flair: For special holidays, customize your cupcakes with festive sprinkles! Red heart sprinkles are absolutely perfect for Valentine’s Day, while a mix of red, white, and blue sprinkles will make them a patriotic hit for the 4th of July, Memorial Day, or any national celebration.
- Beverage Pairings: Red velvet cupcakes pair beautifully with a variety of beverages. A classic cup of coffee or a tall glass of cold milk complements their richness, while a delicate sparkling wine or champagne can add a touch of elegance for celebrations. For a cozy evening, consider a hot chocolate or a spiced tea.
- Alternative Frostings: While the tangy cream cheese frosting is undeniably iconic and truly a match made in heaven for red velvet, if you’re looking for a different flavor profile, these cupcakes are also perfectly delectable with a classic buttercream frosting or even a light chocolate ganache for a richer, more decadent experience.
Explore More Delicious Cake and Cupcake Recipes
If you loved baking these Red Velvet Cupcakes and are eager to try more delightful treats, you’ll surely enjoy these other fantastic cake and cupcake recipes from our kitchen. Each recipe is tried and true, designed to bring joy to your baking endeavors!
- Oreo Cupcakes
- Red Velvet Cake
- Pound Cake Cupcakes
- Double Chocolate Cupcakes
- Vanilla Cupcakes
I love to bake and cook and share my kitchen experience with all of you! Remembering to come back each day can be tough, that’s why I offer a convenient newsletter every time a new recipe posts. Simply subscribe and start receiving your free daily recipes, delivered straight to your inbox!
Classic Red Velvet Cupcakes with Cream Cheese Frosting
IMPORTANT – There are often Frequently Asked Questions within the blog post that you may find helpful. Simply scroll back up to read them!
Print It
Pin It
Rate It
Save ItSaved!
Ingredients
For the Cupcakes:
- 2 ½ cups cake flour 300g (or see tip for homemade cake flour)
- 2 Tablespoons unsweetened cocoa powder
- 1 teaspoon salt
- 1 teaspoon baking soda
- 1 Tablespoon vanilla extract
- 1 ¼ cup unsalted butter at room temperature (2 ½ sticks or 283g)
- 1 ⅔ cups granulated sugar (330g)
- 1 cup buttermilk at room temperature (240g, or see tip for homemade buttermilk)
- 3 large eggs at room temperature
- 1 teaspoon white vinegar
- 10 drops red gel food coloring (adjust for desired vibrancy, approximately 2 Tablespoons for liquid equivalent)
For the Cream Cheese Frosting:
- ½ cup unsalted butter at room temperature (1 stick, 113g)
- 8 ounces brick-style cream cheese at room temperature (226g, do NOT use spreadable cream cheese)
- 1 teaspoon vanilla extract
- ¼ teaspoon salt
- 4 cups powdered sugar (480g, sifted if clumpy)
Things You’ll Need
-
Drop flower piping tip such as Wilton 1G
-
Kitchen scale (highly recommended for accuracy in baking)
-
Cupcake pan (two 12-cup pans recommended)
-
Stand mixer or handheld electric mixer
Before You Begin (Quick Tips for Success)
- For the lightest, most tender cupcakes, use **cake flour**. If you don’t have it, create your own by sifting 2 ½ cups all-purpose flour with 5 tablespoons cornstarch.
- No buttermilk? Make a quick substitute by stirring 2 teaspoons white vinegar into 1 cup of whole milk and letting it sit for 5-10 minutes until it slightly curdles.
- Achieve precise results by **weighing your ingredients** with a digital kitchen scale, especially flour and sugar, to prevent dry or dense cupcakes.
- Ensure both your **cream cheese and butter are at room temperature** (soft but not melted) for the frosting to prevent lumps and achieve a smooth, pipeable consistency. Cut them into cubes to speed up the process.
- Always use **’brick-style’ cream cheese** for frosting; spreadable cream cheese contains too much water and will result in a runny frosting unsuitable for piping.
- If your cream cheese frosting becomes too soft, chill it in the fridge for 15-30 minutes, then re-whip. You can also add an extra ½ cup of powdered sugar for more stability, especially in warmer conditions.
- Use a large cookie scoop to **evenly fill cupcake liners** with batter for consistent cupcake sizes and even baking.
Instructions
Making the Cupcakes
-
Preheat oven to 350°F (175°C) and line two 12-cup cupcake tins (plus two extra liners) with paper liners.
-
In a large bowl, sift together cake flour, cocoa powder, salt, and baking soda. Set aside.
-
In a stand mixer with a paddle attachment, beat butter until light and fluffy (2-3 mins). Add sugar and beat until pale and voluminous (3-5 mins).
-
Add eggs one at a time, beating well after each until fully incorporated.
-
Stir in vanilla extract and scrape down the sides of the bowl with a spatula.
-
Add vinegar and red gel food coloring; mix on medium speed until the color is vibrant and evenly distributed.
-
Alternately add dry ingredients (in thirds) and buttermilk (in halves) to the wet mixture, mixing on low speed until just combined after each addition. Do not overmix the batter.
-
Fill cupcake liners 2/3 full using a cookie scoop. This recipe yields 26 cupcakes (24 to frost, 2 for garnish).
-
Bake for 14-18 minutes, or until a toothpick inserted into the center of a cupcake comes out clean.
-
Remove from oven, transfer to a wire rack to cool completely. Bake the two remaining garnish cupcakes separately and cool.
Making the Cream Cheese Frosting
-
In a clean mixer bowl, beat room temperature unsalted butter until light and fluffy. Add room temperature brick-style cream cheese and beat until smooth and lump-free.
-
Carefully add powdered sugar ¼ cup at a time on low speed, mixing until fully incorporated. Scrape bowl as needed.
-
Add salt and vanilla extract; beat on medium/high speed for 2-3 minutes until the frosting is airy, light, and perfectly fluffy.
-
Transfer frosting to a large piping bag fitted with Wilton tip 1G or a similar drop flower tip.
-
Once cupcakes are completely cooled, frost the 24 cupcakes using an even circular motion. If frosting gets too soft, chill the piping bag in the fridge for 5-10 minutes.
-
Crumble the two unfrosted cupcakes into a small bowl and use as a delicious garnish on top of the frosted cupcakes. Enjoy your beautiful Red Velvet Cupcakes!
Expert Tips & FAQs
- For the lightest, most tender cupcakes, use **cake flour**. If you don’t have it, create your own by sifting 2 ½ cups all-purpose flour with 5 tablespoons cornstarch.
- No buttermilk? Make a quick substitute by stirring 2 teaspoons white vinegar into 1 cup of whole milk and letting it sit for 5-10 minutes until it slightly curdles.
- Achieve precise results by **weighing your ingredients** with a digital kitchen scale, especially flour and sugar, to prevent dry or dense cupcakes.
- Ensure both your **cream cheese and butter are at room temperature** (soft but not melted) for the frosting to prevent lumps and achieve a smooth, pipeable consistency. Cut them into cubes to speed up the process.
- Always use **’brick-style’ cream cheese** for frosting; spreadable cream cheese contains too much water and will result in a runny frosting unsuitable for piping.
- If your cream cheese frosting becomes too soft, chill it in the fridge for 15-30 minutes, then re-whipping. You can also add an extra ½ cup of powdered sugar for more stability, especially in warmer conditions.
- Use a large cookie scoop to **evenly fill cupcake liners** with batter for consistent cupcake sizes and even baking.
- Store red velvet cupcakes in an air-tight container, or cupcake carrier, in the refrigerator for up to 5 days. For best taste, let them come to room temperature for 15-20 minutes before serving.
- Make Ahead: You can prepare the cupcakes a day in advance, allow them to fully cool, and store them in an air-tight container at room temperature (without the frosting). The frosting can be prepared in advance as well and stored in an air-tight container in the refrigerator. If you would like to pipe the cupcakes when making ahead, store the frosted cupcakes in an airtight container in the refrigerator.
Nutrition
The recipes on this blog are tested with a conventional gas oven and gas stovetop. It’s important to note that some ovens, especially as they age, can cook and bake inconsistently. Using an inexpensive oven thermometer can assure you that your oven is truly heating to the proper temperature. If you use a toaster oven or countertop oven, please keep in mind that they may not distribute heat the same as a conventional full sized oven and you may need to adjust your cooking/baking times. In the case of recipes made with a pressure cooker, air fryer, slow cooker, or other appliance, a link to the appliances we use is listed within each respective recipe. For baking recipes where measurements are given by weight, please note that results may not be the same if cups are used instead, and we can’t guarantee success with that method.
