Irresistible Turtle Thumbprint Cookies: Your Guide to Chewy Chocolate Caramel Pecan Delights
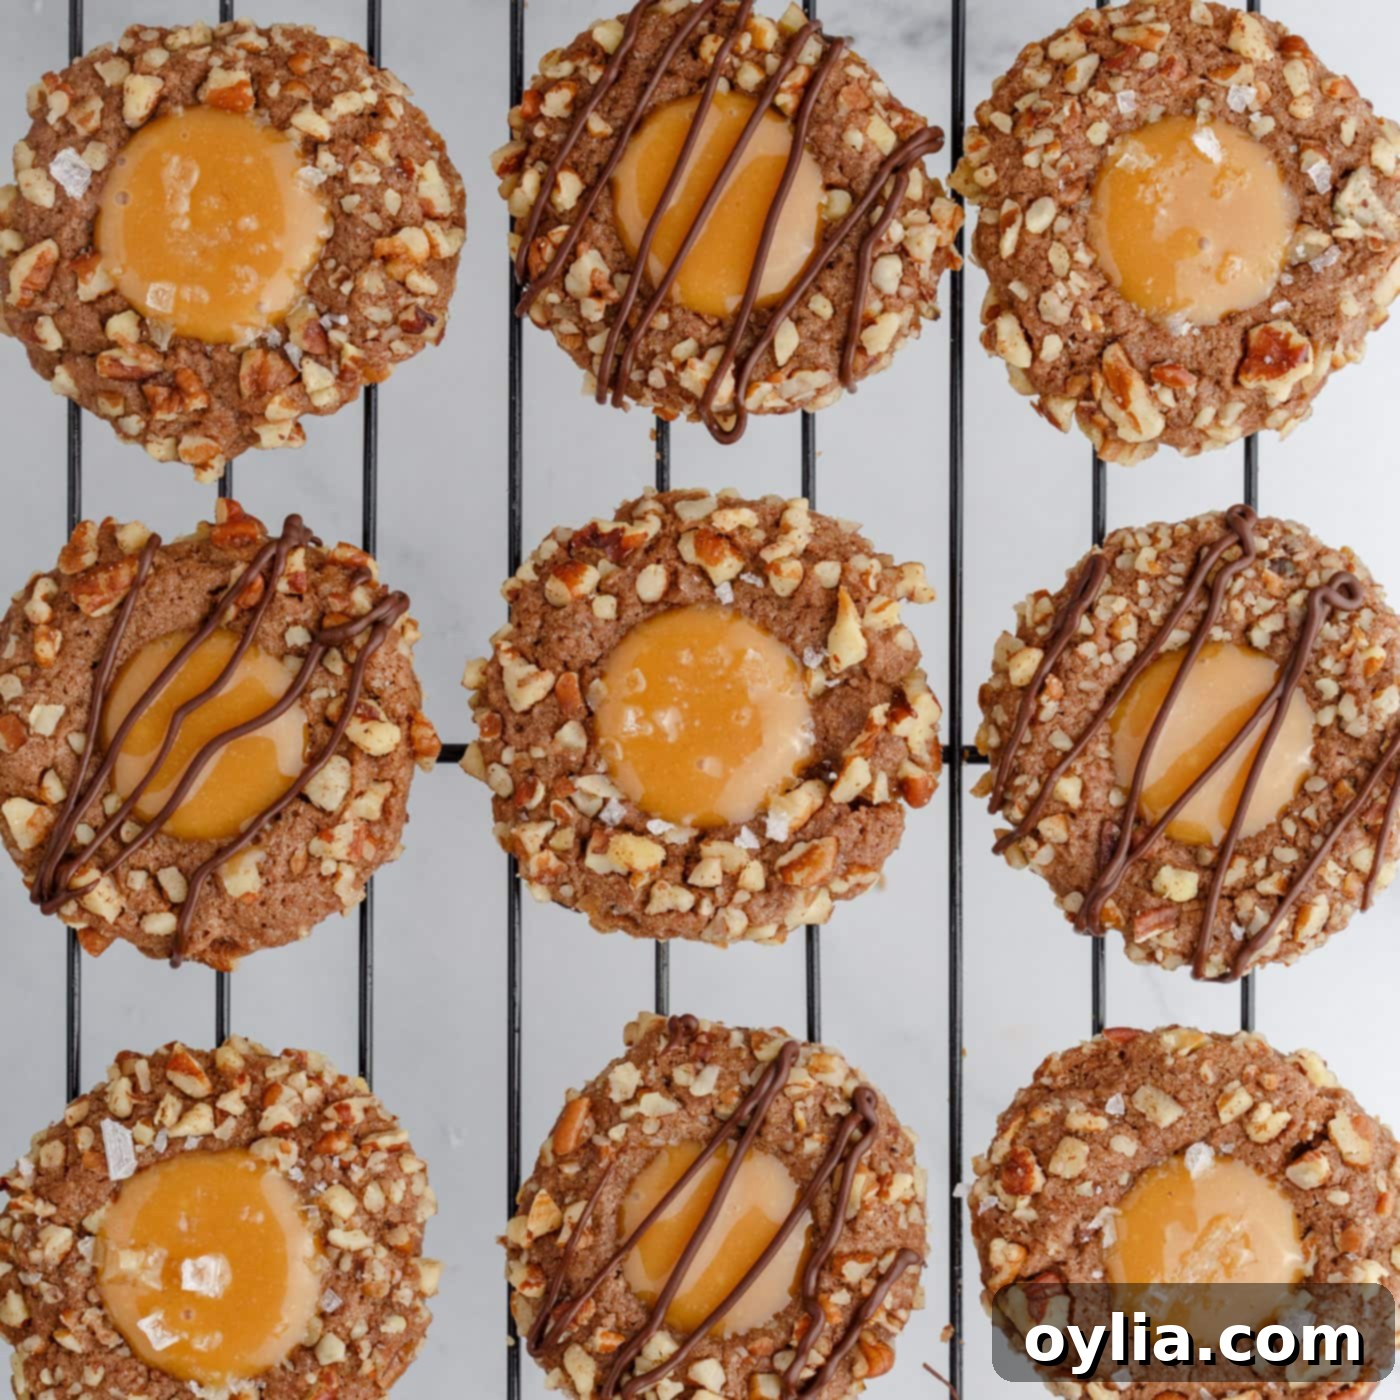
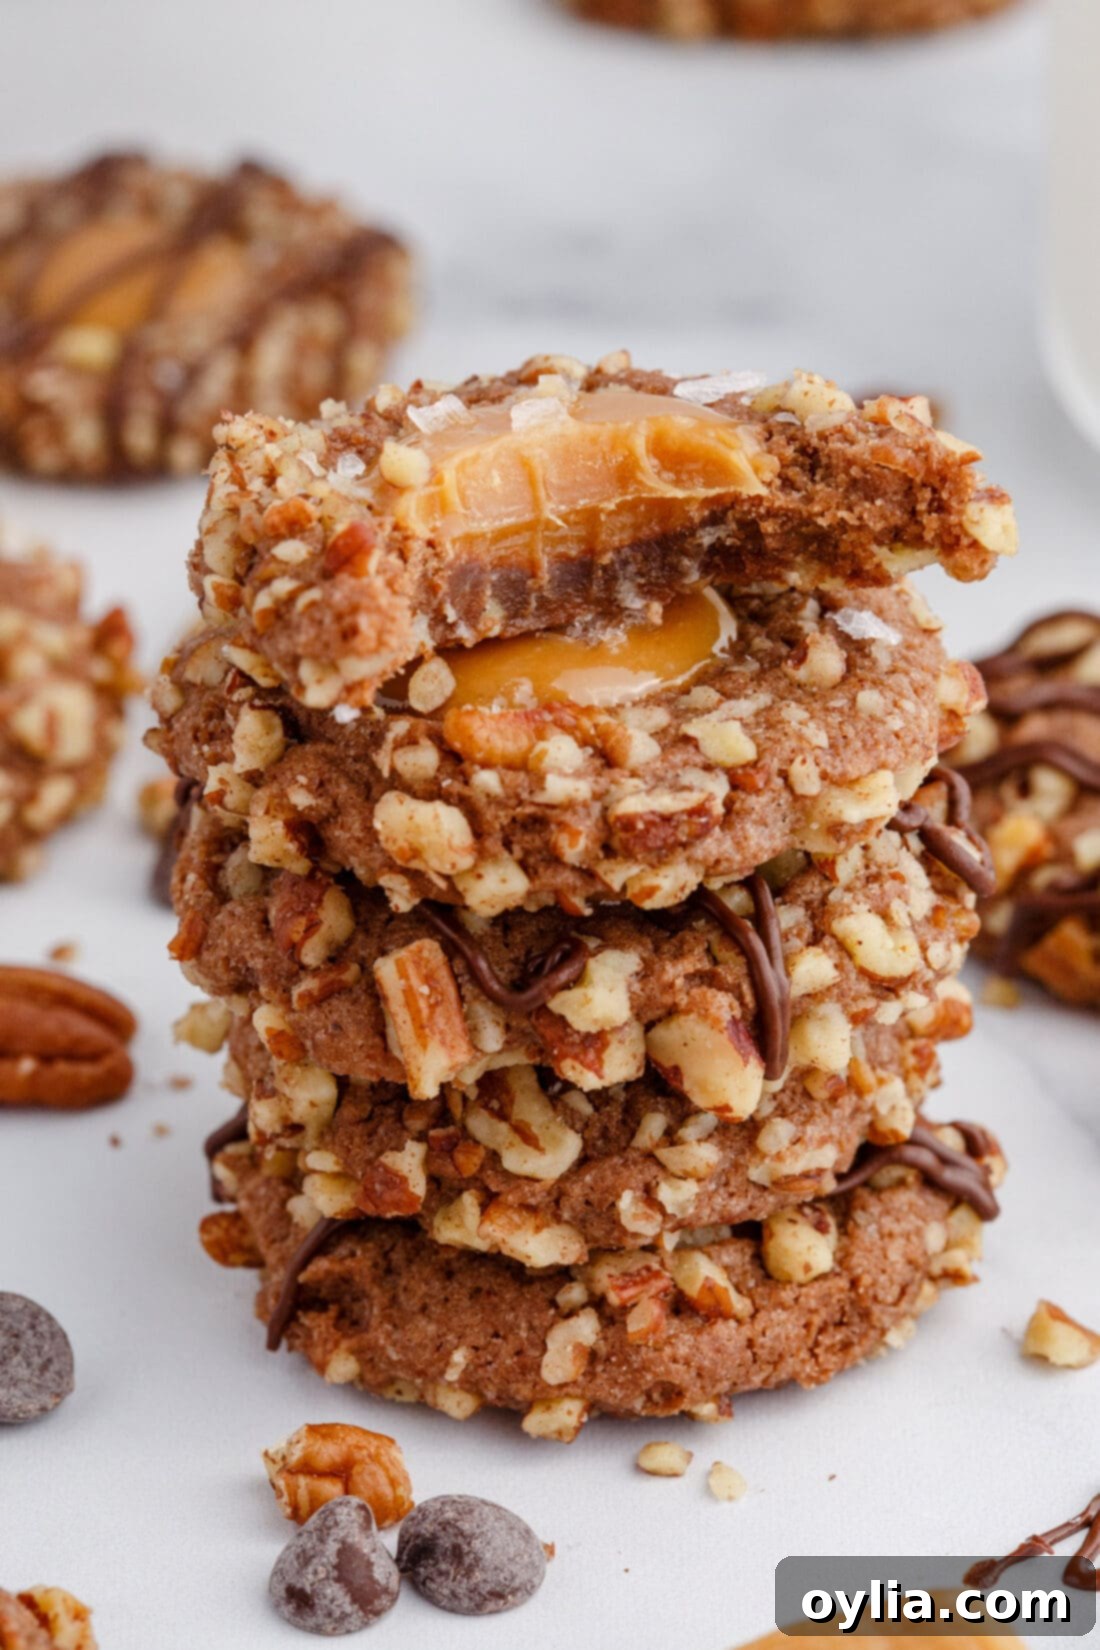
Prepare to fall in love with these Turtle Thumbprint Cookies, a delightful fusion of rich chocolate, gooey caramel, and crunchy pecans. Each bite offers a harmonious blend of textures and flavors that will tantalize your taste buds. Starting with a soft, decadent chocolate cookie dough base, these treats are generously studded with finely chopped pecans, creating a satisfying crunch. The grand finale is a smooth, creamy caramel center that truly elevates these cookies to an extraordinary level. Whether you’re a seasoned baker or just starting, this recipe is designed to guide you through creating perfect, bakery-worthy cookies that are guaranteed to impress.
Why This Turtle Thumbprint Cookie Recipe is a Must-Try
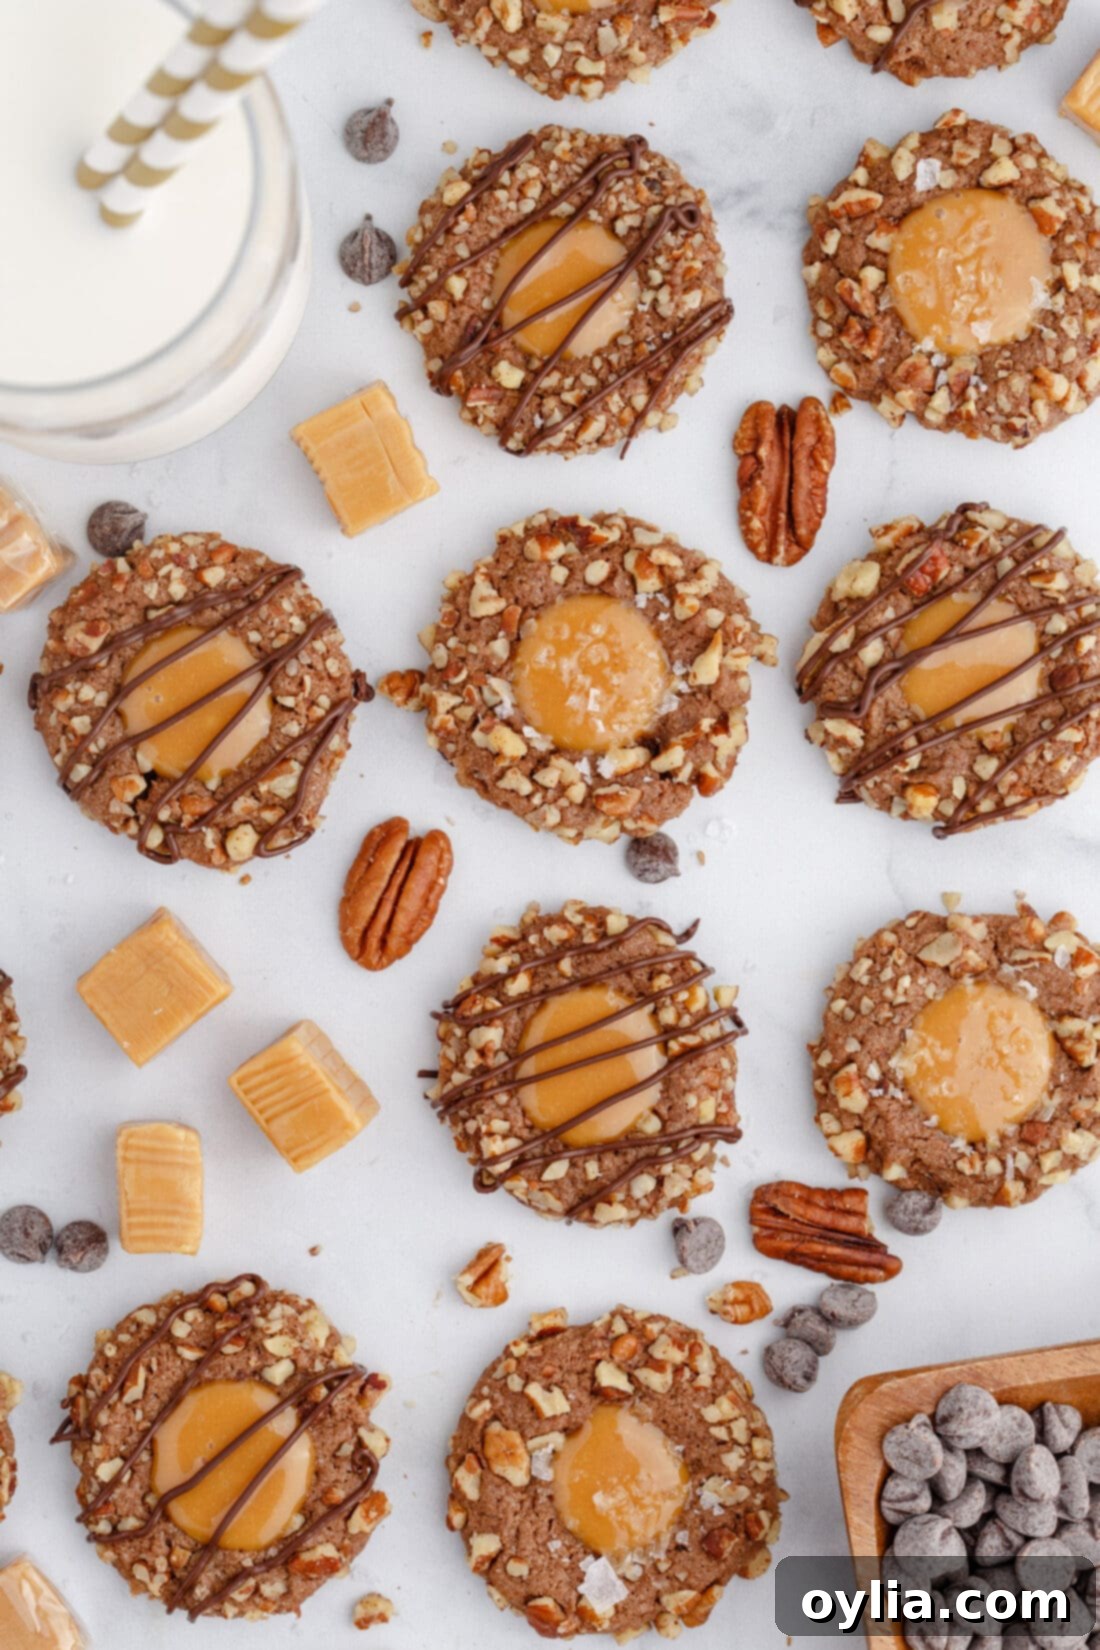
These Turtle Thumbprint Cookies aren’t just any cookie; they are a decadent celebration, perfectly marrying the beloved flavors of classic chocolate turtles with the comforting charm of chocolate thumbprint cookies. This delightful combination results in a cookie that is soft, chewy, and irresistibly rich, making it an ideal treat for Christmas, holidays, or any time you crave something special. The magic lies in the symphony of textures: the tender, melt-in-your-mouth chocolate cookie base, the sumptuously smooth and buttery caramel filling that oozes with flavor, and the distinctive, nutty crunch from the pecan coating. Each element plays a vital role, creating an experience that’s far more than just a cookie. It’s a truly gourmet dessert that’s surprisingly easy to make at home.
Essential Ingredients for Your Turtle Thumbprint Cookies
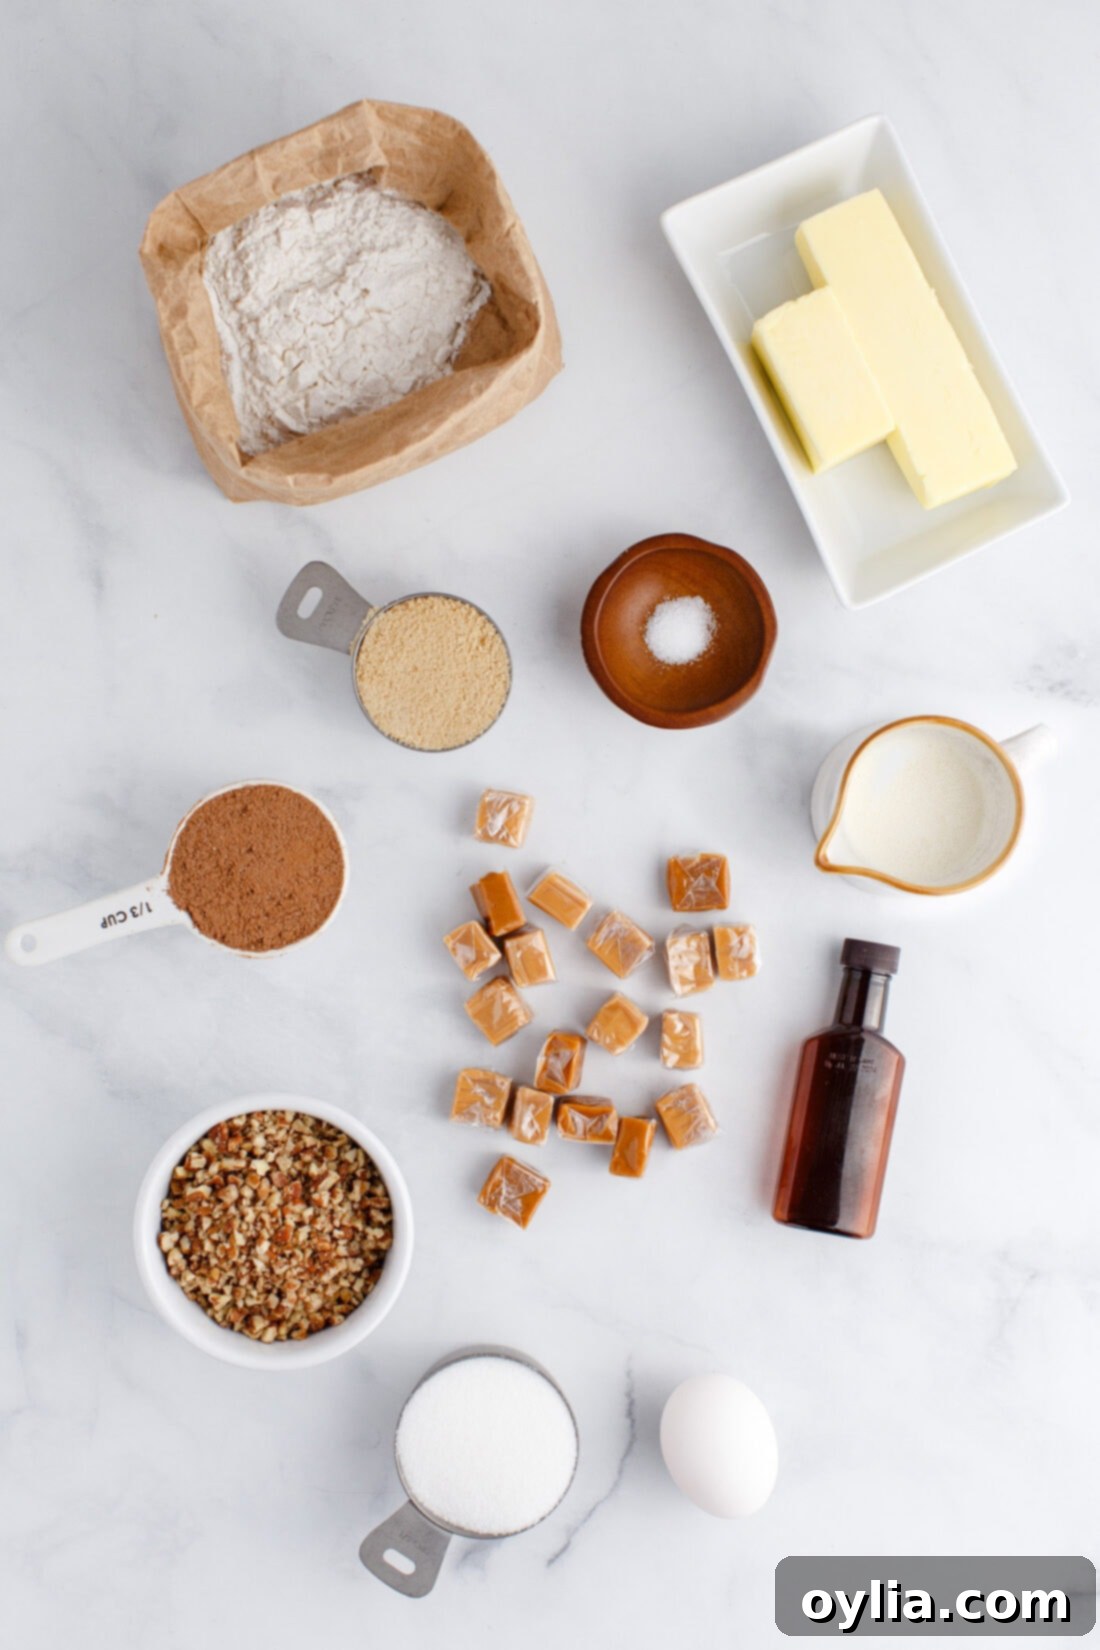
Crafting these delectable turtle thumbprint cookies requires a handful of common baking ingredients, thoughtfully selected to create their signature taste and texture. Below is a concise overview of what you’ll need. For precise measurements and a comprehensive list, please refer to the detailed printable recipe card located at the end of this post.
Detailed Ingredient Information & Expert Substitution Tips
Understanding the role of each ingredient and how to handle them properly is key to achieving perfect cookies every time. Here’s a deeper dive into the main components of our Turtle Thumbprint Cookies:
For the DOUGH: Precision is Your Best Friend
Achieving the ideal soft and chewy texture for your chocolate cookie base hinges on two critical factors: the temperature of your butter and the accurate measurement of your flour. Your butter absolutely must be at room temperature and softened, not melted. This allows it to cream properly with the sugars, incorporating air that gives the cookies their light texture. Cold butter won’t cream correctly, resulting in a denser cookie, while melted butter can make the dough oily and cause excessive spreading.
Correct flour measurement is equally important to prevent a dry, crumbly cookie dough. The “scoop and level” method is highly recommended:
- **Aerate First:** Before scooping, gently mix your flour with a spoon or whisk to aerate it and eliminate any clumps or packed-down areas. Flour settles over time and can become compact, leading to over-measurement.
- **Spoon into Cup:** Use a spoon to lightly scoop the aerated flour into your dry measuring cup. Do not tap the cup against the counter or pack the flour down, as this will compact it again.
- **Level Off:** Use the flat back edge of a knife or another straight edge to level off the top of the measuring cup, removing any excess flour.
This same careful process should be applied when measuring your unsweetened cocoa powder to ensure the right balance of chocolate flavor and dough consistency. Using natural cocoa powder (like Hershey’s regular cocoa) will react with baking soda to create a lift, resulting in a tender crumb. Pure vanilla extract is also crucial for a deep, rich flavor profile, so avoid imitation vanilla if possible.
For the FILLING: Achieving Silky Caramel Perfection
Our recipe calls for 20 individually wrapped Kraft baking caramels for their consistent quality and classic flavor. If these are unavailable, you can substitute with other soft, chewy caramels, though the exact quantity might need slight adjustment based on size. For those who prefer a more homemade touch, a pre-made high-quality jarred caramel sauce can be used, or you can even try making your own from scratch if you’re feeling adventurous (just ensure it’s thick enough to hold its shape in the cookie indentations). When melting the caramels, the secret to a beautifully smooth and creamy filling lies in using heavy cream. Heavy cream, with its higher fat content compared to milk, creates a much silkier, richer caramel that is perfect for dolloping into the center of these cookies. It prevents the caramel from becoming too stiff or grainy. If you don’t have heavy cream, half-and-half can be a substitute, but the caramel may not be quite as rich or thick. Avoid regular milk, as it will likely make the caramel too thin and watery.
How to Make Delicious Turtle Thumbprint Cookies: Step-by-Step Instructions
Embark on your baking journey with these easy-to-follow, step-by-step photos and instructions. They are designed to help you visualize each stage of making this delightful recipe. For a complete printable version, including all measurements and detailed instructions, simply Jump to Recipe at the bottom of this page.
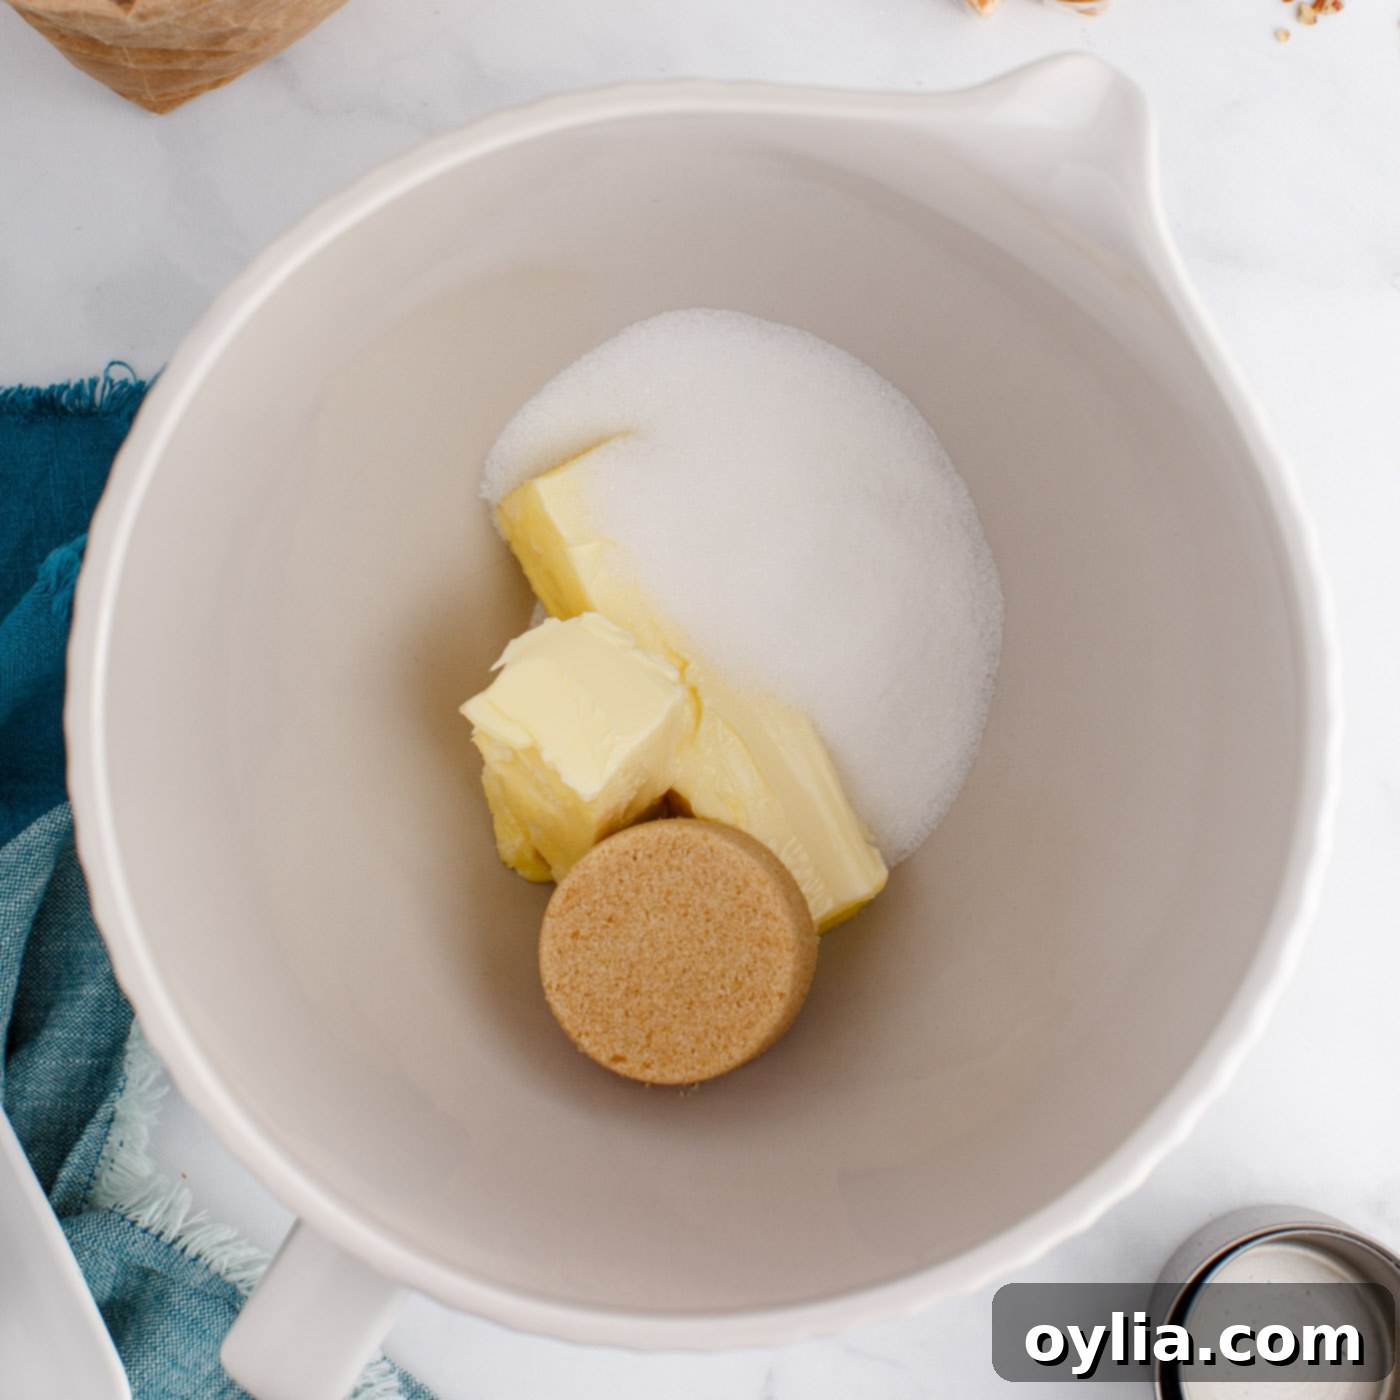
- In the bowl of a stand mixer fitted with the paddle attachment, combine the room temperature unsalted butter, granulated sugar, and light brown sugar. Beat these ingredients together on medium-high speed until the mixture becomes light, fluffy, and noticeably pale, which typically takes about 3 minutes. Remember to pause and scrape down the sides of the bowl with a spatula as needed to ensure all ingredients are thoroughly incorporated. This creaming process is essential for achieving a tender cookie texture.

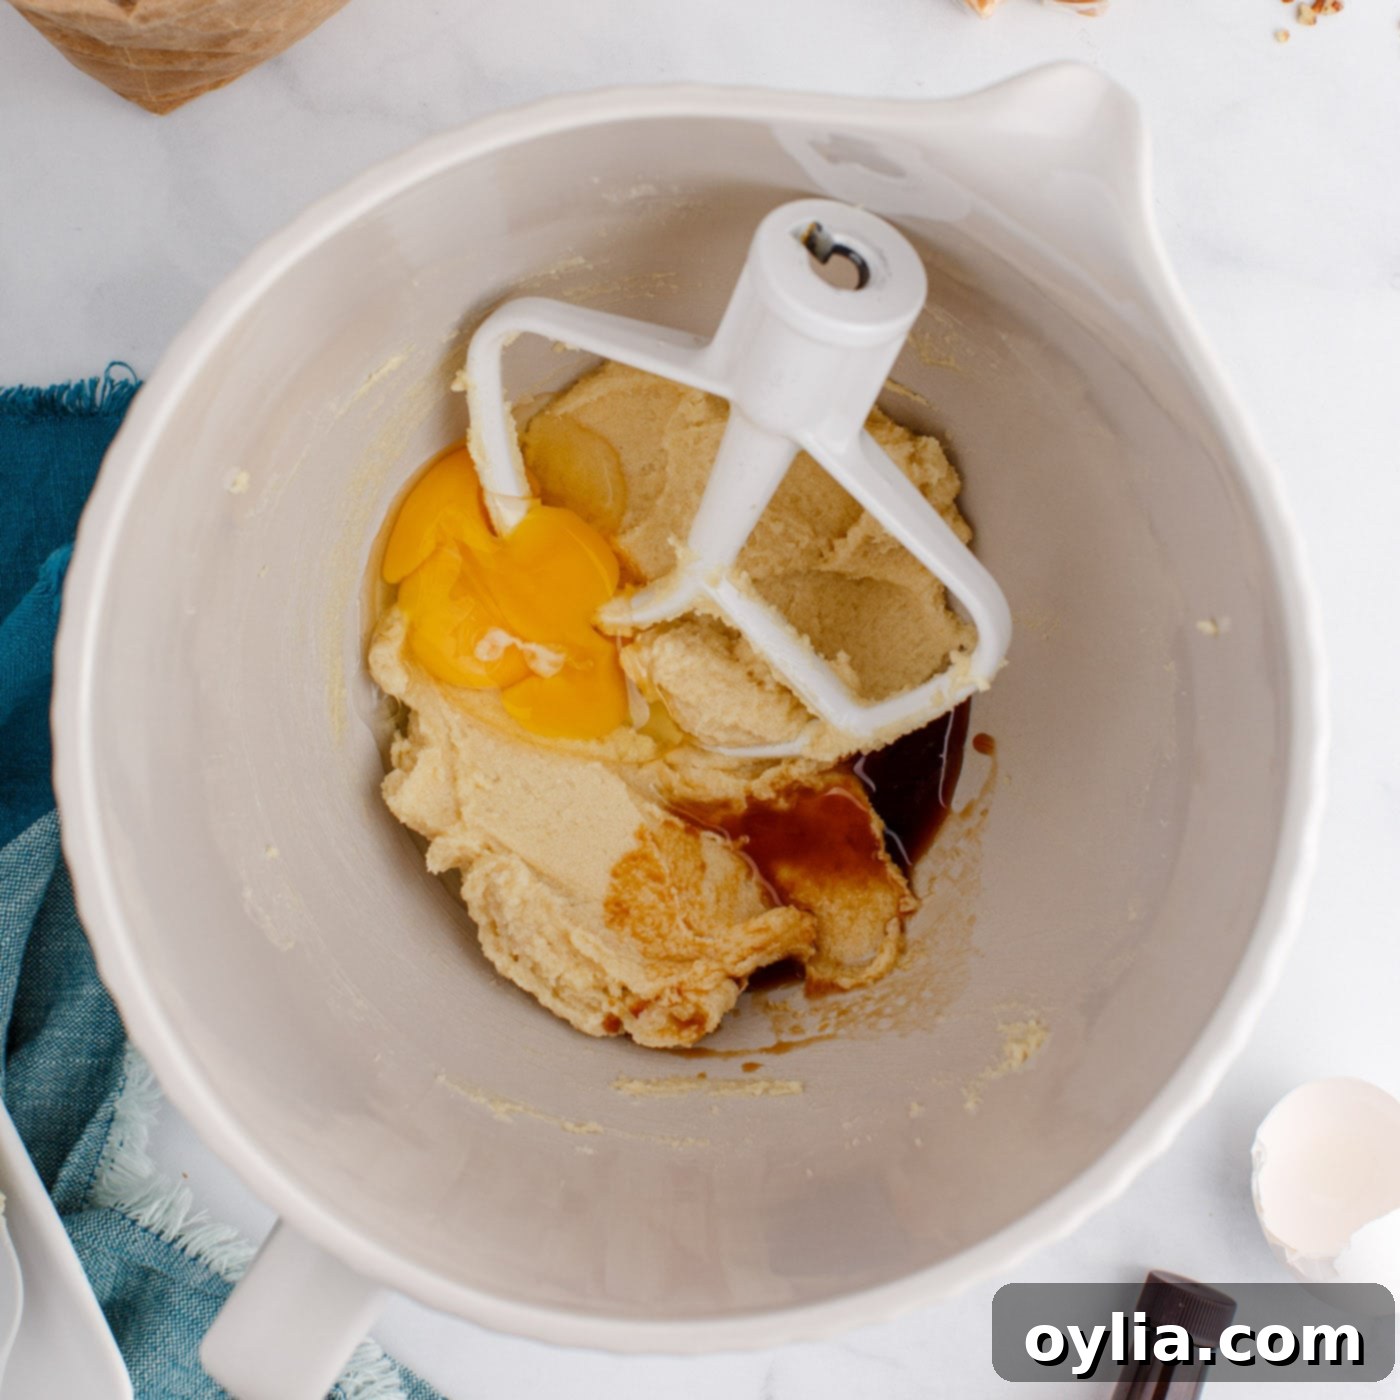
- Once the butter and sugars are creamed, add the room temperature egg and the pure vanilla extract to the mixer bowl. Mix again on medium speed until these wet ingredients are fully combined and the mixture is smooth and cohesive. Be careful not to overmix at this stage; just enough to integrate everything. Set this wet mixture aside.

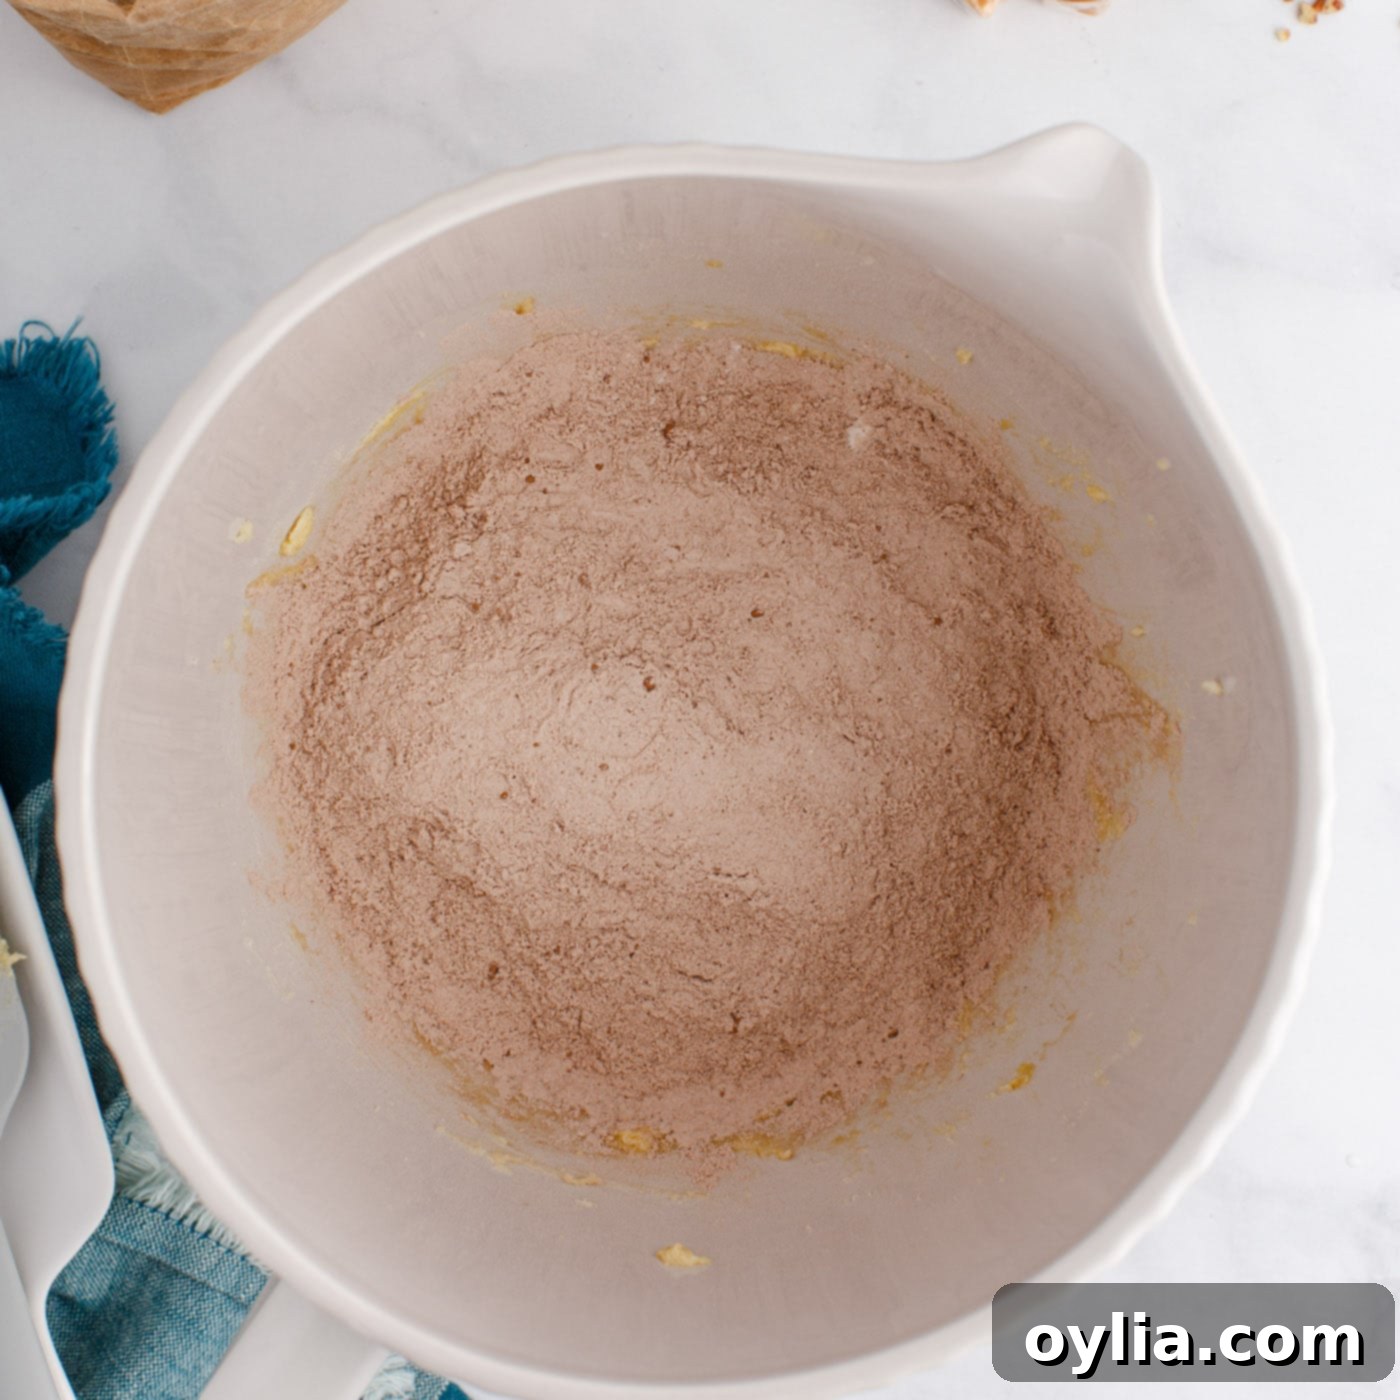
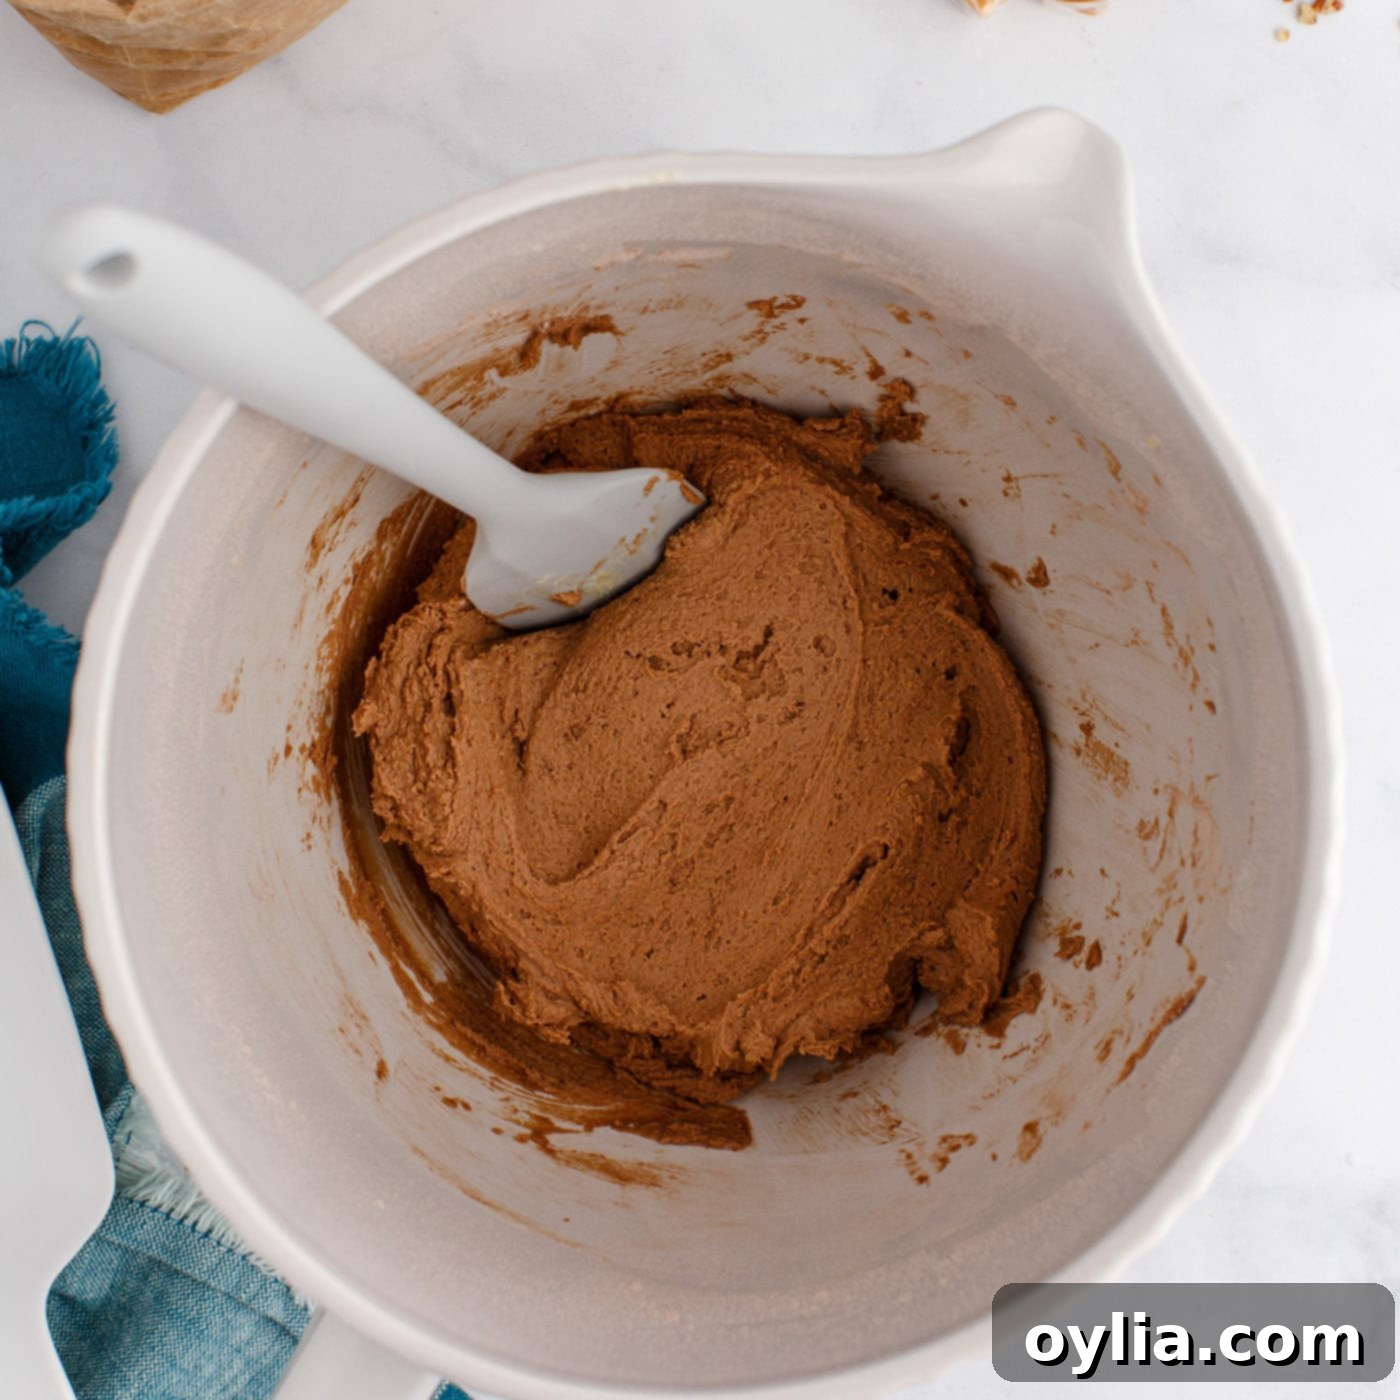
- In a separate, large bowl, whisk together the all-purpose flour, unsweetened cocoa powder, and sea salt until thoroughly combined. Gradually add these dry ingredients to the stand mixer bowl with the wet mixture. Mix on low speed until a thick cookie dough begins to form. Once the dough comes together, cover the bowl tightly with plastic wrap and refrigerate for at least one hour. Chilling the dough is a crucial step as it prevents the cookies from spreading too much during baking, ensuring they hold their shape and have a lovely chewy texture.
EXPERT TIP for Chilling Dough: The duration of chilling directly impacts the cookie’s spread and thickness. A shorter chill (like the recommended 1 hour) yields a slightly softer, chewier cookie with a bit more spread. A longer chill (up to 2-3 hours or even overnight) will result in thicker cookies with less spread, which might require a bit more caramel filling to fill the deeper indentations. For this recipe, we found 1 hour of chilling to be optimal for the perfect balance.


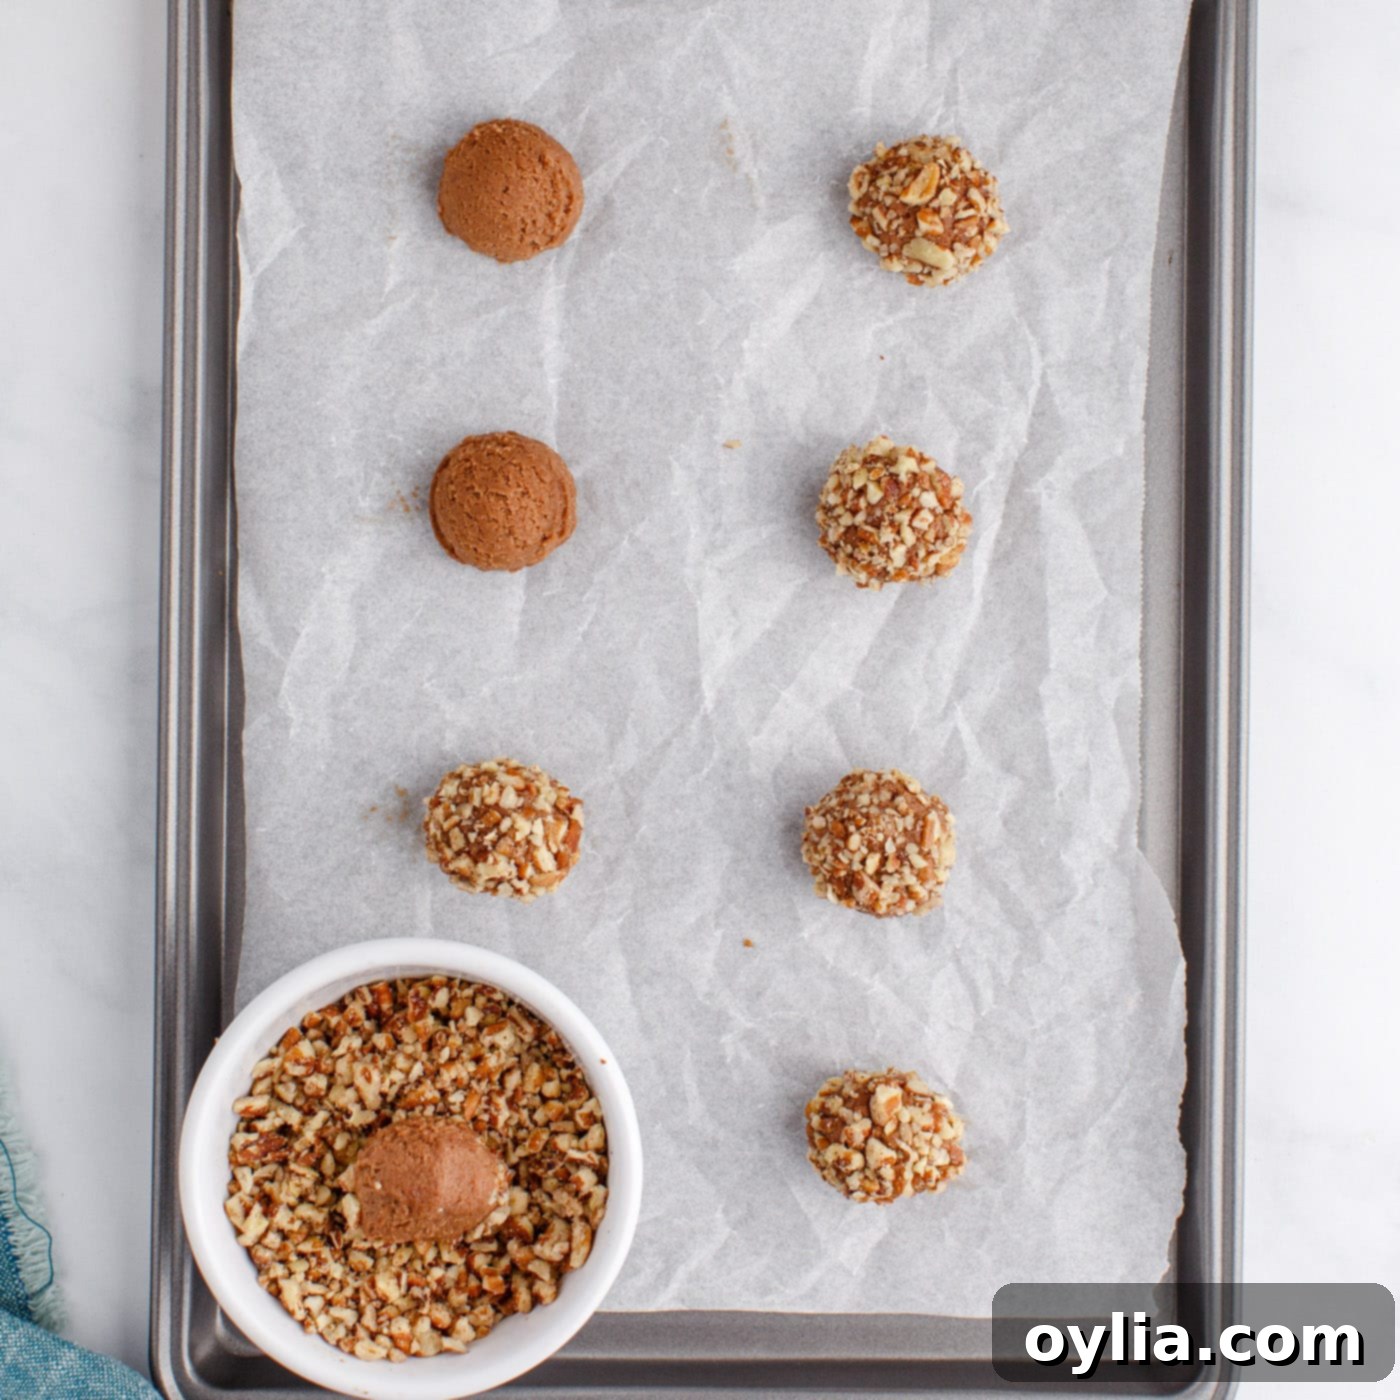
- Once the dough is chilled, preheat your oven to 350°F (175°C) and line a baking sheet with parchment paper for easy removal and cleanup. Using a 1 Tablespoon cookie scoop, portion out uniform balls of dough. Roll each dough ball into the finely chopped pecans, pressing gently to ensure they adhere well. Place the pecan-coated cookie balls onto the prepared baking sheet, leaving at least 1 1/2 inches of space between each to allow for slight spreading. This step creates the signature “turtle” crunchy exterior.

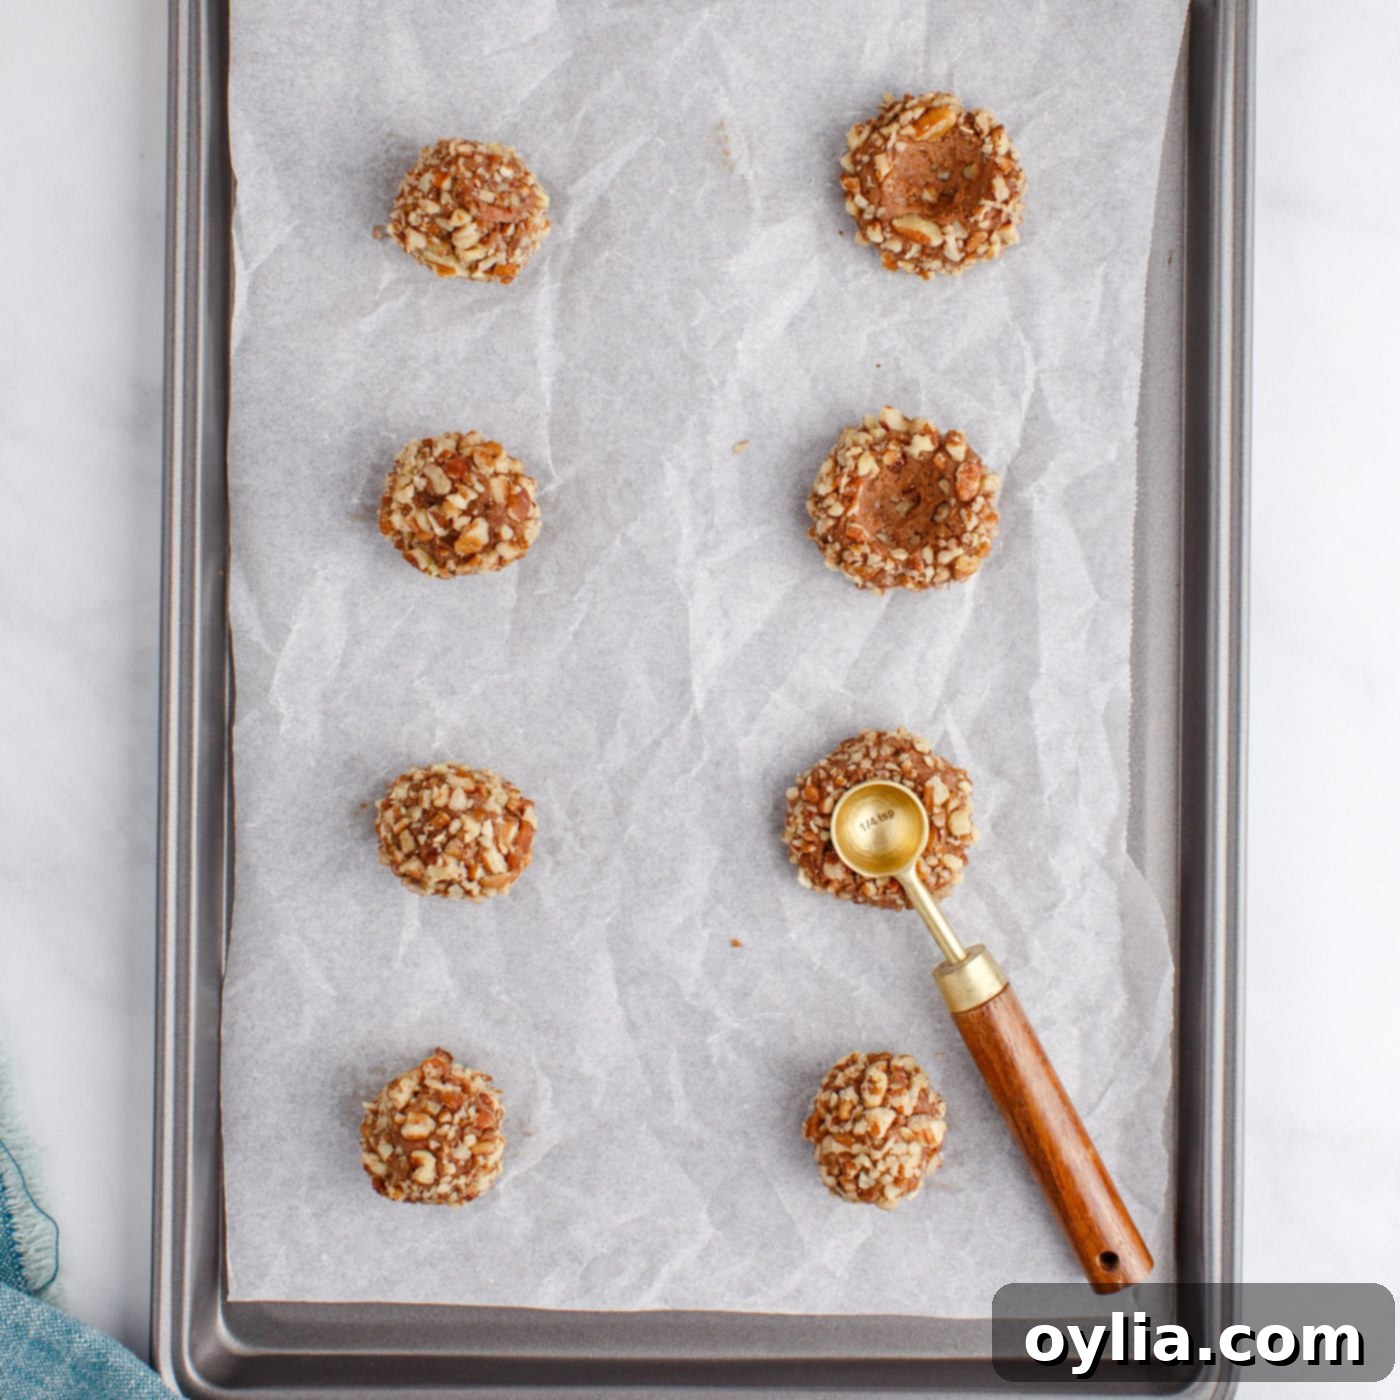
- Using the back of a 1/4 teaspoon measuring spoon, gently press down into the center of each cookie to create a shallow indentation. This “thumbprint” will be the cradle for your caramel filling. Bake the cookies for 10 minutes. The edges should be set, and the centers still slightly soft. Avoid overbaking to maintain a chewy texture.

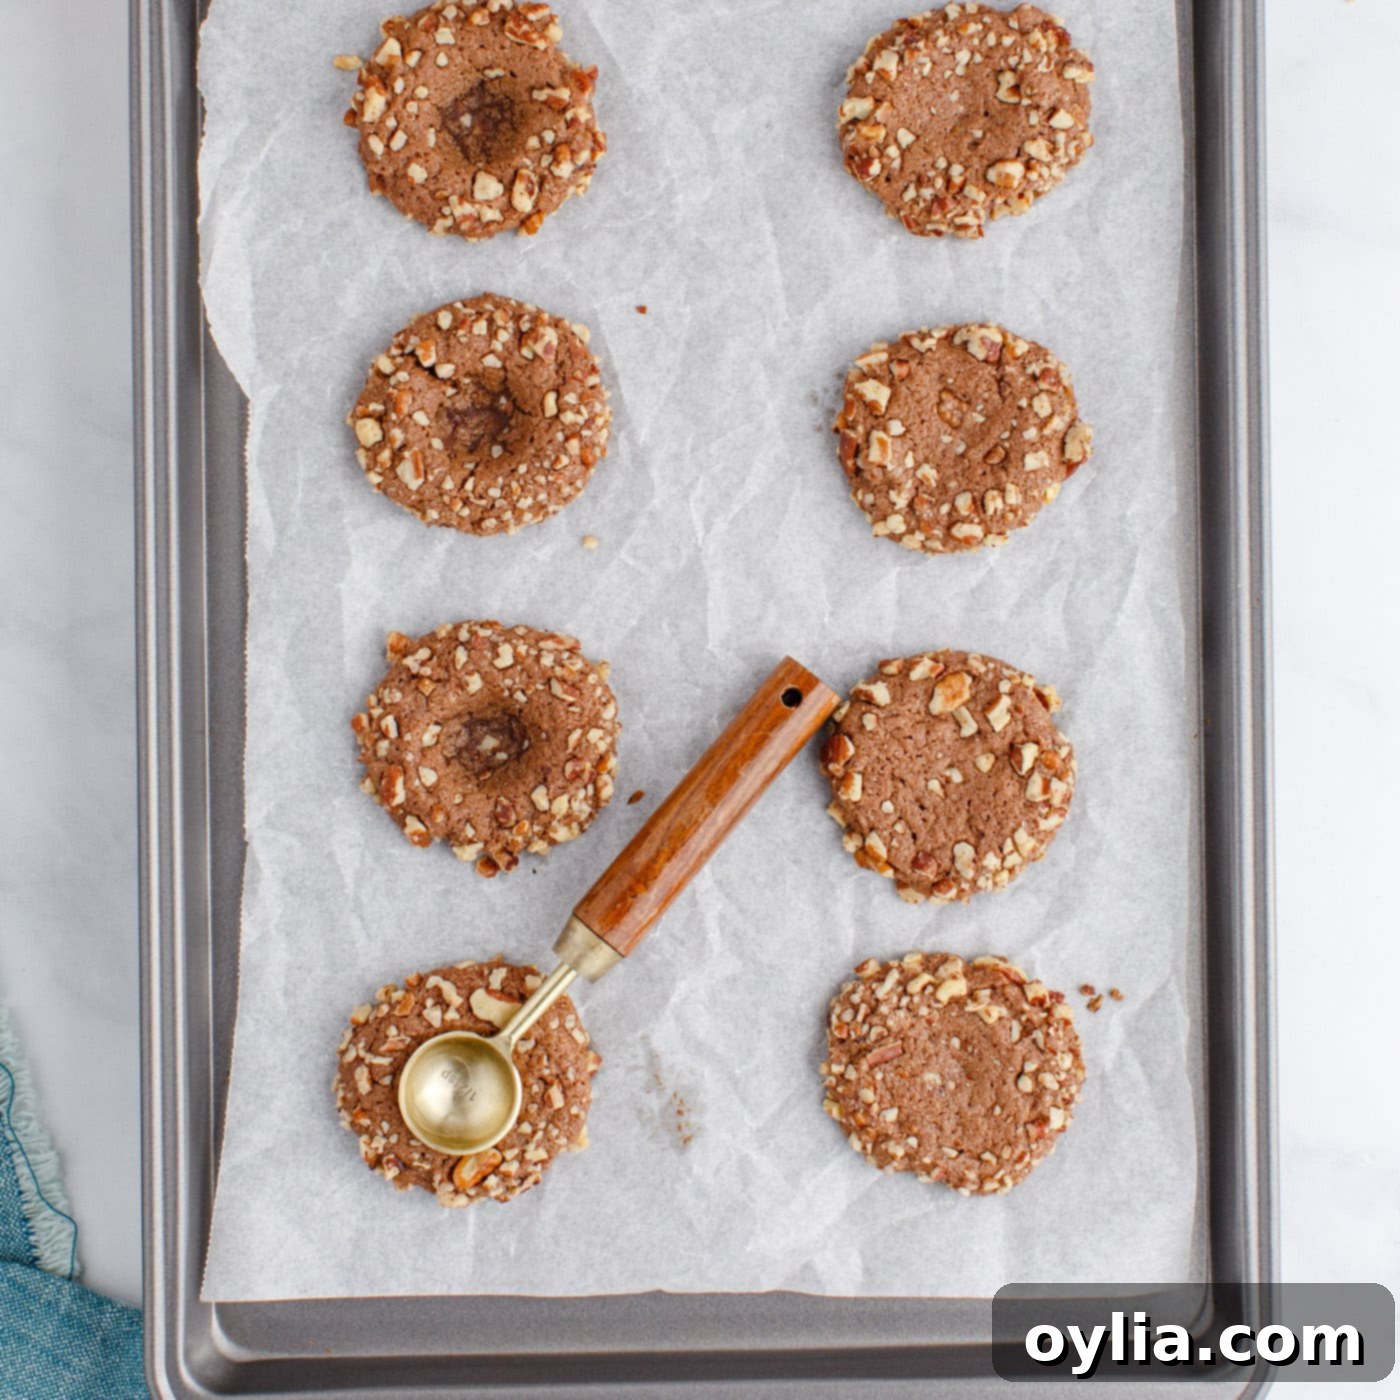
- Immediately after removing the cookies from the oven, while they are still hot and pliable, use the back of a 1/2 teaspoon measuring spoon to re-form and deepen the centers. The cookies will have puffed up slightly during baking, so this step ensures a generous well for the caramel. Allow the cookies to cool completely on the baking sheet before moving them. Repeat the baking process with any remaining dough.

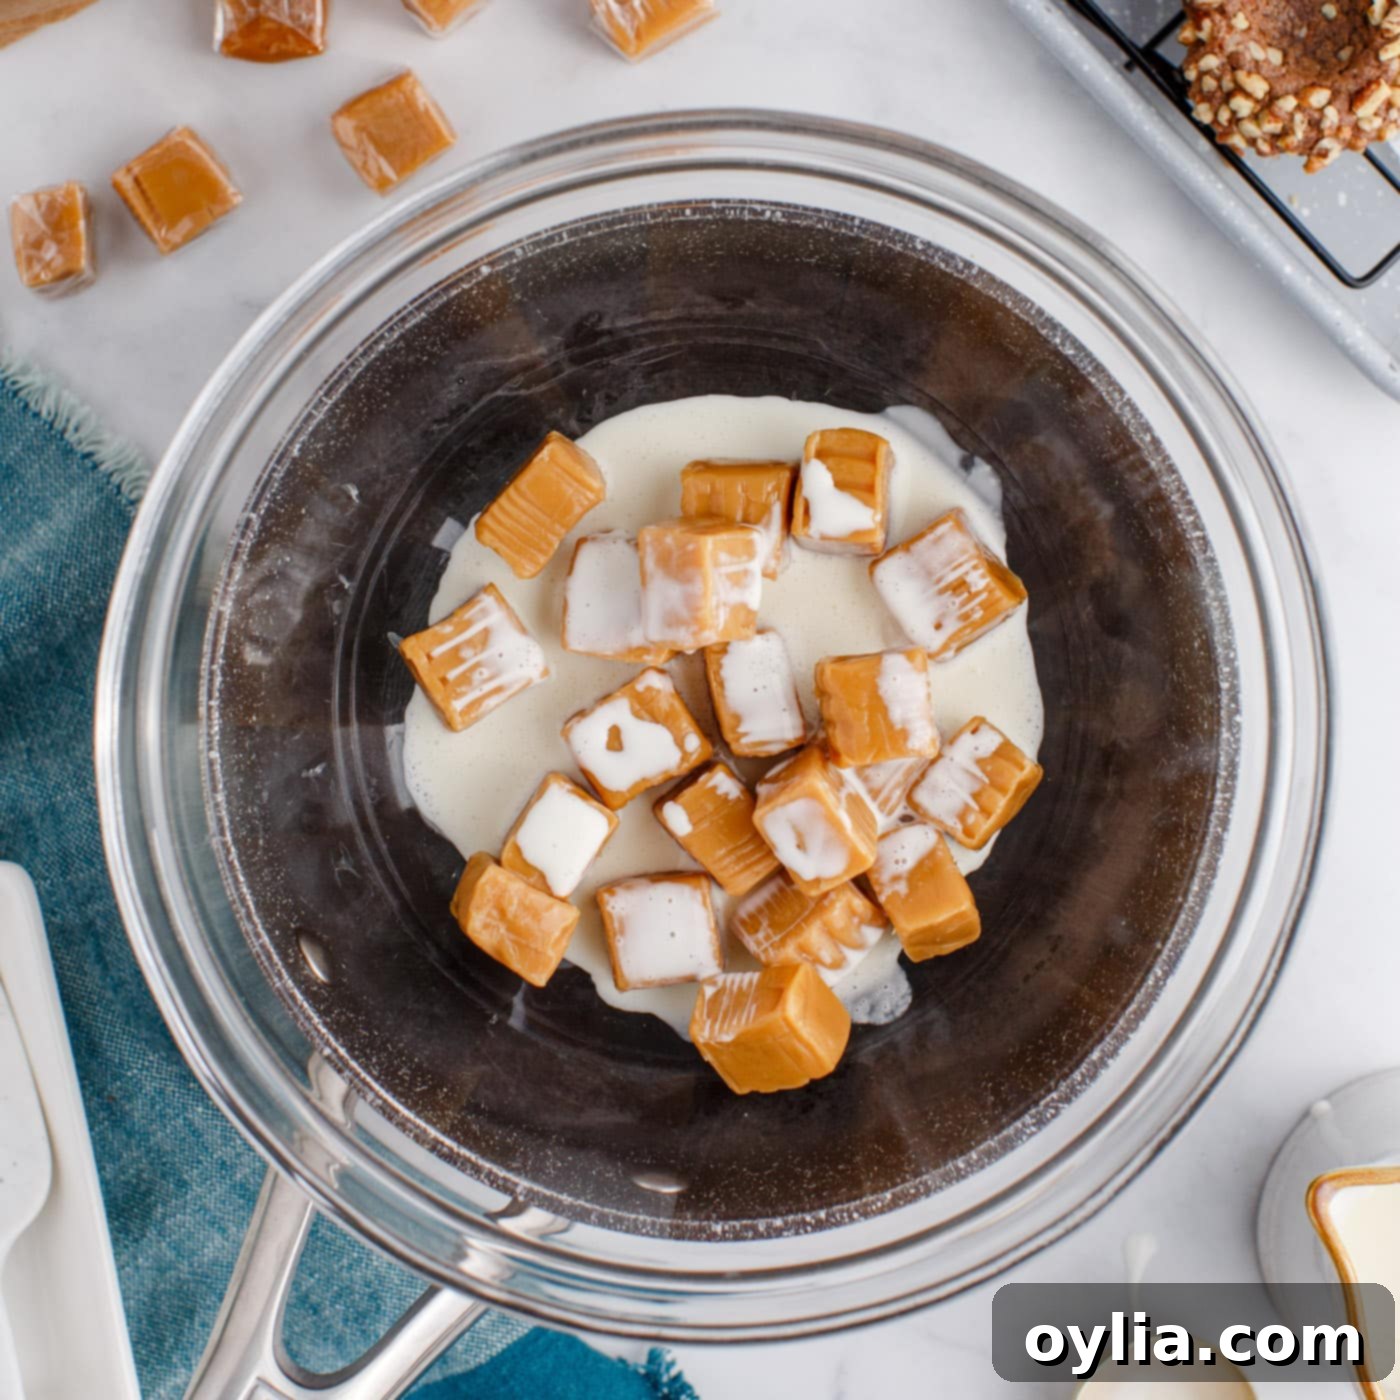
- While the cookies are cooling, begin preparing your luscious caramel filling. Use a double-boiler method: add a small amount of water to a pot and bring it to a simmer. Place a heat-safe bowl on top of the pot, ensuring the bottom of the bowl does not touch the boiling water. Combine the unwrapped caramels and heavy cream in the bowl. Melt them down on low heat, stirring constantly with a spatula until the mixture is completely smooth and creamy. This gentle melting prevents scorching and ensures a perfect consistency.
EXPERT TIP for Melting Caramel: To expedite the caramel melting process safely, you can initially bring the water in the pot to a high boil, then reduce the heat to low before placing the bowl with caramels and cream on top. The residual heat will still be sufficient to melt the caramels quickly and smoothly.

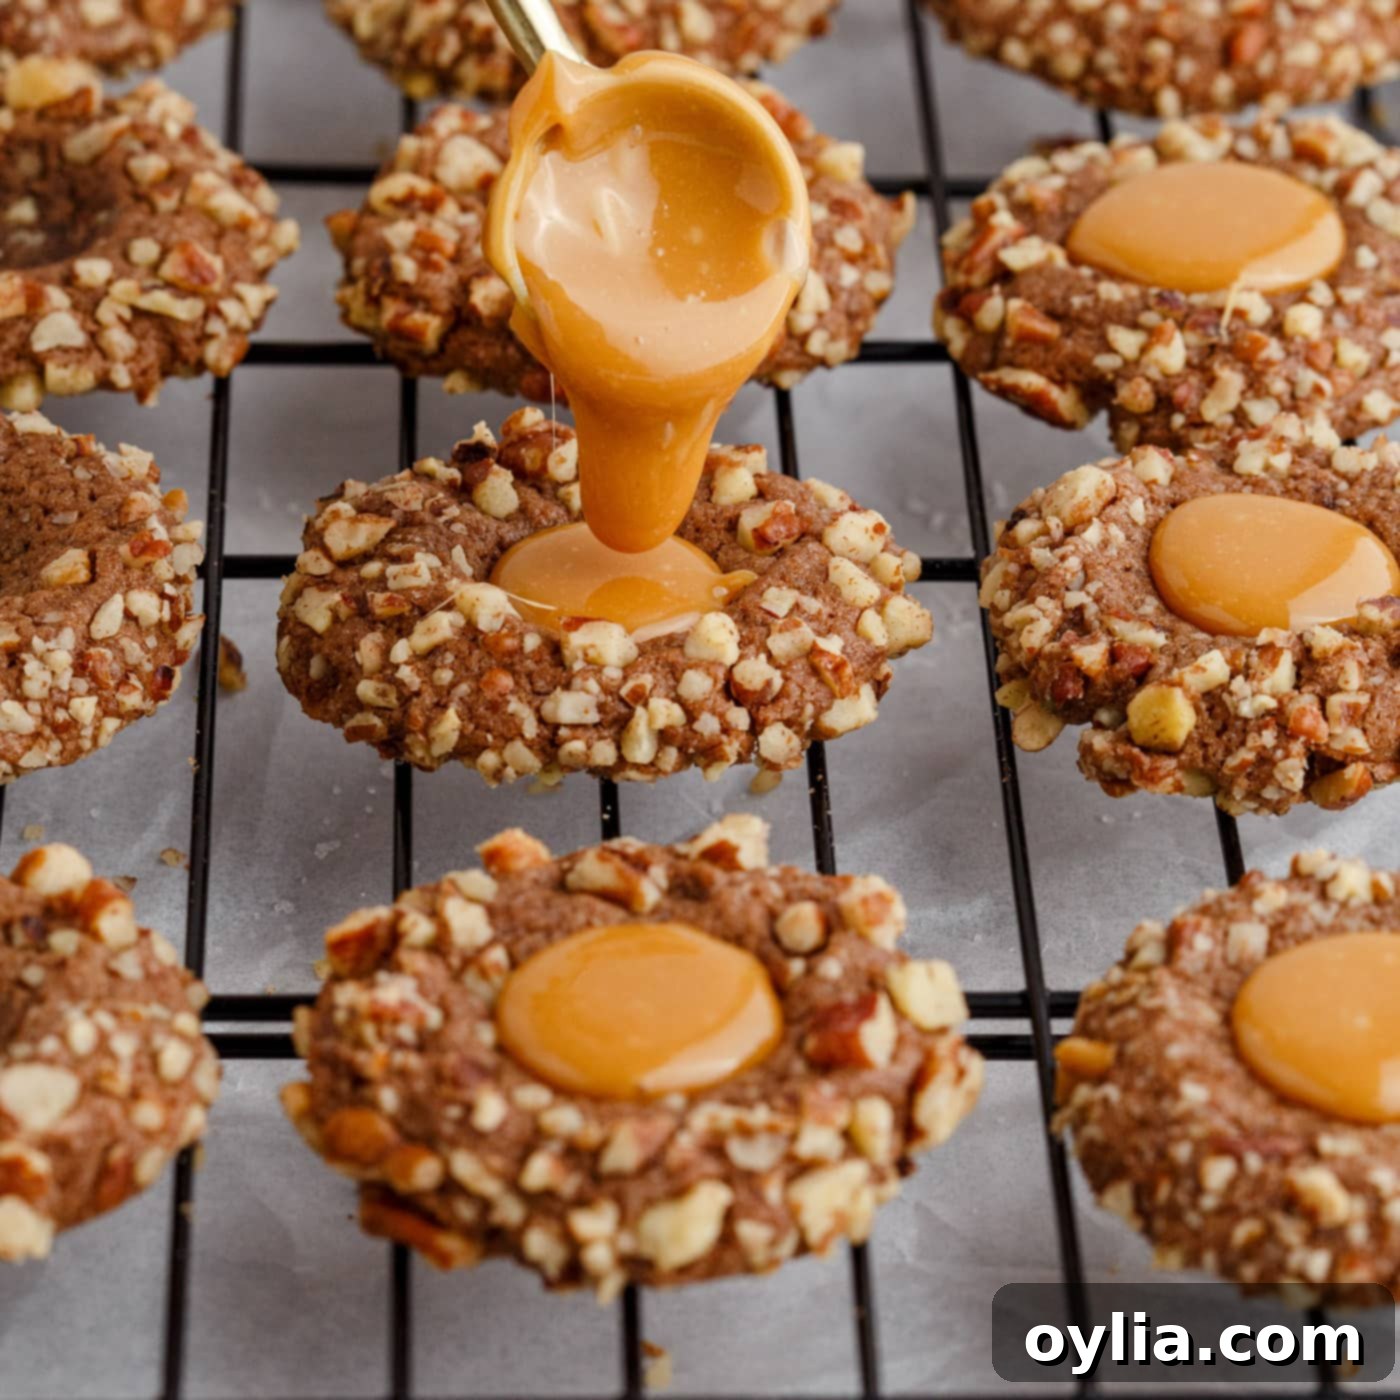
- Once your caramel sauce is ready, quickly fill the center of each cooled cookie with a generous dollop. Work swiftly as the caramel will begin to set as it cools. For an extra touch of gourmet flavor, sprinkle a tiny pinch of flaked sea salt over the caramel in each cookie. The salt beautifully enhances the sweetness of the caramel and chocolate.

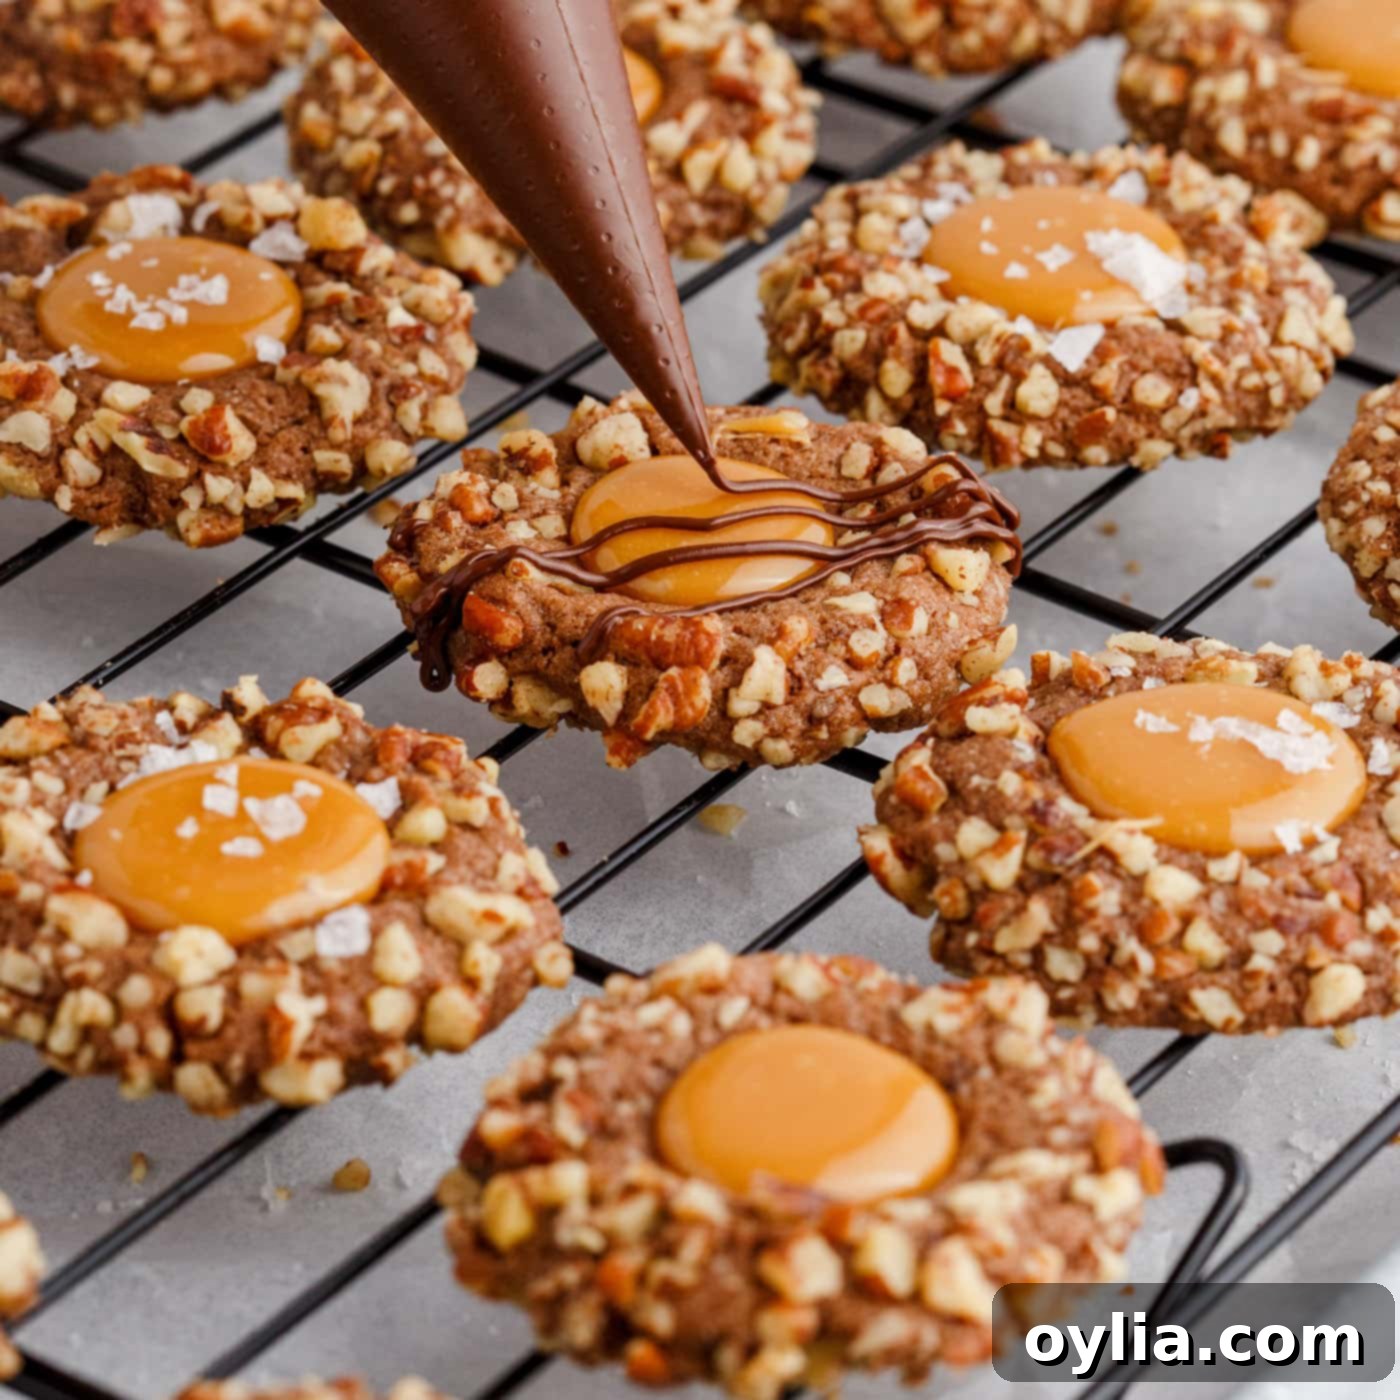
- For a final elegant touch, consider adding a chocolate drizzle. Melt 1/4 cup of semi-sweet chocolate chips in a heat-safe bowl over a simmering pot of water, similar to how you melted the caramel (no heavy cream needed for the chocolate). Once smooth, transfer the melted chocolate to a piping bag with a small round tip or simply use a spoon to artistically drizzle it over the caramel-filled cookies. This amount will be sufficient to garnish the entire batch, adding both visual appeal and an extra layer of chocolatey goodness.

Frequently Asked Questions & Expert Tips for Perfect Turtle Thumbprint Cookies
Absolutely! Freezing is an excellent way to prepare these cookies in advance or preserve leftovers. You have two main options:
- Freezing the Dough: Roll the cookie dough into balls (omitting the pecans at this stage) and place them on a baking sheet. Flash freeze until solid, typically about 1-2 hours. Once firm, transfer the dough balls to a large freezer-safe zip-top bag or an airtight container. The dough can be stored in the freezer for up to 3 months. When you’re ready to bake, allow the dough balls to thaw slightly at room temperature for about 15-20 minutes, then proceed with rolling them in chopped pecans and creating the thumbprint indentations before baking according to the recipe directions. You might need an extra minute or two of baking time if they are still quite cold.
- Freezing Baked Cookies: Once the cookies are baked, completely cooled, and filled with caramel (and any optional chocolate drizzle has set), you can freeze them. Arrange them in a single layer on a baking sheet and flash freeze until solid. Then, transfer them to an airtight container or a large freezer-safe zip-top bag, separating layers with parchment paper to prevent sticking. They will keep well in the freezer for about 1 month. To enjoy, simply remove them from the freezer and allow them to come to room temperature, which usually takes about 30-60 minutes.
For optimal freshness and taste, store your baked Turtle Thumbprint Cookies in an airtight container at room temperature. They will remain wonderfully soft and chewy for up to 5 days. If your kitchen tends to be very warm, or if you prefer a firmer caramel, you can store them in the refrigerator, but allow them to come to room temperature before serving for the best texture.
Absolutely! These cookies are perfect for make-ahead convenience, especially during busy holiday seasons. You have a couple of options:
- Fully Baked in Advance: You can bake and fully prepare the cookies, including the caramel filling and any drizzles, a day in advance. Store them in an airtight container or a sealed zip-top bag at room temperature until serving. Their flavor often deepens overnight.
- Dough Preparation in Advance: Alternatively, prepare the cookie dough a day or even two days before you plan to bake. Keep the covered dough refrigerated. As noted in the recipe, the longer the dough is chilled, the thicker and less spread-out your cookies may be. This can result in a deeper thumbprint well, which is actually great for holding more of that luscious caramel filling! Just be sure to let the dough soften slightly at room temperature before rolling and shaping for easier handling.
Caramel can be a bit finicky! If your caramel starts to harden while you’re filling the cookies, simply return the bowl to your double boiler setup over low heat for a few minutes, stirring gently until it becomes pourable again. You can also add another teaspoon of heavy cream to loosen it up if needed. Keeping it warm over a very low heat during the filling process can also help maintain its fluidity.
Yes, while pecans are traditional for “turtle” flavored treats, you can certainly experiment! Chopped walnuts or even almonds would make delicious substitutes, offering a slightly different nutty crunch. Ensure they are finely chopped to adhere well to the cookie dough balls.
Creative Serving & Gifting Ideas for Turtle Thumbprint Cookies
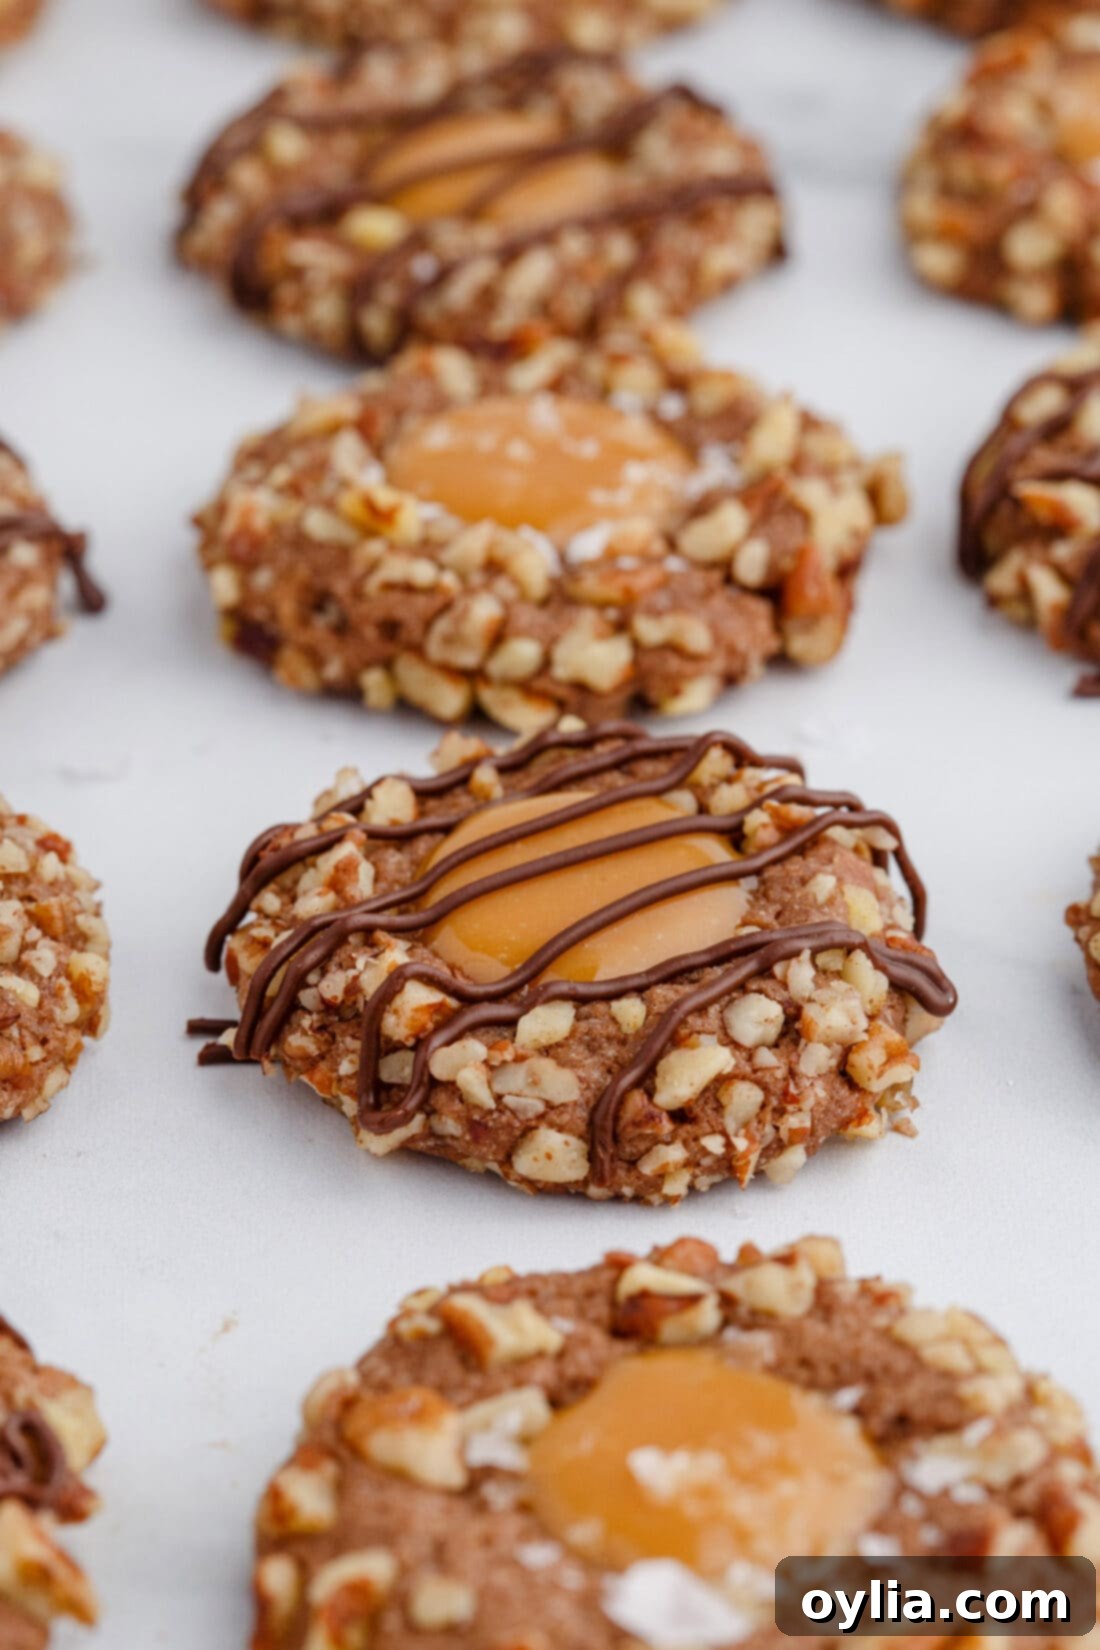
These Turtle Thumbprint Cookies are delicious on their own, but a few simple touches can elevate them even further. You can enhance their visual appeal and flavor by drizzling them with extra melted chocolate (dark, milk, or white chocolate chips work wonderfully), a bit more warm caramel sauce, or a combination of both. For a sophisticated finish, a sprinkle of flaked sea salt over the caramel will truly make the flavors pop. Alternatively, a few extra chopped pecans scattered on top of the still-wet caramel or chocolate drizzle will add even more texture.
Beyond being a delightful dessert for your own enjoyment, these cookies are absolutely perfect for sharing. They are a fantastic addition to any holiday cookie swap, standing out with their unique flavor profile and elegant appearance. When beautifully wrapped in cellophane bags and tied with a festive bow, they transform into a thoughtful and sweet homemade gift for neighbors, friends, family, or teachers. Pair them with a warm cup of coffee, a glass of cold milk, or even a scoop of vanilla bean ice cream for an unforgettable dessert experience. Their versatility makes them suitable for any occasion, from casual gatherings to elegant celebrations.
Explore More Delicious Cookie Recipes
If you loved these Turtle Thumbprint Cookies, you’re in for a treat! We have a wide array of other delightful cookie recipes that are sure to become new favorites:
- Festive Eggnog Cookies
- Indulgent S’mores Cookies
- Classic Thumbprint Cookies
- Cozy Hot Cocoa Cookies
- Rich Chocolate Peanut Butter Cookies
I absolutely adore spending time in the kitchen, experimenting with new flavors, and sharing my culinary discoveries with all of you! To make sure you never miss out on a new recipe, I offer a convenient newsletter delivered straight to your inbox every time a fresh post goes live. Simply subscribe here and start receiving your free daily recipes to inspire your next baking adventure!
Turtle Thumbprint Cookies
IMPORTANT – There are often Frequently Asked Questions within the blog post that you may find helpful. Simply scroll back up to read them!
Print It
Pin It
Rate It
Save ItSaved!
Ingredients
- ¾ cup unsalted butter softened
- ½ cup granulated sugar
- ⅓ cup light brown sugar packed
- 1 egg at room temperature
- 1 teaspoon pure vanilla extract
- 1 ½ cups all-purpose flour
- ⅓ cup unsweetened cocoa powder
- ⅛ teaspoon sea salt a pinch
- 1 ½ cups pecans finely chopped
Caramel Filling
- 20 Kraft baking caramels
- 2 Tablespoons heavy whipping cream
Optional Garnish
- ¼ cup semi-sweet chocolate chips melted for drizzling
- flaked sea salt for sprinkling on top
Things You’ll Need
-
Stand mixer or hand mixer
-
Baking sheets
-
Measuring spoons
-
Cookie scoop 1 Tablespoon scoop
Before You Begin
- For a perfect cookie texture, ensure your unsalted butter is at room temperature and softened. Avoid over-measuring flour by aerating it with a spoon before lightly scooping and leveling into the measuring cup. Do the same for cocoa powder.
- Store baked cookies in an airtight container at room temperature for up to 5 days to maintain freshness.
- To freeze cookie dough, roll into balls (without pecans), flash freeze until solid, then transfer to a freezer-safe bag for up to 3 months. Thaw partially before rolling in pecans and baking.
- Baked and cooled cookies can also be frozen in an airtight container for up to 1 month. Allow them to reach room temperature before serving.
Instructions
-
In the bowl of a stand mixer fitted with the paddle attachment, mix the softened butter, granulated sugar and light brown sugar together until light and fluffy, about 3 minutes, scraping the sides as needed.
-
Add the egg and pure vanilla extract and mix again until smooth. Set aside.
-
In a large bowl, whisk together the all-purpose flour, unsweetened cocoa powder, and sea salt. Then add to the stand mixer bowl and run until a thick dough starts to form. Cover and refrigerate for at least one hour before forming the cookies.
TIP – The longer you refrigerate the less they will spread, but this will make a thicker cookie and may require more caramel in the center. For this recipe we chilled for 1 hour.
-
Preheat the oven to 350F and line a baking sheet with parchment paper. Using a 1 Tablespoon cookie scoop, roll a ball of dough into the chopped pecans and place the cookie onto a baking sheet. Repeat for the remaining cookies, placing them at least 1 1/2 inches apart.
-
Press the middle of the cookies down with the back of a 1/4 teaspoon measuring spoon. Bake for 10 minutes.
-
When the cookies are out of the oven and still hot, reform the center with a 1/2 teaspoon measuring spoon as the cookies will have risen in the oven. Repeat the baking process with the remaining dough.
-
While the cookies are cooling, start melting your caramel. Add a small amount of water to a pot and place a heat-safe bowl on top, ensuring the bowl will not get wet once boiling. Place caramels and heavy cream in the bowl and melt them down on low, stirring constantly.
TIP – To speed up this process you can bring the water to boil on high, reduce to low, then add the bowl on top.
-
Quickly fill the center of each cookie with caramel sauce and sprinkle with flaked sea salt if desired.
-
To add a chocolate drizzle, melt 1/4 cup of semi-sweet chocolate chips in a heat-safe bowl over the stove top, similarly to the caramel (this will not require heavy cream). Add to a piping bag or drizzle over with a spoon. This amount will make enough for the full batch.
Nutrition
The recipes on this blog are tested with a conventional gas oven and gas stovetop. It’s important to note that some ovens, especially as they age, can cook and bake inconsistently. Using an inexpensive oven thermometer can assure you that your oven is truly heating to the proper temperature. If you use a toaster oven or countertop oven, please keep in mind that they may not distribute heat the same as a conventional full sized oven and you may need to adjust your cooking/baking times. In the case of recipes made with a pressure cooker, air fryer, slow cooker, or other appliance, a link to the appliances we use is listed within each respective recipe. For baking recipes where measurements are given by weight, please note that results may not be the same if cups are used instead, and we can’t guarantee success with that method.
