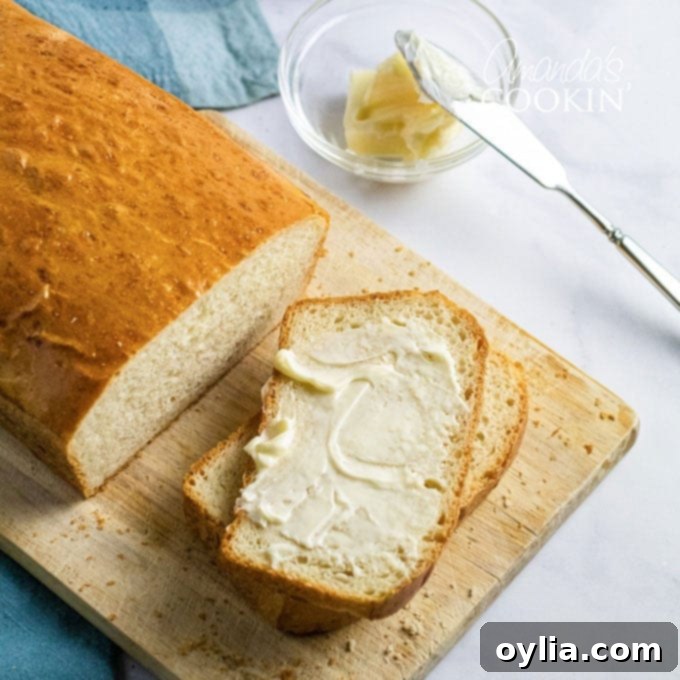
Easy & Delicious: The Timeless 1963 Homemade White Bread Recipe for Fluffy Loaves
There’s an undeniable charm to classic recipes, a culinary legacy that whispers tales from generations past. This particular recipe for homemade white bread is no exception. It’s a true vintage gem, evoking a sense of nostalgia that might remind you of your own mother or grandmother baking in the kitchen. Just imagining the comforting aroma of fresh bread filling their homes decades ago stirs a certain warmth in the soul. Although I was only four years old in 1963, I often wonder if my mom ever tried her hand at this very recipe, creating those perfect, fluffy loaves that define comfort food.
Homemade bread holds a special place in my heart, and this classic white bread recipe is a standout. Its simple perfection rivals even my beloved homemade Italian bread, holding a firm spot as one of my two absolute favorites. The simple act of creating something so wholesome and delicious from scratch is incredibly rewarding, transforming basic ingredients into something truly extraordinary. I am confident that once you try this timeless recipe, it will quickly become a cherished tradition in your home too, bringing that same joy, warmth, and irresistible aroma to your family.
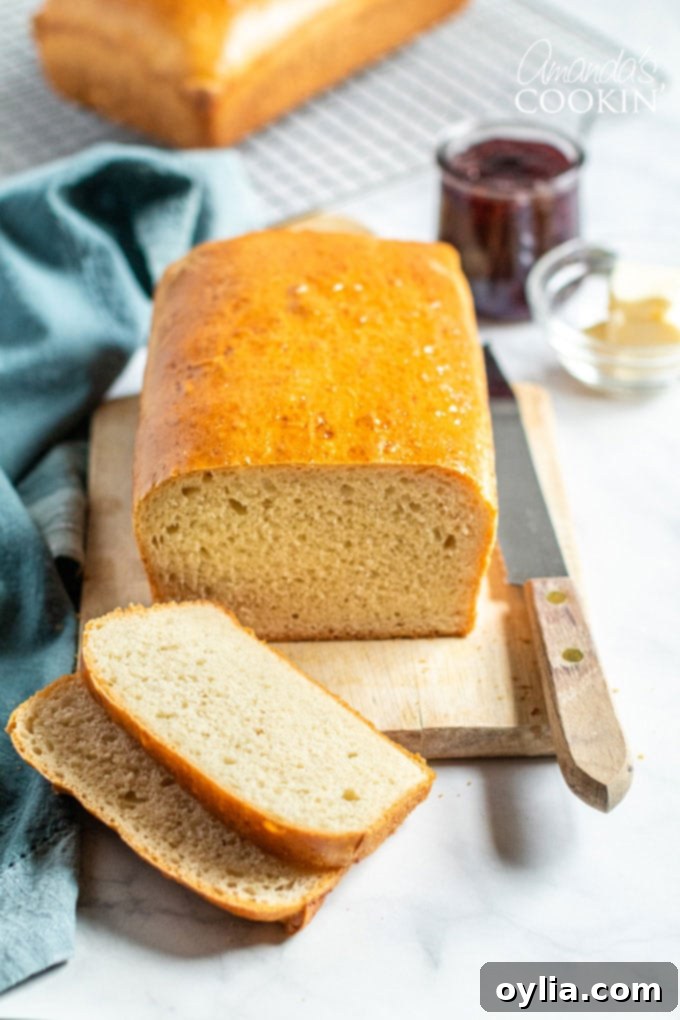
Mastering the Art of Homemade White Bread: A Step-by-Step Guide
There’s nothing quite like the experience of pulling a freshly baked loaf of bread, still warm from the oven, out of its pan. The rich, yeasty aroma alone is enough to transport you to a place of pure culinary bliss and comfort. The dough for this particular easy homemade white bread recipe is wonderfully soft and pliable, making it a delight to work with. The resulting loaves are consistently beautiful, boasting perfectly golden-brown tops that promise a tender, airy crumb within. For me, the entire process of making a piping hot loaf of bread from scratch is deeply therapeutic and immensely satisfying. It’s more than just baking; it’s an act of creation, a moment of mindful craft, and a delicious reward all rolled into one.
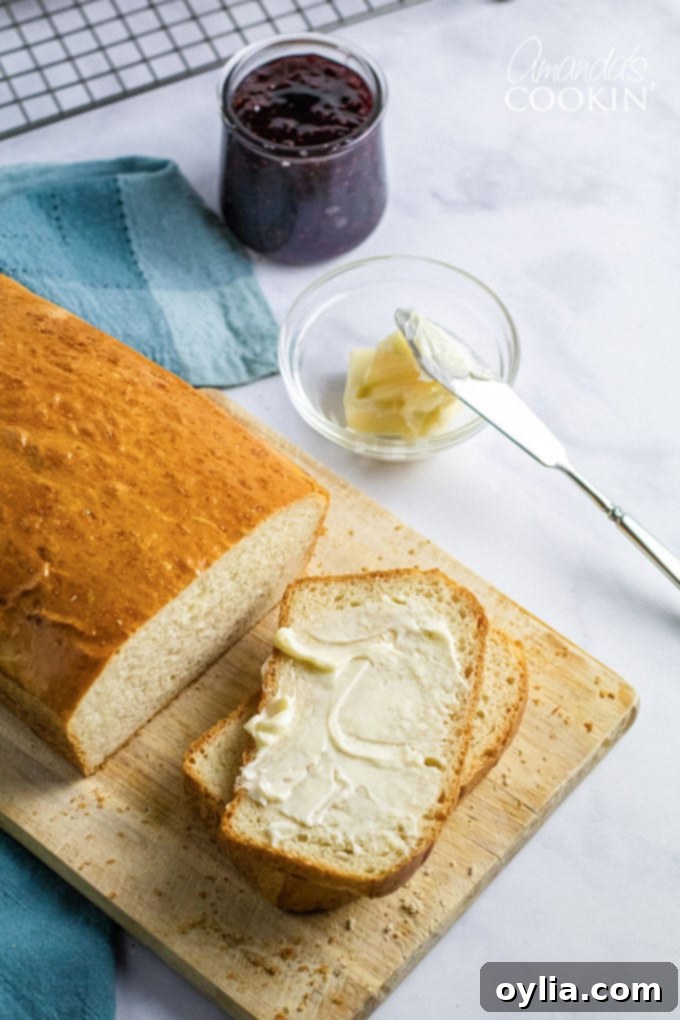
Understanding Scalded Milk in Classic Bread Recipes
Many traditional, old-fashioned bread recipes, including this 1963 classic, often include an instruction to “scald” your milk. This practice, while once a critical step, is largely a relic of a bygone era, primarily due to the widespread advent of pasteurization. Historically, scalding milk involved heating it to a high temperature, just below boiling, for two main reasons:
- Eliminating Bacteria: For raw, unpasteurized milk, scalding killed any harmful bacteria that might be present, making the milk safe for consumption and baking.
- Denaturing Proteins: Heating the milk to a high temperature also denatures certain proteins (specifically whey proteins) that could interfere with gluten development and inhibit yeast activity. By denaturing these proteins, bakers could ensure a softer crumb and a higher, more consistent rise in their loaves.
Today, with commercially available milk already pasteurized, the safety aspect of scalding is no longer strictly necessary. However, some experienced bakers still choose to scald milk in vintage recipes, believing it contributes to a slightly better texture, a finer crumb, or a more consistent rise, due to those denatured proteins. For this particular recipe, heating the milk until hot, but not boiling, is primarily to help melt the butter and fully dissolve the sugar and salt. It’s then crucial to allow this mixture to cool to a lukewarm temperature before combining it with the yeast to ensure the yeast remains active. Imagining women milking their cows and then carefully preparing that fresh, raw milk in their kitchens truly conjures up wonderful images of simpler times and the deep roots of these beloved, comforting recipes.
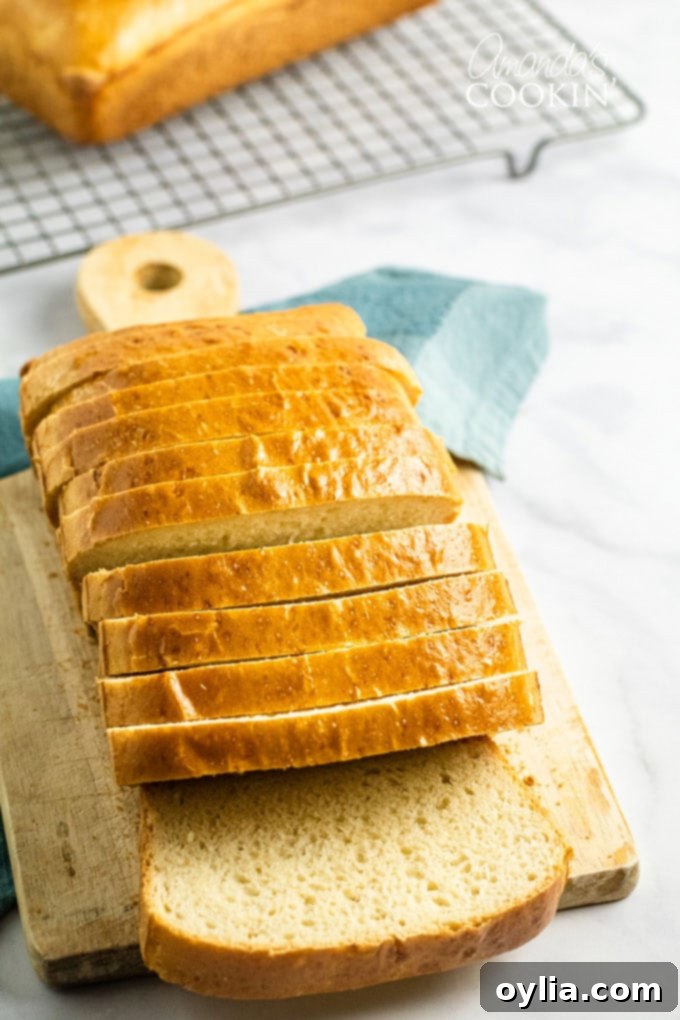
Essential Ingredients for Your Perfect White Bread Dough
Crafting the perfect loaf of homemade white bread starts with understanding the role of each ingredient. Below are the key components you’ll need, along with some helpful tips and answers to common questions about substitutions. Remember, the full list of ingredients with precise measurements can always be found in the printable recipe card at the end of this post, ensuring you have everything you need for success.
- Milk: I typically opt for 1% milk in this recipe, which consistently yields fantastic results, producing a light and tender crumb. However, you have flexibility here; 2%, fat-free, or even whole milk will all work wonderfully. The milk adds richness, contributes to a more tender texture, and helps achieve that beautiful golden-brown crust.
- Sugar: While it provides a subtle sweetness, sugar’s primary role in homemade bread goes beyond taste. It acts as vital food for the yeast, allowing it to activate and produce the carbon dioxide necessary for the bread to rise. Furthermore, sugar aids in the browning of the crust during baking and adds a pleasing depth of flavor to the final loaf.
- Warm Water: This is an absolutely critical ingredient for activating your yeast. The water needs to be precisely “warm” – ideally between 105-115°F (40-46°C). I highly recommend using an instant-read thermometer to measure the temperature accurately. If the water is too hot, it will kill the delicate yeast, preventing your bread from rising. If it’s too cold, the yeast will activate too slowly, or not at all, leading to a very long, sluggish, or failed rise.
- Salt: Essential for both flavor and function, regular table salt enhances the overall taste of your bread, balancing the sweetness from the sugar and preventing it from tasting bland. It also plays a significant role in controlling the yeast’s activity, preventing it from rising too quickly and ensuring a more even, controlled fermentation process that results in better texture and flavor.
- Unsalted Butter: Butter adds incredible flavor and richness to the bread, contributing to a wonderfully soft texture and a slightly chewy, moist crumb. I prefer unsalted butter because it gives me full control over the salt content in the recipe. If you only have salted butter on hand, you can slightly reduce the amount of additional salt specified in the recipe.
- Yeast: My preferred choice is SAF instant yeast, prized for its reliability and convenience as it can be added directly to dry ingredients without prior proofing. If you opt to use active dry yeast, you will need to activate it in the warm water first (as detailed in step 2 of the instructions) and extend both the first rise by about 30 minutes and the second rise by an additional 15-30 minutes to ensure adequate leavening and a good rise.
- All-Purpose Flour: Sifted all-purpose flour, whether bleached or unbleached, forms the structural backbone of this delicious white bread recipe. It provides the necessary gluten development for the bread’s texture and rise. While I haven’t personally experimented with whole wheat or other specialty flours for this particular recipe, all-purpose flour consistently delivers the classic soft, tender white bread texture we’re aiming for.
Helpful Kitchen Tools for Perfect Homemade Bread: To make your bread-baking journey smoother and more successful, having the right tools on hand can make all the difference. Consider these:
- 9×5 Bread (Loaf) Pans: These are essential for shaping and baking your loaves evenly. Using two pans as specified in the recipe ensures both loaves achieve that classic rectangular form and bake uniformly.
- Wire Cooling Rack: Crucial for cooling your freshly baked bread. Placing the hot loaves on a wire rack allows air to circulate around all sides, preventing the bottom crust from becoming soggy due to trapped steam.
- Stand Mixer or Handheld Mixer: While you can certainly knead the dough by hand, a mixer significantly simplifies and speeds up the process, especially for developing the gluten in the dough, making it smooth and elastic with less effort.
- Flour Sack Towel or other Clean Kitchen Towel: Used to cover the dough during its rising periods, protecting it from drafts, preventing a dry crust from forming, and maintaining a warm, moist environment conducive to a good rise.
- Mixing Bowls: You’ll need various sizes for combining ingredients, proofing the yeast, and accommodating the dough as it doubles in size during its first rise.
- Measuring Spoons and Measuring Cups: Accurate measurements are paramount in baking. These tools ensure you add the precise quantities of each ingredient for consistent and successful results every single time.
- Instant-Read Thermometer: While not originally on the list, this tool is highly recommended for precisely checking the temperature of your warm water and milk, safeguarding your yeast’s viability and ensuring optimal dough conditions.
How to Bake the Ultimate 1963 Homemade White Bread
Baking bread is a truly rewarding journey, and with this classic 1963 recipe, you’re set for a delicious destination. Follow these detailed steps carefully to create two magnificent loaves of fluffy, golden-crusted white bread that will impress everyone.
- Prepare the Milk Mixture: Begin by heating the milk in your microwave until it’s hot but explicitly *not boiling*. Boiling can alter the milk’s proteins too much and can make the butter melt too quickly, affecting the overall temperature control. Stir in 2 tablespoons of the sugar, along with the salt and butter until well combined. Set this mixture aside. The residual heat from the milk will gently melt the butter, infusing the liquid with richness and flavor. Allow this mixture to cool down completely until it is just lukewarm – this is a critical step to ensure the yeast remains alive and active in the next stage.
- Activate the Yeast: In a separate large mixing bowl, pour in your warm water. Sprinkle the yeast and the remaining one tablespoon of sugar evenly over the surface of the water; stir gently until both the yeast and sugar are fully dissolved. Let this mixture sit undisturbed for about 5 minutes. During this brief waiting period, the yeast should “proof,” meaning it will become visibly foamy and bubbly on the surface. This indicates that the yeast is active and ready to work its magic. If you don’t see any signs of activity, your yeast might be old or the water temperature was incorrect, and it’s best to start this step again.
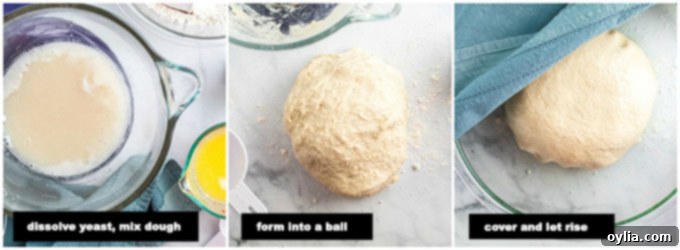
- Combine and Knead the Dough: Once your yeast is proofed and bubbling, add the lukewarm milk mixture and the initial 3 cups of sifted all-purpose flour to the mixing bowl with the yeast. If using a stand mixer, attach the dough hook and beat on medium-low speed until the mixture is smooth and well combined. Gradually add more flour, one cup at a time, until a soft, slightly sticky dough forms that pulls away from the sides of the bowl. Be careful not to add too much flour; the exact amount can vary based on humidity and flour type, so always go by the dough’s feel. Turn the dough out onto a lightly floured surface (a cutting board or clean countertop works well). Knead the dough vigorously for about 8-10 minutes, either by hand or using your stand mixer, until it becomes smooth, elastic, and springs back when lightly pressed. This crucial step develops the gluten, which gives the bread its characteristic structure and chewiness.
- First Rise (Bulk Fermentation): Shape the thoroughly kneaded dough into a smooth ball. Lightly grease a clean, large bowl with a little oil or softened butter, then place the dough into it, turning it over once to ensure the entire surface is lightly greased. This prevents a dry crust from forming during the rise. Cover the bowl loosely but completely with a clean, soft kitchen towel or plastic wrap. Place the bowl in a warm, draft-free spot. A slightly warm oven (turned off, with just the oven light on for gentle heat) or a sunny spot on your counter works well. Let the dough rise until it has clearly doubled in bulk, which typically takes about 30 minutes for instant yeast.
- Punch Down and Rest: Once the dough has proudly doubled in size, gently but firmly “punch down” the dough in the center to release the accumulated gases. This action redistributes the yeast, sugar, and moisture evenly throughout the dough, contributing to a finer, more even crumb in the final bread. After punching it down, gently reshape the dough into a loose ball and let it rest, uncovered, for an additional 15 minutes. This brief resting period allows the gluten to relax after kneading, making the dough much easier to handle and shape in the subsequent step.
- Shape and Second Rise (Proofing): Divide the rested dough exactly in half using a dough scraper or knife. Take each half and gently shape it into a neat, oblong loaf. The goal here is to create a relatively tight, even shape that will hold its form well in the pan. Place each shaped loaf into a greased 9x5x3-inch bread pan. Cover the pans again, loosely but completely, with a clean towel and let them rise in a warm, draft-free place for about 45 minutes, or until the dough has again doubled in bulk and crowns nicely over the top of the pans, looking puffy and light. This second rise (or proof) is absolutely crucial for achieving a light, airy, and soft bread.
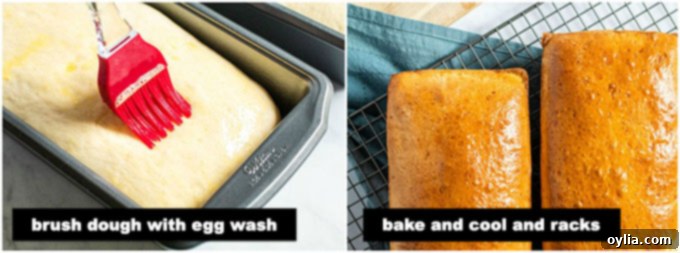
- Apply Egg Wash for Golden Crust: Just before your beautifully risen loaves are ready to go into the oven, prepare an egg wash. In a small bowl, whisk together one large egg and one teaspoon of water until they are thoroughly combined and smooth. Gently brush this egg wash evenly over the tops of both loaves. This step is entirely optional but highly recommended, as it contributes significantly to a gorgeous, shiny, deep golden-brown crust and can add a subtle crispness to the exterior of the bread.
- Bake to Golden Perfection: Preheat your oven to a steady 400°F (200°C) with racks positioned in the center. Carefully place the prepared bread pans into the hot oven and bake for approximately 30 minutes. Baking time can vary slightly depending on your specific oven, so it’s always wise to keep an eye on them. The bread is done when the crust is a deep, appealing golden brown and, if you gently tap the bottom of a loaf, it should sound hollow. For ultimate accuracy, an instant-read thermometer inserted into the very center of a loaf should register an internal temperature of around 200-210°F (93-99°C). Once baked, immediately remove the loaves from their pans and transfer them to a wire cooling rack to cool completely before slicing.
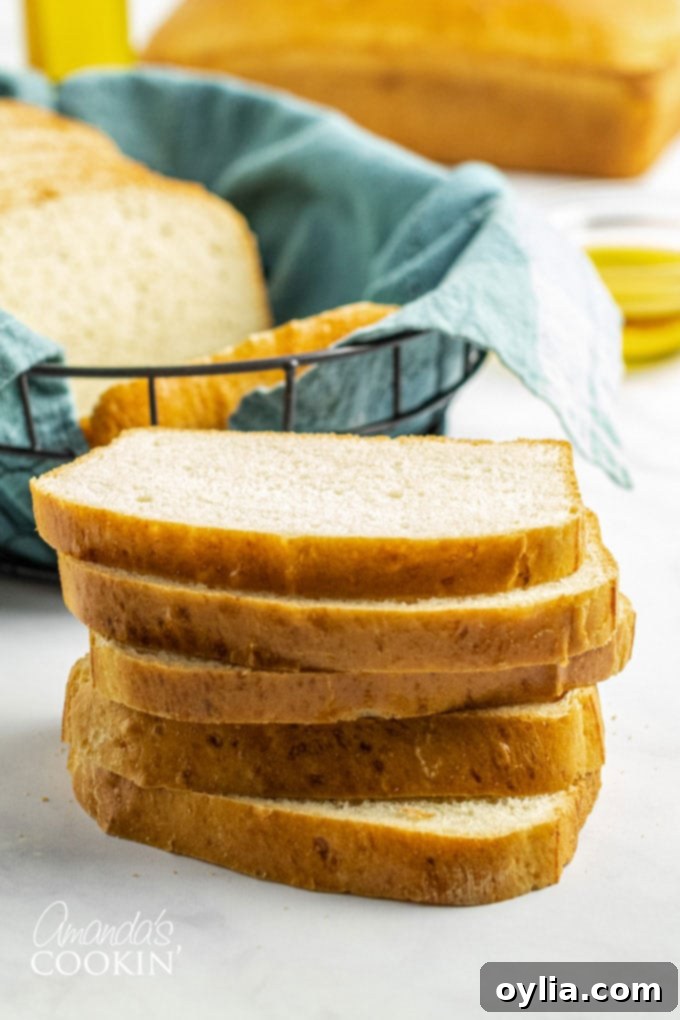
This wonderful recipe for classic homemade white bread hails from a cherished 1963 copy of a Good Housekeeping Cookbook, which is precisely why it carries such a special, timeless appeal and its distinctive name. I’ve personally made this recipe countless times over the years, and it consistently receives rave reviews and requests for more from my family and friends. There’s just something inherently satisfying about the remarkably soft texture and the comforting, familiar flavor that makes it an instant hit and a staple in our kitchen.
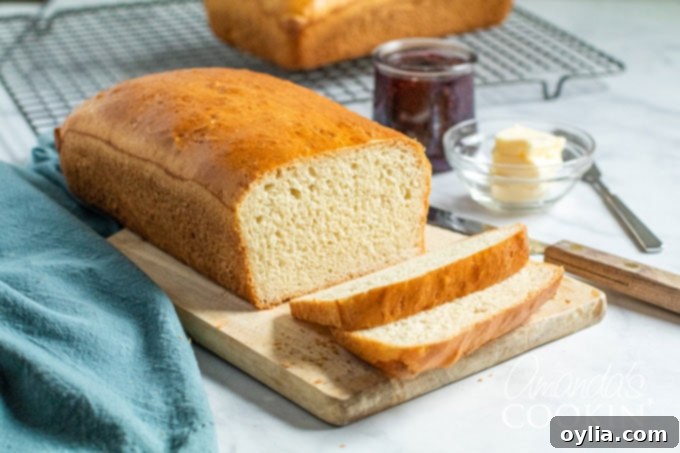
One of the great advantages of this white bread recipe is its generous yield: it makes two substantial loaves. This means you can easily bake one loaf to enjoy warm with dinner right away – perhaps with a generous smear of butter – and save the other for the following day. It’s truly the perfect foundation for homemade sandwiches, holding up beautifully to all sorts of fillings without getting soggy. Beyond sandwiches, I particularly adore using this versatile bread to make my French Toast Casserole, especially during the festive holiday season. The slight sturdiness and delicious flavor of this bread elevate any breakfast or brunch dish into something truly memorable.
Why Bake Your Own Bread? The Unbeatable Benefits of Homemade
Beyond the simple pleasure of a delicious taste and the comforting aroma filling your home, baking your own homemade white bread offers a multitude of tangible benefits that far outweigh the effort. Firstly, there’s the unparalleled freshness. Store-bought bread, no matter how good, simply cannot compare to a loaf that’s still warm from your oven, with its perfectly crisp crust and incredibly tender, moist interior. This freshness translates directly into superior taste and texture.
Moreover, when you bake at home, you have complete and total control over the ingredients. This allows you to choose high-quality components, opt for organic if you wish, and consciously avoid any unwanted additives, artificial preservatives, or excessive sugars often found in commercially produced breads. It’s a healthier choice for your family and gives you peace of mind.
Economically, it’s also a surprisingly cost-effective endeavor. The basic ingredients for bread—flour, water, yeast, salt, and a little sugar—are relatively inexpensive. Making two loaves at once, as this recipe suggests, means you get more value for your time and money compared to buying two loaves from the store. Furthermore, the act of baking bread itself can be incredibly therapeutic. The rhythmic motion of kneading, the satisfying anticipation as the dough rises, and the sheer joy of a successful bake can be a wonderful stress reliever and a fulfilling creative outlet. Sharing a loaf of homemade bread with family and friends is more than just sharing food; it’s a heartfelt gesture of love, care, and hospitality that truly warms the heart. It’s an experience that nourishes both body and soul, making every effort worthwhile.
Frequently Asked Questions About Baking Homemade White Bread
- How do I know if my yeast is active and alive?
- After sprinkling yeast and sugar into warm water (105-115°F / 40-46°C) and stirring gently, let the mixture sit for about 5-10 minutes. If the surface becomes foamy, bubbly, or develops a creamy layer, your yeast is active and ready to use. If nothing happens, your yeast might be old or the water temperature was incorrect, and you should discard it and try again with fresh yeast and properly tempered water.
- Can I make this bread in a bread machine?
- While this specific recipe is designed for conventional oven baking, many bread machine models have a “Dough” cycle. You could potentially use your bread machine for the mixing and first rise steps, then remove the dough to shape it into loaves and bake them in your conventional oven. Keep in mind that bread machine recipes sometimes require slight adjustments to liquid and flour ratios for optimal results, so always check your machine’s manual for recommended guidelines for white bread dough.
- What’s the best way to store homemade white bread?
- Once your homemade white bread has cooled completely to room temperature, store it in an airtight container, a bread box, or a large plastic bag at room temperature. It will stay fresh and delicious for 3-4 days. For longer storage, you can slice the bread and freeze it in an airtight freezer bag for up to 2-3 months. Thaw individual slices as needed, or pop them directly into a toaster from frozen for quick enjoyment.
- My bread didn’t rise. What went wrong?
- The most common reasons for bread not rising are inactive yeast (check the expiration date, ensure proper storage) or incorrect water temperature during activation (too hot kills it, too cold slows it down or prevents activation). Other factors could include too much salt (which inhibits yeast), or not enough kneading to develop the gluten structure.
More Delightful Recipes You Might Enjoy:
Once you’ve tasted the undeniable goodness and satisfaction of baking your own homemade bread, you’ll undoubtedly want to explore all the wonderful ways to savor it! Here are a few more delicious recipes that pair perfectly with or creatively use this versatile homemade white bread:
- For a simple yet incredibly satisfying and wholesome meal, be sure to try a couple slices of your fresh, fluffy homemade white bread as the base for my delightful avocado toast. The soft bread provides the perfect textural contrast to creamy avocado.
- If you’re craving something a bit more indulgent and fancy for a special breakfast or a decadent brunch, elevate your morning by using this bread in my exquisite strawberries and cream stuffed french toast. It transforms breakfast into a luxurious experience!
- And for those who love unique, savory flavors, don’t miss out on this fantastic no-knead everything peasant bread. It beautifully captures the incredible flavors of everything bagels but with a wonderfully chewy, rustic texture that’s surprisingly easy to make and incredibly satisfying.
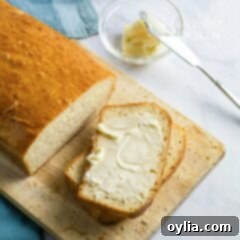
1963 Homemade White Bread
IMPORTANT – There are often Frequently Asked Questions within the blog post that you may find helpful. Simply scroll back up to read them!
Print It
Rate It
Save ItSaved!
Ingredients
- ½ cup 1% milk
- 3 tablespoons sugar divided
- 2 teaspoon salt
- 3 tablespoons unsalted butter
- 1 ½ cups warm water
- 2 ¼ teaspoons SAF instant yeast
- 6 ¼ cups sifted all-purpose flour
Egg Wash
- 1 large egg
- 1 teaspoon water
Things You’ll Need
-
9×5 loaf pan
-
Wire cooling racks
-
Stand mixer
-
Flour sack towel
-
Mixing bowls
-
Measuring cups and spoons
Before You Begin
- This recipe makes 2 loaves of bread, perfect for sharing or enjoying over several days.
- If you prefer to use active dry yeast, remember to increase the first rise by approximately 30 minutes and the second rise by 15-30 minutes to allow adequate time for activation and proofing.
- I have successfully used both granulated sugar and honey interchangeably in this recipe to feed the yeast, so feel free to experiment if you like.
- Note: The nutritional information provided for this recipe does not include the egg wash, as the amount of egg absorbed by the bread is generally too insignificant to materially impact the overall nutritional count per serving.
Instructions
-
Heat milk in the microwave until hot, but not boiling. Stir in 2 tablespoons of the sugar, salt and butter. Set aside to allow butter to melt. Cool to lukewarm.
-
Place warm water in your mixing bowl; sprinkle in yeast and remaining one tablespoon of sugar; stir until dissolved. Let sit for 5 minutes or so to allow yeast to proof.
-
Add lukewarm milk mixture and 3 cups flour; beat on medium-low until smooth. Add enough additional flour to make a soft dough. You may or may not use all the flour. Turn out onto lightly floured board. Knead until smooth and elastic, about 8-10 min.
-
Form into smooth ball and place in greased bowl, turning to grease top. Cover with a clean, soft towel; let rise in warm place, free from draft, until doubled in bulk, about 30 minutes.
-
Punch down dough and let rest 15 minutes.
-
Divide dough in half and shape each half into a loaf. Place each loaf in a greased 9x5x3 bread pan. Cover; let rise in warm place, free from draft, until doubled in bulk, about 45 minutes.
-
Whisk together the egg and water to make an egg wash. Gently brush the egg wash onto the tops of both loaves right before placing in the oven.
-
Bake at 400 degrees F, about 30 minutes, or until done.
Nutrition
The recipes on this blog are tested with a conventional gas oven and gas stovetop. It’s important to note that some ovens, especially as they age, can cook and bake inconsistently. Using an inexpensive oven thermometer can assure you that your oven is truly heating to the proper temperature. If you use a toaster oven or countertop oven, please keep in mind that they may not distribute heat the same as a conventional full sized oven and you may need to adjust your cooking/baking times. In the case of recipes made with a pressure cooker, air fryer, slow cooker, or other appliance, a link to the appliances we use is listed within each respective recipe. For baking recipes where measurements are given by weight, please note that results may not be the same if cups are used instead, and we can’t guarantee success with that method.
This post originally appeared here on Jul 28, 2012, and has been lovingly updated with additional tips, detailed explanations, and helpful information to ensure you achieve perfect homemade loaves every single time.
