Decadent No-Bake Individual Tiramisu Cups: An Easy & Elegant Dessert
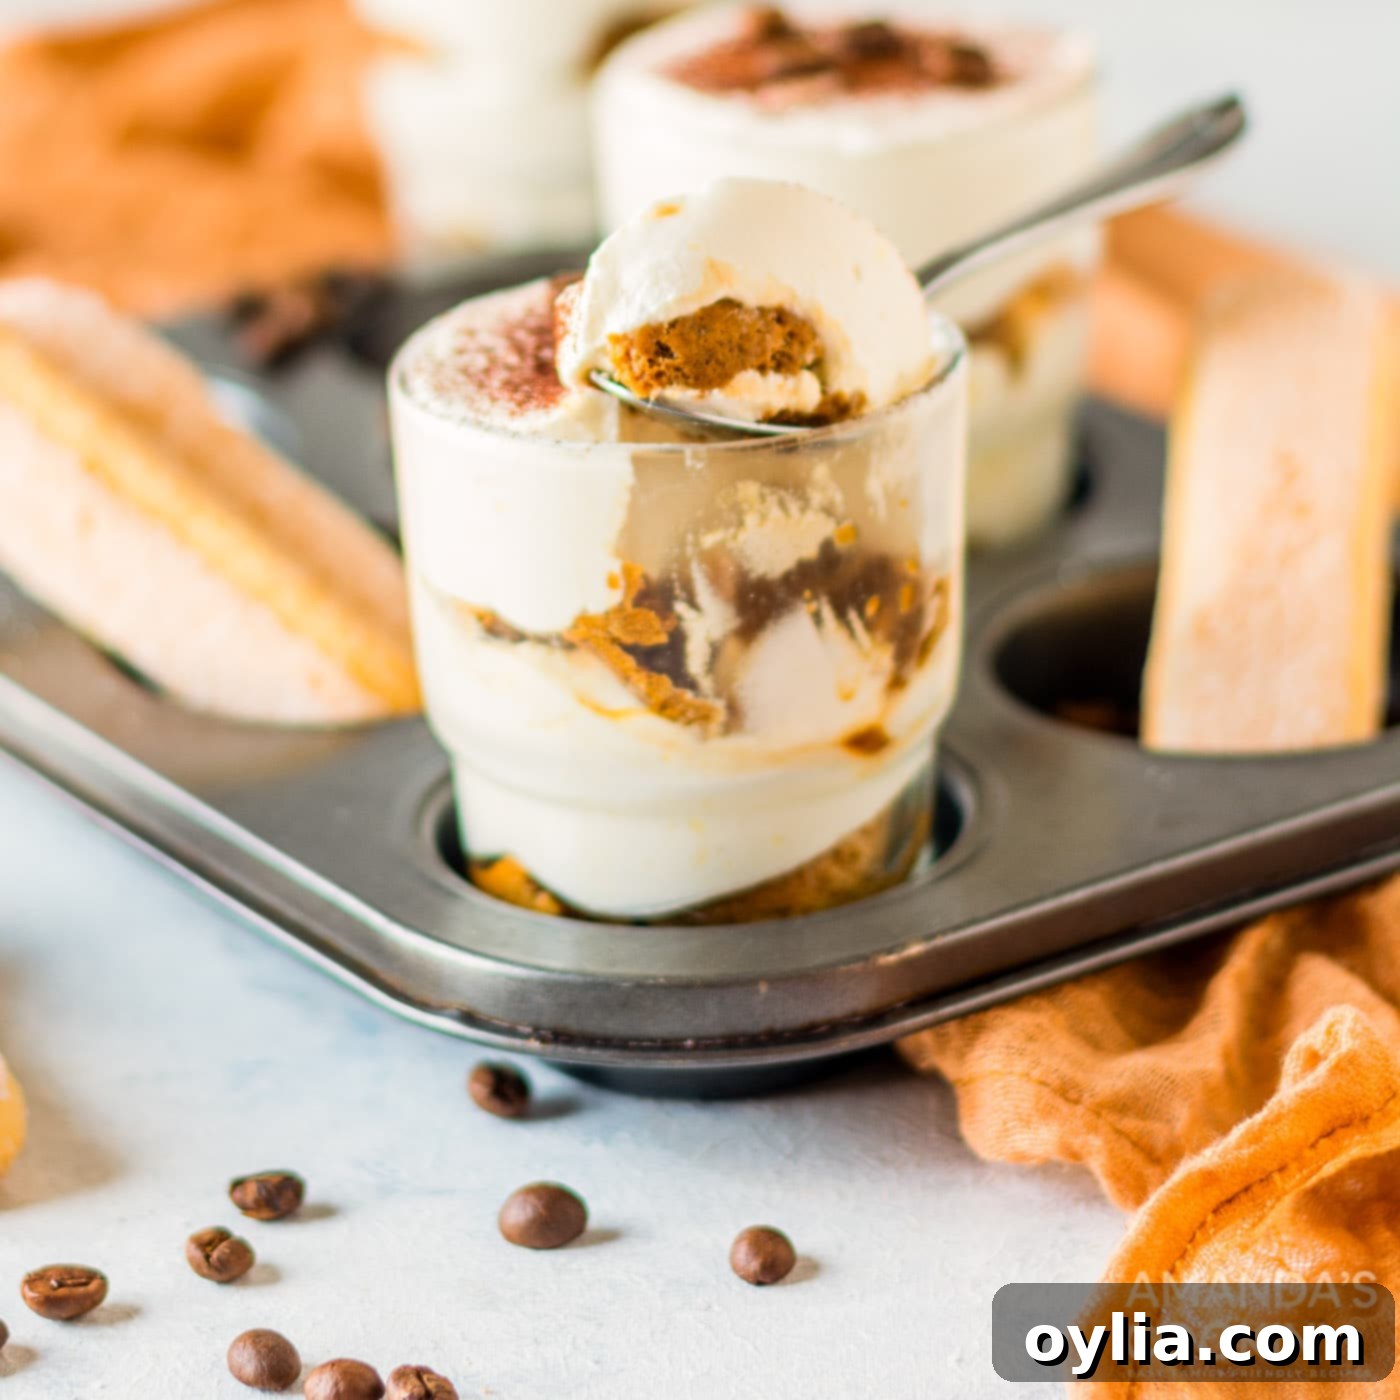
Indulge in the rich, velvety layers of mascarpone cheese and perfectly espresso-soaked ladyfingers with these utterly irresistible individual tiramisu cups. This classic Italian dessert, meaning “cheer me up,” is reimagined into convenient single servings, making it the ultimate elegant treat for any occasion. Forget the hassle of baking; this no-bake recipe delivers pure, melt-in-your-mouth bliss with minimal effort and maximum flavor.
Why This Individual Tiramisu Recipe is a Must-Try
Our individual tiramisu cups offer the perfect blend of convenience and luxury. Each beautifully layered dessert is not only a delight to behold but also incredibly practical. Whether you’re hosting a dinner party and need elegant, pre-portioned desserts or simply craving a personal indulgence, these tiramisu cups are your answer. The creamy, luscious layers are meticulously crafted to deliver a truly melt-in-your-mouth experience with every spoonful.
What truly sets this recipe apart is its incredible simplicity: it’s entirely a no-bake recipe! This means you can achieve a sophisticated, rich dessert without ever turning on your oven, making it ideal for warm weather or when you’re short on time. We’ve explored many variations of tiramisu over the years, from our popular tiramisu trifles in mason jars to our impressive full-sized tiramisu trifle. However, for a dessert that’s both light and profoundly satisfying, designed for ease and individual enjoyment, this recipe for single-serving tiramisu is unparalleled. It perfectly balances a rich flavor profile with a delicate texture, ensuring a truly memorable dessert experience.
Essential Ingredients for Perfect Individual Tiramisu
Creating these delightful homemade tiramisu cups requires just a few key ingredients, each playing a vital role in achieving that authentic Italian taste and texture. You can find all specific measurements, quantities, and detailed instructions in the printable recipe card located at the conclusion of this article. For now, let’s delve into the star components of this incredible dessert.
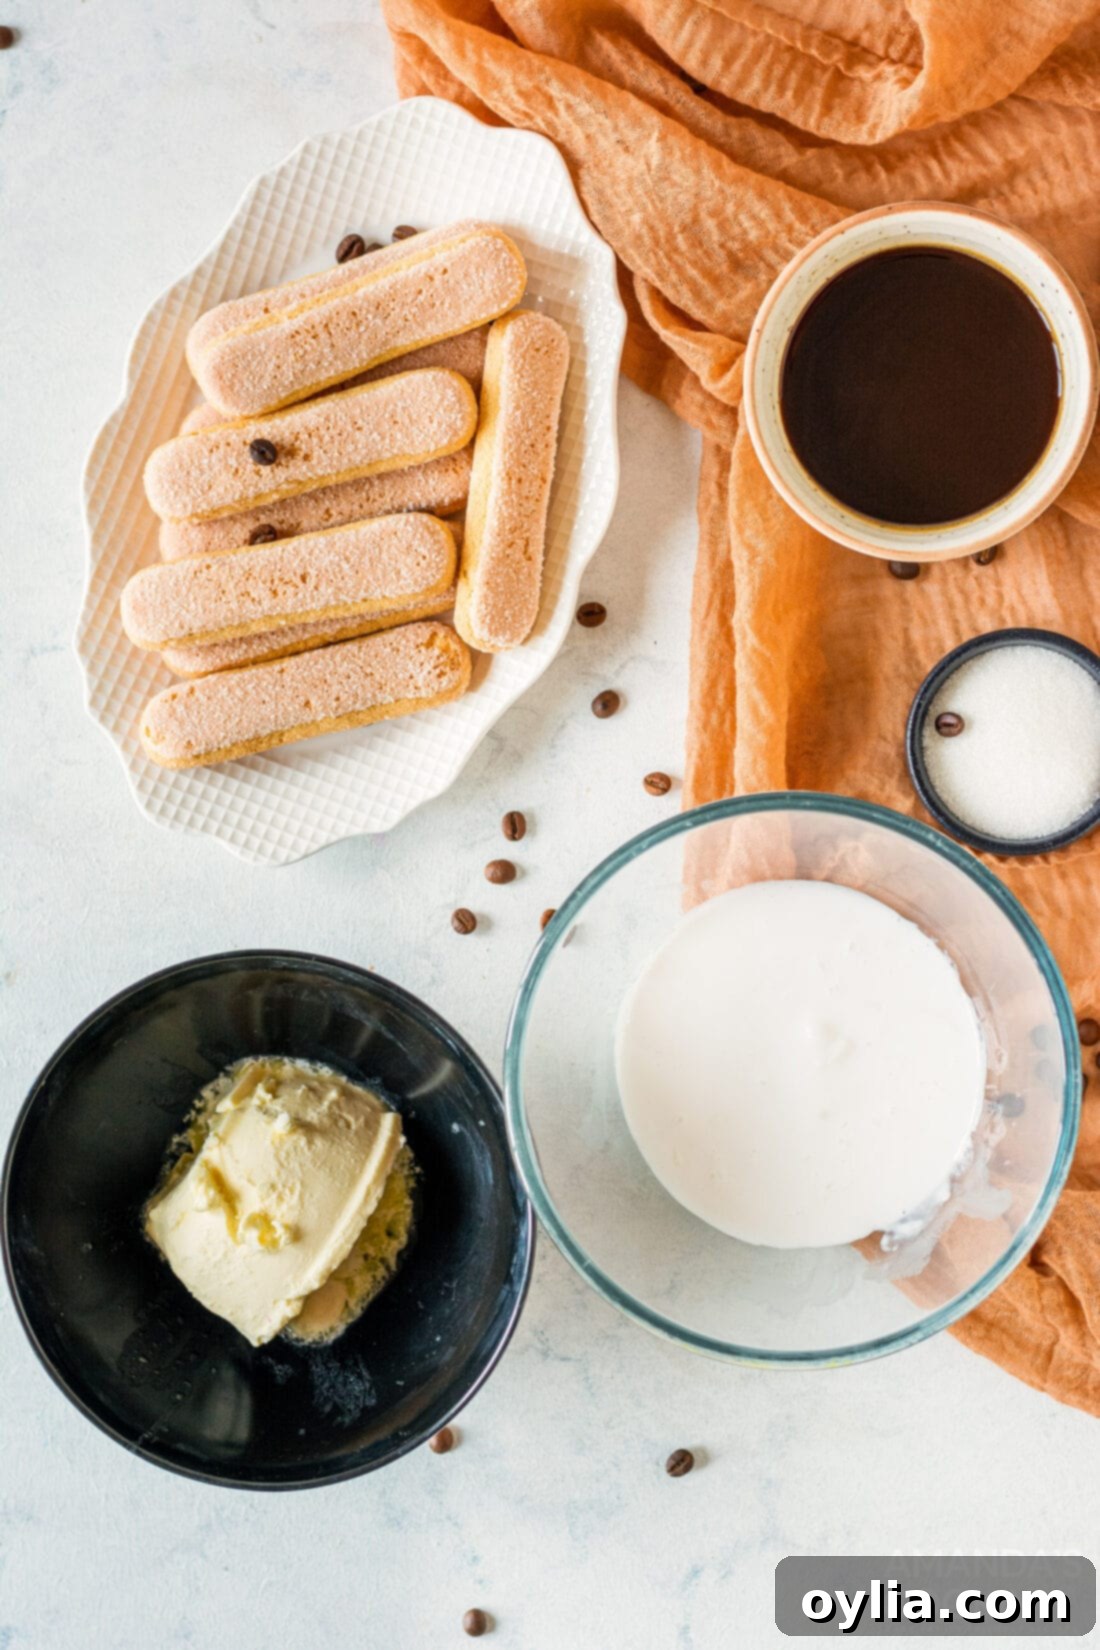
Ingredient Spotlight & Expert Substitution Tips
ESPRESSO: For maximum convenience without compromising on flavor, we opt for instant espresso powder. This dissolves easily and delivers a robust coffee flavor crucial for authentic tiramisu. However, if you’re a coffee connoisseur and prefer a freshly brewed experience, by all means, use strong, freshly brewed espresso. Just be sure to let it cool completely to room temperature before dipping your ladyfingers, as hot liquid can make them too soggy. A strong dark roast coffee can also work as a substitute if espresso isn’t readily available, offering a similar depth of flavor.
MASCARPONE CHEESE: This is the heart of any great tiramisu. Mascarpone is an Italian cream cheese, but unlike standard cream cheese, it boasts an incredibly high fat content, giving it an unparalleled richness and silky smooth texture. When combined with a touch of sugar, espresso, and vanilla, then gently folded into whipped heavy cream, it creates the signature light yet decadent mascarpone cream. Ensure your mascarpone is at room temperature to prevent lumps and achieve a perfectly smooth consistency. There’s truly no substitute that captures its unique richness, so invest in quality mascarpone for the best results.
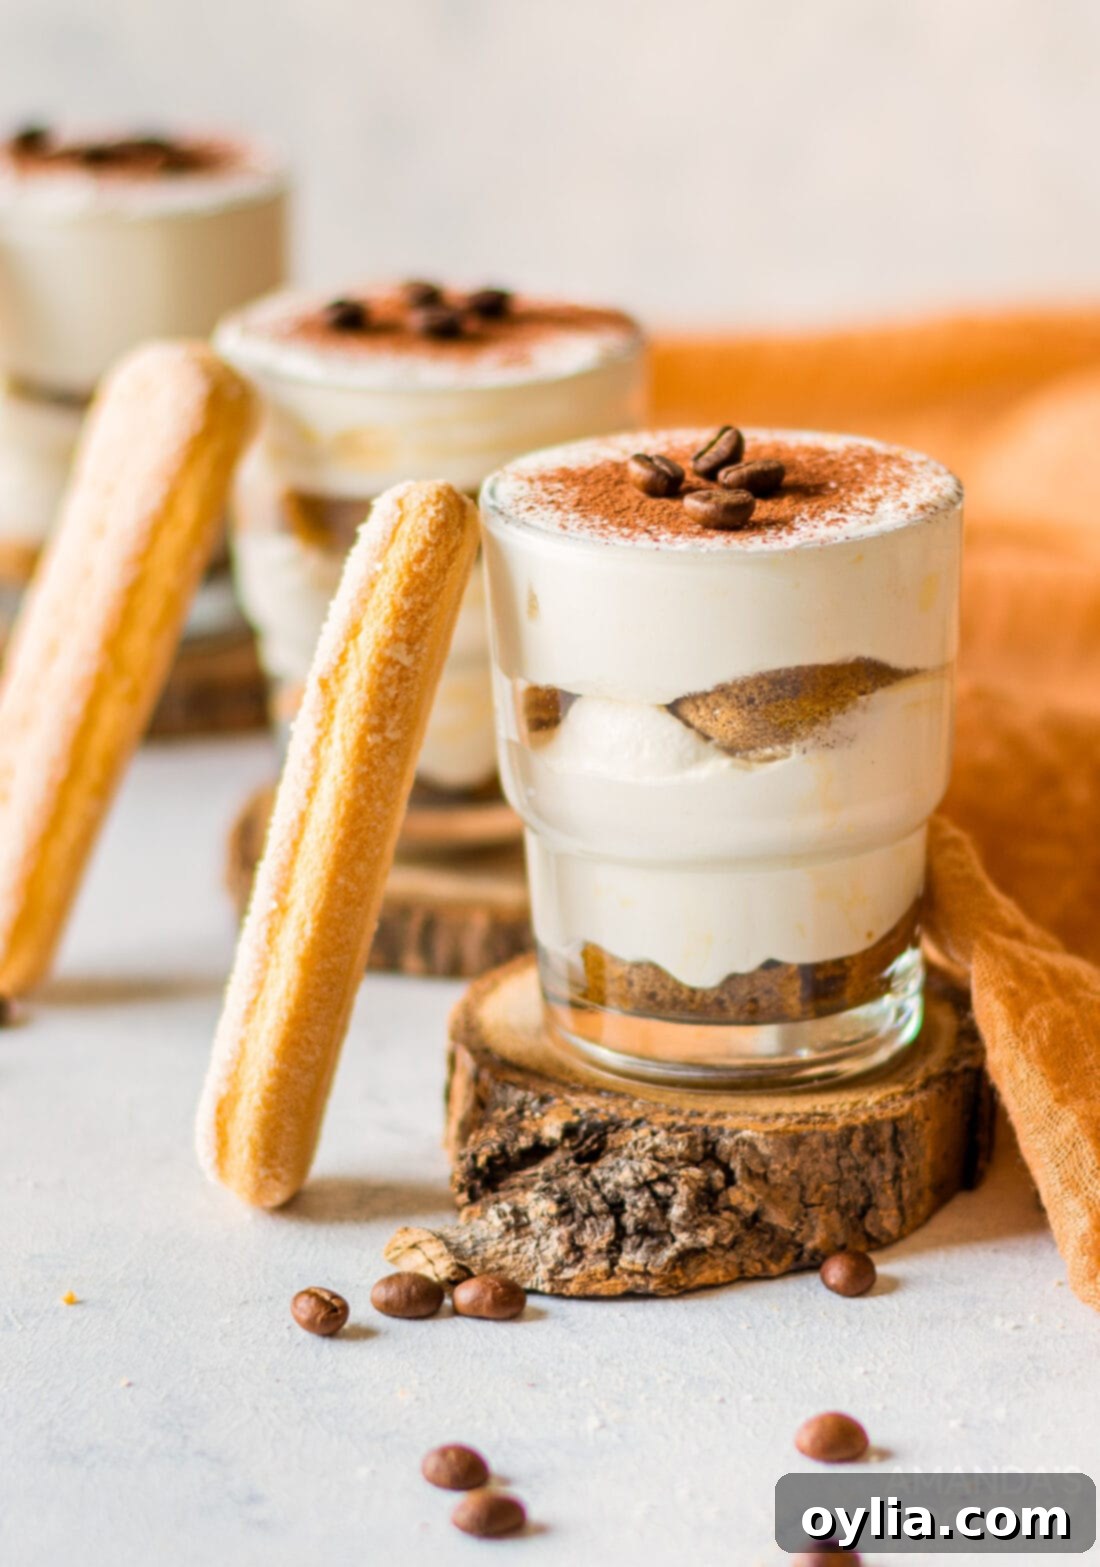
LADYFINGERS (SAVOIARDI): These delicate, sponge-like biscuits are engineered to be soaked. Their porous texture readily absorbs the espresso, becoming wonderfully tender without completely dissolving. They form the structural base and a key textural component of the tiramisu. While some recipes suggest alternative cookies, for an authentic tiramisu experience, ladyfingers are indispensable. If you can only find soft ladyfingers, be very quick with your dipping to avoid oversaturation.
HEAVY WHIPPING CREAM: Whipped to stiff peaks, this adds lightness and volume to the mascarpone mixture, transforming it into a cloud-like cream. Always start with very cold heavy cream and a chilled bowl and whisk for the best whipping results. This ensures your cream holds its shape and contributes to the overall stability and ethereal texture of the dessert.
GRANULATED SUGAR: Just enough to sweeten the mascarpone cream and balance the bitterness of the espresso without overwhelming the other flavors. It plays a crucial role in creating a harmonious taste profile.
VANILLA EXTRACT: A touch of pure vanilla extract enhances the overall richness and complexity of the cream, adding a subtle warmth that complements the coffee and cheese beautifully.
COCOA POWDER: An optional, yet highly recommended, garnish. A generous dusting of unsweetened cocoa powder just before serving provides a beautiful visual contrast and a final layer of bittersweet flavor, completing the classic tiramisu experience.
Step-by-Step Guide: How to Make Easy Individual Tiramisu
These step-by-step photos and instructions are here to guide you through the process of making this exquisite dessert. For a convenient printable version of this recipe, complete with precise measurements and comprehensive instructions, please jump to the recipe card at the bottom of this post.
- Whip the Cream: In a large, chilled bowl, pour the heavy cream. Using a hand mixer (or stand mixer with a whisk attachment), whip the cream until stiff peaks form. Stiff peaks mean that when you lift the whisk, the cream holds its shape without collapsing. Set this aside gently in the refrigerator while you prepare the mascarpone mixture.
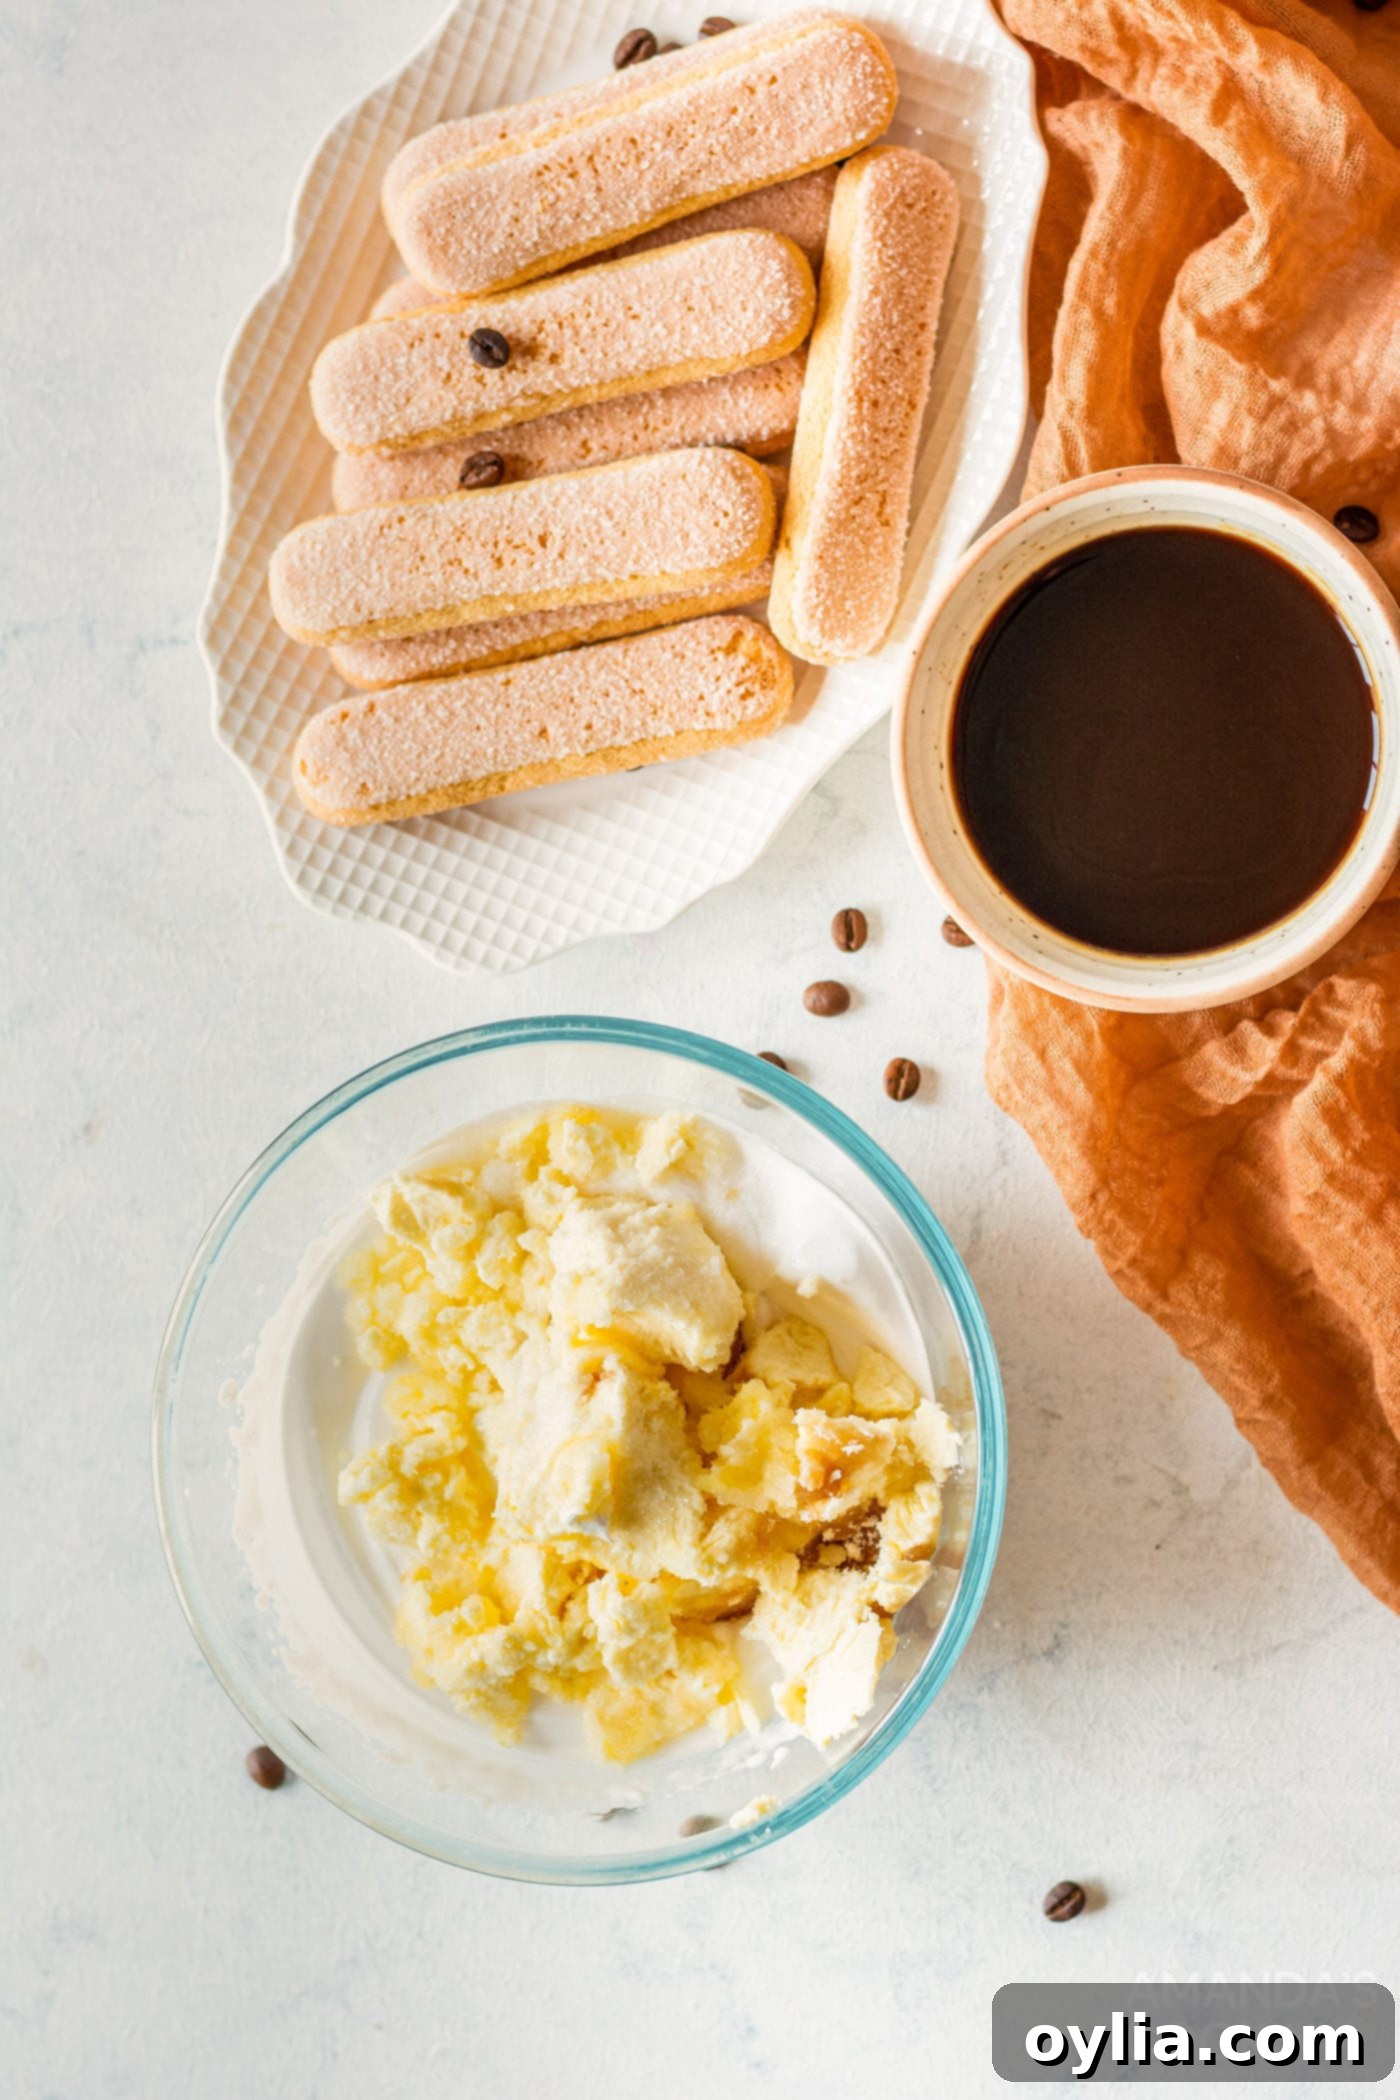
- Prepare Mascarpone Mixture: In a separate mixing bowl, combine the mascarpone cheese (ensure it’s at room temperature for easy blending), ½ teaspoon of instant espresso powder, granulated sugar, and vanilla extract. Mix these ingredients thoroughly until the mixture is smooth and well combined. This forms the flavorful base of your creamy layers.

- Combine and Prepare for Layering: Gently fold the mascarpone mixture into the whipped heavy cream using a spatula. Once just combined, switch back to the hand mixer and blend on low speed briefly until everything is uniformly mixed, creamy, and holds its shape well. Be careful not to overmix. Transfer this luscious cream mixture into a Ziploc bag (snip off a corner for piping) or an icing bag. Set it aside.
- Prepare the Espresso Dip: Heat half a cup of water until warm (not boiling). Stir in 1 tablespoon of instant espresso powder until completely dissolved. Allow this mixture to cool down to room temperature before proceeding. This step is crucial to prevent the ladyfingers from becoming mushy when dipped.
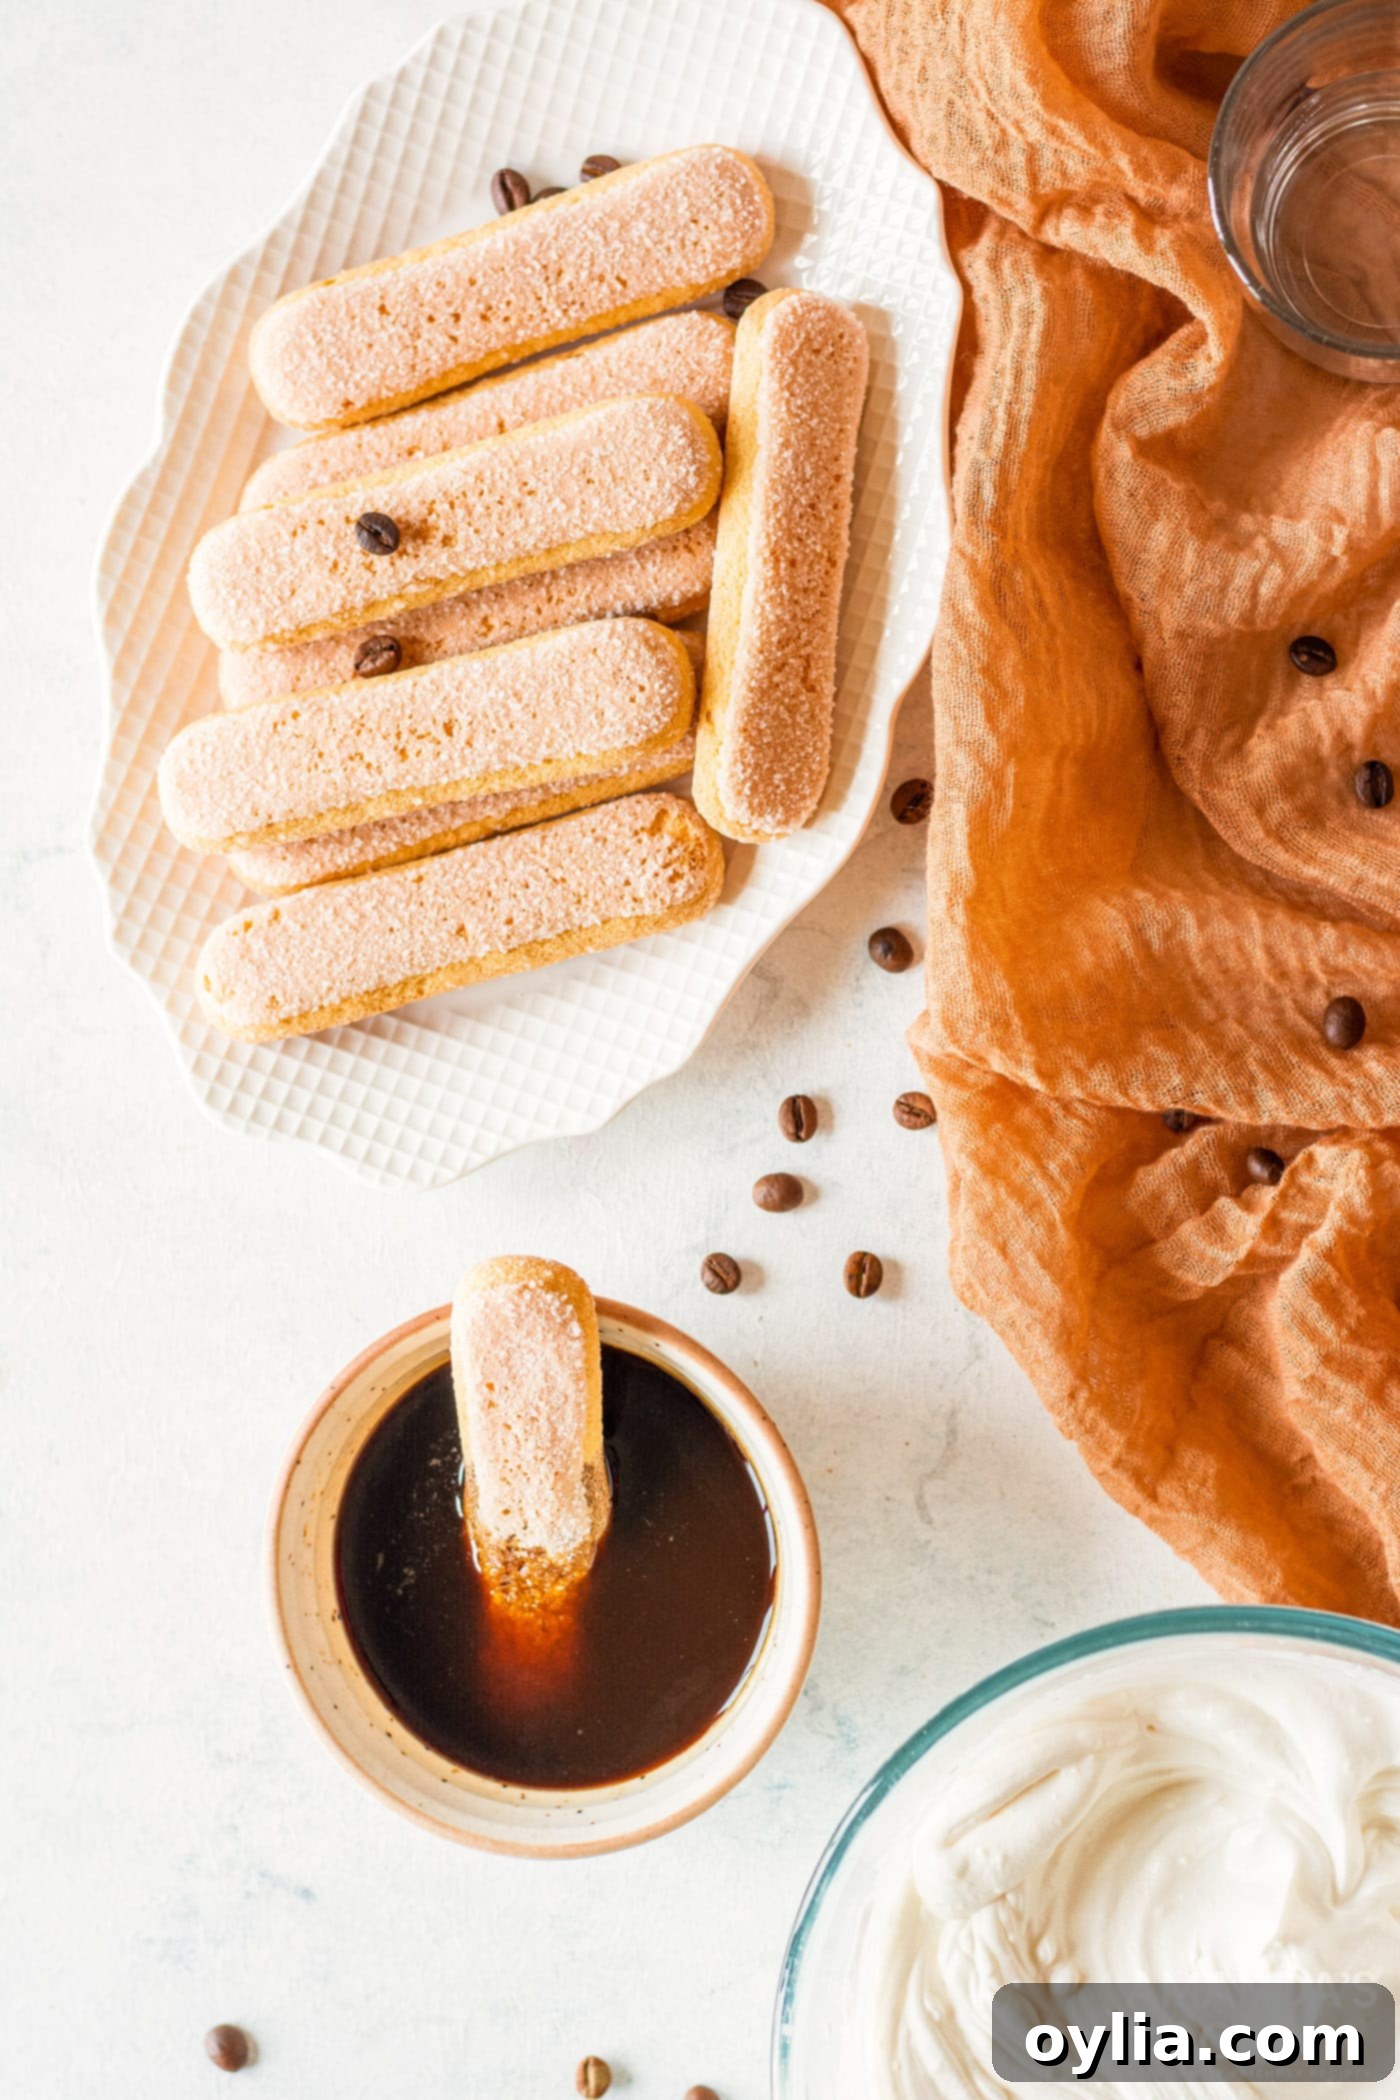
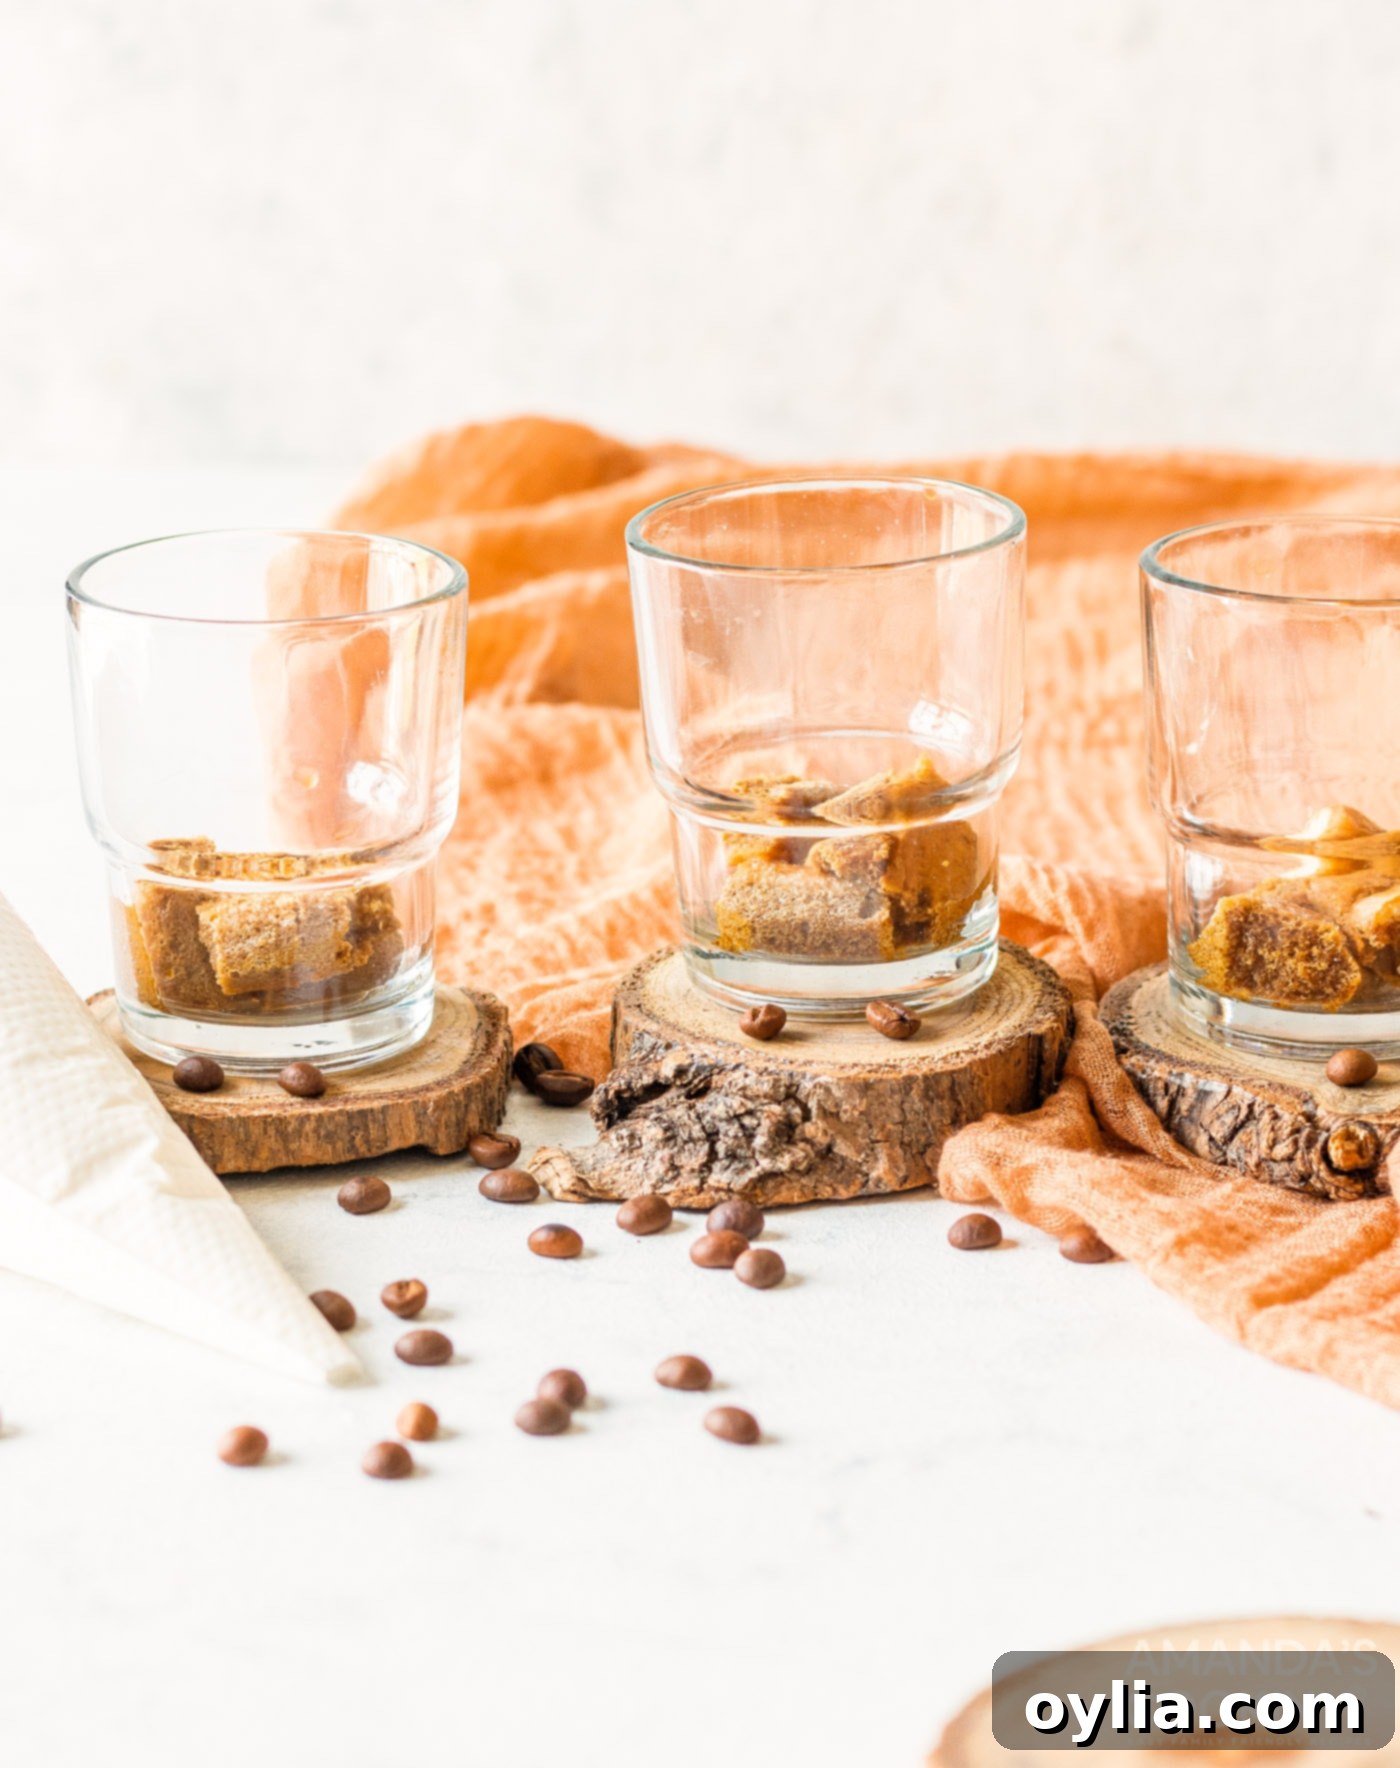
- Dip Ladyfingers and Begin Layering: Take your ladyfingers and quickly dip each one for about one second into the cooled espresso mixture. The goal is to soak them just enough to absorb the flavor without becoming overly saturated. Begin layering these espresso-soaked ladyfingers in your chosen serving bowls or glasses (4-5 oz glasses work perfectly). Break the ladyfingers into smaller pieces if necessary to fit your cups.


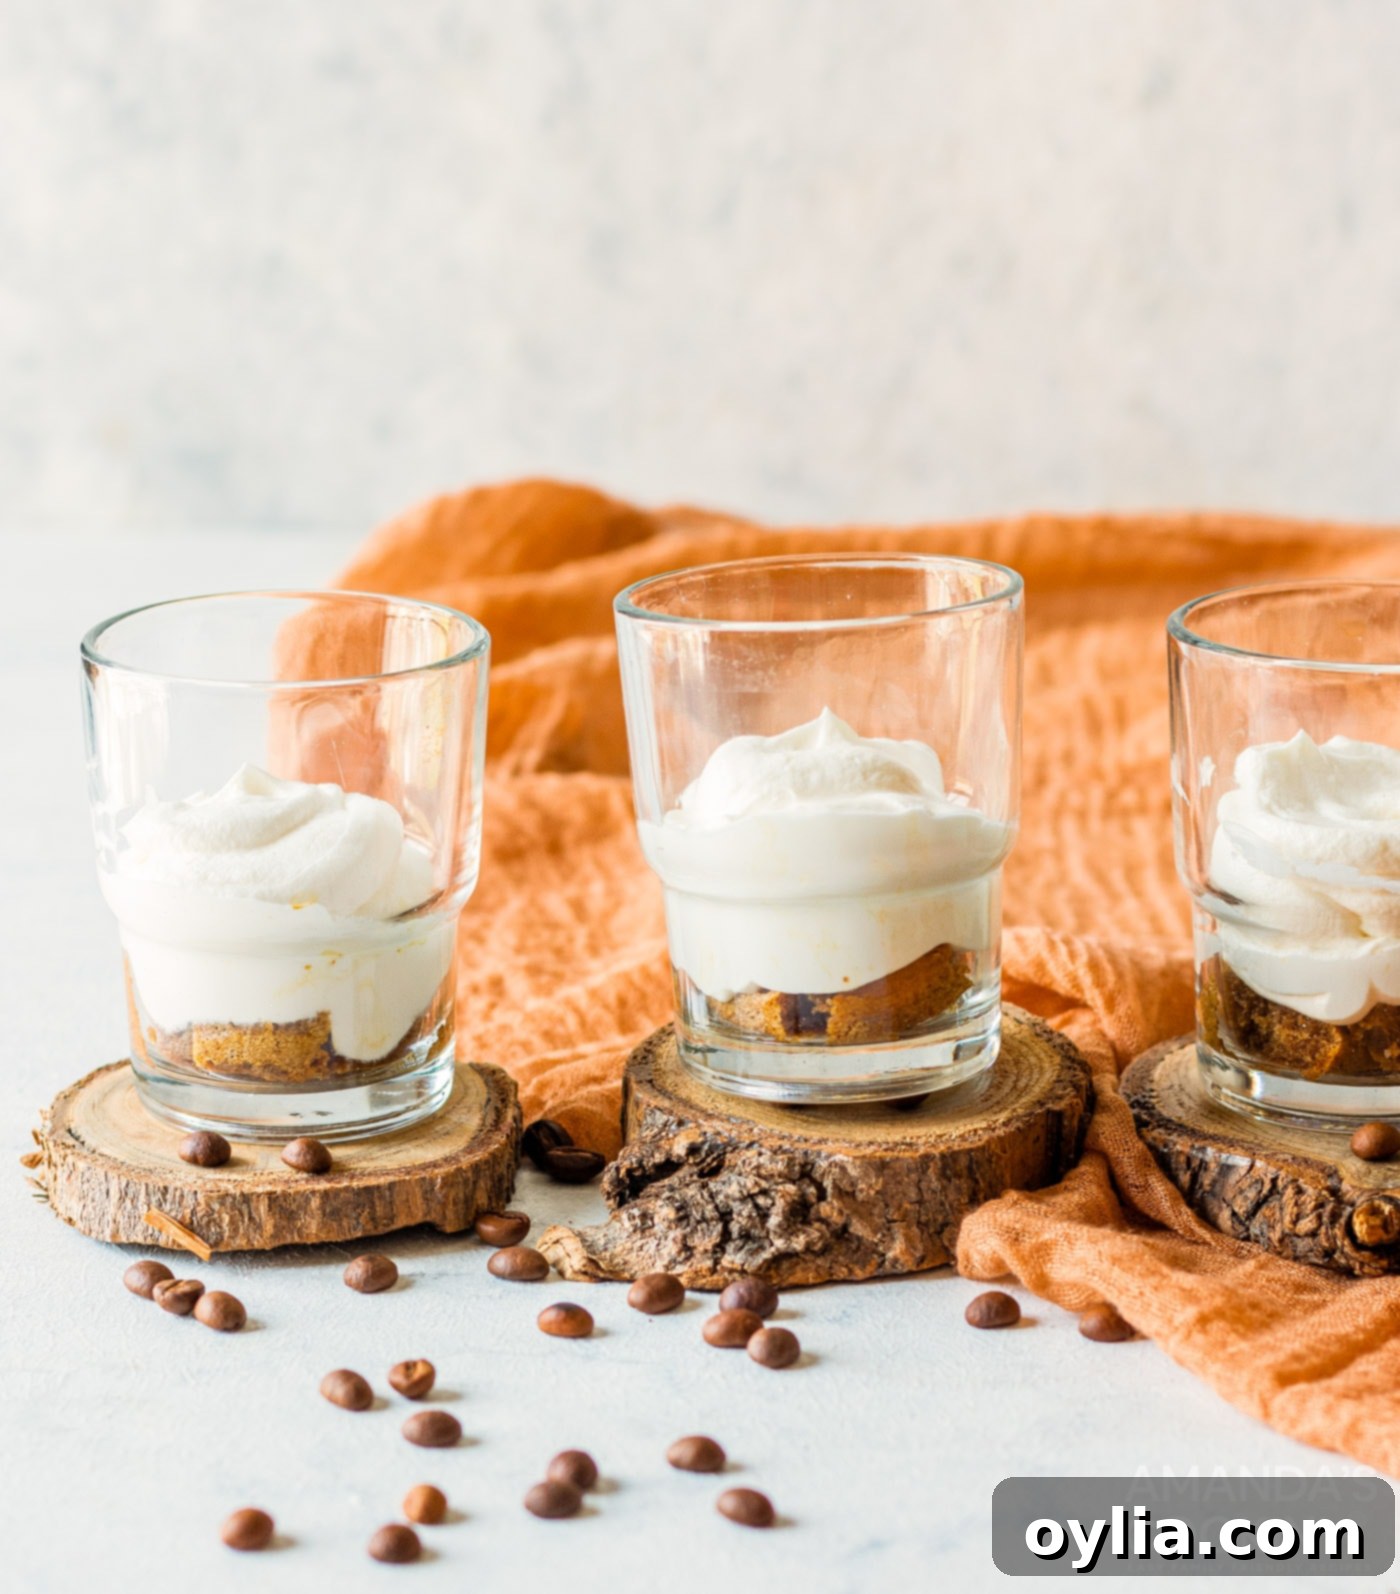
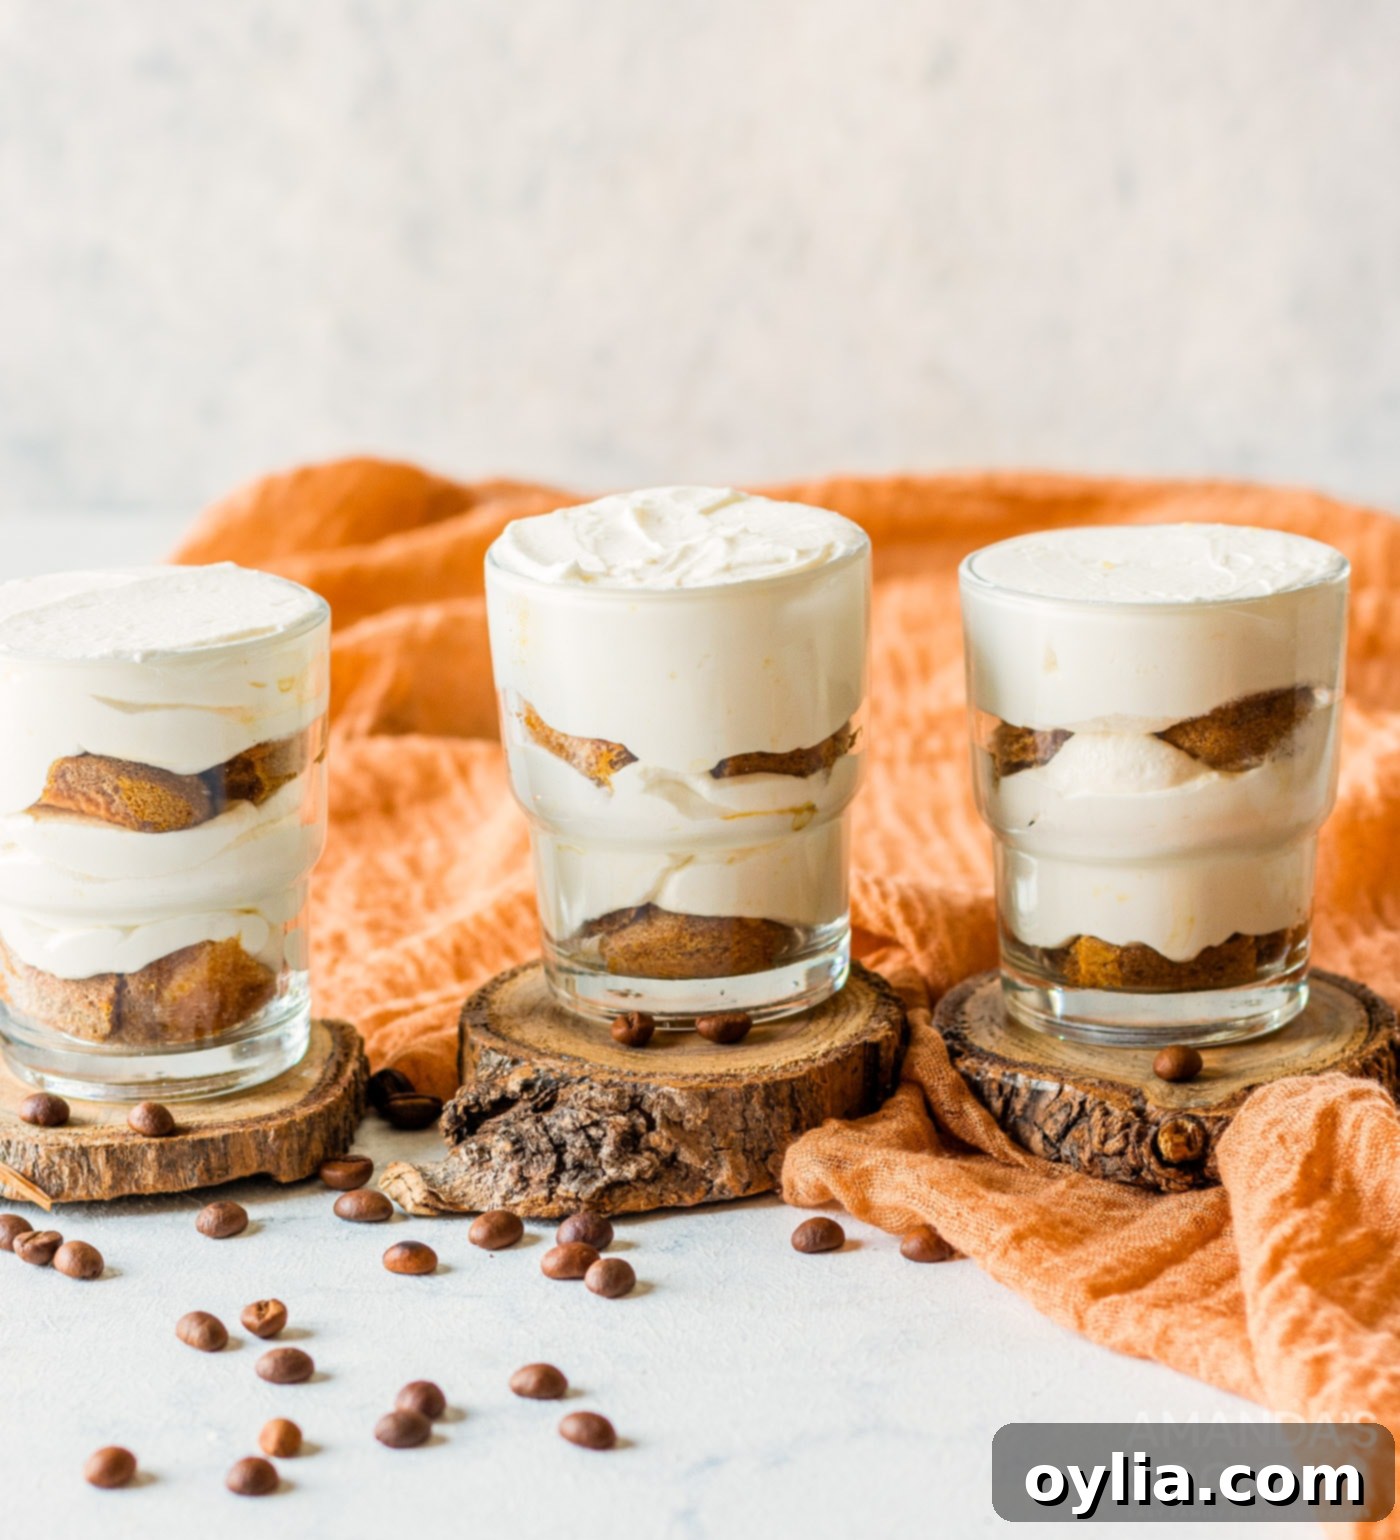
- Build Your Tiramisu Layers: Create your individual tiramisu by alternating layers: start with one layer of espresso-dipped ladyfingers at the bottom of each glass. Next, pipe or spoon a generous layer of the creamy mascarpone mixture over the ladyfingers. Repeat this process: another layer of dipped ladyfingers, followed by another layer of cream. Continue until your cups are full, ensuring the top layer is cream.


- Chill and Serve: Once all your cups are layered, cover them tightly with plastic wrap and chill them in the refrigerator for a minimum of 4 hours. Ideally, chill them overnight to allow the flavors to meld beautifully and the cream to set perfectly. Just before serving, generously dust each individual tiramisu with unsweetened cocoa powder for that iconic finish.
Frequently Asked Questions & Expert Tips for Tiramisu Success
To ensure your easy tiramisu recipe turns out perfectly every time, here are some invaluable tips and answers to common questions. These insights will help you master this delicious dessert, whether you’re a beginner or an experienced home chef.
Absolutely! A strong, dark roast coffee can be an excellent substitute for instant espresso powder. The key is to ensure it’s robust enough to impart a distinct coffee flavor to the ladyfingers. Brew it a bit stronger than usual if preferred. Most importantly, allow the brewed coffee to cool completely to room temperature before dipping the ladyfingers. Using warm or hot coffee will cause the ladyfingers to disintegrate, resulting in a soggy, unappealing texture.
Yes, making tiramisu ahead of time is highly recommended! The flavors actually deepen and meld beautifully as it chills, resulting in an even more delicious dessert. We suggest assembling the entire dessert one day in advance and storing it in the refrigerator. This allows the mascarpone cream to firm up nicely and the ladyfingers to fully absorb the espresso and cream flavors. Just remember to dust them with cocoa powder right before serving for the freshest look.
While I haven’t personally tried freezing these specific individual tiramisu cups, tiramisu generally freezes quite well. You can expect them to remain delicious for about 1-2 months in the freezer. To freeze, ensure they are in freezer-safe serving glasses or containers with airtight lids. When ready to enjoy, thaw them slowly in the refrigerator overnight. The texture might be slightly different than fresh, but they should still be a delightful treat.
Properly stored in an airtight container or covered tightly with plastic wrap, individual tiramisu will maintain its peak freshness for up to 2 days in the refrigerator. After this period, the texture of the ladyfingers might become too soft, and the cream mixture may start to lose some of its pristine consistency or even begin to separate. For the best flavor and texture, enjoy within two days of preparation.
Absolutely! For an adult twist, you can enhance the espresso dip with a touch of liqueur. Marsala wine is traditional, but Kahlúa (coffee liqueur), rum, or brandy are also popular choices. Add 1-2 tablespoons of your chosen liqueur to your cooled espresso mixture before dipping the ladyfingers. Adjust to your taste preferences for a more or less pronounced alcoholic flavor. This adds another layer of complexity and sophistication to your dessert.
While traditional ladyfingers (savoiardi) are highly recommended for their perfect texture and absorption, in a pinch, you can try substitutes. Sponge cake cut into strips or even a plain vanilla wafer might work. However, be aware that these alternatives will likely absorb the espresso differently and may alter the classic tiramisu texture. Dip them very briefly to avoid them becoming overly soggy. For the authentic experience, sourcing ladyfingers is always the best option.
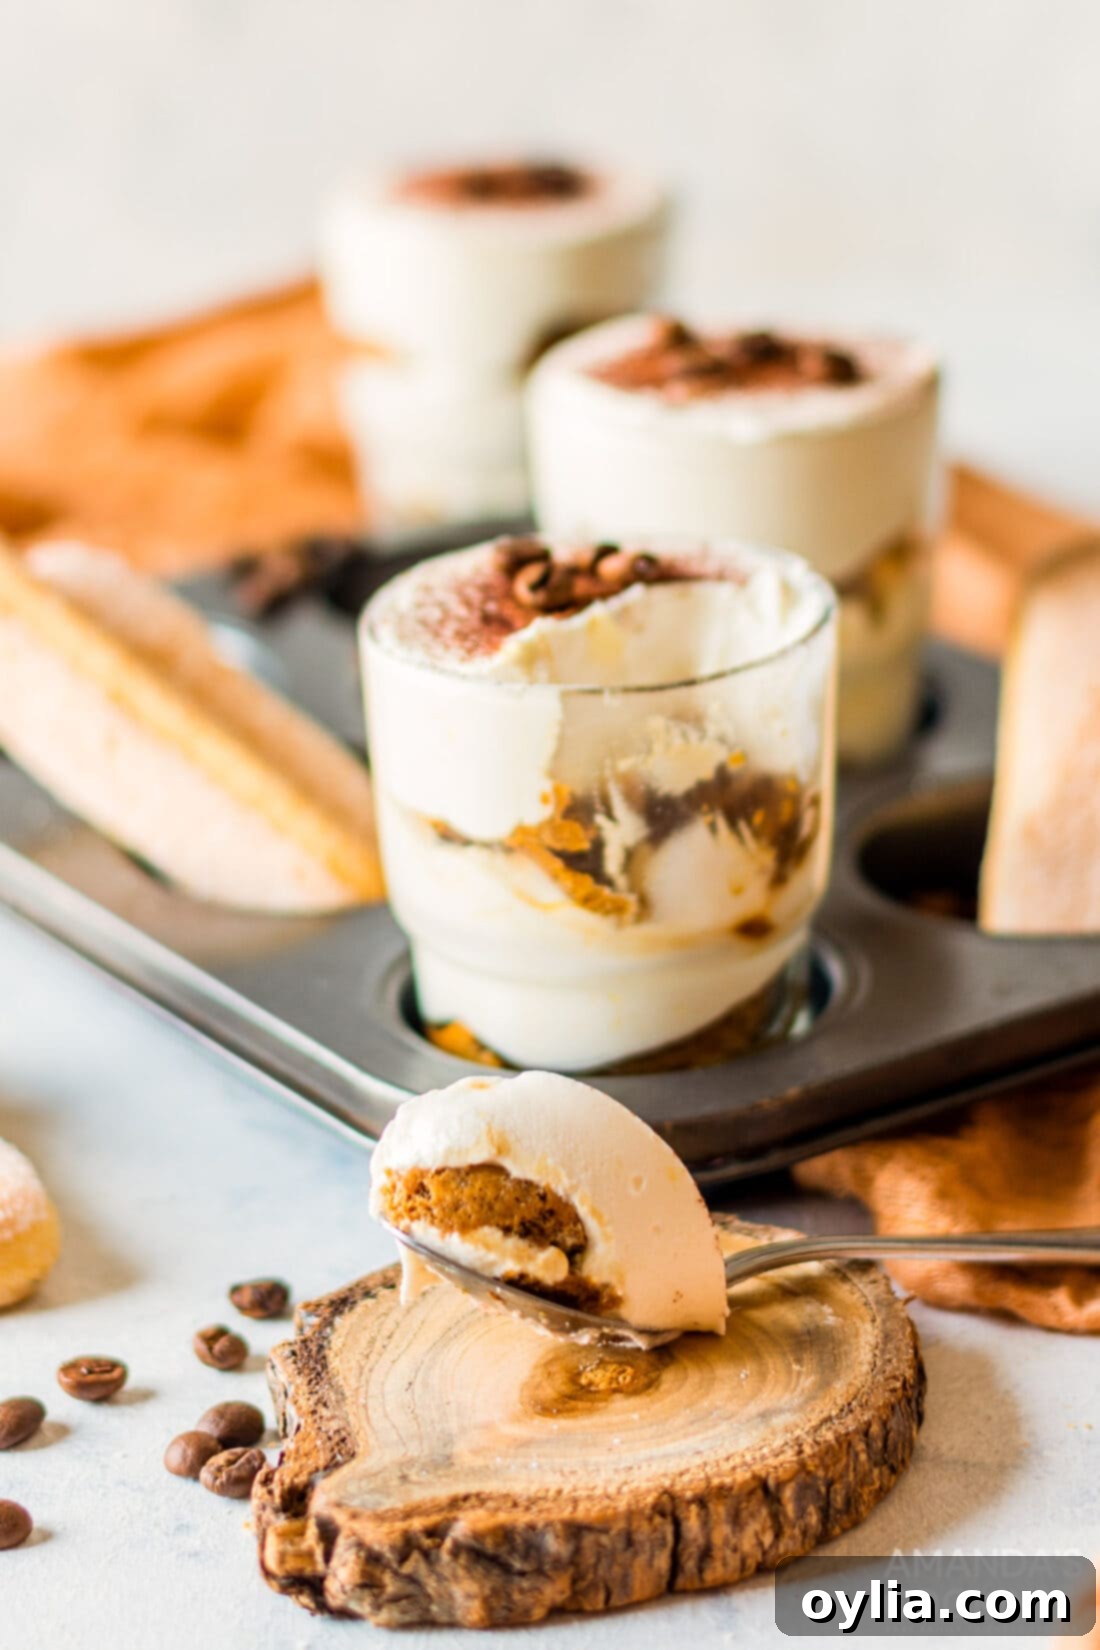
Elegant Serving Ideas for Your Tiramisu Cups
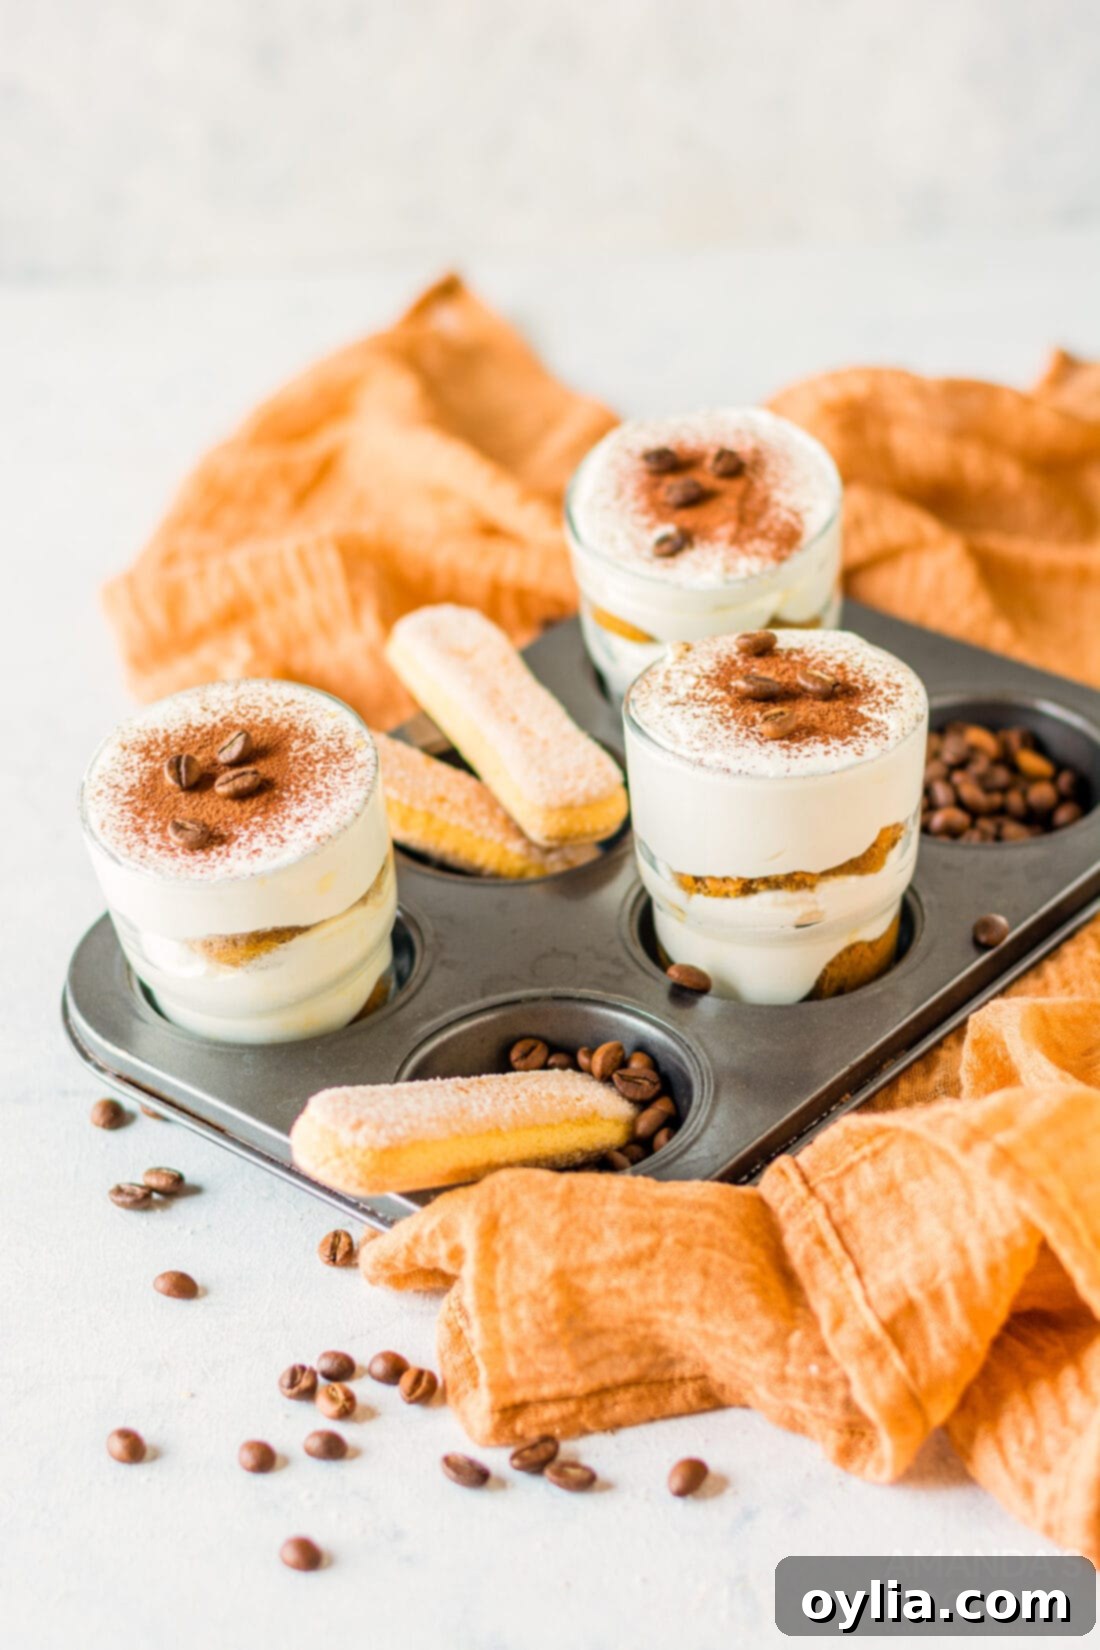
Presentation is key when serving these delightful individual tiramisu cups. Opt for clear 4-5oz glasses, small mason jars, or elegant ramekins to beautifully showcase the distinct layers of cream and coffee-soaked ladyfingers. This recipe yields four servings, but it can be easily doubled or tripled to accommodate larger gatherings, making it a fantastic choice for dinner parties, holidays, or any celebratory event where individual portions are appreciated.
Beyond a classic dusting of cocoa powder, consider these additional garnishing ideas to elevate your dessert: finely shaved dark chocolate, a few chocolate-covered espresso beans, or even a sprig of fresh mint can add a touch of sophistication. For those who enjoy extra indulgence, a dollop of fresh whipped topping provides a delightful contrast to the rich tiramisu. Pair these individual desserts with a freshly brewed cup of coffee or an after-dinner liqueur for a truly exquisite culinary experience.
Explore More Tiramisu Creations
If you’ve fallen in love with the classic flavors of tiramisu, you’ll be thrilled to discover our other creative variations. From cakes to cheesecakes, there’s a tiramisu for every craving:
- Tiramisu Cake
- Tiramisu Trifle
- Tiramisu Cheesecake
- Tiramisu Icebox Cake
- Bailey’s Tiramisu Parfaits
- Mason Jar Tiramisu Trifles
I love to bake and cook and share my kitchen experience with all of you! Remembering to come back each day can be tough, that’s why I offer a convenient newsletter every time a new recipe posts. Simply subscribe and start receiving your free daily recipes!
Individual Tiramisu Cups
IMPORTANT – There are often Frequently Asked Questions within the blog post that you may find helpful. Simply scroll back up to read them!
Print It
Pin It
Rate It
Save ItSaved!
Ingredients
- ½ cup heavy whipping cream
- ½ cup mascarpone cheese
- ½ tsp instant espresso powder for the mascarpone mixture
- ¼ cup sugar
- 1 tsp vanilla extract
- 1 Tbsp instant espresso powder to heat up in a cup
- 15 ladyfingers biscuits 15-20
- cocoa powder optional, for garnish
Things You’ll Need
-
Hand mixer
-
Mixing bowls
Before You Begin
- This recipe yields 4 individual tiramisus when using 4-5 oz serving glasses. Easily double or triple the ingredients to accommodate more guests for larger gatherings.
- For optimal flavor and texture, prepare these tiramisu cups at least one day in advance. Chilling overnight allows the flavors to fully develop and the mascarpone cream to set perfectly.
Instructions
-
In a large, chilled bowl, add the heavy cream and whip it up using a hand mixer until stiff peaks form. Set aside.
-
In another bowl, combine the room-temperature mascarpone cheese, ½ tsp instant espresso powder, sugar, and vanilla extract. Mix well until smooth.
-
Gently fold the mascarpone mixture into the whipped heavy cream using a spatula. Then, briefly use a hand mixer to ensure everything is smoothly combined and holds its shape. Transfer to a Ziploc bag or icing bag and set aside.
-
Heat half a cup of water, then dissolve 1 tbsp of instant espresso powder in it. Allow the espresso mixture to cool completely to room temperature before using.
-
Dip each ladyfinger for about one second in the cooled espresso. Begin layering in your chosen serving bowls: one layer of espresso-dipped ladyfingers, followed by a layer of mascarpone cream, then repeat for a second layer. Break ladyfingers if needed to fit.
-
Chill the assembled tiramisu cups for a minimum of 4 hours, or preferably overnight, to allow flavors to meld and the dessert to firm up. Dust with cocoa powder just before serving.
Nutrition
The recipes on this blog are tested with a conventional gas oven and gas stovetop. It’s important to note that some ovens, especially as they age, can cook and bake inconsistently. Using an inexpensive oven thermometer can assure you that your oven is truly heating to the proper temperature. If you use a toaster oven or countertop oven, please keep in mind that they may not distribute heat the same as a conventional full sized oven and you may need to adjust your cooking/baking times. In the case of recipes made with a pressure cooker, air fryer, slow cooker, or other appliance, a link to the appliances we use is listed within each respective recipe. For baking recipes where measurements are given by weight, please note that results may not be the same if cups are used instead, and we can’t guarantee success with that method.
