Mastering Brown Butter Frosting: Your Guide to Rich, Nutty, and Velvety Smooth Perfection
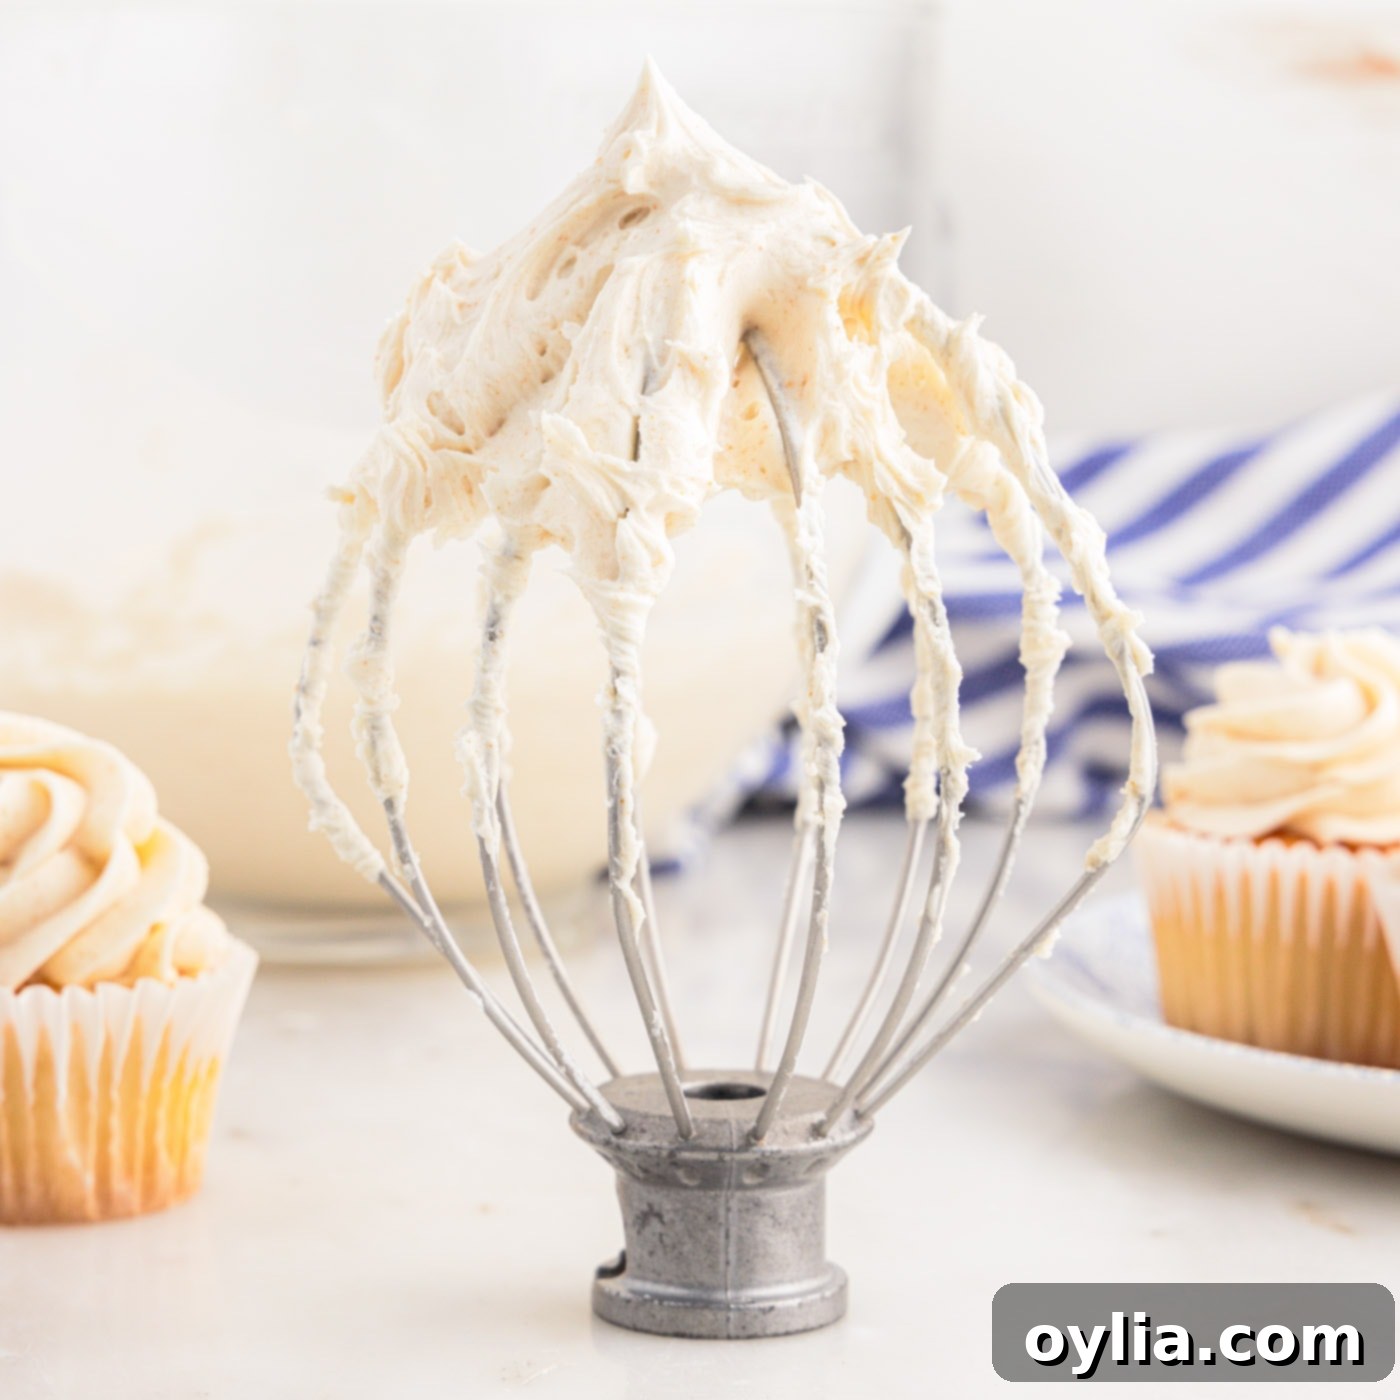
Brown butter frosting is a true culinary delight, capable of transforming ordinary baked goods into extraordinary treats. Its signature smooth and creamy texture, coupled with an irresistible toasty, caramel-like, and nutty flavor, sets it apart from traditional frostings. The best part? This incredible frosting requires just four simple ingredients to whip up, making it an accessible luxury for any home baker.
Why This Brown Butter Frosting Recipe is a Game-Changer
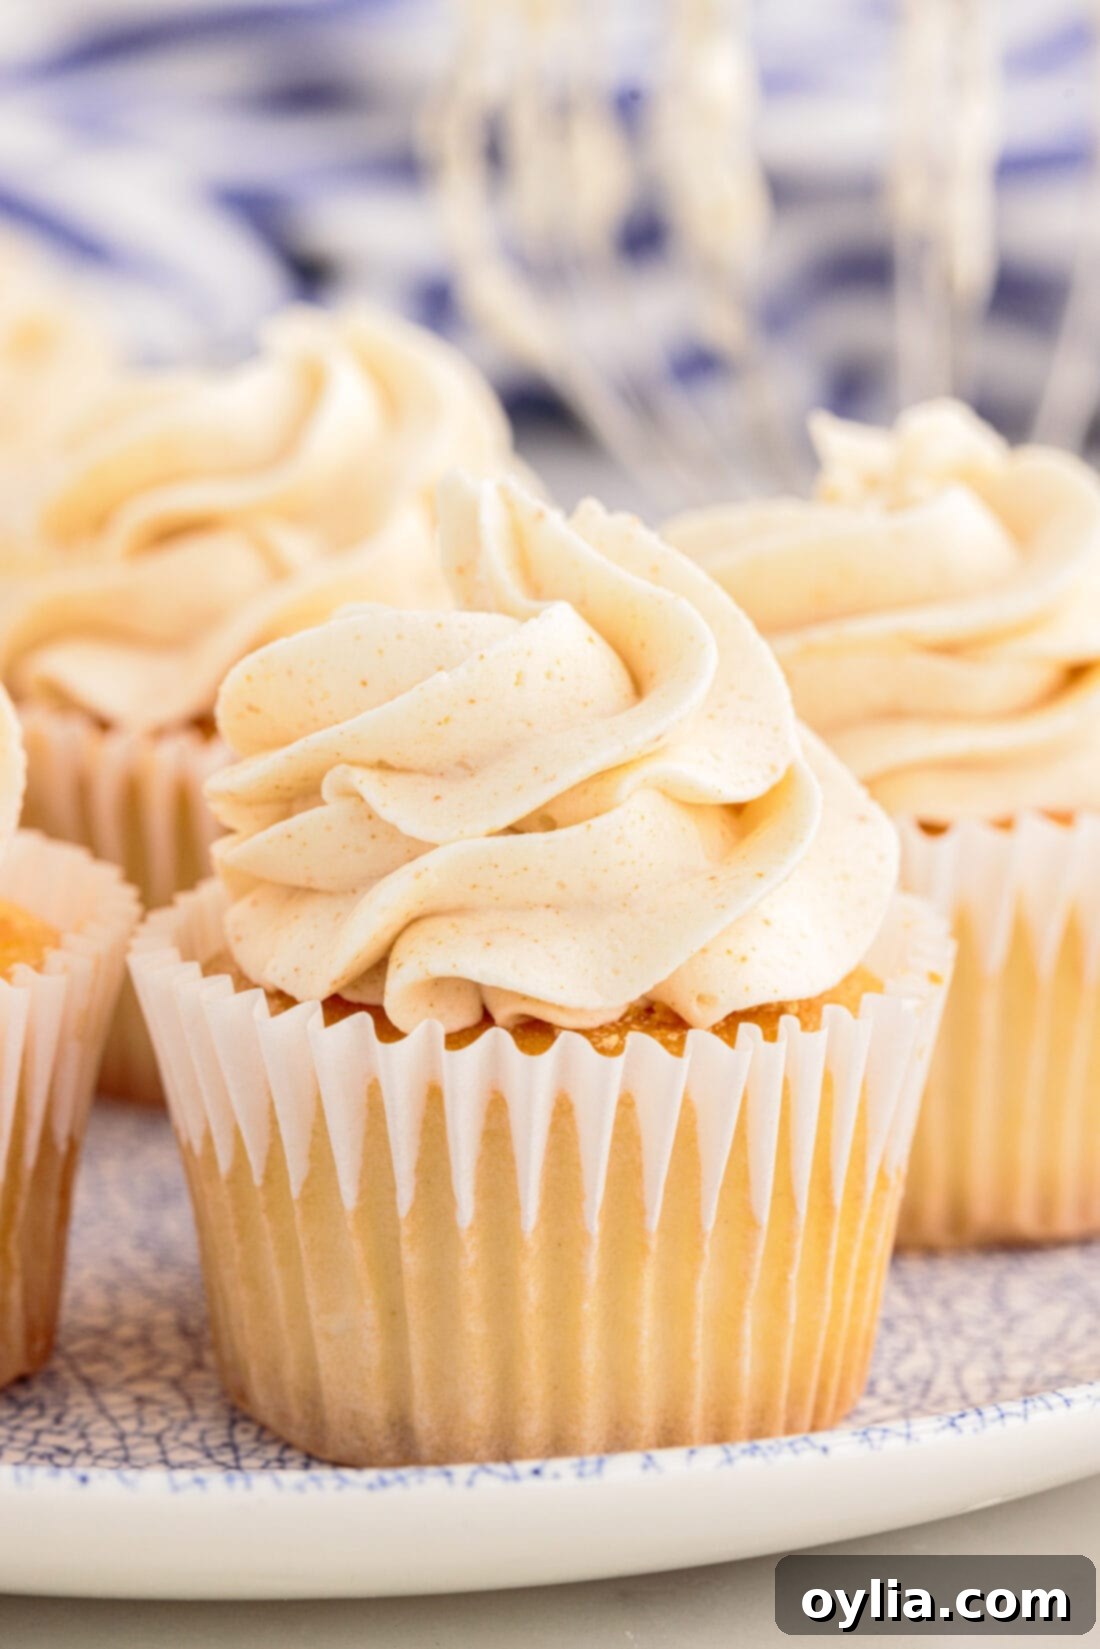
This brown butter frosting recipe is truly divine, offering a unique twist on classic dessert toppings. What makes it so special is the depth of flavor achieved by simply browning butter. As butter cooks, its milk solids toast, creating a rich, nutty aroma and a subtly sweet, caramelized taste that’s simply irresistible. This transformation elevates the humble butter into a flavor powerhouse, providing a complexity that a standard frosting simply can’t match.
Unlike many elaborate recipes, this one remains incredibly simple, requiring just four core ingredients: butter, vanilla, powdered sugar, and heavy whipping cream. This minimalist approach ensures that the distinct brown butter flavor shines through, unmasked by a long list of competing tastes. The result is a creamy, smooth frosting that not only tastes amazing but is also incredibly versatile. You can effortlessly spread or pipe it onto cupcakes, cakes, and brownies for a professional finish. For a lighter touch, thin it out with a little extra cream to create a delectable glaze perfect for donuts, bundt cakes, croissants, or even a simple slice of banana bread. Its adaptability means this one recipe can enhance a wide range of desserts, making it a must-have in your baking repertoire.
Essential Ingredients for Brown Butter Frosting
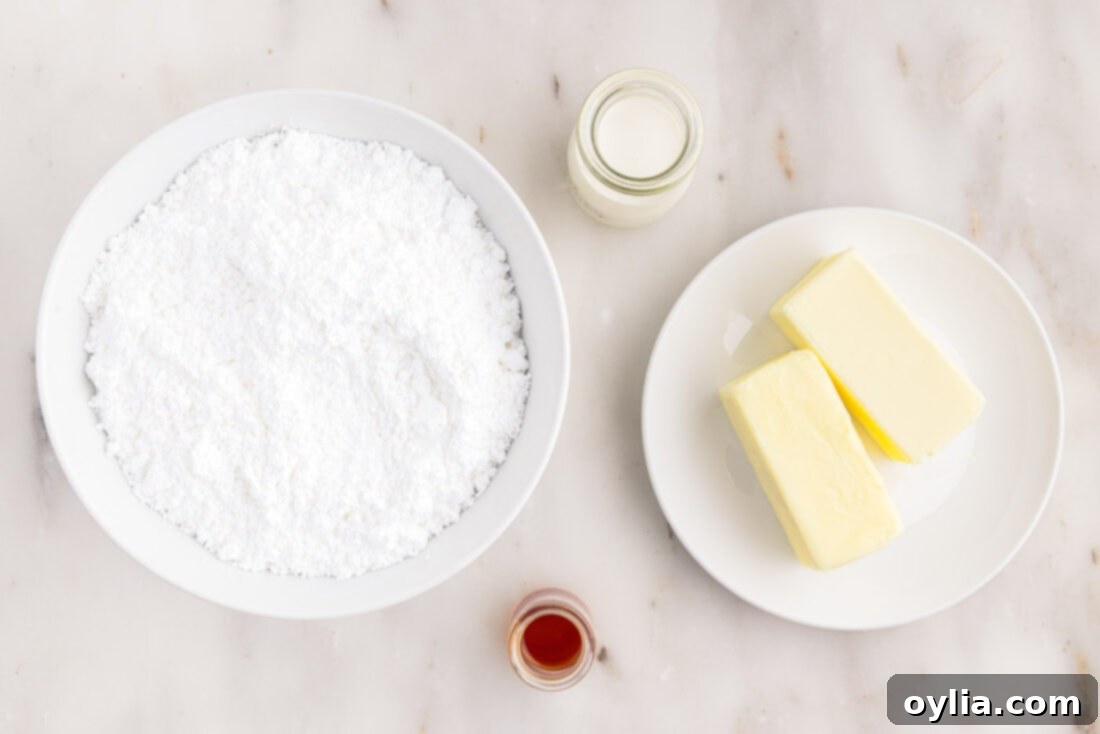
Creating this irresistible brown butter frosting is straightforward with just a few key ingredients. You’ll need high-quality butter to achieve that signature nutty flavor, pure vanilla extract for warmth, finely sifted powdered sugar for sweetness and structure, and heavy whipping cream to achieve the perfect creamy consistency. Each component plays a crucial role in developing the rich taste and velvety texture of this decadent frosting.
For precise measurements, a comprehensive ingredient list, and detailed step-by-step instructions, be sure to refer to the printable recipe card located at the conclusion of this article.
Ingredient Spotlight & Expert Substitution Tips
Understanding each ingredient is key to perfecting your brown butter frosting. Here’s a closer look at what you’ll need and how to make smart substitutions:
BUTTER – This is the star of the show! You can use either unsalted or salted butter for this recipe. If you opt for unsalted butter, adding a small pinch of fine sea salt to your finished frosting can help balance the sweetness and enhance the rich, caramelized notes from the browned butter. The most crucial step when preparing the browned butter for frosting is to ensure it cools completely to room temperature. It needs to solidify but retain a soft, pliable consistency, similar to butter that has been left out on the counter. If you incorporate warm or melted browned butter into your powdered sugar, you’ll end up with a greasy, lumpy, and difficult-to-work-with frosting. Patience is truly a virtue here – allow ample time for the butter to cool and firm up. Once solidified, it should be creamy enough to whip.
POWDERED SUGAR – Also known as confectioners’ sugar or icing sugar, this finely milled sugar is essential for achieving a smooth, lump-free frosting. Always sift your powdered sugar before adding it to the mixture. This step is vital for removing any clumps that may have formed in the bag, ensuring your frosting is perfectly silky. Sifting also incorporates air, contributing to a lighter, fluffier texture.
VANILLA EXTRACT – A good quality vanilla extract is non-negotiable for elevating the flavor profile of your frosting. It complements the nutty, caramel notes of the brown butter beautifully. For an even richer, more complex taste, consider using vanilla bean paste, which adds tiny specks of vanilla bean for a gourmet touch. Avoid imitation vanilla if possible, as its flavor can be overpowering and artificial.
HEAVY CREAM – Heavy whipping cream provides the necessary liquid to bring the frosting together into a smooth, pipeable consistency. Its high fat content also contributes to the frosting’s luxurious creaminess. If heavy cream isn’t available, or if you prefer a slightly lighter frosting, you can substitute it with whole milk or half-and-half. However, keep in mind that milk is thinner, so you will likely need less of it to achieve the desired consistency. Add it very slowly, a teaspoon at a time, to avoid thinning the frosting too much. Using milk might result in a slightly less rich frosting, but it will still be delicious.
Crafting the Perfect Brown Butter Frosting: A Step-by-Step Guide
These step by step photos and instructions are here to help you visualize how to make this recipe. You can Jump to Recipe to get the printable version of this recipe, complete with measurements and instructions at the bottom.
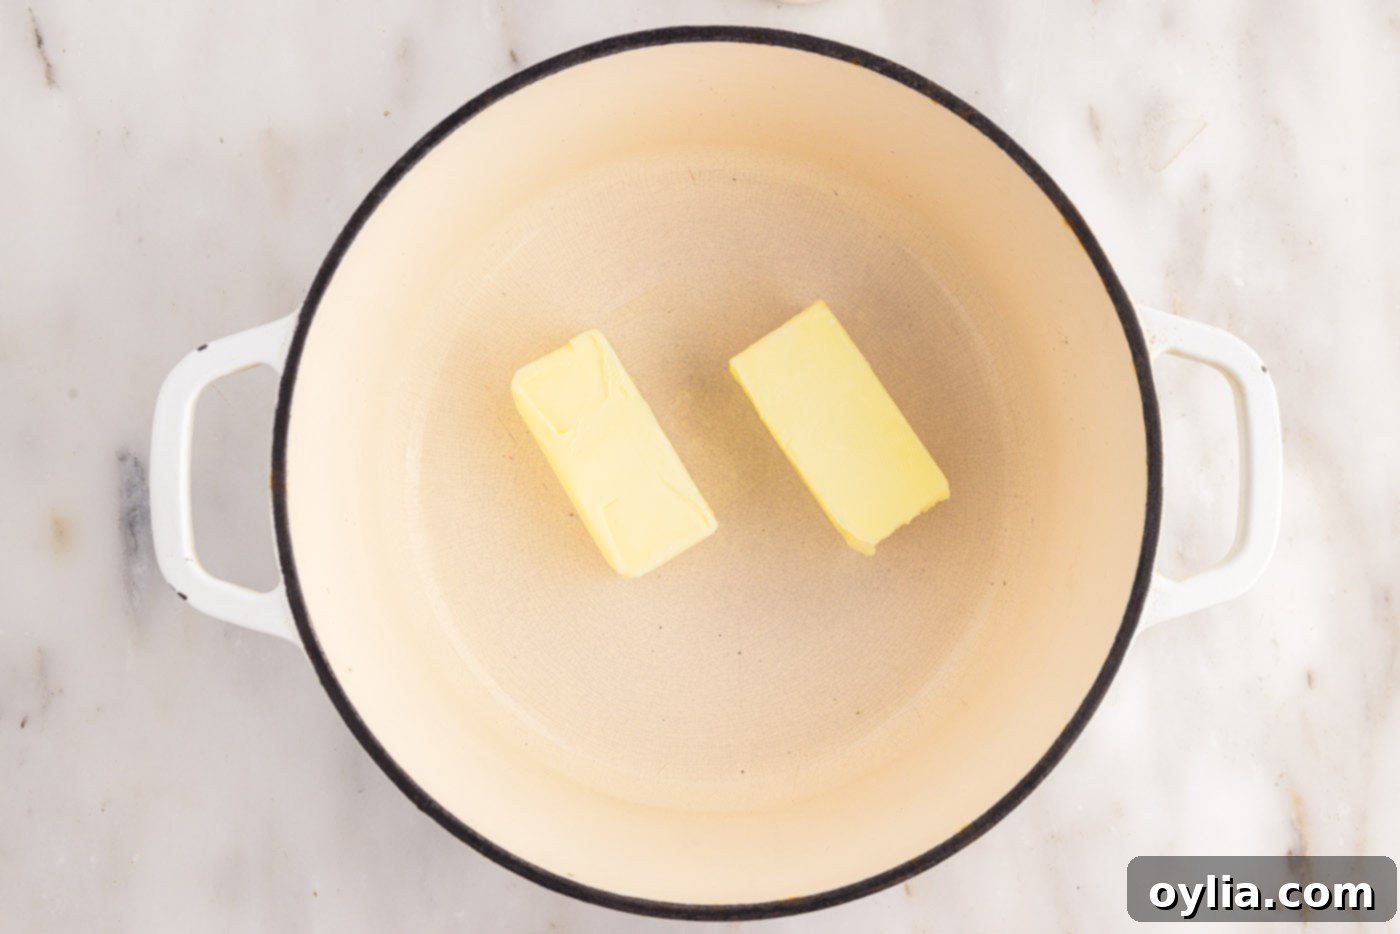
- In a large saucepan or skillet, melt the butter over medium heat until it is fully liquefied. Using a light-colored pan can help you better observe the color changes as the butter browns.
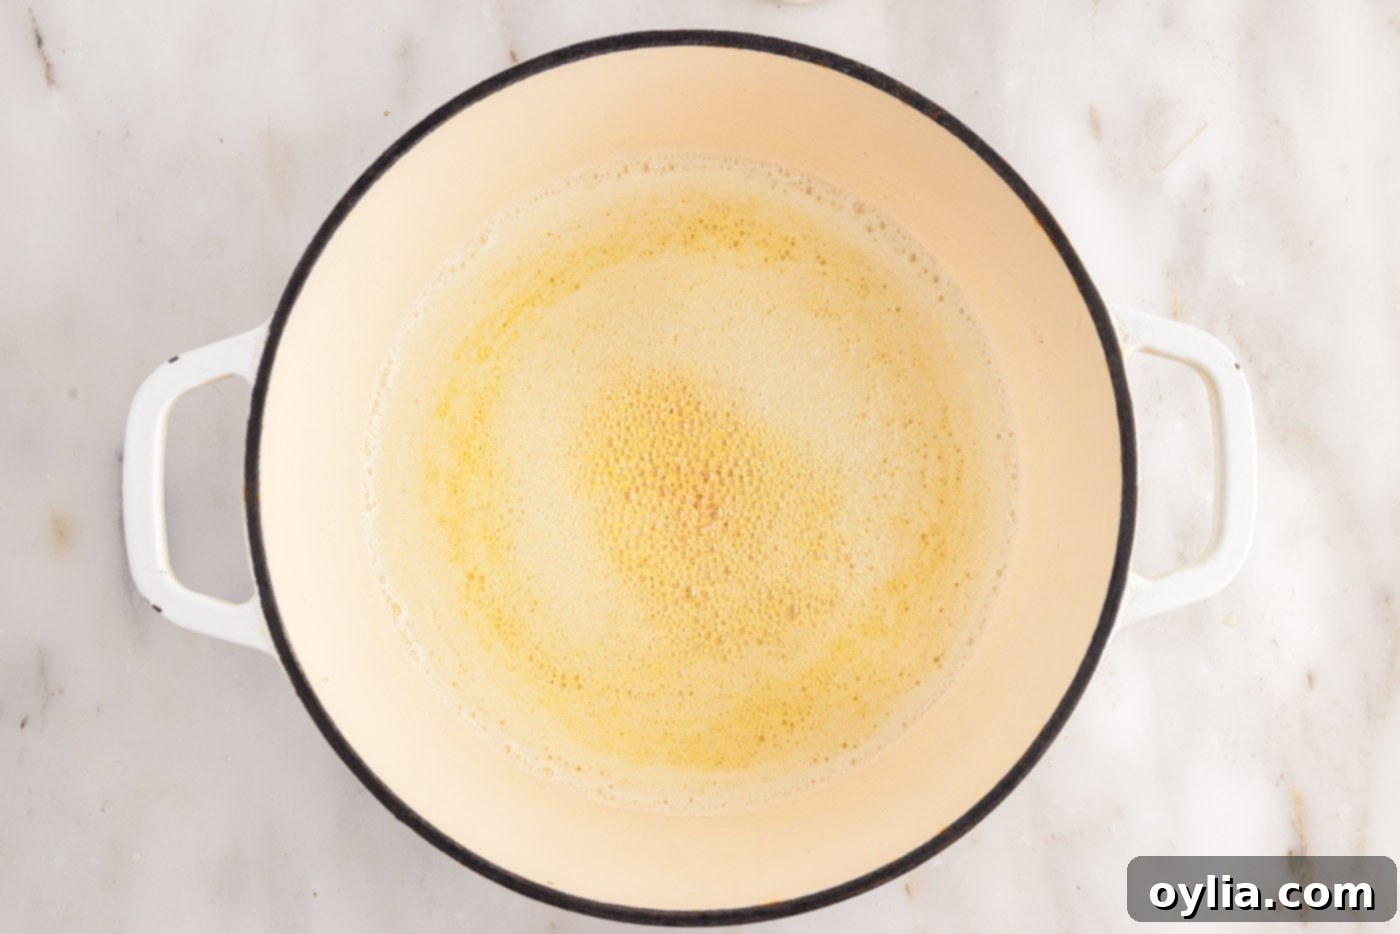
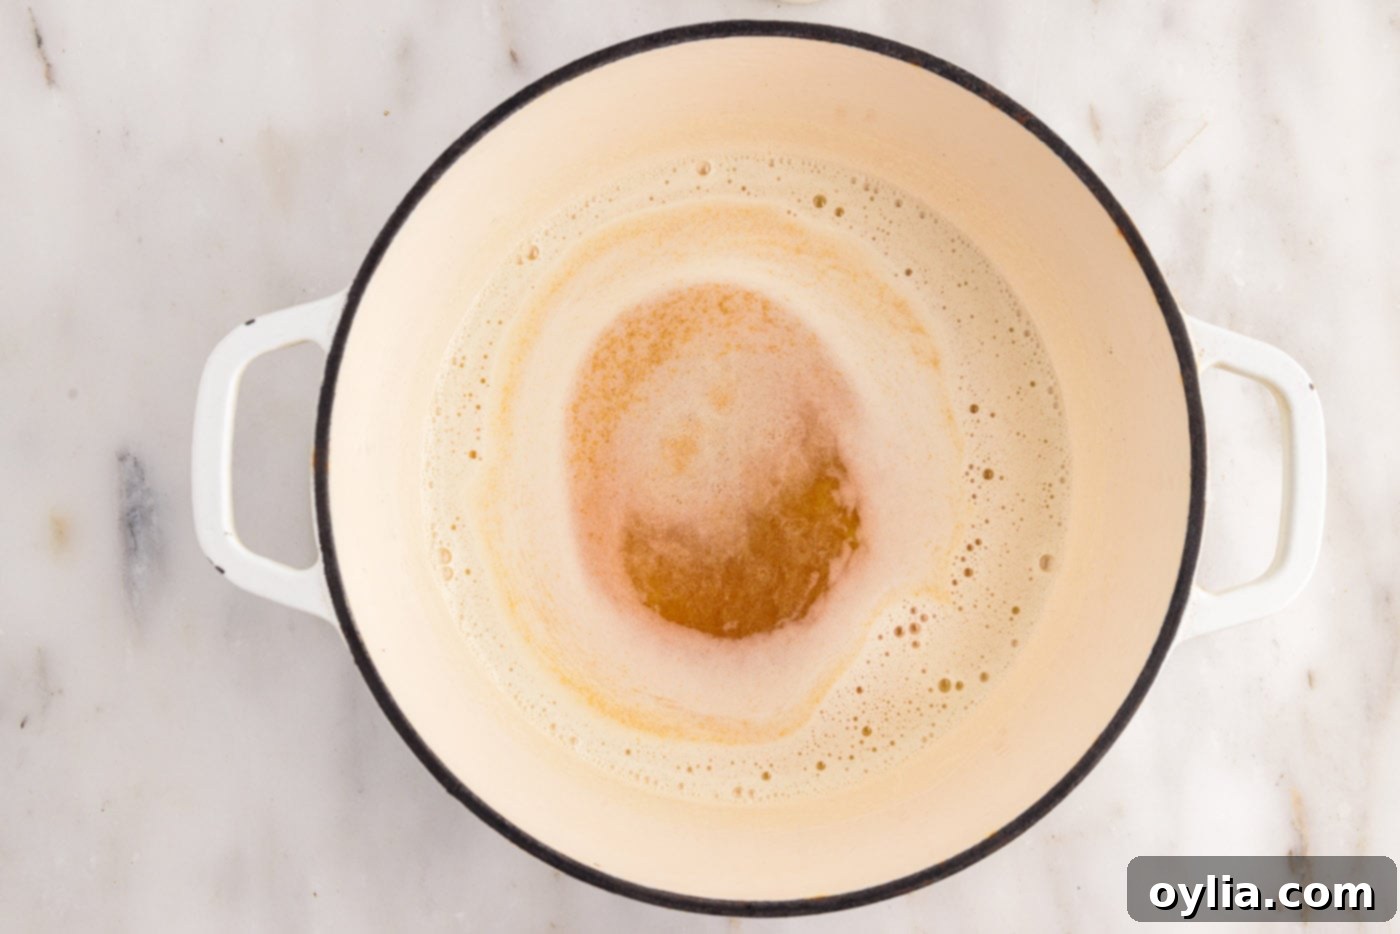
- Begin by stirring the butter constantly or swirling the pan gently. Continue this process until the butter starts to simmer. You’ll notice the bubbles gradually getting smaller, eventually forming a delicate foam on top of the melted butter. Once this foam appears, continue cooking for just a few more seconds. Keep a close eye on the bottom of the pan; you’re looking for tiny caramelized milk solids turning a beautiful golden brown. This usually takes about 5-8 minutes. The key is to watch it closely, as brown butter can quickly turn into burnt butter.
EXPERT TIP – To speed up the browning process and ensure even cooking, use a larger saucepan or skillet. This allows the melted butter to spread into a thin layer, which helps the milk solids toast uniformly. As soon as you see those golden-brown specks and smell the nutty aroma, remove the brown butter from the heat immediately. It will continue to cook slightly from residual heat, and leaving it on the stove for too long will result in a burnt, bitter taste. Scrape all the flavorful brown bits into your cooling bowl.


- Carefully remove the saucepan from the heat and transfer the hot brown butter, including all the delightful browned bits, into a heat-safe bowl. This stops the cooking process and prevents it from burning.
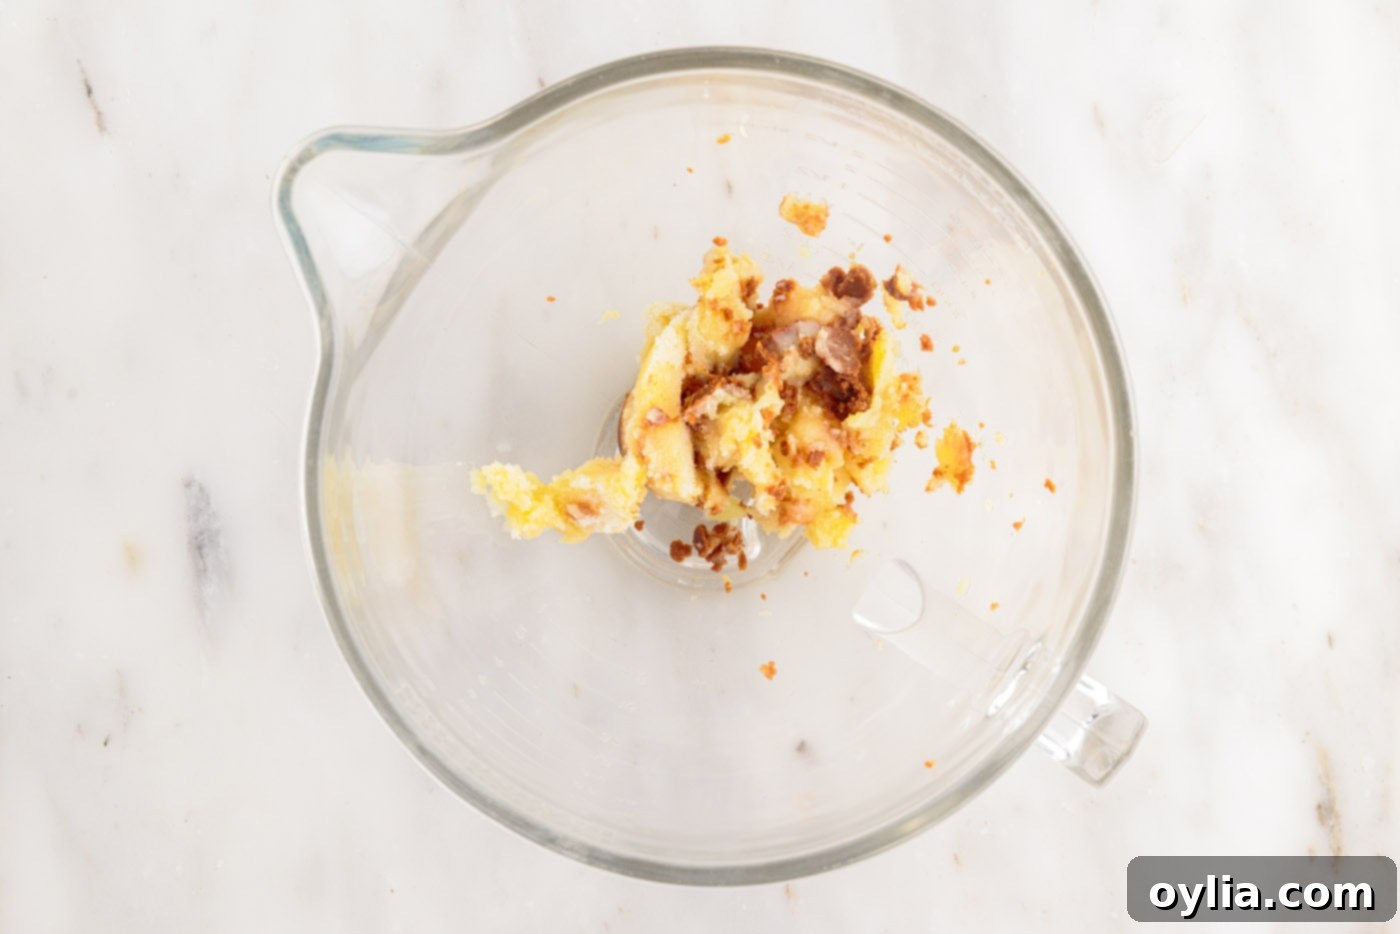
- Allow the brown butter to cool completely until it solidifies. At room temperature, this typically takes about an hour. If you’re short on time, you can place the bowl in the refrigerator for approximately 30 minutes, checking periodically. The goal is for the butter to be firm but still soft enough to yield to pressure, much like softened sticks of butter. It should not be rock hard.
- Once cooled and solidified, transfer the brown butter to the bowl of a stand mixer fitted with the whisk attachment (or use a hand mixer).

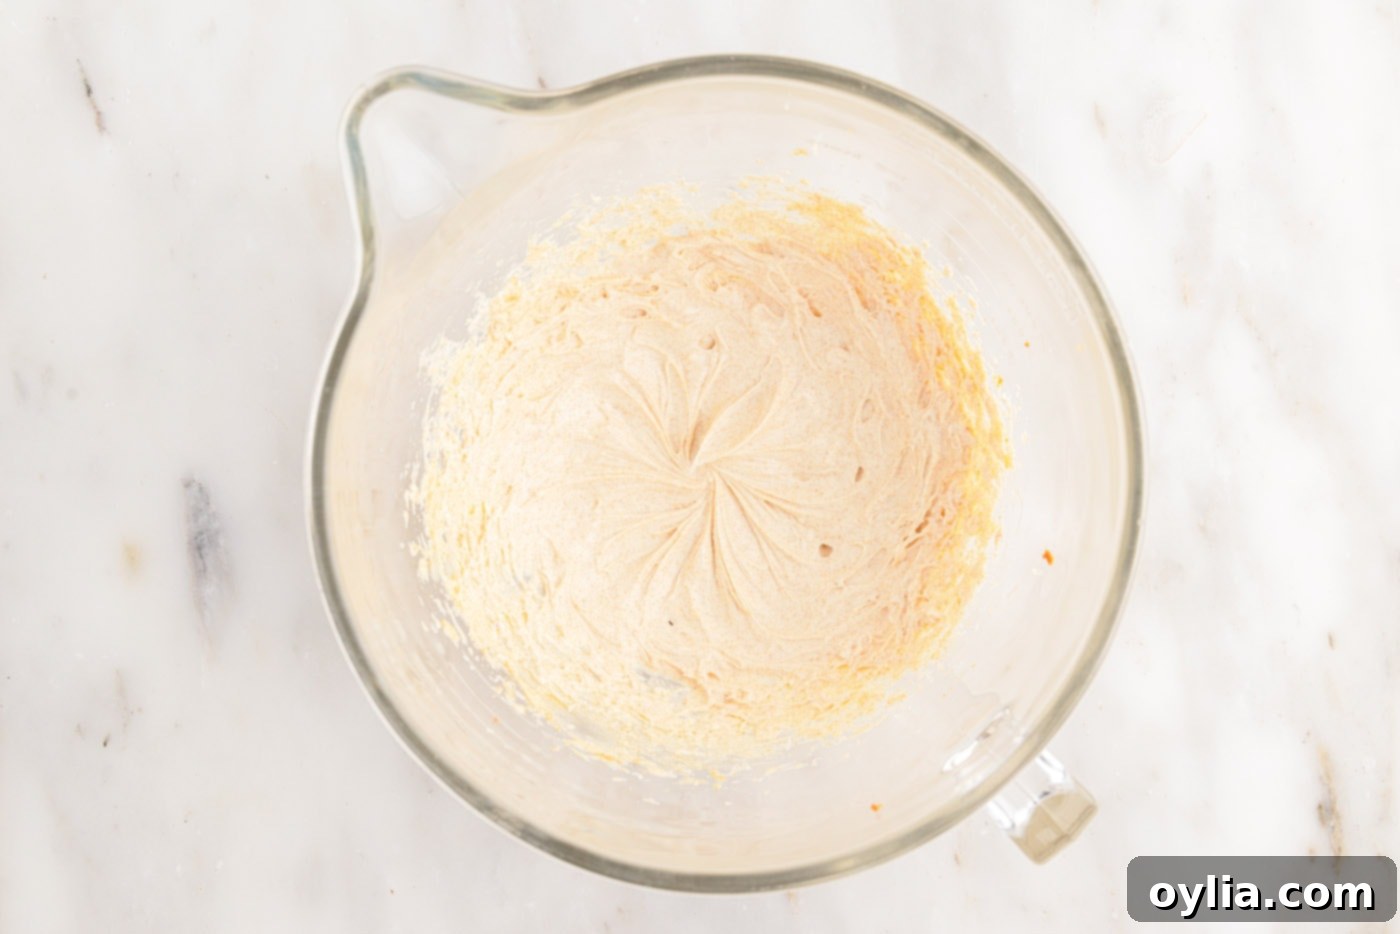
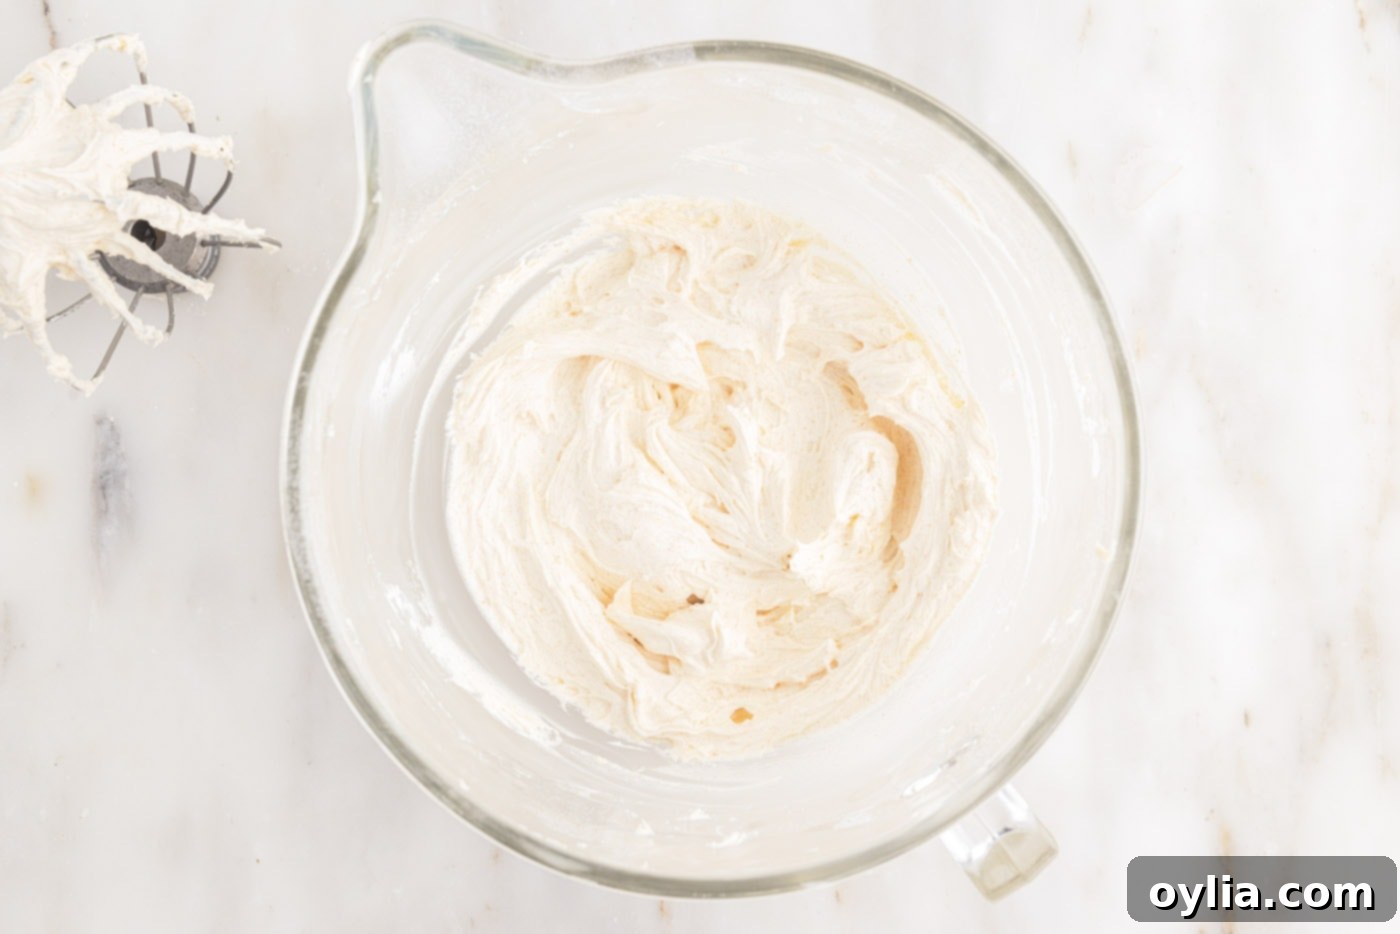
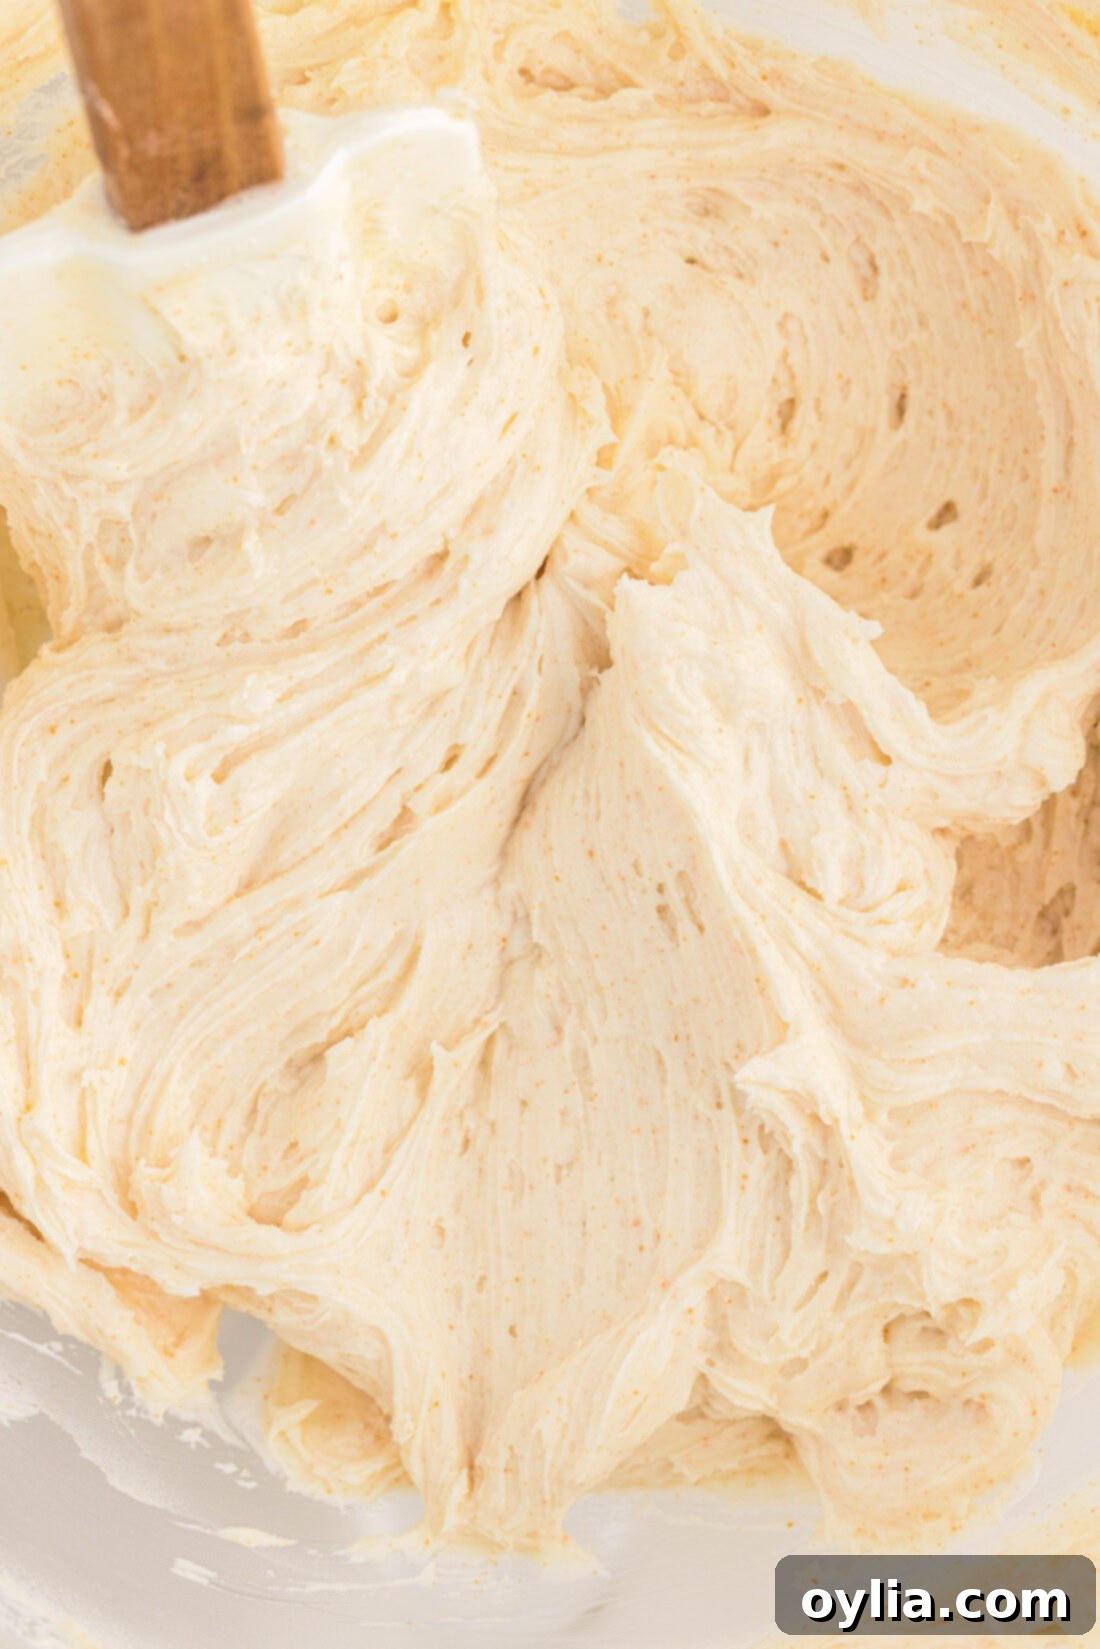
- Using the whisk attachment, beat the cooled brown butter on medium-high speed until it becomes light, smooth, and noticeably creamy. This usually takes a few minutes and incorporates air, making the frosting fluffy. Ensure no lumps remain.

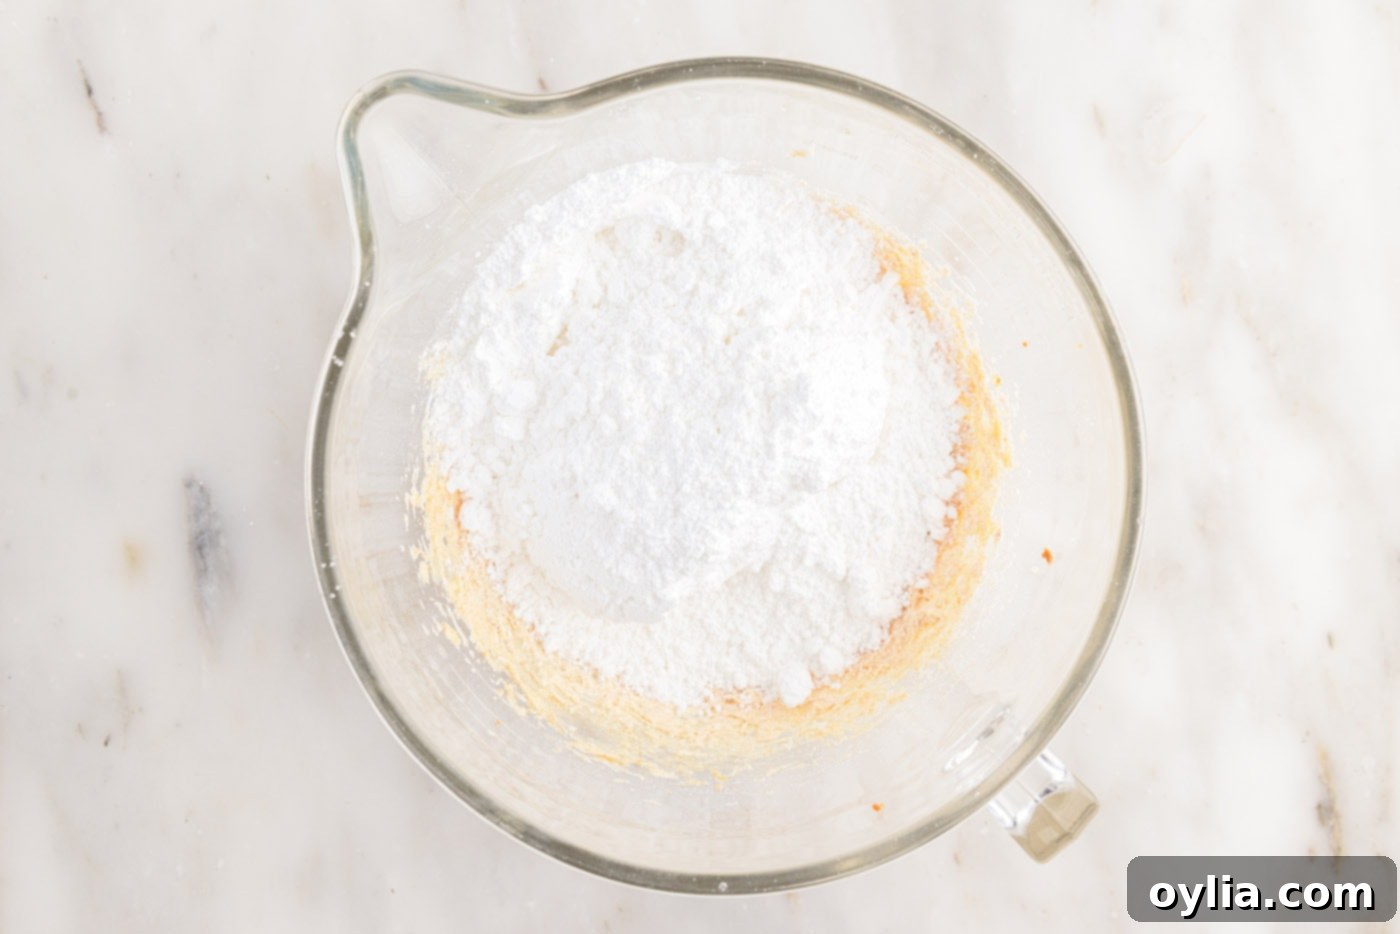
- Gradually add the sifted powdered sugar to the whipped brown butter. Begin beating on a very low speed to prevent a cloud of sugar from engulfing your kitchen, then slowly increase the speed. Continue mixing until the powdered sugar is fully incorporated into the butter. At this stage, the mixture will appear crumbly and thick.

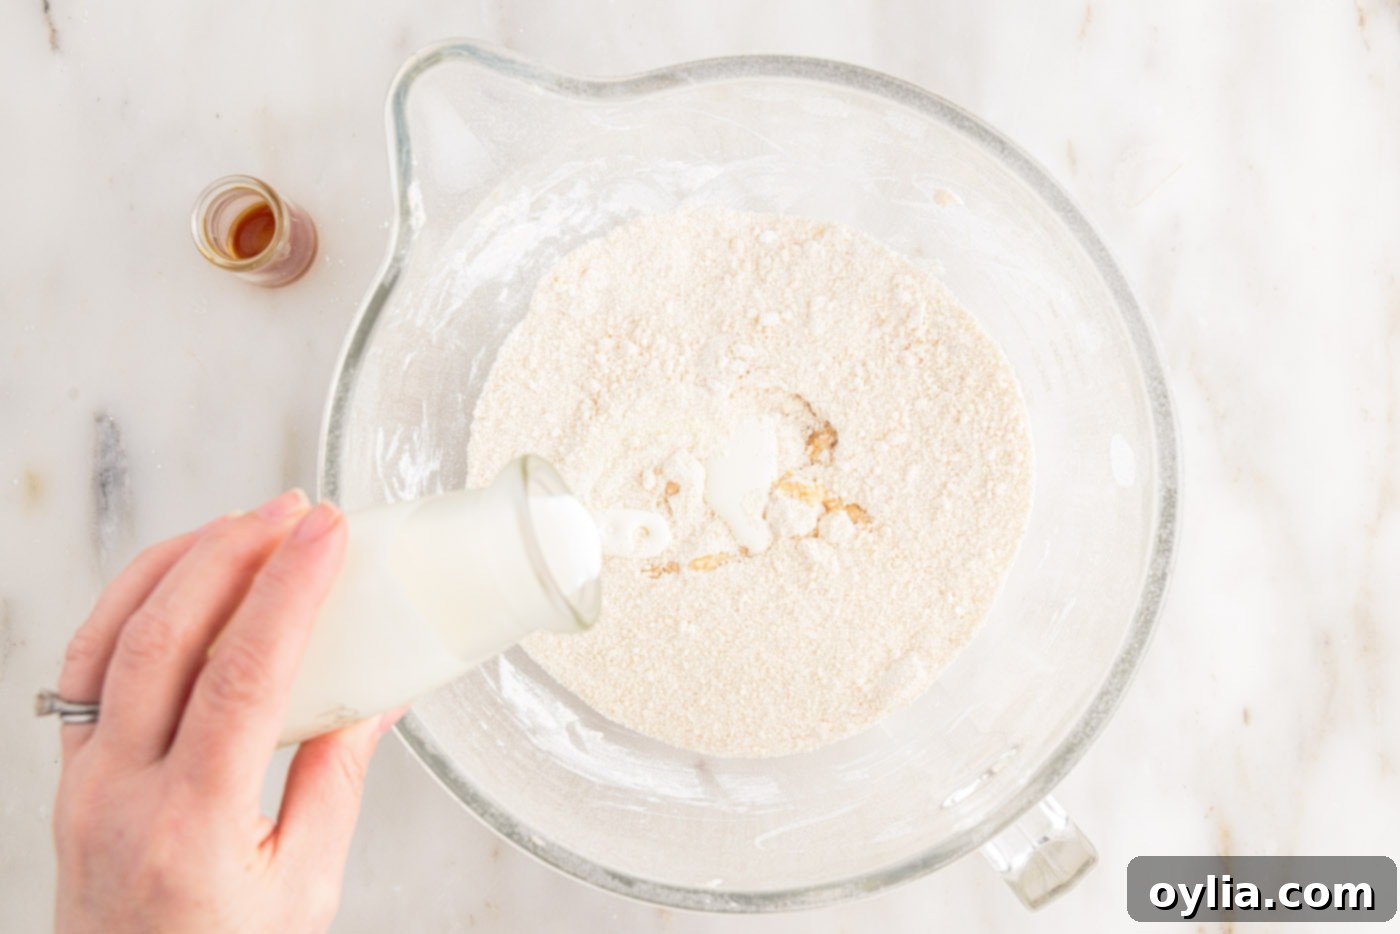
- Pour in the vanilla extract and two tablespoons of the heavy cream. Beat the mixture on medium speed, scraping down the sides of the bowl as needed, until all ingredients are thoroughly combined and the frosting starts to come together.

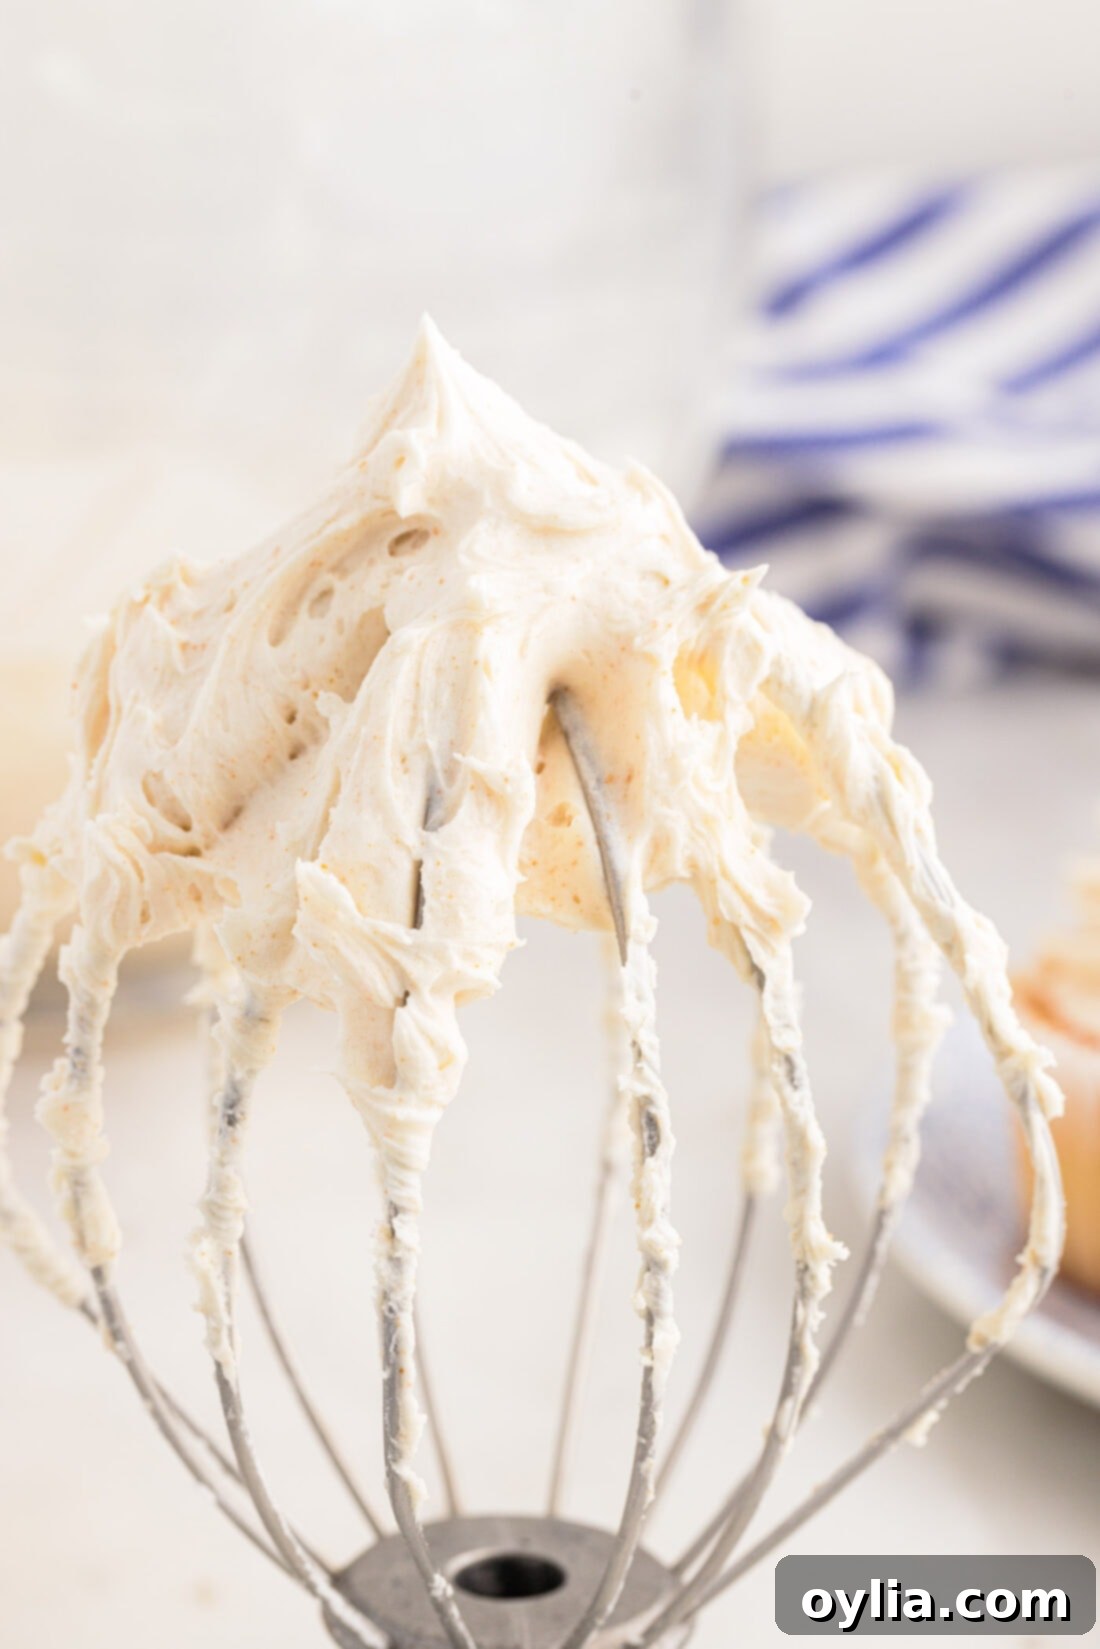
- With the mixer running on medium-high speed, slowly drizzle in additional heavy cream, one tablespoon at a time, until your desired frosting consistency is achieved. For a stiffer frosting suitable for piping intricate designs, you might use less cream. For a softer, spreadable frosting or a thinner glaze, you’ll add a bit more. Take your time with this step to avoid making the frosting too runny.

- For an extra light and airy frosting, increase the mixer speed to high and whip for an additional 1-2 minutes. This final whip incorporates more air, creating a truly fluffy and delightful texture.
Frequently Asked Questions & Expert Tips for Perfect Brown Butter Frosting
Proper storage is key to maintaining the freshness and quality of your brown butter frosting. Store it in an airtight container or a large ziptop bag, ensuring as much air is removed as possible, then refrigerate for up to one week. Keeping it airtight prevents it from absorbing odors from other foods in your refrigerator and from drying out.
Absolutely! Brown butter frosting freezes beautifully, making it an excellent option for meal prep or saving leftovers. Transfer the frosting to an airtight container or a freezer-safe bag, pressing out any excess air. It can be stored in the freezer for up to two months. When you’re ready to use it, simply thaw it in the refrigerator overnight. Once thawed, give it a good mix with your stand mixer or hand mixer to restore its creamy texture before using it as normal.
Achieving the perfect consistency is crucial, and thinning your frosting is incredibly easy. To do so, gradually add a splash of heavy whipping cream (or milk, if preferred) to your frosting while mixing. Start with a teaspoon at a time. Give it a good whip after each addition and continue adding more heavy whipping cream as needed until you reach your desired consistency. You can even thin it out significantly to achieve a luscious glaze consistency, perfect for drizzling!
Lumps in brown butter frosting usually occur if the browned butter wasn’t cooled sufficiently before being combined with the powdered sugar, or if the powdered sugar wasn’t sifted. To fix it, you can gently warm a small portion of the frosting (don’t melt it!) and then vigorously beat it back into the main batch. If the lumps are from unsifted sugar, continue beating on medium-high speed for a few extra minutes, scraping the bowl often, until smooth. For stubborn lumps, a food processor can sometimes help to smooth it out.
Yes, this brown butter frosting is an excellent make-ahead option. Prepare the frosting as directed, then store it in an airtight container in the refrigerator for up to a week. Before using, allow it to come to room temperature for about 30-60 minutes, then re-whip it with a stand mixer or hand mixer until it’s light, fluffy, and smooth again. You may need to add a tiny splash of heavy cream to achieve the perfect consistency if it seems too stiff after chilling.
Creative Ways to Enjoy Your Brown Butter Frosting
As highlighted, the versatility of brown butter frosting is one of its greatest assets, offering countless ways to elevate your sweet treats. Beyond the obvious choices of frosting brownies, cakes, and cupcakes, this rich and nutty topping can transform a variety of baked goods. Consider piping generous swirls onto warm chocolate chip cookies for an extra layer of decadence, or spread it thinly over a classic sheet cake for a sophisticated upgrade. When thinned out to a glaze consistency, it becomes an exquisite drizzle over morning muffins, flaky pastries, or even a humble slice of apple pie. Imagine it enhancing the flavor of cinnamon rolls, sweet potato bread, or even a pumpkin bundt cake. Its unique caramel and nutty notes pair beautifully with both fruit-based and chocolate desserts, making it a truly indispensable topping for any occasion.
Explore More Delicious Frosting Recipes
If you love experimenting with different frosting flavors and textures, be sure to check out some of our other fantastic recipes. Each one offers a unique way to finish your baked goods and satisfy your sweet cravings:
- Classic Buttercream Frosting
- Velvety Cream Cheese Frosting
- Rich Chocolate Fudge Frosting
- Creamy Peanut Butter Frosting
- Fluffy Marshmallow Frosting
I’m passionate about baking and cooking, and I love sharing my culinary adventures and tested recipes with all of you! To make sure you never miss out on a new recipe, I offer a convenient newsletter delivered right to your inbox. Simply subscribe today and start receiving your free daily recipes, bringing fresh inspiration to your kitchen!
Brown Butter Frosting
IMPORTANT – There are often Frequently Asked Questions within the blog post that you may find helpful. Simply scroll back up to read them!
Print It
Pin It
Rate It
Save ItSaved!
Ingredients
- 1 cup salted butter
- 2 teaspoons pure vanilla extract
- 4 cups powdered sugar (1 pound, sifted)
- 4-5 Tablespoons heavy whipping cream (or milk, as needed for consistency)
Equipment You’ll Need
-
Stand mixer (with whisk attachment)
-
Large saucepan or skillet (preferably light-colored)
-
Rubber spatula
Before You Begin: Important Notes & Tips
- This recipe typically yields about 2 cups of finished frosting, which is usually enough to beautifully frost 24 standard cupcakes or generously cover a 13×9 inch cake. If you’re planning on piping tall, elaborate swirls or frosting a 9-inch double-layer cake, we highly recommend doubling the recipe to ensure you have plenty.
- You have the option to use either unsalted or salted butter. If you choose unsalted butter, consider adding a tiny pinch (about 1/4 teaspoon) of fine salt to the frosting along with the vanilla. This helps to enhance and balance the rich, nutty flavors of the brown butter.
- The most critical step for achieving a smooth, lump-free frosting is allowing your browned butter to cool completely to room temperature. It must solidify but still be soft and pliable, like softened butter. If the butter is still warm or too liquid when combined with other ingredients, your frosting will likely turn out greasy and lumpy.
- While heavy whipping cream is ideal for the richest, creamiest frosting, you can substitute it with whole milk or half-and-half if necessary. Keep in mind that milk is thinner than cream, so you will need to add less of it to reach the desired consistency. Add it very gradually to avoid making the frosting too runny.
- Always sift your powdered sugar before adding it to the butter mixture. This simple step removes any lumps, ensuring your frosting is perfectly smooth and velvety.
Instructions
-
In a large, light-colored saucepan or skillet (which helps you see the browning process), heat the butter over medium heat until it is entirely melted and bubbling.
-
Continue to heat the butter, stirring constantly or swirling the pan gently, until it begins to simmer. The bubbles will gradually become smaller, and a foam will form on the surface. Keep cooking just a few seconds longer, looking for golden-brown bits to form at the bottom of the pan and a distinct nutty aroma. This process typically takes 5-8 minutes. Immediately remove from heat once browned to prevent burning.
TIP – For best results, use a wide pan to ensure the butter spreads thinly and browns evenly. Do not overcook, as burnt butter will have a bitter taste.
-
Promptly transfer all the brown butter, including the browned milk solids, to a clean, heat-safe bowl to stop the cooking and cooling process.
-
Allow the butter to cool until it completely solidifies to a soft, room-temperature consistency. This can take about 1 hour at room temperature or around 30 minutes in the refrigerator. Ensure it’s not still liquid or overly firm before proceeding.
-
Once cooled, transfer the solidified brown butter to the bowl of a stand mixer equipped with the whisk attachment.
-
Whip the brown butter on medium-high speed until it becomes light, smooth, and notably creamy, usually 2-3 minutes.
-
Add the sifted powdered sugar to the bowl. Begin mixing on the lowest speed to avoid a mess, then gradually increase the speed until the sugar is fully incorporated into the butter. The mixture will be quite crumbly and thick at this point.
-
Stir in the vanilla extract and an initial two tablespoons of heavy cream. Beat the mixture on medium speed, pausing to scrape down the sides and bottom of the bowl thoroughly, until all ingredients are well combined and the frosting starts to cohere.
-
With the mixer running on medium-high speed, slowly drizzle in additional heavy cream, one tablespoon at a time, until the frosting reaches your desired consistency – whether it’s stiff for piping, soft for spreading, or thin for glazing.
-
For an exceptionally light and fluffy frosting, continue to whip the mixture on high speed for another 1-2 minutes. This step incorporates more air, yielding a beautifully airy texture.
Expert Tips & FAQs for Success
- Storage Perfection: To keep your brown butter frosting fresh and flavorful, always store it in an air-tight container or a heavy-duty ziptop bag. Place it in the refrigerator, where it will last for up to 1 week. Bring it to room temperature and re-whip before using for the best texture.
- Freezing for Future Treats: Brown butter frosting is freezer-friendly! Simply transfer the prepared frosting to an air-tight container or a freezer-safe bag, ensuring there’s minimal air exposure. Store it in the freezer for up to 2 months. When you’re ready to use it, thaw the frosting in the refrigerator overnight, then give it a thorough mix to restore its creamy consistency.
- Adjusting Consistency: Need to thin out your frosting for a glaze or a softer spread? Easily adjust it by adding a small splash (start with a teaspoon!) of heavy whipping cream (or milk) while mixing. Whip well after each addition until you achieve your ideal consistency. For a thicker frosting, add a tablespoon or two of additional sifted powdered sugar.
- Preventing Lumps: The key to a smooth brown butter frosting is ensuring the browned butter is completely cooled and re-solidified to a soft, room-temperature state. Also, always sift your powdered sugar to remove any stubborn clumps before mixing.
- Making Ahead: This frosting is an excellent candidate for making ahead. Prepare as instructed, then store it chilled. When ready to use, let it sit at room temperature for about 30-60 minutes, then re-whip until fluffy and smooth.
Nutrition Information
The recipes on this blog are tested with a conventional gas oven and gas stovetop. It’s important to note that some ovens, especially as they age, can cook and bake inconsistently. Using an inexpensive oven thermometer can assure you that your oven is truly heating to the proper temperature. If you use a toaster oven or countertop oven, please keep in mind that they may not distribute heat the same as a conventional full sized oven and you may need to adjust your cooking/baking times. In the case of recipes made with a pressure cooker, air fryer, slow cooker, or other appliance, a link to the appliances we use is listed within each respective recipe. For baking recipes where measurements are given by weight, please note that results may not be the same if cups are used instead, and we can’t guarantee success with that method.
