Irresistible Coconut Poke Cake: The Easiest Tropical Dessert Recipe
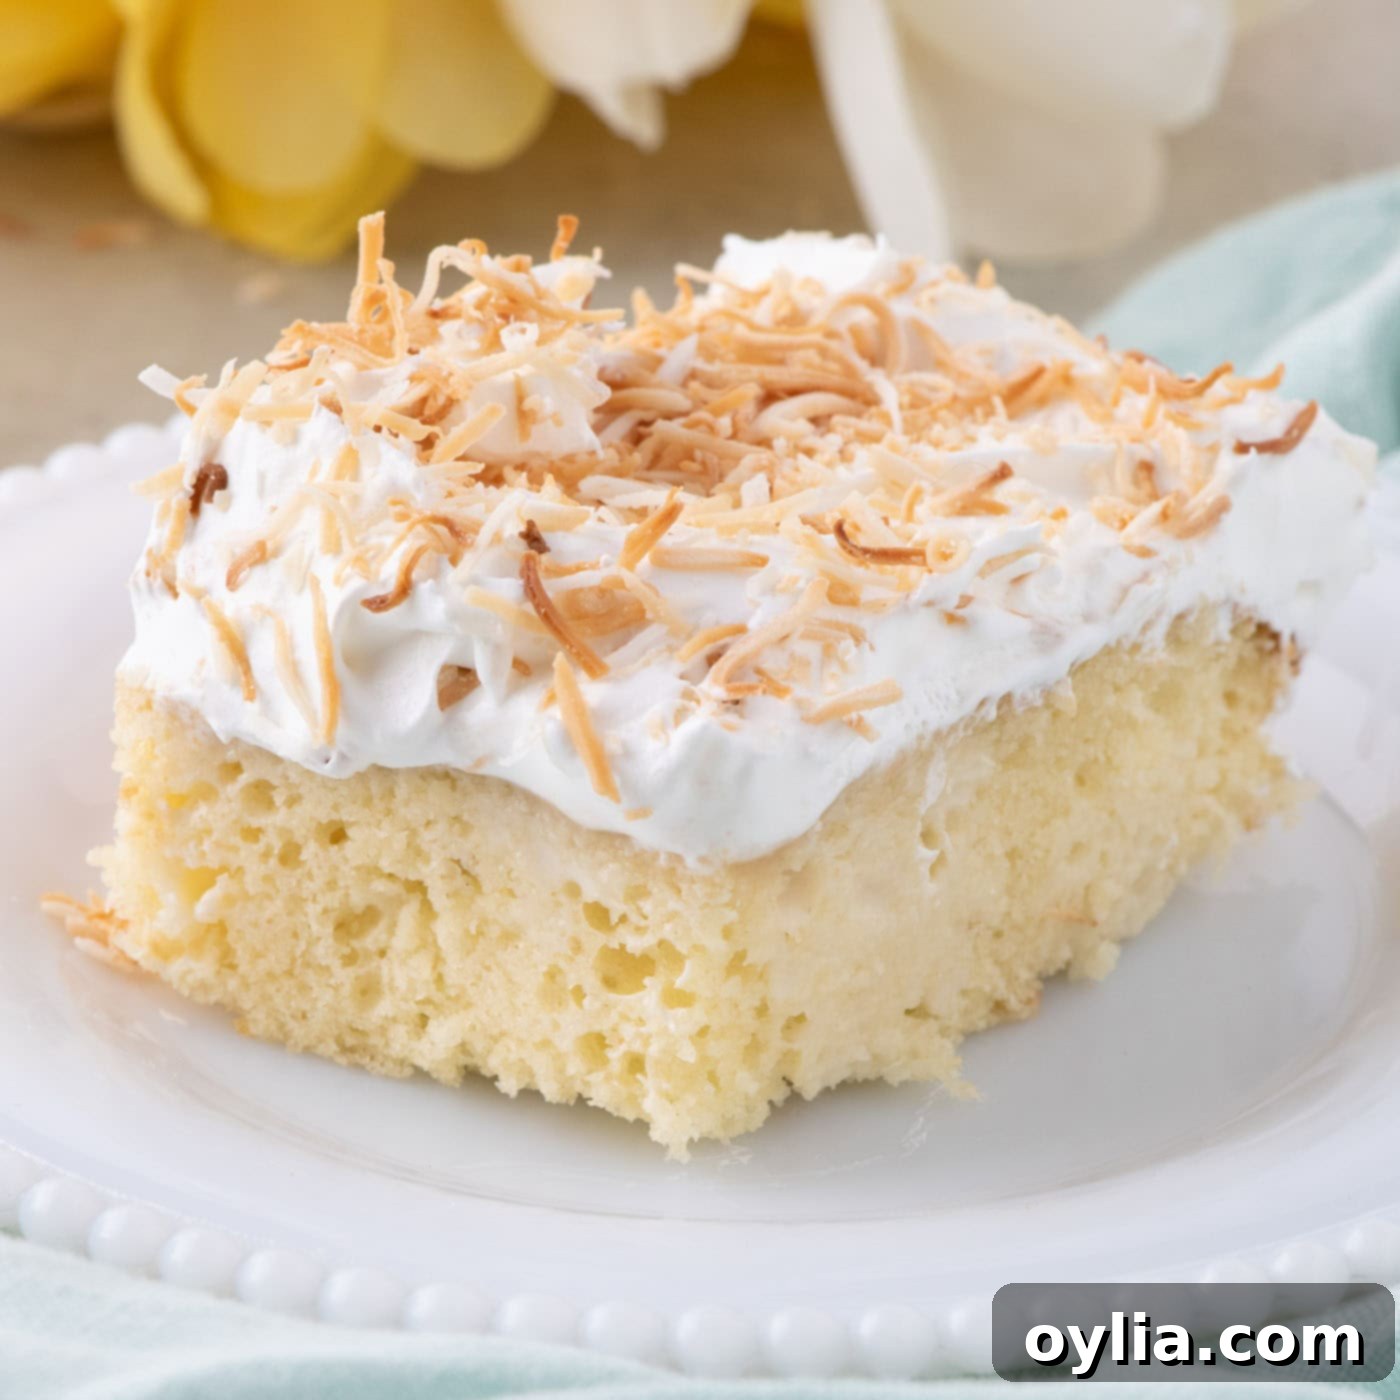
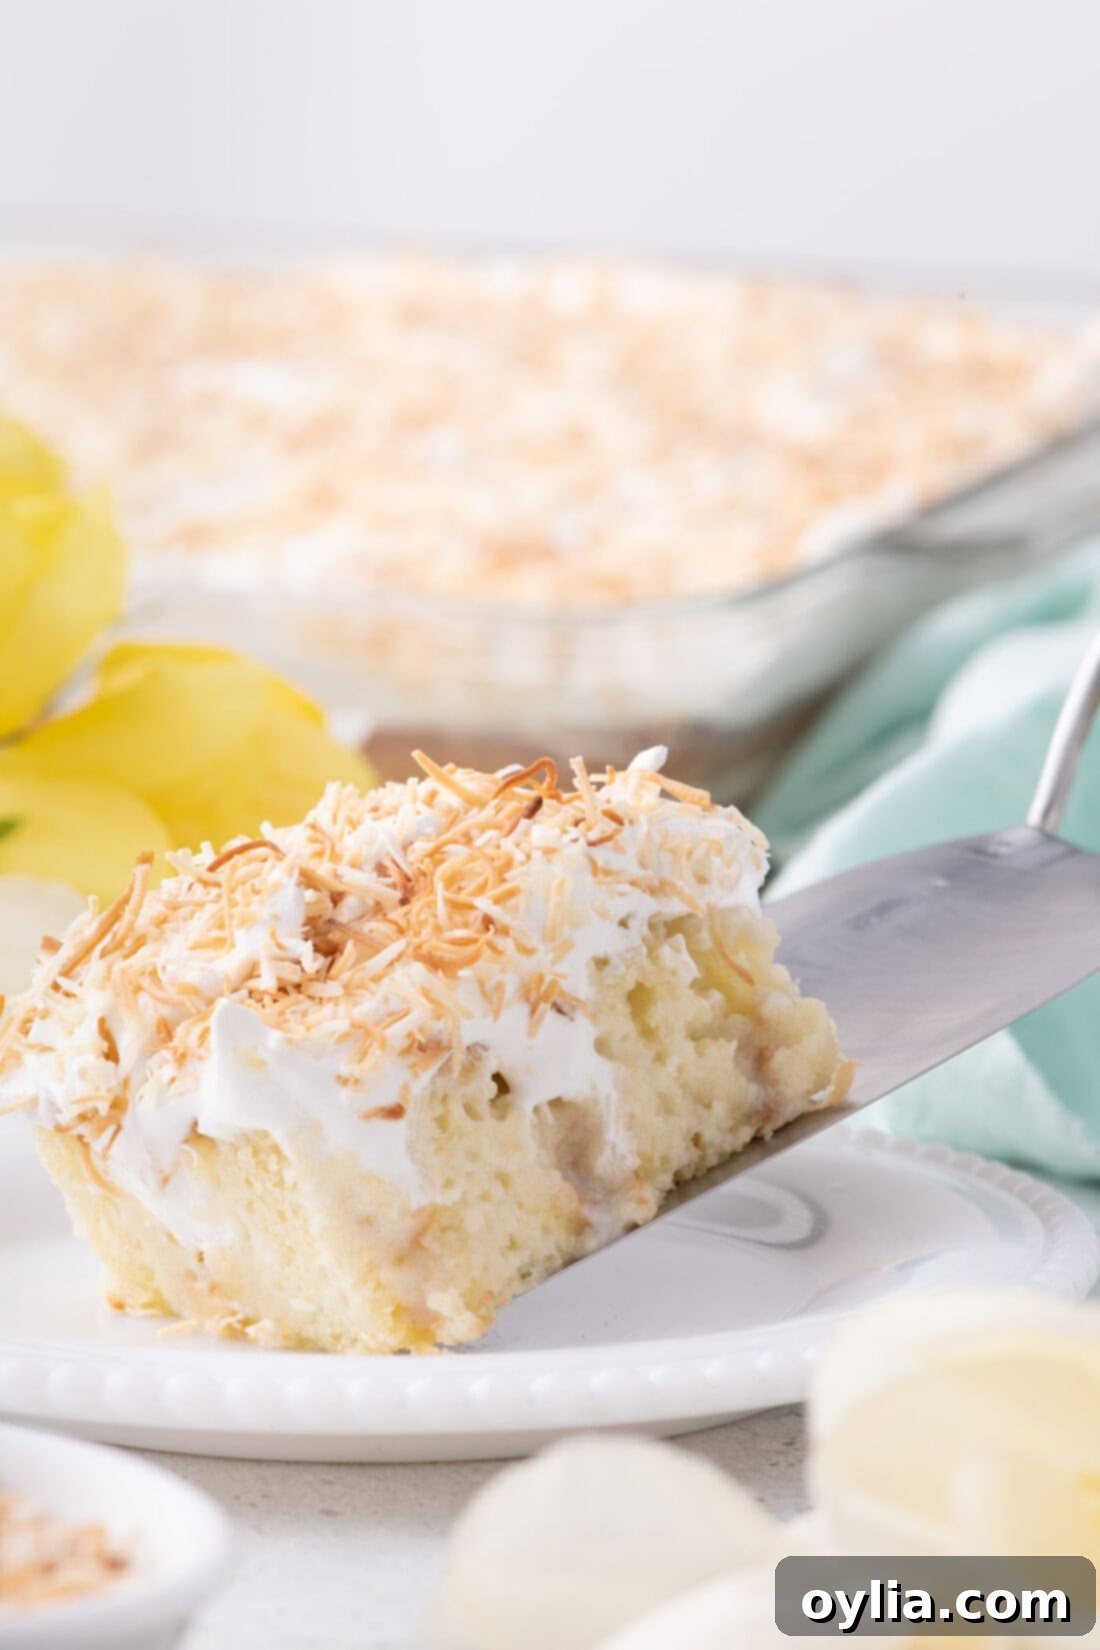
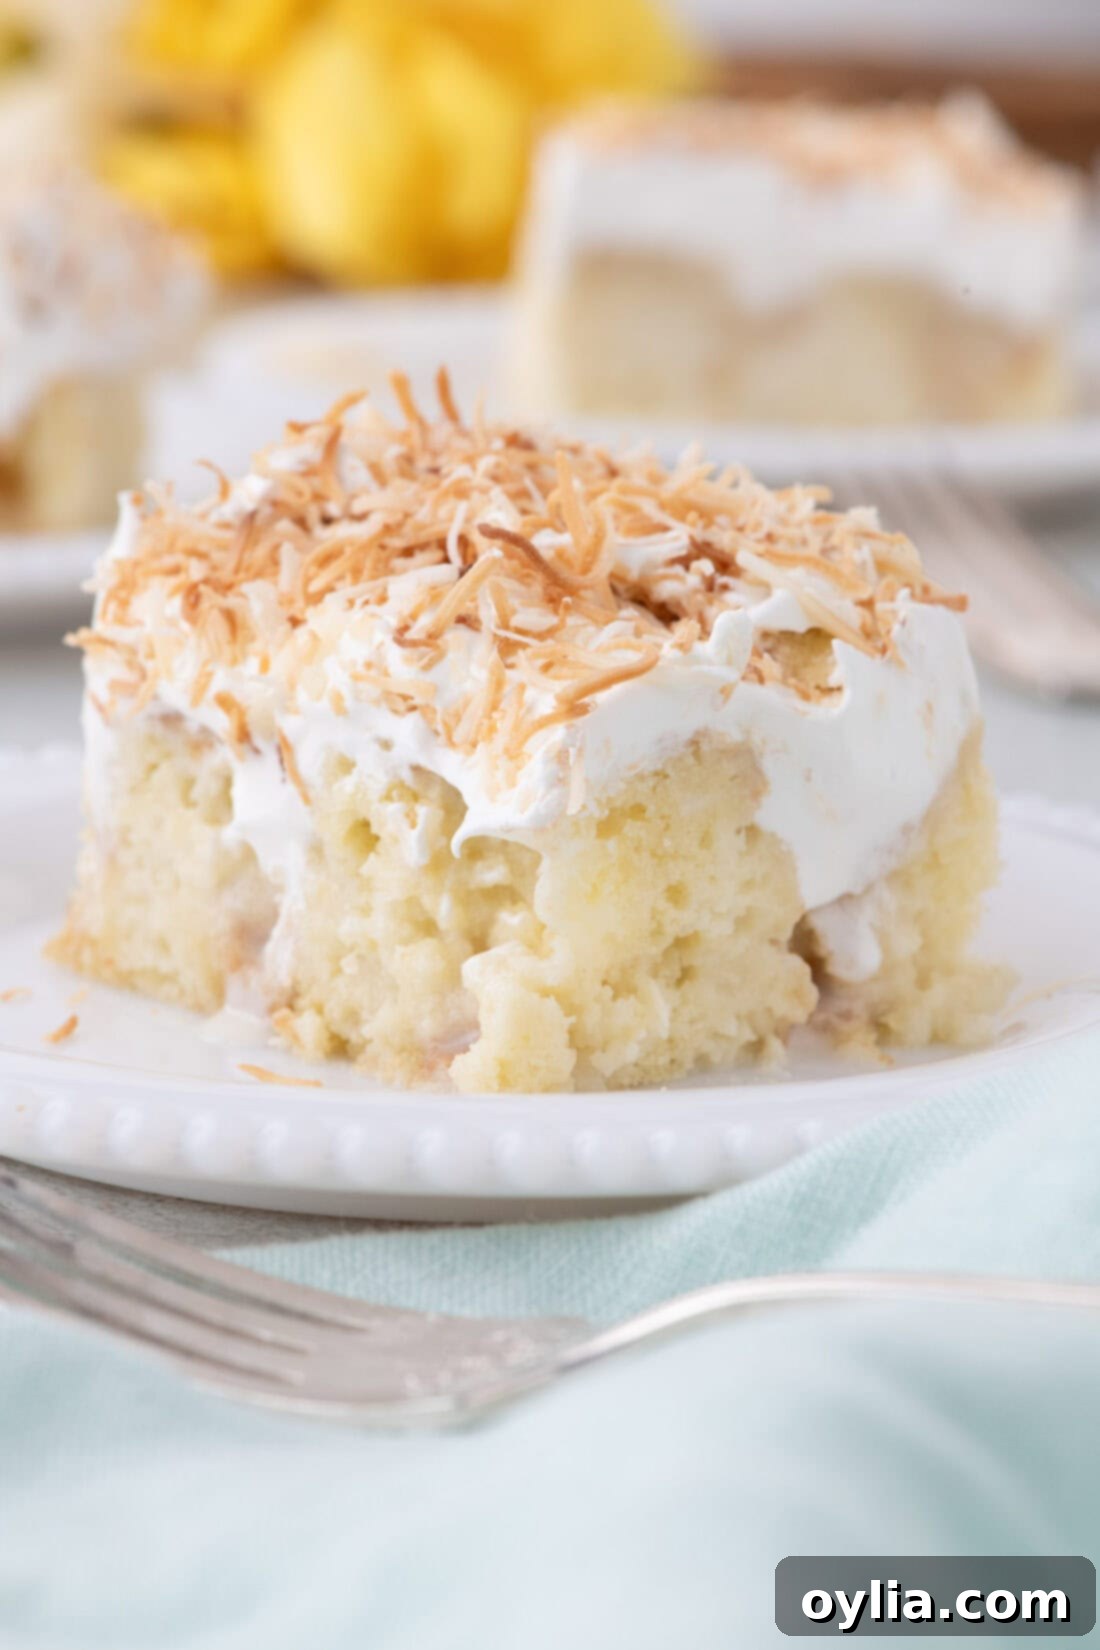
Prepare yourself for a slice of pure paradise with this **Coconut Poke Cake**! This delightful dessert begins with a simple white cake mix, expertly poked to absorb a rich, luscious coconut cream filling. The experience culminates with a light, airy Cool Whip topping and a generous sprinkle of perfectly toasted coconut. It’s a symphony of textures and tropical flavors, making it an absolute must-try for any occasion.
Why This Easy Coconut Poke Cake Will Be Your New Favorite
This Coconut Poke Cake isn’t just a dessert; it’s an experience. Its appeal lies in its effortless preparation combined with an undeniably rich, yet surprisingly light, flavor profile. What makes this recipe truly shine is its clever use of shortcuts that don’t compromise on taste or texture. We start with a readily available white cake mix, which provides a consistently tender and moist foundation. This cake base is then transformed by a generous infusion of a silky-smooth coconut cream filling, made from just two simple ingredients: coconut cream and sweetened condensed milk. The final touch, a fluffy layer of Cool Whip and a sprinkle of toasted coconut, elevates it to dessert perfection.
The magic of poke cakes, in general, is how they absorb the liquid filling, creating an incredibly moist and flavorful crumb with every bite. This particular recipe takes that concept and infuses it with the irresistible taste of the tropics. While I’ve explored many poke cake variations over the years, including a delicious pineapple poke cake that hints at tropical notes, I realized there was a gap for a dedicated, full-fledged coconut version. This recipe fills that void, delivering a pure, unadulterated coconut experience that will transport your taste buds straight to an island getaway. It’s a classic for a reason, and this iteration makes it more accessible and delectable than ever before.
Gather Your Ingredients for This Tropical Delight
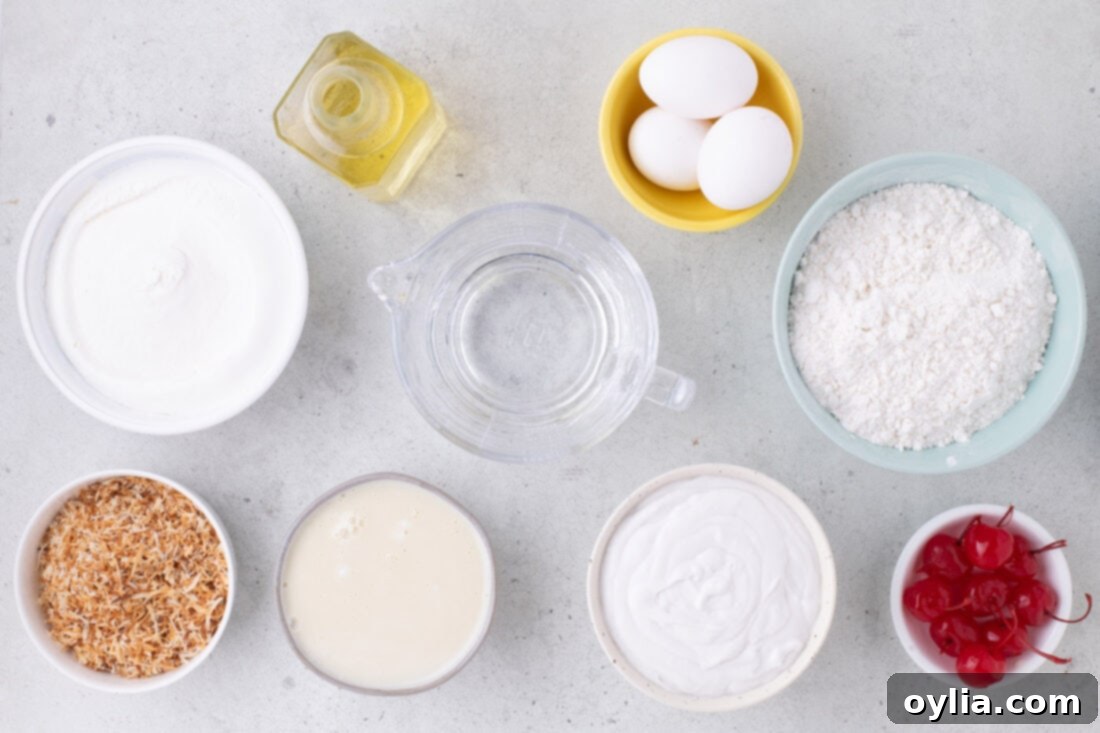
Crafting this incredible Coconut Poke Cake requires just a handful of accessible ingredients, most of which you might already have in your pantry. For precise measurements and a detailed list, be sure to scroll down to the printable recipe card located at the very end of this post. Here’s a quick overview of what you’ll need to create this sweet escape:
Key Ingredients & Smart Substitution Tips
To achieve the best possible Coconut Poke Cake, understanding your ingredients and potential substitutions is key. Here’s a deeper dive into the components that make this dessert so special:
- CAKE MIX – A standard **white cake mix** is the recommended base for this recipe. Its neutral flavor and color allow the coconut to truly shine. However, if a white mix isn’t available or if you prefer a richer, more buttery undertone, a **yellow cake mix** will work beautifully as well. Our recipe assumes a cake mix requiring oil, water, and eggs, which is common. If your chosen mix uses butter, simply adjust accordingly by omitting the oil, water, and eggs from our recipe and following the specific instructions on your cake mix box. For those who enjoy baking from scratch, feel free to substitute with a homemade classic white cake or classic yellow cake recipe. Just be aware that this will add to your preparation time.
- COCONUT CREAM – This is a crucial ingredient, and precision here is important. Always ensure you are using **coconut cream**, which is thick and rich, and *not* coconut milk. The two are distinct, and using coconut milk will result in a much thinner filling that won’t properly absorb into the cake or provide the desired creamy texture. We have not tested this recipe with “cream of coconut,” which is typically very sweet and often used in cocktails like piña coladas. Its high sugar content might make the filling overly sweet when combined with sweetened condensed milk. Stick to pure coconut cream for optimal results.
- SWEETENED CONDENSED MILK – This sweet, thick dairy product is essential for creating the luscious, syrupy filling that penetrates the cake. It provides both sweetness and a creamy texture that is integral to the poke cake’s charm. There are no direct substitutions for this ingredient in this particular application without significantly altering the flavor and consistency of the filling.
- TOPPING – A generous 16 ounces of **Cool Whip** provides a light and airy contrast to the rich cake. It’s an easy, ready-to-use option that simplifies assembly. If you prefer a homemade touch, a batch of stabilized whipped cream would be an excellent substitute, offering a similar cloud-like texture that holds its shape well.
- COCONUT – For an extra layer of flavor and delightful crunch, we recommend using **sweetened shredded coconut**, lightly toasted. Toasting brings out the natural nutty notes of coconut and adds a beautiful golden hue. Be vigilant during the toasting process, as shredded coconut can go from perfectly golden to burnt in a matter of seconds. Use a low setting and stir frequently.
- CHERRIES – **Maraschino cherries** are an optional but highly recommended garnish. Their vibrant red color provides a lovely visual pop against the white cake, and their sweet-tart flavor complements the coconut beautifully. If you’re not a fan, feel free to skip them entirely.
Step-by-Step Guide to Crafting Your Perfect Coconut Poke Cake
These detailed step-by-step photos and instructions are provided to help you visualize each stage of the recipe, ensuring your Coconut Poke Cake turns out perfectly every time. For a convenient printable version of this recipe, complete with precise measurements and comprehensive instructions, simply Jump to the Recipe Card at the bottom of this post.
- Begin by preheating your oven to 350°F (175°C). Take a 9×13-inch baking dish and generously grease it, ensuring the cake won’t stick. Set it aside for now.
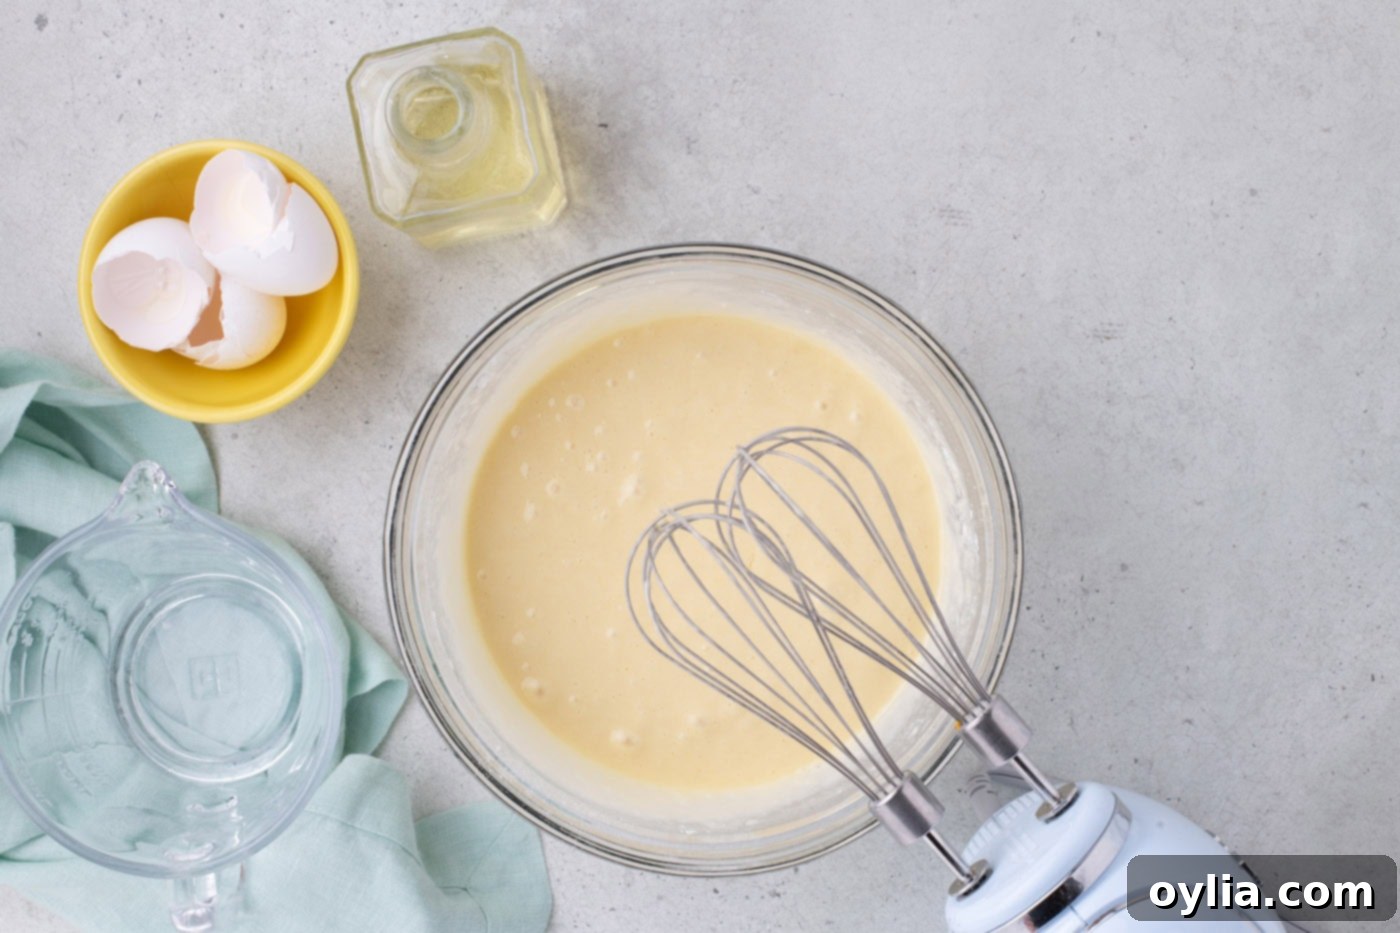
- In a large mixing bowl, combine your chosen white cake mix with the specified amounts of water, vegetable oil, and eggs. Using an electric mixer, blend these ingredients together on medium speed until the batter is perfectly smooth and free of lumps. Avoid overmixing, as this can lead to a tougher cake.

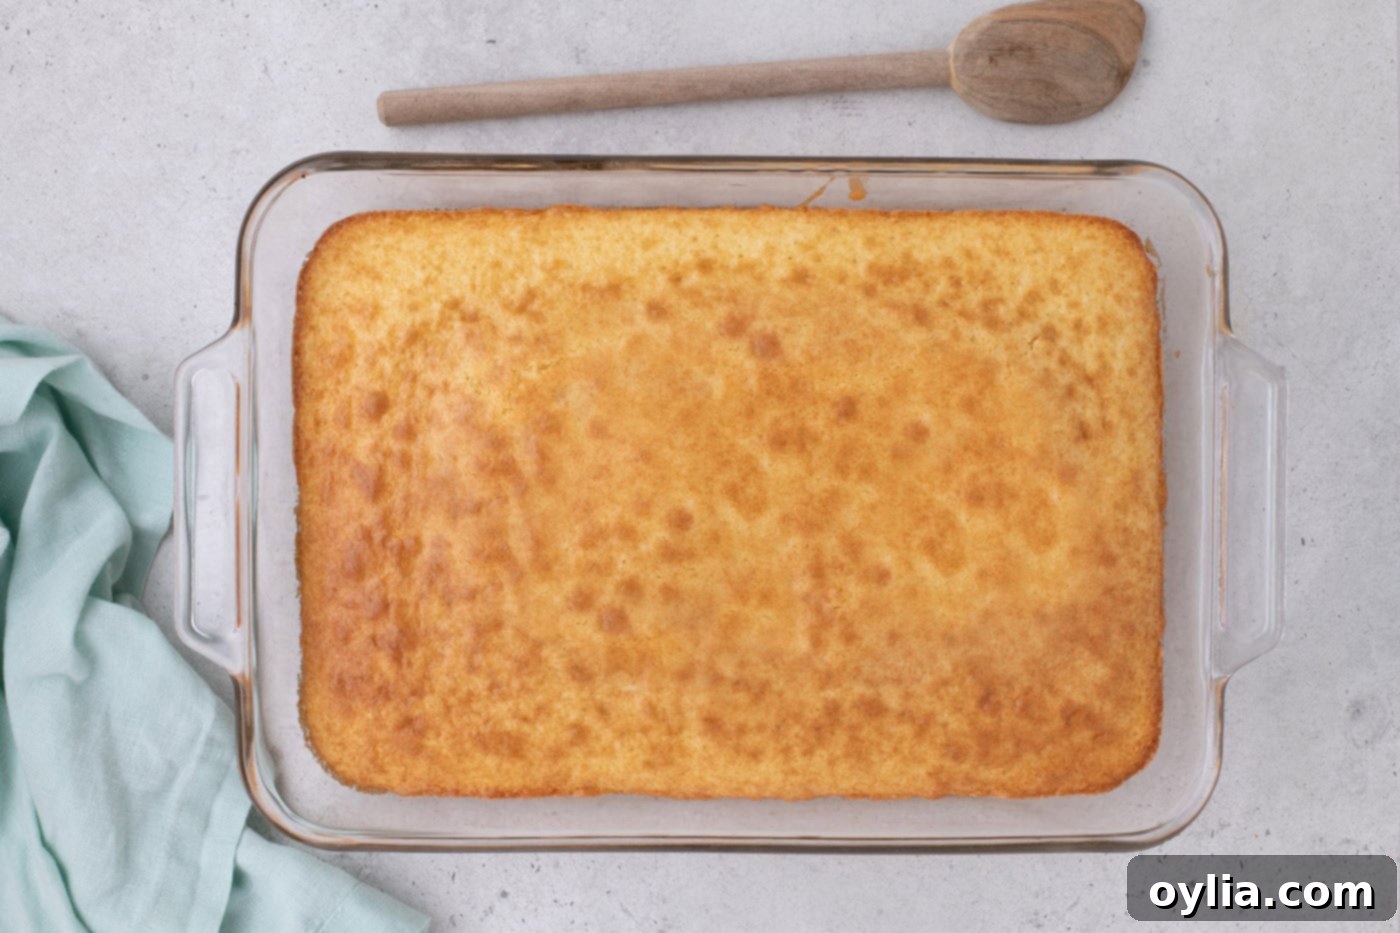
- Carefully pour the prepared cake batter into your greased 9×13-inch baking dish. Bake in the preheated oven for approximately 28 to 30 minutes. The cake is done when the top is lightly golden brown and a toothpick inserted into the center comes out clean. Once baked, remove the cake from the oven and allow it to cool completely on a wire rack for about 1 hour. This cooling step is crucial before adding the filling.

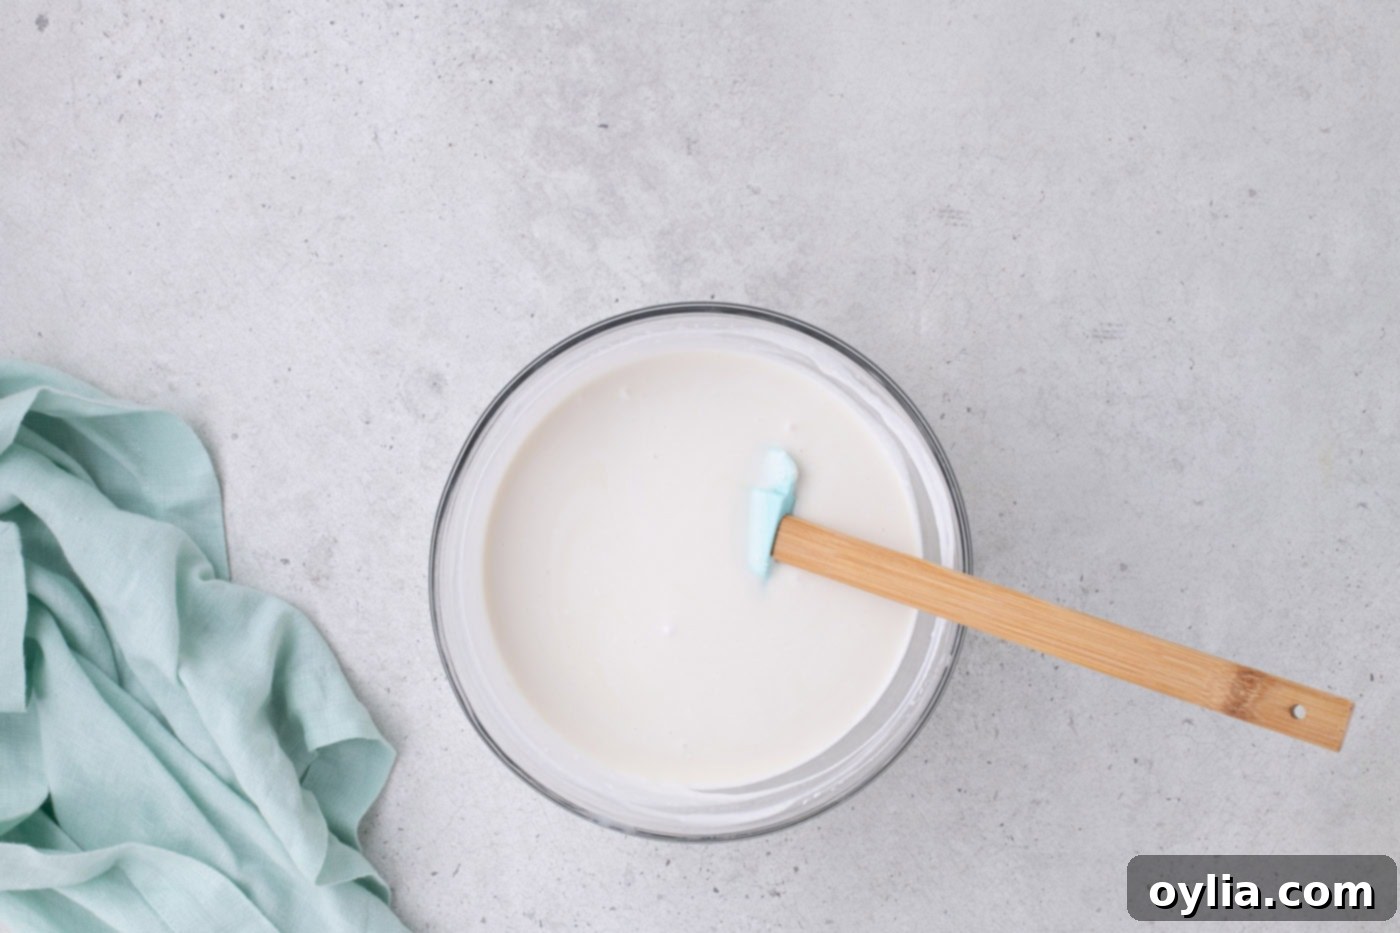
- While your cake is cooling, prepare the rich coconut filling. In a separate bowl, combine the thick coconut cream and the sweetened condensed milk. Stir thoroughly until the mixture is smooth and evenly combined. This creamy, sweet blend is what gives the poke cake its signature lusciousness.

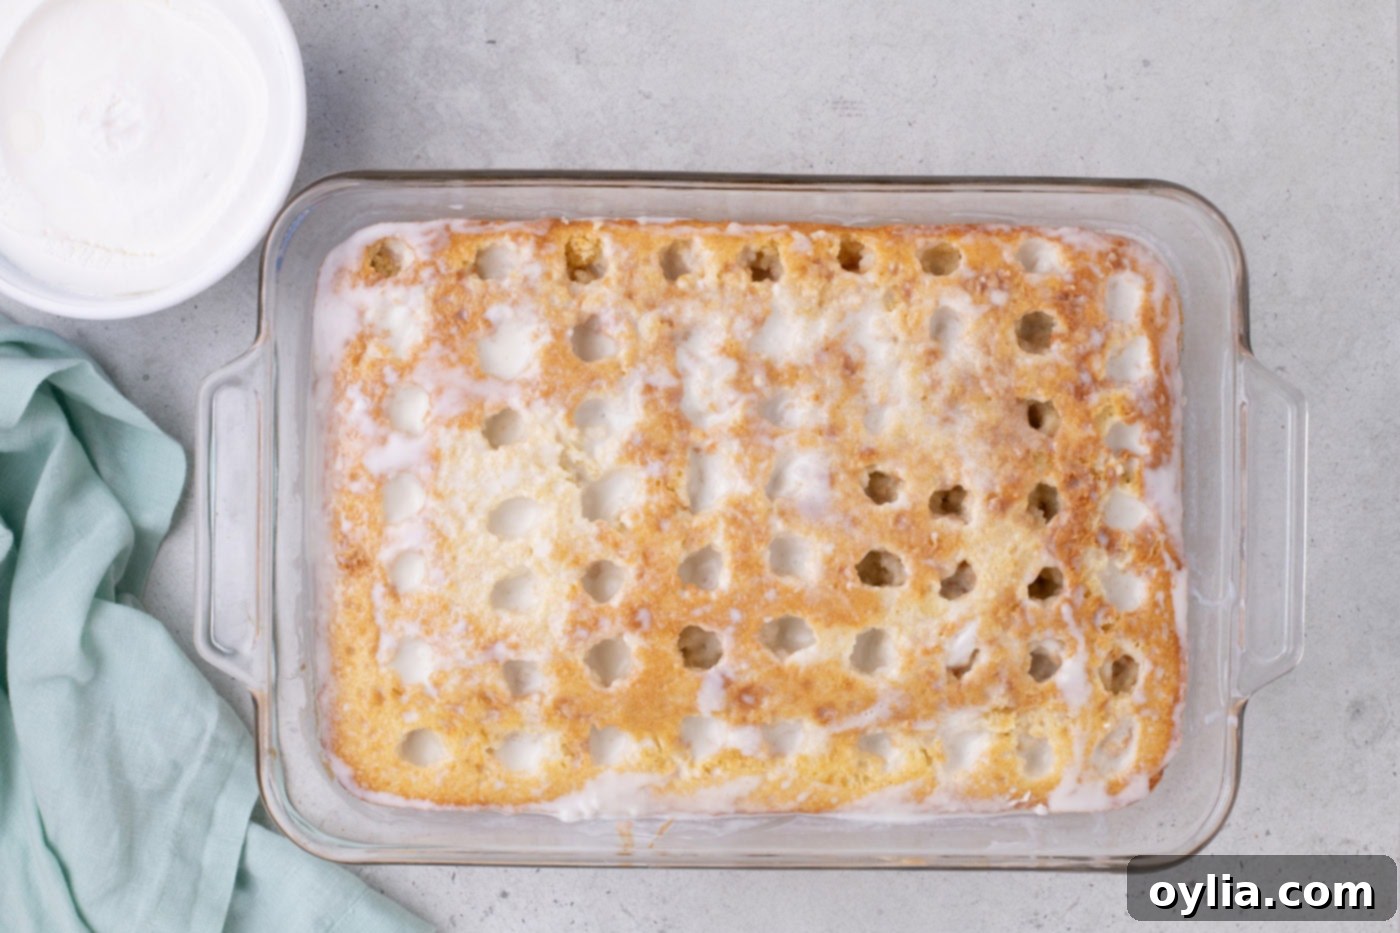
- Once the cake has completely cooled, it’s time for the “poke” part! Use the round handle of a wooden spoon or a similar blunt object to poke holes evenly across the top two-thirds of the cake. Aim for holes spaced approximately 1 inch apart to ensure even distribution of the filling.
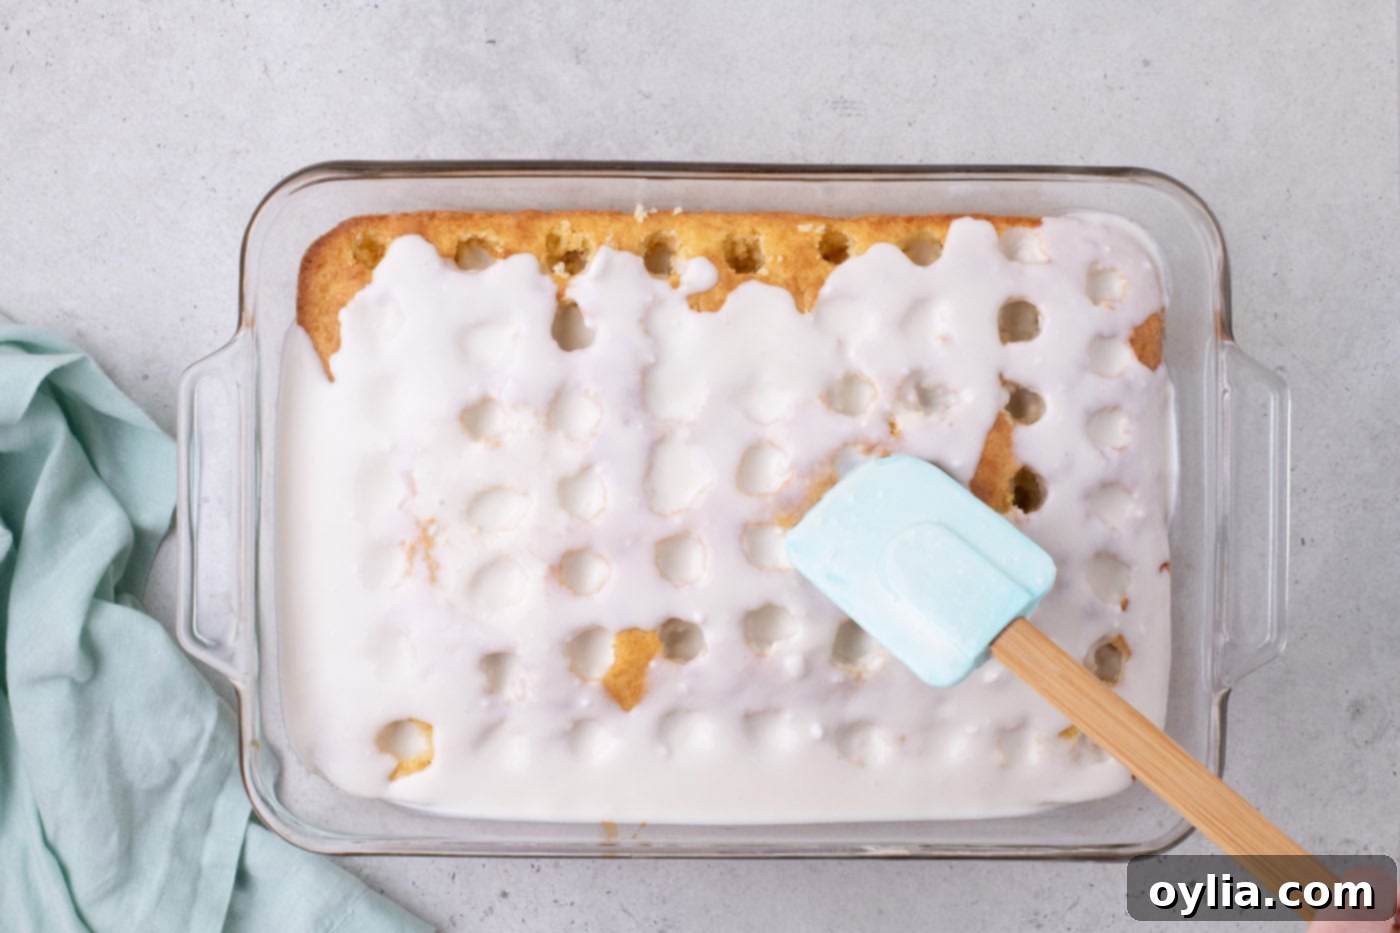
- Generously pour the prepared coconut cream filling over the entire surface of the poked cake. Use a soft silicone spatula to gently spread the mixture, making sure it seeps down into every hole. This is where the magic happens, as the cake begins to absorb the luscious filling, becoming incredibly moist and flavorful.


- Once the filling has been poured and gently spread, place the cake in the refrigerator to chill for at least 30 minutes. This allows the filling to fully set and the cake to become delightfully moist and cool.
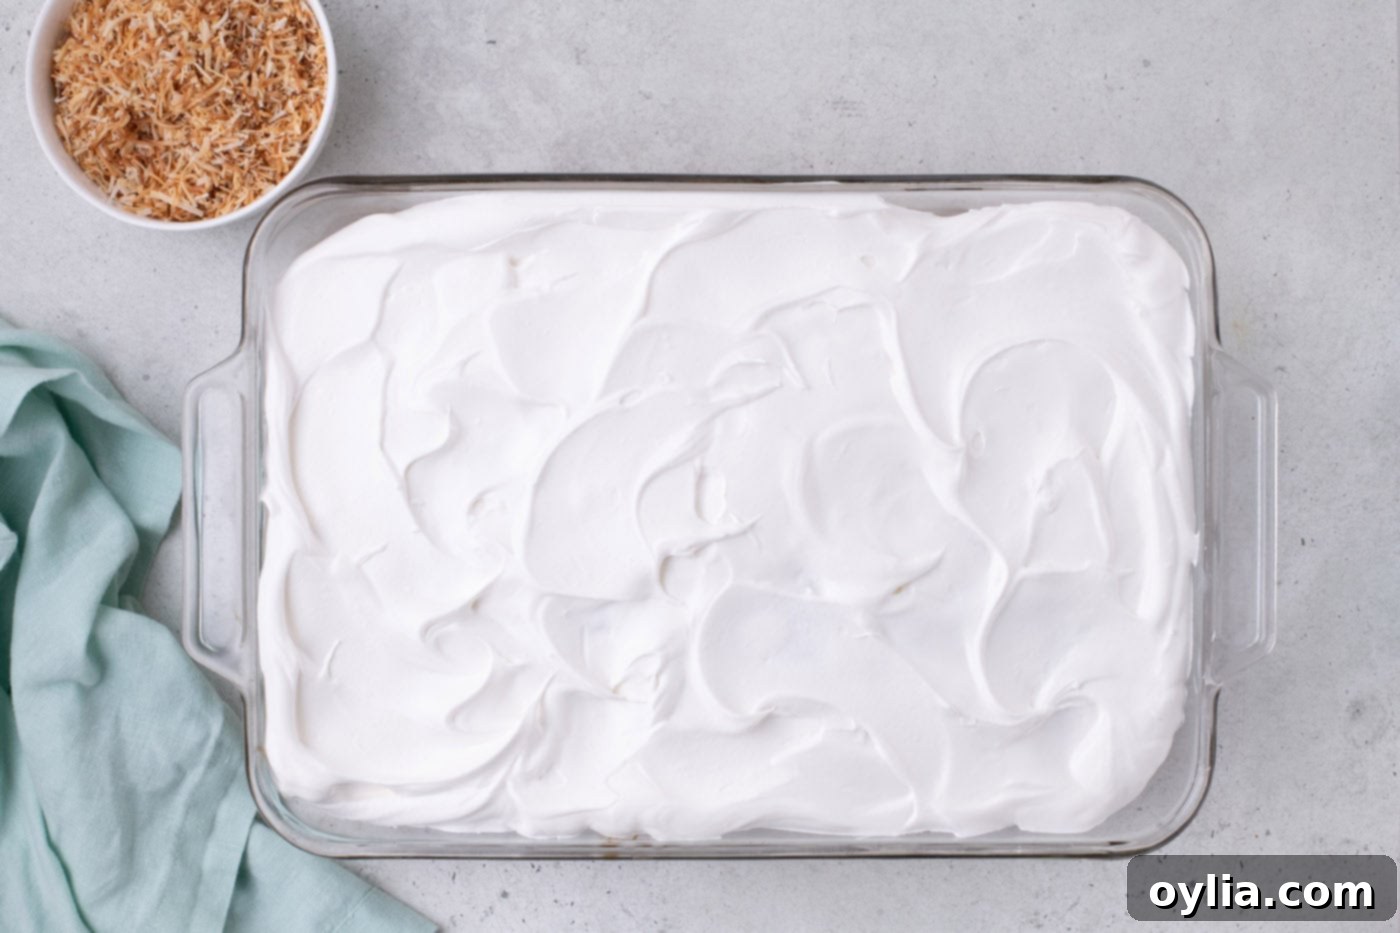
- Finally, for the crowning glory, spread the thawed whipped topping evenly over the chilled cake. Garnish generously with your lightly toasted shredded coconut, and add bright red maraschino cherries if you desire a festive pop of color and flavor. Serve your beautiful Coconut Poke Cake immediately for the best fresh taste, or refrigerate it until you’re ready to indulge.

Frequently Asked Questions & Pro Tips for Your Coconut Poke Cake
Absolutely! This is one of the fantastic advantages of a poke cake. You can comfortably bake and assemble this Coconut Poke Cake a full day in advance. Simply cover it tightly with plastic wrap or an airtight lid and store it in the refrigerator. In fact, many believe that poke cakes, including this coconut version, taste even better after they’ve had ample time to chill in the fridge. This allows the luscious coconut cream filling to fully meld with the cake, creating an even more intensely moist and flavorful dessert. If you plan to garnish with maraschino cherries, it’s best to add them right before serving. The liquid from the cherries can bleed and potentially dye the pristine white whipped topping over time, which might affect the visual appeal.
Proper storage is essential to keep your Coconut Poke Cake fresh and delicious. Always store the cake, covered, in the refrigerator. An airtight container or plastic wrap pulled snugly over the baking dish will prevent it from drying out and absorbing other odors from the fridge. When stored correctly, your delightful cake will remain fresh and tasty for 4-5 days, making it perfect for enjoying over several days or for party leftovers.
Yes, you can absolutely freeze this Coconut Poke Cake, which is great for meal prepping desserts or saving some for a later craving! For best results when freezing, I highly recommend holding off on adding the whipped topping and toasted coconut. This makes the cake much easier to wrap securely. After you’ve allowed the cake to chill in the fridge (following step 7 in the instructions, after the filling has been absorbed), wrap the cake thoroughly. Start with a few layers of plastic wrap, ensuring it’s completely sealed, and then follow with a layer of heavy-duty aluminum foil. This double wrapping helps prevent freezer burn. You can freeze the cake for up to 3 months. When you’re ready to enjoy it, thaw the cake overnight in the refrigerator, then proceed to frost it with Cool Whip and decorate with toasted coconut and cherries as desired before serving.
Delightful Serving Suggestions for Your Coconut Poke Cake
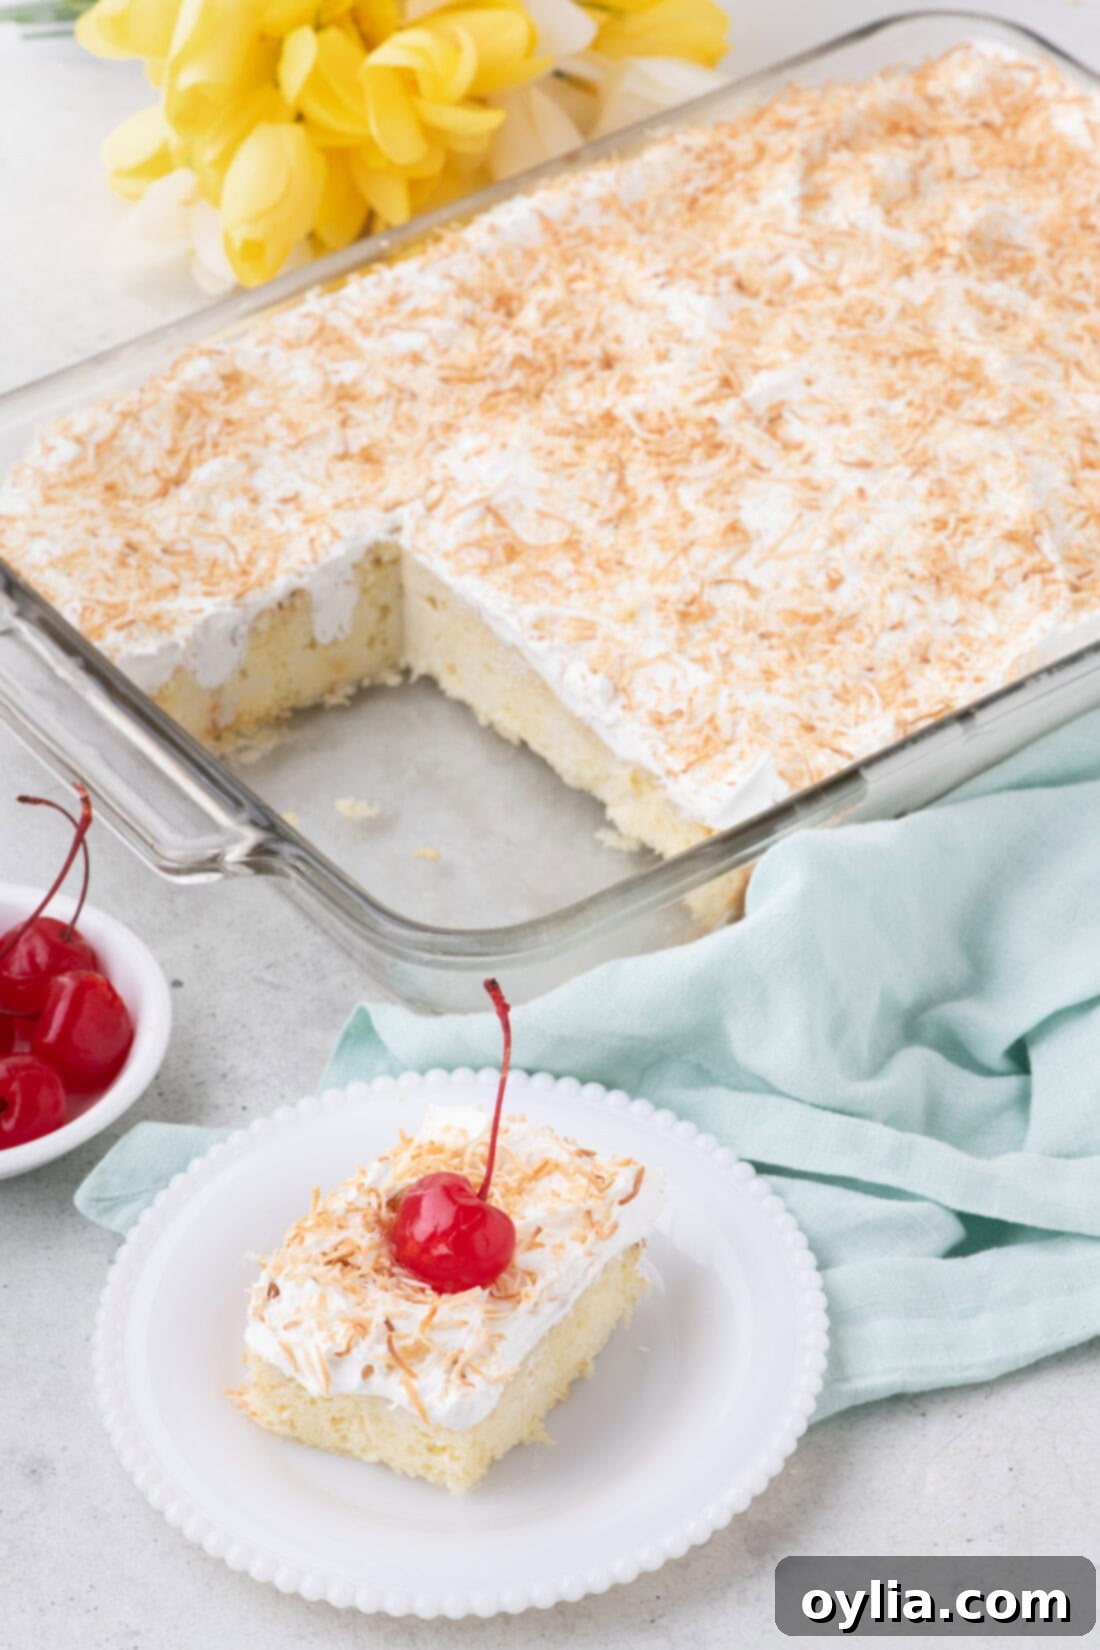
Your spectacular Coconut Poke Cake is ready to be enjoyed! This versatile dessert can be served either chilled straight from the refrigerator, which emphasizes its refreshing qualities, or allowed to sit at room temperature for about 15-20 minutes before serving to soften the texture slightly and bring out its full flavor potential. For the ultimate presentation and taste, don’t forget the optional but highly recommended garnishes: a sprinkle of golden, **toasted shredded coconut** and a bright red **maraschino cherry** atop each slice. These not only add visual appeal but also enhance the tropical experience.
This Coconut Poke Cake is wonderfully adaptable for various occasions. Its light, refreshing profile makes it an absolute hit for **summer potlucks, backyard barbecues, and casual parties**. It’s equally fitting for more festive gatherings like **Easter celebrations**, where its bright flavors can bring a touch of unexpected tropical sunshine. Consider serving it alongside a scoop of vanilla bean ice cream or a fresh fruit salad for an even more elaborate dessert spread. The delightful combination of moist cake, creamy filling, and fluffy topping ensures it will be a crowd-pleaser every single time. Get ready for rave reviews!
Discover More Delicious Poke Cake Recipes
If you’ve fallen in love with the ease and deliciousness of this Coconut Poke Cake, you’re in for a treat! The world of poke cakes is vast and full of delightful variations, each offering a unique flavor experience while retaining that signature moist and tender texture. Here are some more fantastic poke cake recipes to explore for your next baking adventure:
- Pineapple Poke Cake: A sweet and tangy classic, bursting with tropical flavor.
- Raspberry Poke Cake: A vibrant, fruity dessert with a refreshing twist.
- Boston Cream Poke Cake: Reimagining a classic pastry into an easy, decadent cake.
- Banana Pudding Poke Cake: A comforting, Southern-inspired dessert that’s truly irresistible.
As a passionate baker and cook, I genuinely enjoy sharing my culinary experiences and delicious recipes with all of you! Keeping up with new recipes can sometimes be a challenge, which is why I offer a convenient newsletter. Every time a fresh recipe is posted, you’ll receive it directly in your inbox. Don’t miss out on your next favorite dish – simply subscribe today and start enjoying free daily recipes delivered straight to you!

Coconut Poke Cake
IMPORTANT – There are often Frequently Asked Questions within the blog post that you may find helpful. Simply scroll back up to read them!
Print It
Pin It
Rate It
Save It
Saved!
Prevent your screen from going dark
Course:
Dessert
Cuisine:
American
15
servings
2 hours
15 minutes
445
Amanda Davis
Ingredients
-
14.25
ounce
white cake mix -
¾
cup
water
170ml -
½
cup
vegetable oil
99ml -
3
eggs -
13.66
ounce
can of coconut cream -
14
ounce
can of sweetened condensed milk -
16
ounces
whipped topping
thawed. such as Cool Whip -
1
cup
sweetened shredded coconut
toasted -
maraschino cherries
optional as garnish
Things You’ll Need
-
13×9 baking dish -
Hand mixer -
Mixing bowls -
Wooden spoon
Before You Begin
- It’s critical to use **coconut cream** and *not* coconut milk. The consistency difference is significant, and this recipe specifically requires the thickness of coconut cream for the proper texture and absorption into the cake. Using coconut milk will lead to a watery filling and less desirable results.
- Please note that this recipe has not been tested with “cream of coconut.” Cream of coconut is considerably sweeter than coconut cream and, when combined with sweetened condensed milk, might make the overall cake excessively sweet.
- While a white cake mix is ideal for a classic coconut flavor, a yellow cake mix can also be used. This recipe assumes a cake mix that calls for oil, water, and eggs. If your preferred brand suggests butter, simply adjust by omitting the oil, water, and eggs listed in our ingredient section and follow the specific instructions on your cake mix packaging.
Instructions
-
Preheat your oven to 350°F (175°C). Lightly grease a 9×13-inch baking dish to prevent sticking and set it aside.
-
In a large mixing bowl, combine the cake mix, water, vegetable oil, and eggs. Blend until smooth using an electric mixer.14.25 ounce white cake mix,
3/4 cup water,
1/2 cup vegetable oil,
3 eggs -
Pour the cake batter into the prepared baking dish. Bake for approximately 28 to 30 minutes, or until the top is golden and a toothpick inserted into the center comes out clean. Allow the cake to cool completely (about 1 hour).
-
While the cake cools, make the filling by combining the coconut cream and sweetened condensed milk. Stir thoroughly until smooth.13.66 ounce can of coconut cream,
14 ounce can of sweetened condensed milk -
Once cooled, poke holes into the top two-thirds of the cake using the end of a wooden spoon (spacing the holes about 1 inch apart).
-
Pour the filling generously over the poked cake, making sure the mixture seeps into all the holes. Spread it evenly with a soft silicone spatula.
-
Allow the cake to chill in the refrigerator for at least 30 minutes to absorb the filling.
-
Spread the whipped topping over the chilled cake. Top with the toasted shredded coconut and maraschino cherries (if desired). Serve immediately or keep refrigerated until ready.16 ounces whipped topping,
1 cup sweetened shredded coconut
How to Toast Shredded Coconut
-
To toast shredded coconut: Preheat your oven to 325°F (160°C). Spread the sweetened shredded coconut evenly in a single layer on a baking sheet lined with parchment paper. Place the baking sheet in the oven and toast for a few minutes, stirring occasionally, until it turns a beautiful golden brown.
**Expert Tip:** Watch the coconut *very* closely! It browns rapidly and can quickly go from perfectly toasted to burnt. Always toast on a low setting and do not leave it unattended.
Expert Tips & FAQs
- You can bake and assemble the poke cake a day ahead of time. Cover it tightly and store it in the refrigerator. Poke cakes often taste even better after they’ve had ample time to chill and fully absorb the flavors. If using maraschino cherries, add them right before serving to prevent their liquid from bleeding and coloring the whipped topping.
- Store the completed cake, covered, in the refrigerator for 4-5 days to maintain freshness and moisture.
- To Freeze: For best results, I recommend freezing the cake *before* adding the whipped topping and toasted coconut. After the cake has chilled and absorbed the filling (following step 7), wrap it securely first in several layers of plastic wrap, then an additional layer of aluminum foil. This helps prevent freezer burn. It can be frozen for up to 3 months. Thaw the cake overnight in the refrigerator, then proceed with frosting and decorating when you’re ready to serve.
Nutrition
Serving:
1
serving
|
Calories:
445
cal
|
Carbohydrates:
48
g
|
Protein:
6
g
|
Fat:
26
g
|
Saturated Fat:
17
g
|
Polyunsaturated Fat:
5
g
|
Monounsaturated Fat:
4
g
|
Trans Fat:
0.2
g
|
Cholesterol:
42
mg
|
Sodium:
272
mg
|
Potassium:
262
mg
|
Fiber:
1
g
|
Sugar:
35
g
|
Vitamin A:
141
IU
|
Vitamin C:
1
mg
|
Calcium:
165
mg
|
Iron:
1
mg
Tried this Recipe? Pin it for Later!
Follow on Pinterest @AmandasCookin or tag #AmandasCookin!
The recipes on this blog are tested with a conventional gas oven and gas stovetop. It’s important to note that some ovens, especially as they age, can cook and bake inconsistently. Using an inexpensive oven thermometer can assure you that your oven is truly heating to the proper temperature. If you use a toaster oven or countertop oven, please keep in mind that they may not distribute heat the same as a conventional full sized oven and you may need to adjust your cooking/baking times. In the case of recipes made with a pressure cooker, air fryer, slow cooker, or other appliance, a link to the appliances we use is listed within each respective recipe. For baking recipes where measurements are given by weight, please note that results may not be the same if cups are used instead, and we can’t guarantee success with that method.
