The Best Easy & Fluffy Pineapple Sunshine Cake Recipe: A Tropical Delight for Any Occasion
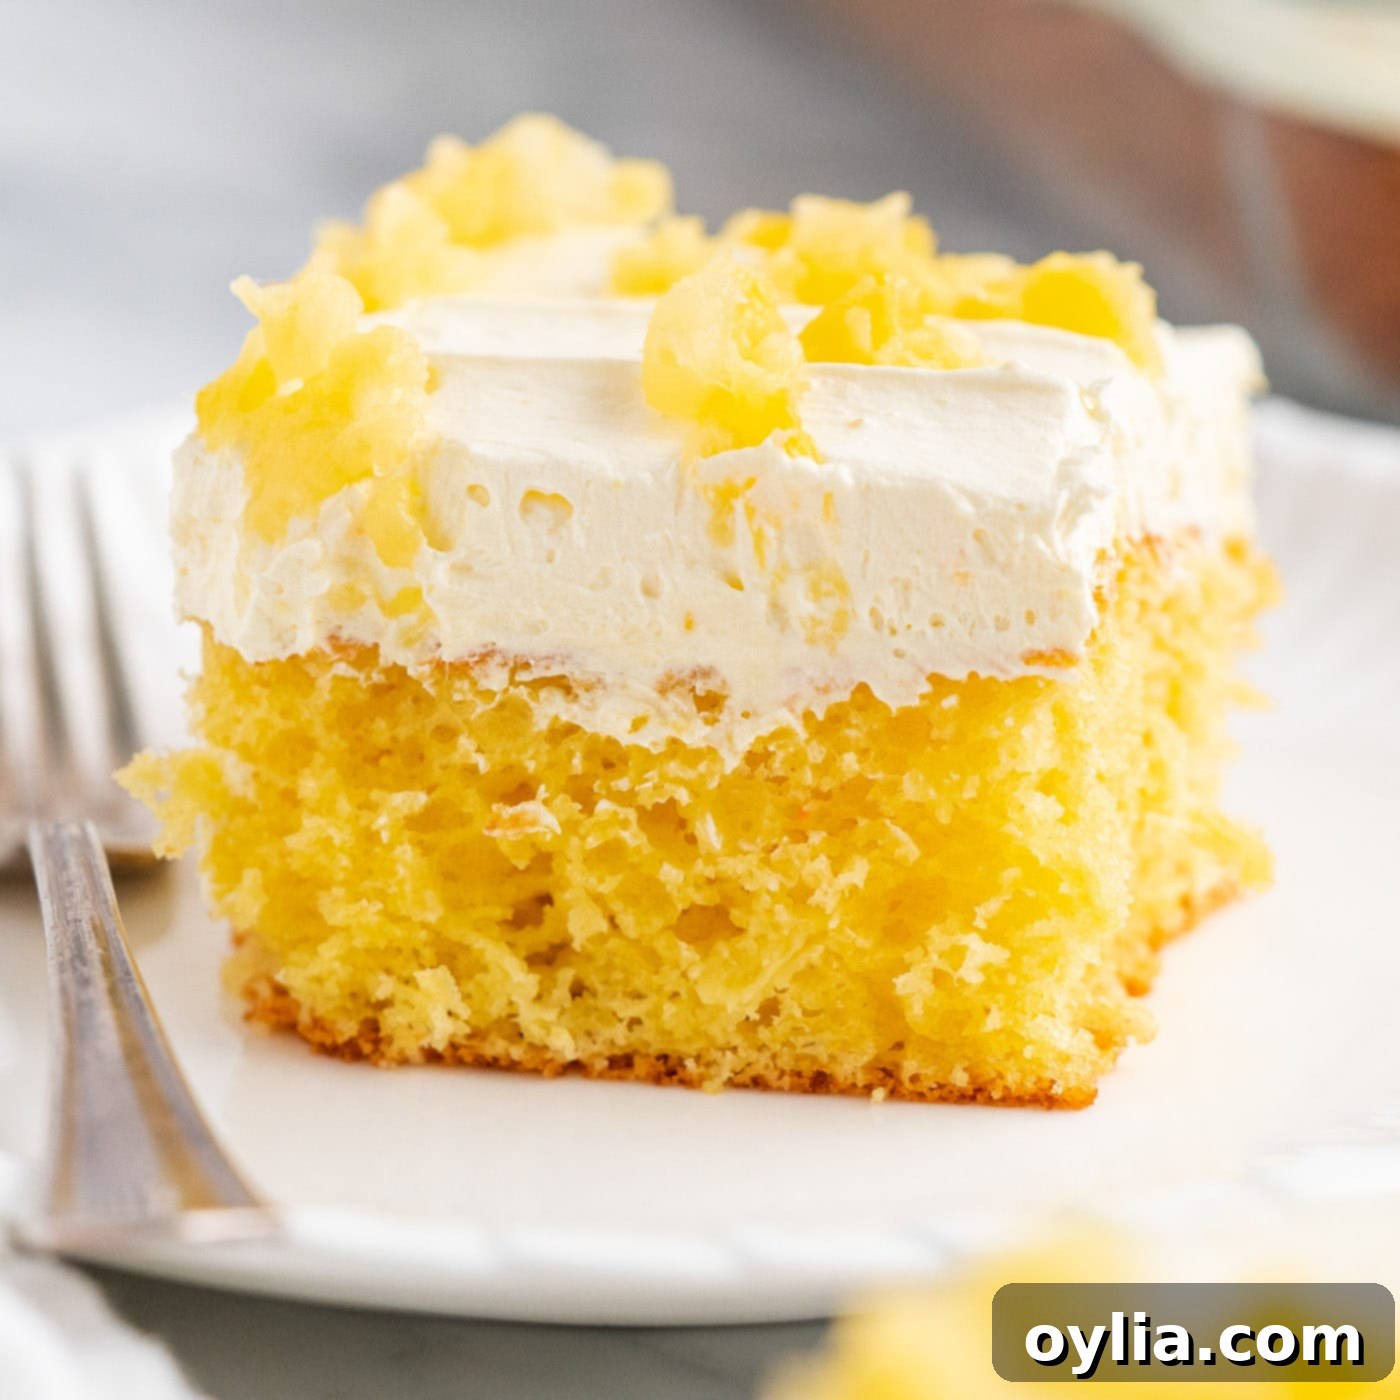
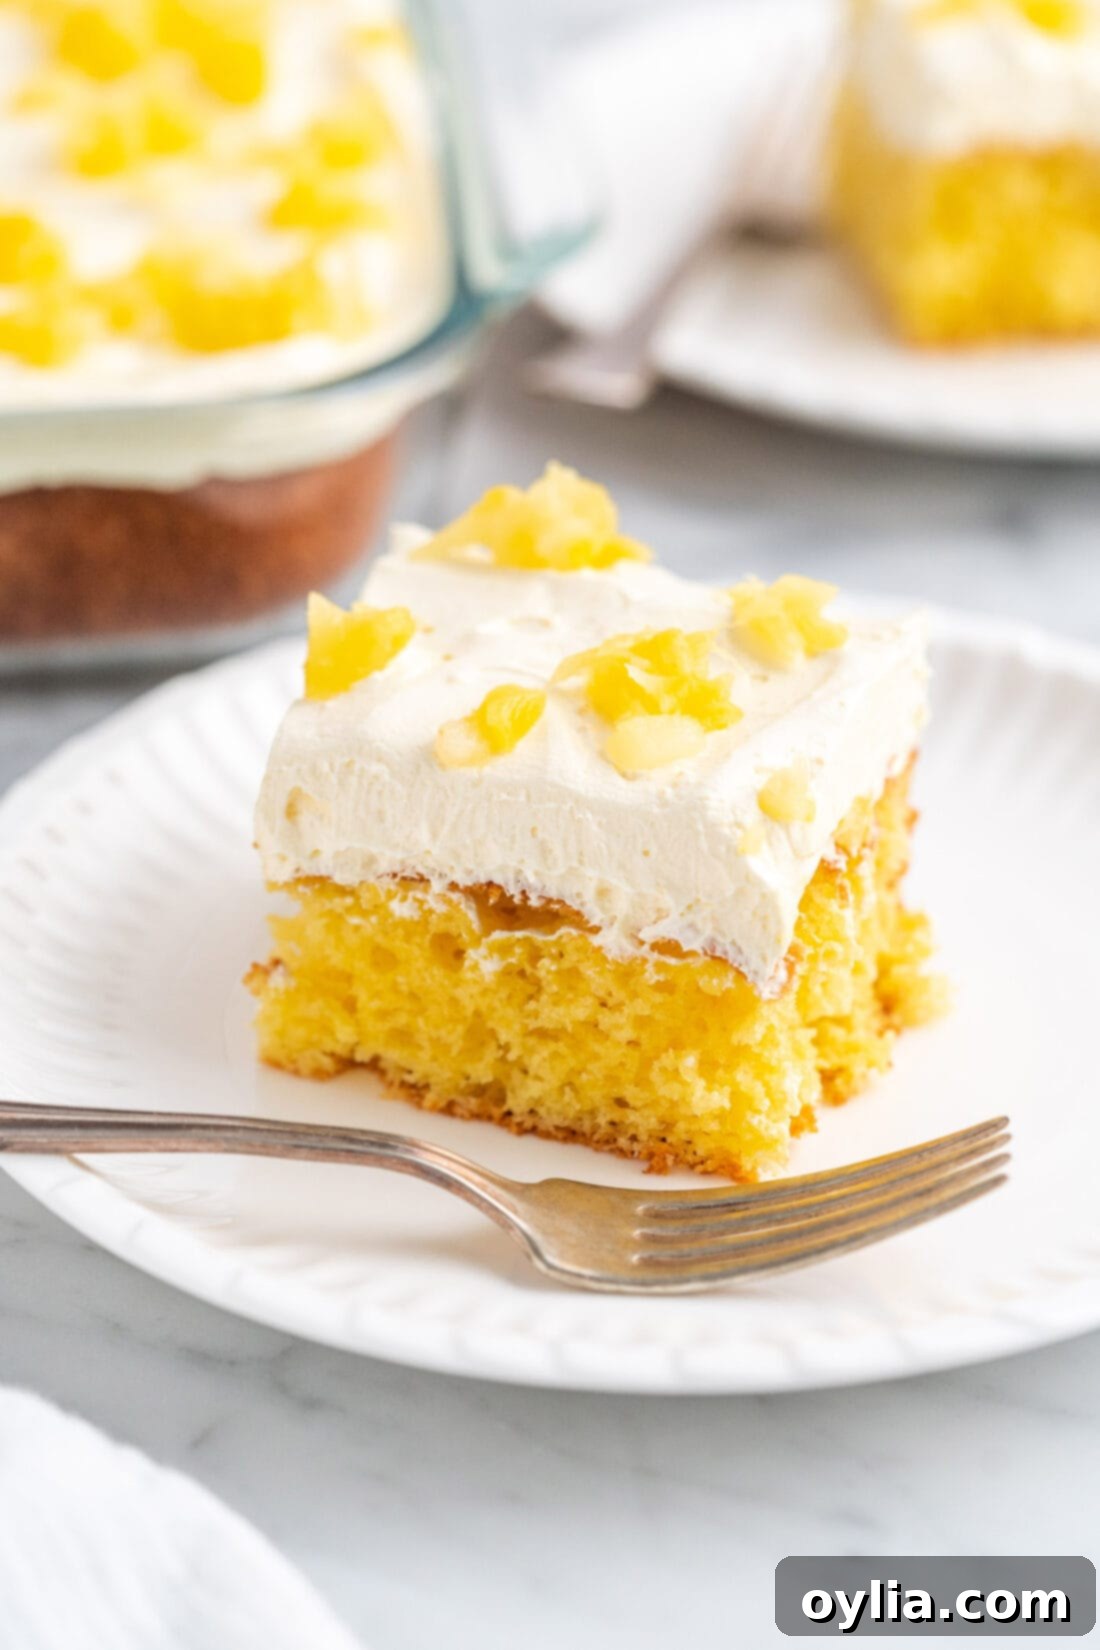
Prepare to infuse your day with a burst of tropical flavor with this incredibly easy and utterly delicious Pineapple Sunshine Cake. This dessert is a true ray of sunshine, combining the simplicity of a yellow cake mix with the vibrant, juicy sweetness of crushed pineapple, all crowned with a cloud-like, fluffy whipped pineapple frosting. It’s the perfect treat to brighten any gathering, from casual family dinners to festive potlucks and vibrant summer parties.
Why This Easy Pineapple Cake Recipe is a Must-Try
This pineapple sunshine cake isn’t just easy; it’s foolproof! What makes this recipe truly stand out is its brilliant use of a yellow cake mix as its foundation, effortlessly enhanced by the sweet, tangy notes of crushed pineapple and its natural juices. This simple addition transforms a basic cake mix into an exceptionally moist and flavorful tropical dessert without any extra fuss. The magic doesn’t stop there; the frosting is a dreamy combination of light whipped cream, instant vanilla pudding, and more pineapple juice, creating a fluffy, refreshing topping that perfectly complements the cake’s richness.
Whether you’re a seasoned baker or just starting out, you’ll appreciate how quickly this cake comes together. It’s designed for convenience, making it an ideal choice when you need a show-stopping dessert without spending hours in the kitchen. The crushed pineapple in the batter not only adds a burst of flavor but also contributes significantly to the cake’s tender crumb and delightful moisture, ensuring every bite is a little piece of paradise. Plus, the options for the frosting—using either readily available store-bought Cool Whip or a homemade stabilized whipped cream—offer flexibility to suit your preferences and schedule, making this a truly versatile and beloved recipe.
Essential Ingredients for Your Pineapple Sunshine Cake
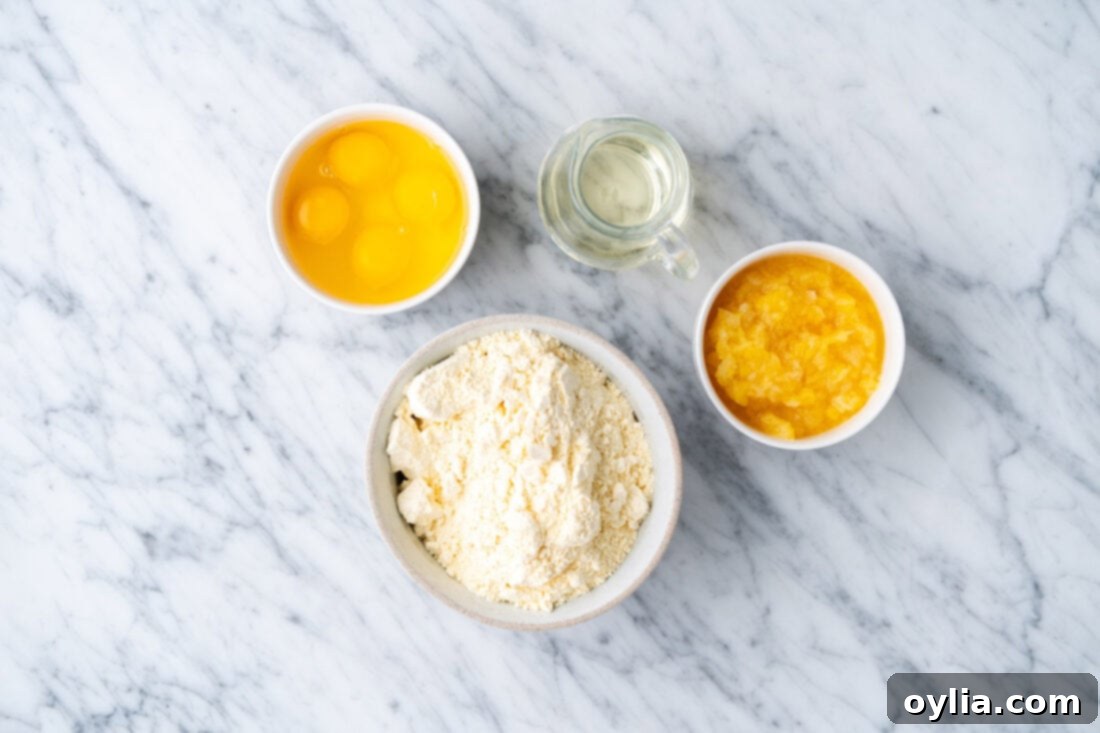
Gathering the right ingredients is the first step to creating this delightful cake. What’s fantastic about this recipe is its reliance on readily available pantry staples, making it accessible for everyone. For precise measurements and a detailed recipe card, remember to scroll to the end of this post!
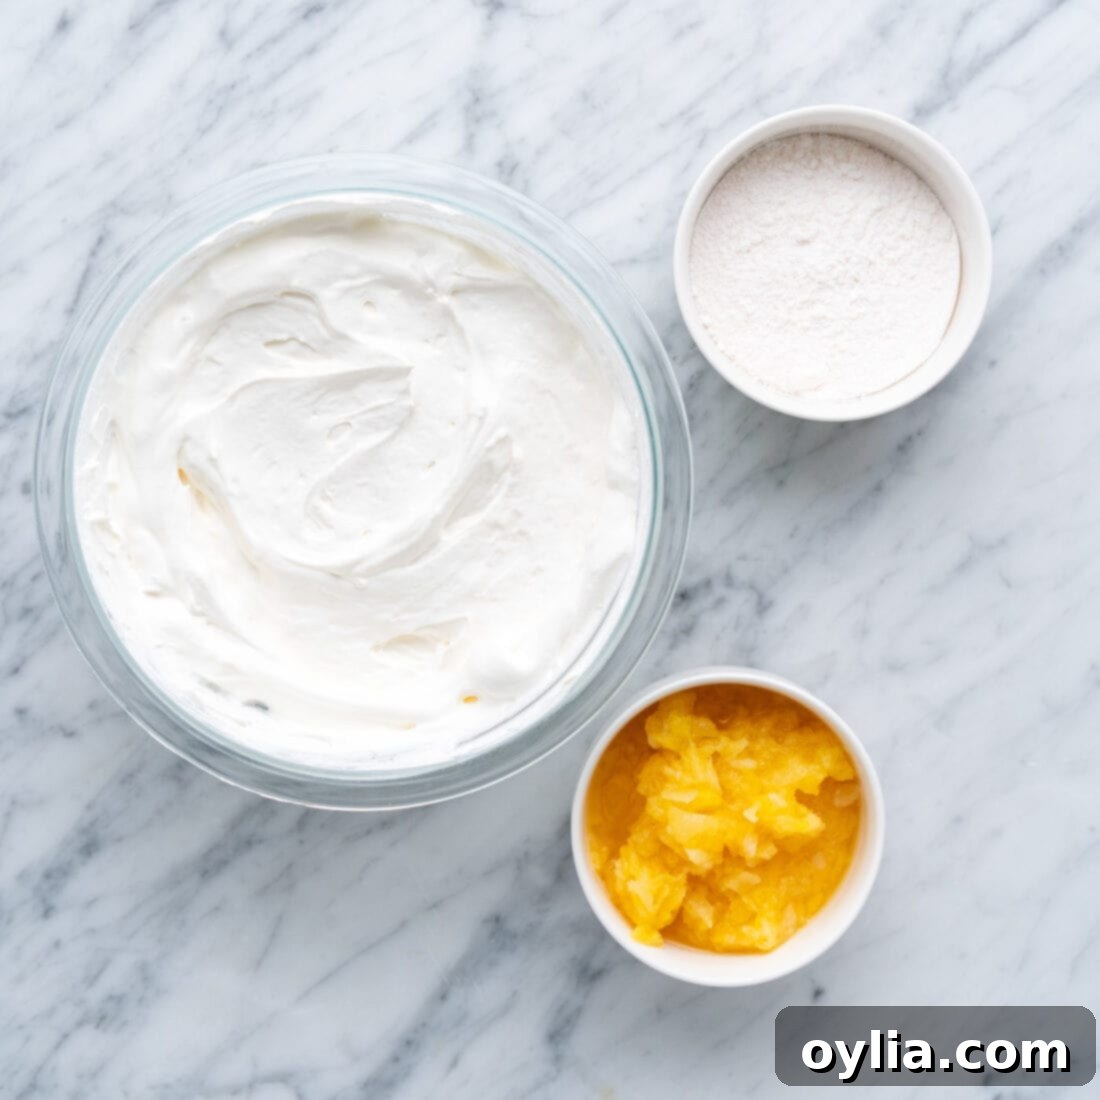
Ingredient Breakdown & Smart Substitutions
Let’s dive deeper into the components that make this Pineapple Sunshine Cake so special, along with some helpful tips for ingredient selection and potential substitutions.
- CAKE Base – The cornerstone of this dessert is its convenience. You’ll need a standard 15.25 ounce box of yellow cake mix. While yellow cake mix provides a classic flavor and beautiful golden hue, you could experiment with a white cake mix for a slightly different vanilla base, or even a spice cake mix for a unique, warm twist. Paired with this are essential wet ingredients: oil, eggs, and a can of crushed pineapple with its juice. The magic of this recipe lies in incorporating the entire can of crushed pineapple (juice included!) directly into the cake batter. This infusion is key; the pineapple juice provides incredible moisture, while the fruit itself adds natural sweetness and a lovely texture throughout the cake. Don’t drain the pineapple for the cake batter—every drop of that tropical juice contributes to the cake’s luscious tenderness.
- FROSTING Perfection – The frosting is where this cake truly earns its “sunshine” moniker, offering a light, airy contrast to the moist cake. It’s crucial to prepare the frosting only once the cake has completely cooled to prevent it from melting. Once made, spread it immediately, as the instant vanilla pudding mix acts quickly to set and stiffen the frosting, ensuring a beautiful, stable topping. For the creamy base, you have a couple of excellent options:
- Homemade Stabilized Whipped Cream: This option provides a richer, fresher taste and holds its shape exceptionally well, preventing weeping. You can find a fantastic recipe for stabilized whipped cream here.
- Store-bought Cool Whip: For ultimate convenience, a thawed tub of Cool Whip works wonderfully. You’ll need approximately 12 ounces (equivalent to about 1 1/2 regular-sized containers) to achieve the desired fluffy consistency and volume for frosting a 9×13 inch cake.
Regardless of your choice, the crushed pineapple for the frosting must be strained, with the juice reserved for mixing and the drained pineapple used as a vibrant topping. The dry instant vanilla pudding mix (do not prepare it as pudding!) is essential here, providing both thickening power and a subtle vanilla flavor that perfectly complements the pineapple.
Step-by-Step Guide: Crafting Your Pineapple Sunshine Cake
These step-by-step photos and instructions are designed to help you visualize each stage of making this delightful cake. For a printable version of this recipe, complete with precise measurements and comprehensive instructions, please Jump to Recipe at the bottom of this post.
- Preheat your oven to 350°F (175°C). Prepare a 9×13 inch baking dish by generously spraying the inside with nonstick spray. This ensures your beautiful cake releases easily after baking.
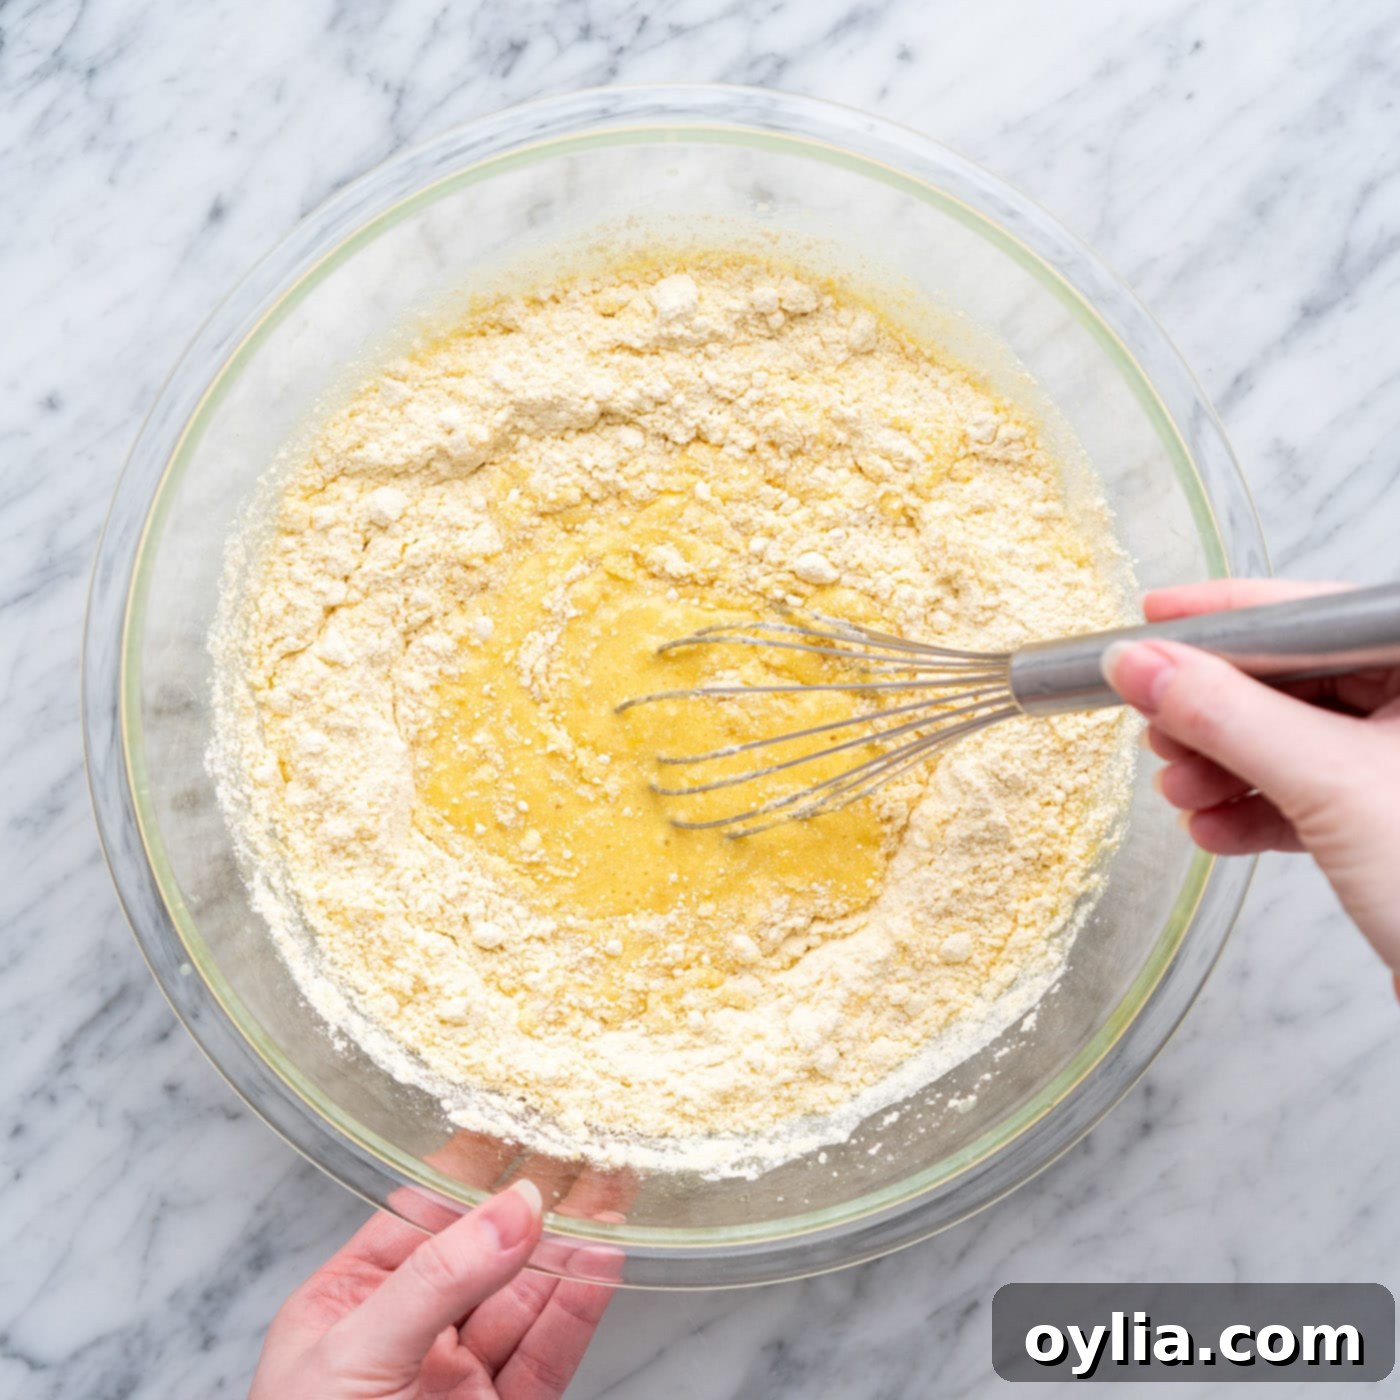
- In a large mixing bowl, combine the 4 large eggs, the entire can of crushed pineapple (including its juice), and ½ cup vegetable oil. Whisk these wet ingredients together until they are well combined. Then, gradually whisk in the 15.25 ounce yellow cake mix until just incorporated. A few small lumps in the batter are perfectly fine; the key is to avoid over-mixing, which can lead to a dry cake.

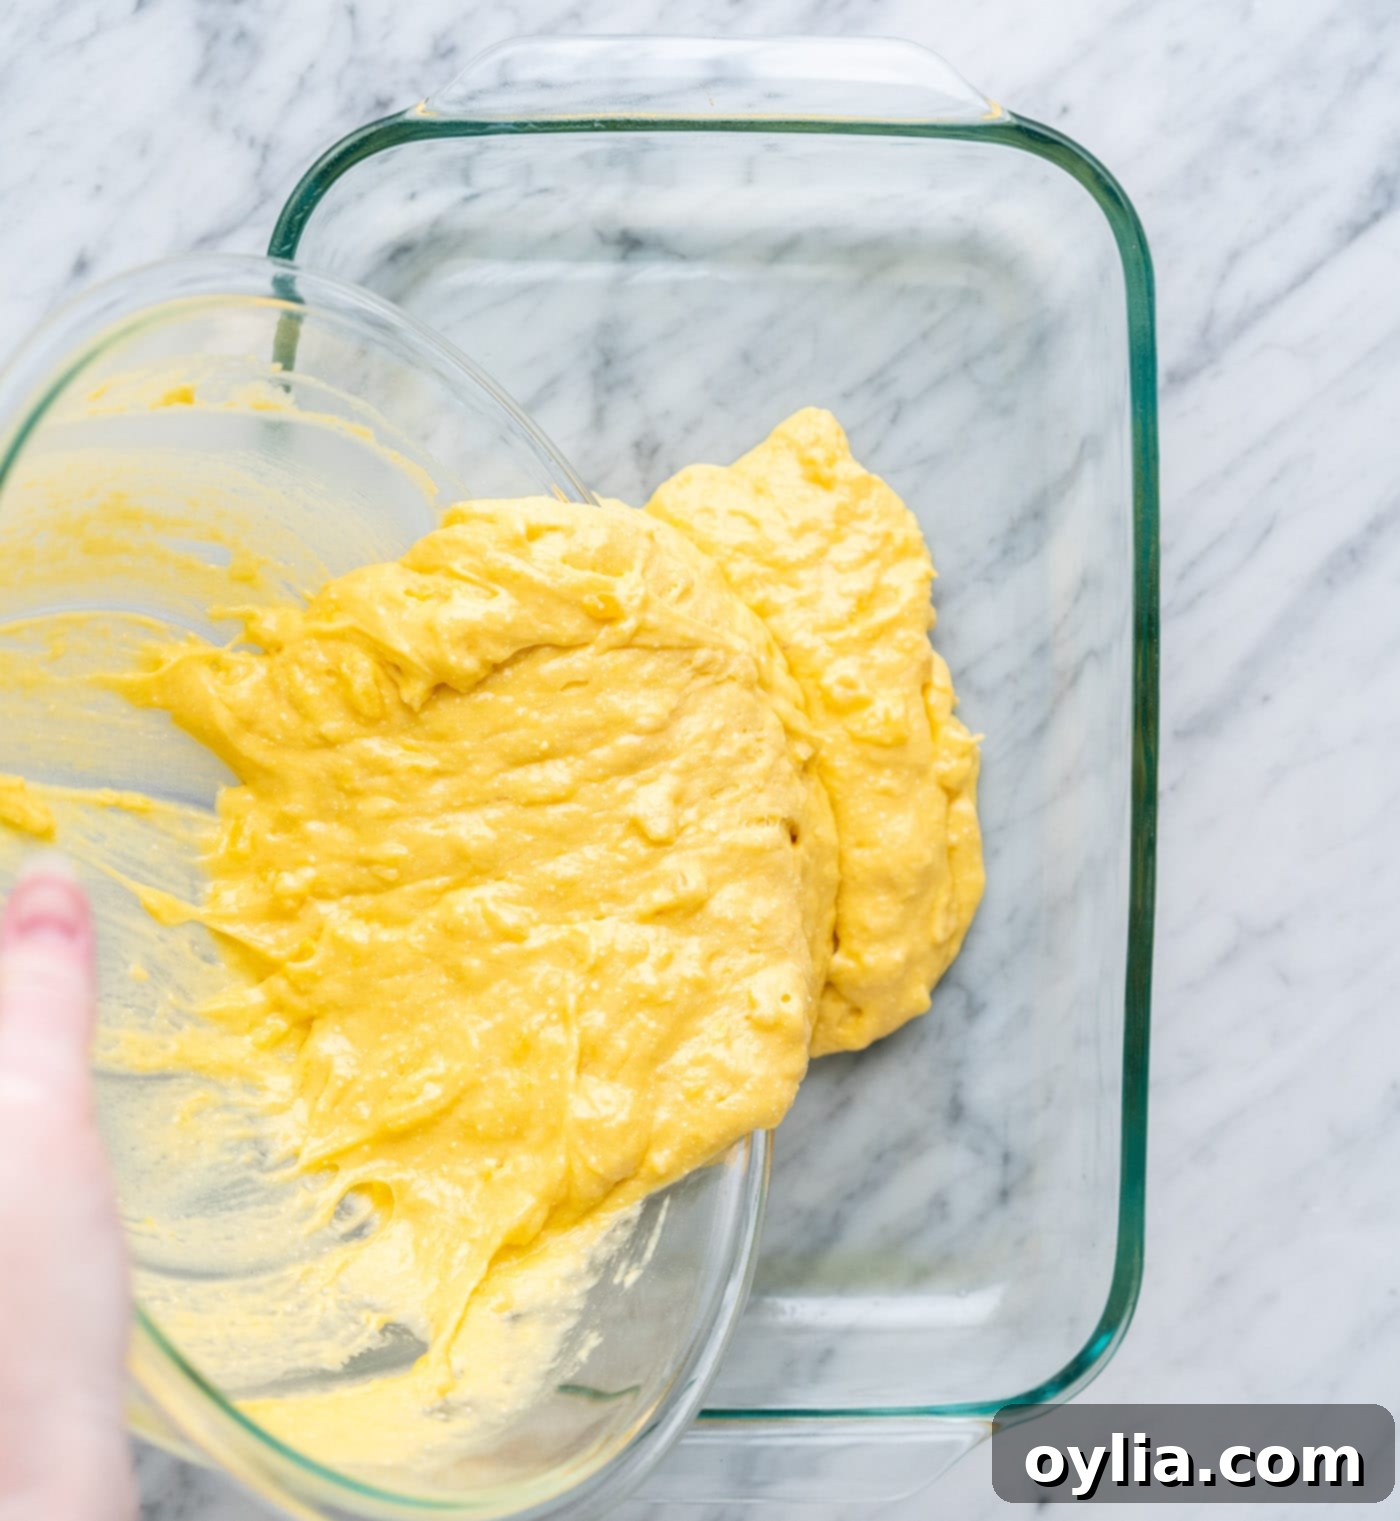
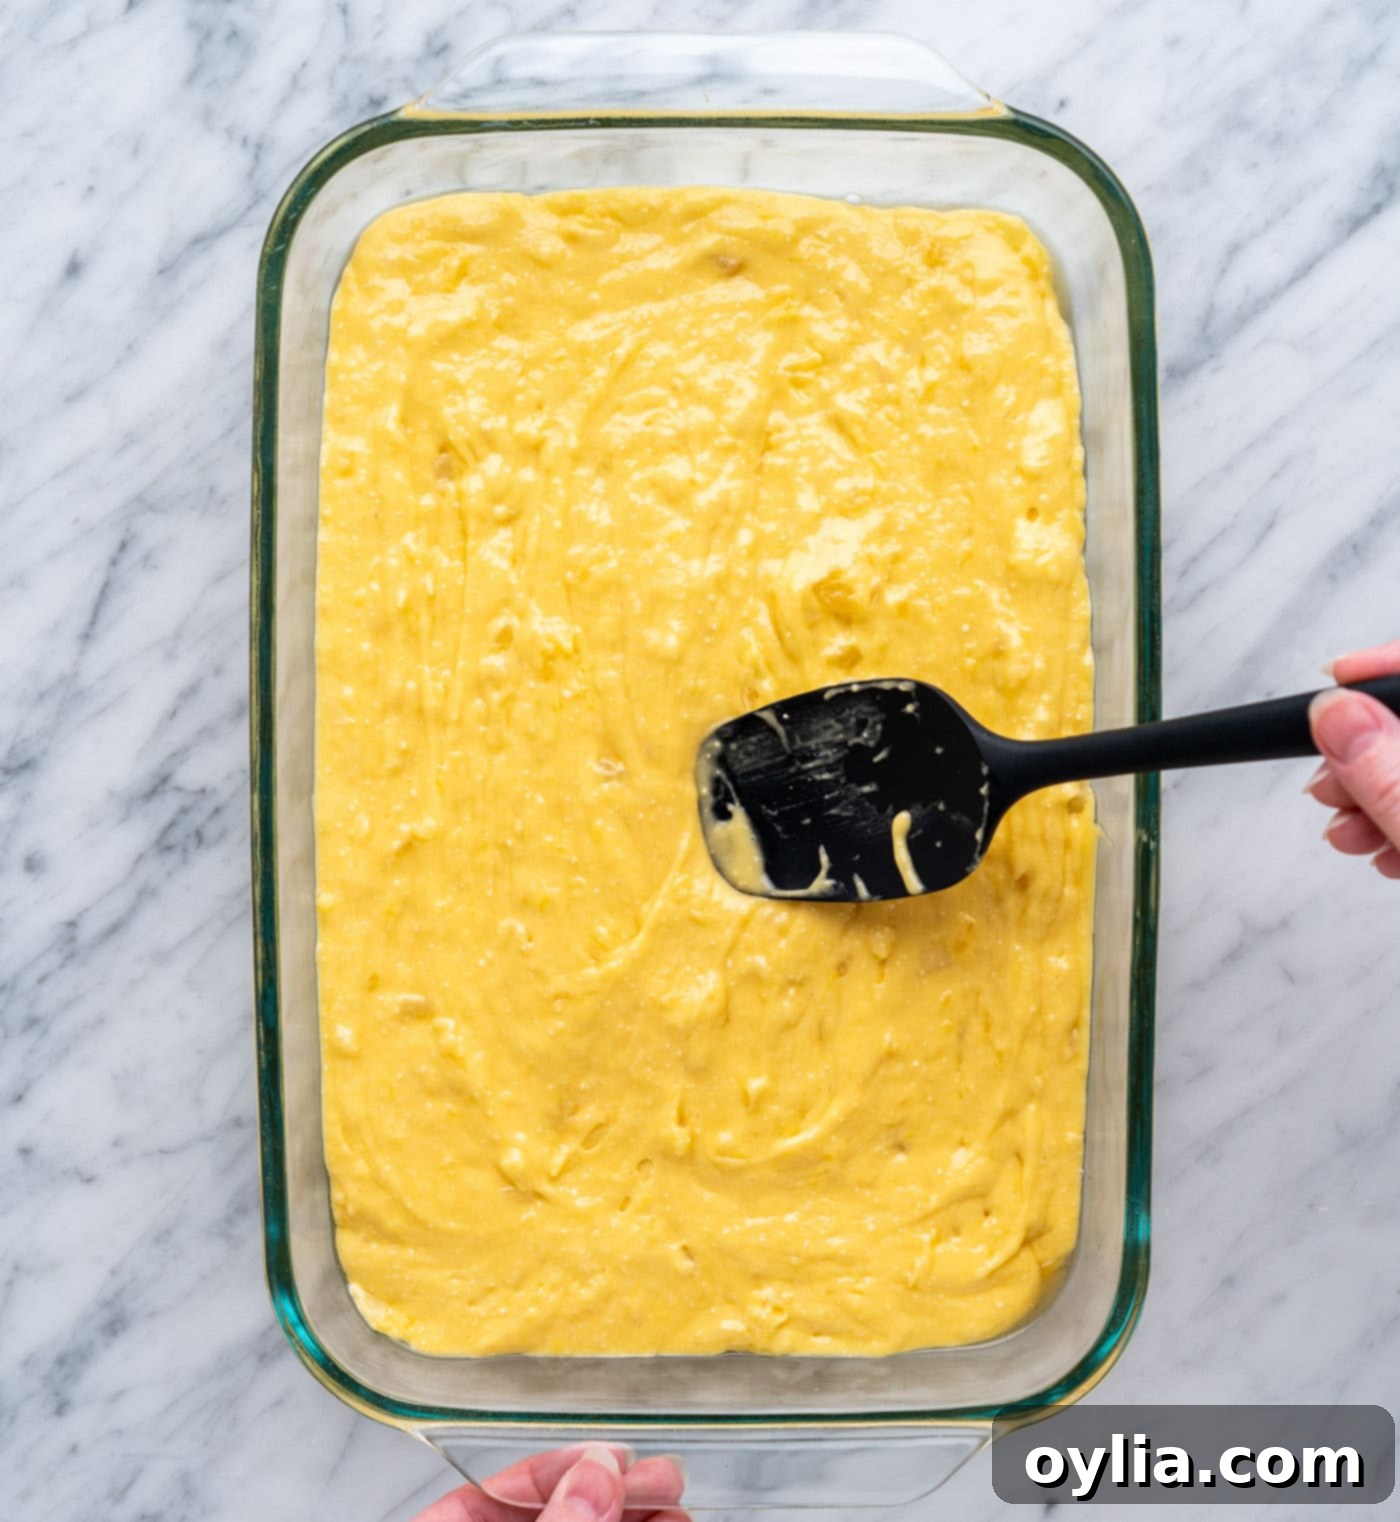
- Carefully pour the mixed cake batter into your prepared 9×13 inch baking dish. Use a spatula to spread it out evenly across the bottom of the pan, ensuring consistent baking and a level cake surface.


- Bake the cake for approximately 25 to 35 minutes, or until it turns a beautiful golden brown and a toothpick inserted into the center comes out clean. This indicates it’s fully cooked through.
- Once baked, remove the cake from the oven and allow it to cool completely in the dish. This typically takes about 1 hour. Cooling thoroughly is essential before frosting to prevent the frosting from melting.
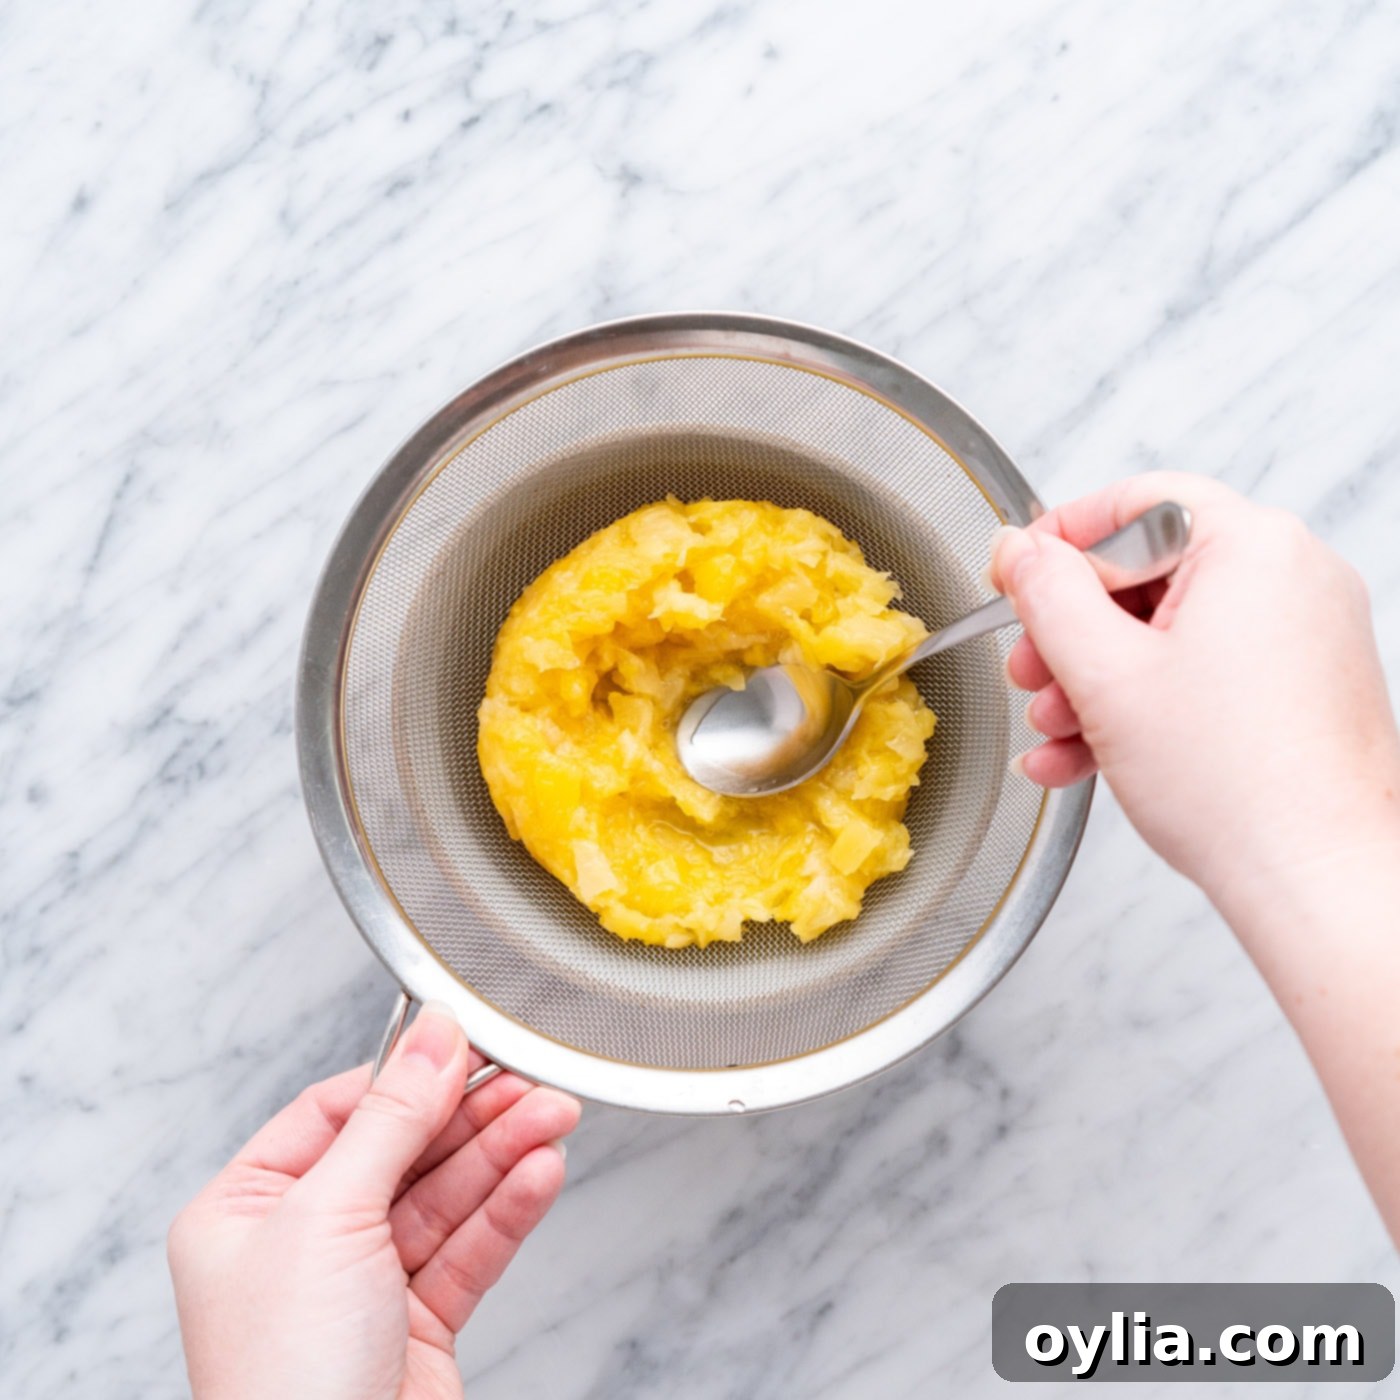
- While the cake is cooling, prepare the frosting. First, take the second can of crushed pineapple. Strain it well, reserving the flavorful juice for the frosting mixture and setting aside the drained crushed pineapple to be sprinkled on top of the finished cake as a garnish.

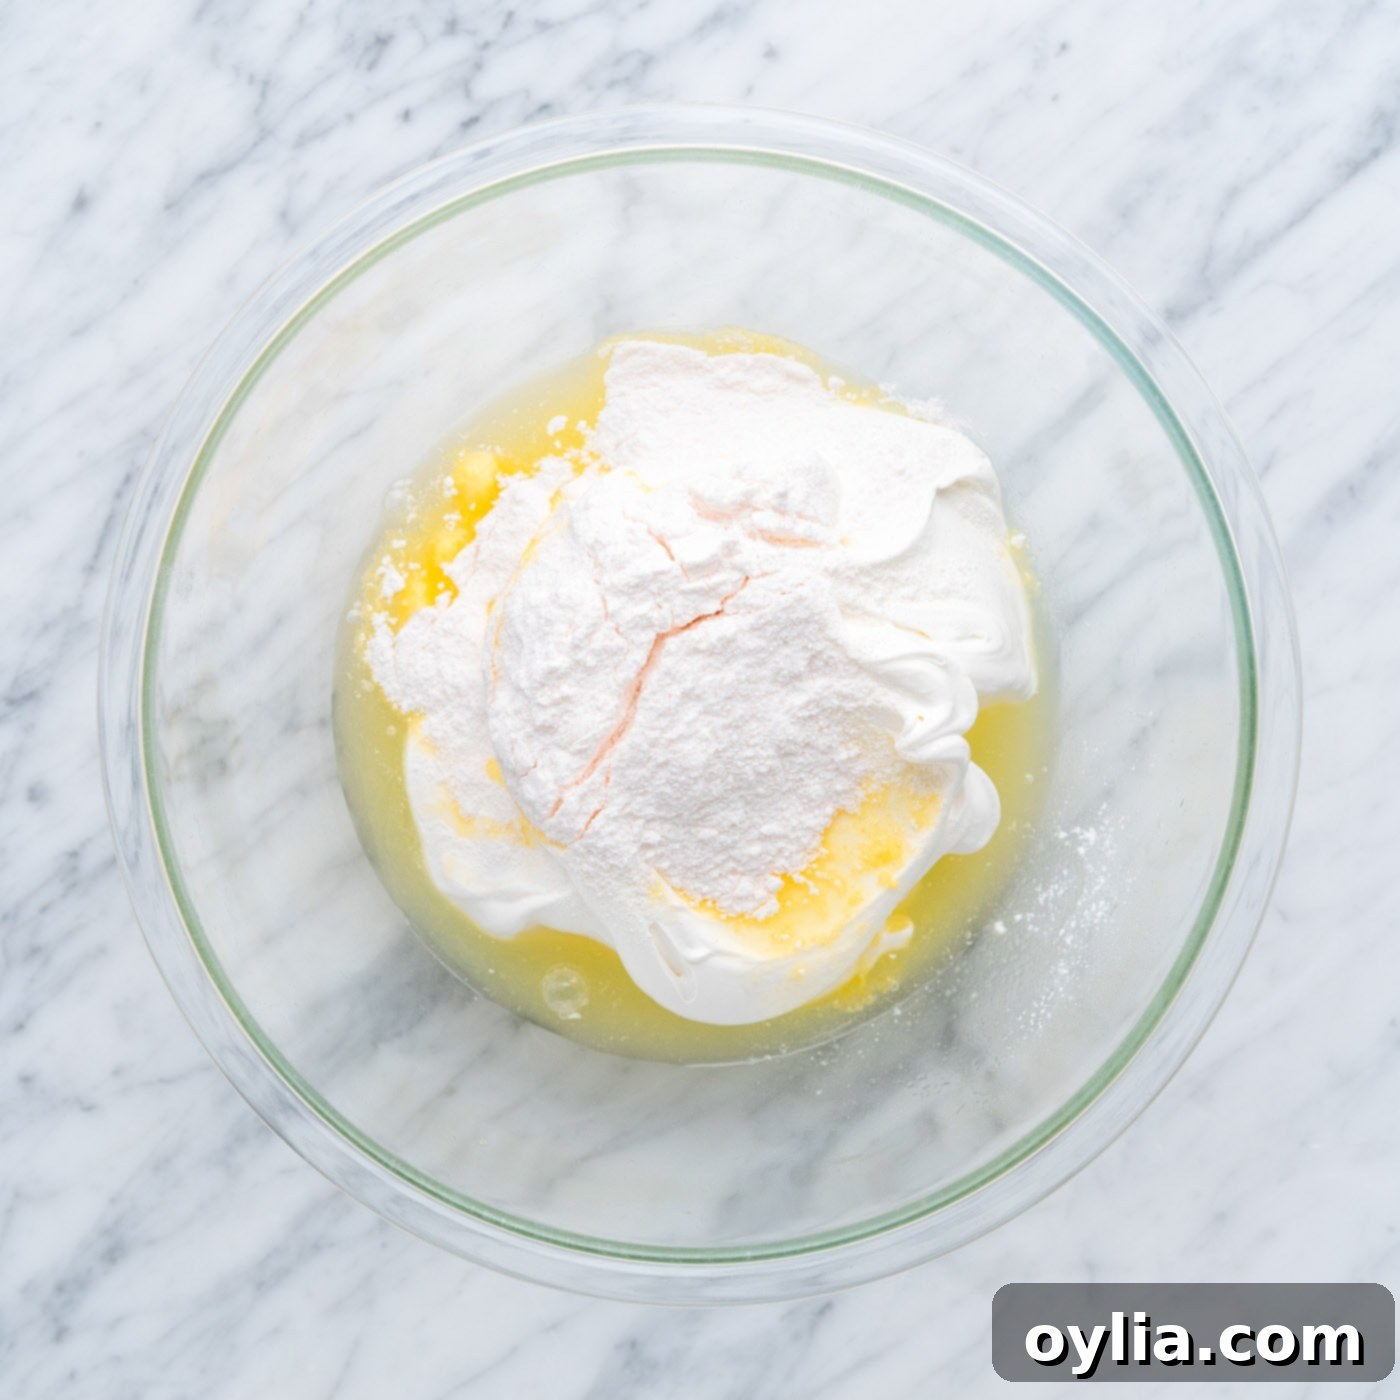
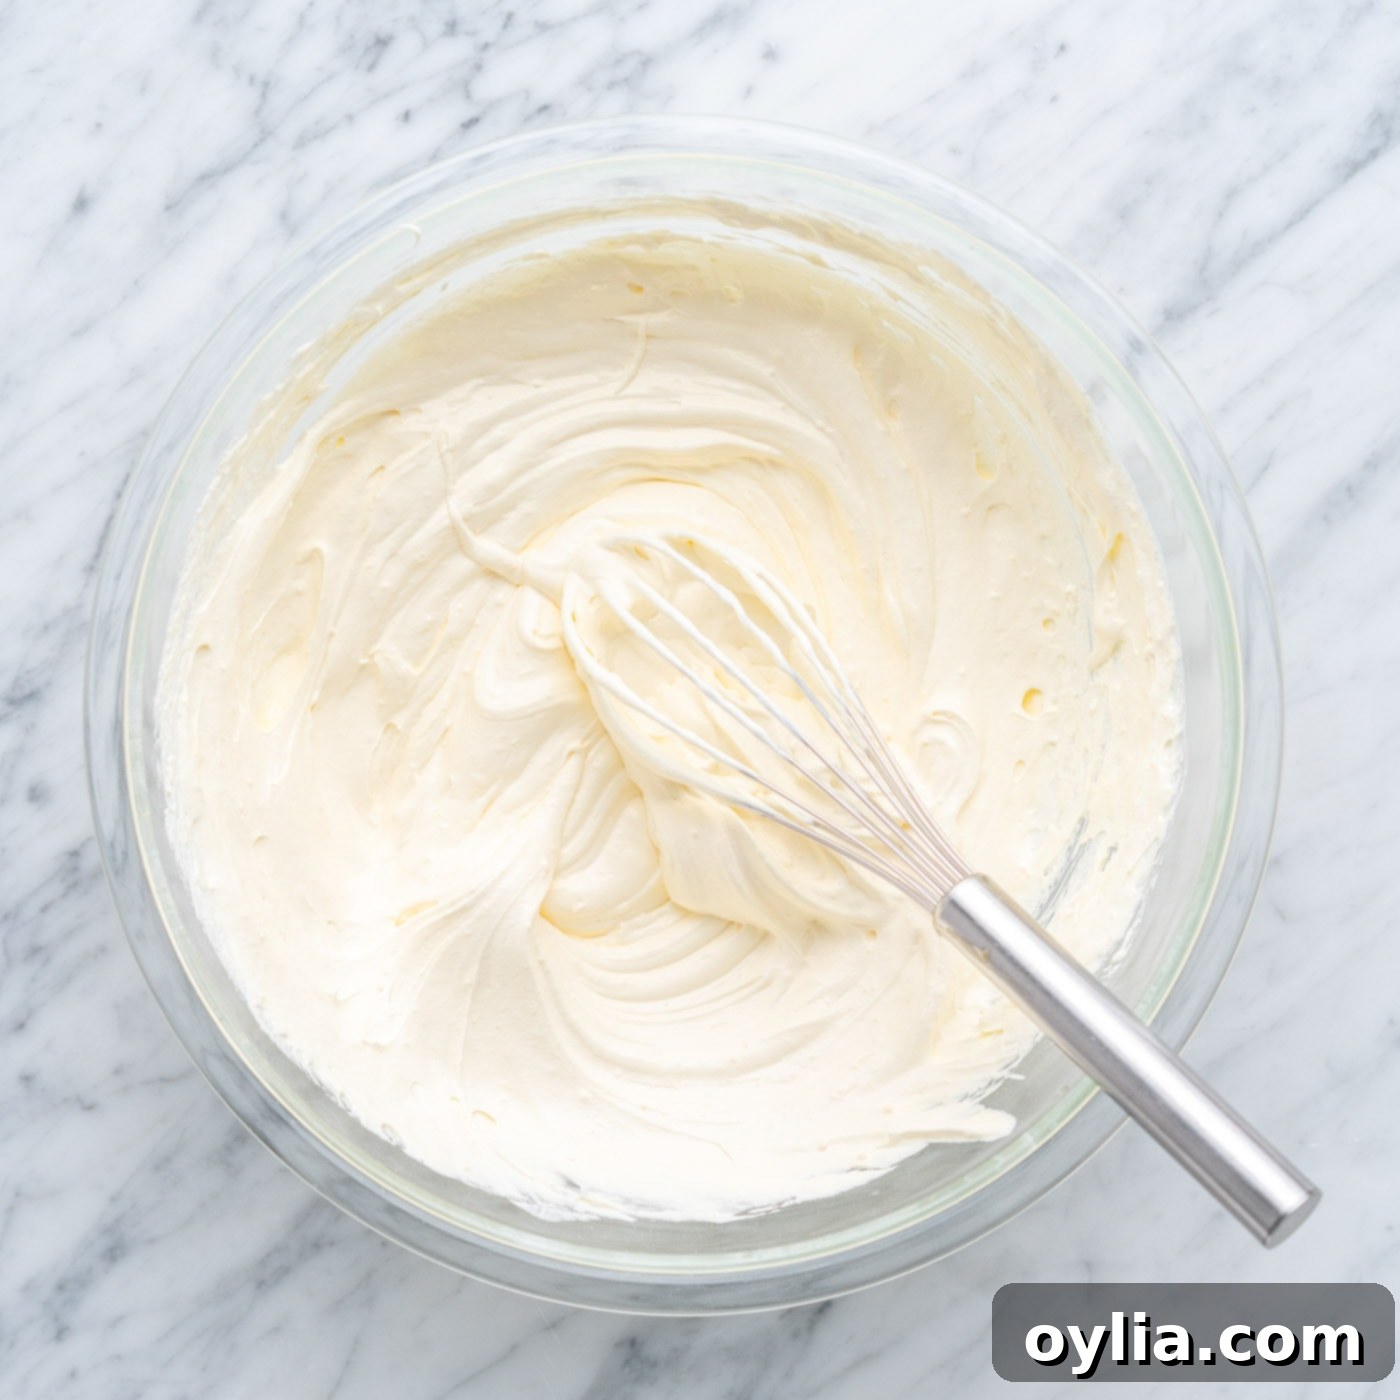
- In a separate large bowl, combine the reserved pineapple juice (from straining), whipped cream (Cool Whip or homemade stabilized whipped cream), and the dry instant vanilla pudding mix. Whisk or beat these ingredients together until they are fully combined and the mixture is light and fluffy.


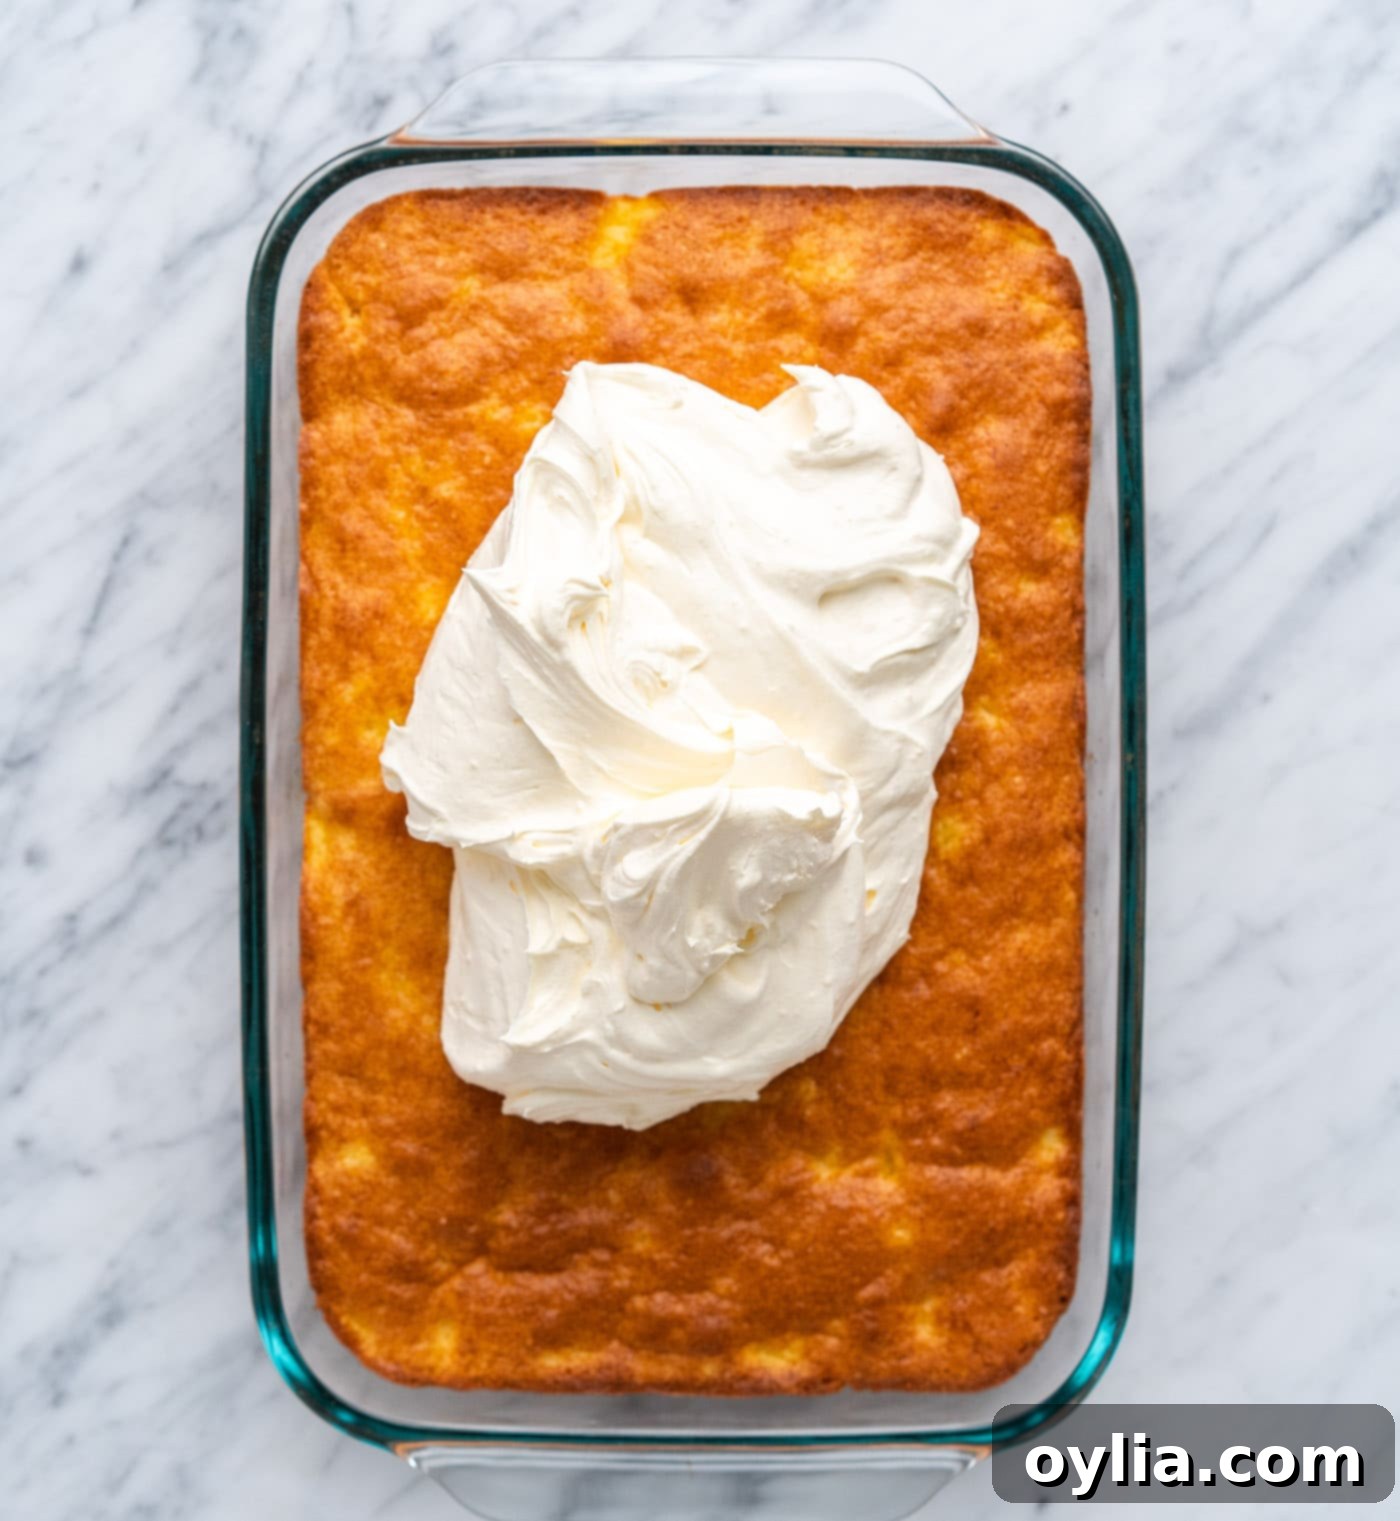
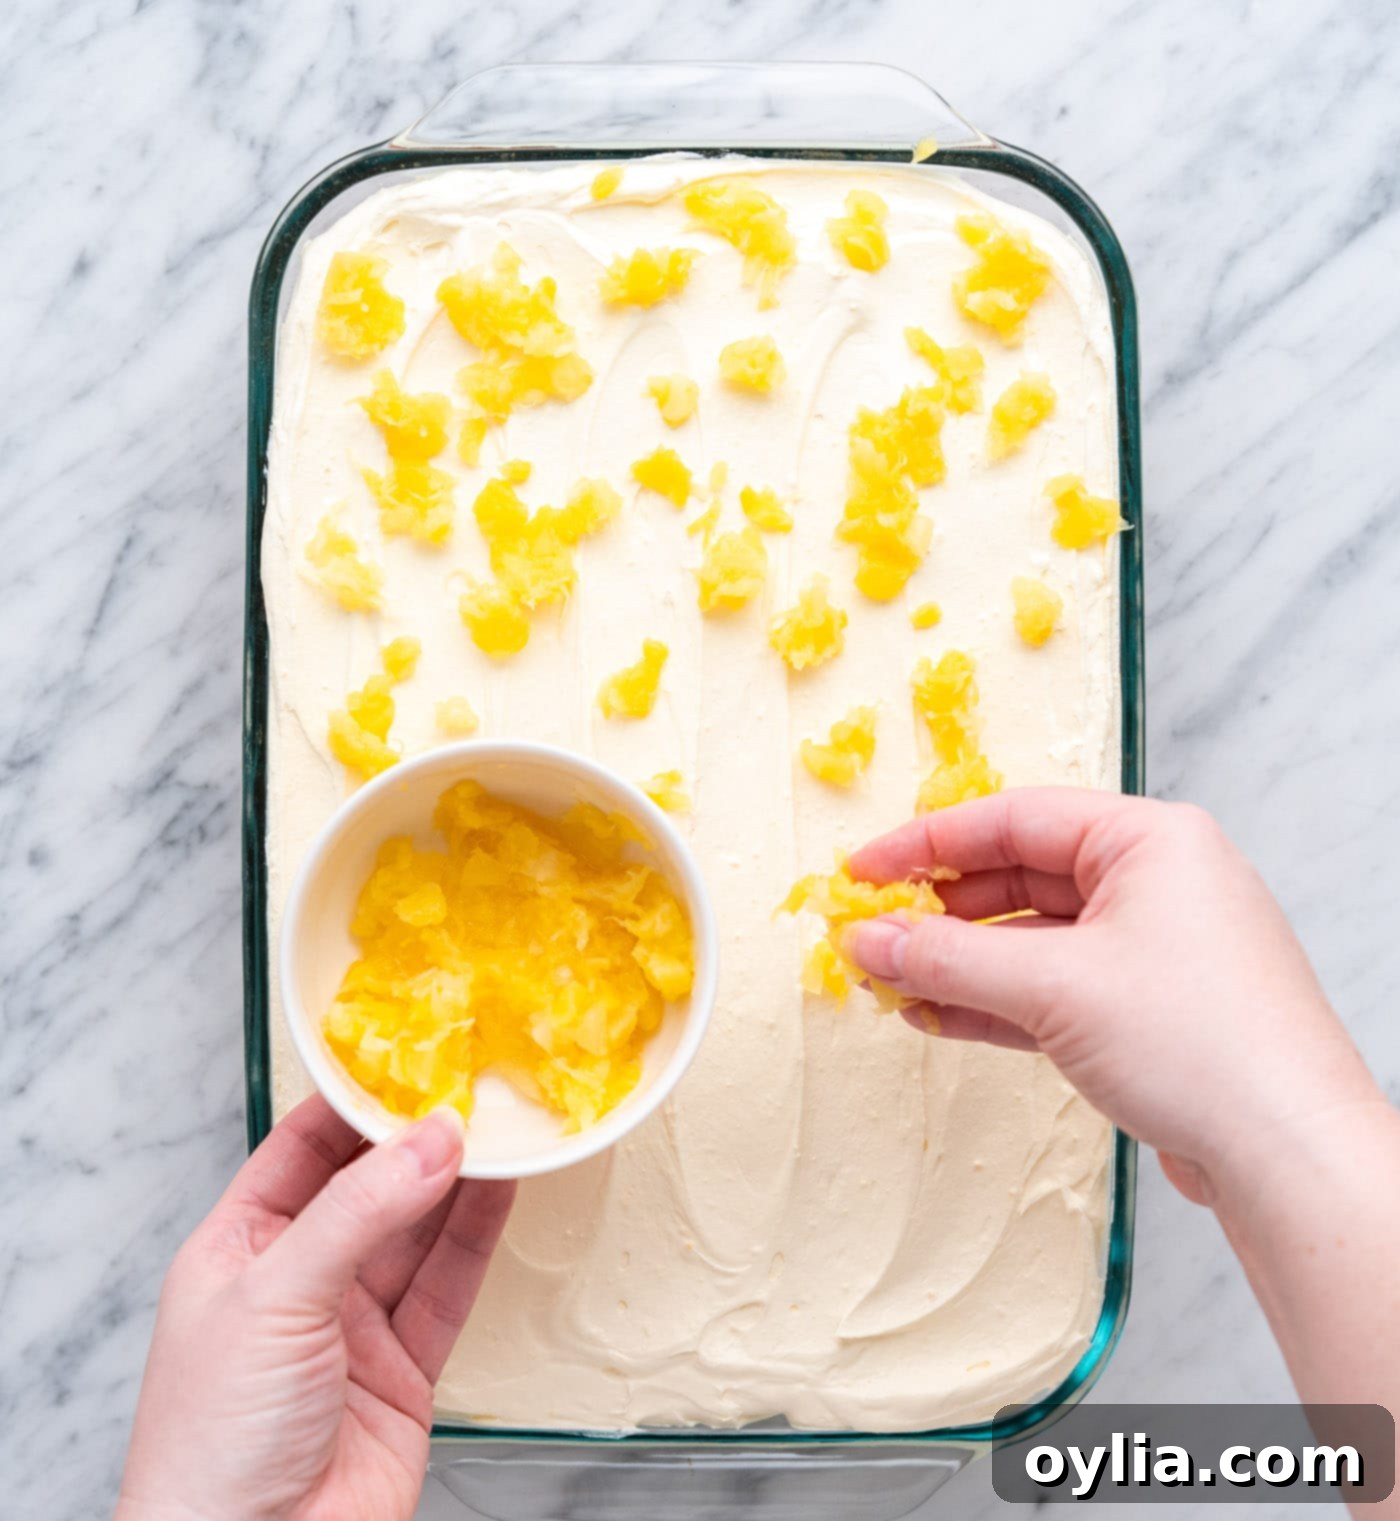
- As soon as the frosting is ready, immediately spread it evenly over the completely cooled cake. The instant pudding mix will begin to set quickly, so swift action ensures a smooth, attractive finish. Finally, sprinkle the reserved drained crushed pineapple over the top of the frosting for a beautiful presentation and an extra burst of pineapple flavor.


Frequently Asked Questions & Expert Tips for Perfection
To maintain its freshness and delightful texture, store your Pineapple Sunshine Cake in the refrigerator. It’s best kept sealed with an airtight lid or tightly wrapped with plastic wrap to prevent it from drying out or absorbing other odors from your fridge. When stored properly, this cake will remain fresh and delicious for up to 4 days.
Absolutely! This cake freezes beautifully. For optimal results, we recommend freezing the cake without the frosting. Once the cake has cooled completely, wrap it tightly in plastic wrap, then an additional layer of aluminum foil, and place it in a freezer-safe bag or container. It can be stored in the freezer for up to 2-3 months. When you’re ready to serve, thaw the cake in the refrigerator overnight. The frosting is so quick and easy to whip up fresh on the day you plan to enjoy the cake, ensuring that light, fluffy texture every time.
While fresh pineapple is delicious, for this specific recipe, canned crushed pineapple (with its juice) is highly recommended. The juice content in canned pineapple is consistent and provides the necessary moisture and flavor for the cake batter and frosting. Fresh pineapple has varying water content and might alter the cake’s texture or require additional adjustments to the liquid in the recipe.
The secret to a moist cake lies in two key steps: 1) Do not overmix the batter. Overmixing develops the gluten in the flour, leading to a tougher, drier cake. Mix only until the ingredients are just combined. 2) The crushed pineapple with its juice is your moisture hero here; ensure you add the entire can, undrained, to the cake batter. This provides a significant moisture boost.
If your frosting isn’t as fluffy as desired, ensure your whipped cream base (whether Cool Whip or homemade stabilized whipped cream) is thoroughly chilled before mixing. The instant pudding mix acts quickly, so once you combine all the frosting ingredients, whisk or beat it briskly until fluffy, and then spread it immediately. If it sets too fast, you can try adding a tiny splash more of pineapple juice or milk (about a tablespoon) and quickly re-whisking, but be careful not to make it too thin.
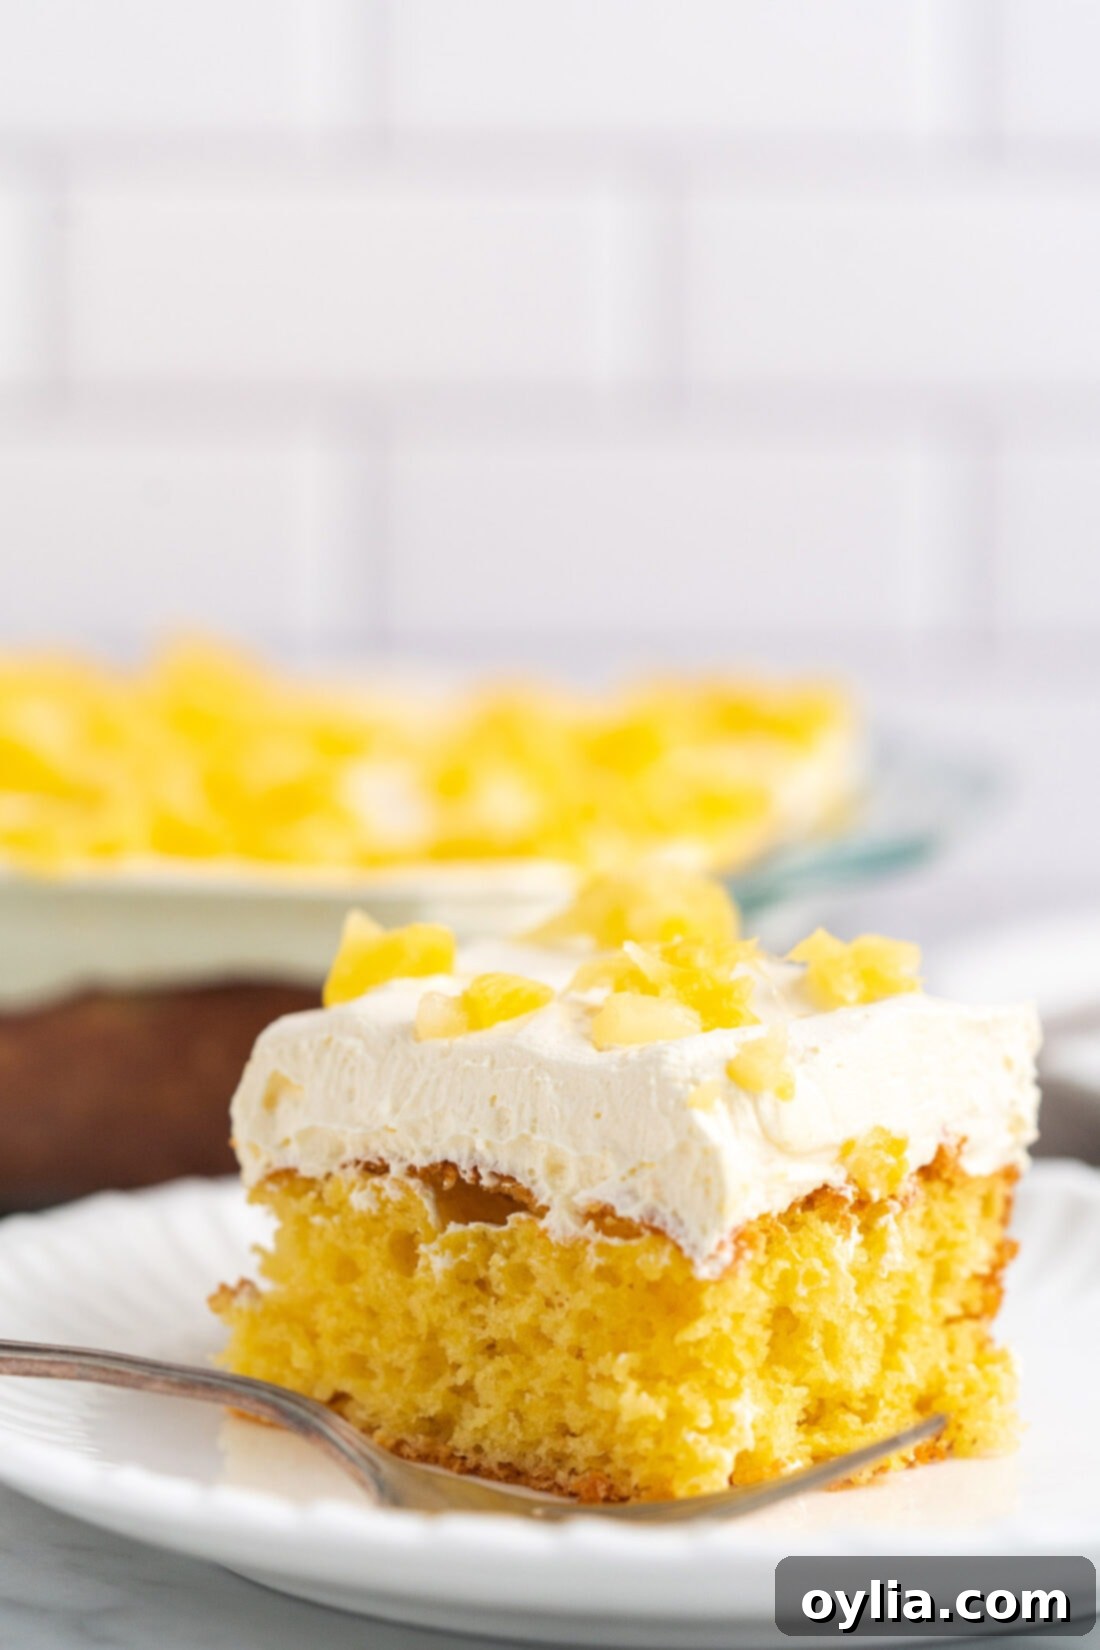
Delightful Serving Suggestions for Your Sunshine Cake
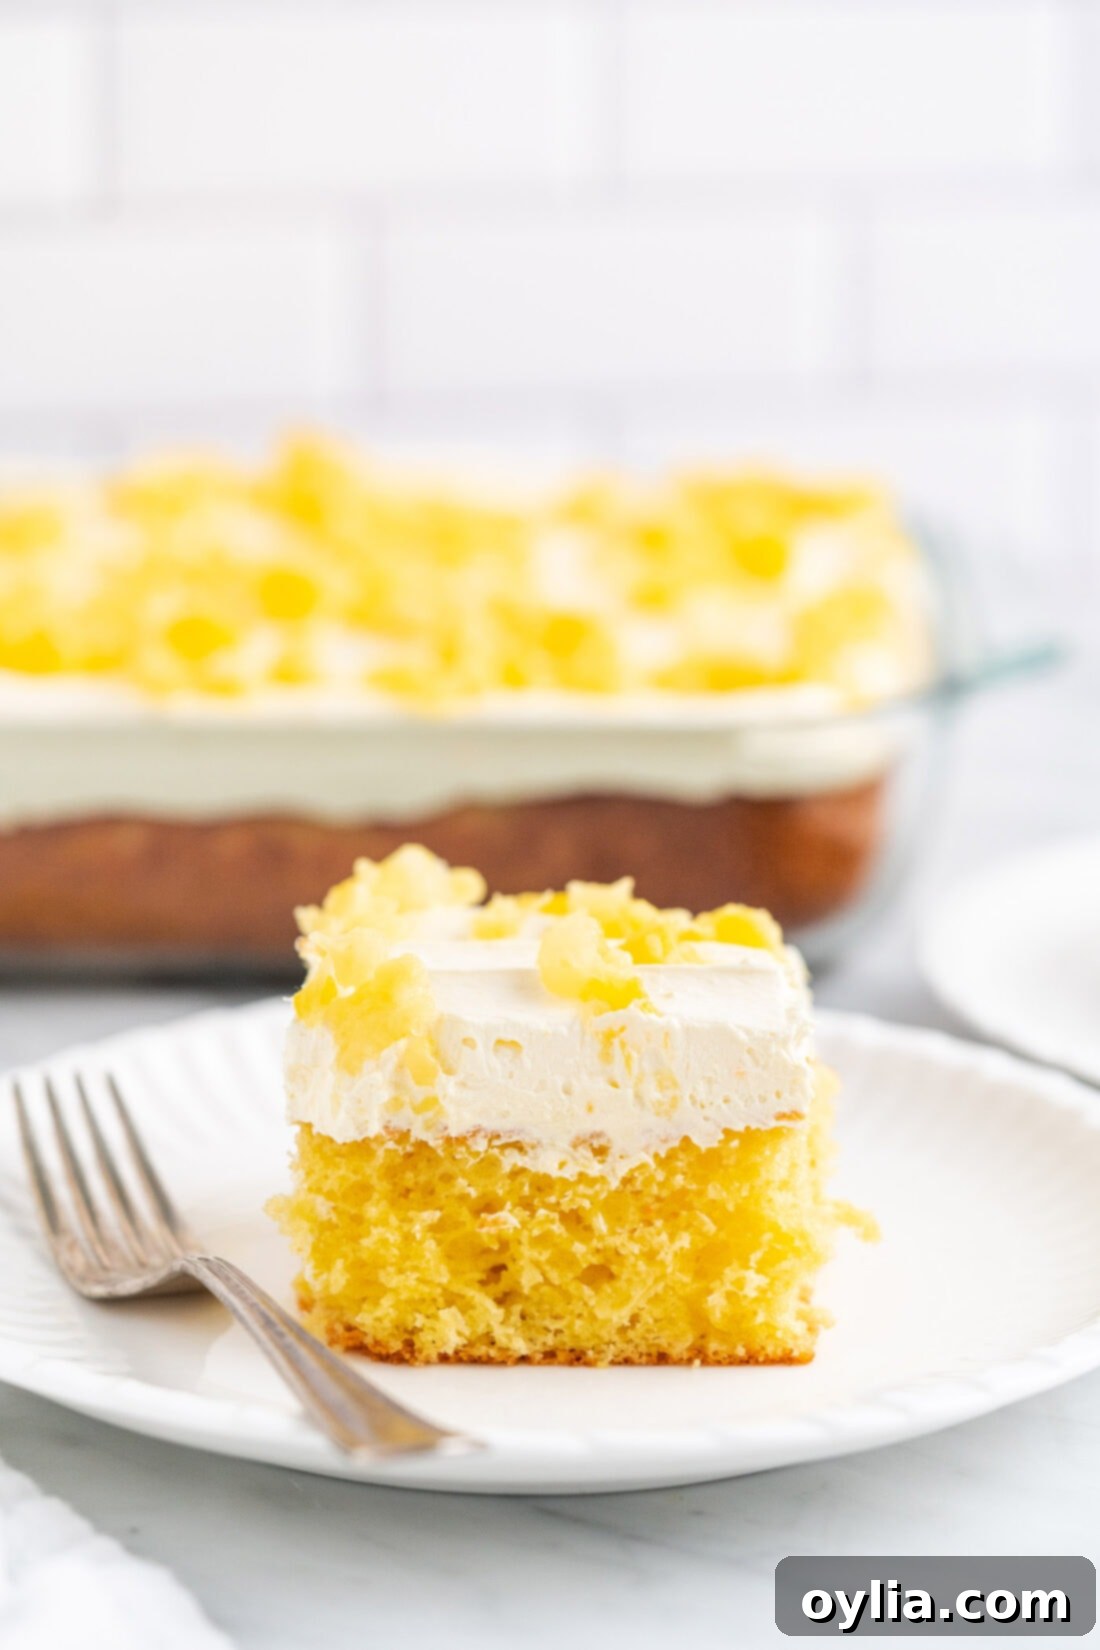
This Pineapple Sunshine Cake is incredibly versatile and shines on almost any occasion. It’s truly the perfect dessert for Easter brunches, lively potlucks, casual backyard barbecues, and all your summer gatherings. You can serve it at room temperature for a softer cake and frosting experience, or chilled for a firmer, more refreshing treat—the choice is entirely yours!
For an added touch of tropical flair and texture, consider sprinkling some toasted shredded coconut over the top of the cake alongside the crushed pineapple. A few maraschino cherries or a sprig of fresh mint can also add a beautiful pop of color. Pair a slice with a refreshing glass of iced tea or a light cup of coffee for a truly enjoyable experience. This cake’s bright, fruity notes also make it a wonderful companion to a fresh fruit salad.
Explore More Tropical Pineapple Recipes
If you love the taste of pineapple as much as we do, you’re in for a treat! Discover more delightful ways to incorporate this sweet and tangy fruit into your baking with these other fantastic recipes:
- Classic Pineapple Cake
- Irresistible Pineapple Poke Cake
- Easy Pineapple Quick Bread
- Dreamy Pineapple Dream Dessert
- Gorgeous Pineapple Upside Down Bundt Cake
- Rich Pineapple Pound Cake
I absolutely adore baking and cooking, and my greatest joy comes from sharing my kitchen adventures with all of you! Keeping up with new recipes daily can be tricky, which is why I offer a convenient newsletter delivered straight to your inbox every time a new recipe is posted. Simply subscribe here and start receiving your free daily recipes, ensuring you never miss a delicious update!

Pineapple Sunshine Cake
IMPORTANT – There are often Frequently Asked Questions within the blog post that you may find helpful. Simply scroll back up to read them!
Print It
Pin It
Rate It
Save ItSaved!
Ingredients
Cake
- 4 large eggs
- 8 ounces crushed pineapple with juice, 1 can
- ½ cup vegetable oil
- 15.25 ounce yellow cake mix
Frosting
- 8 ounce crushed pineapple 1 can
- 4 cups whipped cream like Cool Whip or homemade stabilized whipped cream
- 3.4 ounce instant vanilla pudding mix 1 box, dry mix only, do not prepare the pudding
Things You’ll Need
-
13×9 baking dish
-
Mixing bowls
Before You Begin & Expert Tips
- A few small lumps in the cake batter are perfectly fine and even preferable. For the best texture and to prevent a dry cake, be careful not to over-mix the batter. Mix only until the yellow cake mix is just incorporated.
- The timing of the frosting is key! Wait until the cake is completely cooled before you begin making the frosting. Once the frosting is prepared, spread it immediately onto the cooled cake. This promptness is important because the instant pudding mix will cause the frosting to start setting and stiffening very quickly.
- For the creamy base of your frosting, both homemade stabilized whipped cream and store-bought Cool Whip work exceptionally well. Choose the option that best fits your preference for taste and convenience.
- If you opt for store-bought Cool Whip, you will need approximately 12 ounces for this recipe. This typically equates to about 1 1/2 of the standard-sized containers, ensuring enough frosting for generous coverage.
- Always ensure your crushed pineapple for the cake batter is *not* drained. The juice is vital for moisture. For the frosting, however, it *must* be drained, with the juice reserved for the frosting mixture and the fruit for topping.
Instructions
-
Preheat the oven to 350°F (175°C). Lightly spray the inside of a 9×13 inch baking dish with nonstick spray, ensuring even coverage.
-
In a large mixing bowl, combine the eggs, the entire can of crushed pineapple (including its juice), and vegetable oil. Whisk these ingredients together until well combined. Then, gradually whisk in the yellow cake mix until just moistened; avoid over-mixing.
-
Pour the prepared cake batter into your nonstick-sprayed dish and spread it out evenly with a spatula.
-
Bake the cake for approximately 25 to 35 minutes, or until it appears golden brown and a wooden toothpick inserted into the center comes out clean.
-
Remove the cake from the oven and allow it to cool completely in the baking dish for about 1 hour before proceeding with the frosting.
-
Once the cake is fully cooled, it’s time to prepare the fluffy frosting.
-
Strain the second can of crushed pineapple thoroughly. Reserve the extracted juice to be used in the frosting, and set aside the drained crushed pineapple for sprinkling on top of the cake.
-
In a large bowl, add the reserved pineapple juice, the whipped cream (Cool Whip or stabilized whipped cream), and the dry instant vanilla pudding mix. Whisk or beat these ingredients vigorously until they are well combined and the frosting becomes light and fluffy.
-
Immediately spread the prepared frosting evenly over the top of the cooled cake. Finish by generously sprinkling the reserved crushed pineapple over the frosting for a beautiful and delicious garnish.
Nutrition Information
The recipes on this blog are tested with a conventional gas oven and gas stovetop. It’s important to note that some ovens, especially as they age, can cook and bake inconsistently. Using an inexpensive oven thermometer can assure you that your oven is truly heating to the proper temperature. If you use a toaster oven or countertop oven, please keep in mind that they may not distribute heat the same as a conventional full sized oven and you may need to adjust your cooking/baking times. In the case of recipes made with a pressure cooker, air fryer, slow cooker, or other appliance, a link to the appliances we use is listed within each respective recipe. For baking recipes where measurements are given by weight, please note that results may not be the same if cups are used instead, and we can’t guarantee success with that method.
