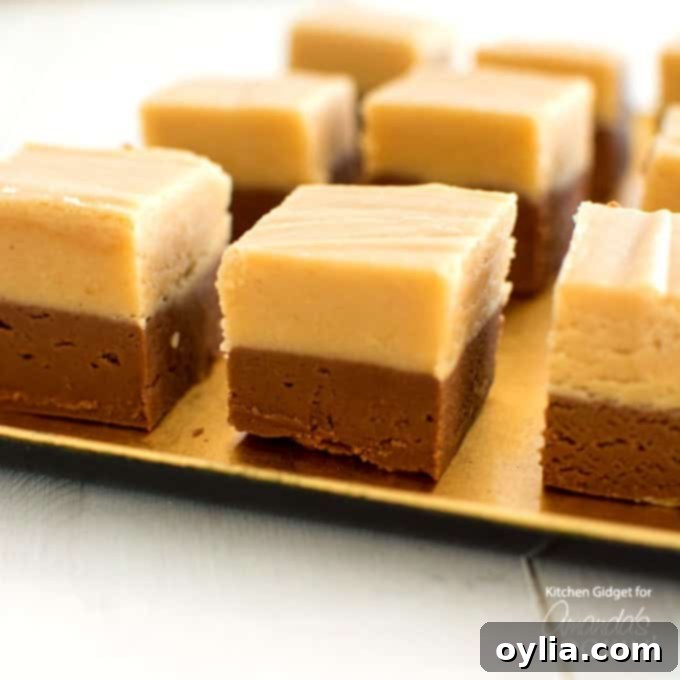
Irresistible Two-Layer Chocolate Peanut Butter Fudge: A Classic Homemade Treat for Any Occasion
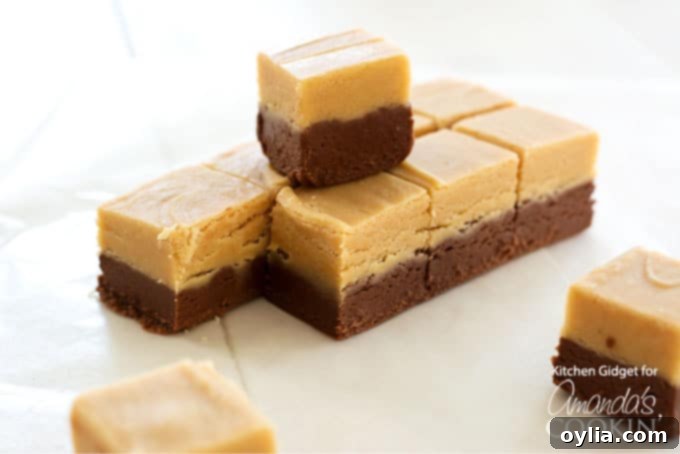
Step back in time with this incredibly delicious and easy-to-make chocolate peanut butter fudge. This classic confection brings a wave of nostalgia with every bite, featuring two distinct, luscious layers: rich, dark chocolate and creamy, dreamy peanut butter. It’s more than just a sweet treat; it’s a wonderful holiday candy, perfect for gifting to loved ones or simply enjoying as a well-deserved snack. There’s truly nothing like the warmth and charm of homemade fudge, especially during the festive season. Be warned: once you taste this incredible recipe, you’ll want to make an extra batch (or two!) because everyone will be asking for more.
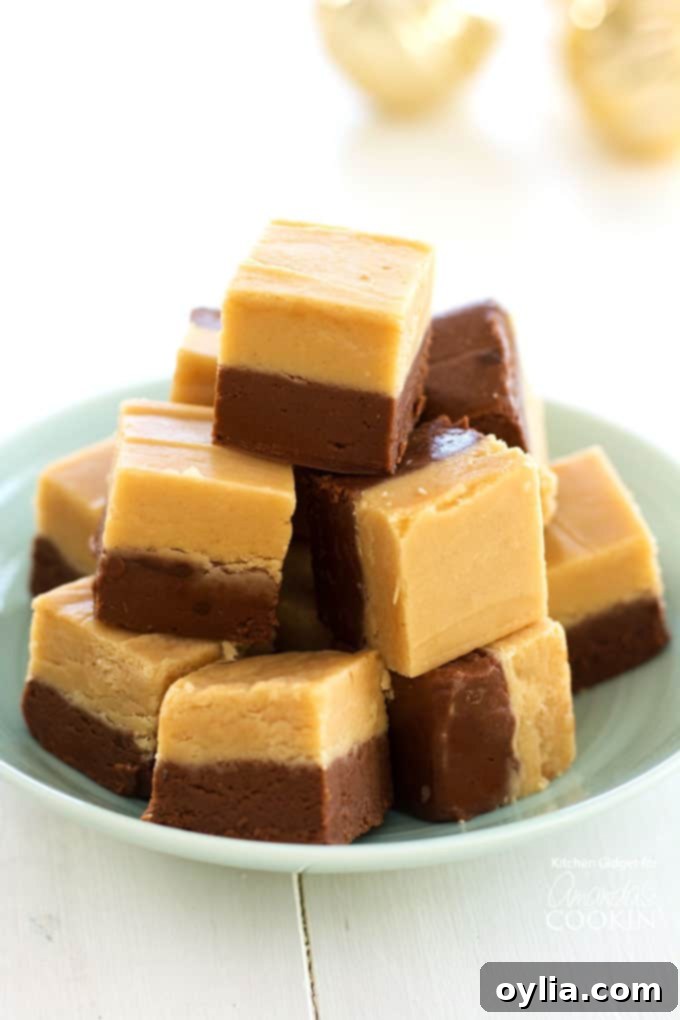
Why This Chocolate Peanut Butter Fudge Recipe is a Must-Try
What truly sets this chocolate peanut butter fudge recipe apart is its elegant two-toned presentation and its utterly delightful flavor combination. Each square offers a harmonious blend of rich chocolate and savory-sweet peanut butter, creating a decadent experience that appeals to all ages. The distinct layers of smooth chocolate fudge and velvety peanut butter fudge aren’t just visually appealing; they offer a delightful contrast in taste and texture, making each bite feel like a double treat. It’s the perfect balance of two beloved flavors, making it a standout addition to any dessert table or gift basket.
Homemade fudge carries a special charm that store-bought varieties simply can’t replicate. The process itself is a labor of love, and the end result is a deeply satisfying, creamy confection that melts in your mouth. This recipe ensures that classic, velvety texture, making it an ideal choice for first-time fudge makers and seasoned confectioners alike. It’s an easy way to spread joy and sweetness during the holidays or simply to treat yourself to something truly special.
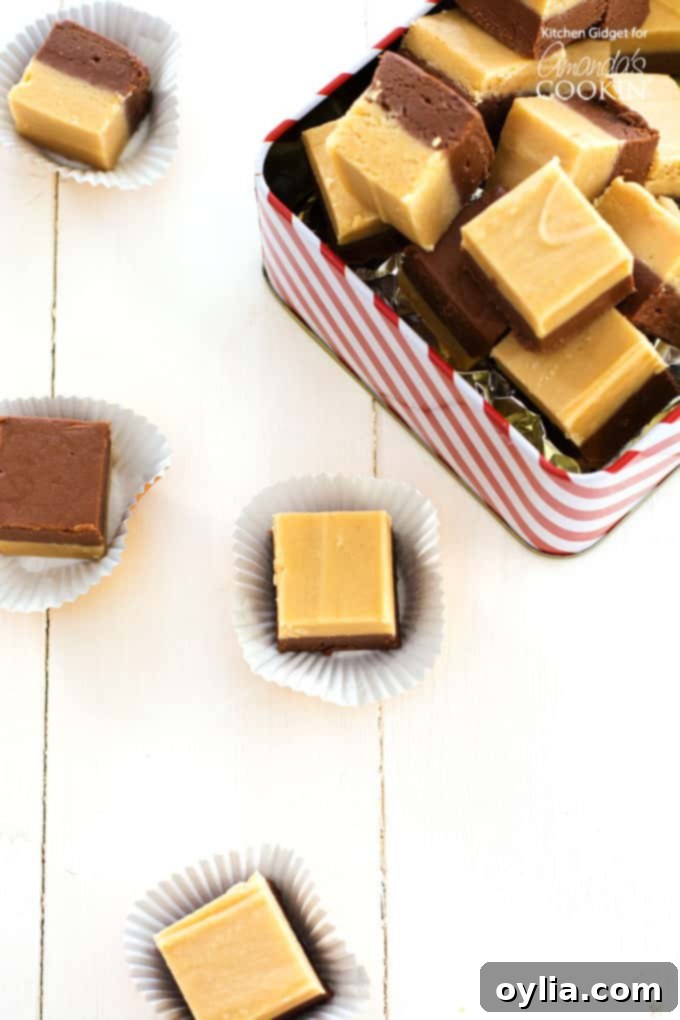
Mastering the Art of Fudge: Essential Tips for Success
Making perfect fudge might seem intimidating, but with a few key techniques and tools, you can achieve a smooth, creamy texture every time. Here are our top tips to ensure your chocolate peanut butter fudge turns out absolutely perfect:
The Secret to Silky Smooth Fudge: Temperature and Texture
- Precision is Key: Use a Candy Thermometer: The most crucial tool for candy making, especially fudge, is a candy thermometer. Fudge relies on precise temperature control to achieve its desired consistency. Cooking it for too short a time will result in a soft, unset mixture, while cooking it for too long will lead to dry, crumbly, and grainy fudge. The temperature of a candy mixture can rise slowly at first, then surge rapidly, so vigilant monitoring is essential. Remove the pan from the heat immediately when the desired temperature (234°F for this recipe, also known as the soft-ball stage) is reached.
- The Magic of Marshmallow Fluff: One of the secret weapons in this recipe is marshmallow fluff. It acts as a stabilizer, helping to prevent crystallization and ensuring that velvety smooth texture that everyone loves in fudge. It’s like a magical ingredient that takes the guesswork out of achieving that perfect melt-in-your-mouth creaminess. Do not omit it, as it’s integral to the texture of this particular recipe.
- Alternative without a Thermometer (Use with Caution): If, for some reason, you absolutely cannot use a candy thermometer, you can attempt to cook the mixture for approximately 3-4 minutes after it starts boiling vigorously over medium heat. However, this method is less reliable and may not yield consistently perfect results. The thermometer is highly recommended for best outcomes.
- Choosing the Right Pot: Always use a heavy-bottomed saucepan. This helps distribute heat evenly and prevents the sugar mixture from scorching, which can ruin the flavor and texture of your fudge.
- Patience During Cooling: After pouring the fudge into the prepared pan, resist the urge to refrigerate it for faster setting. Fudge sets best at room temperature, allowing the crystals to form properly for a smooth, firm consistency. Refrigerating can sometimes lead to a waxier texture.
- Clean Utensils for Each Layer: To ensure optimal results, use clean, dry pots and utensils for preparing each layer of fudge. This prevents any carryover of ingredients that could affect the setting or flavor of the subsequent layer.
- Cutting Your Fudge: Once completely cooled and set, use a sharp knife (lightly oiled if it sticks) to cut the fudge into small, even squares. This makes for beautiful presentation and easy portioning for guests or gifting.
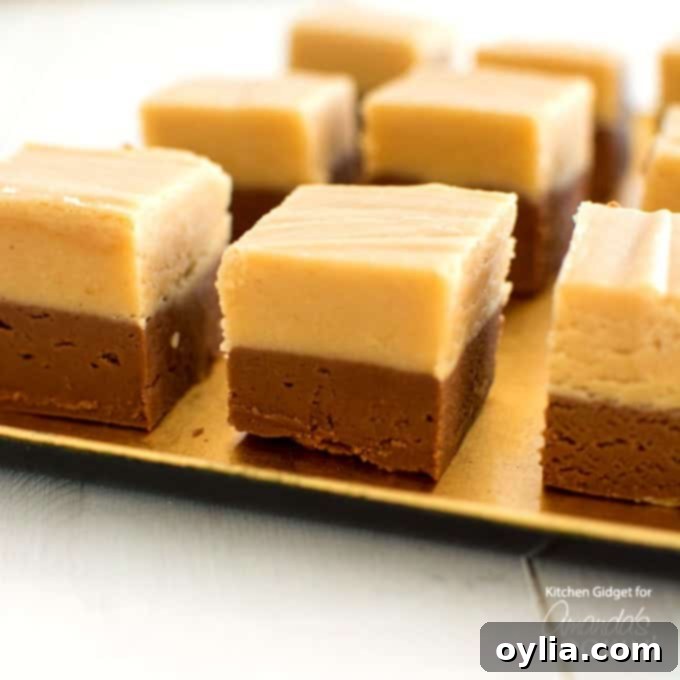
Key Ingredients for Your Decadent Fudge
The beauty of this chocolate peanut butter fudge lies in its simple yet powerful ingredient list. Each component plays a vital role in creating the perfect texture and flavor profile.
- Granulated Sugar: The foundation of any good fudge, providing sweetness and structure.
- Butter: Adds richness, creaminess, and a luxurious mouthfeel. Divided between the two layers to ensure consistency.
- Evaporated Milk: Crucial for the fudge’s creaminess and helps achieve the right consistency without adding too much liquid. Make sure to use evaporated milk, not sweetened condensed milk, as they have different sugar contents and will yield different results.
- Semi-Sweet Chocolate: Provides the deep, classic chocolate flavor for the bottom layer. Using semi-sweet helps balance the overall sweetness of the fudge, preventing it from becoming overly cloying.
- Peanut Butter: The star of the top layer, offering its unmistakable nutty, savory-sweet flavor and contributing to the fudge’s creamy texture. Smooth peanut butter works best for this recipe.
- Marshmallow Fluff (or Marshmallow Creme): As discussed, this is the magic ingredient! It’s essential for achieving a smooth, non-grainy, and perfectly set fudge.
- Vanilla Extract: Enhances all the other flavors, adding a touch of aromatic warmth to both layers.
Helpful Kitchen Tools You’ll Need:
- Candy thermometer: An absolute must for precise temperature control and consistent results.
- 9×9 baking pan: The ideal size for creating beautifully thick fudge layers.
- Heavy bottom saucepan: Essential for even heat distribution and preventing scorching.
- Silicone spatula scraper: Perfect for stirring and scraping every last bit of delicious fudge from the pan.
- Aluminum foil or parchment paper: For lining the pan, ensuring easy removal and clean cuts.
Frequently Asked Questions About Chocolate Peanut Butter Fudge
Can I use milk chocolate chips instead of semisweet chips?
While you certainly can use milk chocolate chips instead of semi-sweet chocolate chips in this chocolate peanut butter fudge, please be aware that this recipe is already quite sweet. Opting for milk chocolate will make the fudge even sweeter. For a balanced flavor that highlights both the chocolate and peanut butter without being overwhelmingly sugary, we highly recommend sticking with semi-sweet chocolate. If you prefer a very sweet fudge, milk chocolate chips could be a fun variation to try.
Is marshmallow fluff the same thing as marshmallow cream?
Yes, marshmallow creme and marshmallow fluff are essentially the same product. The difference often comes down to brand names. “Fluff” is a well-known brand, while “creme” is a more generic term for the same sticky, sweet, whipped marshmallow confection. Feel free to use either in this recipe.
Can you double this recipe?
Doubling this chocolate peanut butter fudge recipe is possible! However, you will need to use a larger pan, such as a 13×9 inch pan, to accommodate the increased volume. Keep in mind that when you double the recipe, the layers of fudge may be slightly thinner than what you would achieve with a single batch in a square 9×9 inch pan. Ensure your saucepan is large enough to handle the larger quantity of ingredients safely, and be extra diligent with your candy thermometer, as larger batches can sometimes take longer to reach the target temperature.
What kind of sugar – white sugar or powdered sugar?
This traditional fudge recipe specifically calls for regular white granulated sugar. Powdered sugar (confectioners’ sugar) has a finer texture and often contains cornstarch, which would alter the consistency and setting of the fudge. Stick to granulated sugar for the best results.
Can the marshmallow fluff be omitted?
Unfortunately, no, the marshmallow creme cannot be omitted from this particular chocolate peanut butter fudge recipe. As mentioned, it’s a critical ingredient for achieving the smooth, creamy, and non-grainy texture. It acts as an emulsifier and helps prevent crystallization. If you’re keen on making your own marshmallow fluff from scratch, The Kitchn offers a great recipe!
Why is my fudge grainy?
Grainy fudge is a common problem, but it’s usually preventable. The most frequent culprits are:
- Sugar not fully dissolved: If the sugar crystals aren’t completely dissolved before the mixture comes to a boil, they can cause the fudge to crystallize rapidly once it cools, leading to a grainy texture. Ensure you stir thoroughly during the initial heating stage until you can’t feel any grit when rubbing a small amount between your fingers.
- Overcooking: Cooking the fudge mixture for too long, beyond the soft-ball stage (234°F), can cause too much moisture to evaporate, leading to over-crystallization and a dry, crumbly, and grainy texture. This is where a reliable candy thermometer is invaluable.
- Stirring during cooling: Once the fudge mixture is removed from the heat and the chocolate/peanut butter and fluff are added, avoid excessive stirring. After it’s poured into the pan, let it cool undisturbed at room temperature. Stirring while it cools can initiate unwanted crystallization.
Crafting Your Two-Layer Masterpiece: A Step-by-Step Guide
Creating this delicious two-layer fudge is an exciting process that culminates in a truly impressive treat. Before you begin, gather all your ingredients and tools. Precision and timing are key, especially when dealing with candy temperatures, so having everything ready will make the process smooth and enjoyable. You’ll prepare each layer separately, allowing the first to set slightly before adding the second, creating that beautiful contrasting effect.
First, line your baking pan with foil or parchment paper, ensuring it extends over the sides. This “sling” will make it incredibly easy to lift the entire block of fudge out of the pan once it’s set for clean cutting. Lightly butter the foil to prevent sticking. Now you’re ready to tackle the layers.
For each layer, you’ll combine the sugar, butter, and evaporated milk in a heavy-bottomed saucepan. Stir constantly over medium heat until the sugar dissolves and the mixture comes to a rapid boil. Once boiling, insert your candy thermometer and continue cooking without stirring until it reaches 234°F. This is the crucial soft-ball stage where the fudge will set perfectly. Immediately remove it from the heat and quickly stir in the chocolate (for the first layer) or peanut butter (for the second layer), marshmallow fluff, and vanilla. Beat vigorously until everything is fully combined and smooth. Work quickly, as fudge sets fast!
Pour the chocolate mixture into your prepared pan first, spreading it evenly. Allow it to cool and begin to set at room temperature while you prepare the peanut butter layer. Once the peanut butter mixture is ready, pour it carefully over the semi-set chocolate layer, spreading it gently to avoid disturbing the bottom. Let the entire pan cool completely at room temperature, ideally for several hours or overnight, before lifting it out and cutting it into beautiful squares. This patient cooling process is vital for the fudge’s firm, yet creamy texture.
More Delicious Candy and Fudge Recipes for Every Celebration
The holidays, with their cooler weather, often spark a wonderful desire to bake and create homemade candies. If you’ve enjoyed making this chocolate peanut butter fudge, you’ll love exploring these other festive confections perfect for Thanksgiving, Christmas, or any special occasion!
- If you’re a devoted fudge fan, this rich and nutty chocolate walnut fudge is an absolute delight and makes a truly wonderful edible gift.
- Pumpkin pie fanatics will adore this creamy pumpkin pie fudge, capturing all the cozy flavors of autumn, perfect for Thanksgiving celebrations!
- If you haven’t tried Saltine Toffee yet, it’s an absolute must! You won’t believe how simple it is to make and how incredibly addictive its sweet, salty crunch is until you try it yourself.
- I’ve been making this classic homemade peanut brittle for over 20 years now. It’s a beloved Christmas tradition in my family, known for its perfect snap and nutty flavor.
- Whip up a batch of homemade Peanut Butter Cups in no time! They are so quick and easy to make, and their irresistible combination of chocolate and peanut butter makes them perfect as edible gifts or party treats.
- Soft and chewy homemade microwave caramels are surprisingly simple to create with just a handful of ingredients and the convenience of your microwave!
- You only need 3 ingredients to make delicious and uniquely nostalgic homemade potato candy – a surprisingly tasty old-fashioned treat.
- This ultra-rich and silky smooth chocolate fudge frosting requires only 5 ingredients to make, perfect for elevating any cake or cupcake.
A Touch of Holiday Nostalgia
Every year during the holidays, a special tradition unfolded in our home. My father would receive a beautifully curated gift basket from his realtor, always brimming with homemade cookies, delightful sweet treats, and, of course, this very chocolate peanut butter fudge. I eagerly anticipated its arrival each year, alongside the comforting flavors of Grandma’s old-fashioned Butterhorn Cookies and the stunning Red Velvet Cookies, generously frosted with rich cream cheese. This fudge embodies those cherished memories, and I hope it brings a touch of that same joy and tradition to your home and gatherings.
Chocolate Peanut Butter Fudge
IMPORTANT – There are often Frequently Asked Questions within the blog post that you may find helpful. Simply scroll back up to read them!
Print It
Rate It
Save ItSaved!
Ingredients
For the chocolate layer:
- 1 ½ cups granulated sugar
- 6 tablespoons butter
- ⅓ cup evaporated milk not sweetened condensed
- 6 oz semi-sweet chocolate or chocolate chips
- ½ cup marshmallow fluff Scant 1/2 cup
- ½ teaspoon vanilla
For the peanut butter layer:
- 1 ½ cups sugar
- 6 tablespoons butter
- ⅓ cup evaporated milk not sweetened condensed
- ½ cup peanut butter
- ½ cup marshmallow fluff Scant 1/2 cup
- ½ teaspoon vanilla
Things You’ll Need
-
Candy thermometer
-
9×9 baking pan
-
Saucepan
-
Silicone spatula scraper
Before You Begin
- Use clean, dry pots and utensils for each layer of fudge.
- For best texture, do not refrigerate fudge.
- IMPORTANT TIP – When making candy of any kind, it’s imperative that you use a heavy bottomed saucepan and a candy thermometer. The temperature of a candy mixture can increase slowly and then suddenly surge up. Watch your thermometer carefully and remove pan from heat when the desired temperature is reached.
Instructions
-
Line an 8×8 or 9×9 pan with foil, letting the edges extend over the sides. Butter the foil and set aside.
For the chocolate fudge:
-
In a medium heavy bottom saucepan over medium heat, melt the sugar, butter and milk, stirring constantly.
-
After the mixture begins to boil rapidly, cook for 2-4 minutes without stirring until a candy thermometer reads 234°F.
-
Remove from heat and stir in chocolate, marshmallow fluff and vanilla, beating vigorously until combined.
-
Pour into prepared pan, spreading into an even layer. Set aside and allow to cool at room temperature.
For the peanut butter fudge:
-
In a medium heavy bottom saucepan over medium, melt the sugar, butter and milk, stirring constantly. After the mixture begins to boil rapidly, cook for 2-4 minutes without stirring until a candy thermometer reads 234°F.
-
Remove from heat and stir in peanut butter, marshmallow fluff and vanilla, beating vigorously until combined.
-
Pour over chocolate layer, spreading into an even layer. Set aside and allow to cool at room temperature. Cut into small squares and serve.
Nutrition
The recipes on this blog are tested with a conventional gas oven and gas stovetop. It’s important to note that some ovens, especially as they age, can cook and bake inconsistently. Using an inexpensive oven thermometer can assure you that your oven is truly heating to the proper temperature. If you use a toaster oven or countertop oven, please keep in mind that they may not distribute heat the same as a conventional full sized oven and you may need to adjust your cooking/baking times. In the case of recipes made with a pressure cooker, air fryer, slow cooker, or other appliance, a link to the appliances we use is listed within each respective recipe. For baking recipes where measurements are given by weight, please note that results may not be the same if cups are used instead, and we can’t guarantee success with that method.
This post originally appeared here on Nov 12, 2016.
