Crispy, Juicy Air Fryer Fried Chicken: Your New Go-To Recipe
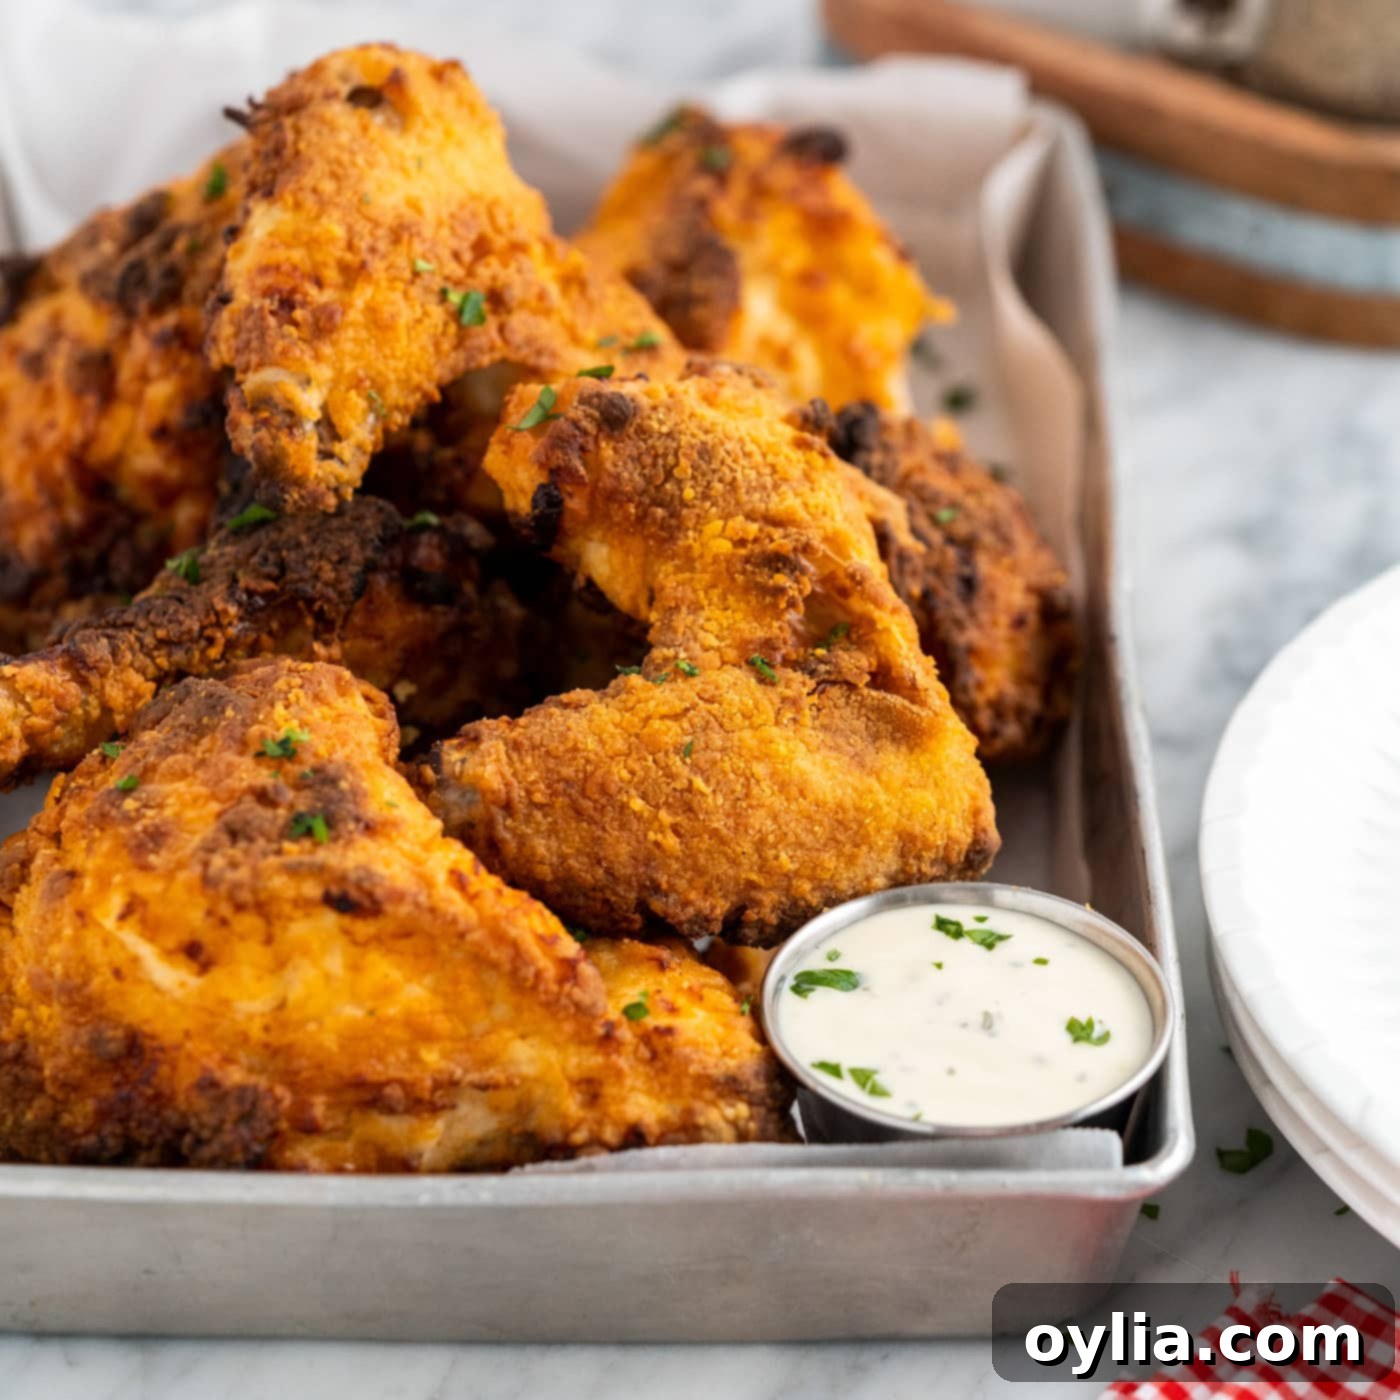
Imagine biting into a piece of fried chicken that’s unbelievably juicy on the inside, encased in a perfectly crispy, golden-brown crust. Now, imagine achieving that without the mess and excessive oil of traditional deep-frying. This dream becomes a delicious reality with our ultimate air fryer fried chicken recipe! We’ll guide you through every step to prepare a whole chicken, from the tender thighs and succulent breasts to the perfectly crisp wings, all made effortlessly in your air fryer. Get ready to transform your weeknight dinners and elevate your comfort food game with this healthier, yet equally satisfying, fried chicken.
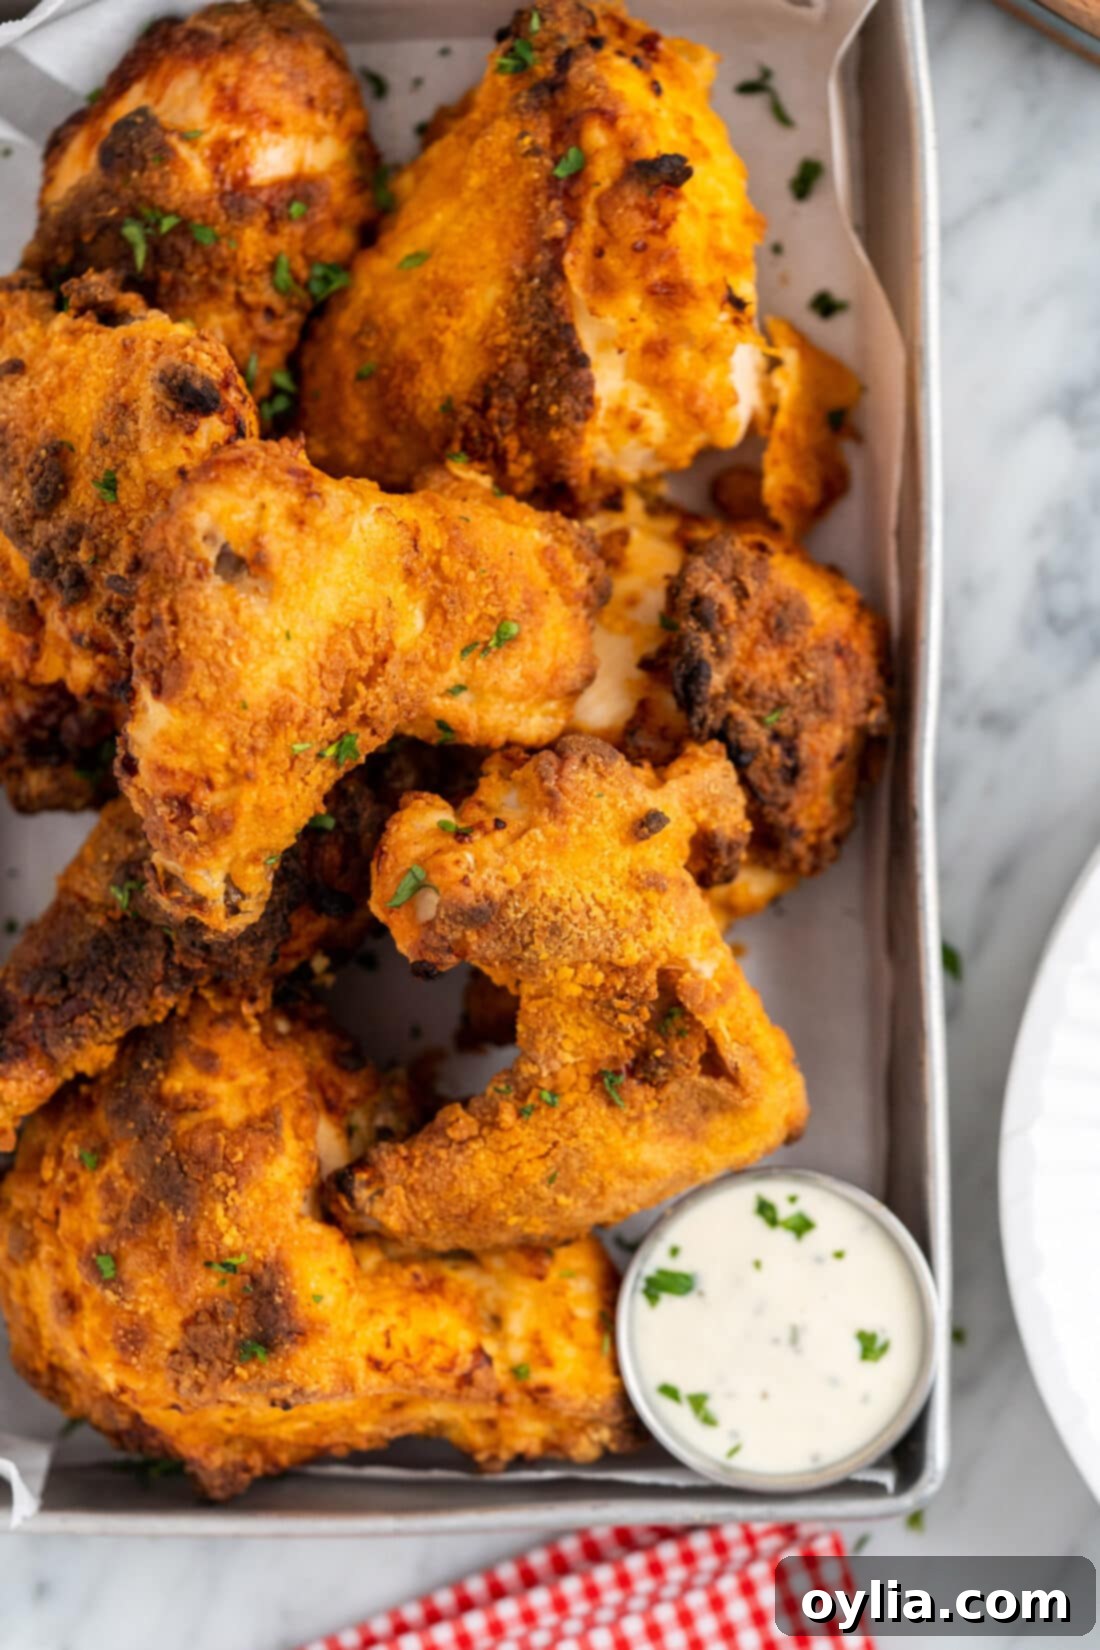
Why This Air Fryer Fried Chicken Recipe is a Game Changer
Traditional fried chicken is undoubtedly delicious, but it often comes with a significant amount of oil and a messy cooking process. This air fryer fried chicken recipe offers all the incredible flavor and texture you love, but with a fraction of the oil and much easier cleanup. The magic lies in the air fryer’s ability to circulate super-heated air around the chicken, creating a convection effect that crisps the breading to perfection while keeping the meat incredibly moist.
One of the key advantages of this recipe is its adaptability. We’re breaking down a whole chicken into individual pieces – thighs, wings, and breasts – which allows for a more even cook and gives you a variety of cuts to enjoy. While each piece will have a slightly different cooking time, we’ve outlined the precise durations to ensure every part of your chicken is cooked perfectly to an internal temperature of 165°F (74°C) for breasts and wings, and 175°F (79°C) for legs and thighs (though 165°F is generally safe for all chicken, legs/thighs benefit from a slightly higher temp for optimal tenderness). This recipe uses a classic combination of buttermilk and richly seasoned flour, a tried-and-true method that guarantees tender, flavorful chicken with an irresistible crispy coating. It’s truly the best of both worlds: that beloved fried chicken experience, reimagined for modern, healthier cooking.
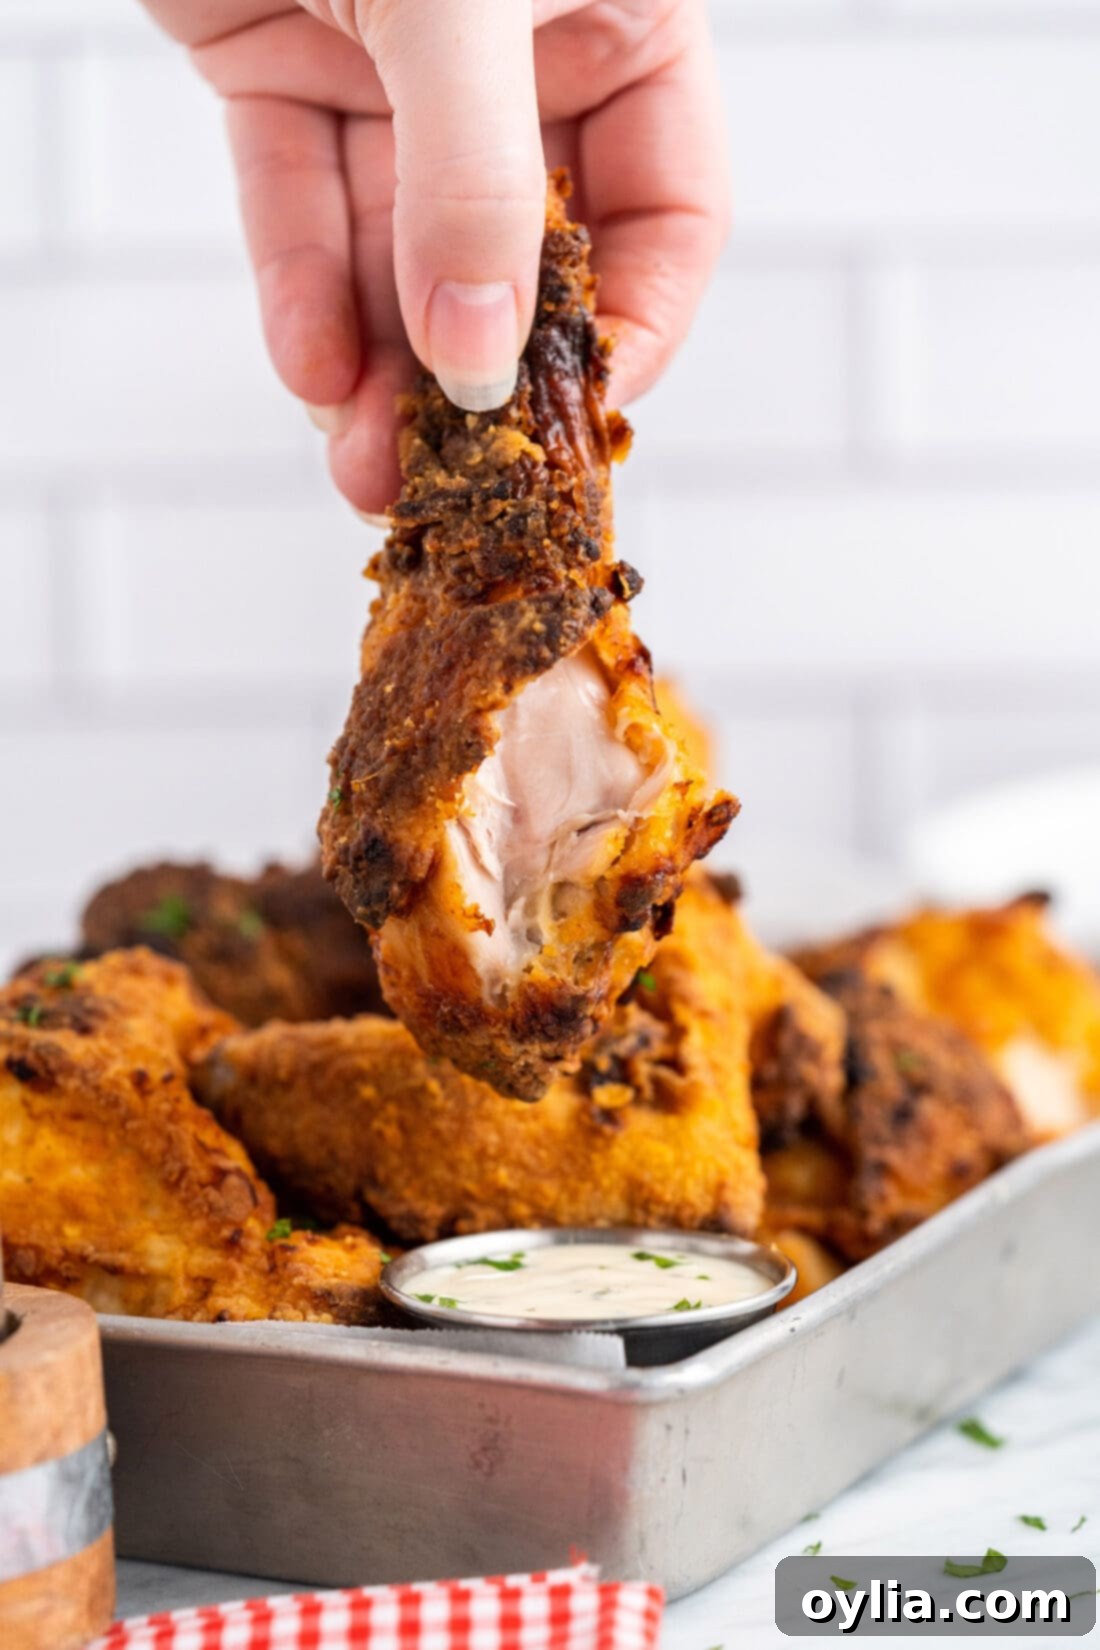
Essential Ingredients for Your Air Fryer Fried Chicken
Crafting the perfect air fryer fried chicken requires a few simple yet powerful ingredients. You’ll find all specific measurements, ingredient lists, and detailed instructions in the printable recipe card located at the very end of this post. However, let’s dive a little deeper into what makes these ingredients so effective for achieving that ideal crispy, juicy result.
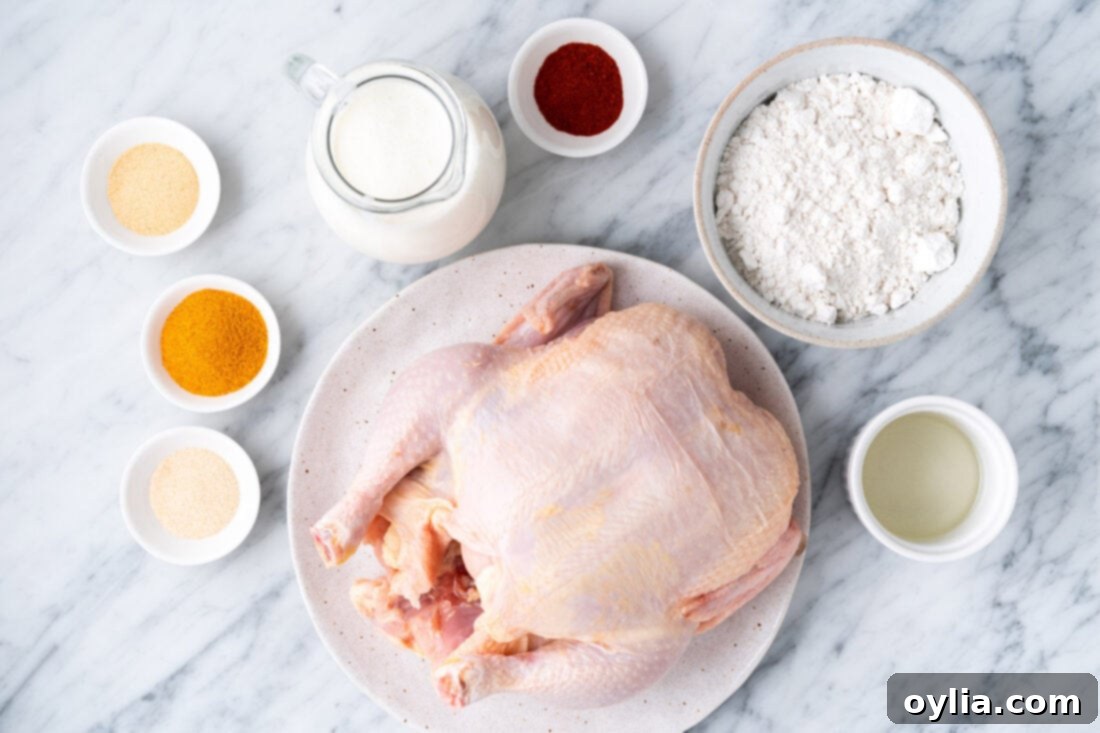
Ingredient Info and Substitution Suggestions
CHICKEN – For this recipe, we’re utilizing a 6-7 pound whole chicken, which we’ll break down into 10 pieces. This allows for a fantastic variety of cuts – wings, legs, thighs, and breasts – giving you a complete fried chicken experience. However, the beauty of this recipe is its flexibility. If you prefer, you can absolutely use individual chicken pieces like just breasts, thighs, or wings. Simply follow the marinating and breading instructions, and then adjust the air frying time according to the specific cut, as detailed in the cooking instructions below. For best results, use fresh, never-frozen chicken. If using frozen, ensure it’s fully thawed before marinating.
BUTTERMILK – This is the secret ingredient for truly tender and juicy fried chicken. The lactic acid in buttermilk works wonders to tenderize the chicken meat, breaking down tough fibers without making it mushy. It also provides a fantastic base for the seasoned flour to adhere to, creating that perfect crispy crust. If you don’t have buttermilk on hand, you can easily make a homemade substitute: for every cup of buttermilk needed, combine 1 cup of regular milk (dairy or non-dairy) with 1 tablespoon of white vinegar or lemon juice. Let it sit for 5-10 minutes until it slightly curdles, then use as directed.
SEASONED SALT – This ingredient pulls double duty in our recipe, flavoring both the buttermilk marinade and the flour dredge. It’s a blend of salt, herbs, and spices that adds a complex, savory depth to the chicken. Brands like Lawry’s or McCormick are popular choices. If you don’t have seasoned salt, you can create your own by mixing regular salt with paprika, garlic powder, onion powder, and a pinch of celery salt. Adjust to your taste preferences.
ALL-PURPOSE FLOUR – The foundation of our crispy coating. Regular all-purpose flour works perfectly for achieving that classic breaded texture. For a gluten-free option, a good quality gluten-free all-purpose flour blend can often be substituted, though results may vary slightly in crispiness.
GARLIC POWDER, ONION POWDER, & PAPRIKA – These spices are crucial for building layers of savory flavor in our seasoned flour. Garlic powder and onion powder provide aromatic depth, while paprika adds a touch of subtle sweetness and beautiful color to the crust. Feel free to experiment with other spices like a pinch of cayenne pepper for a little heat, black pepper for pungency, or dried thyme for an herby note.
VEGETABLE OIL – While we’re air frying to reduce oil, a generous brushing of oil on the breaded chicken is essential for achieving that deep golden crispiness. Vegetable oil is a neutral-flavored and high-smoke-point option. You can substitute it with other oils like avocado oil, canola oil, or even light olive oil (not extra virgin, as its smoke point is lower). The oil helps the circulating hot air conduct heat more effectively to the coating, mimicking the browning of deep-frying.
How to Make Air Fryer Fried Chicken
These step by step photos and instructions are here to help you visualize how to make this recipe. You can Jump to Recipe to get the printable version of this recipe, complete with measurements and instructions at the bottom.
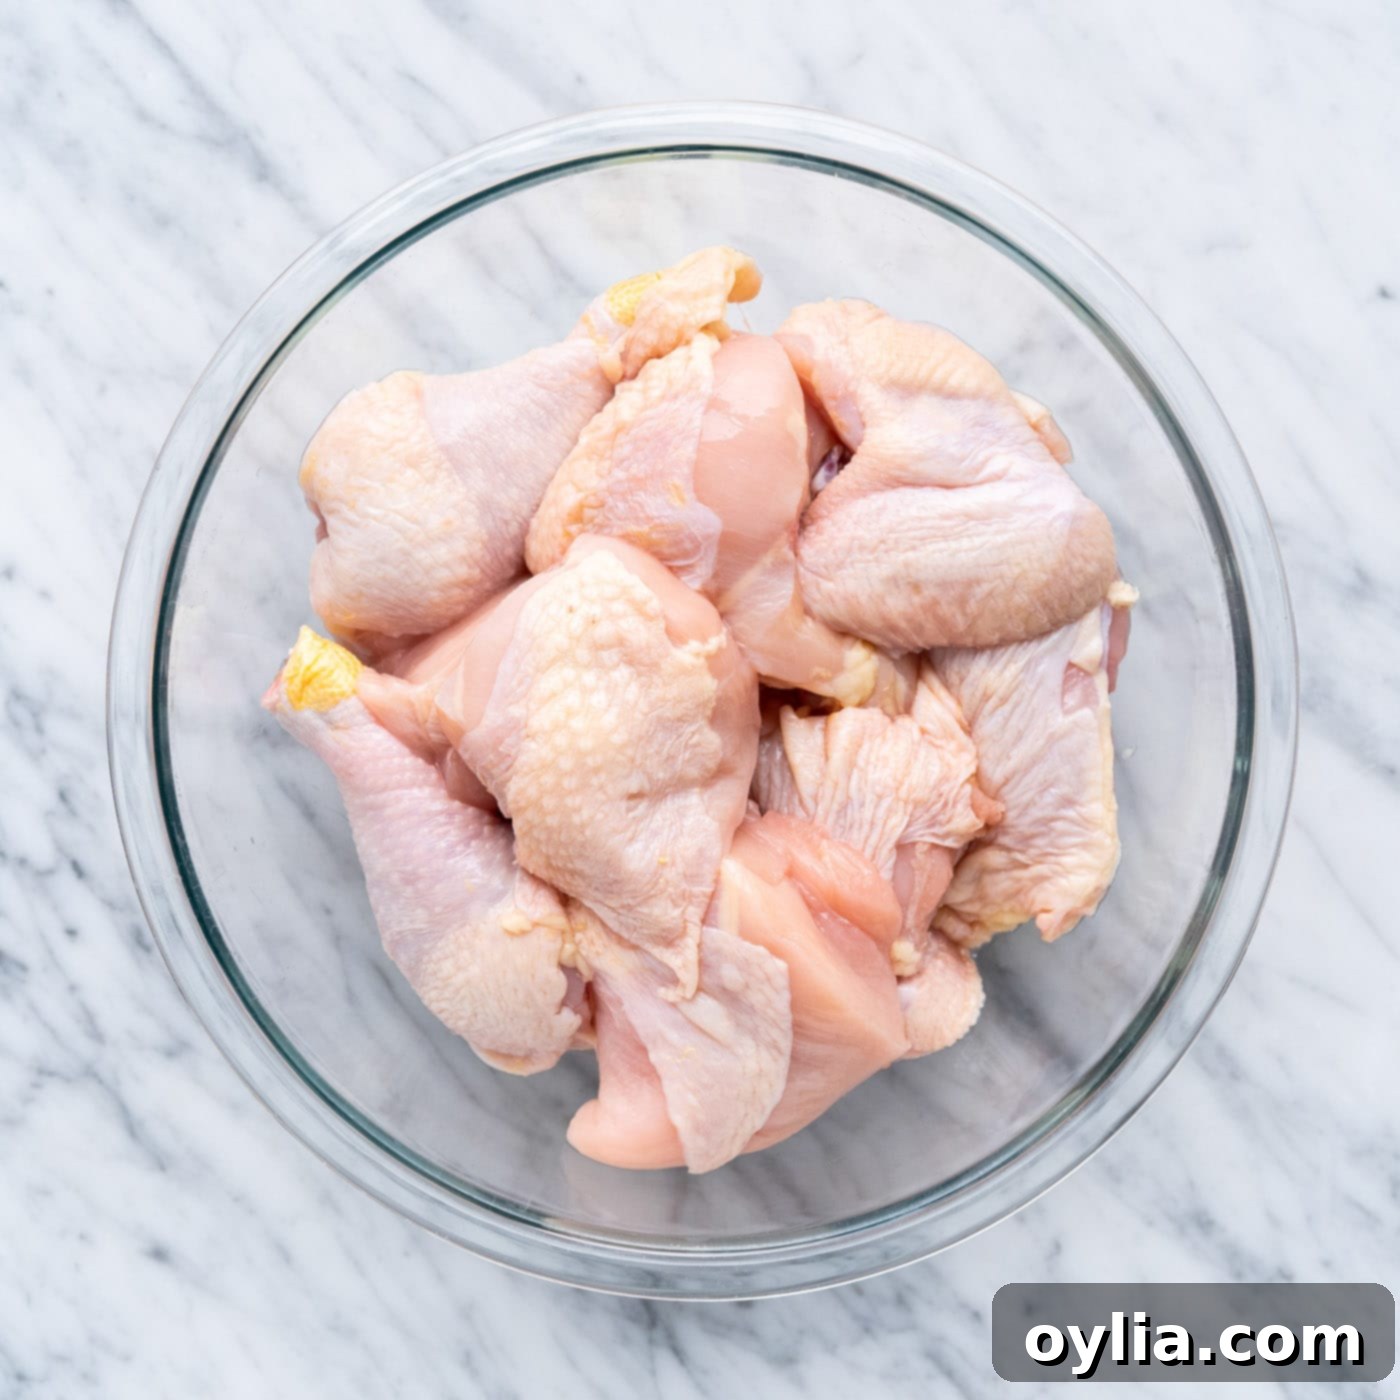
- Start by preparing your chicken. If using a whole chicken, carefully cut it into 10 pieces: you’ll have 2 wings, 2 legs (drumsticks), 2 thighs, and then cut each breast in half to yield 4 breast pieces. This ensures all pieces are manageable and cook more efficiently. Always use a sharp knife for clean cuts.

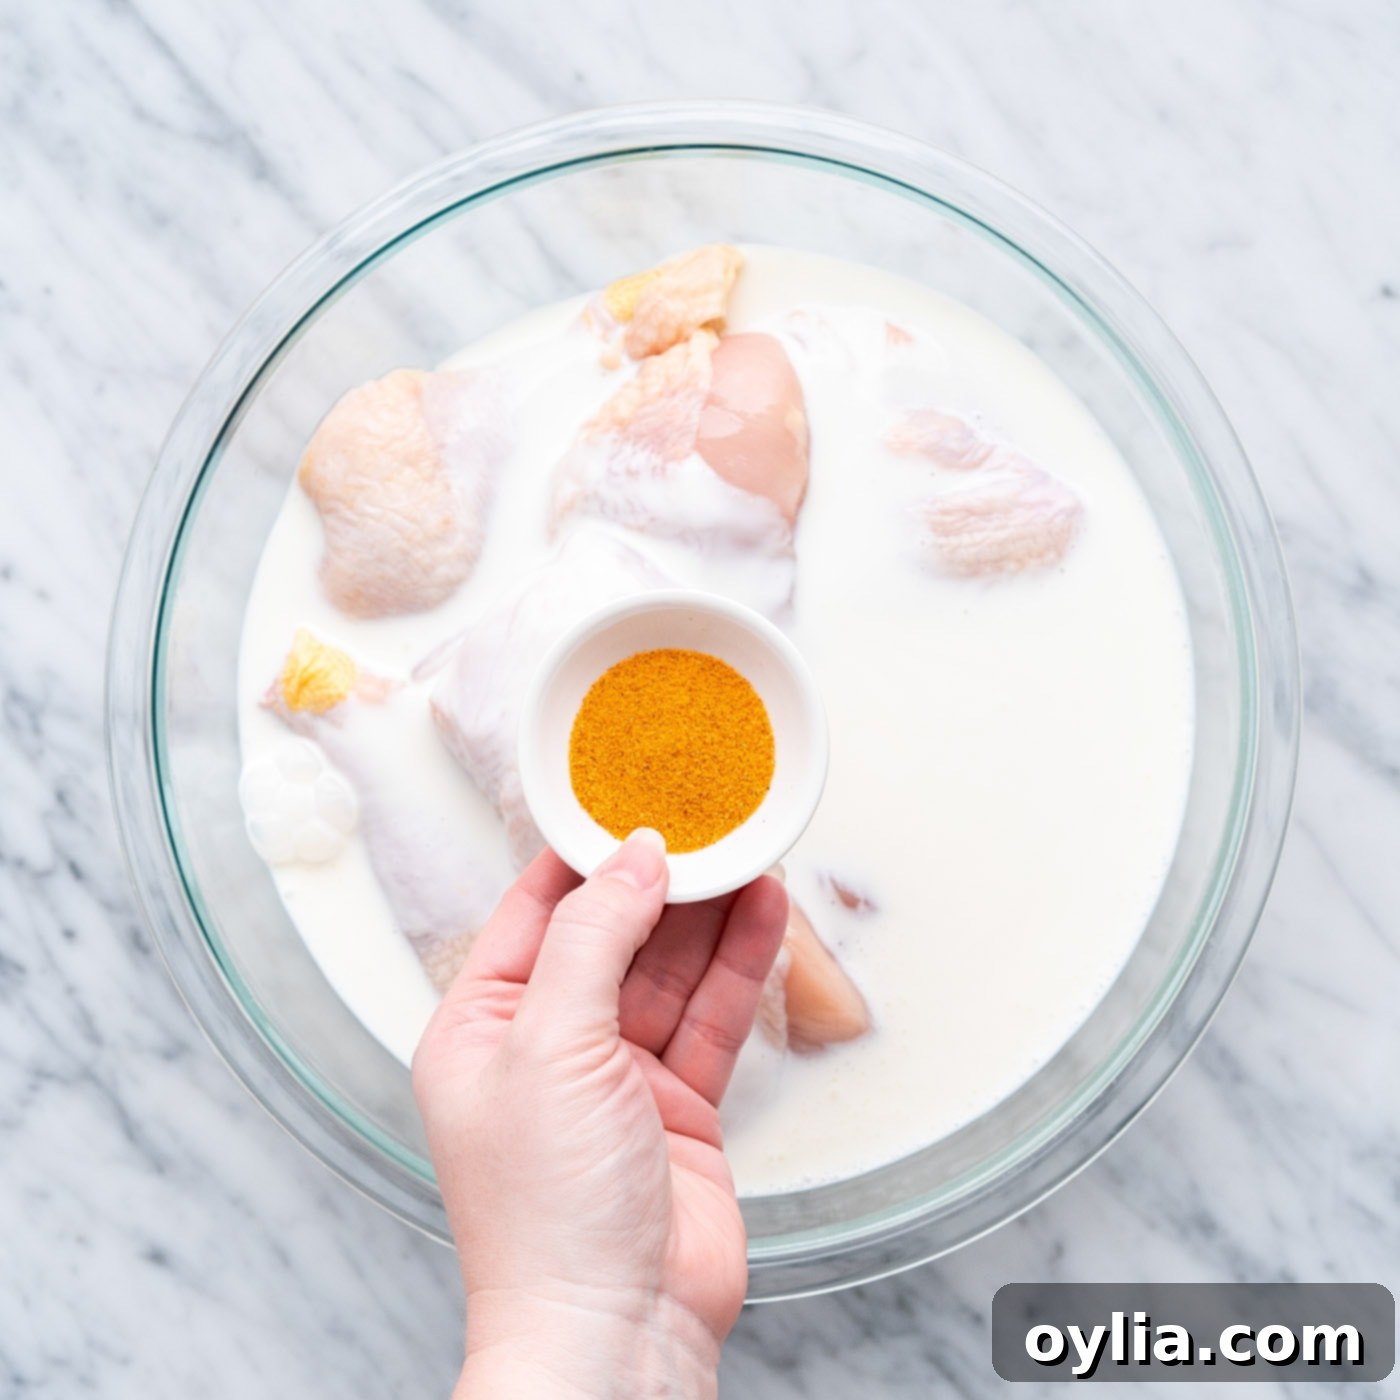
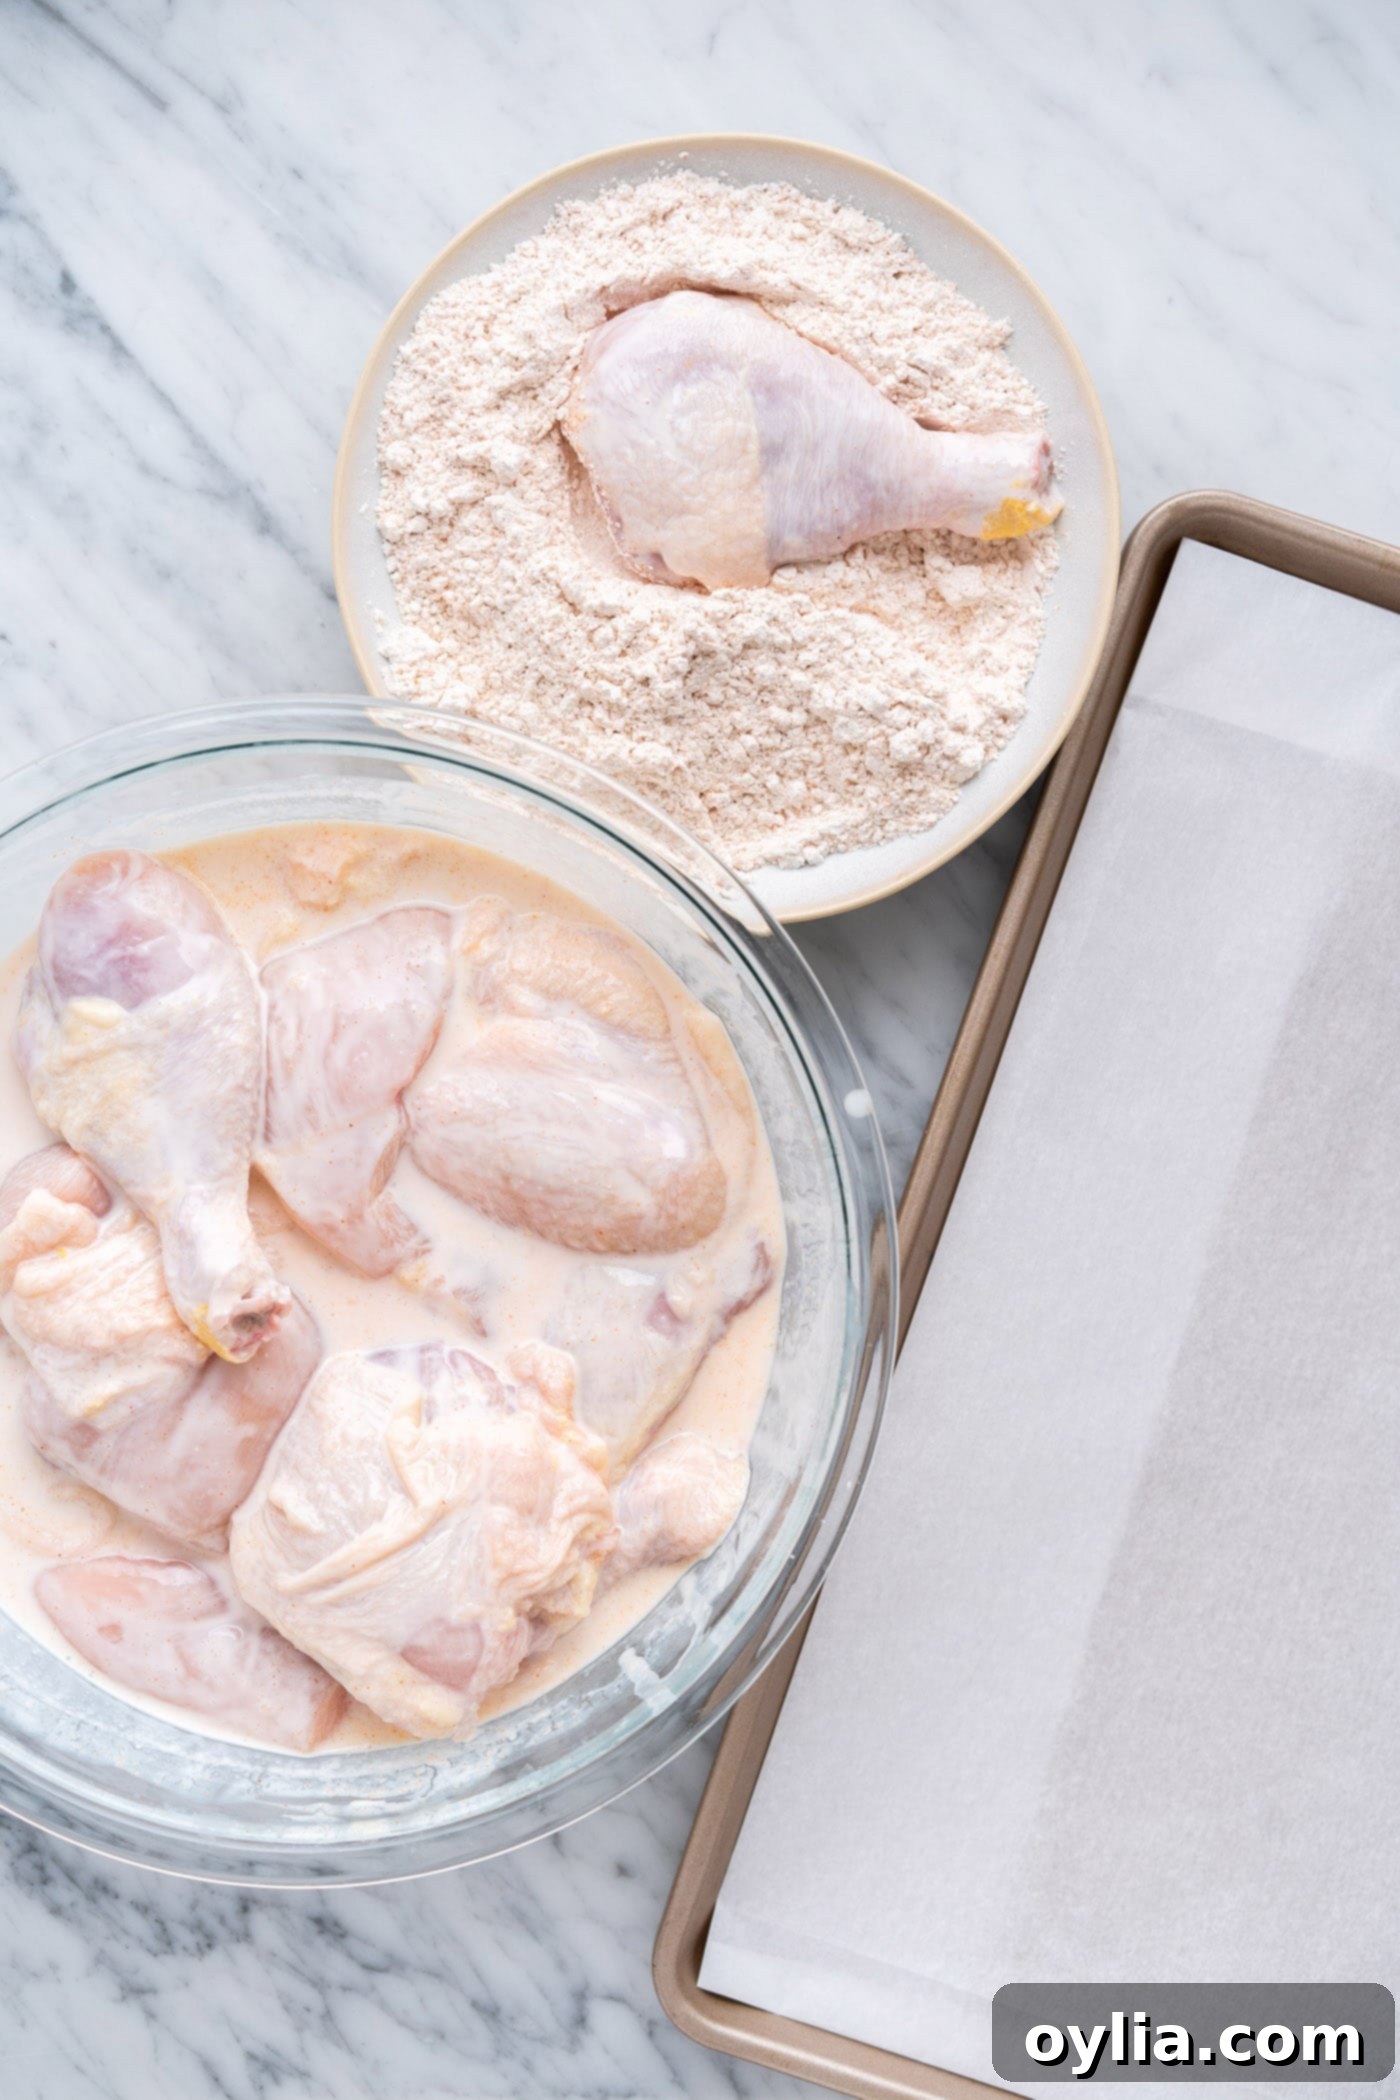
- In a large bowl, combine the cut chicken pieces with the buttermilk and seasoned salt. Toss everything together thoroughly, ensuring each piece of chicken is well-coated in the marinade. This buttermilk bath is key to tenderizing the meat and preparing it for the crispy breading.

- Cover the bowl tightly with plastic wrap and place it in the refrigerator. Allow the chicken to marinate for at least 1 hour, or for an even more flavorful and tender result, let it marinate for up to 24 hours. The longer it marinates, the more flavor and tenderness it will absorb.
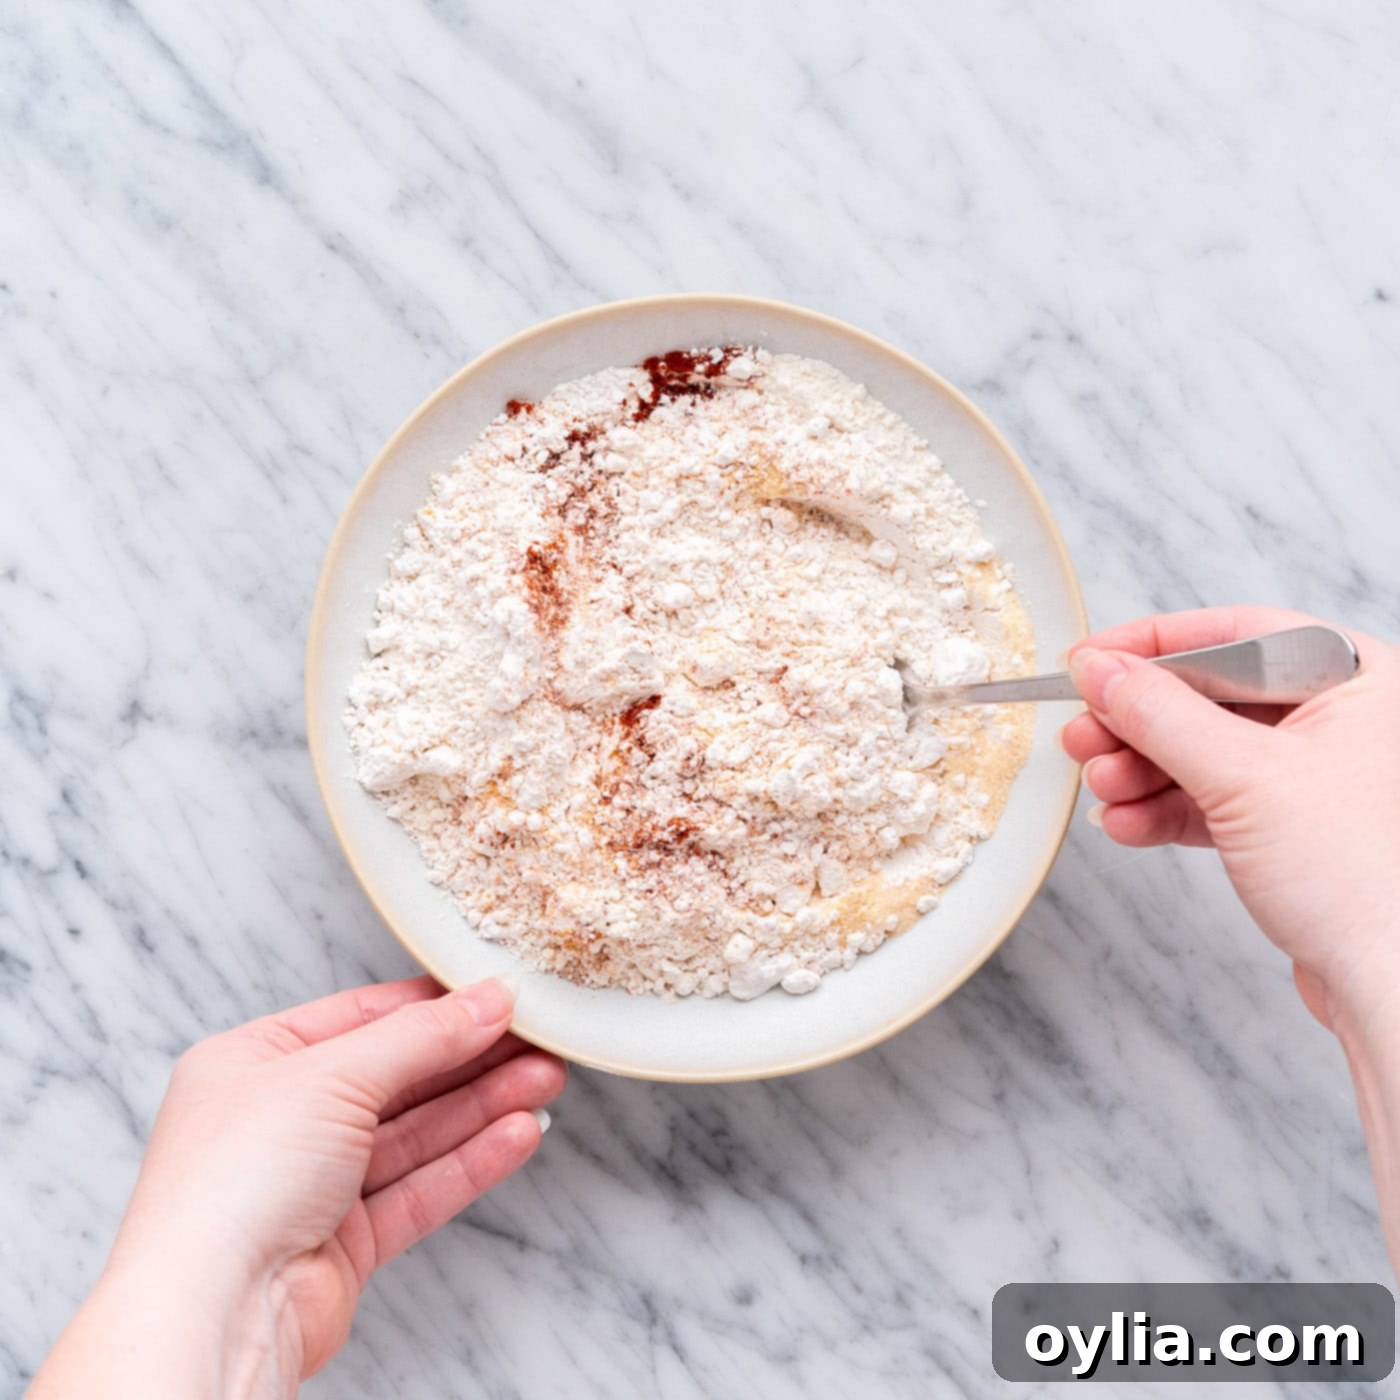
- Once the chicken has finished marinating, it’s time to prepare the seasoned flour. In a separate large, shallow bowl (perfect for dredging), combine all the ingredients for the seasoned flour: all-purpose flour, seasoned salt, garlic powder, onion powder, and paprika. Whisk them together thoroughly until well combined. This is your flavorful coating!

- Now it’s time to bread the chicken. Take one piece of chicken from the buttermilk marinade, allowing any excess to drip off briefly. Then, place the chicken into the seasoned flour mixture and dredge it thoroughly on all sides, pressing gently to ensure a thick, even coating. The more flour adheres, the crispier your chicken will be! Repeat this process with all the remaining chicken pieces, ensuring each is fully coated. For best results, place the breaded chicken on a wire rack while you finish coating the rest, allowing the coating to set slightly.

- Preheat your air fryer to 360°F (180°C). Proper preheating is essential for achieving an immediate crisp on the chicken.
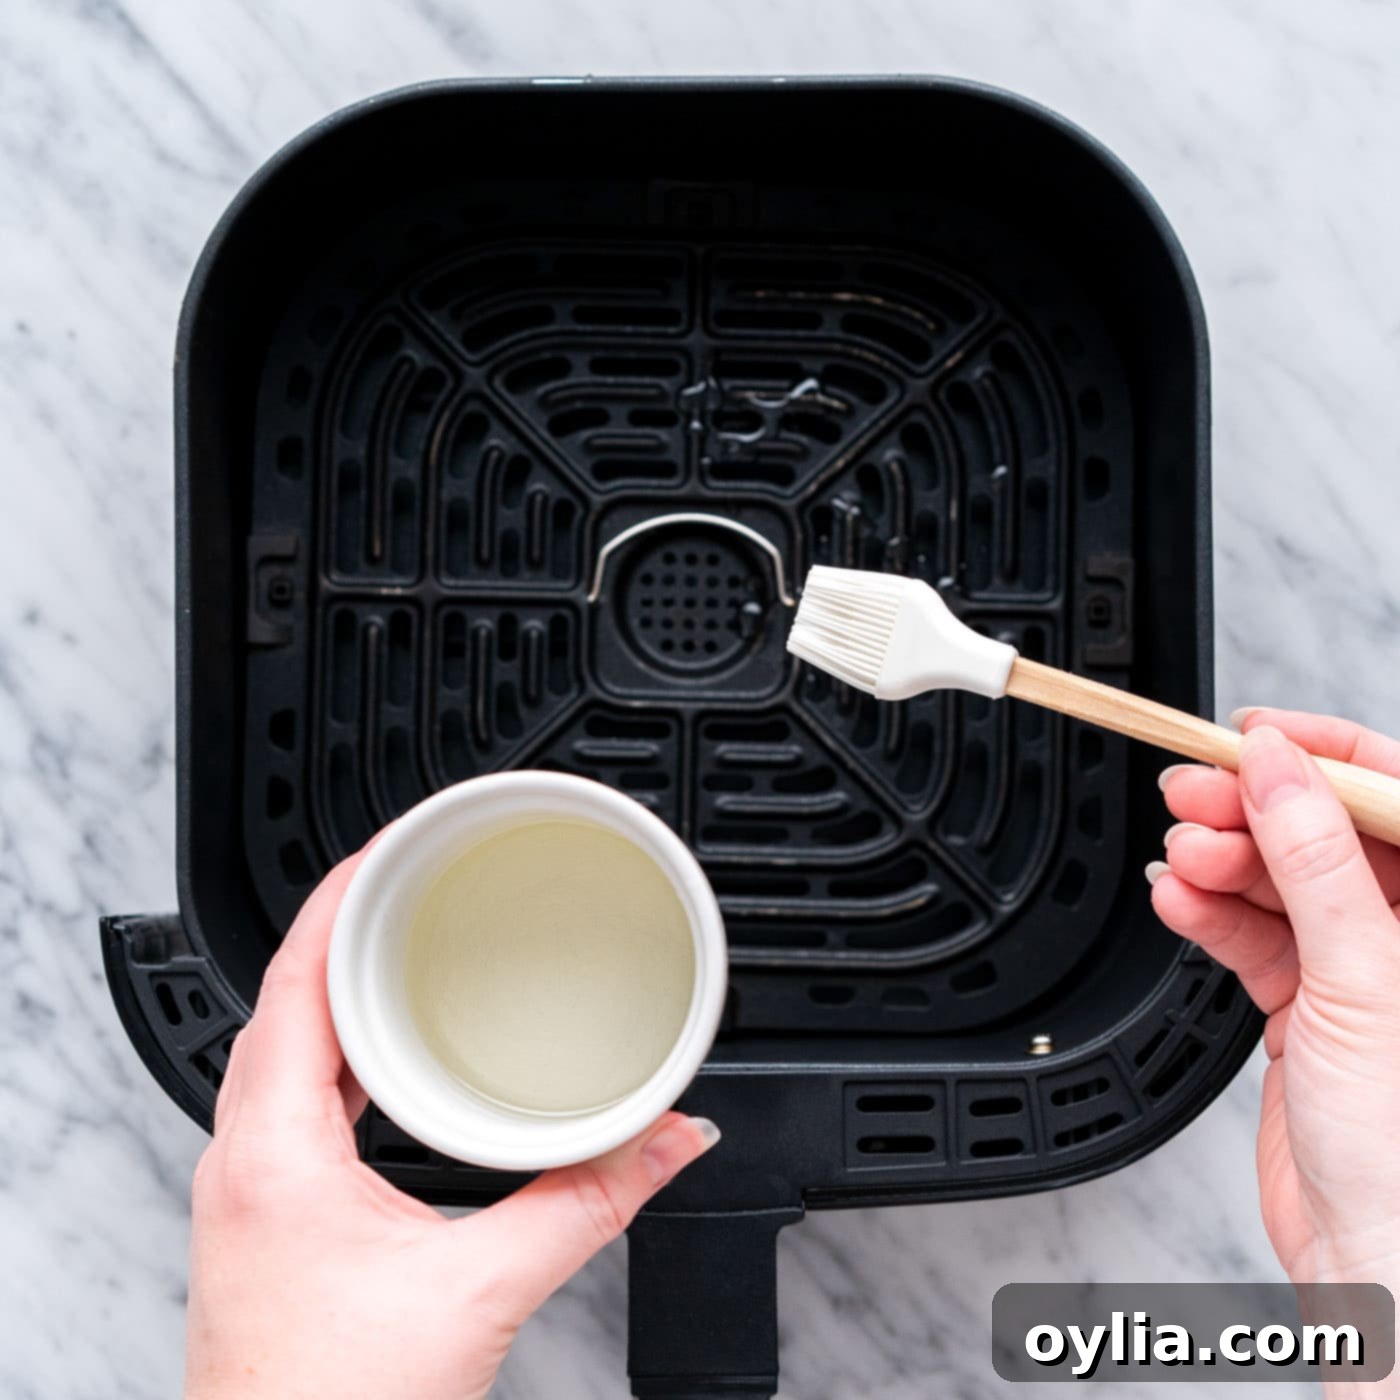
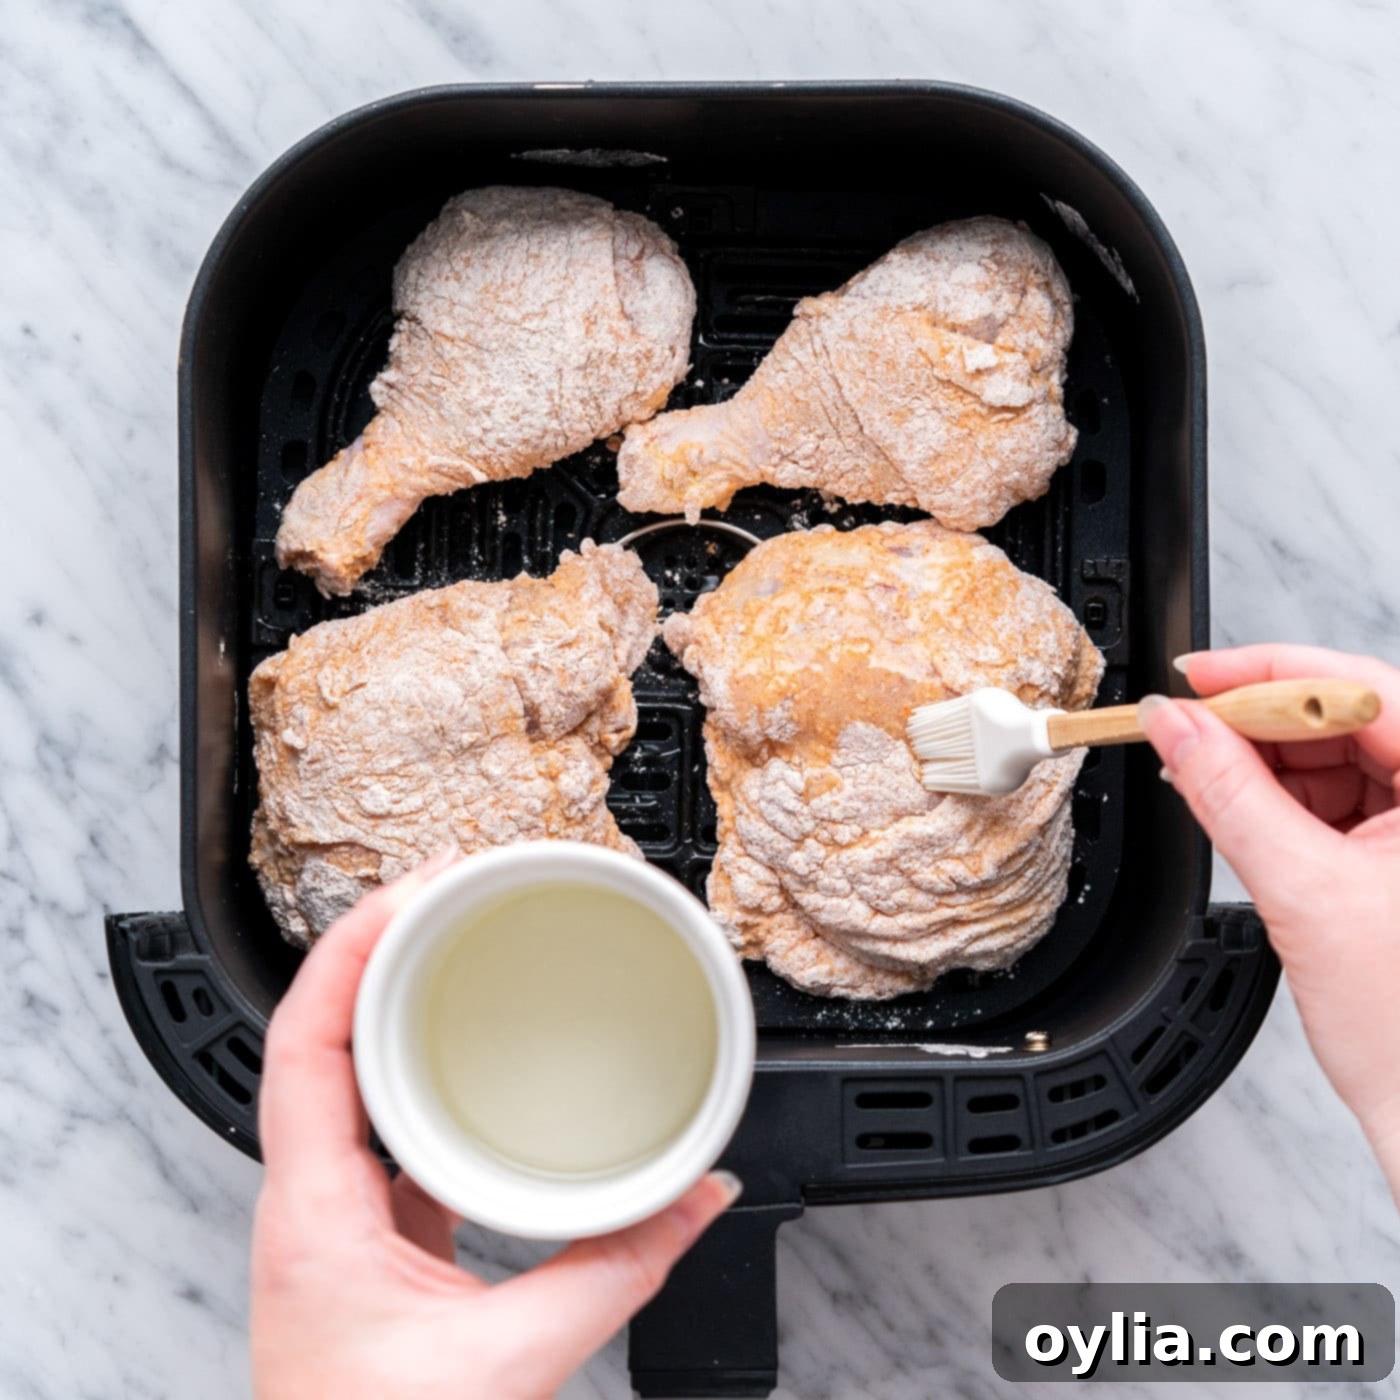
- Due to varying cooking times and to prevent overcrowding, you will cook the chicken in three separate batches: one for the breasts, one for the wings, and one for the legs and thighs. Before placing any chicken into the air fryer, lightly brush the basket with a small amount of oil to prevent sticking. Crucially, just before air frying each batch, generously brush the top surfaces of the chicken pieces with oil. This helps achieve that beautiful golden-brown color and incredible crispness. Remember, the air fryer works best when air can circulate freely, so avoid stacking pieces.

EXPERT TIP – While you don’t want to flip the chicken during cooking (as this can disrupt the crust), it’s perfectly fine to gently pull out the basket halfway through. This allows you to check for any dry flour spots and brush them with a little more oil if needed. This step ensures an evenly crisp and golden-brown crust all around.


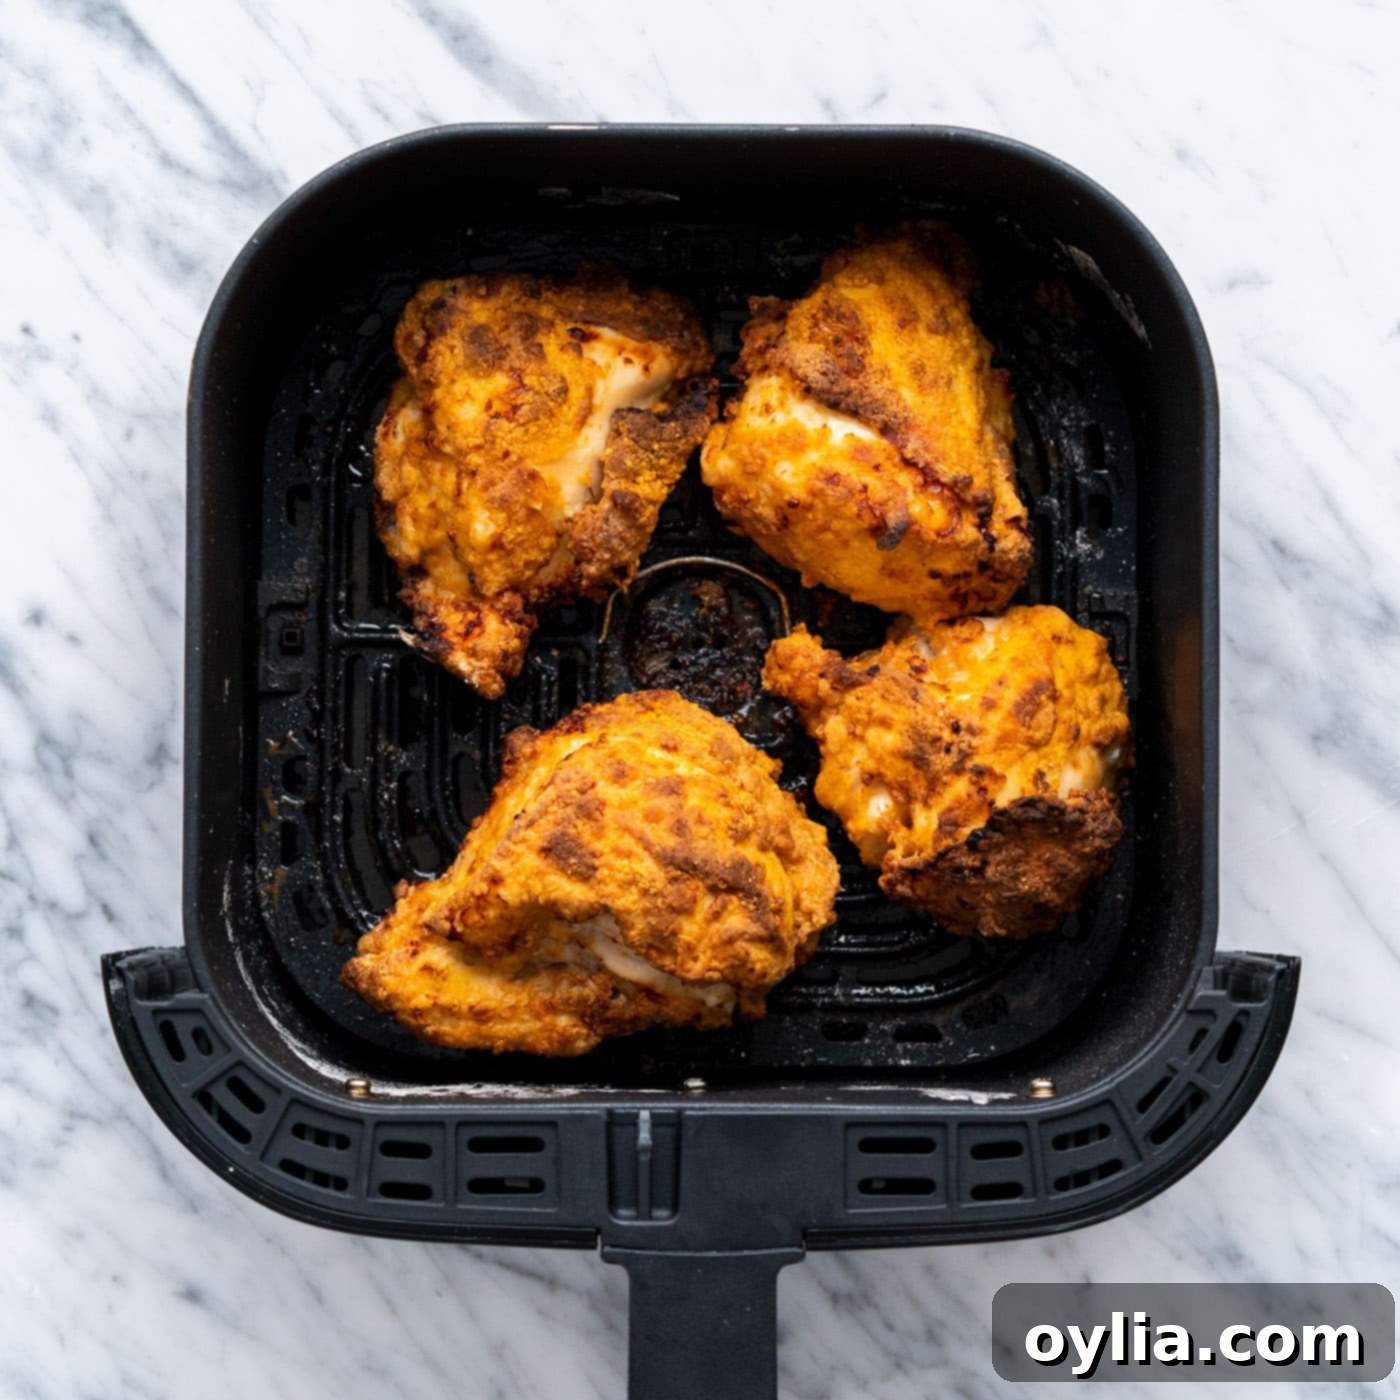
- Breasts – Place breast pieces in the air fryer basket (ensuring they are not overcrowded). Cook for 23 to 28 minutes at 360°F, or until an instant-read thermometer inserted into the thickest part of the meat (avoiding bone) registers 165°F (74°C).
- Wings – Next, cook the wings. Place them in the air fryer basket in a single layer. Air fry for 15 to 18 minutes at 360°F, or until they reach an internal temperature of 165°F (74°C). Wings are smaller and cook faster, so keep a close eye on them to prevent overcooking.
- Legs/Thighs – Finally, cook the legs and thighs. These darker meat cuts benefit from slightly longer cooking. Air fry for 25 to 30 minutes at 360°F, or until they reach an internal temperature of 175°F (79°C). While 165°F is safe, cooking dark meat to 175°F helps to break down more connective tissue, resulting in a more tender and juicy texture. Always verify with a thermometer for food safety.
Frequently Asked Questions & Expert Tips for Air Fryer Fried Chicken
Not at all! This recipe is a fantastic guide for how to achieve perfectly fried chicken in your air fryer, regardless of the cut. Feel free to use just wings, thighs, drumsticks, or breasts. Simply follow the buttermilk marinade and seasoned flour dredging steps, then air fry according to the individual cook times listed in the recipe instructions. Using specific cuts might even simplify the batch cooking process if your air fryer basket is smaller.
Store any leftover air fryer fried chicken in an airtight container or wrapped tightly in aluminum foil in the refrigerator for 3-4 days. To reheat, the best method is to use your air fryer again! Reheat at 350°F (175°C) for 5-8 minutes, or until warmed through and crispy again. This prevents the chicken from becoming soggy, which can happen in a microwave.
Keeping earlier batches warm and crispy is simple. As each batch finishes cooking, transfer the chicken to a wire rack placed on a baking sheet. Then, place the entire baking sheet into a preheated oven set to a low temperature, around 200°F (95°C). This gentle heat will keep the chicken warm without continuing to cook it or making it dry out, ensuring everything is ready to serve hot and delicious at the same time.
The most reliable way to ensure your chicken is perfectly cooked and safe to eat is by using an instant-read thermometer. Insert the thermometer into the thickest part of the meat, being careful to avoid any bones, which can give an inaccurate reading. Chicken is fully cooked when it reaches an internal temperature of 165°F (74°C) for white meat (breasts and wings) and ideally 175°F (79°C) for dark meat (legs and thighs). The juices should also run clear when the chicken is pierced.
For the best results with this recipe, it’s highly recommended to use fresh or fully thawed chicken. Marinating and breading frozen chicken is not ideal as the coating won’t adhere properly, and the chicken won’t absorb the buttermilk marinade’s flavors and tenderizing effects. If you’re starting with frozen chicken, make sure to thaw it completely in the refrigerator overnight before proceeding with the recipe steps.
Achieving maximum crispiness involves a few key steps. First, ensure your chicken is patted very dry before marinating, and then allow excess buttermilk to drip off before dredging in flour. Second, apply a generous and even coating of seasoned flour, pressing it firmly onto the chicken. Third, don’t overcrowd the air fryer basket – this is crucial for air circulation and crisping. Finally, generously brush the breaded chicken with oil just before air frying. You can even give it another light spray or brush halfway through cooking if you notice any dry spots.
Several factors can lead to less-than-crispy air fryer fried chicken. The most common culprit is overcrowding the basket, which hinders proper air circulation. Ensure you’re cooking in batches and leaving space between pieces. Insufficient oil on the coating is another common issue; remember to brush generously. Also, make sure your air fryer is fully preheated before adding the chicken, and check that the internal temperature of the chicken is correct – sometimes chicken can be cooked but not fully crisped if the cook time was slightly off for the desired texture.
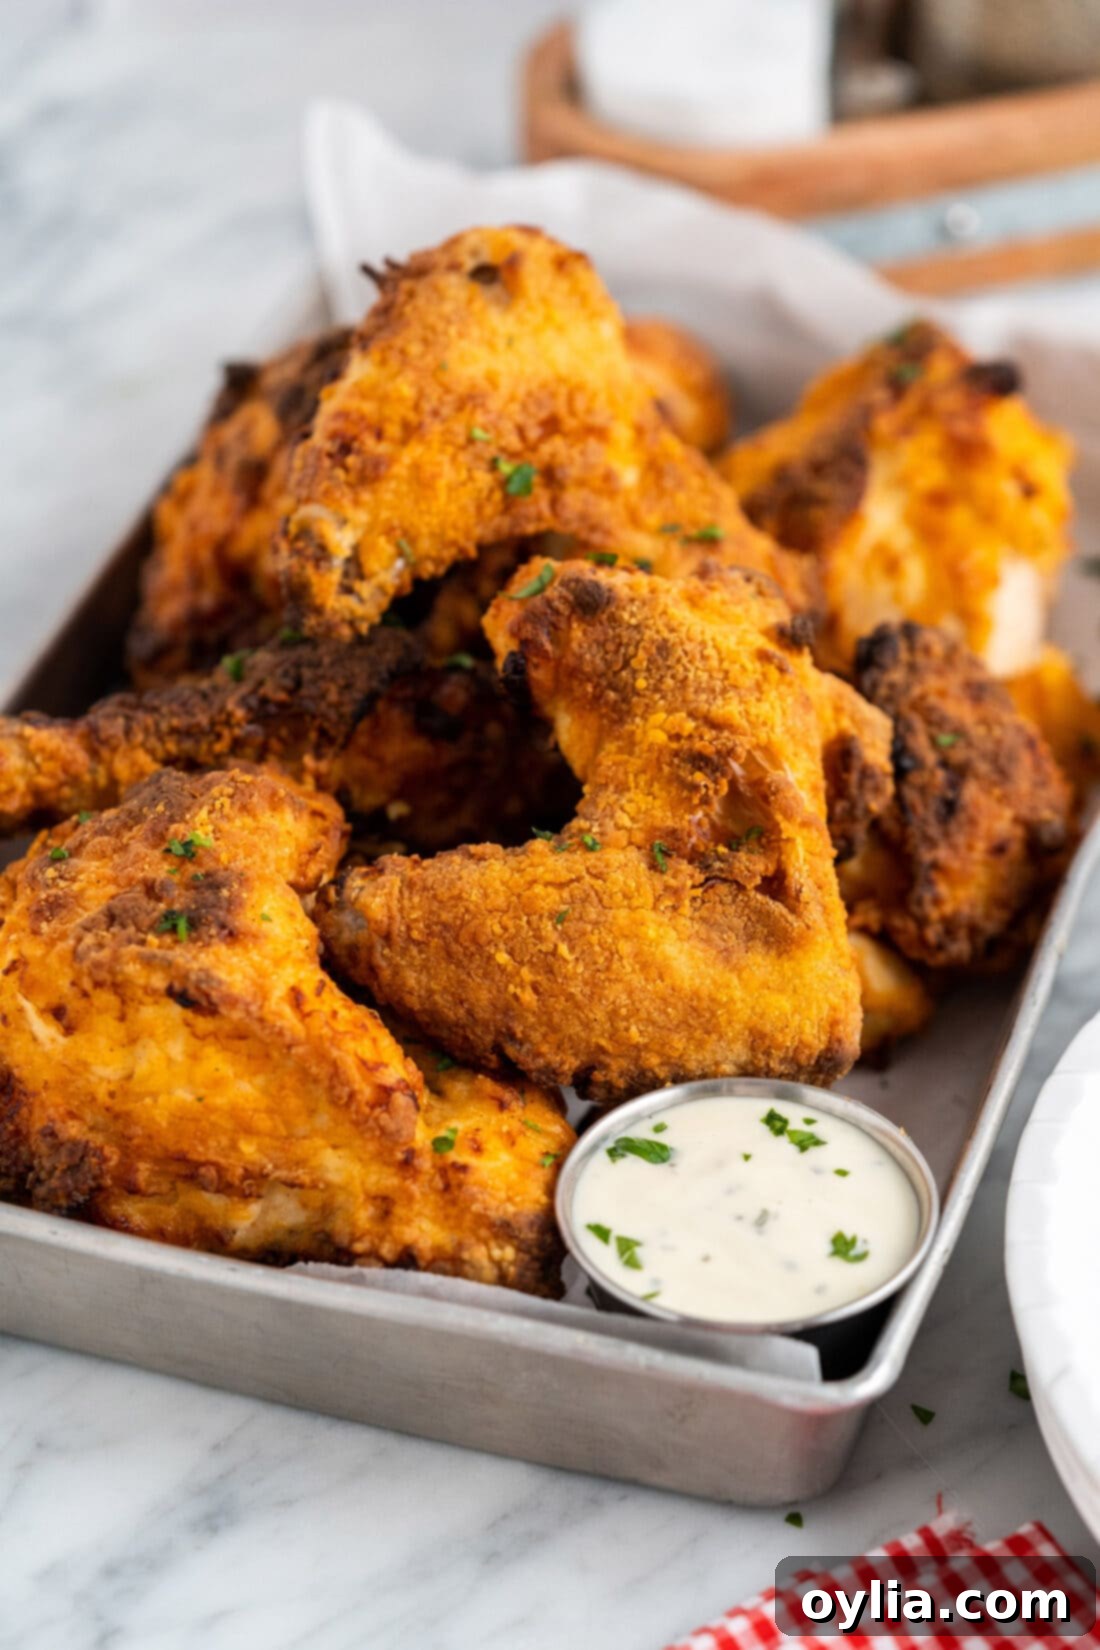
Delicious Serving Suggestions for Your Air Fryer Fried Chicken
Air fryer chicken is incredibly versatile, lending itself to a myriad of forms, from delightful chicken nuggets and flavorful kabobs to satisfying tenders, tender thighs, and classic drumsticks. But when it comes to a whole air fryer fried chicken, the possibilities for a complete and delicious meal are endless!
Once your crispy, golden-brown chicken is ready, consider garnishing it with a sprinkle of fresh minced parsley for a burst of color and herbaceous freshness. The perfect accompaniment to fried chicken is, of course, a selection of your favorite dipping sauces. Offer a spread of creamy ranch, tangy honey mustard, rich brown gravy, smoky barbecue sauce, or spicy buffalo sauce to please every palate. For side dishes, you can’t go wrong with classic comfort food pairings. Serve your air fryer fried chicken alongside crispy french fries, creamy mac and cheese, fluffy homemade biscuits, and a refreshing coleslaw. Other fantastic options include mashed potatoes, green beans, cornbread, or a simple garden salad. No matter how you serve it, this air fryer fried chicken is sure to be the star of your meal.
Explore More Delicious Air Fryer Recipes
The air fryer is a fantastic appliance for creating a wide array of dishes, not just chicken! If you loved making this fried chicken, you’ll be thrilled to discover how many other incredible meals and snacks you can prepare with minimal oil and maximum flavor. Here are some more of our favorite air fryer recipes to inspire your next culinary adventure:
- Air Fryer Pizza
- Air Fryer Shrimp
- Air Fryer Crab Cakes
- Air Fryer Fried Pickles
- Air Fryer Baked Potatoes
- Air Fryer Chicken Cordon Bleu
- Air Fryer Onion Rings
- Air Fryer Smashed Potatoes
I love to bake and cook and share my kitchen experience with all of you! Remembering to come back each day can be tough, that’s why I offer a convenient newsletter every time a new recipe posts. Simply subscribe and start receiving your free daily recipes!
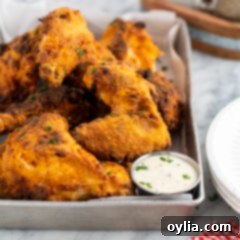
Air Fryer Fried Chicken
IMPORTANT – There are often Frequently Asked Questions within the blog post that you may find helpful. Simply scroll back up to read them!
Print It
Pin It
Rate It
Save ItSaved!
Ingredients
- 6 pound whole chicken or individual pieces as desired
- 6 Tablespoons vegetable oil for brushing onto the chicken
Buttermilk Marinade
- 2 cups buttermilk
- 1 ½ teaspoons seasoned salt
Seasoned Flour
- 2 cups all-purpose flour
- 1 ½ Tablespoons seasoned salt
- ½ Tablespoon garlic powder
- ½ Tablespoon onion powder
- ½ Tablespoon paprika
Things You’ll Need
-
Air fryer
-
Large mixing bowl
Before You Begin
- Because you’re cooking the chicken in 3 batches, wait to brush oil on each batch of chicken until right before air frying it. Make sure to generously brush oil on it so that you don’t see any flour.
- You can substitute the vegetable oil with avocado oil or canola oil.
- To Keep the Chicken Warm: Place the cooked chicken on a wire rack on top of a baking tray, then put it in a preheated oven at 200F to keep it warm until all of the remaining chicken is cooked.
- The most important tip for cooking in the air fryer is to NOT overcrowd the basket. Air fryers rely on circulation to thoroughly cook food, if it does not have enough room to circulate air, your chicken will not cook properly.
Instructions
-
Cut the chicken into 10 pieces: 2 wings, 2 legs, 2 thighs, and cut each breast in half for a total of 4 breast pieces.
-
Add the chicken, buttermilk, and seasoned salt to a large bowl and toss to coat the chicken.
-
Cover the bowl with plastic wrap and refrigerate at least 1 hour, or up to 24 hours.
-
After the chicken is done marinating, make the seasoned flour. To do so, combine all ingredients in a large, shallow bowl.
-
Remove a piece of chicken from the marinade and let the excess marinade drip off. Dredge the chicken on both sides in the flour mixture until well-coated. Repeat this process until all the chicken is coated in seasoned flour.
-
Preheat an air fryer to 360F.
-
You will need to cook the chicken in 3 batches: 1 batch for the breasts, 1 batch for the wings, and 1 batch for the legs/thighs. Before air frying, brush a little oil in the basket of the air fryer. Right before air frying, brush the top of the chicken pieces generously with oil. It’s fine if you want to check the chicken halfway through cooking to see if there are any flour spots so you can brush them with oil, but don’t flip the chicken.
For Breasts
-
Cook 23 to 28 minutes, until they reach an internal temperature of 165F.
For Wings
-
Cook 15 to 18 minutes, until they reach an internal temperature of 165F.
For Thighs/Legs
-
Cook 25 to 30 minutes, until they reach an internal temperature of 165F.
Nutrition
The recipes on this blog are tested with a conventional gas oven and gas stovetop. It’s important to note that some ovens, especially as they age, can cook and bake inconsistently. Using an inexpensive oven thermometer can assure you that your oven is truly heating to the proper temperature. If you use a toaster oven or countertop oven, please keep in mind that they may not distribute heat the same as a conventional full sized oven and you may need to adjust your cooking/baking times. In the case of recipes made with a pressure cooker, air fryer, slow cooker, or other appliance, a link to the appliances we use is listed within each respective recipe. For baking recipes where measurements are given by weight, please note that results may not be the same if cups are used instead, and we can’t guarantee success with that method.
