Ultimate Grilled Chicken Quesadilla Recipe: Crispy & Cheesy Perfection
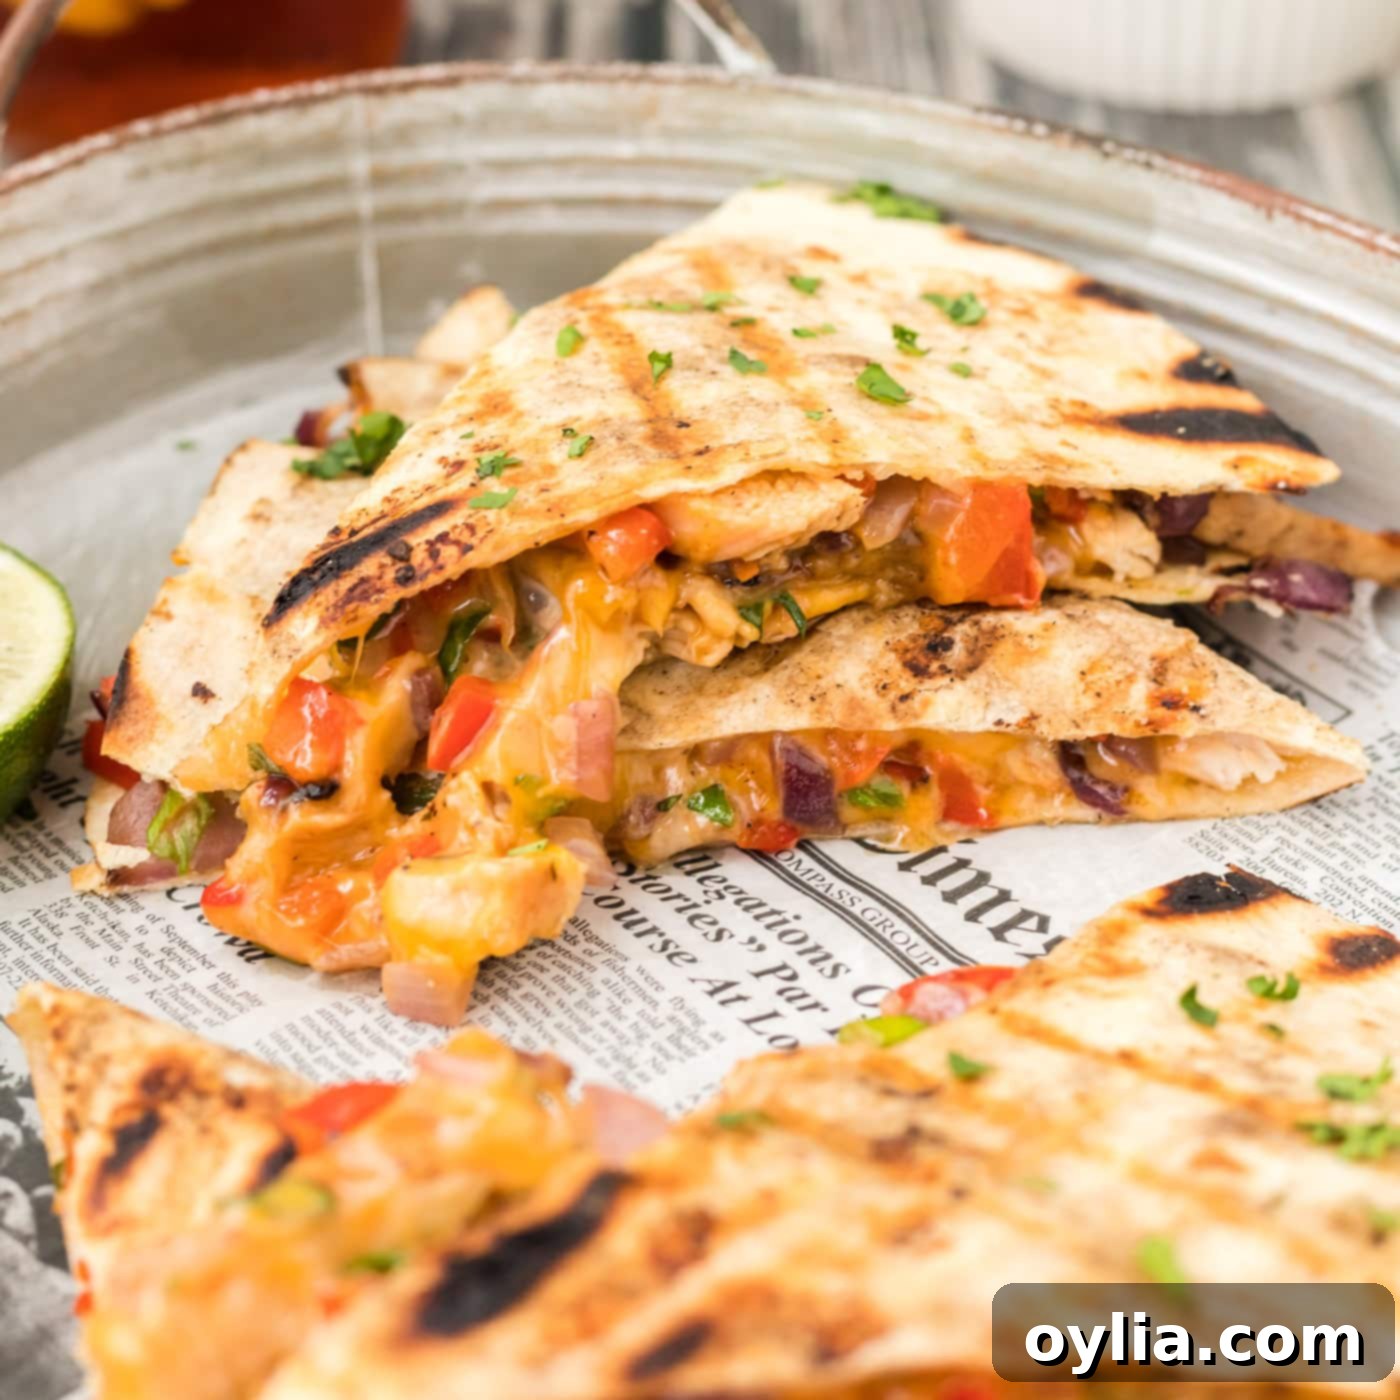
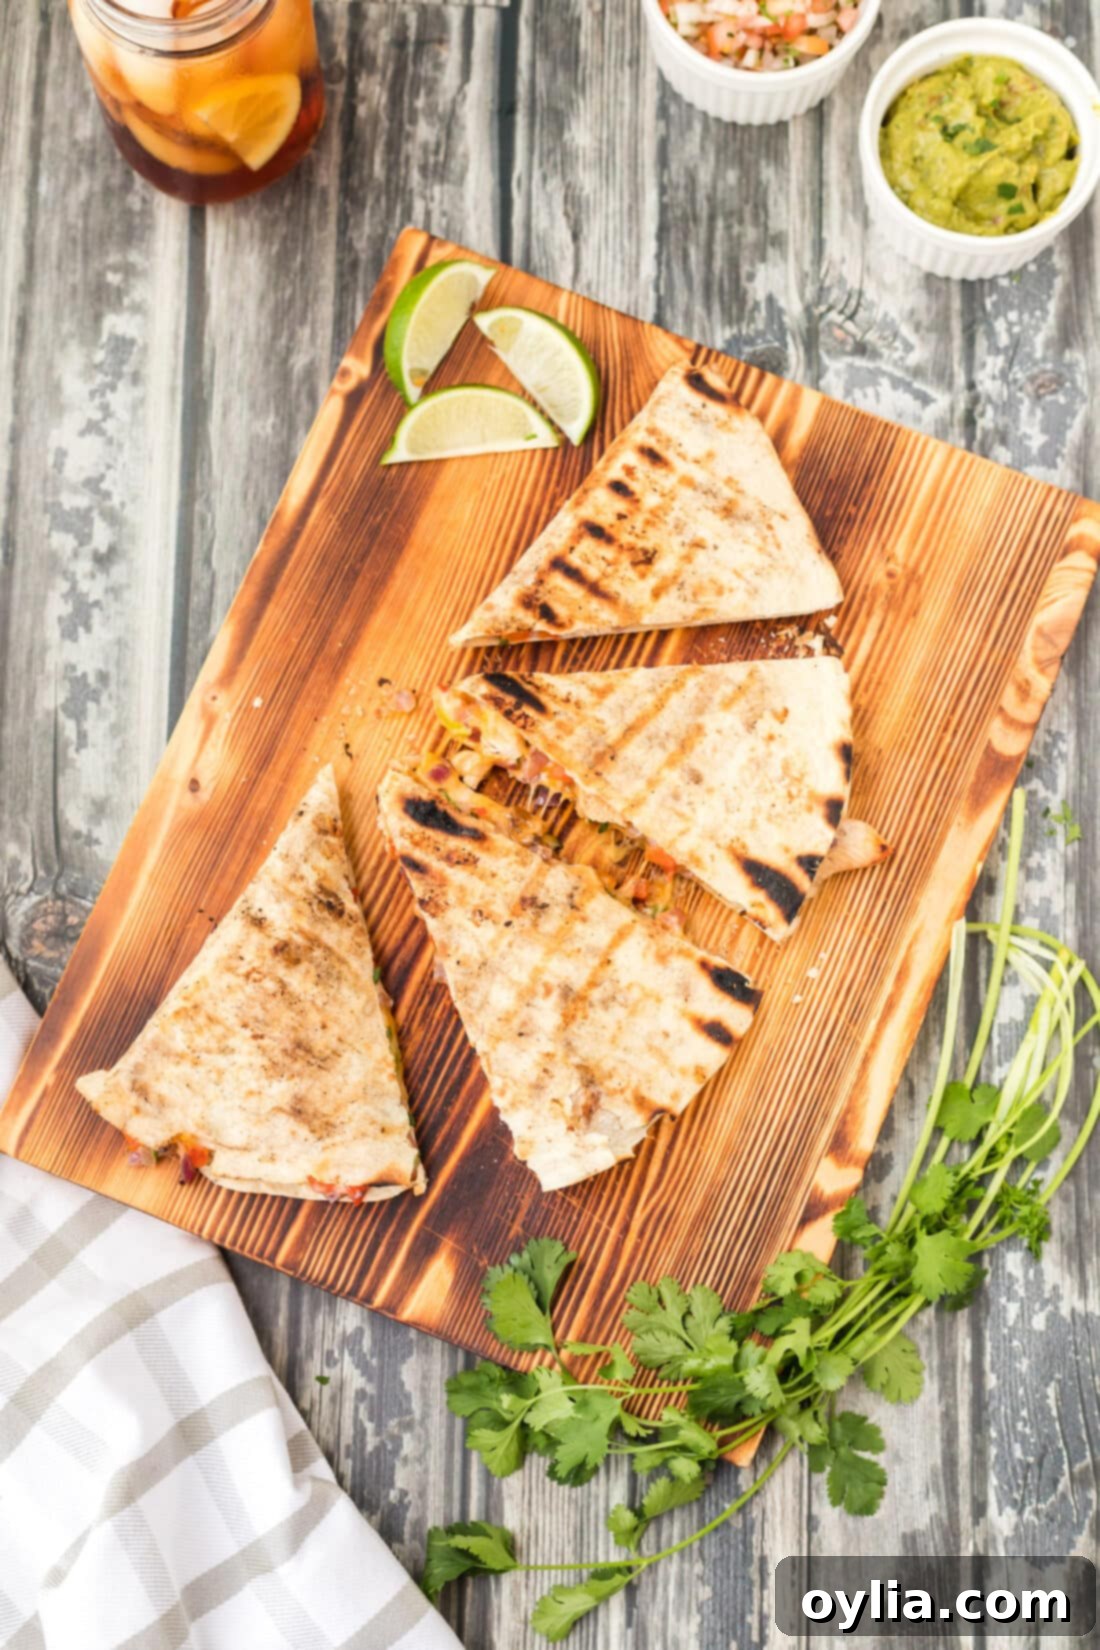
Prepare for a taste sensation that will elevate your weeknight dinner or weekend gathering: the **Grilled Chicken Quesadilla**. This isn’t just any quesadilla; it’s a masterpiece of flavor and texture, perfectly combining tender, seasoned chicken, vibrant bell peppers, sweet onions, and a generous blend of melted cheddar and mozzarella cheeses. All these delicious fillings are encased in a perfectly grilled, golden-crisp tortilla. The magic truly happens on the grill, where the tortilla develops an irresistible smoky char and a delightful crunch, creating an experience far beyond your average stovetop quesadilla.
Why This Grilled Chicken Quesadilla Recipe Works Wonders
Quesadillas are often hailed as the ultimate easy meal, whether for a quick lunch or a satisfying dinner. But if you’ve only ever made them on a stovetop, you’re missing out on a whole new level of deliciousness. Grilling a quesadilla transforms it from good to extraordinary. The direct, radiant heat of the grill imparts a beautiful golden-brown color and a distinct, subtle smoky flavor to the tortilla that simply can’t be replicated in a pan. This outdoor cooking method creates an experience that truly elevates a simple concept into a culinary highlight.
The grilling method results in an unparalleled crispiness on the outside, providing a perfect textural contrast to the warm, gooey, melted cheese and the tender, flavorful chicken and vegetables within. It creates a delightful interplay of textures and tastes – the satisfying crunch of the tortilla giving way to a rich, savory, and cheesy filling. Moreover, cooking on the grill allows the ingredients to meld together beautifully, enhancing the overall depth of flavor with a subtle smokiness that permeates every bite. This recipe isn’t just about combining ingredients; it’s about optimizing the cooking method to achieve peak quesadilla perfection, making it a reliable crowd-pleaser for any occasion.
The inherent beauty of quesadillas lies in their incredible versatility and forgiving nature. There’s no single “right” way to make them, allowing for endless customization to suit your palate. While our grilled chicken recipe is designed for maximum flavor and texture, the core principle remains consistent: simply stuff your favorite fillings inside a tortilla before it hits the heat. Even a classic cheese quesadilla can be elevated by the grill’s kiss, offering that sought-after crispy exterior and sumptuously melty interior. This recipe provides a fantastic, flavorful foundation, but always feel free to experiment with your preferred ingredients and make it uniquely yours.
Essential Ingredients for Your Grilled Chicken Quesadilla
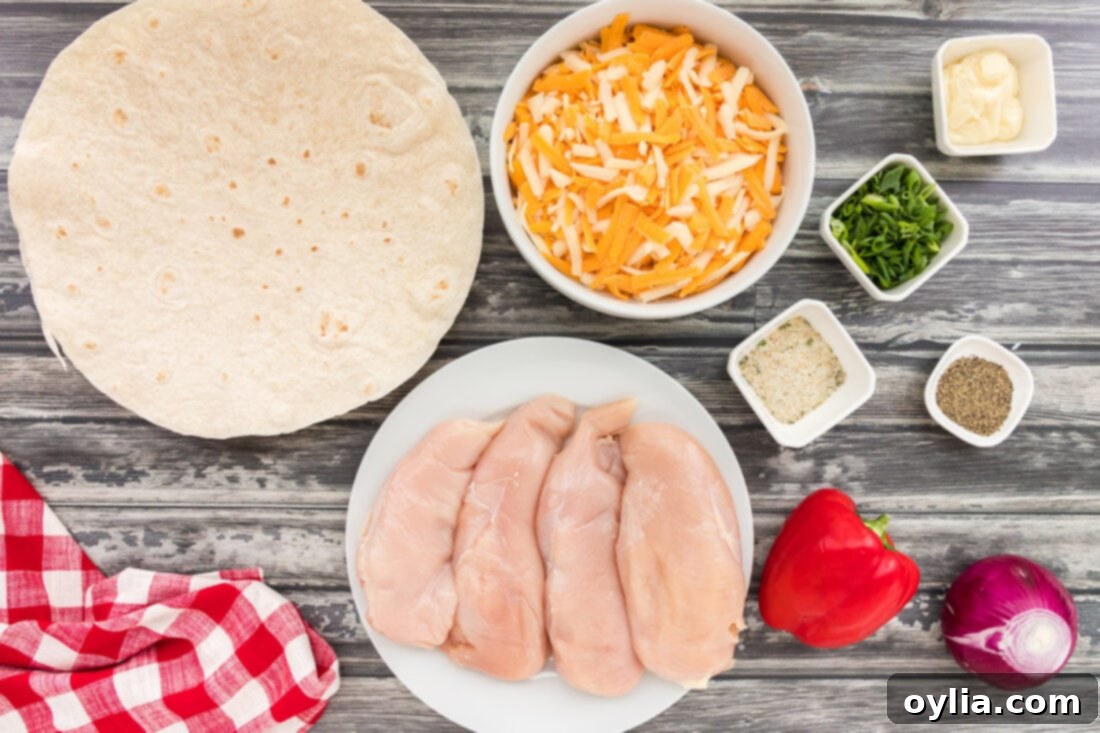
Crafting the perfect grilled chicken quesadilla starts with selecting high-quality ingredients. While the full list with precise measurements is available in the printable recipe card at the end of this post, here’s a quick overview of what you’ll need to gather to create this delightful dish:
- Large Flour Tortillas: These are the flexible foundation of our quesadilla, providing a sturdy yet pliable wrap for all the savory fillings. We recommend 12-inch tortillas for ample space.
- Boneless, Skinless Chicken Breasts: Our lean protein star, which we’ll season and grill to tender perfection. Ensuring they are boneless and skinless makes for easy preparation and slicing.
- Garlic Salt & Black Pepper: Simple yet incredibly effective seasonings that enhance the natural flavor of the chicken and contribute to a well-rounded taste.
- Red Bell Pepper: When grilled, red bell peppers transform, offering a sweet and slightly smoky flavor that complements the chicken and adds a vibrant color.
- Red Onion: This provides a sharp, pungent kick when raw, but mellows beautifully into a delightful sweetness once grilled, adding depth to the quesadilla.
- Green Onions (Scallions): Sliced green onions offer a fresh, mild onion flavor and a welcome pop of bright green, adding a refreshing element to the rich filling.
- Shredded Cheddar Cheese: A classic choice, cheddar delivers a sharp, tangy flavor and melts into a creamy, comforting layer.
- Shredded Mozzarella Cheese: Known for its incredible stretch and gooey texture when melted, mozzarella binds the fillings together perfectly, creating that irresistible cheesy pull.
- Cooking Spray: An essential for preparing your grill grates, ensuring that your quesadillas cook without sticking and release easily with that desirable golden crust.
Remember, the beauty of a quesadilla is its adaptability. Feel free to adjust quantities based on your preference for a cheesier, more veggie-packed, or extra meaty experience!
Ingredient Insights & Creative Substitutions
Understanding your ingredients and knowing when and how to substitute can take your cooking to the next level. Here’s a deeper dive into the components of our grilled chicken quesadilla, offering flexibility and enhancing your culinary experience:
CHEESE: Our recipe calls for a delightful blend of **cheddar and mozzarella cheese**, offering both a sharp, comforting flavor and incredible meltiness that creates that signature gooey quesadilla interior. However, the world of cheese is vast and full of delicious possibilities! Feel free to experiment with other varieties to tailor the flavor to your preference:
- Oaxaca: A traditional Mexican string cheese, celebrated for its excellent melting properties and mild, buttery flavor. It pulls beautifully!
- Chihuahua: Another authentic Mexican cheese that melts wonderfully, presenting a slightly firmer texture and a mild, nutty taste.
- Monterey Jack: A widely popular choice for quesadillas due to its mild, buttery flavor and superior melting ability.
- Pepper Jack: If you enjoy a pleasant kick of heat, Pepper Jack, infused with spicy peppers, is a fantastic and flavorful option.
- Asadero: A semi-soft Mexican cheese that’s perfect for grilling, delivering a creamy, mild taste and an amazing melt.
Pro Tip for Cheese: I always emphasize the importance of shredding your own cheese from a block rather than relying on pre-bagged shredded varieties from the grocery store. Pre-shredded cheeses often contain anti-caking agents, such as cellulose or potato starch, which prevent the shreds from clumping together. While convenient, these agents also inhibit the cheese from melting as smoothly and lusciously as freshly grated cheese. For that truly gooey, stretchy, and perfect melty interior, investing in a block of your favorite cheese and a grater is well worth the effort.
CHICKEN: We use boneless, skinless chicken breasts, seasoned and grilled to ensure maximum flavor and tenderness. For those busy days when time is of the essence, a fantastic time-saving alternative is to **shred some rotisserie chicken**. It’s already cooked, inherently flavorful, and incredibly tender, making it a quick and easy swap. If you opt for cooking your own chicken, you have the wonderful freedom to customize the spices and seasonings to your liking. Consider enhancing the flavor profile by adding a touch of cumin, chili powder, smoked paprika, oregano, or even a dash of cayenne pepper for a subtle kick. Marinating the chicken for at least 30 minutes (or up to a few hours) before grilling can also infuse it with even more depth of flavor and help keep it wonderfully moist.
FILLINGS: Our recipe features the classic and incredibly delicious combination of **red bell pepper, red onion, and green onion**. These ingredients work harmoniously, offering a balance of natural sweetness, a pungent kick that mellows with grilling, and a fresh, bright finish. But the versatility of quesadillas means you don’t have to stop there! They are incredibly adaptable to various other fillings, allowing you to get creative:
- Spicy Additions: For those who crave heat, incorporate finely diced **jalapeños** or other **chile peppers** (like serrano or poblano). Remember to remove the seeds and membranes for a milder heat level.
- Sweet & Earthy Notes: Add some roasted **corn kernels** (fresh, frozen and thawed, or canned and drained) for a delightful touch of sweetness and a satisfying textural crunch.
- Hearty & Filling Options: Cooked and seasoned **black beans** or creamy **pinto beans** can significantly boost the quesadilla’s bulk, add essential protein, and contribute an earthy, satisfying flavor, making the meal even more substantial.
- Other Vegetable Varieties: Experiment with sautéed mushrooms for an umami depth, fresh spinach for a healthy green component, thinly sliced zucchini, or even a small amount of roasted sweet potato for extra sweetness and nutrition. Just ensure any added vegetables are cooked and chopped into small, manageable pieces before being added to the quesadilla to prevent them from making the tortilla soggy or from spilling out.
- Extra Flavor Boosters: A sprinkle of fresh cilantro, a pinch of your favorite taco seasoning blend, or a dash of hot sauce mixed into the chicken can further enhance the overall flavor profile, adding layers of complexity.
The key to success with any filling is to ensure that all ingredients are cooked and prepped before assembling the quesadilla, as the grilling time is primarily dedicated to melting the cheese and achieving that desirable crispness of the tortilla, not cooking raw ingredients.
Step-by-Step Guide: How to Make a Perfectly Grilled Chicken Quesadilla
These step-by-step photos and detailed instructions are here to help you visualize how to make this delicious recipe with ease. You can Jump to Recipe to get the concise, printable version of this recipe, complete with precise measurements and instructions at the bottom of the page.
- Prepare the Grill: Begin by liberally spraying your grill grates with cooking spray to ensure a non-stick surface. This is a crucial step to prevent the tortilla from adhering and tearing, especially once the cheese starts to melt. Preheat your grill to a moderate temperature of 300°F (150°C). Maintaining this temperature is essential; it ensures the tortilla crisps slowly and develops beautiful grill marks, while the cheese has ample time to melt into a gooey interior without burning the outside of the tortilla.
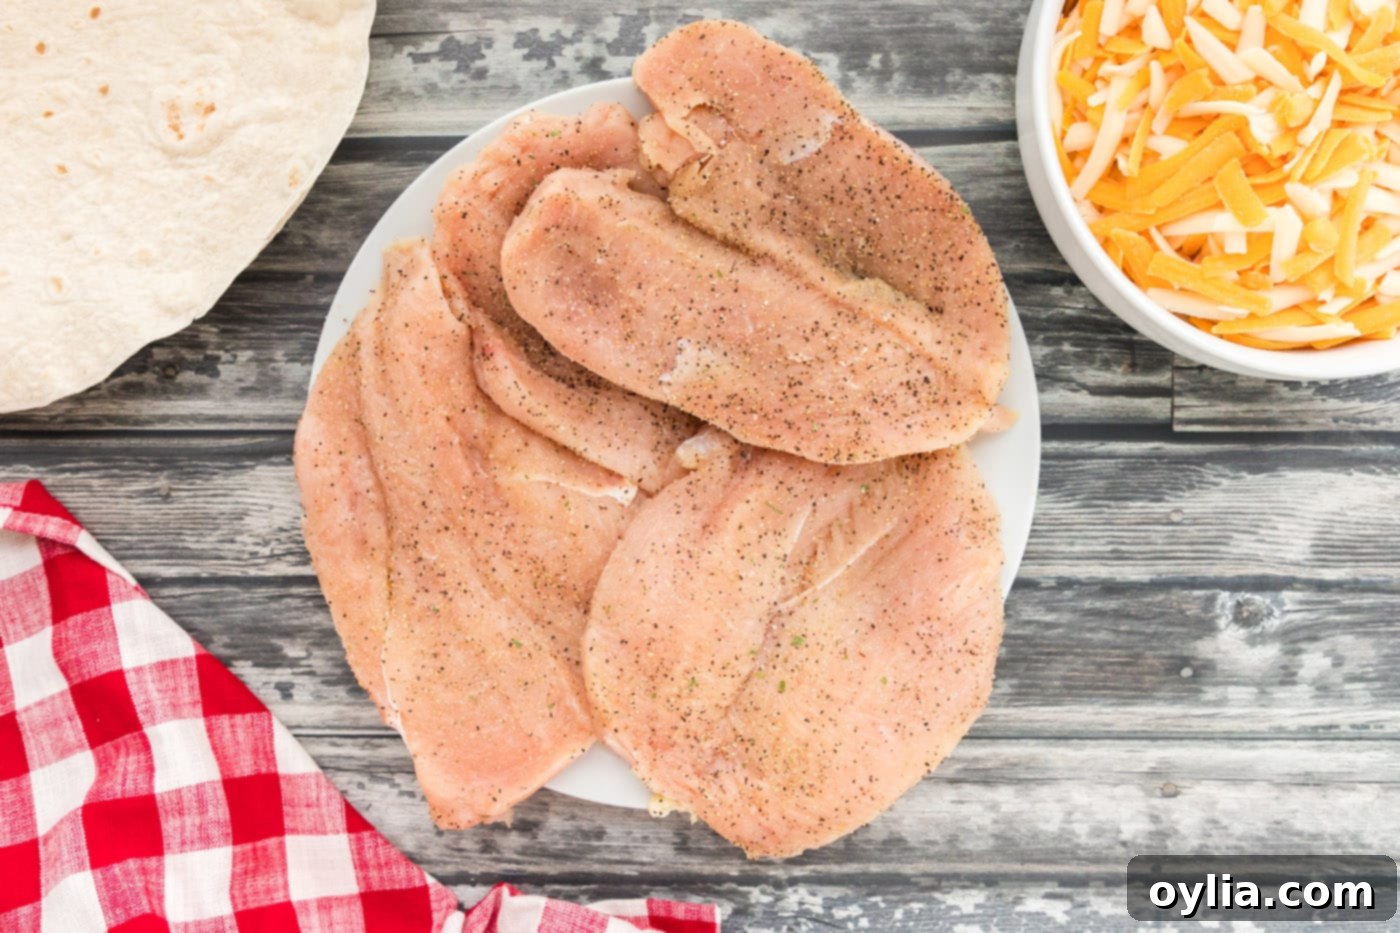
- Prep the Chicken: Pat the boneless, skinless chicken breasts thoroughly dry with paper towels. Removing excess moisture is vital for achieving a proper sear and allows the seasonings to adhere better. To ensure even cooking and accelerate the grilling process, butterfly each breast by carefully slicing it horizontally almost all the way through, then opening it flat like a book. Next, cut each butterflied half into thinner cutlets. This technique creates uniform, thinner pieces that cook quickly and are easy to slice for the quesadilla filling.
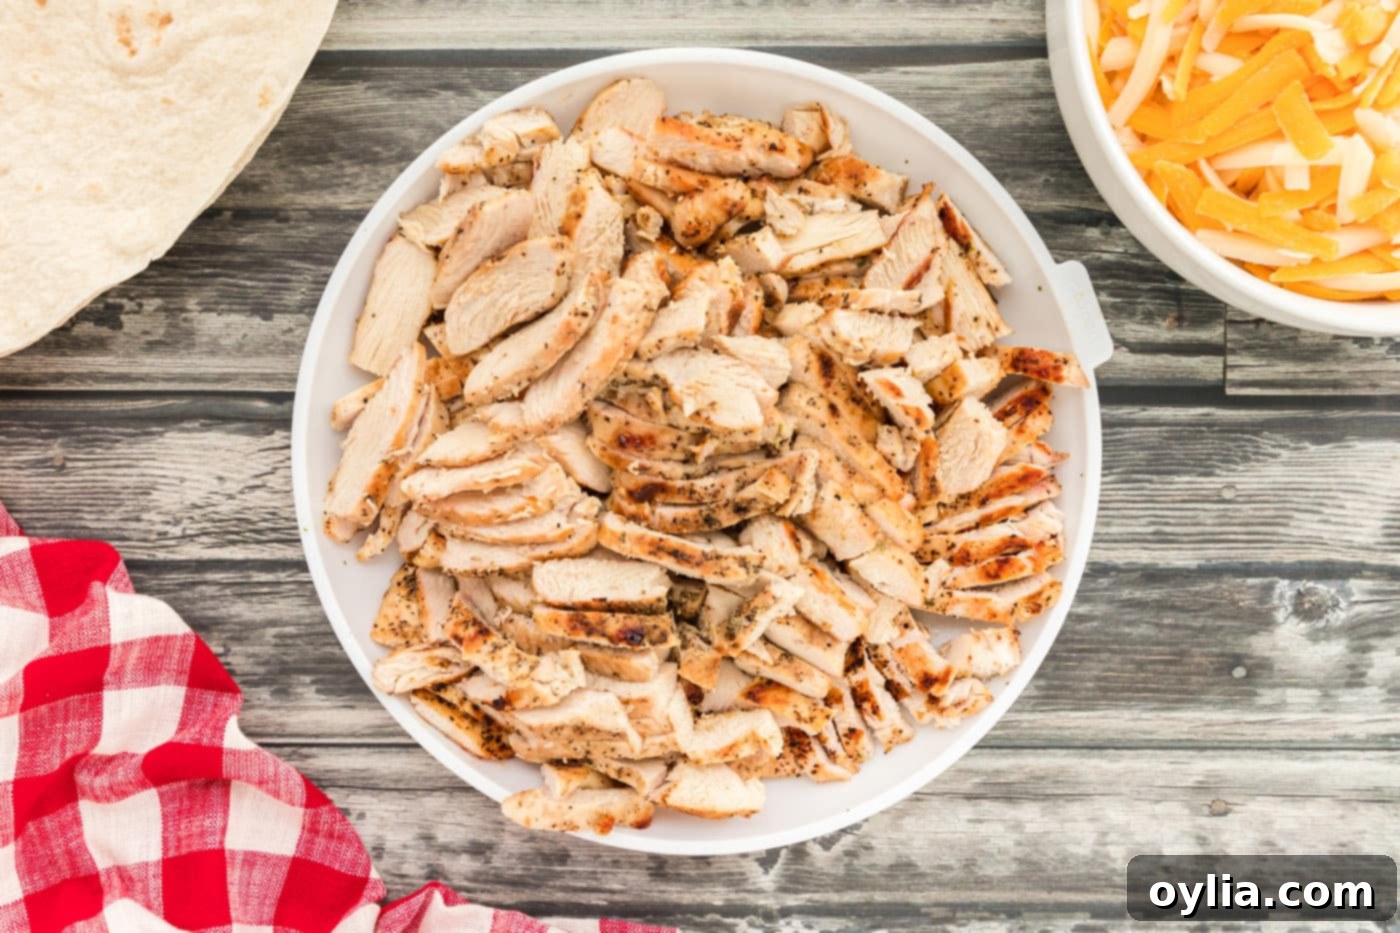
- Season and Cook Chicken: Season both sides of the prepared chicken cutlets generously with garlic salt and freshly ground black pepper. Feel free to add other desired spices like chili powder or cumin at this stage for extra flavor. Place the seasoned chicken on the preheated grill and cook until it’s fully cooked through, reaching an internal temperature of 165°F (74°C), and boasts appealing grill marks. This usually takes about 4-6 minutes per side, depending on the thickness of your cutlets. Once cooked, remove the chicken from the grill and let it rest for a few minutes on a cutting board to redistribute its juices, ensuring maximum tenderness. Finally, slice the chicken into thin, approximately 2-inch long strips. Set the cooked chicken aside.


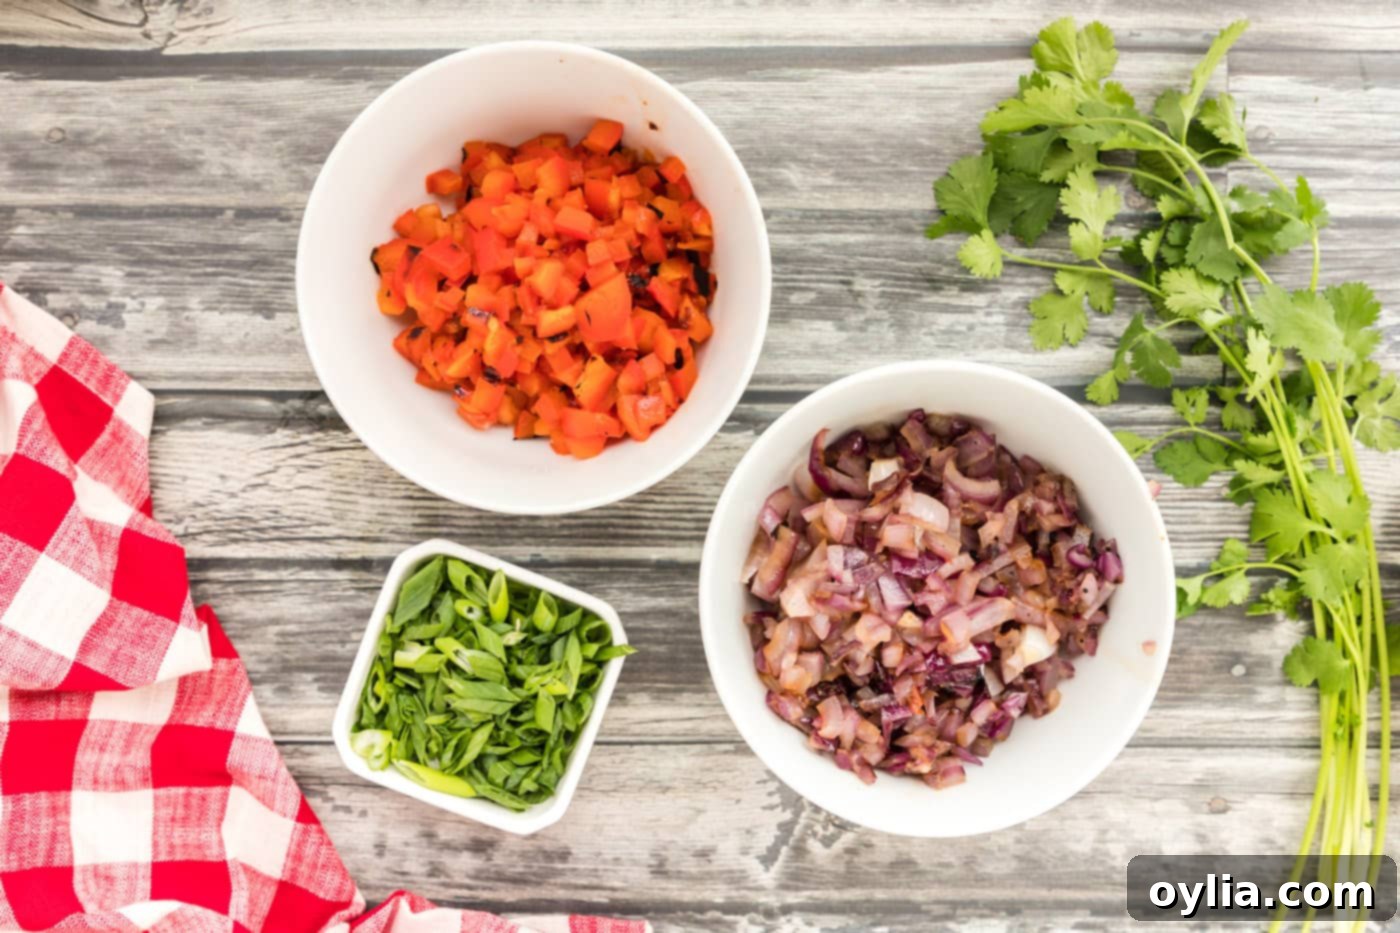
- Grill and Chop Vegetables: Prepare your red bell pepper by cutting it in half, removing the pith and seeds. Slice the red onion into thick, sturdy rings. Place these vegetables directly on the grill grates alongside the chicken (if you have space and time for simultaneous grilling) or after the chicken is finished. Grill them until they are slightly softened, tender-crisp, and have developed attractive char marks, which enhances their natural sweetness and adds a smoky depth. Once cooked to your preference, remove them from the grill and finely chop the bell pepper and red onion into small, uniform pieces. Combine these with the sliced green onions, preparing your vibrant veggie mixture.

- Assemble the Quesadilla – First Layer of Cheese: Lay a large flour tortilla flat on a clean, stable surface, such as a wire rack or a cutting board, which makes handling easier. Generously sprinkle a handful of your mixed shredded cheddar and mozzarella cheese over one entire half of the tortilla, ensuring an even layer that covers the surface well. This initial layer of cheese is crucial as it will melt first and act as the delicious glue that binds all the subsequent fillings together.
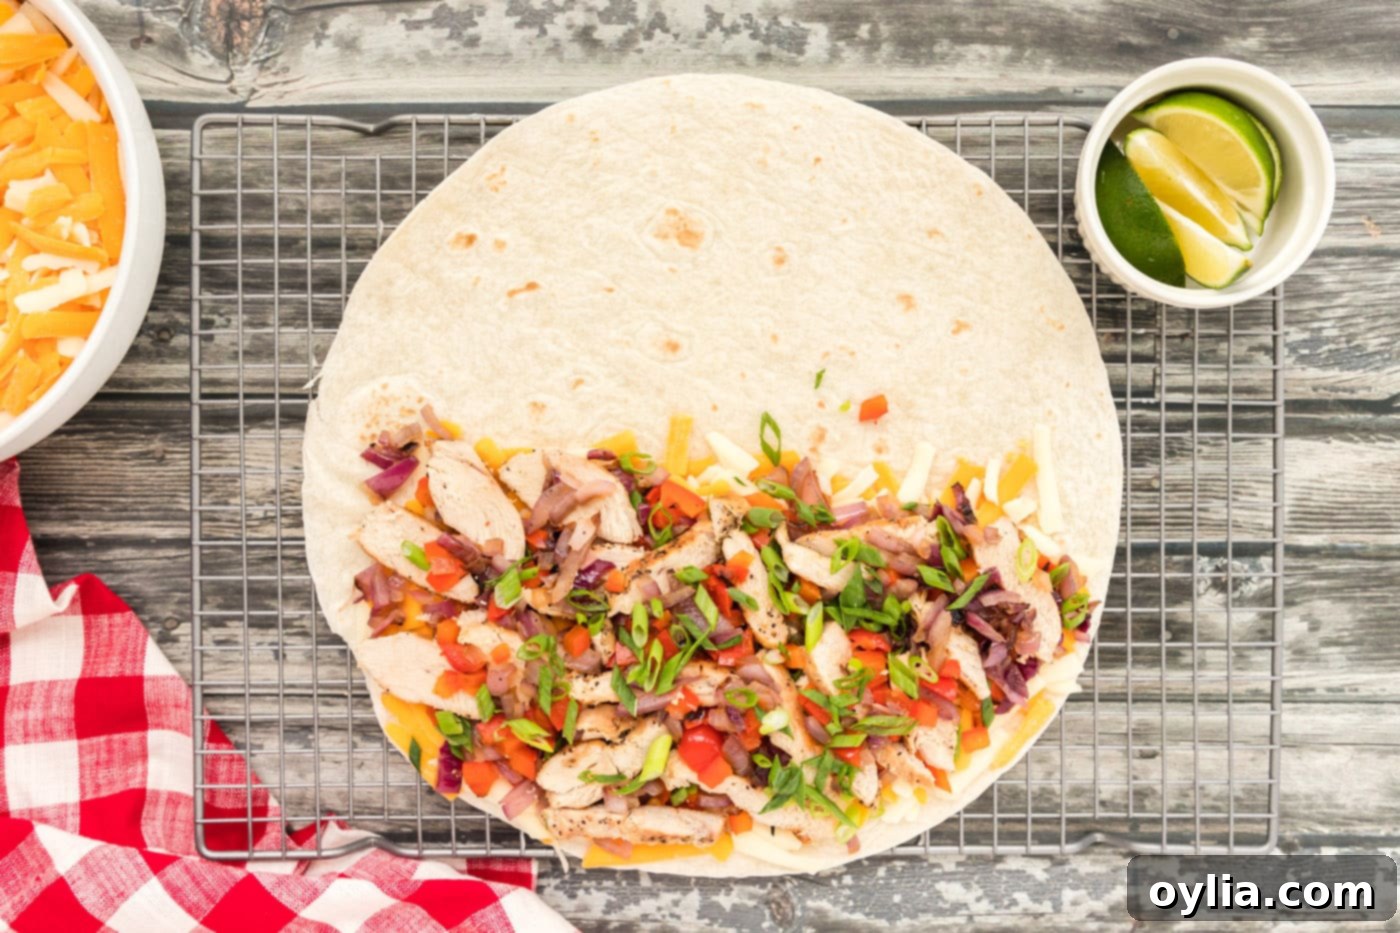
- Add the Savory Fillings: Evenly distribute a portion of the sliced grilled chicken, chopped bell pepper, red onion, and green onion over the layer of cheese on the same half of the tortilla. Be mindful not to overfill the quesadilla; overcrowding can make it difficult to fold, messy to grill, and may prevent the cheese from melting properly or the tortilla from crisping evenly. A balanced amount ensures a perfect bite every time.

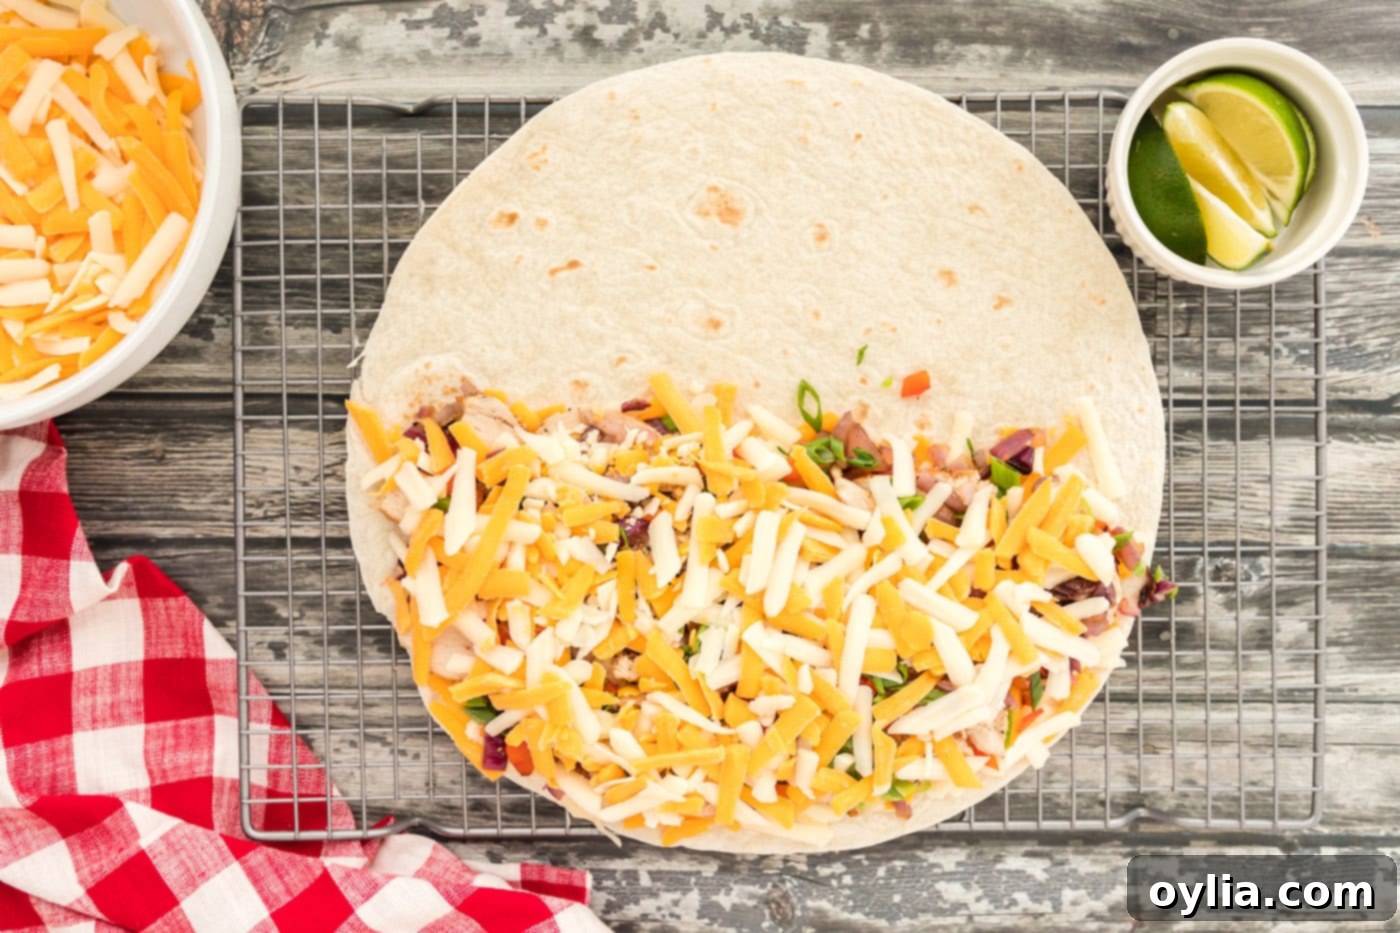
- Cover with More Cheese: To ensure all the delicious fillings are securely held together and to maximize that irresistible cheesy goodness, cover the layer of chicken and vegetables with another generous layer of shredded cheese. This top layer will melt down, encapsulating the fillings and creating a delicious, cohesive seal within the quesadilla.

- Fold the Tortilla: Carefully fold the empty half of the tortilla over the generously filled half, creating a perfect semi-circle. Gently press down along the edges to help seal the fillings inside. A good seal prevents cheese from oozing out excessively during grilling.
- Grill the Quesadilla – First Side: With care, transfer the folded quesadilla to the hot, preheated grill. Cook for approximately 3-5 minutes on the first side. During this crucial stage, the cheese inside will begin its glorious transformation, melting into a gooey perfection, while the tortilla simultaneously starts to develop those desirable golden-brown grill marks and a satisfying crispness. Keep a close eye on it to ensure even cooking and to prevent any undesirable burning.
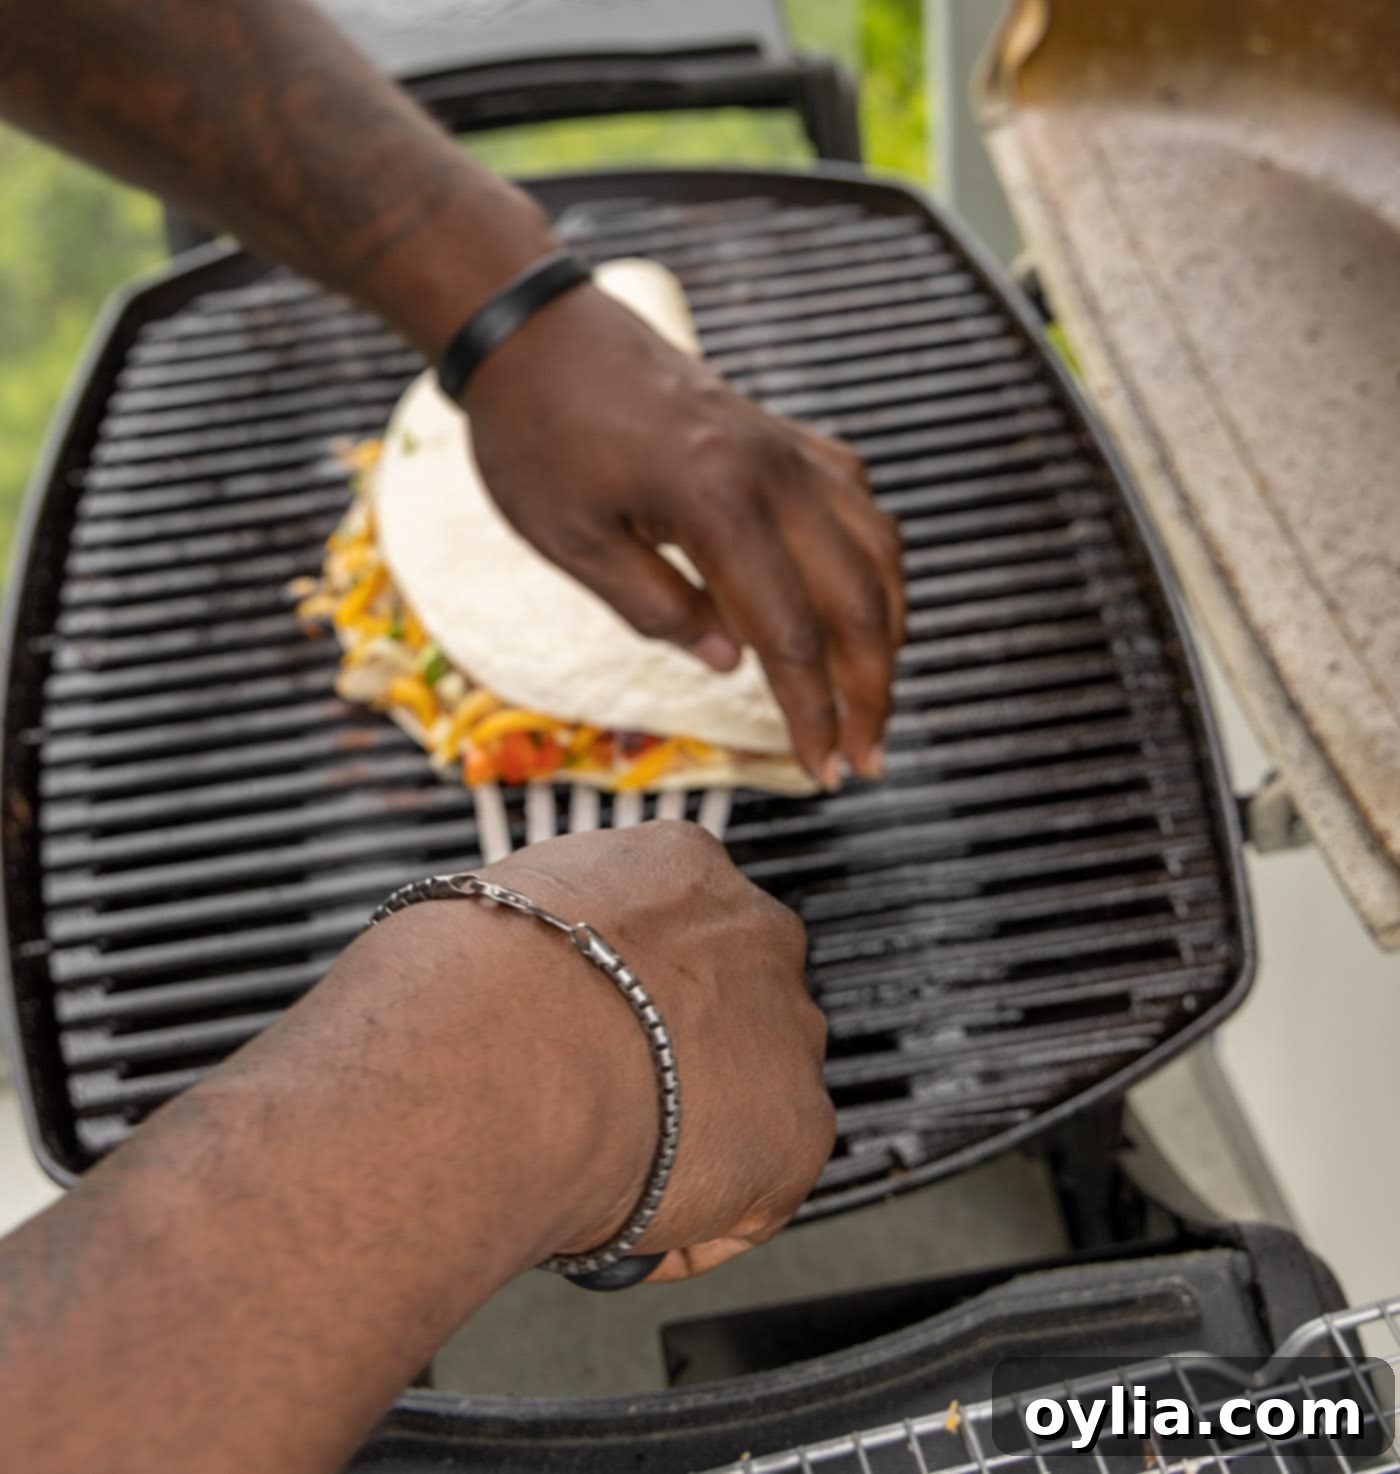
- Flip and Finish Grilling: Using a wide, flat spatula or a fish turner, carefully and confidently flip the quesadilla over to the other side. Continue to cook for an additional 2-4 minutes, or until the second side is equally nicely browned, wonderfully crispy, and, most importantly, the cheese throughout the entire quesadilla is completely melted and bubbling. If you find the browning isn’t even, or the cheese needs more time, it’s perfectly fine to flip the quesadilla more than once until you achieve that ideal deeply golden, uniformly crispy exterior and a molten, richly flavorful interior.

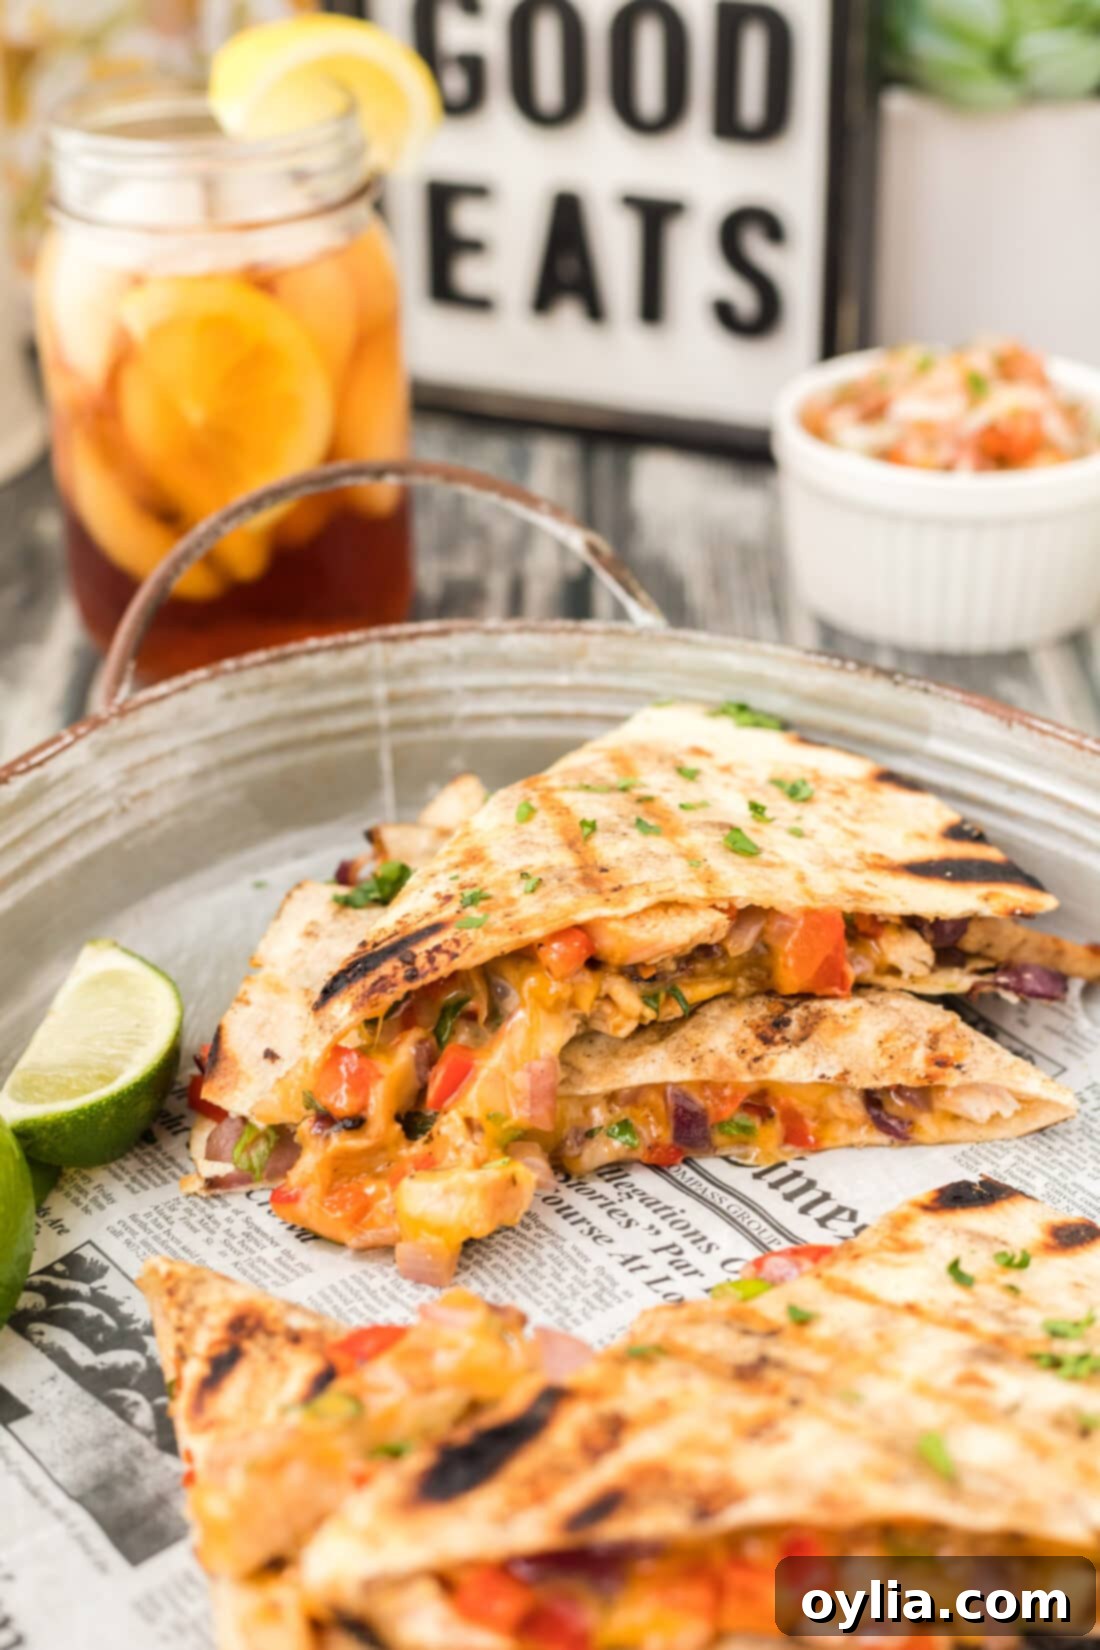
- Rest and Serve: Once your quesadilla reaches peak golden and cheesy perfection, carefully remove it from the grill and transfer it to a clean cutting board. Allow it to rest for a minute or two; this brief resting period allows the piping hot cheese to set just slightly, making it much easier to slice without the fillings oozing out. Then, using a sharp knife or a pizza cutter, expertly slice the quesadilla into 4 triangular portions. Serve immediately while warm, crispy, and the cheese is still wonderfully gooey, and revel in the flavorful goodness!
Frequently Asked Questions & Expert Tips for Quesadilla Perfection
Yes, absolutely! While we personally prefer flour tortillas for their superior flexibility and inherent sturdiness, especially when navigating the grill, it’s worth noting that many traditional Mexican quesadillas are indeed made with corn tortillas. If you opt for corn tortillas, be aware that they tend to be a bit more delicate and can sometimes be prone to breaking or tearing more easily when handled on the grill. For a sturdier base that can better hold your generous and flavorful fillings, we highly recommend doubling up the corn tortillas for each quesadilla. Simply place one tortilla down, add all your delicious fillings, then top with a second corn tortilla before folding (if applicable) or placing it directly on the grill. This doubling technique provides crucial extra support and significantly helps prevent the filling from spilling out. Always strive to use fresh, soft corn tortillas for the best possible results and an authentic taste.
Preventing your quesadilla from sticking is paramount to achieving a beautiful, intact grilled masterpiece. Firstly, ensure your grill grates are immaculately clean. Any leftover residue from previous cooking sessions can act as an adhesive. Secondly, just before placing the quesadilla on the grill, liberally spray the grates with a high-smoke-point cooking spray, such as avocado oil spray. Alternatively, you can lightly brush a thin, even layer of oil (like vegetable or canola oil) directly onto the outside of the tortilla itself. Lastly, maintaining a moderate grill temperature (around 300°F) is crucial; a grill that’s too hot can quickly scorch the tortilla and cause it to stick before the cheese has adequately melted and created a natural release.
While quesadillas truly offer their best in terms of crispiness and melty cheese when enjoyed fresh off the grill, you can certainly streamline your cooking process by performing some valuable prep work in advance. You can cook and slice the chicken, chop all your vegetables, and shred your cheese up to 1-2 days ahead of time. Store all these prepped components separately in airtight containers in the refrigerator. When it’s time to eat, simply assemble and grill the quesadillas following the instructions. This method makes for a significantly quicker and less stressful weeknight meal or party preparation.
To properly store leftover grilled chicken quesadillas, allow them to cool completely to room temperature first. Then, wrap them tightly in plastic wrap or aluminum foil, or place them in an airtight container. They will keep well in the refrigerator for up to 2-3 days. For reheating, the best methods to help regain some of that desirable crispness are: using an air fryer (at 350°F for 5-7 minutes, checking halfway), a toaster oven, or a dry non-stick skillet over medium heat (about 2-3 minutes per side) until they are heated through and the tortilla crisps up again. Reheating in a microwave is generally less ideal as it tends to make the tortillas soft, rubbery, and chewy, losing their delightful grilled texture.
Absolutely! While the outdoor grill imparts a unique smoky flavor and char that we adore, you can still achieve a wonderfully delicious chicken quesadilla using several alternative indoor cooking methods. A flat-top grill or a large griddle works exceptionally well – it’s often easier to manage, provides a consistent and even heat distribution for browning, and can accommodate multiple quesadillas at once. If you only have a stovetop, a large non-stick skillet or a well-seasoned cast-iron pan over medium heat will do the trick perfectly. Simply preheat your chosen pan, lightly grease it, then cook your assembled quesadilla for about 3-5 minutes per side, pressing down gently with a spatula, until it’s beautifully golden brown and the cheese is thoroughly melted. You can also utilize a panini press for quick, even cooking and those attractive grill marks.
Yes, this recipe is wonderfully adaptable for vegetarians and can be made incredibly delicious without chicken! To make it vegetarian, simply omit the chicken entirely. To maintain a satisfying and hearty filling, you can boost the protein and substance by adding more seasoned black beans, pinto beans, or even some seasoned cooked crumbled plant-based protein (like tempeh, firm tofu, or a store-bought meat substitute). Increase the quantities of bell peppers, onions, and consider incorporating other delicious vegetables such as sautéed mushrooms, fresh spinach (which cooks down significantly), thinly sliced zucchini, or even roasted sweet potato cubes for extra sweetness and nutritional value. Just ensure all your chosen vegetables are cooked and softened before adding them to the quesadilla to prevent them from remaining raw or making the filling watery.
Perfect Pairings & Serving Suggestions
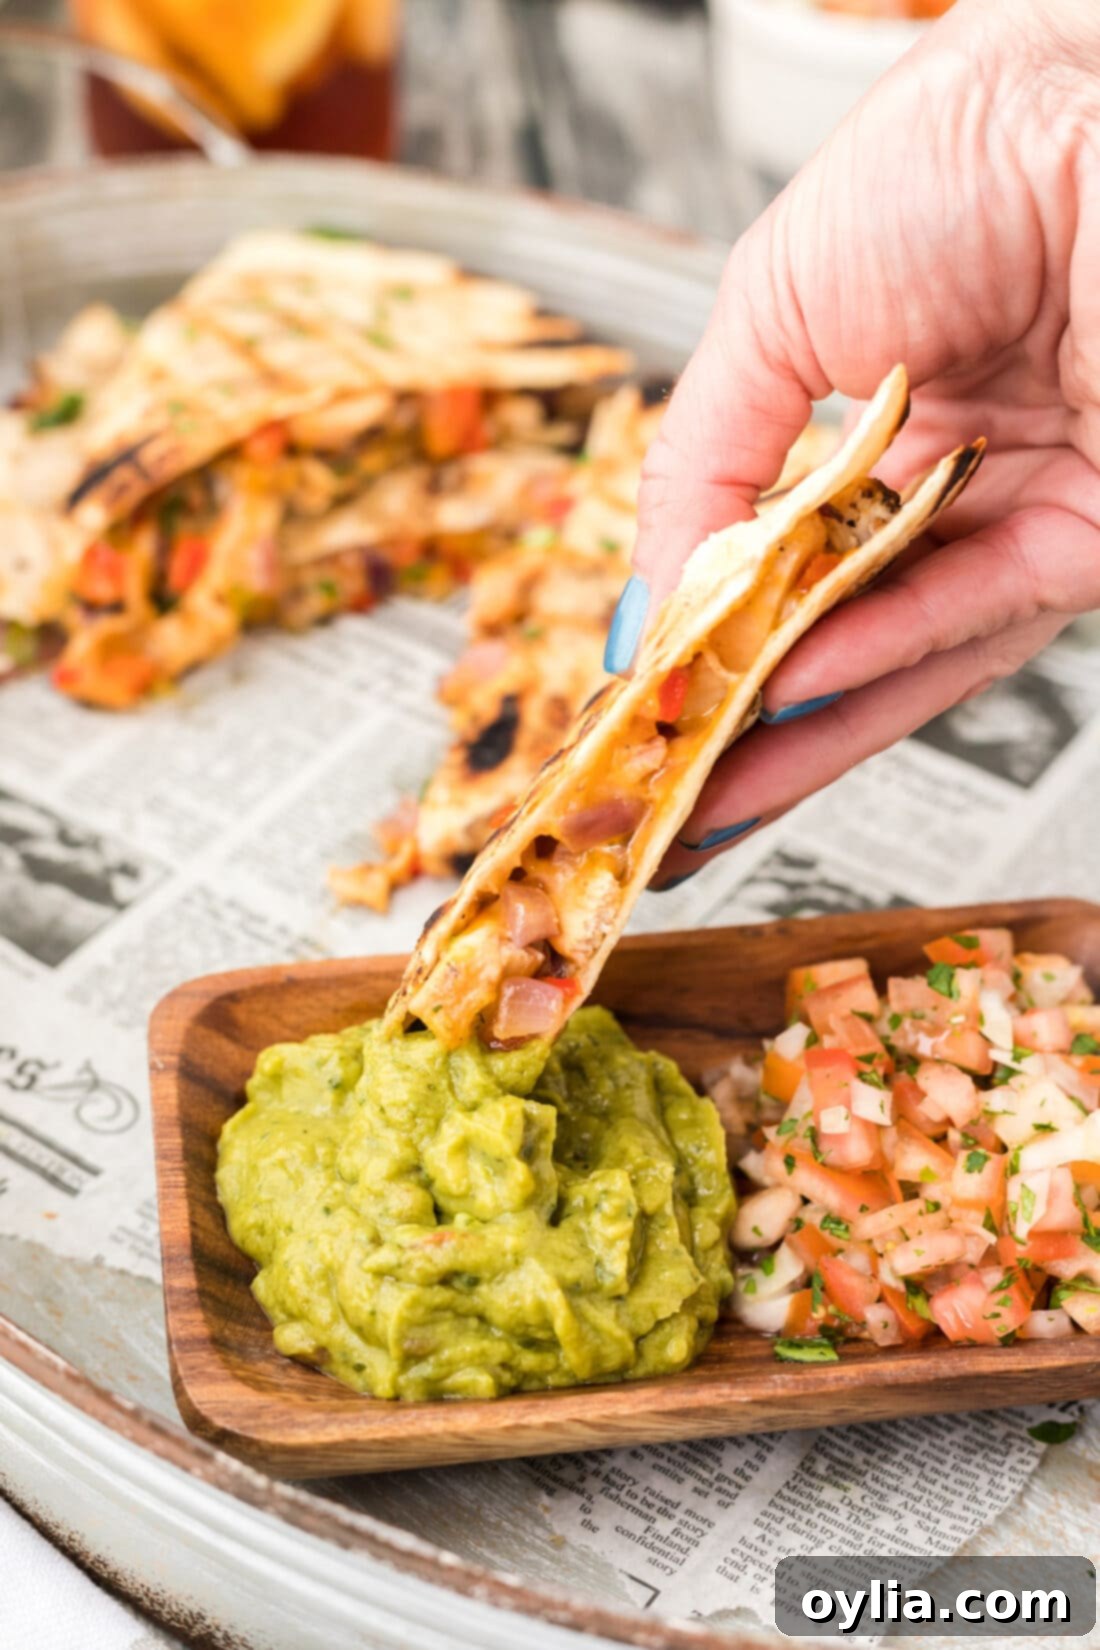
A delicious grilled chicken quesadilla is fantastic on its own, offering a satisfying combination of flavors and textures. However, it truly shines when paired with the right accompaniments. Elevate your meal and create a vibrant, flavorful spread with these classic and well-loved serving suggestions:
- Creamy Guacamole: The rich, smooth texture and fresh, zesty flavor of homemade guacamole provide an absolutely perfect contrast to the crispy, savory quesadilla. The coolness and creamy consistency of the avocado help to balance any lingering warmth or spice from the fillings, adding a refreshing element to each bite.
- Fresh Salsa Fresca: Bright, chunky, and bursting with the vibrant taste of ripe tomatoes, crisp onions, fresh cilantro, and a squeeze of lime, salsa fresca (also known as pico de gallo) adds a delightful refreshing acidity and a dynamic, zesty flavor profile that cuts through the richness of the cheese.
- Cool Sour Cream (or Greek Yogurt): A generous dollop of cool sour cream or a healthier Greek yogurt alternative offers a creamy, tangy counterpoint. It soothes any potential heat from the peppers and adds a luxurious, smooth mouthfeel that many find irresistible, especially when mixed with a bit of lime or hot sauce.
- Sweet & Spicy Corn Salsa: For a burst of delightful sweetness, a pleasant textural crunch, and a hint of extra flavor, our vibrant corn salsa is an excellent choice. Its colorful ingredients and refreshing taste complement the robust flavors of the grilled chicken quesadilla beautifully.
- Hearty Traditional Sides: You can never go wrong with classic Mexican side dishes to complete your meal. Serve your quesadillas alongside a comforting bowl of perfectly seasoned **black beans** or creamy, rich **refried beans** for a truly complete and satisfying experience. Fluffy **Mexican rice**, infused with tomato and spices, is another fantastic option that perfectly soaks up all the delicious juices and flavors.
- Fresh Lime Wedges and Cilantro: Don’t underestimate the power of fresh garnishes! A squeeze of fresh lime juice just before eating can dramatically brighten all the flavors, adding a necessary zing. A sprinkle of fresh chopped cilantro adds an aromatic, herbaceous finish that pulls all the elements together.
Mix and match your favorite accompaniments to create a personalized grilled chicken quesadilla experience that is sure to leave everyone at your table craving more!
Discover More Delicious Mexican-Inspired Recipes
If you loved this grilled chicken quesadilla recipe and are eager to explore more vibrant and delicious flavors, you’re in for a treat! We have a collection of delectable Mexican-inspired dishes that are perfect for everything from quick family meals to festive gatherings or simply satisfying your cravings for authentic taste:
- Quesados: A unique and delightful twist on a classic, making for an outstanding appetizer or light snack.
- Carne Asada: Master the art of perfectly grilled, flavorful steak, ideal for crafting mouth-watering tacos, burritos, or as a standalone main course.
- Mexican Corn (Elote): A popular, irresistible street food side dish bursting with creamy, cheesy, and spicy flavors.
- Beef Enchiladas: Experience the rich, savory, and comforting depths of truly satisfying beef enchiladas – a quintessential Mexican staple.
- Mexican Chicken Casserole: An easy-to-make, family-friendly dish packed with vibrant, layered flavors that’s perfect for a hearty weeknight dinner.
I love to bake and cook and share my kitchen experience with all of you! Remembering to come back each day can be tough, that’s why I offer a convenient newsletter every time a new recipe posts. Simply subscribe and start receiving your free daily recipes!
Grilled Chicken Quesadilla
IMPORTANT – There are often Frequently Asked Questions within the blog post that you may find helpful. Simply scroll back up to read them!
Print It
Pin It
Rate It
Save ItSaved!
Ingredients
- 4 extra large flour tortillas 12 inch tortillas
- 3 pounds boneless skinless chicken breasts
- 1 Tablespoon garlic salt
- 2 teaspoons black pepper
- 1 medium red bell pepper chopped
- 1 small red onion chopped
- ½ cup green onions sliced
- 1 cup shredded cheddar cheese
- 1 cup shredded mozzarella cheese
Things You’ll Need
-
Grill
-
Fish turner or large flat spatula
-
Wire cooling rack
Before You Begin
- If you have a flat top grill it works great for quesadillas!
- Cheese should be at room temperature so that is not too cold to melt.
- You don’t want the grill too hot. Using 300 F is best so that you don’t cook the outside of the tortilla before the cheese has a chance to melt.
Instructions
-
Spray grill grates with cooking spray. Preheat the grill to 300 F.
-
Pat chicken breasts dry with paper towels. Butterfly the breasts and cut in half to make thinner cutlets.
-
Season chicken with garlic salt and black pepper. Cook chicken on the grill then slice chicken into thin 2-inch long strips. Set aside.
-
Cook bell pepper and onion on the grill by cutting the bell pepper in half and removing the pith and seeds and slicing the onion into thick rings. Once cooked, chop the vegetables.
-
Place tortilla on a wire rack. Add a handful of cheese to one side of the tortilla, enough to cover.
-
Add some chicken, bell pepper, red onion, and green onion over the cheese.
-
Cover chicken and vegetables with more cheese.
-
Fold tortilla over to encase the fillings.
-
Add folded tortilla to the hot grill and cook for 3-5 minutes. You want the cheese to begin melting and the tortilla to brown.
-
Flip the quesadilla over and cook an additional 2-4 minutes until nicely browned and cheese is melted. If you need to flip more than once, that’s okay too!
-
Remove to a cutting board and slice into 4 triangles.
Nutrition
The recipes on this blog are tested with a conventional gas oven and gas stovetop. It’s important to note that some ovens, especially as they age, can cook and bake inconsistently. Using an inexpensive oven thermometer can assure you that your oven is truly heating to the proper temperature. If you use a toaster oven or countertop oven, please keep in mind that they may not distribute heat the same as a conventional full sized oven and you may need to adjust your cooking/baking times. In the case of recipes made with a pressure cooker, air fryer, slow cooker, or other appliance, a link to the appliances we use is listed within each respective recipe. For baking recipes where measurements are given by weight, please note that results may not be the same if cups are used instead, and we can’t guarantee success with that method.
