No-Bake Peanut Butter Ice Cream Sandwich Cake: Your Go-To Easy Dessert Recipe
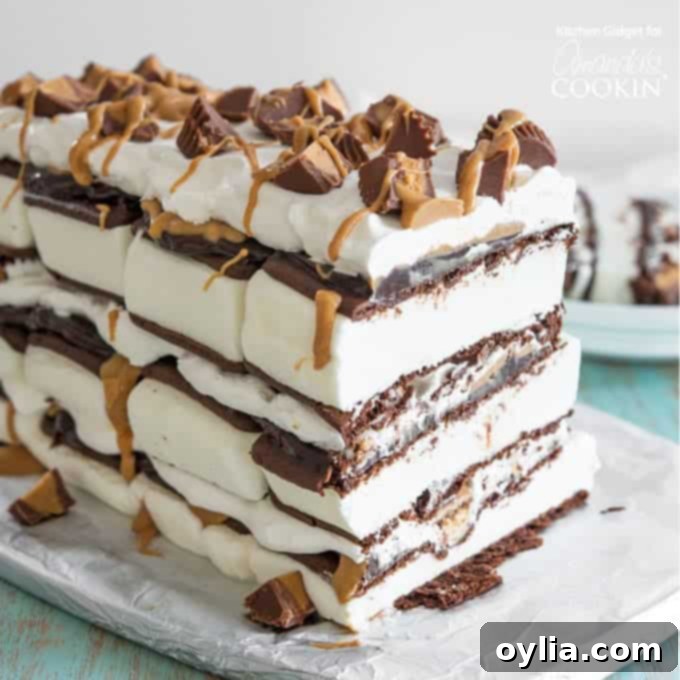
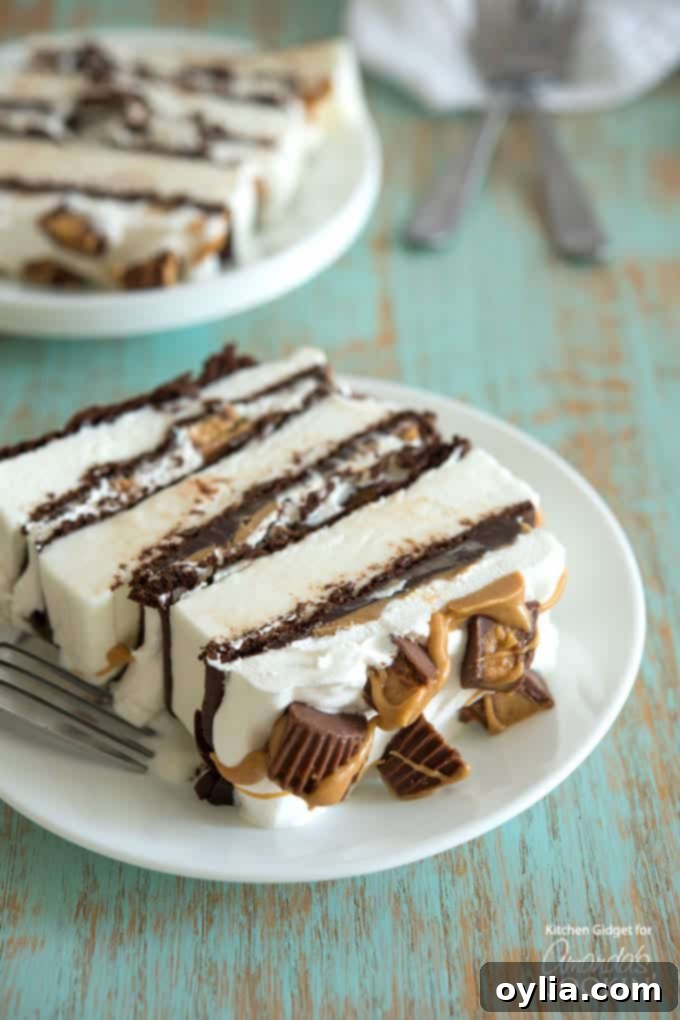
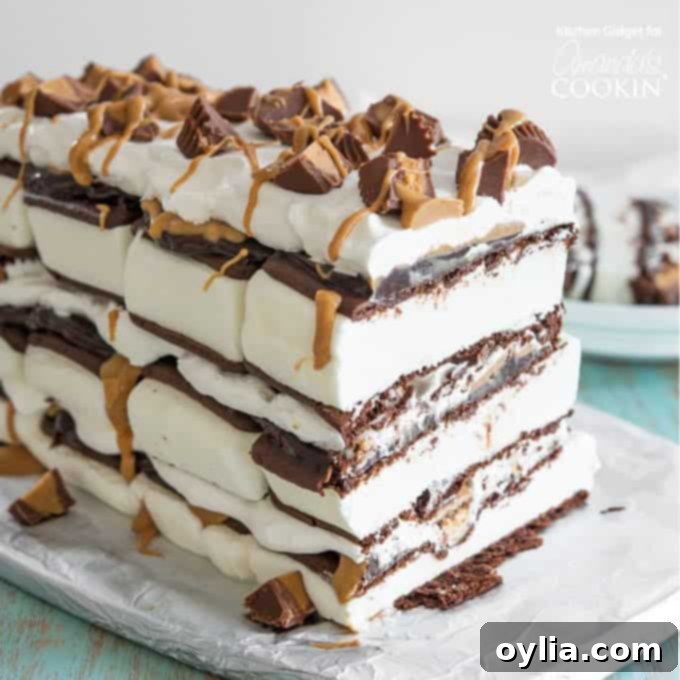
Imagine a dessert that comes together in under 15 minutes, requires absolutely no baking, and is guaranteed to be a hit with everyone who tastes it. Look no further! This spectacular **Peanut Butter Ice Cream Sandwich Cake** is the answer to your dessert dilemmas, especially when time is of the essence. It’s an incredibly simple yet profoundly satisfying treat, boasting luscious layers of creamy ice cream sandwiches, rich hot fudge, smooth peanut butter, fluffy whipped topping, and generous sprinkles of chopped peanut butter cups. Get ready to impress with minimal effort and maximum flavor!
Why You Need This Easy No-Bake Ice Cream Cake in Your Life
This **Peanut Butter Ice Cream Sandwich Cake** isn’t just a dessert; it’s a dessert revolution! For anyone who adores the classic combination of chocolate and peanut butter, this recipe is a dream come true. Here’s why this no-bake wonder will quickly become a staple in your dessert repertoire:
- Unbelievably Easy & Fast: Forget complex baking techniques or lengthy prep times. With just 5 simple ingredients and less than 15 minutes of hands-on work, you can create a show-stopping dessert that tastes like you spent hours in the kitchen. It’s perfect for last-minute gatherings or when you simply crave something sweet without the fuss.
- No Baking Required: The ultimate convenience! This recipe is entirely no-bake, meaning you won’t need to turn on your oven. This makes it an ideal treat for hot summer days or when you prefer to keep your kitchen cool. Just assemble, freeze, and enjoy!
- A Chocolate Peanut Butter Dream: Each bite is a symphony of flavors and textures. From the crisp yet creamy ice cream sandwiches to the gooey hot fudge, the savory peanut butter, the light whipped topping, and the delightful crunch of peanut butter cups, it’s a paradise for chocolate and peanut butter enthusiasts. This combination is a classic for a reason, and it shines in every layer of this amazing cake.
- Perfect for Any Occasion: While it makes an incredible alternative to traditional birthday cakes, its versatility shines through for various celebrations. Imagine serving this decadent dessert for Father’s Day, summer barbecues, potlucks, graduation parties, or even as a special weeknight treat. It’s a guaranteed crowd-pleaser that appeals to kids and adults alike.
- Feeds a Crowd: This cake generously serves 12, making it an excellent option when entertaining. You can easily scale the recipe up or down depending on your needs.
Once you experience the simplicity and deliciousness of this **ice cream sandwich cake**, you’ll wonder how you ever managed without it. It truly embodies the joy of effortless indulgence!
Pro Tips & Frequently Asked Questions for Your Ice Cream Cake
Making this **peanut butter ice cream sandwich cake** is incredibly simple, but a few expert tips can elevate your experience and ensure perfect results every time. Here’s what you need to know:
Essential Tips for Success:
- Use a Foil-Covered Cardboard Base: This tip, straight from a professional chef, is a game-changer. Covering a piece of sturdy cardboard with foil provides a solid, non-slip base for your ice cream cake. It makes assembling the layers much easier and allows for effortless transfer from your counter to the freezer and then to your serving table. Plus, it gives your cake a more professional and polished presentation!
- Warm Your Fudge and Peanut Butter Gently: For the best drizzling and spreading consistency, lightly warm both the hot fudge sauce and peanut butter. You can do this in separate microwave-safe bowls in 15-20 second increments, stirring until smooth and pourable. Be careful not to overheat them, as this can melt the ice cream sandwiches too quickly.
- Work Quickly: Because you’re working with ice cream, speed is your friend. Have all your ingredients prepped, measured, and ready to go before you start layering. The faster you assemble, the less chance your ice cream sandwiches will melt and become difficult to work with.
- Chill Between Layers (Optional but Recommended): If you find the ice cream softening too much during assembly, pop the cake into the freezer for 5-10 minutes between layers. This brief chill helps maintain its structure and prevents a messy final product, ensuring beautiful, distinct layers.
- Slice with a Warm Knife: For clean, neat slices that impress, dip your sharp knife in hot water and quickly wipe it dry before each cut. This will glide through the frozen layers effortlessly, giving you perfect portions every time.
- Don’t Cover Until Fully Frozen: After assembly, place the cake uncovered in the freezer for the initial freezing period (at least 4 hours). Covering it too soon can lead to condensation and ice crystals forming on the surface. Once firm, you can wrap it tightly.
Frequently Asked Questions:
- Can I make this ice cream sandwich cake ahead of time?
- Absolutely! This is one of the best make-ahead desserts. Since it needs to freeze for at least 4 hours to firm up, it’s perfect to prepare a day or two in advance. Just make sure to keep it well-covered in the freezer after it has fully set.
- How should I store leftover ice cream cake?
- Store any leftover cake in an airtight container or tightly wrapped first with plastic wrap and then with aluminum foil. This double-layer protection prevents freezer burn and keeps it fresh and delicious. Stored properly, it should last for up to 1-2 weeks in the freezer.
- What kind of ice cream sandwiches should I use?
- Vanilla ice cream sandwiches are a classic choice and work wonderfully with the chocolate and peanut butter flavors. However, feel free to experiment! Chocolate, cookies and cream, or even mint chip ice cream sandwiches could offer exciting and delicious flavor twists. Choose your favorite!
- Can I substitute the peanut butter cups?
- Certainly! While peanut butter cups are fantastic, you could easily swap them for other chopped candies like Snickers, M&M’s, chocolate chips, pretzels for a salty crunch, or even a different type of candy bar. Get creative with your favorite toppings to customize your cake!
- How many servings does this recipe yield?
- This recipe is designed to serve 12 people generously. You can easily adjust the number of ice cream sandwiches and the quantities of toppings to make a larger or smaller cake to suit your gathering size.
- My fudge/peanut butter is too thick to drizzle. What should I do?
- If your sauces are too thick, microwave them in small, microwave-safe bowls for 10-15 seconds at a time, stirring well after each interval until they reach a smooth, pourable consistency. Be careful not to overheat them, as this can make them too runny or even burn, and excessive heat could melt your ice cream layer.
Gather Your Ingredients and Tools
One of the beauties of this no-bake dessert is its simplicity, requiring only a handful of common ingredients and basic kitchen tools. To help you visualize each step, detailed photos and instructions are provided below. For a quick, printable version of the full recipe, simply scroll down to the recipe card!
Ingredients:
- 12 ice cream sandwiches (vanilla is classic, but choose your favorite for a unique twist!)
- 1/2 cup hot fudge sauce (gently warmed for easy drizzling)
- 1/2 cup peanut butter (creamy, gently warmed for smooth drizzling – avoids lumps)
- 1 1/2 cups whipped topping (thawed, or use homemade whipped cream for extra richness)
- 1 cup chopped mini peanut butter cups (Reese’s Mini Peanut Butter Cups work great for this!)
Kitchen Tools You’ll Need:
- Small microwave safe bowls (essential for warming fudge and peanut butter)
- Measuring cups (for precise ingredient amounts)
- Spatula (ideal for spreading the whipped topping evenly)
- Chopping knife (for preparing the peanut butter cups)
- Foil-covered cardboard (for a free-form cake) or a 9×13 inch baking pan (for a pan-set cake)
- Airtight container or plastic wrap and foil (for proper freezing and storage)
Step-by-Step Guide: Assembling Your Peanut Butter Ice Cream Cake
Crafting this delicious **no-bake ice cream sandwich cake** is as fun as it is easy. There are two primary methods for assembly, both following the same simple layering principles. Choose the method that best suits your preference and plans for the cake.
Method 1: Free-Form (The “Naked Cake” Look)
- Ideal for: Home entertaining, when presentation is key, or if you want to customize the shape and height of your cake. It creates a stunning, rustic “naked cake” aesthetic.
- Preparation: Start with a sturdy, foil-covered cardboard base (as suggested in our tips above) that’s slightly larger than your intended cake. This will provide excellent stability and make moving the finished cake around incredibly easy.
Method 2: Using a Baking Pan
- Ideal for: Potlucks, picnics, transporting to events, or when freezer space is limited and you need a more compact shape. This method offers added structural integrity.
- Preparation: Use a standard 9×13 inch baking pan for a classic rectangular cake. You may need to trim some ice cream sandwiches to fit snugly into the pan, which is perfectly fine. For easier removal, consider lining the pan with parchment paper or foil, leaving an overhang on the sides.
Regardless of your chosen method, the layering process remains the same. Let’s dive into the delicious details!
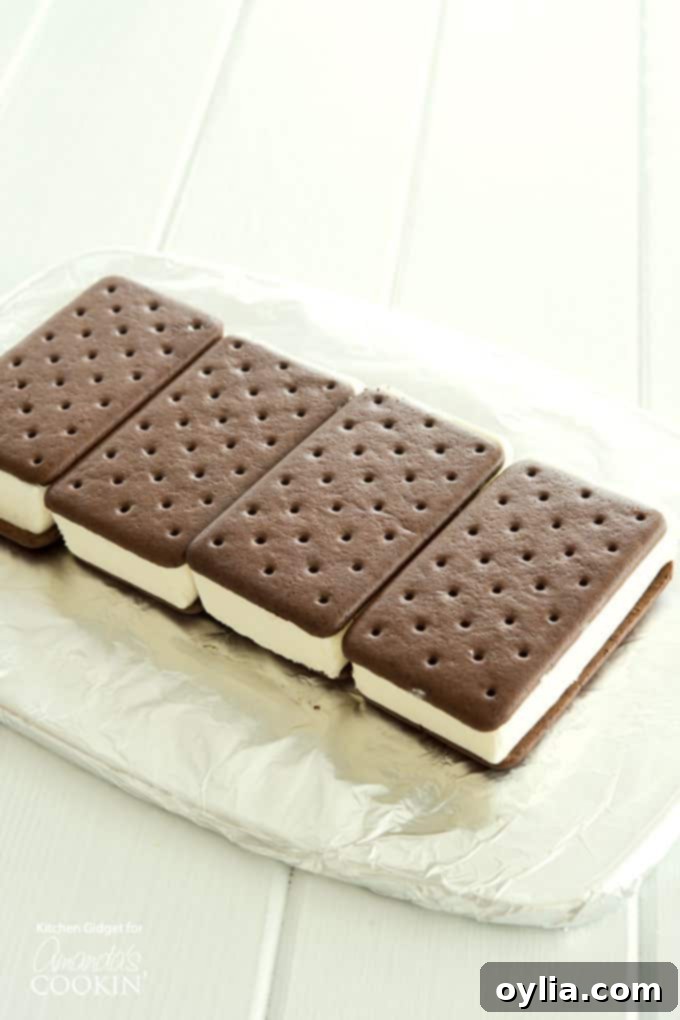
- Create the First Layer of Ice Cream Sandwiches: On your chosen base (a foil-covered cardboard or inside a 9×13 inch baking pan), arrange 4-5 frozen ice cream sandwiches in a single, even layer, ensuring they touch. If using a pan, you might need to trim some sandwiches to fit perfectly. While vanilla is a classic and delightful choice, don’t hesitate to use chocolate or another favorite flavor for a unique twist.
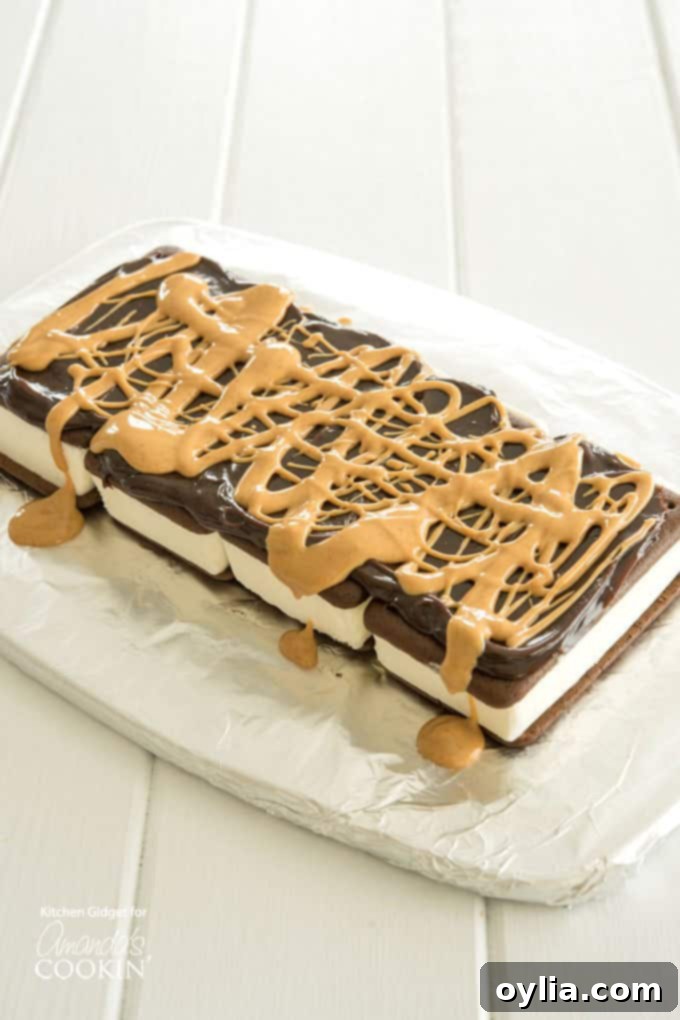
- Drizzle with Hot Fudge and Peanut Butter: Gently warm your hot fudge sauce and peanut butter until they are easily pourable (refer to our tips above for best practice). Evenly drizzle a generous layer of hot fudge over the ice cream sandwiches, followed by a delicious drizzle of melted peanut butter. The contrast of the warm sauces on the cold ice cream creates a delightful texture and flavor combination.
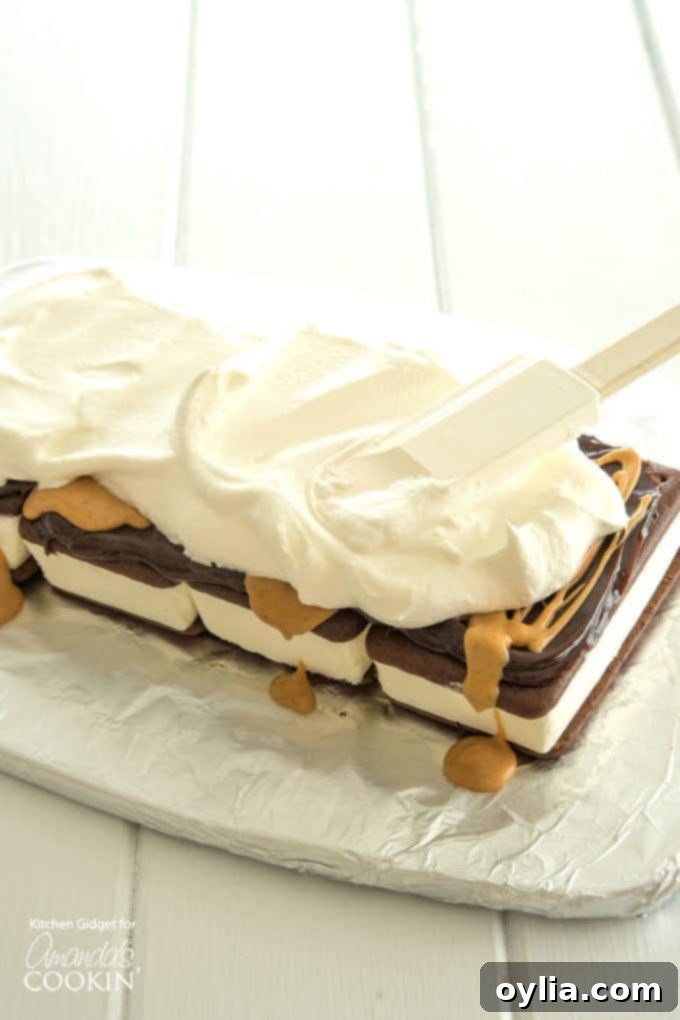
- Add Whipped Topping and Peanut Butter Cups: Carefully spread about 1/2 cup of thawed whipped topping over the fudge and peanut butter layers. Use your spatula to gently spread it evenly without disturbing the layers too much. Then, generously sprinkle about 1/3 cup of your chopped mini peanut butter cups over the whipped topping. These additions provide incredible texture and a burst of classic flavor.
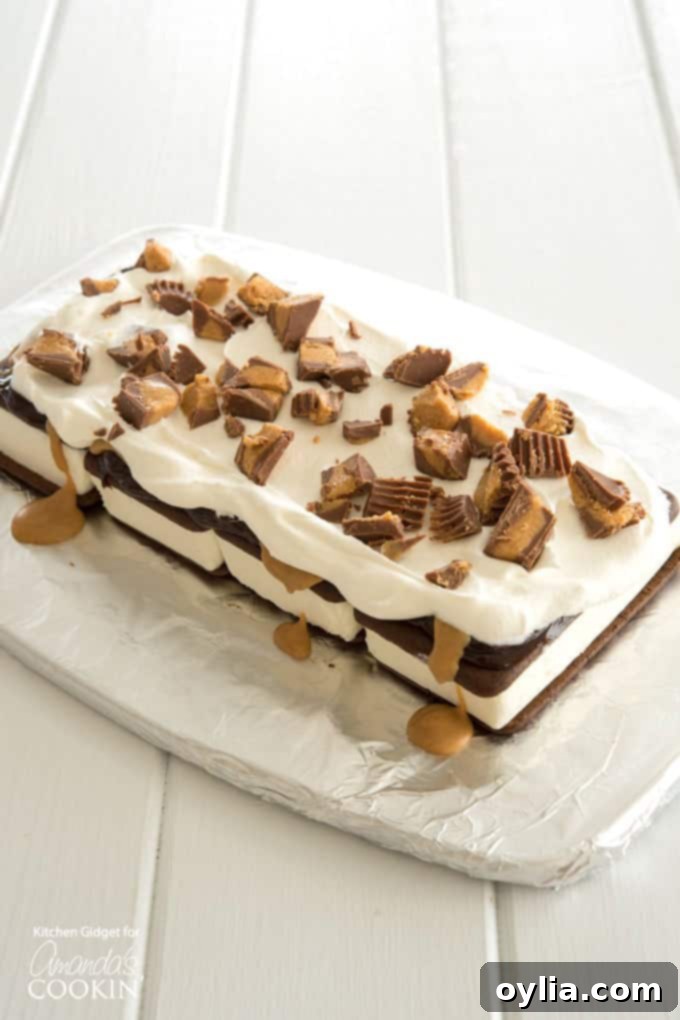
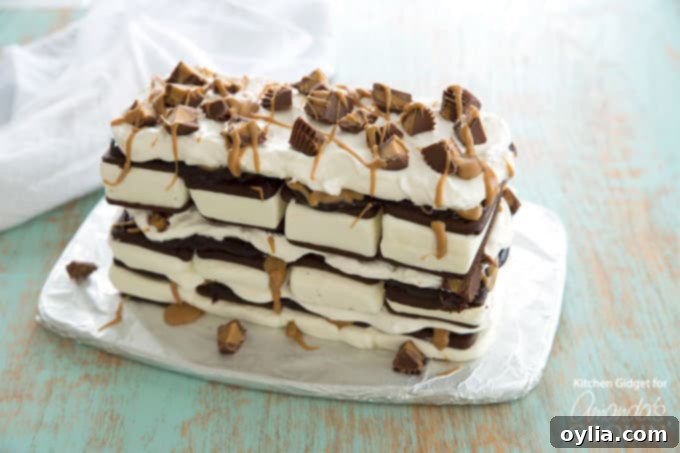
- Repeat and Freeze: Repeat steps 1, 2, and 3 two more times, creating a total of three decadent layers of ice cream sandwiches and toppings. Once all layers are assembled, carefully transfer the cake to the freezer. It’s crucial to let it freeze until completely firm, ideally for at least 4 hours, or even better, overnight. This initial freezing without cover helps to thoroughly set the layers and prevent any sticking. Once fully firm, you can cover it tightly with plastic wrap and foil for longer storage.
More Irresistible Chocolate & Peanut Butter Desserts
If you’re as much of a fan of the chocolate and peanut butter combination as we are, you’re in for a treat! This dynamic duo creates some of the most beloved dessert flavors. Here are a few more fantastic recipes to satisfy your cravings:
- Buckeye Brownie Cookies: A delightful fusion of fudgy brownies and classic buckeye candy, offering a chewy and rich experience.
- Soft and Chewy Peanut Butter Cookies: The quintessential, comforting peanut butter cookie that melts in your mouth, perfect for any time.
- No-Bake Chocolate Peanut Butter Lasagna: Another incredible no-bake layered dessert featuring these star ingredients, offering a different take on frozen indulgence.
This **Peanut Butter Ice Cream Sandwich Cake** truly redefines what an easy dessert can be. Its rich layers of chocolate, peanut butter, and creamy ice cream are so satisfying, you might just find yourself, like me, rethinking traditional ice cream sandwiches forever! The beauty of this recipe lies in its versatility; feel free to explore other exciting flavor combinations. For instance, if you’re looking for another unique frozen treat, our Pistachio Ice Cream Cake offers a completely different, yet equally delightful, experience.
Whether you’re celebrating a special occasion or simply craving a cool, sweet treat, this no-bake marvel is sure to become a cherished recipe in your household. It’s a testament to how simple ingredients can come together to create something truly extraordinary. Enjoy every decadent, creamy bite!
Love discovering new, easy-to-make recipes like this one? Don’t miss out on more delicious inspiration! I pour my heart into creating and sharing fantastic recipes with you. To make sure you never miss a beat, consider joining my weekly newsletter. It’s completely free, and I’ll send delightful, tested recipes straight to your inbox every week. You can subscribe here for free and let’s keep cooking up amazing dishes together!
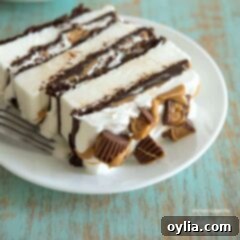
Peanut Butter Ice Cream Sandwich Cake (5-Ingredient No-Bake Recipe)
IMPORTANT – There are often Frequently Asked Questions within the blog post that you may find helpful. Simply scroll back up to read them!
Print It
Rate It
Save ItSaved!
Ingredients
- 12 ice cream sandwiches
- ½ cup hot fudge sauce (gently warmed for easy drizzling)
- ½ cup peanut butter (creamy, gently warmed for smooth drizzling)
- 1 ½ cups whipped topping (thawed, or use homemade whipped cream)
- 1 cup mini peanut butter cups (chopped, mini Reese’s work great!)
Instructions
-
On a foil-covered cardboard base or in a 9×13 inch baking pan, arrange 4-5 ice cream sandwiches in a single, even layer, making sure the long ends touch. Trim if necessary to fit your pan.
-
Evenly spread about 2 heaping tablespoons of the warmed hot fudge sauce over the ice cream sandwiches, followed by a drizzle of 2 heaping tablespoons of the warmed peanut butter.
-
Carefully spread 1/2 cup of the thawed whipped topping over the fudge and peanut butter. Then, sprinkle approximately 1/3 cup of the chopped mini peanut butter cups evenly on top.
-
Repeat steps 1-3 two more times to create a total of three layers. Transfer the assembled cake to the freezer and freeze until completely firm, which typically takes about 4 hours or overnight. Once firm, you can cover it tightly for longer storage.
Nutrition
The recipes on this blog are tested with a conventional gas oven and gas stovetop. It’s important to note that some ovens, especially as they age, can cook and bake inconsistently. Using an inexpensive oven thermometer can assure you that your oven is truly heating to the proper temperature. If you use a toaster oven or countertop oven, please keep in mind that they may not distribute heat the same as a conventional full sized oven and you may need to adjust your cooking/baking times. In the case of recipes made with a pressure cooker, air fryer, slow cooker, or other appliance, a link to the appliances we use is listed within each respective recipe. For baking recipes where measurements are given by weight, please note that results may not be the same if cups are used instead, and we can’t guarantee success with that method.
This post originally appeared here on Jul 31, 2018.
