Easy No-Bake Pistachio Ice Cream Cake: Your Ultimate Summer Frozen Treat
Craving a dessert that’s both effortlessly simple and incredibly refreshing? Look no further than this delightful Pistachio Ice Cream Cake! Made with the convenience of instant pudding mix and a classic cookie crumb crust, this layered frozen dessert is an absolute dream for any occasion, especially those warm summer gatherings. Its vibrant green hue and subtly nutty flavor make it a showstopper that tastes far more complex than it is to prepare.
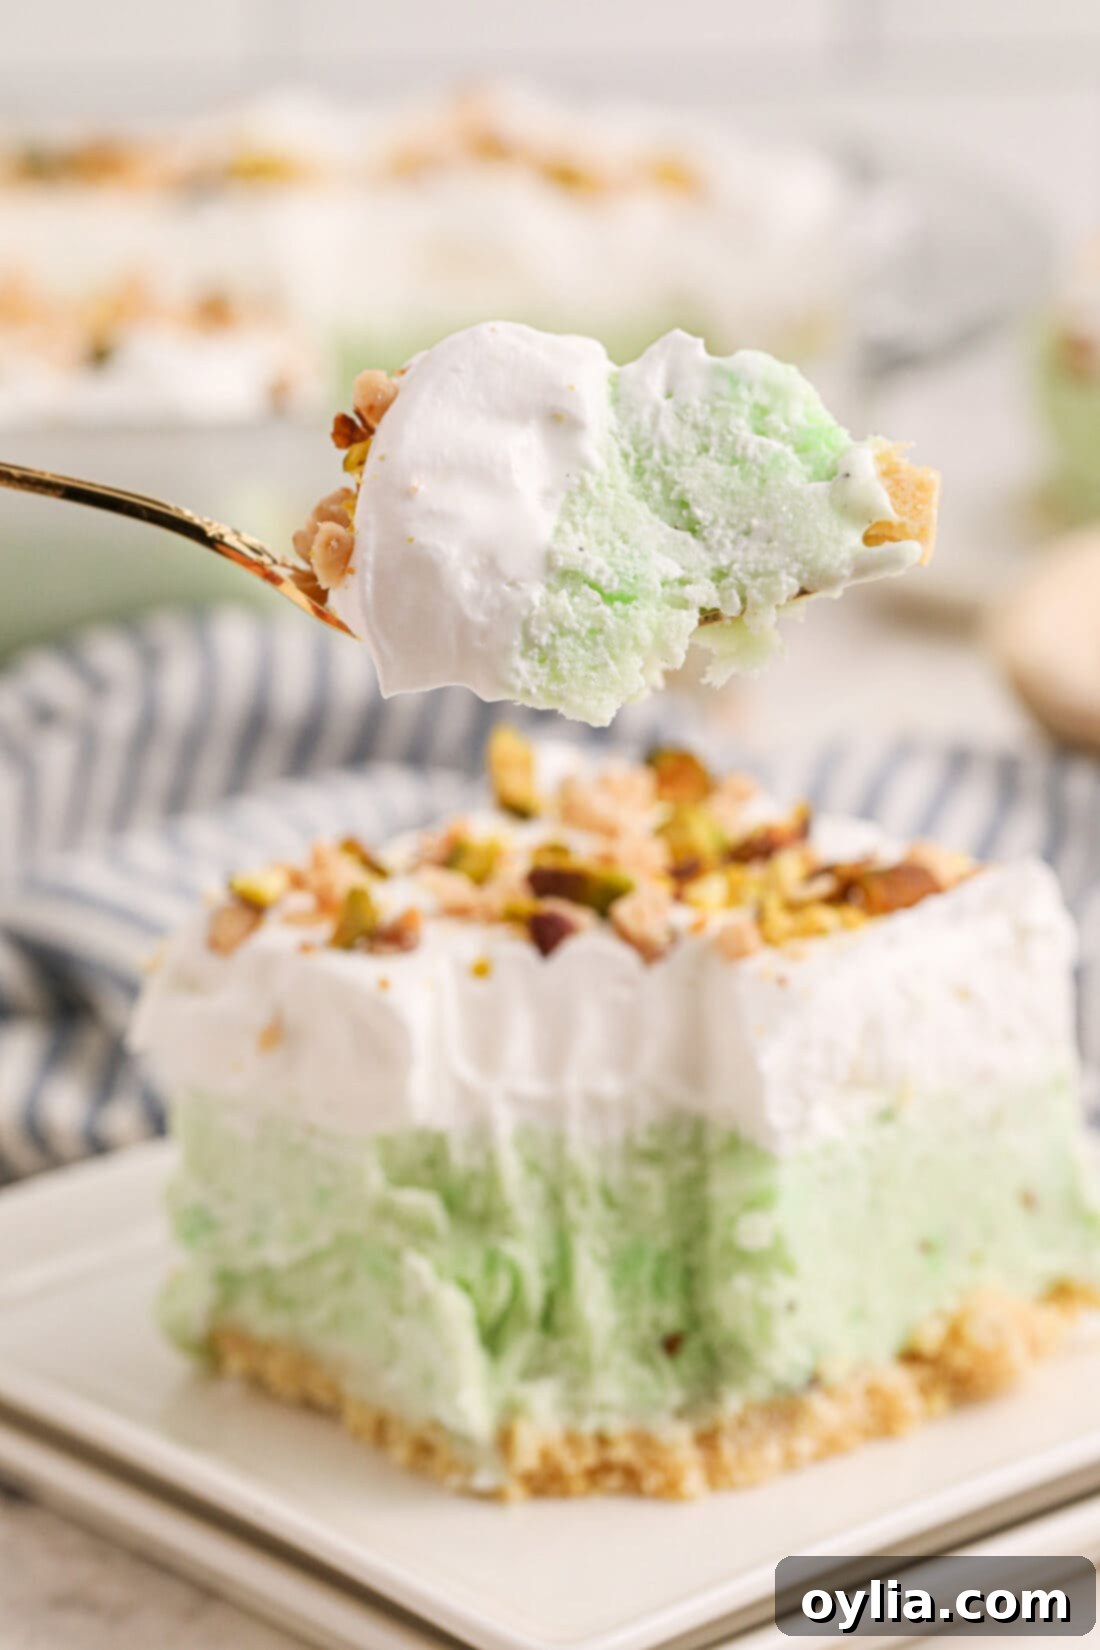
Why This Pistachio Ice Cream Cake Recipe is a Must-Try
This pistachio ice cream cake truly earns its “easy” label, thanks to a clever combination of instant pudding mix and softened vanilla ice cream. The beauty of this recipe lies in its simplicity and the incredible texture it delivers – a cool, creamy, and wonderfully refreshing dessert that hits all the right notes. It’s perfect for those days when you want a homemade treat without the fuss of baking.
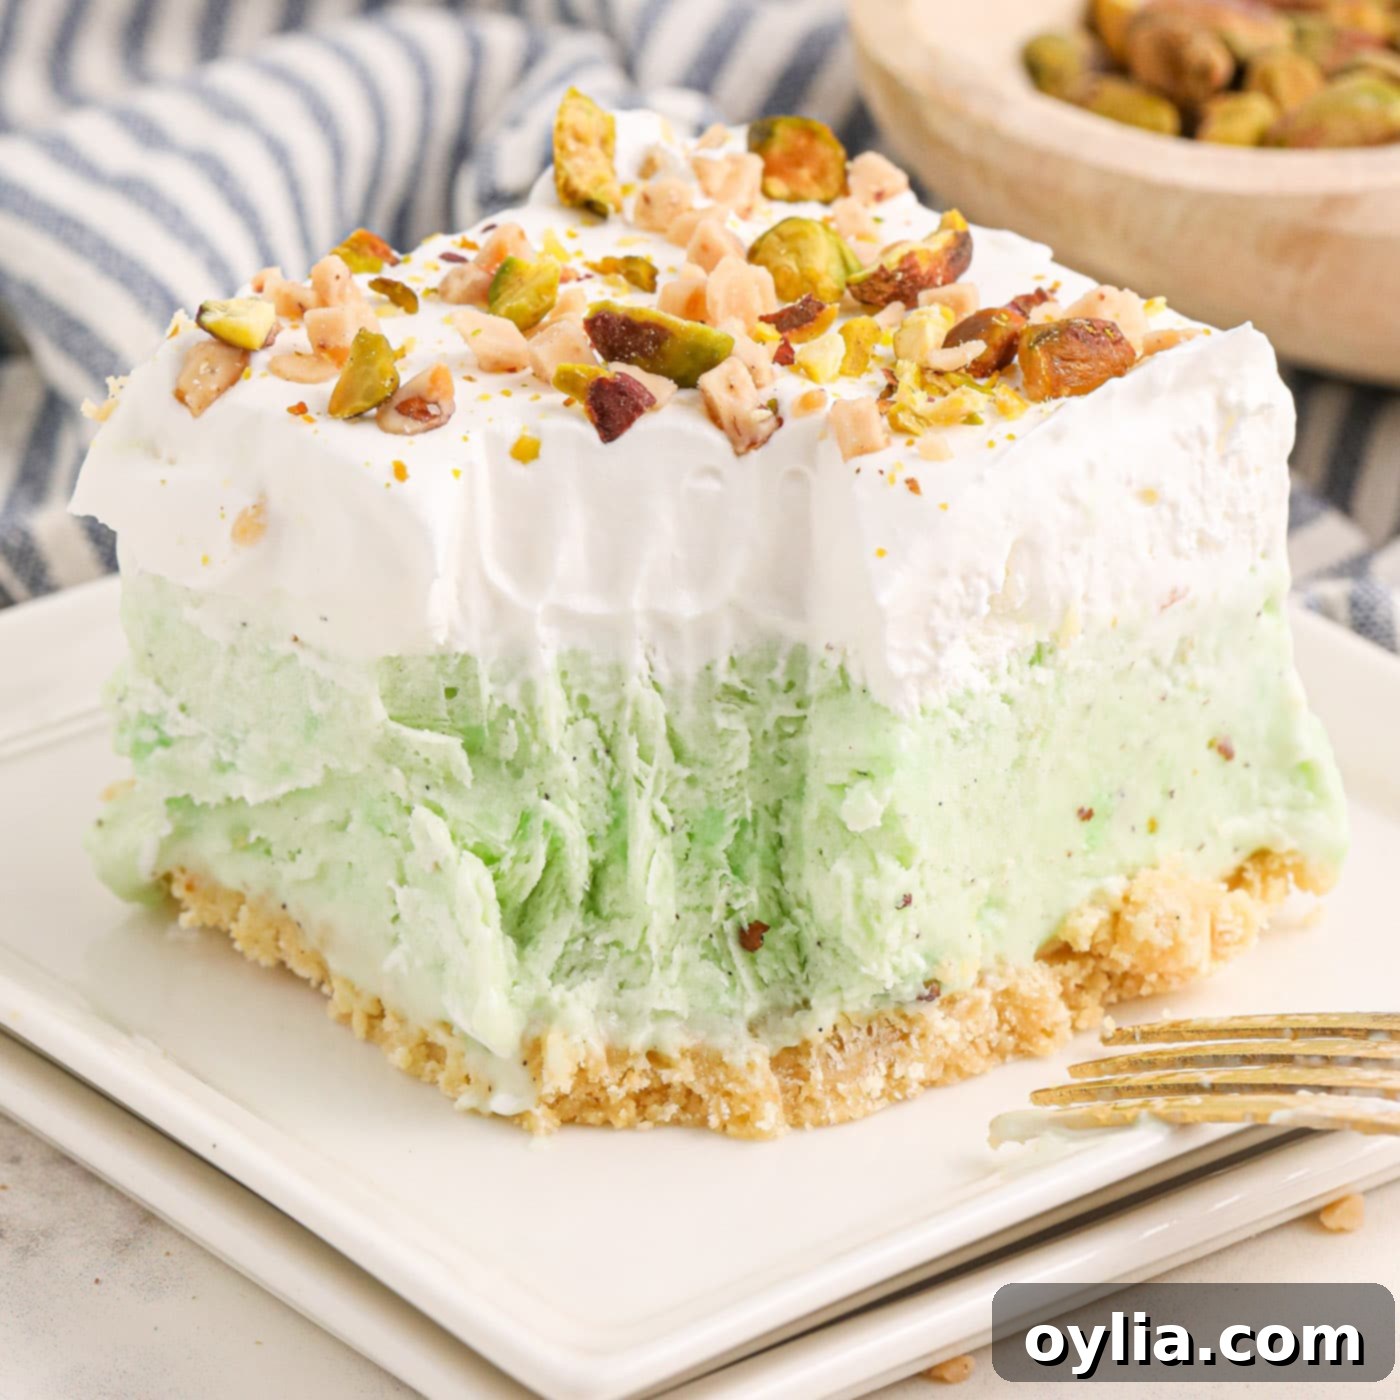
The magic happens with its three distinct yet harmonious layers: a buttery, crunchy golden Oreo cookie crust forms the foundation, followed by a luscious pistachio ice cream center that’s both sweet and subtly nutty. The grand finale is a light and airy whipped topping, often adorned with chopped pistachios or other delightful garnishes. From start to finish, the most challenging part of making this frozen dessert is simply having the patience to wait for it to freeze solid, allowing all those delightful flavors and textures to meld perfectly.
If you’re familiar with layered no-bake desserts like a “lush” or “lasagna” dessert, you’ll find this ice cream cake shares a similar construction, making it incredibly intuitive to assemble. In fact, it draws inspiration from popular layered treats, but ingeniously swaps a cream cheese base for softened vanilla ice cream. This substitution not only simplifies the process but also enhances the frosty, creamy texture that makes it an ideal cool-down dessert. It’s a guaranteed crowd-pleaser that requires minimal effort for maximum impact.
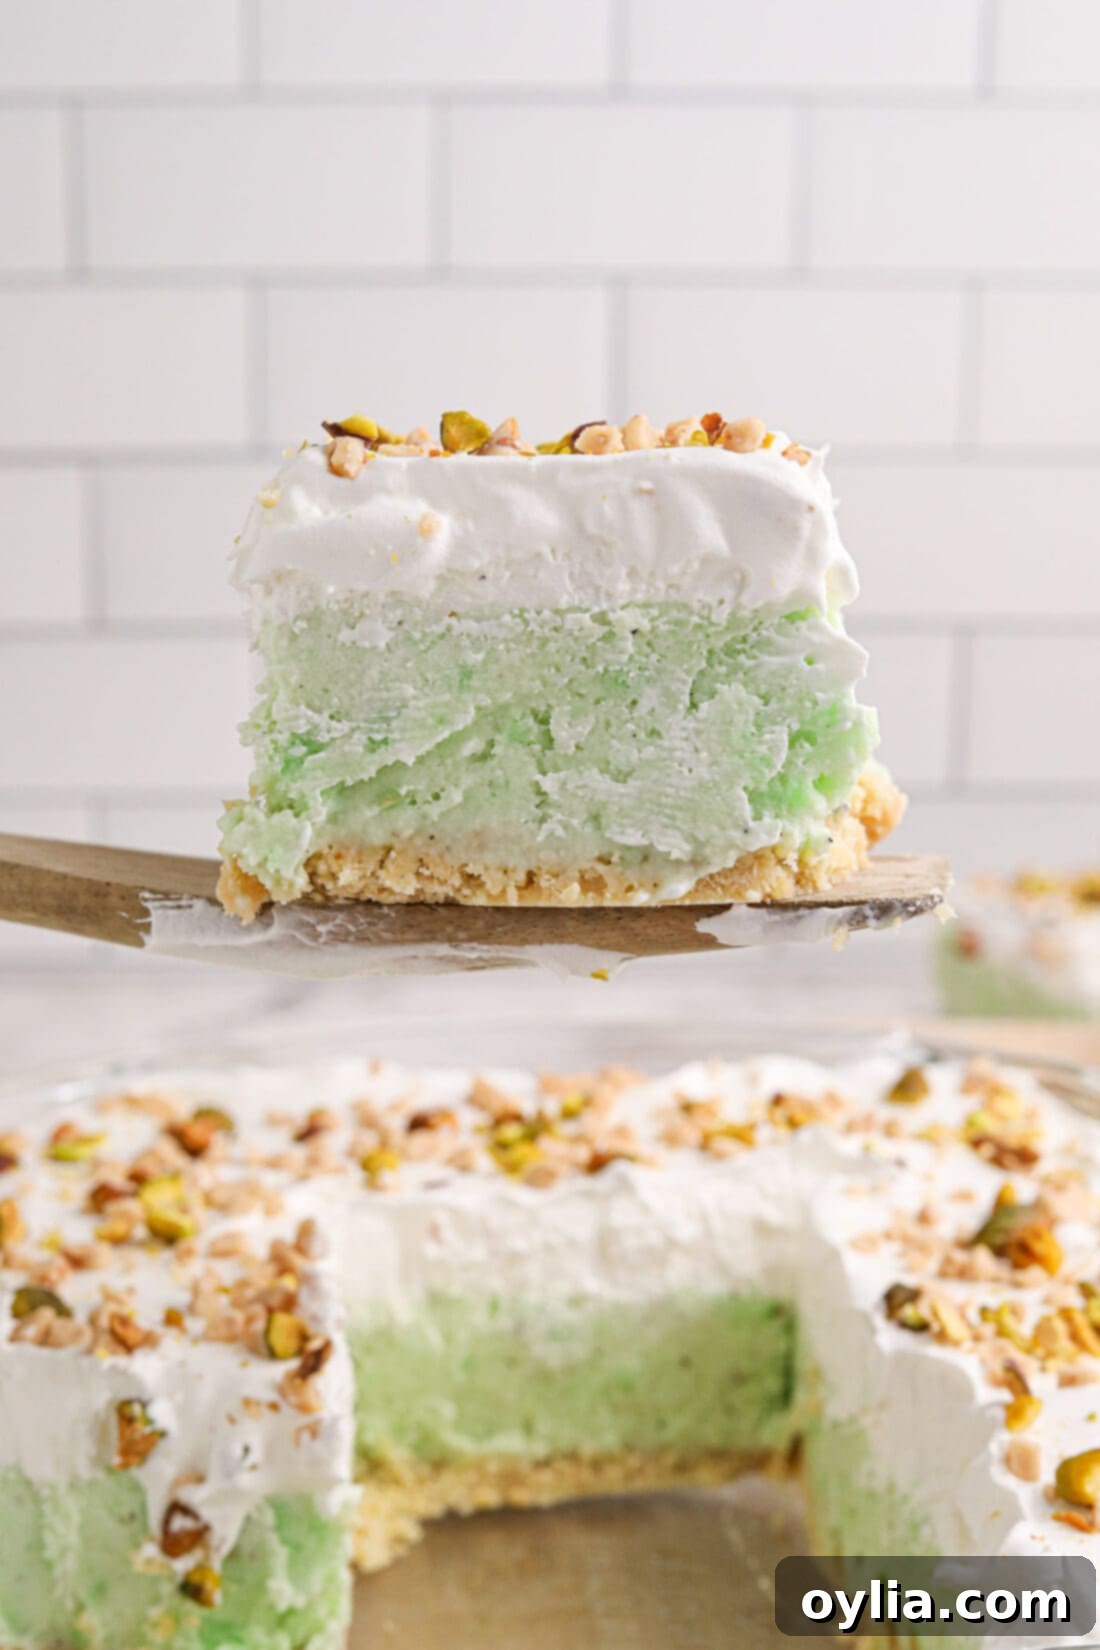
Gather Your Ingredients for This Easy Dessert
One of the best things about this pistachio ice cream cake is its accessible ingredient list. You won’t need any fancy or hard-to-find items, just a few pantry staples and readily available refrigerated components. For precise measurements and step-by-step instructions, make sure to check out the printable recipe card located at the end of this post. But first, let’s explore the key players that bring this delightful dessert to life.
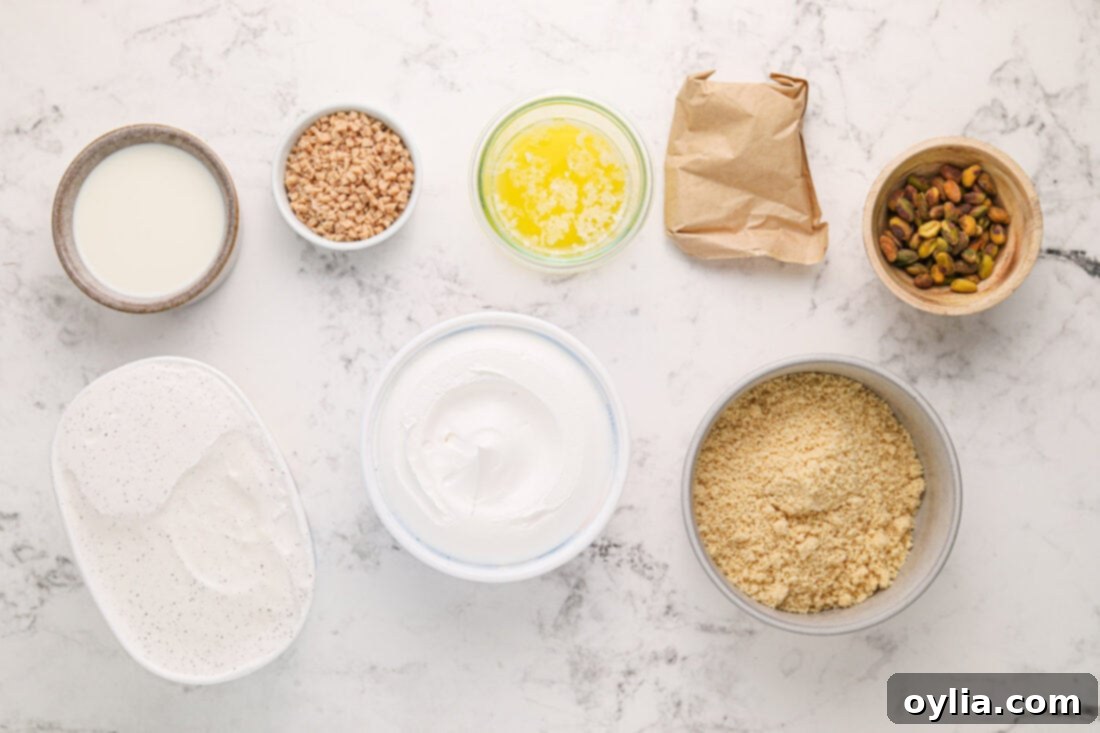
Ingredient Information and Creative Substitution Suggestions
Each component of this ice cream cake plays a crucial role in its irresistible flavor and texture. Here’s a closer look at what you’ll need and how you can personalize it to your taste:
- CRUST: The foundation of this cake is a simple yet delightful blend of melted butter and finely crushed golden Oreo cookies, including their creamy filling. These cookies provide a wonderful buttery sweetness and a perfect crunch. While golden Oreos are fantastic, feel free to experiment! You can easily swap them for classic regular Oreos for a chocolatey twist, or opt for a traditional graham cracker crust for a more subtle flavor. For those who enjoy a unique salty-sweet contrast, some enthusiastic cooks even suggest using buttery round crackers like Ritz for an unexpected, delicious touch.
- FILLING: The vibrant, creamy center is created using a harmonious trio: instant pistachio pudding mix, cold milk, and softened vanilla ice cream. The instant pudding mix not only imparts that signature pistachio flavor and beautiful green hue but also helps to stabilize the ice cream, preventing it from melting too quickly. Using softened vanilla ice cream as the base ensures a rich, smooth, and genuinely “ice cream” texture that stands apart from more traditional pudding-based desserts.
- TOPPING: To crown your frozen masterpiece, you have a couple of excellent options. Store-bought Cool Whip is a convenient choice, offering a light, airy, and stable topping. Alternatively, for a truly homemade touch, you can whip up your own stabilized whipped cream. This will give you more control over sweetness and texture. Once your whipped layer is spread, the fun part begins: garnishing! Chopped pistachios are a natural choice to enhance the flavor and provide a lovely textural contrast. But don’t limit yourself! Chopped toffee bits, chocolate candy bars (like a crushed Heath bar or a sprinkle of mini chocolate chips), or even a combination of different nuts can elevate your cake’s presentation and taste.
How to Make Pistachio Ice Cream Cake: Step-by-Step Guide
These step by step photos and instructions are here to help you visualize how to make this recipe. You can Jump to Recipe to get the printable version of this recipe, complete with measurements and instructions at the bottom.
Creating this stunning Pistachio Ice Cream Cake is a straightforward process, making it enjoyable for even novice bakers. Follow these steps to assemble your delicious frozen treat:
- First, prepare your baking dish. Line a 9×9 baking dish with parchment paper. Ensure you leave enough excess parchment paper hanging over the sides to create “handles.” These handles will be incredibly useful for easily lifting the frozen cake out of the dish later, making serving a breeze.
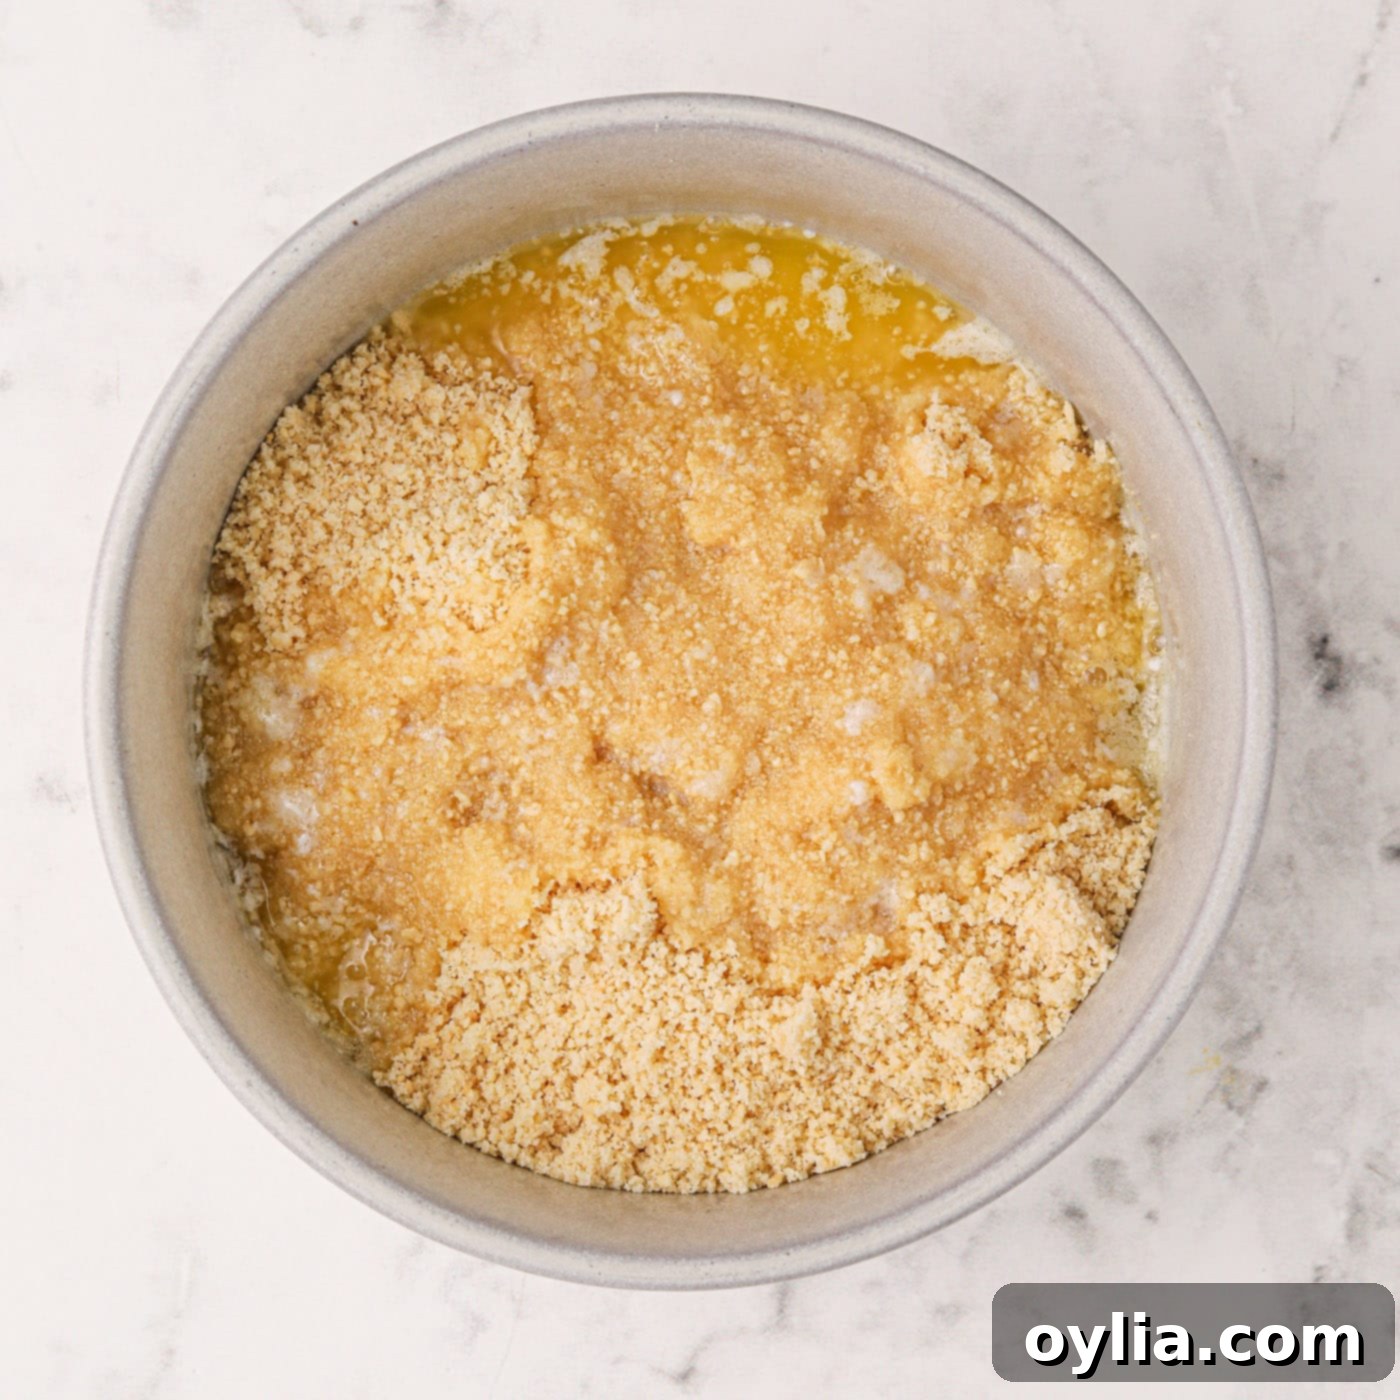
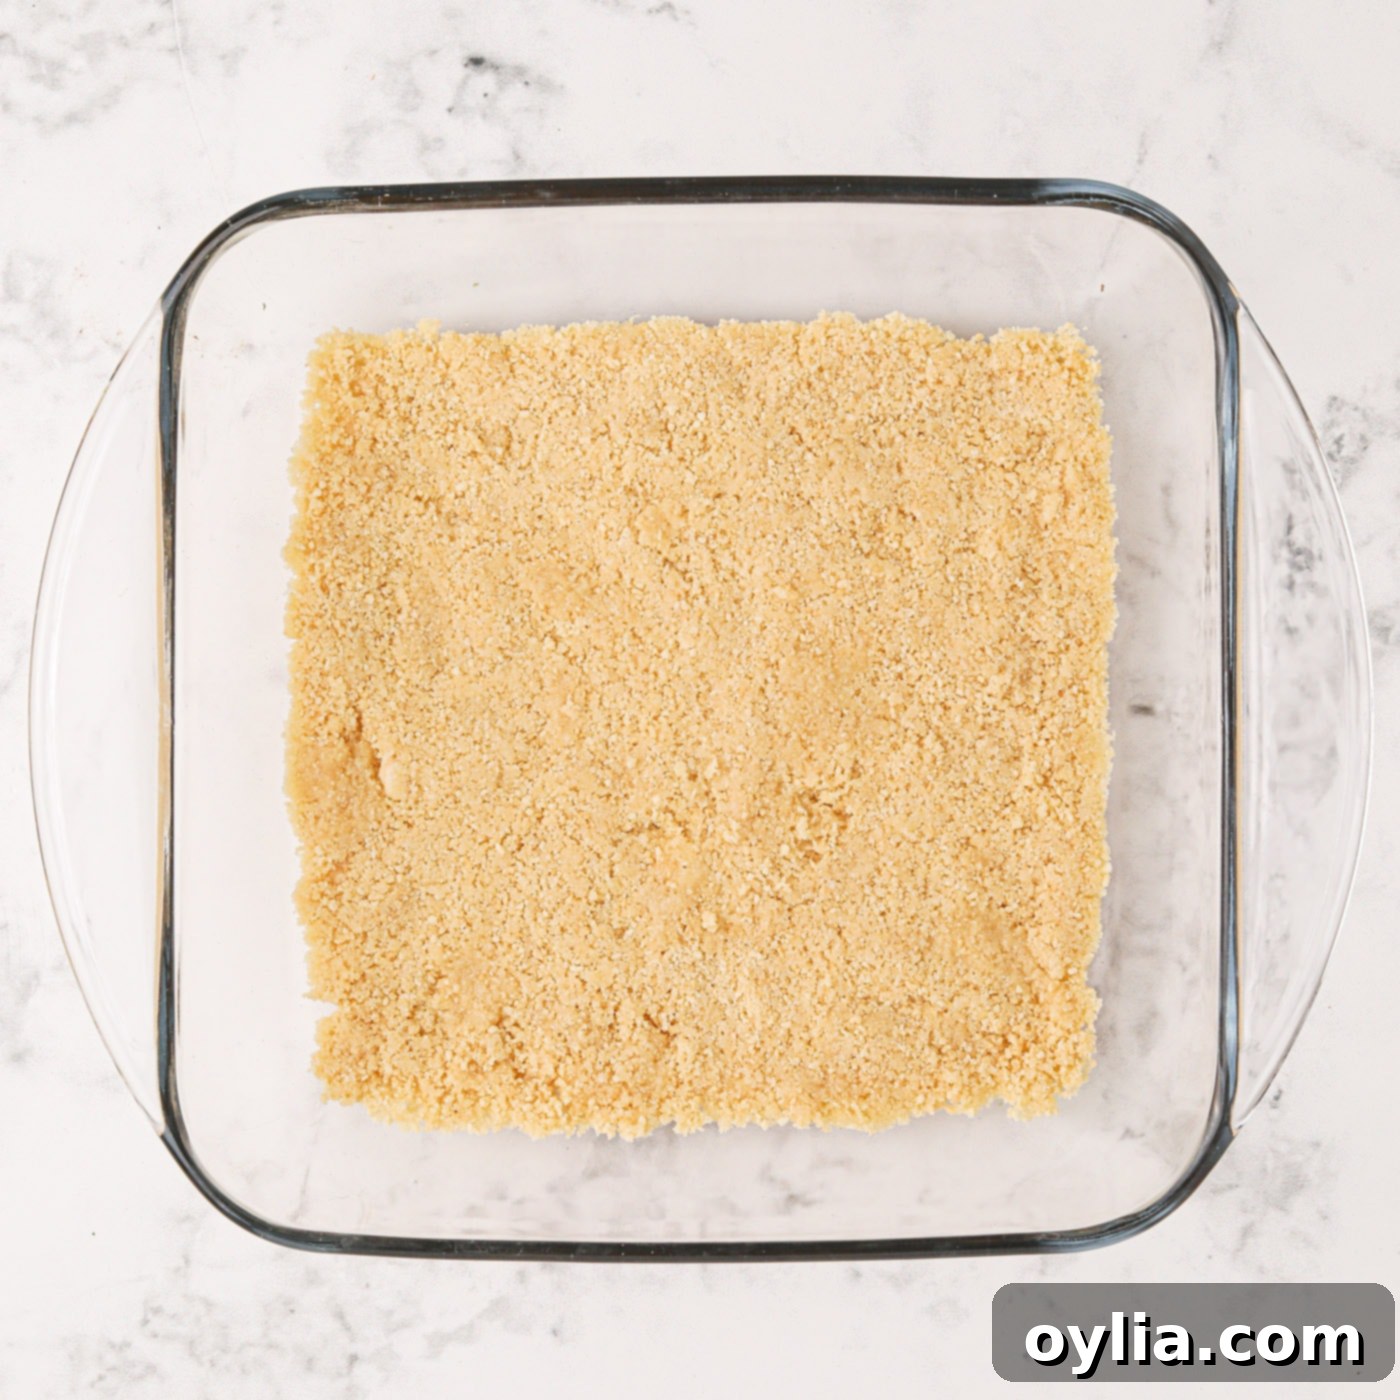
- Next, prepare your delicious crust. In a bowl, thoroughly mix together your crushed cookies and melted butter until the crumbs are evenly moistened. Once combined, firmly press this mixture into the bottom of your prepared baking dish. A flat-bottomed glass or the back of a spoon can help you achieve a compact, even layer. This creates a sturdy and flavorful base for your ice cream cake.


- While you prepare the creamy ice cream layer, place the crust in the freezer. This brief freezing period helps the crust set firmly, preventing it from crumbling when you add the next layer and ensuring a clean slice later on.
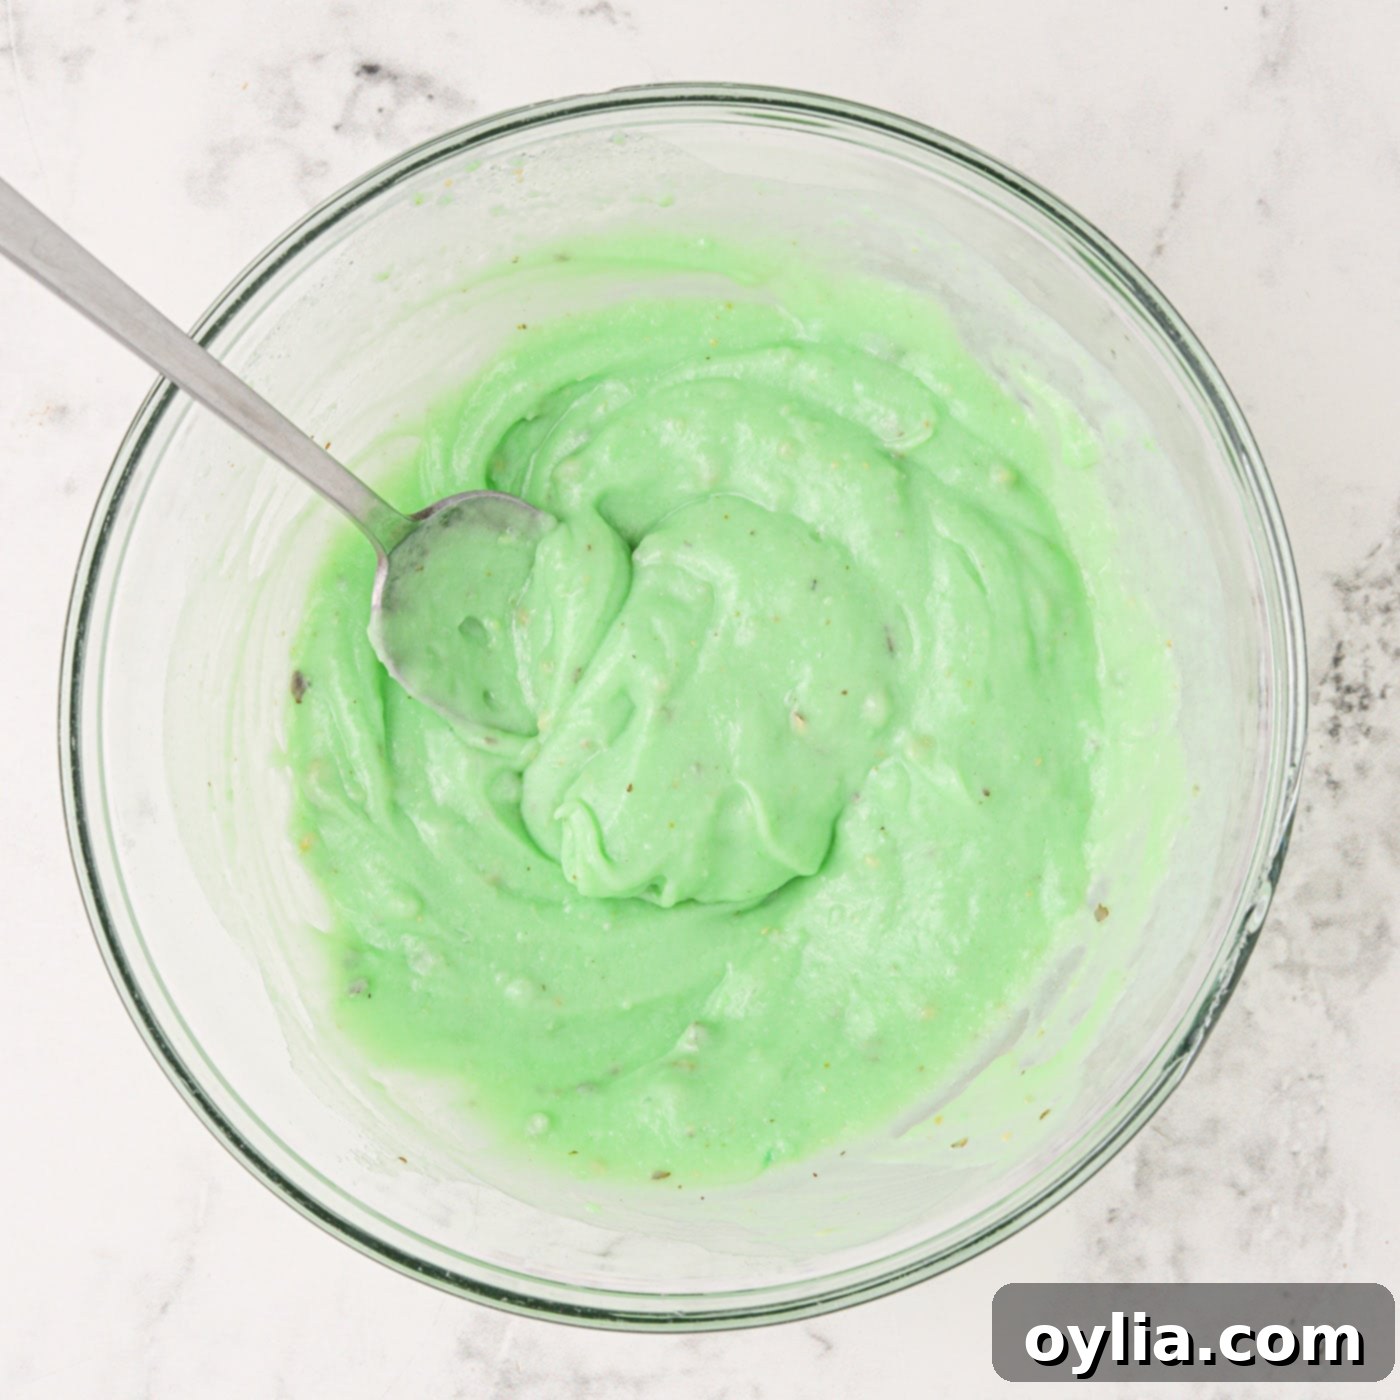
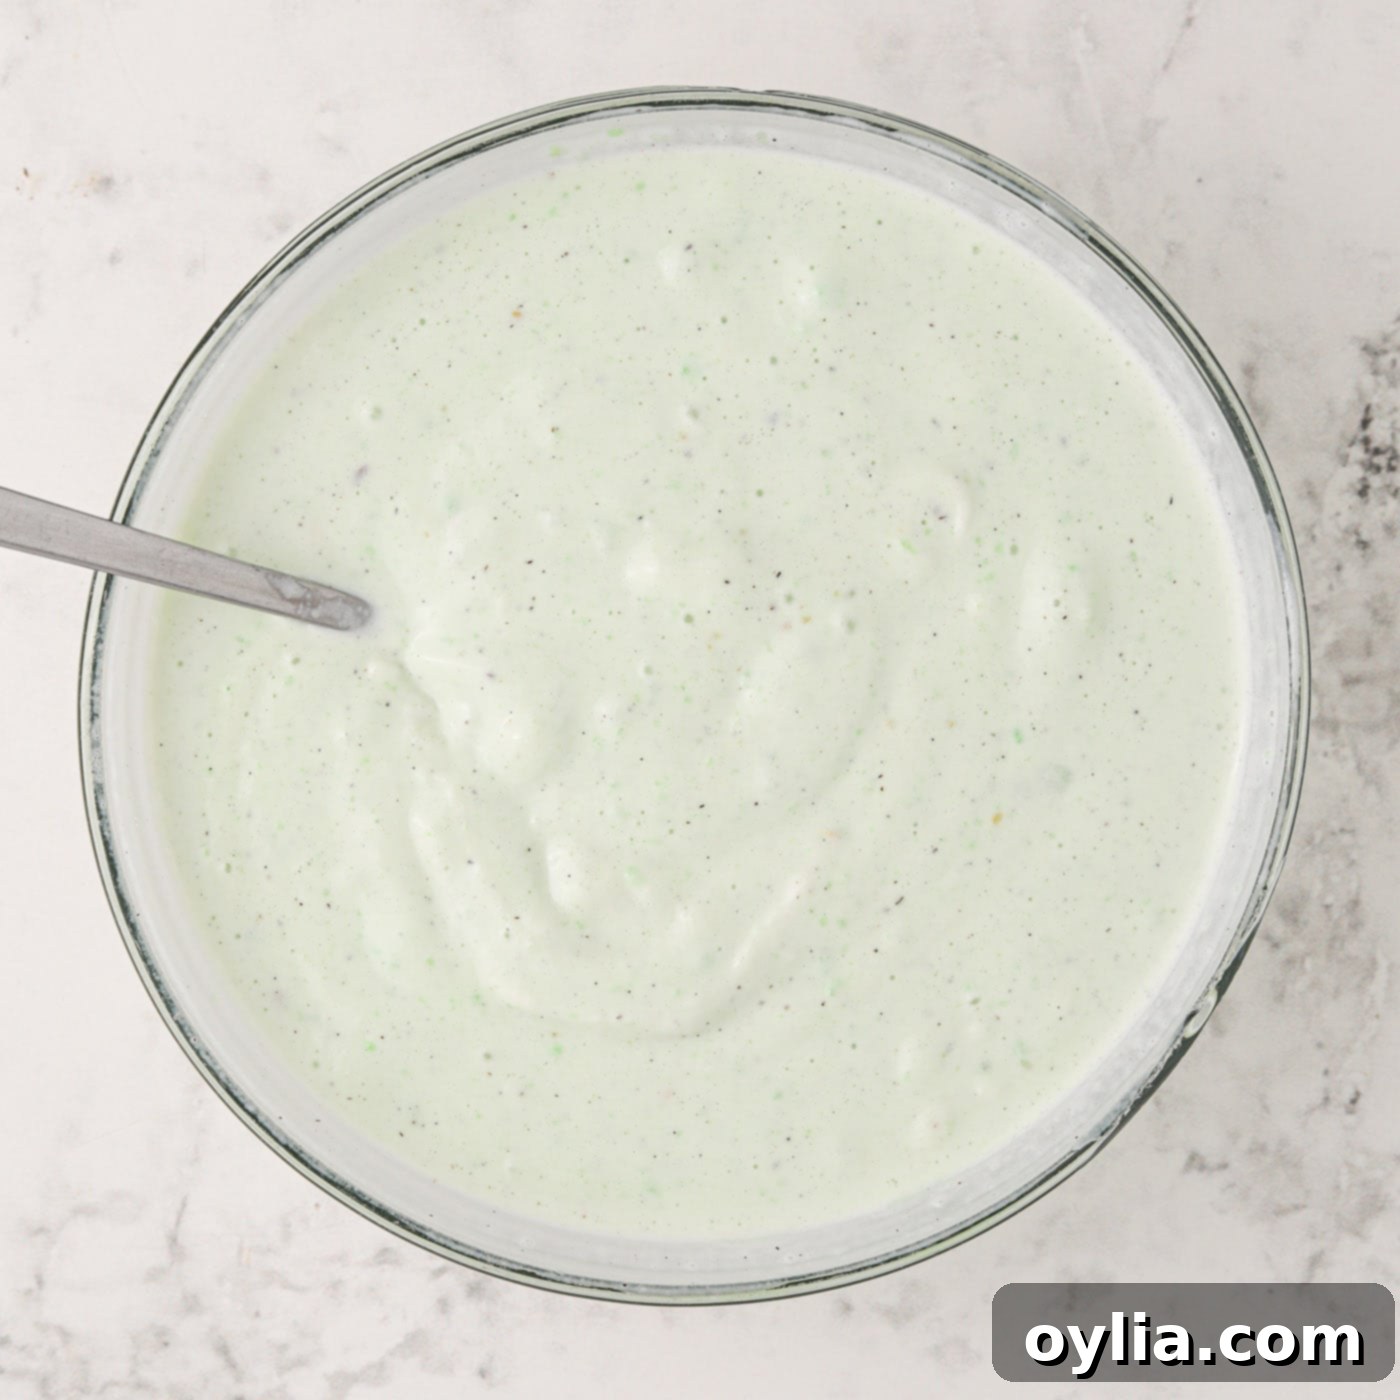
- In a large mixing bowl, combine the instant pistachio pudding mix with cold milk. Whisk these two ingredients vigorously until the mixture is smooth and completely free of any lumps. It will start to thicken as the pudding mix activates.

- Gently fold or stir the softened vanilla ice cream into the pistachio pudding mixture. Continue mixing until the two components are fully incorporated, creating a uniformly colored and creamy ice cream base. Be careful not to overmix, as this can incorporate too much air and affect the final texture.

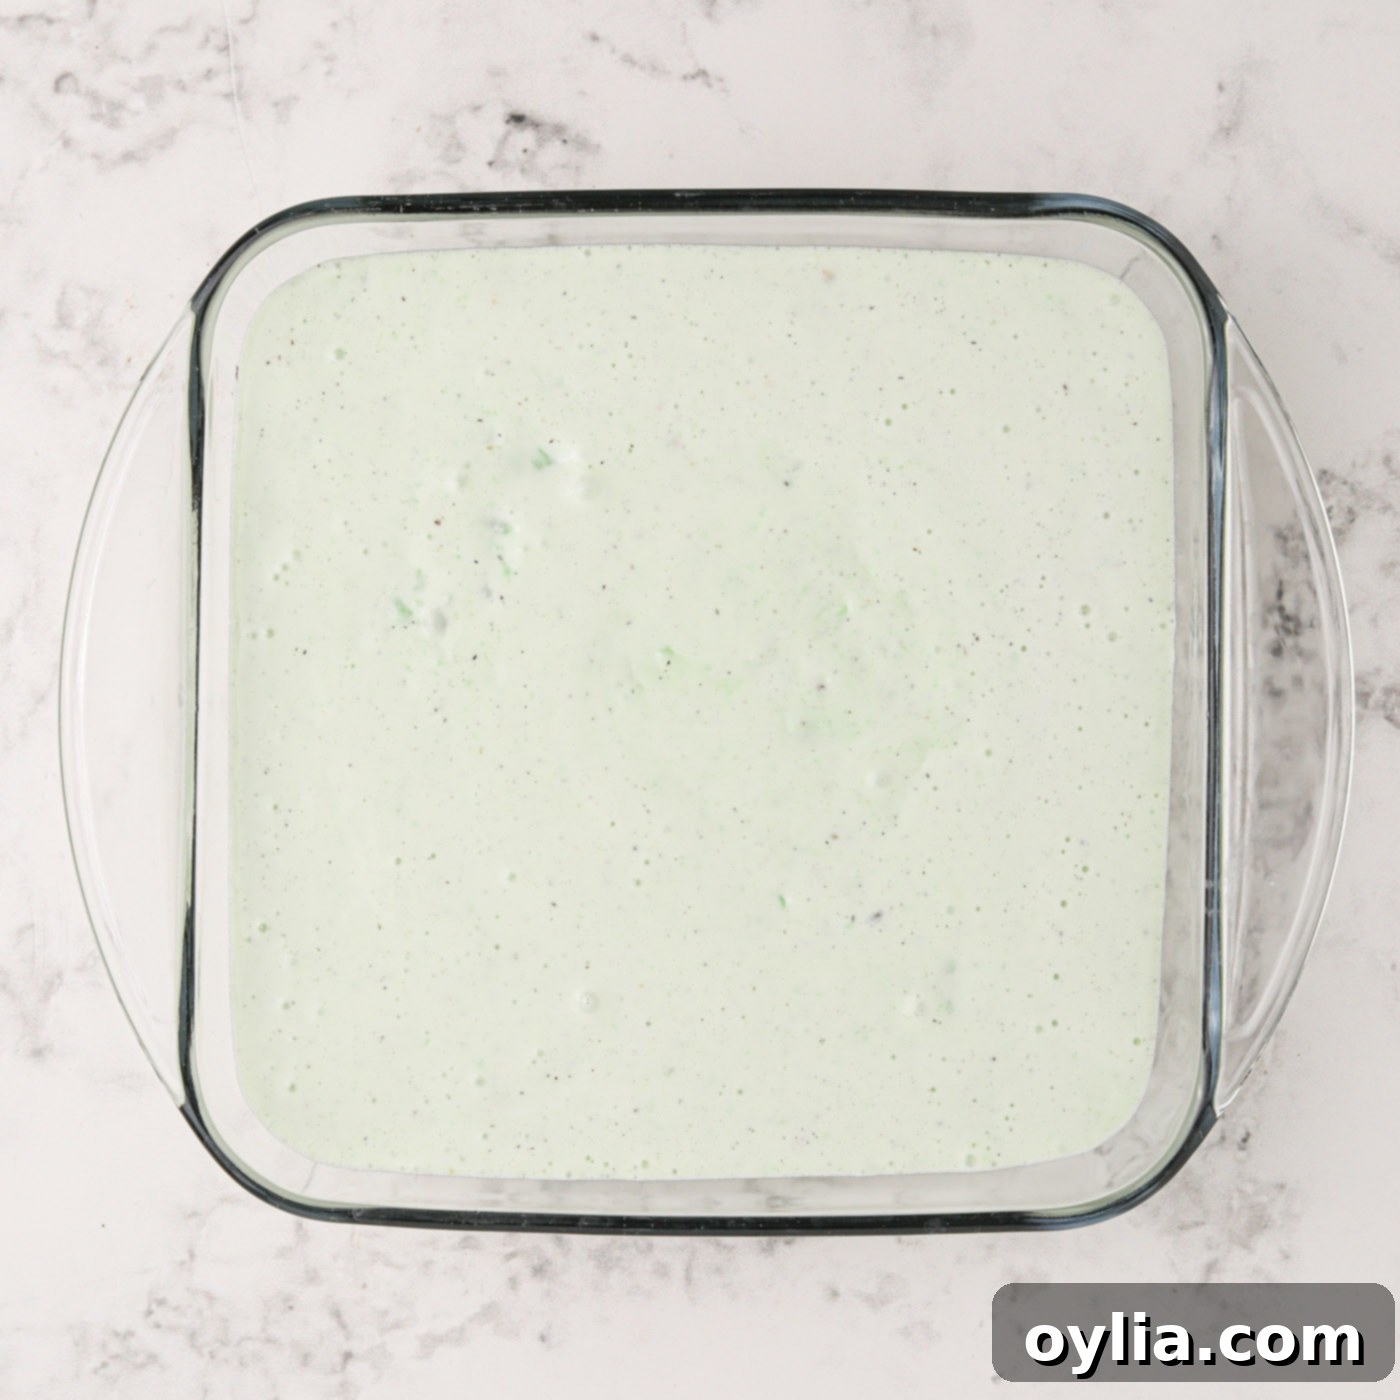
- Carefully pour the creamy pistachio ice cream mixture over the chilled cookie crust in the baking dish. Gently spread it out into an even layer using an offset spatula or the back of a spoon. Once smooth, place the dish back into the freezer for 1-2 hours, or until the ice cream layer has completely set and is firm to the touch. This crucial freezing time ensures the cake holds its shape.

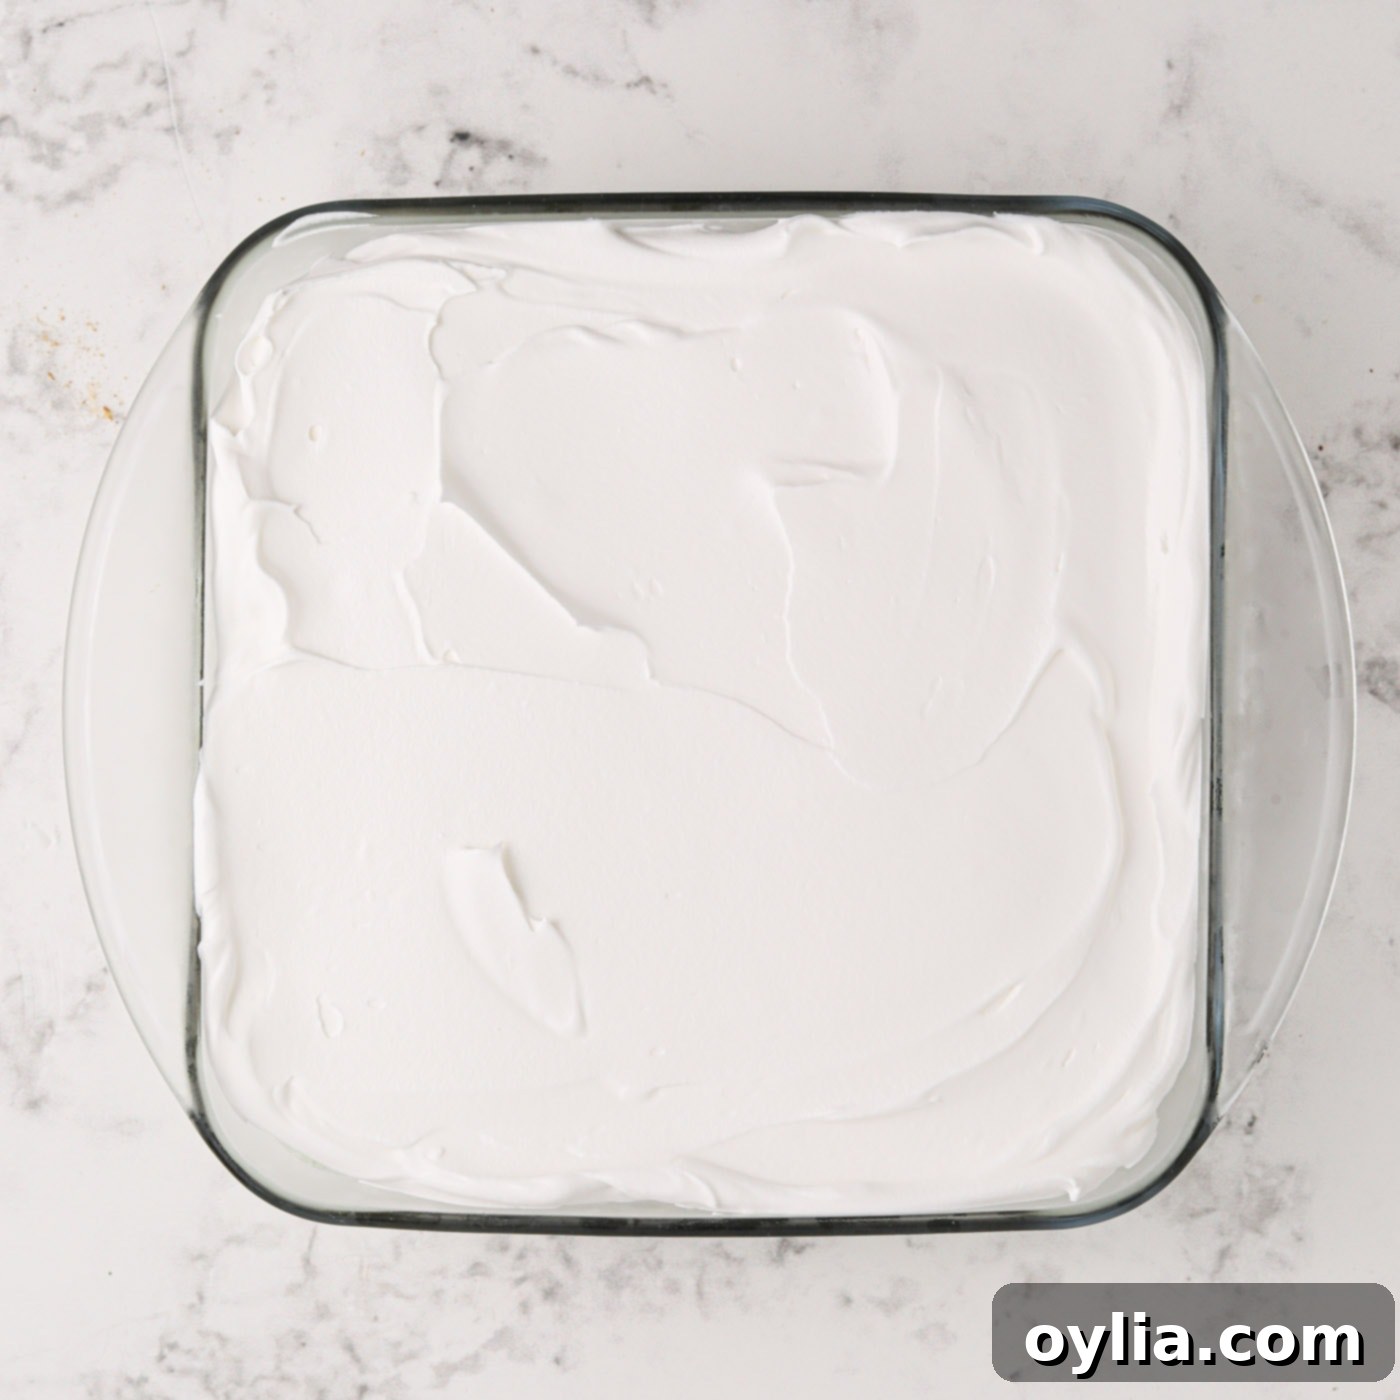
- Once the ice cream layer is firm, it’s time for the final touch. Spread the thawed whipped topping evenly across the entire surface of the set pistachio ice cream. For a beautifully smooth finish, use a large offset spatula. Return the cake to the freezer for at least another hour, or until the whipped topping is firm and the entire cake is ready to be served.

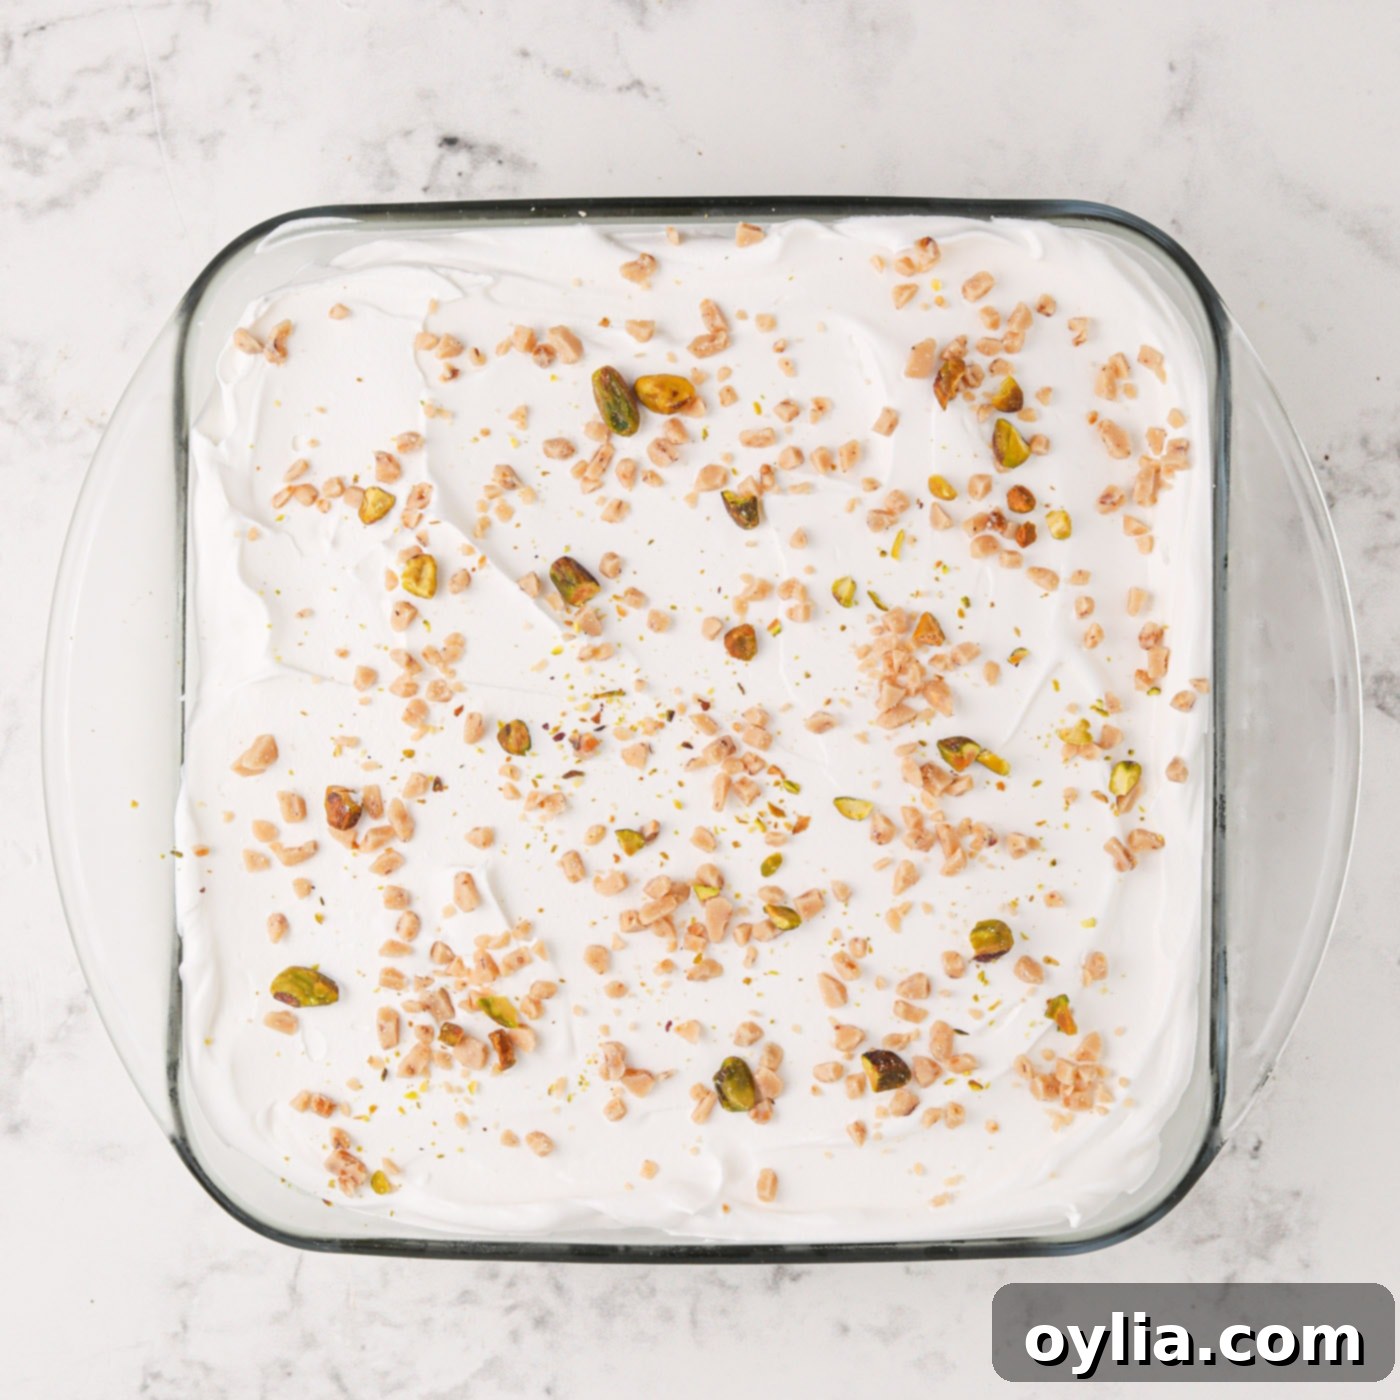
- Before serving, allow the cake to sit at room temperature for about 10 minutes. This brief resting period helps to soften the ice cream slightly, making it much easier to slice and ensuring a perfectly creamy texture with every bite. Garnish generously with additional crushed pistachios for extra flavor and visual appeal, then slice into neat squares and serve! Enjoy your beautifully crafted Pistachio Ice Cream Cake!

Frequently Asked Questions & Expert Tips for Success
To help you perfect your Pistachio Ice Cream Cake and answer any lingering questions, here are some common queries and expert advice:
Absolutely! This is one of the best features of this frozen dessert. You can easily prepare the entire cake a day or even two in advance. Once fully assembled and frozen, simply store it covered in the freezer. When you’re ready to serve, just remember to let it rest at room temperature for approximately 10 minutes to achieve that perfect scoopable, sliceable texture.
Proper storage is key to maintaining the quality and preventing freezer burn. Ensure your ice cream cake is thoroughly covered. You can either place it in an airtight container with a lid, or wrap it tightly with a layer of plastic wrap directly touching the surface of the whipped topping, followed by a layer of aluminum foil. This double-layer protection helps keep air out and flavors locked in. Stored this way, the cake will remain delicious in the freezer for up to 2 weeks.
The ideal consistency for the vanilla ice cream is slightly softened, but not fully melted. If your ice cream is rock solid, let it sit on the counter for 10-15 minutes until it’s pliable enough to stir easily. If it becomes too soft or soupy, the final texture of your cake might be too icy. If this happens, you can pop the softened ice cream mixture back into the freezer for a few minutes to firm up slightly before spreading it over the crust.
While a 9×9 inch baking dish is recommended for the ideal thickness of layers, you could use an 8×8 inch dish for a slightly taller cake, or a 9×13 inch dish for a thinner, larger cake that yields more servings. If adjusting the pan size, be aware that freezing times might vary. A thinner cake will freeze faster, and a thicker one might need a bit more time to set completely.
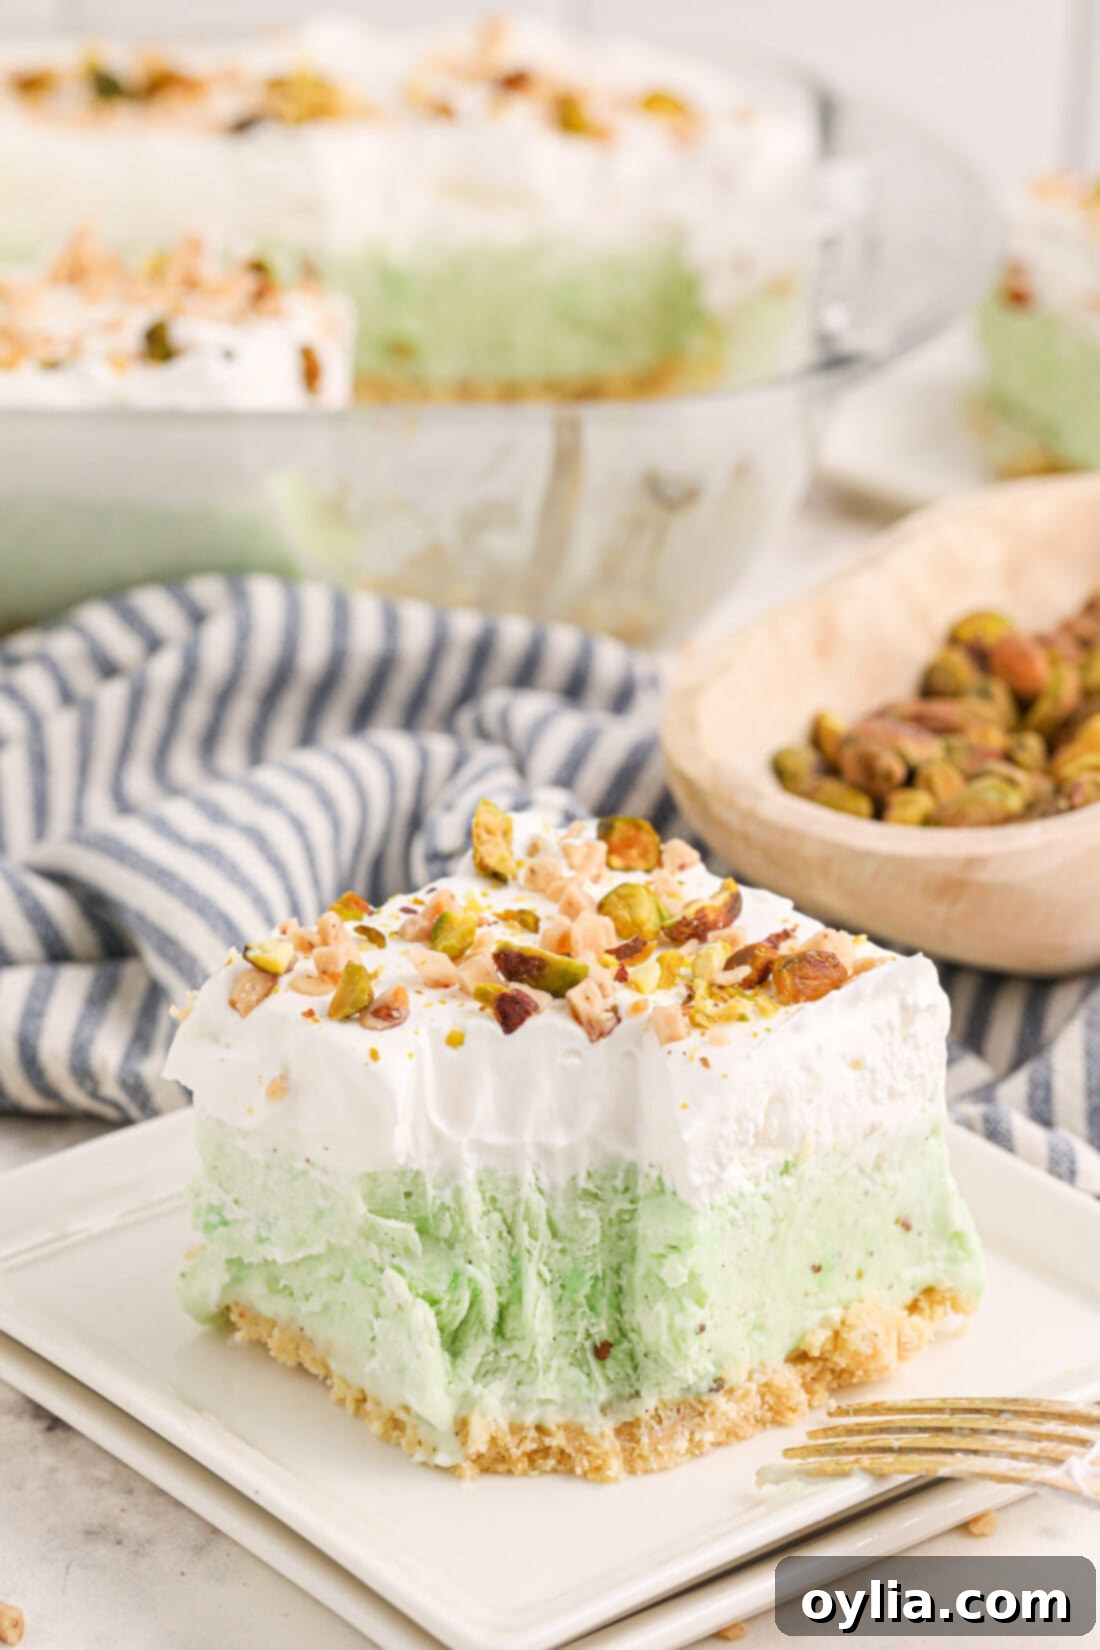
Serving Suggestions for Your Pistachio Ice Cream Cake
Presentation can turn a great dessert into an unforgettable experience. Your Pistachio Ice Cream Cake, with its beautiful layers and vibrant color, is already a feast for the eyes, but a few extra touches can make it truly special.
Before serving, always remember to let the cake sit at room temperature for about 10 minutes. This slight softening makes it much easier to cut into clean, elegant squares and ensures the ice cream has a perfectly creamy texture. For garnishing, embrace versatility:
- Classic Pistachio Finish: A generous sprinkle of finely chopped pistachios enhances both the flavor and visual appeal, reinforcing the cake’s star ingredient.
- Sweet and Salty: Crushed toffee bits add a wonderful chewiness and a delightful salty-sweet contrast.
- Chocolate Lover’s Dream: A drizzle of rich chocolate sauce or melted dark chocolate can be visually stunning and offers a classic flavor pairing with pistachio. For extra indulgence, sprinkle on some mini chocolate chips or finely chopped chocolate candy bars.
- Cookie Crumb Topping: If you love the crust, save a few crushed golden Oreo cookies to sprinkle on top for an extra layer of crunch and a cohesive look.
- Fresh Berries: For a pop of color and a touch of tartness, fresh raspberries or sliced strawberries can beautifully complement the richness of the cake, especially for summer events.
No matter how you choose to present it, this Pistachio Ice Cream Cake is sure to be a delightful end to any meal or a welcome treat on a hot day.
More Frozen Dessert Recipes to Keep You Cool
If you’ve fallen in love with the ease and deliciousness of this Pistachio Ice Cream Cake, you’re in luck! There’s a whole world of frozen desserts waiting to be explored, perfect for beating the heat or simply indulging your sweet tooth. These recipes are designed to be simple, refreshing, and incredibly satisfying, just like our star pistachio cake:
- Dole Whip: Bring the magic of a tropical vacation home with this iconic pineapple soft serve.
- Frozen S’mores: All the beloved flavors of s’mores, transformed into a frosty, no-mess treat.
- Jello Popsicles: A colorful and fun retro treat that’s incredibly simple to make for kids and adults alike.
- Ice Cream Sandwich Cake: Another fantastic no-bake cake that uses store-bought ice cream sandwiches for an easy, crowd-pleasing dessert.
- Raspberry Ice Cream Delight: A fruity and creamy sensation that’s light, refreshing, and bursting with raspberry flavor.
Each of these recipes offers a unique way to enjoy a chilly treat, proving that delicious frozen desserts don’t have to be complicated to make.
I love to bake and cook and share my kitchen experience with all of you! Remembering to come back each day can be tough, that’s why I offer a convenient newsletter every time a new recipe posts. Simply subscribe and start receiving your free daily recipes!
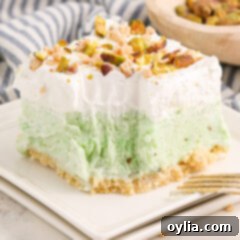
Pistachio Ice Cream Cake
IMPORTANT – There are often Frequently Asked Questions within the blog post that you may find helpful. Simply scroll back up to read them!
Print It
Pin It
Rate It
Save ItSaved!
Ingredients
- 15 crushed golden Oreo cookies with the filling. about 1.5 cups
- 4 tablespoons unsalted butter melted, 1/4 cup
- 3.4 ounce instant pistachio pudding mix
- ¾ cup cold milk
- 1 quart vanilla ice cream softened, 32 ounces
- 8 ounces Cool Whip thawed
- ½ cup pistachio nuts chopped
Things You’ll Need
-
9×9 baking dish
-
Mixing bowls
Before You Begin
- To crush the Oreo’s simply place them in a food processor, with the filling, and blitz until you get a fine crumb. You can also place them in a gallon sized ziptop bag and crush them with a rolling pin.
- You can easily swap the golden Oreos with regular or even use a graham cracker crust instead. Some think the saltiness of Ritz crackers is a delicious substitute!
- You can use Cool Whip or make your own homemade whipped cream for topping. Chopped toffee, candy, or nuts are all great garnish options.
Instructions
-
Line a 9×9 baking dish with parchment paper allowing excess to hang over the sides as handles.
-
Mix together crushed cookies and melted butter and press into the bottom of your baking dish.15 crushed golden Oreo cookies, 4 tablespoons unsalted butter
-
Freeze the crust while you create the ice cream layer.
-
Whisk together the pudding mix with cold milk in a large mixing bowl until no lumps remain.3.4 ounce instant pistachio pudding mix, 3/4 cup cold milk
-
Stir the softened ice cream into the pudding mix until fully incorporated.1 quart vanilla ice cream
-
Pour the ice cream mixture into the cooled baking dish. Place in the freezer for 1-2 hours, or until the ice cream has set.
-
Spread the whipped topping across the top of the ice cream and freeze for another hour or until ready to serve.8 ounces Cool Whip
-
Allow the cake to sit at room temperature for 10 minutes before serving. Garnish with crushed pistachios and slice in squares to serve, enjoy!1/2 cup pistachio nuts
Expert Tips & FAQs
- Store the cake covered with a lid or wrapped tightly with plastic wrap followed by a layer of aluminum foil in the freezer for up to 2 weeks.
- Make Ahead – Prepare the cake a day or two in advance, store covered in the freezer, and allow to rest at room temperature for around 10 minutes before serving.
Nutrition
The recipes on this blog are tested with a conventional gas oven and gas stovetop. It’s important to note that some ovens, especially as they age, can cook and bake inconsistently. Using an inexpensive oven thermometer can assure you that your oven is truly heating to the proper temperature. If you use a toaster oven or countertop oven, please keep in mind that they may not distribute heat the same as a conventional full sized oven and you may need to adjust your cooking/baking times. In the case of recipes made with a pressure cooker, air fryer, slow cooker, or other appliance, a link to the appliances we use is listed within each respective recipe. For baking recipes where measurements are given by weight, please note that results may not be the same if cups are used instead, and we can’t guarantee success with that method.
