Spooktacularly Simple Vampire Sandwich Cookies: Your Go-To Halloween Treat!
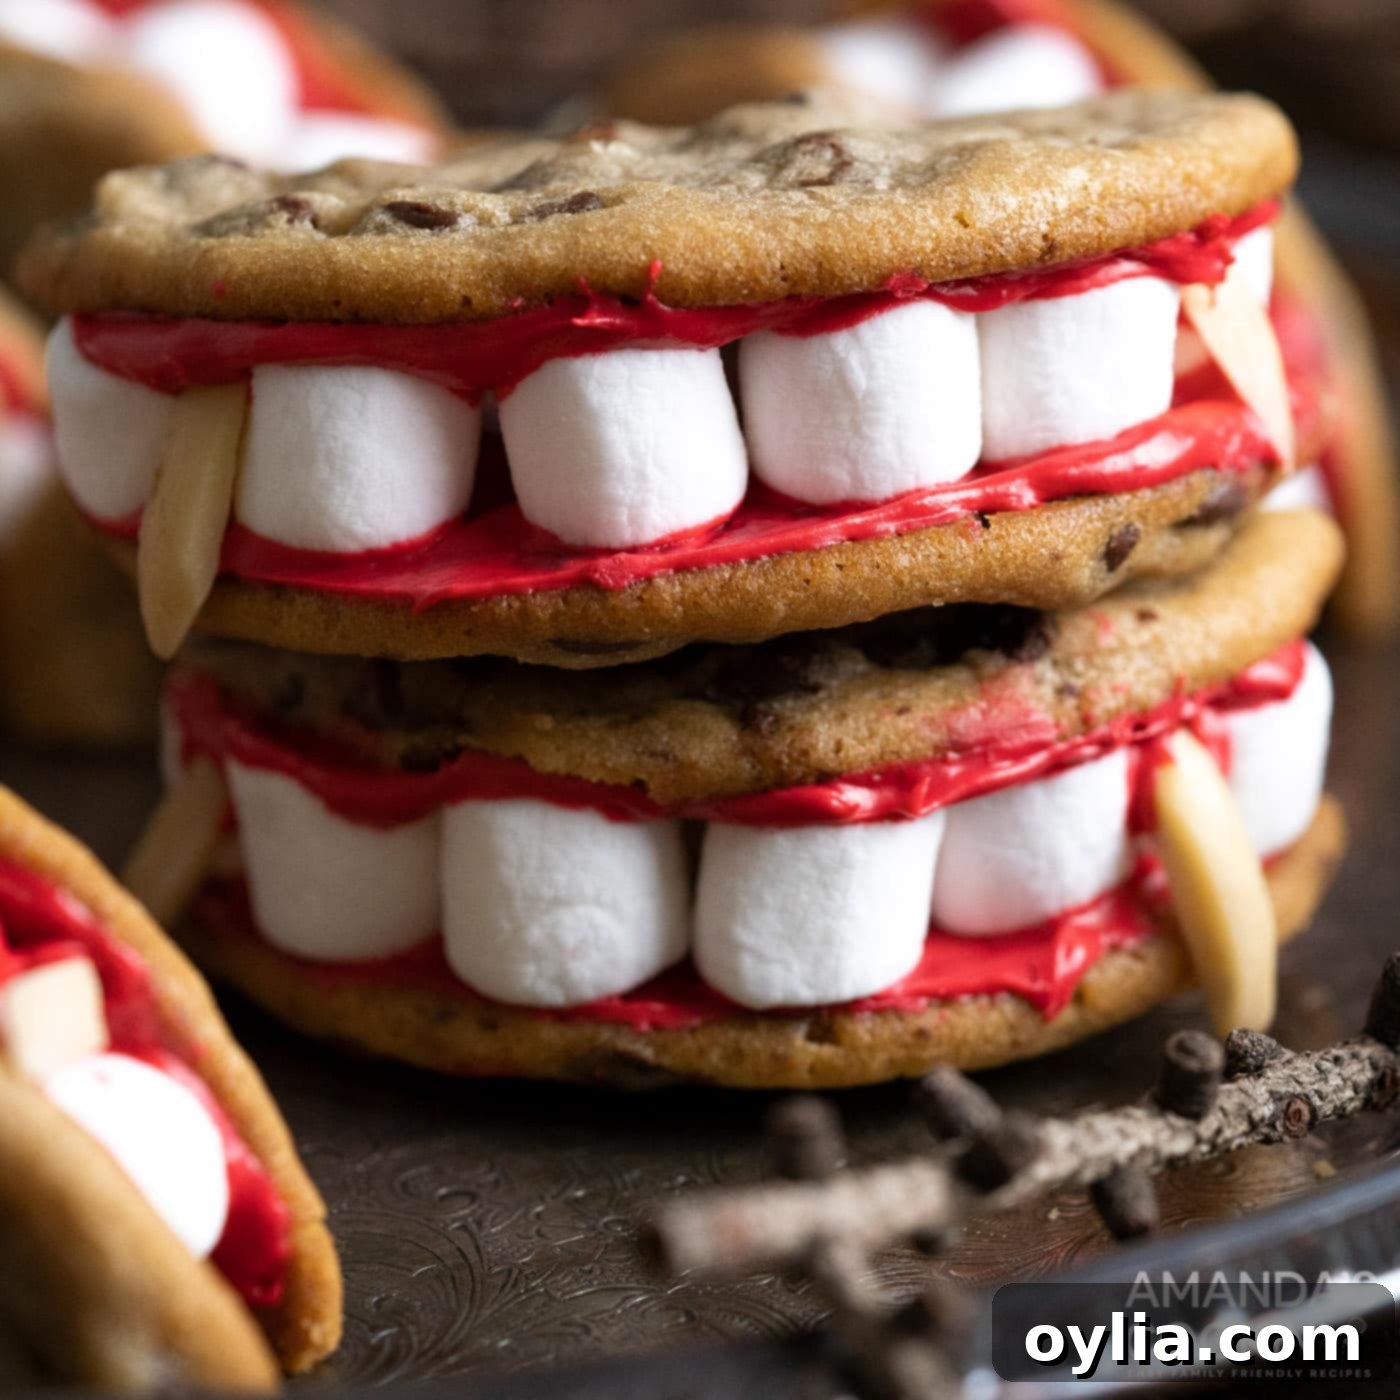
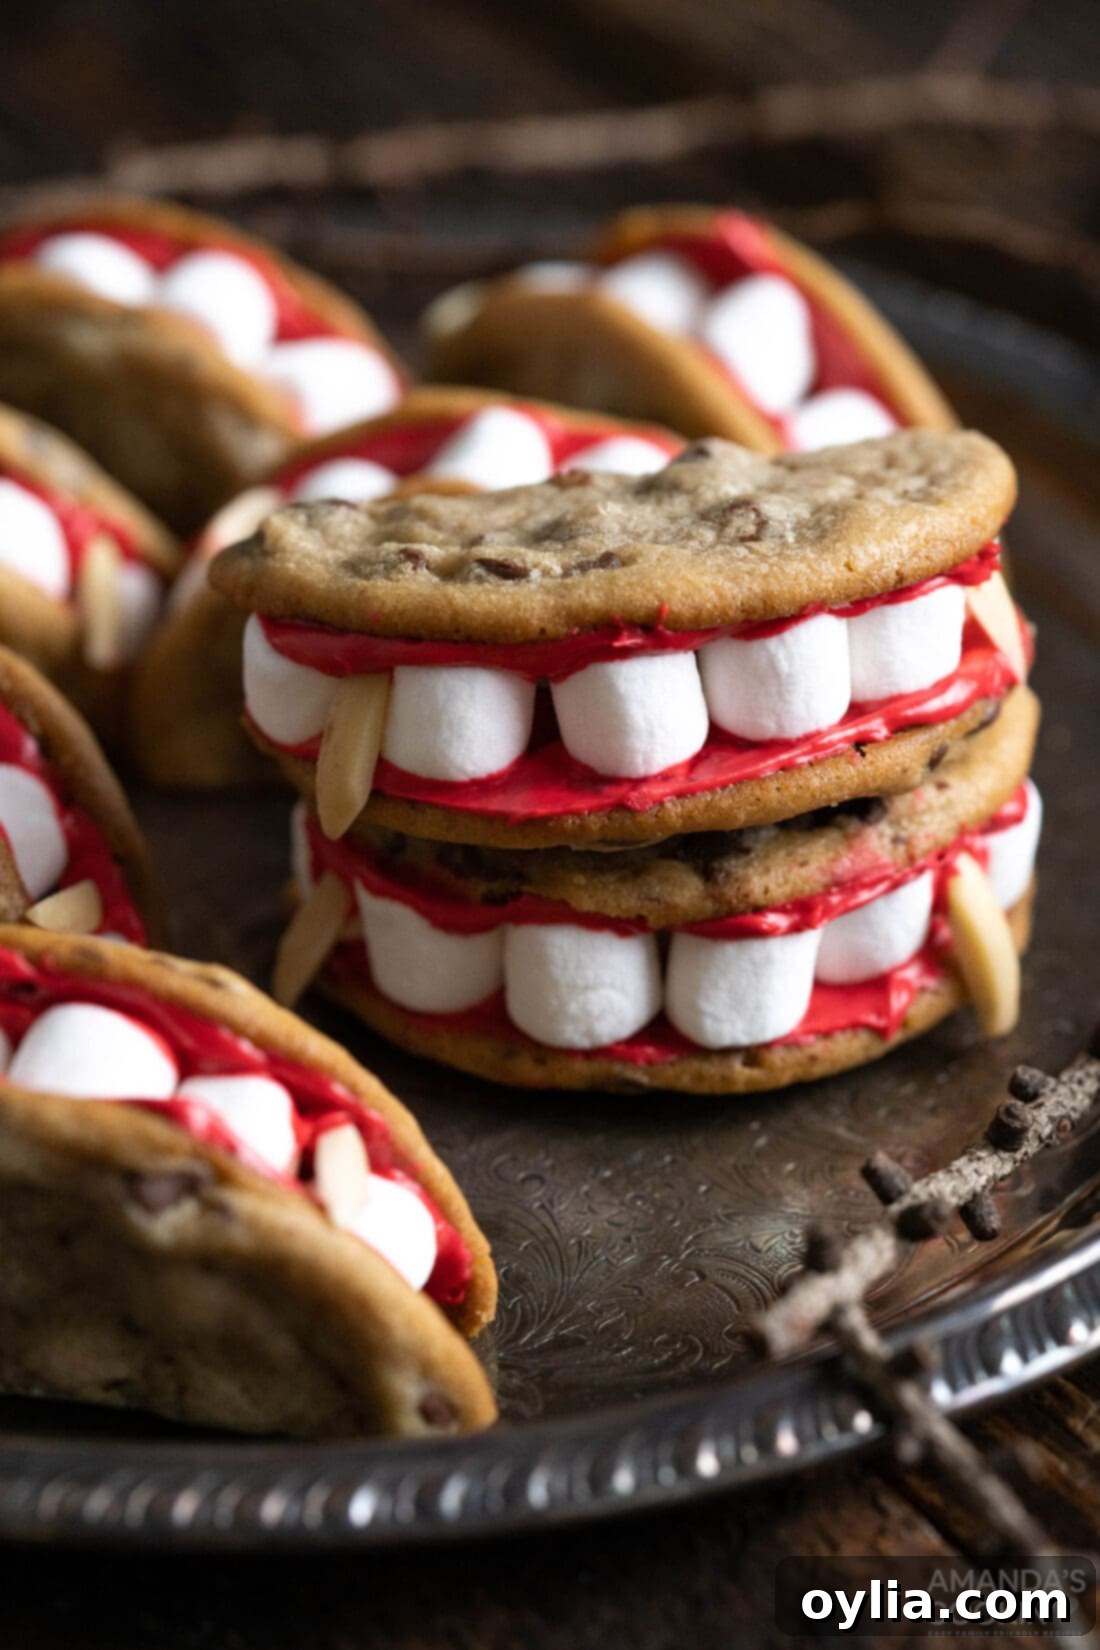
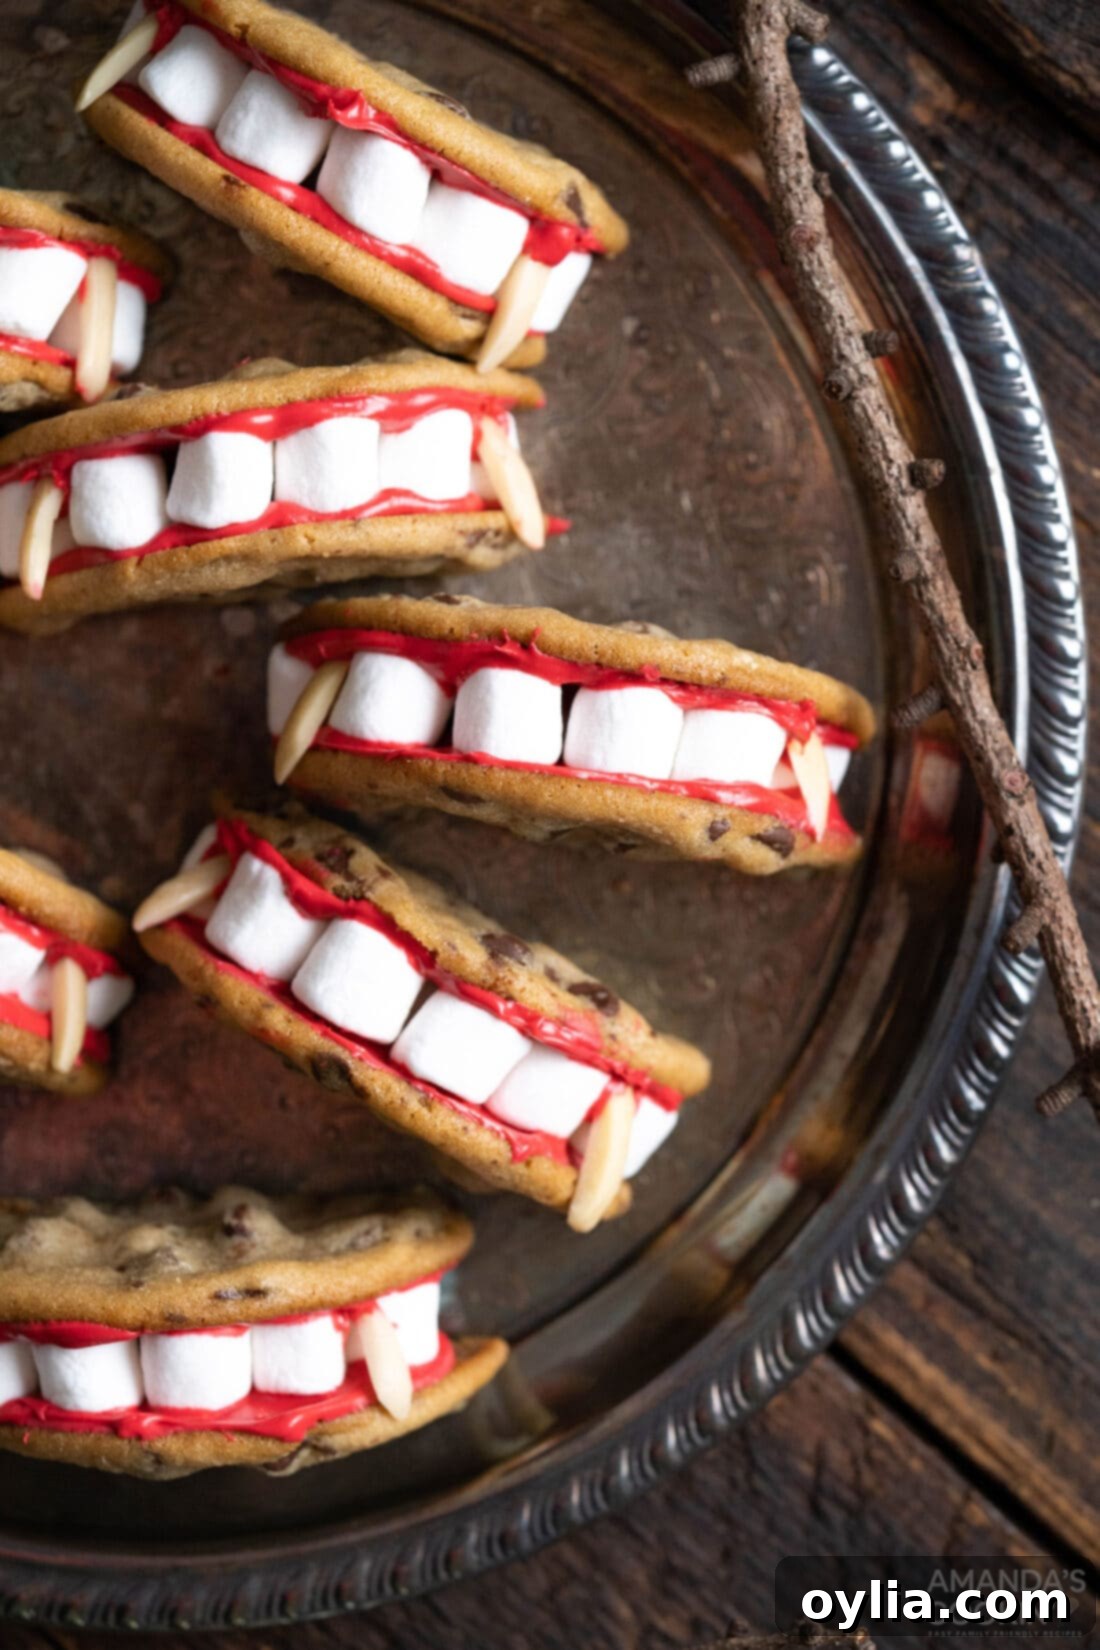
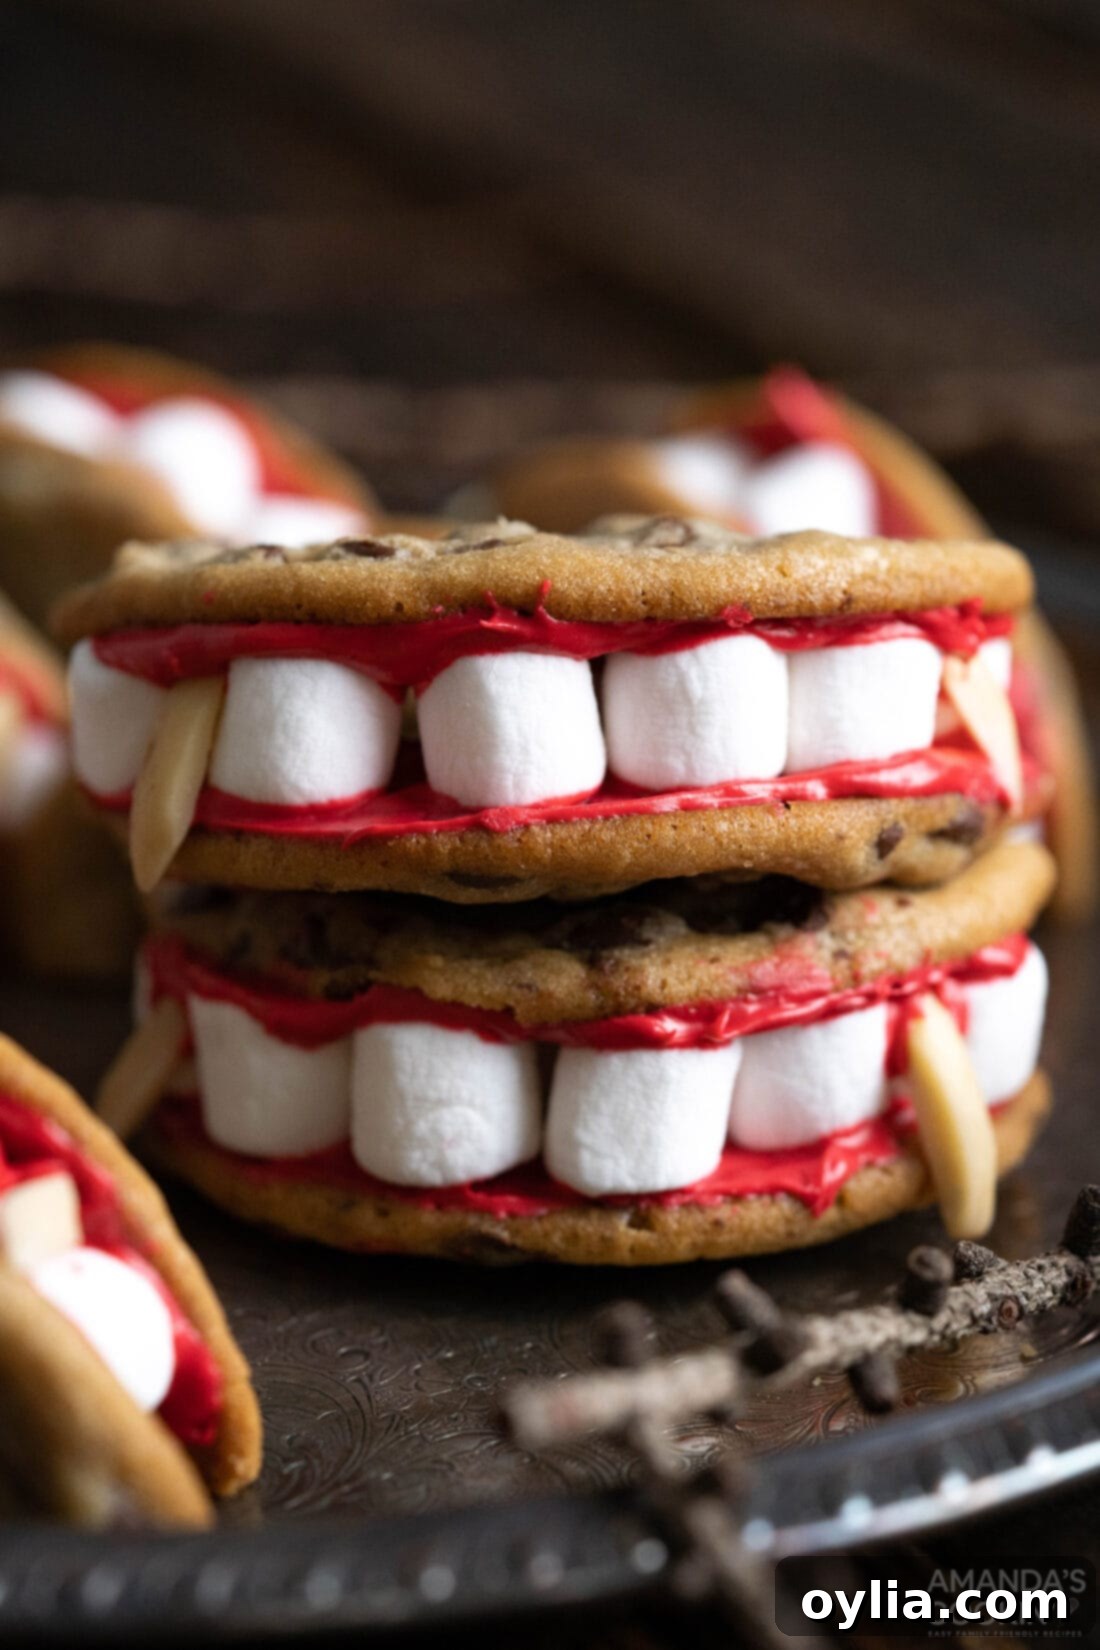
Get ready to unleash some frightfully delicious fun with these incredibly easy-to-make vampire sandwich cookies! Perfect for any Halloween gathering, these playful treats are designed to bring a smile (or a spooky grin!) to everyone’s face. Imagine two halves of a delicious chocolate chip cookie, brimming with creamy red frosting, mini marshmallows forming gruesome teeth, and slivered almonds perfectly placed as sharp, blood-sucking fangs. They’re quick to assemble, require minimal baking effort, and deliver maximum Halloween charm. Whether you call them “Vampire Sandwich Cookies” or “Dracula’s Dentures,” one bite will confirm their ghastly good taste!
Why This Recipe Is a Halloween Must-Have
These vampire sandwich cookies, affectionately known as Dracula’s dentures, are an absolute winner for several reasons, making them a ghastly good time for your Halloween baking experience. First and foremost, they couldn’t be any easier to create. We’re talking minimal effort for maximum spooky impact! This recipe cleverly utilizes premade cookie dough, saving you precious time and effort during the often-hectic Halloween season. No need to stress about mixing, chilling, or rolling dough from scratch – just grab a tube and you’re halfway there!
Beyond the convenience, the visual appeal of these cookies is undeniable. The contrast of the golden-brown cookies, the bright “bloody” red frosting, and the stark white marshmallow “teeth” with sharp almond “fangs” instantly screams Halloween. Kids and adults alike will be enchanted by their creative design. They’re interactive and fun to assemble, making them an excellent activity to do with children. Plus, the combination of a soft, chewy cookie, sweet vanilla frosting, and slightly crunchy marshmallows and almonds creates a delightful texture and flavor profile that’s simply irresistible. These cookies are not just a treat; they’re a conversation starter, ensuring your Halloween party or family gathering is memorable.
Essential Ingredients for Your Vampire Cookies
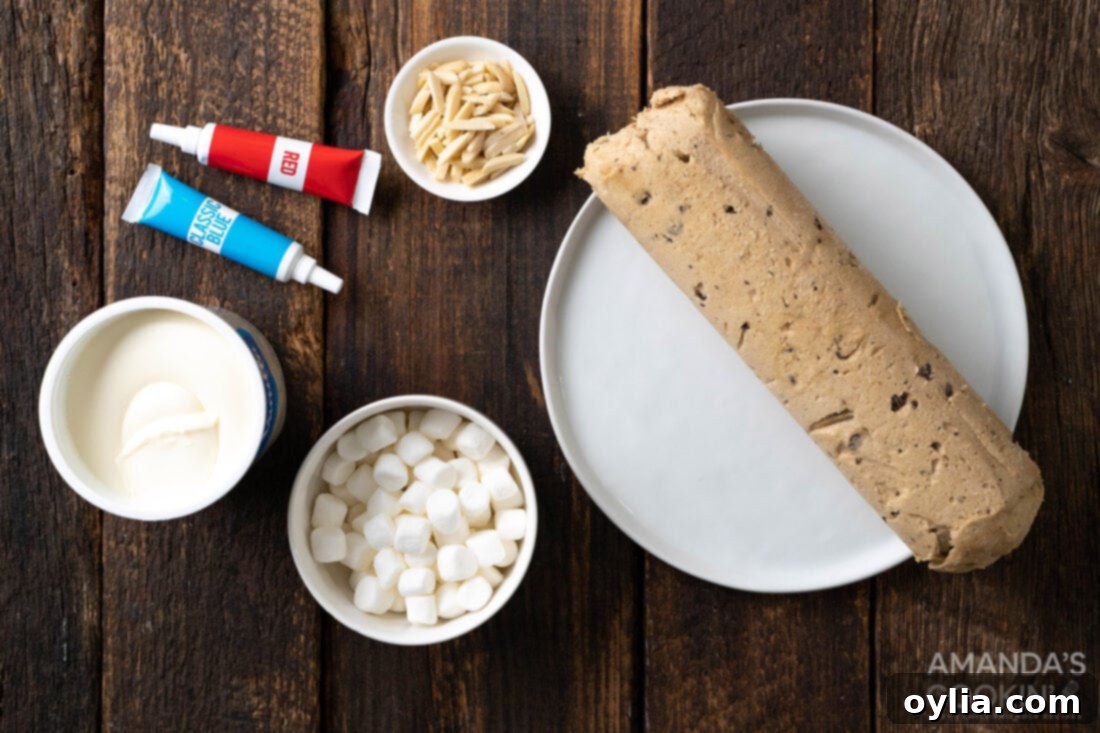
Gathering the ingredients for these spooky treats is as simple as the recipe itself. You’ll only need a handful of readily available items, making your Halloween baking stress-free. For the full list of precise measurements, detailed instructions, and a printable version of this recipe, be sure to scroll to the end of this post!
Here’s a sneak peek at the star components:
- **Chocolate Chip Cookie Dough:** The foundation of our “dentures.” Pre-made dough is a fantastic shortcut, but homemade works beautifully too.
- **Vanilla Frosting:** The adhesive and the “blood.” This smooth, sweet base is perfect for coloring.
- **Red Gel Food Coloring:** To transform your frosting into a vibrant, blood-like hue. Gel coloring offers the best intensity without thinning the frosting.
- **Mini Marshmallows:** These soft, white morsels flawlessly replicate vampire teeth.
- **Slivered Almonds:** The perfect shape and crunch to create those iconic, sharp vampire fangs.
Each ingredient plays a crucial role in bringing these creepy-cute cookies to life!
Ingredient Info and Clever Substitution Suggestions
Let’s dive a little deeper into the ingredients and explore some fun ways you can customize these vampire sandwich cookies to your liking, ensuring they’re perfect for your taste buds or dietary needs.
Cookie Base: Your Canvas for Creativity
COOKIE – The choice of cookie is entirely yours, offering a fantastic opportunity for personalization! While a classic homemade chocolate chip cookie dough provides that comforting, familiar flavor, opting for a store-bought tube of premade dough is a brilliant time-saver, especially when you’re juggling multiple Halloween preparations. Don’t feel bound by chocolate chips; feel free to experiment with other cookie varieties. Peanut butter cookies would add a rich, nutty flavor, while oatmeal cookies could offer a chewier texture. Sugar cookies are another excellent choice, providing a neutral canvas for the vibrant red frosting and spooky decorations. For those with dietary restrictions, many brands now offer gluten-free or even vegan cookie dough options that would work just as well. The key is to have a sturdy, round cookie that can be easily cut in half to form the “mouth.”
Bloody Details: Frosting, Teeth, and Fangs
DECORATION – This is where the magic happens and your vampire cookies truly come to life! For the “teeth,” you’ll use mini marshmallows, which naturally mimic the look of a mouthful of pearly whites. The key is to arrange them snugly for a realistic effect. For the iconic vampire fangs, slivered almonds are absolutely perfect. Their elongated, pointed shape is ideal for creating that classic Dracula look. The frosting isn’t just for flavor; it’s the critical binding agent that holds the marshmallows and almonds in place, while also creating that delightfully creepy bloodsucking appearance. You can experiment with the intensity of your red food coloring – a deep, dark red for a truly sinister vibe, or a brighter crimson for a more playful touch. If red isn’t your only desired “blood” color, feel free to try black gel coloring for a gothic look, or even green for a Frankenstein’s monster twist!
For alternatives, if you don’t have slivered almonds, you could carefully cut small triangles from white chocolate chips or even use tiny pieces of candy corn for a different “fang” look. If mini marshmallows are hard to find, a thin line of white frosting piped as teeth could also work, though it won’t have the same dimensional effect. The beauty of this recipe lies in its adaptability!
Step-by-Step: How to Make Vampire Sandwich Cookies
These step-by-step photos and instructions are here to help you visualize how to create these fun and delicious Halloween treats. For the complete, printable version of this recipe, including all measurements and detailed instructions, simply Jump to Recipe at the bottom of this post.
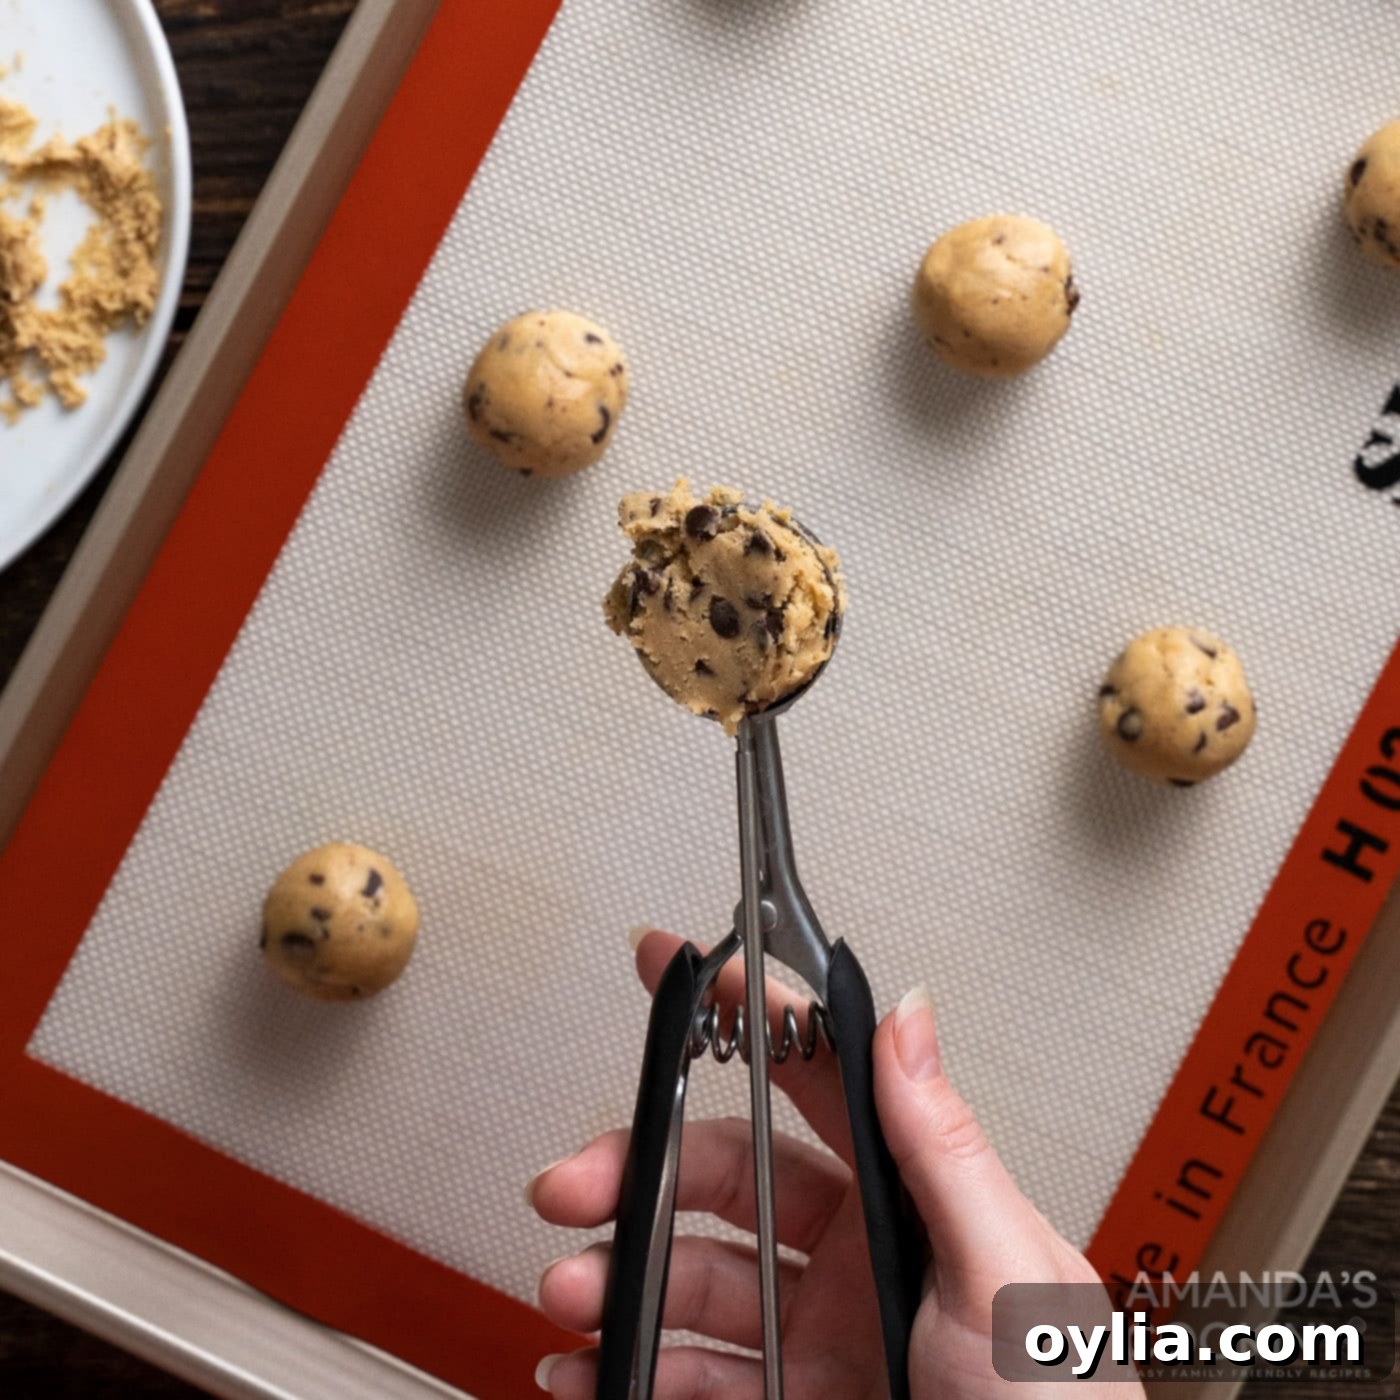
- **Prepare Your Cookies:** Begin by preheating your oven to 350°F (175°C). Line two large baking trays with silpat liners or parchment paper to prevent sticking and ensure easy cleanup. This step is crucial for perfectly baked cookies. Scoop the cookie dough into uniform 1.5-tablespoon sized balls and arrange them on your prepared baking trays, leaving enough space between each for expansion during baking. Consistency in size will lead to uniform “dentures.”

Using a cookie scoop ensures uniform cookies, which are essential for creating perfectly matched “dentures.” - **Bake to Golden Perfection:** Bake the cookies for approximately 12 to 15 minutes, or until their edges are beautifully golden brown. For even baking, remember to rotate your trays once halfway through the cooking time. Keep a close eye on them, as baking times can vary slightly depending on your oven.
- **Cooling is Key:** Once baked, allow the cookies to cool directly on the baking trays for about 10 minutes. This helps them firm up and prevents breakage. After this initial cooling, use a thin metal spatula to carefully transfer them to a wire rack to finish cooling completely. They need to be fully cooled before assembly to prevent the frosting from melting.
- **Repeat if Necessary:** If you have more cookie dough, continue baking the remaining batches using the same process, ensuring each cookie is perfectly golden and cooled before moving on to the decorating phase.
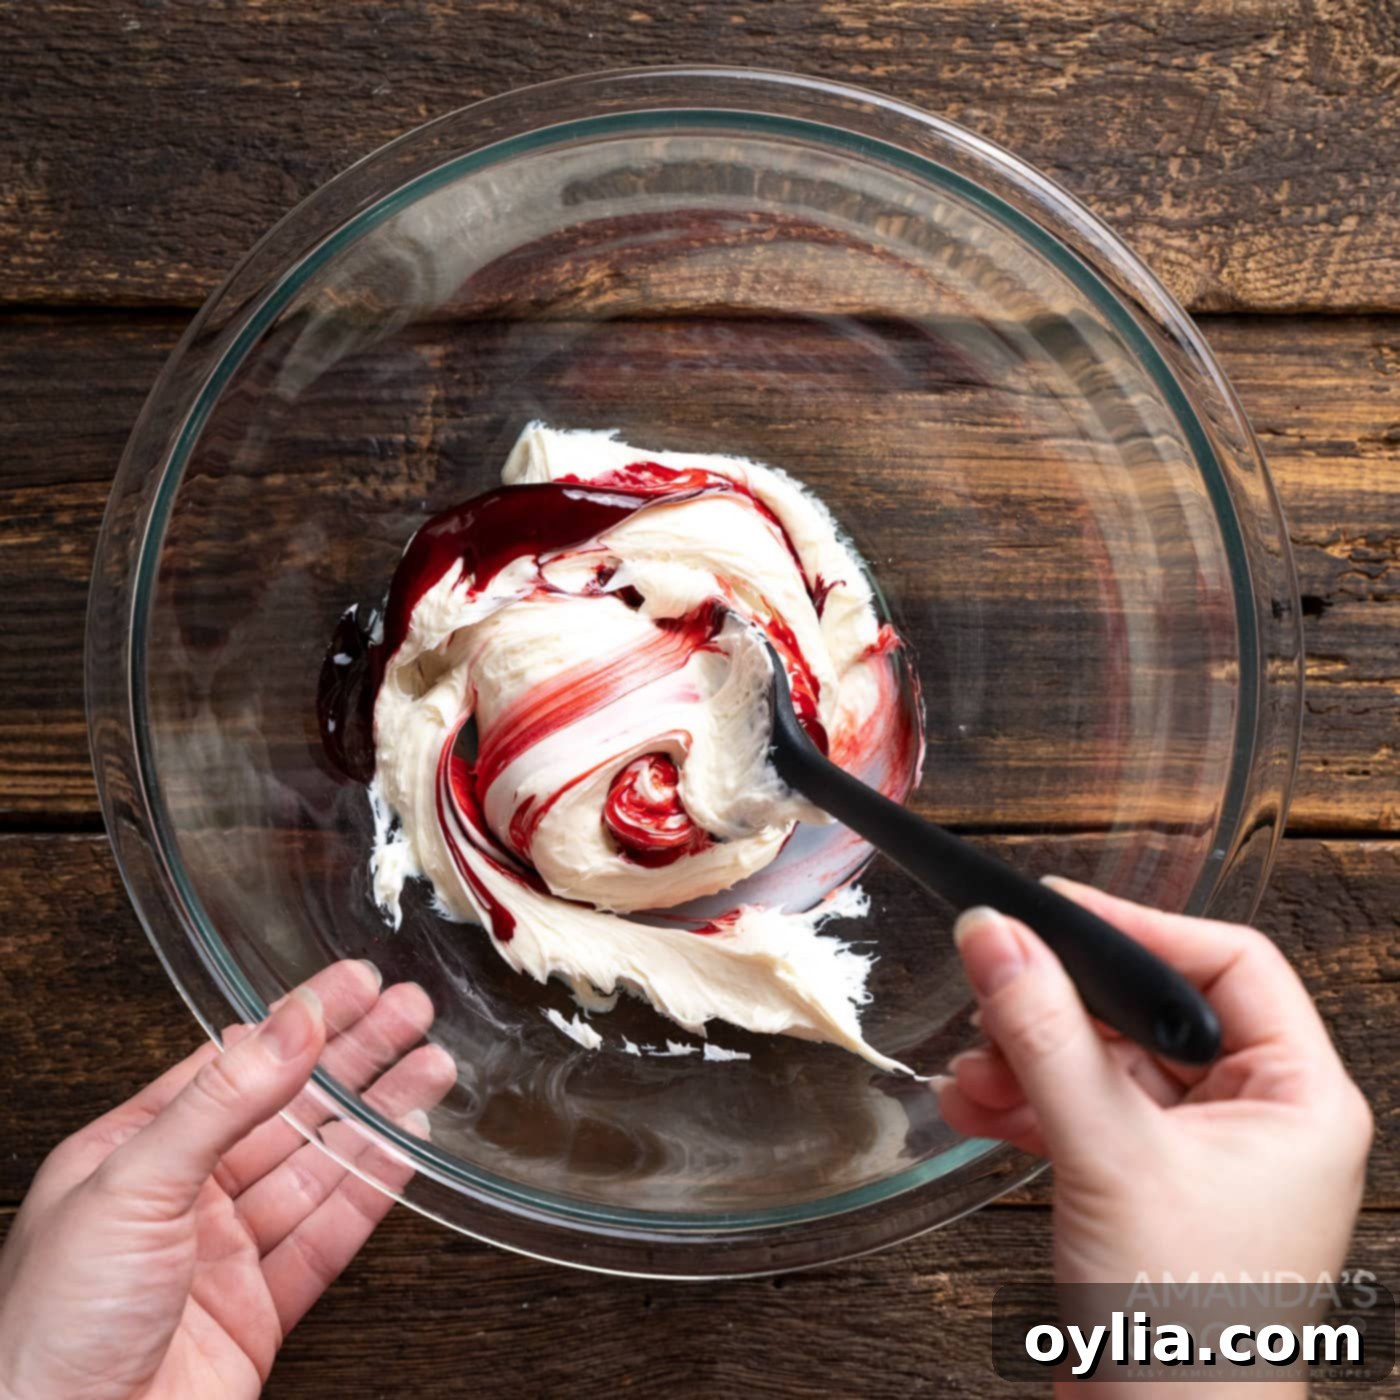
- **Prepare the Bloody Frosting:** In a large bowl, combine the vanilla frosting with the red gel food coloring. Mix thoroughly until the color is consistent and vibrant. Start with 2 tablespoons of gel coloring, then add more red (or even a tiny drop of blue for a deeper, more realistic blood-red hue) until you achieve your desired eerie color. Remember, gel food coloring provides a rich color without altering the frosting’s consistency too much.

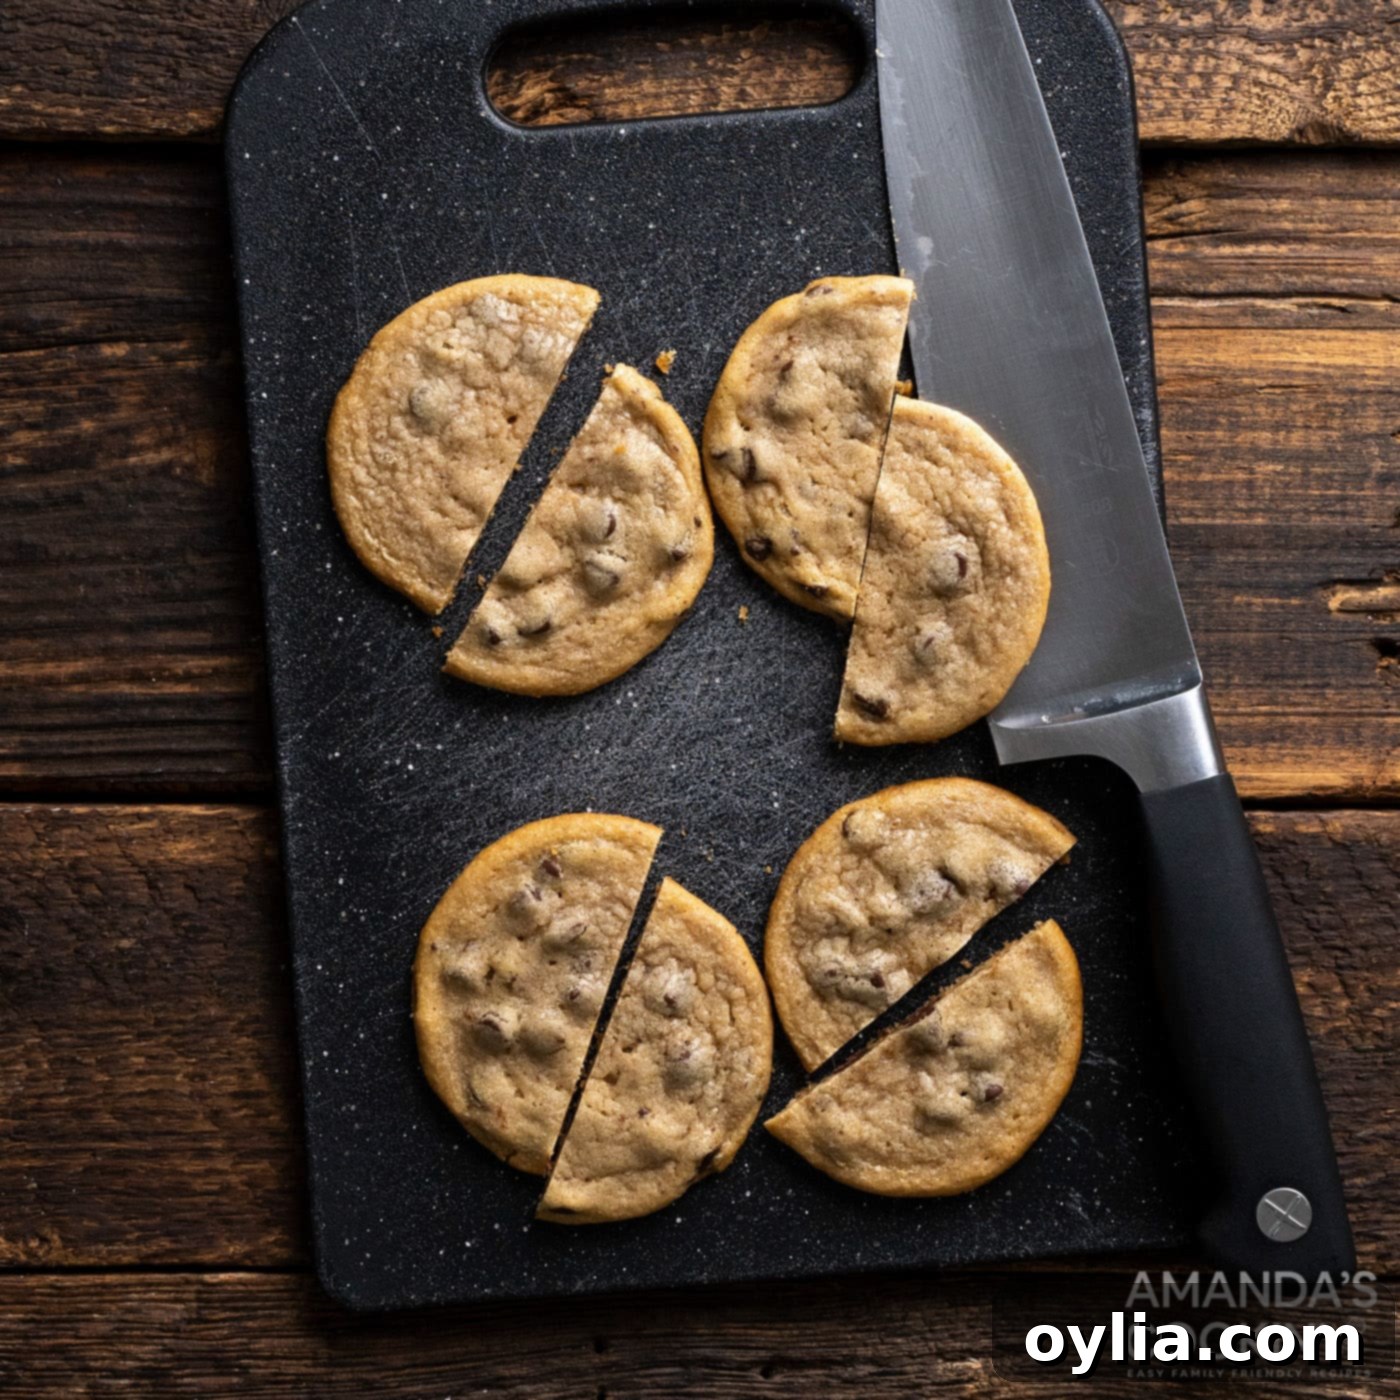
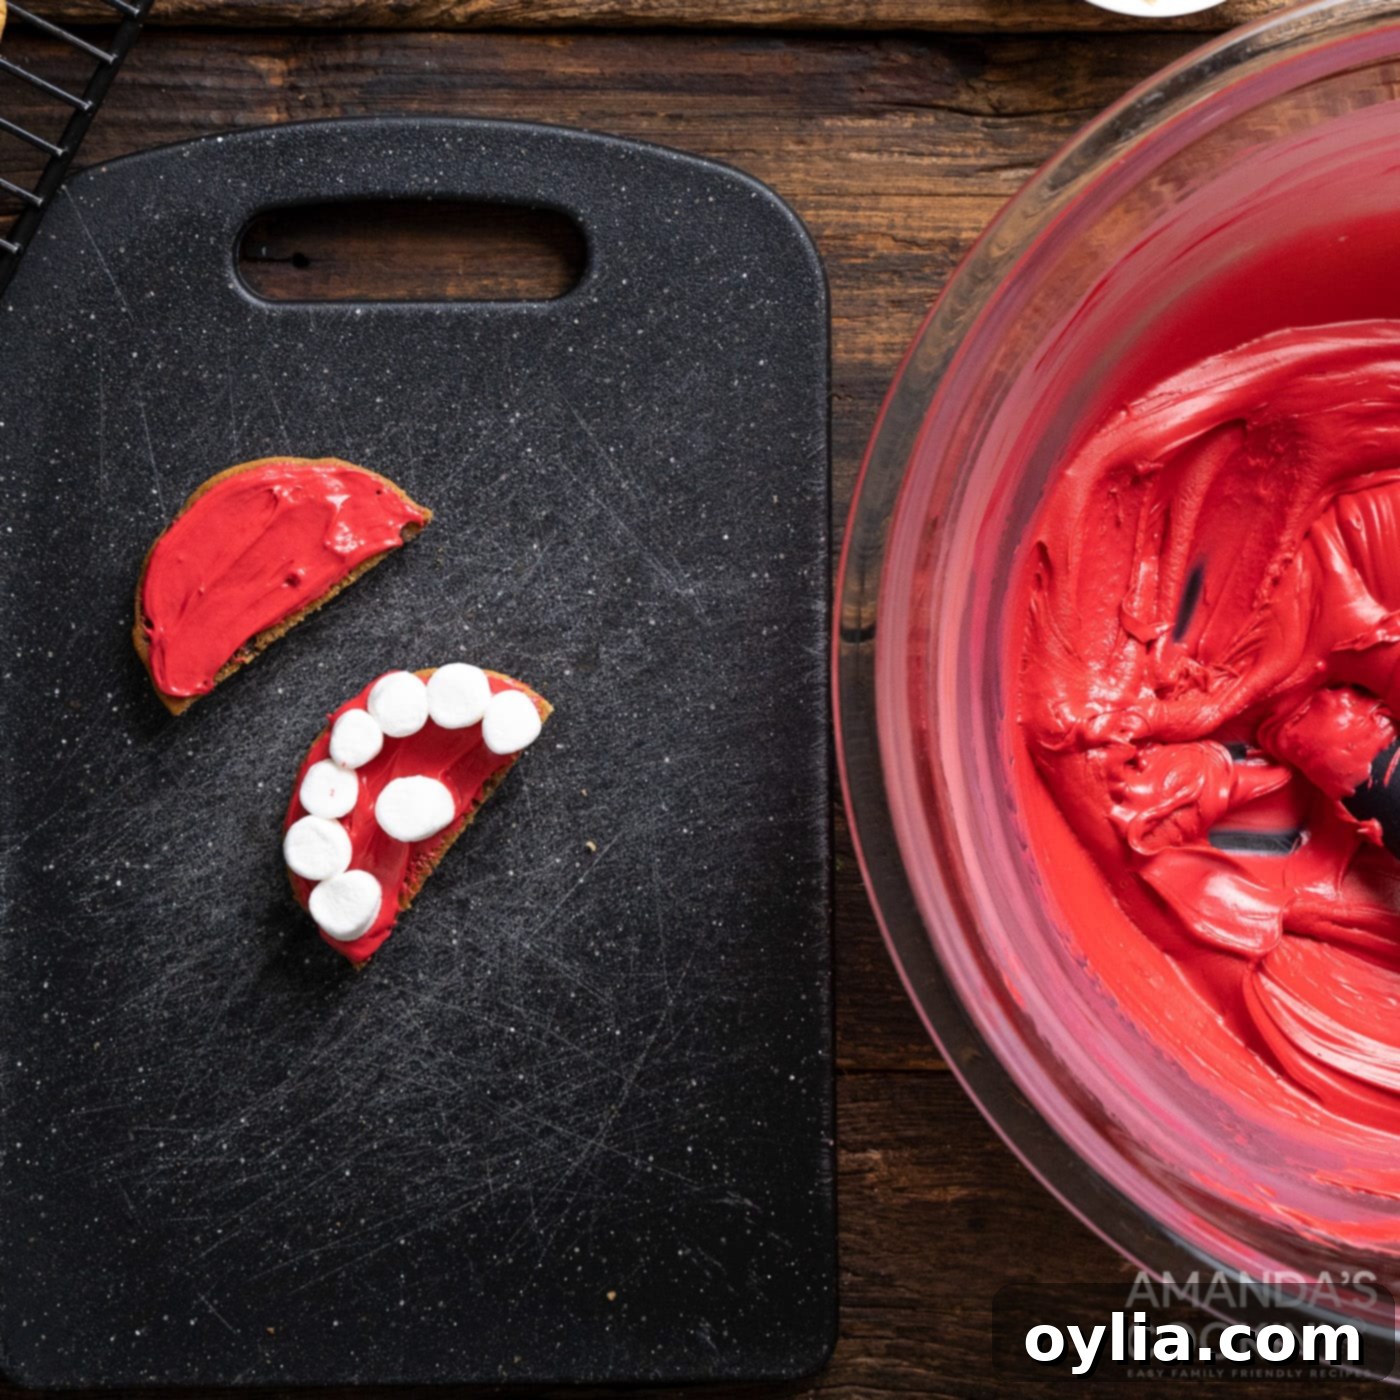
Achieve the perfect “bloody” red hue by mixing vanilla frosting with gel food coloring. - **Slice and Spread:** Once completely cooled, cut each cookie in half using a sharp knife. This will create the top and bottom “jaws” of your vampire dentures. Generously spread a layer of your vibrant red frosting onto the cut side of each cookie half. Don’t be shy with the frosting – it acts as both adhesive and the gruesome “blood.”

Each cookie is cut in half and generously frosted to form the base of your vampire’s mouth. - **Create the “Teeth”:** For half of your frosted cookie halves (these will be the bottom jaw), arrange 6 mini marshmallows along the curved outer edge. Then, place 1 mini marshmallow on the straight, cut side, leaving a small gap in the middle where the fangs will go. This arrangement creates a convincing row of teeth. Carefully top each “bottom jaw” with another frosted cookie half, aligning them to form the sandwich.

Arrange mini marshmallows to form the “teeth” before adding the top cookie layer. - **Insert the Fangs:** Now for the grand finale – the fangs! Gently push two slivered almonds into the red frosting between the mini marshmallows for each assembled cookie. These will represent the vampire’s sharp fangs. A helpful tip: dip one side of each slivered almond into a tiny bit of frosting first. This creates a sticky base, ensuring the fangs stay securely in place and don’t wobble. Repeat this for all your vampire sandwich cookies, and watch as your spooky creations come to life!
Frequently Asked Questions & Expert Tips for Success
Absolutely! These vampire sandwich cookies are a great make-ahead treat, which is ideal for busy Halloween schedules. I would recommend assembling them the morning of your event for the freshest taste and appearance, but you can certainly prepare them up to one day in advance. After your vampire sandwich cookies are fully assembled, store them in a single layer to prevent smushing the delicate decorations. Place them either in a ziptop bag or an air-tight container. Keep them in a cool, dry place at room temperature. If you live in a particularly humid area, or if your home is warm, storing them in the refrigerator can help maintain their structure and freshness, just be sure to let them come to room temperature for optimal enjoyment before serving.
If you happen to have any leftovers (which is unlikely, they’re so popular!), store them in an airtight container at room temperature for up to 2-3 days. For longer storage, or if your frosting is very delicate, refrigerating them is best. Just make sure they are in a single layer or separated by parchment paper to protect the fangs and teeth.
Absolutely! While the recipe emphasizes store-bought dough for convenience, a sturdy homemade chocolate chip cookie dough works wonderfully. Just ensure your cookies are completely cooled before cutting and frosting to prevent them from breaking or melting the frosting.
Definitely! This is a fantastic kid-friendly recipe. Children can assist with scooping the dough, spreading the frosting (a less perfect job might even look spookier!), arranging the mini marshmallows, and even carefully placing the slivered almond fangs. Supervise with sharp knives for cutting cookies, but the assembly is perfect for little hands.
Expert Tips for a Perfectly Spooky Batch:
- **Uniform Cookie Size:** When scooping your cookie dough, try to make each ball as uniform as possible. This ensures that when you cut them in half, you get two matching “jaws” for your dentures, making assembly much easier and the final product more appealing.
- **Cool Completely:** Patience is a virtue, especially when it comes to cooling cookies. Ensure your cookies are completely cool before handling, cutting, and frosting. Warm cookies will crumble easily and melt your carefully colored frosting, creating a messy situation.
- **Vibrant Red Frosting:** Don’t be shy with the red gel food coloring! Gel colors are concentrated and produce a much richer, deeper red than liquid food coloring without adding excess moisture to your frosting. Add it gradually until you achieve a truly blood-like hue. A tiny drop of blue or black can sometimes deepen the red for a more realistic “blood” color.
- **Secure Fangs:** Dipping one side of each slivered almond into a bit of frosting before placing it will act as an edible glue, helping the fangs stay firmly in place. This is especially useful if you plan to transport the cookies.
- **Creative Presentation:** Arrange your vampire sandwich cookies on a platter with some crumbled Oreo “dirt” or a few gummy worms for an extra spooky effect. You can also place them in individual cellophane bags tied with orange or black ribbon for party favors.
- **Make Larger Dentures:** If you want bigger, more dramatic “dentures,” simply make larger cookies. Just be aware that you may need to adjust the baking time (longer) and you will certainly need more mini marshmallows and potentially more frosting to fill the larger space.
Serving Suggestions & Party Ideas
Your Halloween party guests will undoubtedly get a huge kick out of these clever vampire sandwich cookies. They’re not just delicious; they’re an engaging visual treat that adds to the festive atmosphere. Here are a few ways to serve and incorporate them into your Halloween celebrations:
- **Spooky Platter:** Arrange the cookies on a dark-colored platter for maximum contrast. You can scatter some crumbled chocolate cookies or edible “dirt” around them to create a graveyard effect.
- **Individual Party Favors:** For a thoughtful touch, wrap individual Dracula dentures in small cellophane baggies and tie them with black, orange, or purple ribbon. These make fantastic party favors for kids and adults to take home.
- **Dessert Table Centerpiece:** Pile them high on a tiered dessert stand surrounded by other spooky treats like ghost brownies or witch finger cookies to create an impressive Halloween spread.
- **”Bite Me” Theme:** Serve them alongside other “vampire” or “blood” themed drinks and snacks, such as red fruit punch (blood punch), or caprese skewers with a “bloody” balsamic glaze.
To ensure they remain in perfect spooky condition, keep and serve your vampire cookies at room temperature in a dry, cool place. Avoid direct sunlight or excessive heat, which could soften the frosting and cause the decorations to shift. With their playful design and delightful taste, these cookies are guaranteed to be a memorable addition to any Halloween event!
More Halloween Recipes You’ll Love
Looking to round out your Halloween feast with more spooky treats and ghoulish delights? We’ve got you covered with an array of fun and festive recipes that are perfect for the season. From sweet desserts to savory bites, these recipes will help you create an unforgettable Halloween spread that’s sure to impress all your ghosts and goblins!
- Ghost Brownies: Fudgy brownies topped with adorable marshmallow ghosts.
- Witch Finger Cookies: Creepy, crunchy, and deliciously buttery cookies with almond “fingernails.”
- Halloween Candy Apples: Classic autumnal treats with a spooky seasonal twist.
- Marshmallow Frankensteins: Easy, no-bake treats perfect for little monsters.
- Jalapeno Popper Mummies: A savory, spicy, and adorable appetizer for adults.
- Frankenstein Rice Krispie Treats: A green twist on a childhood favorite, decorated like Frankenstein’s monster.
- Frankenstein Margarita: A vibrant, spooky cocktail for the grown-ups at your party.
I absolutely love spending time in the kitchen, crafting delicious recipes and sharing my culinary experiences with all of you! It can be tricky to remember to check back every day for new ideas, which is precisely why I offer a convenient newsletter delivered straight to your inbox every time a fresh recipe is posted. Simply subscribe here and start receiving your free daily dose of inspiration and easy-to-follow recipes!
Vampire Sandwich Cookies
IMPORTANT – There are often Frequently Asked Questions within the blog post that you may find helpful. Simply scroll back up to read them!
Print It
Pin It
Rate It
Save ItSaved!
Ingredients
- 30 oz chocolate chip cookie dough (1 tube, pre-made for convenience)
- 16 oz vanilla frosting (store-bought or homemade)
- 2 Tbsp red gel food coloring (add more as needed for desired “bloody” color)
- 2 ½ cups mini marshmallows (for the “teeth”)
- 2 Tbsp slivered almonds (for the “fangs”)
Equipment You’ll Need
-
Cookie sheets
-
Parchment paper or Silpat liners
-
Large mixing bowl
-
Spatula or butter knife (for spreading frosting)
-
Sharp knife (for cutting cookies)
Before You Begin & Recipe Notes
- To make larger, more dramatic “dentures,” simply make larger cookies during the baking step. Keep in mind that you may need to adjust the cook time accordingly (longer) to ensure they are fully baked. You will also need to increase the amount of mini marshmallows and possibly frosting to adequately fill the larger cookie halves.
- For a fun twist, try using different flavored cookie doughs, like sugar cookie or peanut butter, for varied tastes.
- Ensure cookies are fully cooled to prevent the frosting from melting and the cookies from breaking during assembly.
- Gel food coloring provides the best vibrant red color without altering the frosting consistency significantly.
Instructions
-
Preheat your oven to 350°F (175°C). Prepare two large baking trays by lining them with silpat liners or parchment paper. Using a cookie scoop, measure out 1.5-tablespoon sized balls of chocolate chip cookie dough and arrange them evenly on the prepared trays, leaving enough space between each for them to spread.
-
Bake the cookies for approximately 12 to 15 minutes, or until the edges are golden brown. For an even bake, rotate the baking trays once halfway through the cooking time.
-
Allow the baked cookies to cool on the baking trays for 10 minutes. This helps them to firm up. After 10 minutes, use a thin metal spatula to carefully transfer the cookies to a wire rack to finish cooling completely. They must be entirely cool before the next steps.
-
If you have more cookie dough, continue the baking process for the remaining batches following steps 1-3.
-
In a large mixing bowl, combine the vanilla frosting with the red gel food coloring. Mix well until the color is consistent and reaches your desired shade of “blood” red. You can add a tiny bit of blue food coloring to achieve a deeper, more realistic red if desired.
-
Once all cookies are cooled, carefully cut each cookie in half using a sharp knife. Then, spread a generous amount of the prepared red frosting onto the flat, cut side of each cookie half. This will form the inner “mouth” of the vampire.
-
For one half of each cookie (which will be the bottom jaw), arrange 6 mini marshmallows along the curved outer edge of the cookie, acting as the front teeth. Place 1 additional mini marshmallow on the straight, cut side, leaving a small gap in the middle for the fangs. Take the other frosted cookie half and gently place it on top, creating a sandwich.
-
To create the vampire fangs, gently insert 2 slivered almonds into the red frosting in the gap you left between the marshmallows. For better adhesion, it helps to dip one side of each slivered almond into a little frosting before inserting it. Repeat for all your vampire sandwich cookies, then serve and enjoy your spooky creations!
Nutrition Information (Estimated)
Tried this Recipe? Pin it for Later!Follow on Pinterest @AmandasCookin or tag #AmandasCookin!
The recipes on this blog are tested with a conventional gas oven and gas stovetop. It’s important to note that some ovens, especially as they age, can cook and bake inconsistently. Using an inexpensive oven thermometer can assure you that your oven is truly heating to the proper temperature. If you use a toaster oven or countertop oven, please keep in mind that they may not distribute heat the same as a conventional full sized oven and you may need to adjust your cooking/baking times. In the case of recipes made with a pressure cooker, air fryer, slow cooker, or other appliance, a link to the appliances we use is listed within each respective recipe. For baking recipes where measurements are given by weight, please note that results may not be the same if cups are used instead, and we can’t guarantee success with that method.
