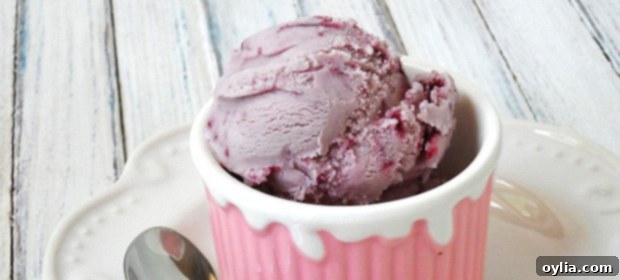
Sweet Summertime Bliss: Easy Homemade Vanilla Blackberry Jam Ice Cream Recipe
There’s something undeniably magical about homemade ice cream. It’s more than just a dessert; it’s a delightful experience, a burst of flavor that transports you back to simpler times. While today might be National Ice Cream Day, for true ice cream enthusiasts, every day is a good day for a scoop (or two!). I confess, my freezer often holds a rotating selection of experimental flavors, but this Vanilla Blackberry Jam Ice Cream recipe consistently ranks as a family favorite. It’s a testament to how simple ingredients can create something truly extraordinary, offering a perfect blend of sweet vanilla and tangy blackberry swirls.
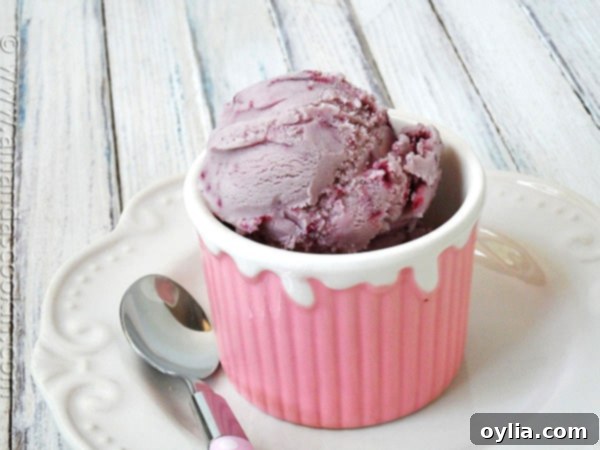
Why Homemade Ice Cream is Always the Best Choice
Beyond the sheer joy of creating something delicious from scratch, making your own ice cream offers several advantages. You have complete control over the ingredients, allowing you to tailor sweetness levels, choose high-quality components, and even opt for organic or locally sourced produce. This means no artificial flavors, colors, or preservatives – just pure, unadulterated goodness. Furthermore, the texture of homemade ice cream, when done right, is often superior to many store-bought varieties. It’s creamier, richer, and has a freshness that simply can’t be replicated after weeks in a supermarket freezer. Plus, the process itself can be a fun and rewarding activity, especially when shared with family or friends.
The Versatility of Jam in Ice Cream
One of the brilliant aspects of this particular recipe is its reliance on jam or preserves. It’s a convenient ingredient that infuses intense fruit flavor and a beautiful color swirl throughout the creamy base. For those who, like me, find themselves with an overflowing “jam aisle” in their refrigerator, this recipe is a fantastic way to utilize those delicious jars. Whether it’s a gourmet blackberry preserve or a simple homemade batch, the jam provides a concentrated burst of fruit that complements the vanilla base perfectly.
Fresh Berries vs. Store-Bought Jam: Your Choice
While this recipe brilliantly uses prepared jam for convenience, you absolutely have the option to make your own blackberry jam from scratch. If fresh blackberries are in season and you’re feeling ambitious, simply cook them down with some sugar until soft. For a smoother ice cream, you can then press the cooked berries through a fine-mesh sieve to remove the seeds. Allow this homemade blackberry ‘sauce’ or ‘jam’ to cool completely before incorporating it into the ice cream base. This method gives you ultimate control over the sweetness and consistency, creating a truly bespoke flavor. However, don’t hesitate to reach for a high-quality store-bought seedless blackberry jam for an equally delicious and much quicker result.
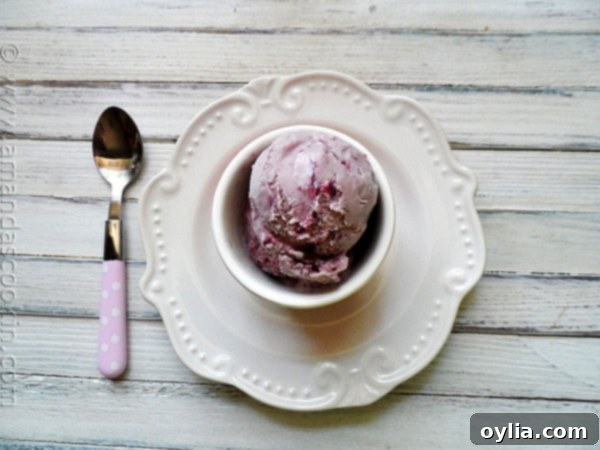
Crafting Your Delicious Vanilla Blackberry Jam Ice Cream
The foundation of any great ice cream is a rich and creamy base. For this recipe, we combine sweetened condensed milk, heavy whipping cream, and half-and-half. This trio works in harmony: the condensed milk provides sweetness and helps prevent ice crystals, while the heavy cream and half-and-half contribute to the luxurious, smooth texture we all crave. A generous tablespoon of vanilla extract infuses a classic, comforting flavor that perfectly balances the tartness of the blackberries.
The process is incredibly straightforward. You’ll start by whisking these base ingredients together until they are thoroughly combined. A small portion of your chosen blackberry jam is added directly to this mixture, providing a subtle, uniform fruit undertone. The real magic happens with the remaining jam, which is gently warmed to thin it out. This warmed, liquid-like jam is then drizzled into the ice cream maker during the final minutes of churning. This technique creates those beautiful, irresistible swirls of concentrated blackberry flavor that make each spoonful a delightful surprise.
Tips for Perfect Homemade Ice Cream
- Chill Your Base Thoroughly: For the best results, ensure your ice cream base is well-chilled before adding it to your ice cream maker. An overnight chill in the refrigerator is ideal. This helps the ice cream churn more efficiently and results in a smoother texture.
- Pre-Freeze Your Ice Cream Maker Bowl: If your ice cream maker requires a pre-frozen bowl, make sure it’s frozen solid for at least 12-24 hours. A properly frozen bowl is crucial for successful churning.
- Don’t Overfill: Only fill your ice cream maker’s bowl to the recommended capacity. The mixture will expand as it churns and incorporates air.
- Patience is Key: After churning, the ice cream will be soft-serve consistency. For a firmer scoopable ice cream, transfer it to an airtight container and freeze it overnight (or for at least 6-8 hours).
- Airtight Storage: Store your homemade ice cream in an airtight container in the coldest part of your freezer to prevent ice crystal formation and freezer burn.
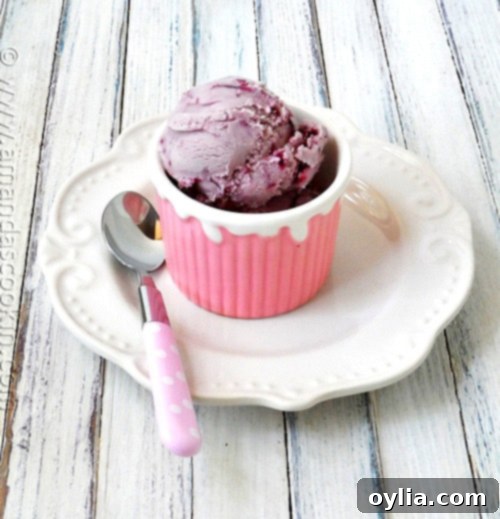
Flavor Profile: A Symphony in a Scoop
The first bite of this Vanilla Blackberry Jam Ice Cream is pure bliss. It’s a delightful dance of flavors and textures, starting with the immediate sweetness of the creamy vanilla base. This initial sweetness then gracefully gives way to the smooth, rich texture of the ice cream, which melts lusciously on the tongue. But the real star is the blackberry jam swirl – offering pockets of bright, slightly tart fruitiness that cuts through the cream, creating an incredibly balanced and smile-inducing yumminess. It’s a sophisticated flavor that remains incredibly comforting and approachable, perfect for any occasion from a casual family dessert to a more formal gathering.
Unleash Your Inner Ice Cream Chef: Experiment and Share!
While blackberry jam is fantastic, this recipe’s adaptability is truly its charm. Don’t stop at blackberries! Consider trying this with other favorite jams. Raspberry jam would offer a similar tangy-sweet profile, while strawberry could provide a softer, sweeter fruit note. Peach or apricot preserves would lend a beautiful golden hue and a different kind of fruit complexity. Experiment, have fun with different flavor combinations, and then come back and tell me what delicious creations you’ve whipped up! The world of homemade ice cream is your oyster.
Frequently Asked Questions About Homemade Ice Cream
Here are some common questions you might have when making this delicious ice cream:
- Can I make this ice cream without an ice cream maker?
- While this recipe is designed for an ice cream maker for the creamiest results, you can try a no-churn method. Whisk the base ingredients (condensed milk, creams, vanilla, and the initial jam portion) until very light and fluffy. Pour into a freezer-safe container. Warm the remaining jam, then swirl it in gently. Freeze for at least 6 hours, stirring every hour for the first 3-4 hours to break up ice crystals, though the texture won’t be as smooth as with an ice cream maker.
- How long does homemade ice cream last in the freezer?
- For optimal taste and texture, homemade ice cream is best enjoyed within 1-2 weeks. After that, it can start to develop ice crystals and lose its creamy texture, though it will still be safe to eat for up to a month if stored properly in an airtight container.
- Can I use frozen blackberries instead of jam?
- Yes, you can! Thaw about 1.5-2 cups of frozen blackberries. Cook them with a quarter cup of sugar (or to taste) until softened and slightly syrupy. You can then sieve them to remove seeds if desired, just like with fresh berries. Let this blackberry syrup cool completely before incorporating it as you would the jam in the recipe.
- Why is my homemade ice cream icy?
- Icy ice cream can be caused by a few factors: insufficient fat content (which this recipe addresses with heavy cream and half-and-half), not chilling the base thoroughly before churning, not churning long enough, or storing it incorrectly (e.g., not in an airtight container, or in a part of the freezer that experiences temperature fluctuations).
- What other jam flavors would be good in this recipe?
- Beyond blackberry, raspberry, strawberry, cherry, peach, or even a mixed berry jam would be fantastic. Consider the sweetness and tartness profile of the jam to ensure it balances well with the vanilla base.
More Ice Cream Recipes to Explore
- Chocolate Ice Cream
- Homemade Vanilla Ice Cream
- Homemade Peppermint Ice Cream
- Peanut Butter Chocolate Chip Ice Cream
- Nutella Swirl Cheesecake Ice Cream
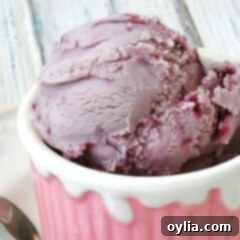
Vanilla Blackberry Jam Ice Cream
IMPORTANT – There are often Frequently Asked Questions within the blog post that you may find helpful. Simply scroll back up to read them!
Print It
Pin It
Rate It
Save ItSaved!
Ingredients
- 14- oz can low fat sweetened condensed milk
- ½ cup heavy whipping cream
- 2 ½ cups half and half
- 1 tablespoon vanilla extract
- ½ cup seedless blackberry jam or preserves divided
Before You Begin
Instructions
-
Combine sweetened condensed milk, cream, and half and half in a large bowl. Add vanilla extract and 2 tablespoons of the jam to the milk mixture. Whisk until completely combined.
-
Pour milk/cream mixture into your ice cream maker.
-
Meanwhile, while ice cream is churning, heat the remaining jam in a small saucepan over medium heat until jam is thin and liquid-like. Drizzle the thinned jam into the ice cream maker five minutes before the churning is complete.
-
Transfer thickened ice cream to a freezable container and freeze overnight.
The recipes on this blog are tested with a conventional gas oven and gas stovetop. It’s important to note that some ovens, especially as they age, can cook and bake inconsistently. Using an inexpensive oven thermometer can assure you that your oven is truly heating to the proper temperature. If you use a toaster oven or countertop oven, please keep in mind that they may not distribute heat the same as a conventional full sized oven and you may need to adjust your cooking/baking times. In the case of recipes made with a pressure cooker, air fryer, slow cooker, or other appliance, a link to the appliances we use is listed within each respective recipe. For baking recipes where measurements are given by weight, please note that results may not be the same if cups are used instead, and we can’t guarantee success with that method.
