The Best Baked Cherry Cheesecake Recipe: Creamy, Classic & Crowd-Pleasing
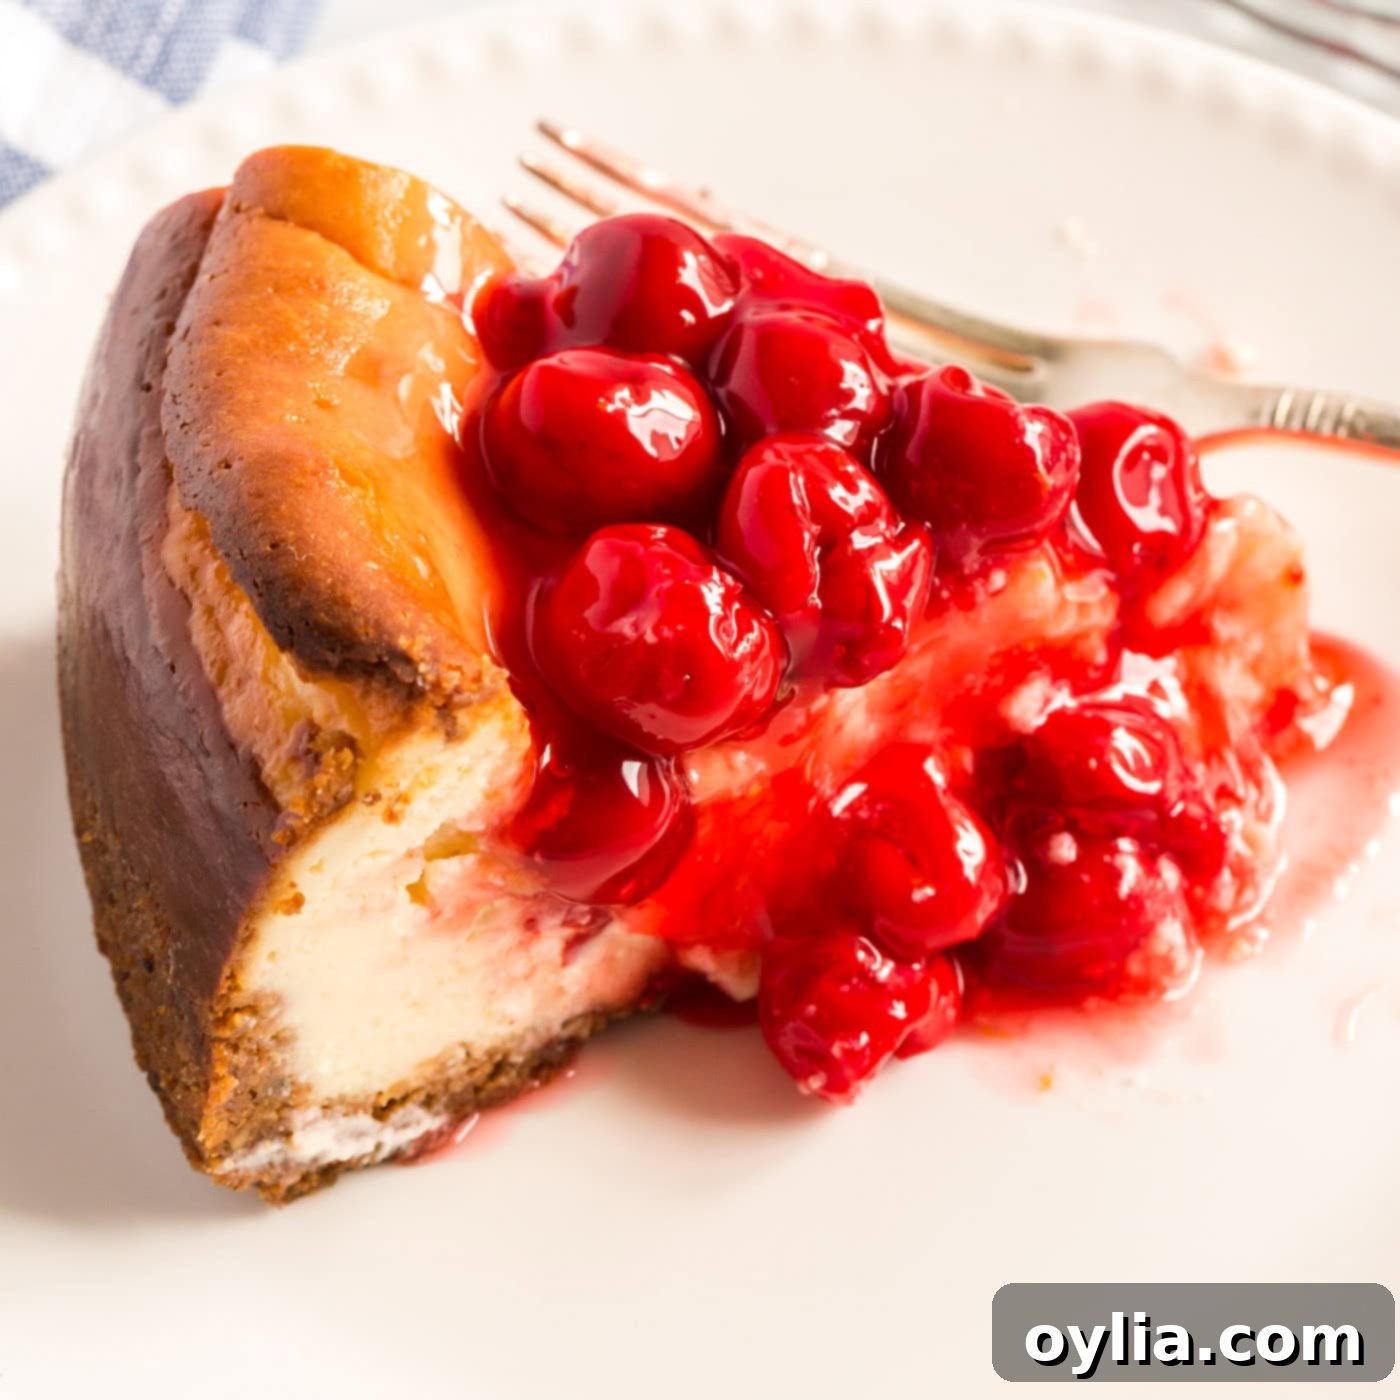
Are you searching for the ultimate baked cherry cheesecake recipe that will impress everyone and become your new go-to dessert? Look no further! With just ten essential ingredients for the decadent cheesecake base, plus your choice of luscious cherry pie filling, you’ll be creating this incredibly creamy and intensely flavorful cheesecake in no time. This recipe delivers that perfect balance of rich, tangy cream cheese and sweet, vibrant cherries, all nestled atop a beautifully crafted graham cracker crust. Forget those simplified, no-bake versions; this is a truly authentic, from-scratch cheesecake that promises a slice of pure dessert heaven.
Why This Homemade Baked Cherry Cheesecake Recipe Stands Out
There’s an undeniable magic to a cheesecake baked from scratch, and this particular cherry cheesecake recipe truly hits all the right notes. While convenient cheesecake recipes often call for pre-made crusts and instant mixes, they simply can’t compare to the rich, smooth, and deeply satisfying texture of a proper baked cheesecake. This recipe celebrates the traditional art of cheesecake making, ensuring every bite is a testament to quality ingredients and careful preparation.
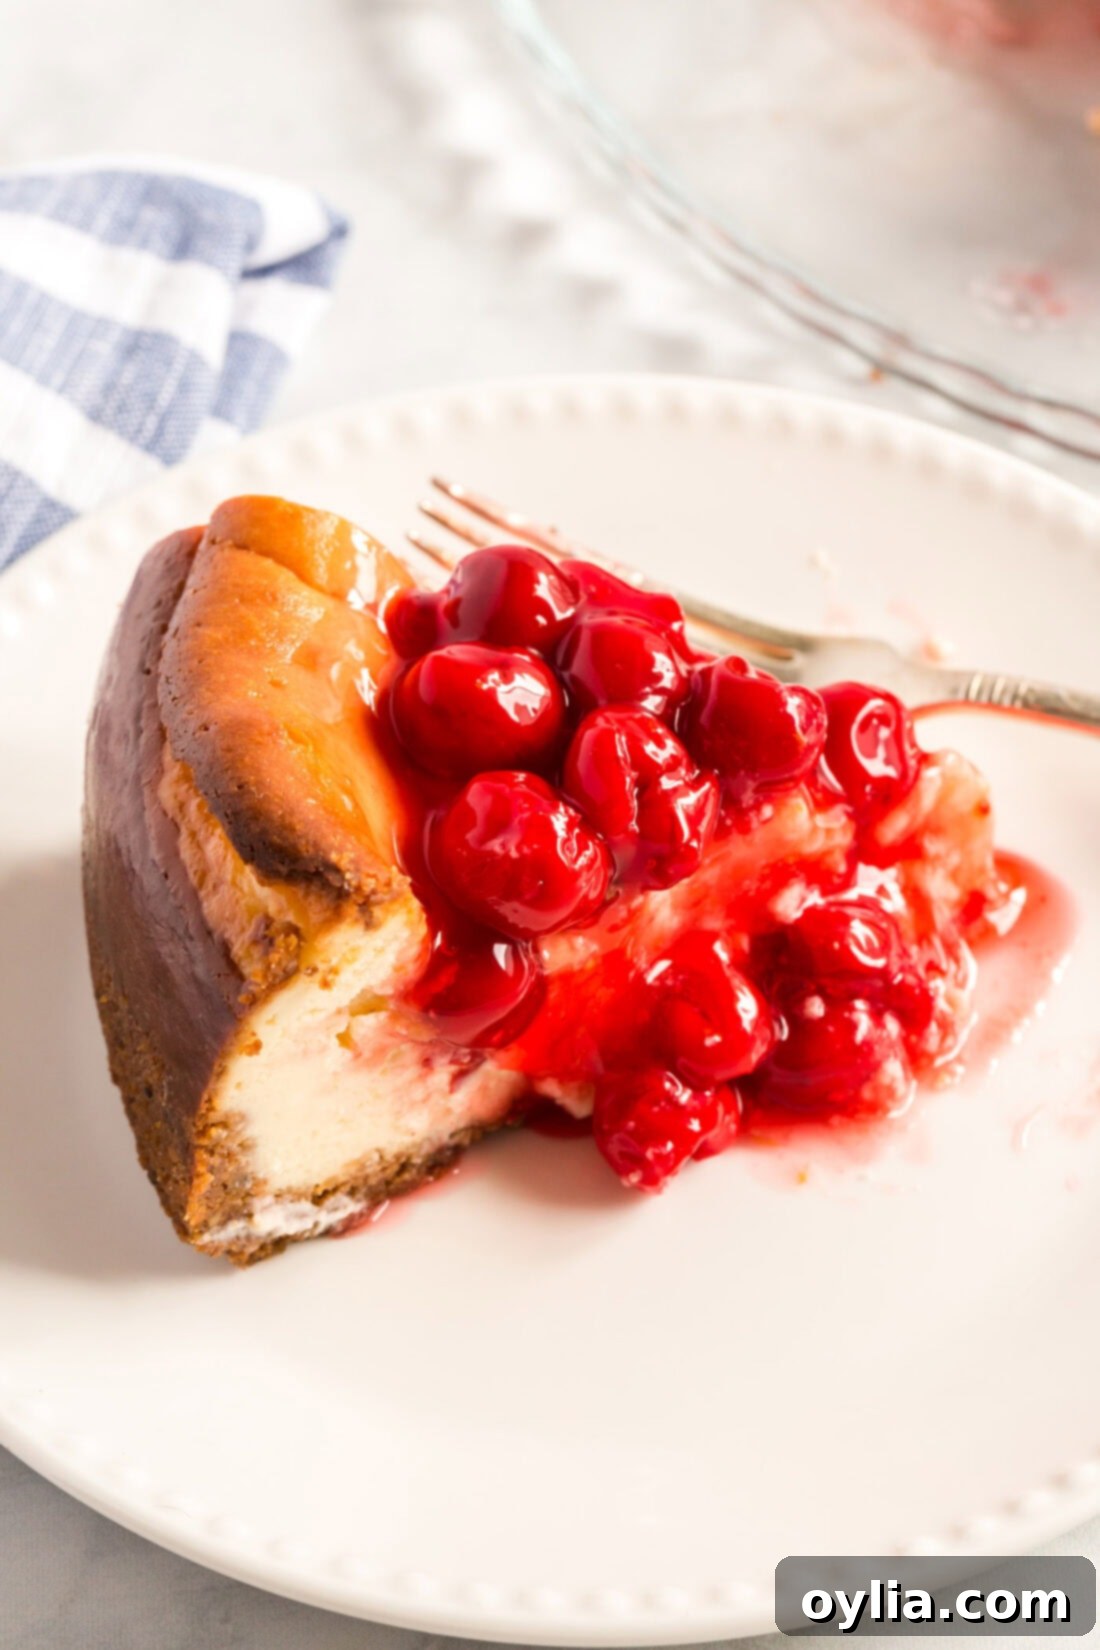
Unlike its no-bake counterparts, a baked cheesecake achieves a unique density and creaminess that is simply unmatched. The slow baking process in a water bath creates an incredibly smooth custard-like texture, preventing a rubbery finish and minimizing cracks. The subtle tang of sour cream perfectly complements the sweet cream cheese, while the hint of lemon brightens the entire profile. Topped with a vibrant, glistening cherry pie filling, this dessert is not just a treat for the palate but also a feast for the eyes, making it ideal for special occasions or simply elevating an everyday meal.
RELATED: For a quicker cheesecake fix, be sure to try our Instant Pot Cherry Cheesecake too!
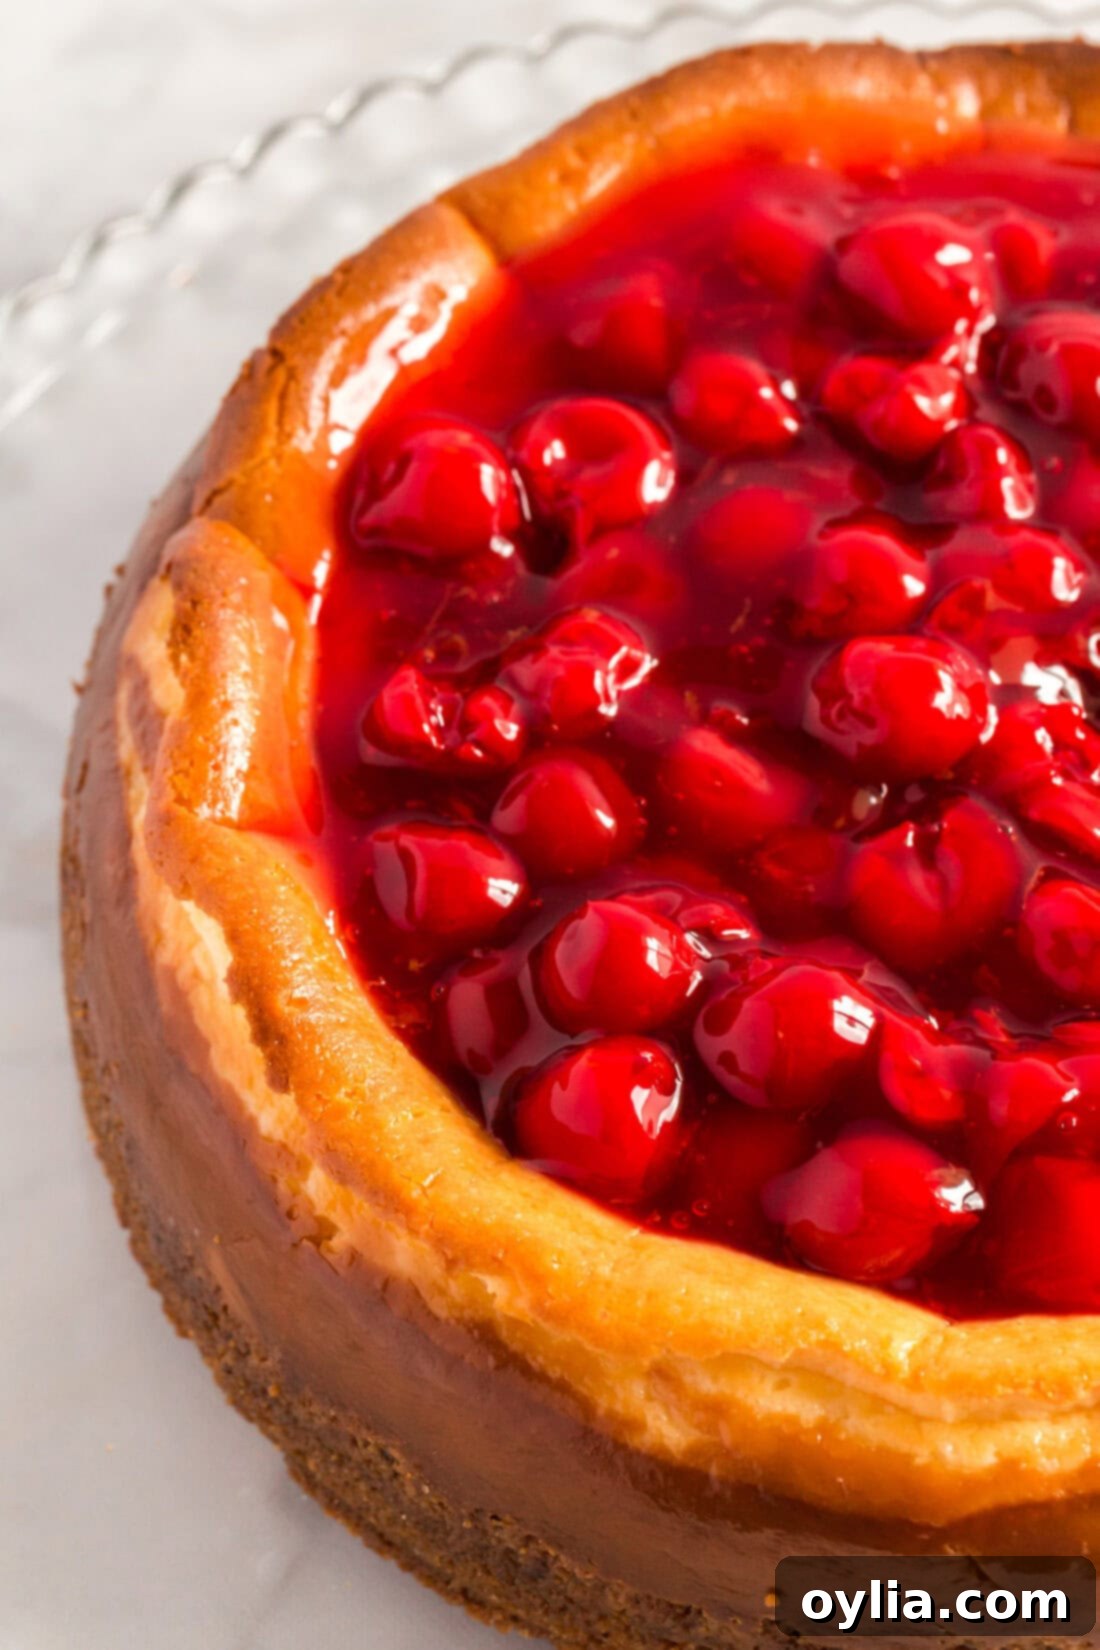
Ingredient Info and Substitution Suggestions for Perfect Cherry Cheesecake
Understanding each ingredient’s role is key to mastering this creamy cherry cheesecake. For a complete list of measurements and detailed instructions, refer to the printable recipe card at the end of this post.
For the Crust:
- CRUST INGREDIENTS – I love the classic combination of graham cracker crumbs and finely chopped California walnuts in the crust. The walnuts add a delightful nutty flavor and extra crunch that elevates the base beyond a simple crumb.
- Substitution Suggestions: If walnuts aren’t your preference, feel free to use other finely chopped nuts like pecans or almonds. For a nut-free crust, simply increase the graham cracker crumbs to 1 ½ cups, or experiment with other cookie crumbs such as vanilla wafers, shortbread cookies, or even chocolate wafers for a different twist. Ensure your butter is melted and cooled slightly before mixing to prevent a greasy crust.
For the Cheesecake Filling:
- CREAM CHEESE – Use full-fat cream cheese for the richest, creamiest texture. It’s crucial that the cream cheese is at room temperature before you start mixing. Cold cream cheese will result in a lumpy batter and an unevenly baked cheesecake. Take it out of the fridge at least an hour or two before you plan to bake.
- SUGAR – Granulated sugar is used to sweeten the cheesecake. It also plays a role in the structure and browning. Ensure it’s incorporated slowly and thoroughly to dissolve properly.
- SOUR CREAM – The addition of sour cream is a game-changer! It not only helps create that signature velvety smooth texture in the cream cheese filling but also introduces a subtle tang that balances the sweetness and richness, preventing the cheesecake from tasting overly heavy. Make sure it’s at room temperature as well.
- EGGS – Eggs are your primary binding agent, giving the cheesecake its structure and firming it up as it bakes. Always use large eggs, and like the cream cheese and sour cream, ensure they are at room temperature. Adding them one at a time and mixing just until combined prevents over-aeration, which can lead to cracks. Avoid jumbo eggs, as the extra liquid can throw off the recipe’s balance.
- CORNSTARCH – This might seem like an unusual addition, but cornstarch is a secret weapon in cheesecake baking. It acts as a stabilizer, helping to create a firmer cheesecake texture and significantly cutting down on the likelihood of surface cracks. It contributes to that perfect, smooth, almost custard-like consistency. A tablespoon of all-purpose flour can be used as a substitute if you don’t have cornstarch, though the texture might be slightly different.
- LEMON JUICE & VANILLA EXTRACT – These are essential flavor enhancers. The fresh lemon juice brightens the cream cheese and complements the cherry topping beautifully, while vanilla extract adds a warm, classic depth of flavor that is indispensable in any great cheesecake.
For the Cherry Topping:
- CHERRY PIE FILLING – You have options here! You can use a high-quality canned variety from the grocery store for convenience, or for an even more exquisite flavor, try our homemade cherry pie filling. The fresh taste of homemade filling can truly elevate this dessert.
- GRATED LEMON PEEL & LEMON JUICE – A little extra grated lemon peel and a splash of lemon juice in the topping cut through the sweetness of the cherries, adding a bright, zesty counterpoint that makes the cherry flavor pop.
How to Make the Best Baked Cherry Cheesecake: Step-by-Step Guide
These step-by-step photos and instructions are here to help you visualize how to make this recipe successfully. For the full printable version of this recipe, complete with precise measurements and detailed instructions, simply Jump to Recipe at the bottom of this post.
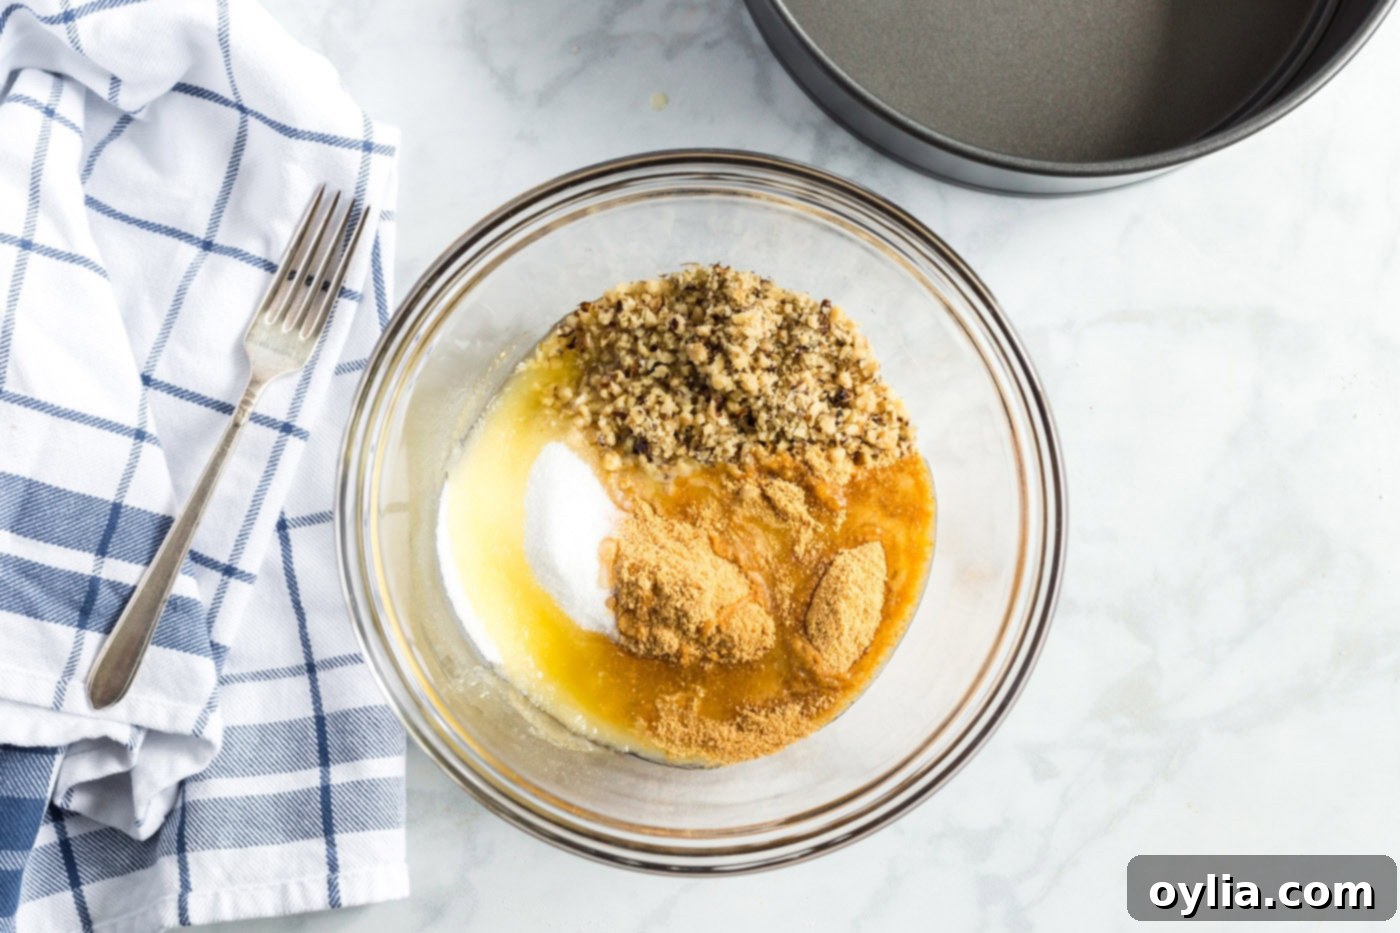
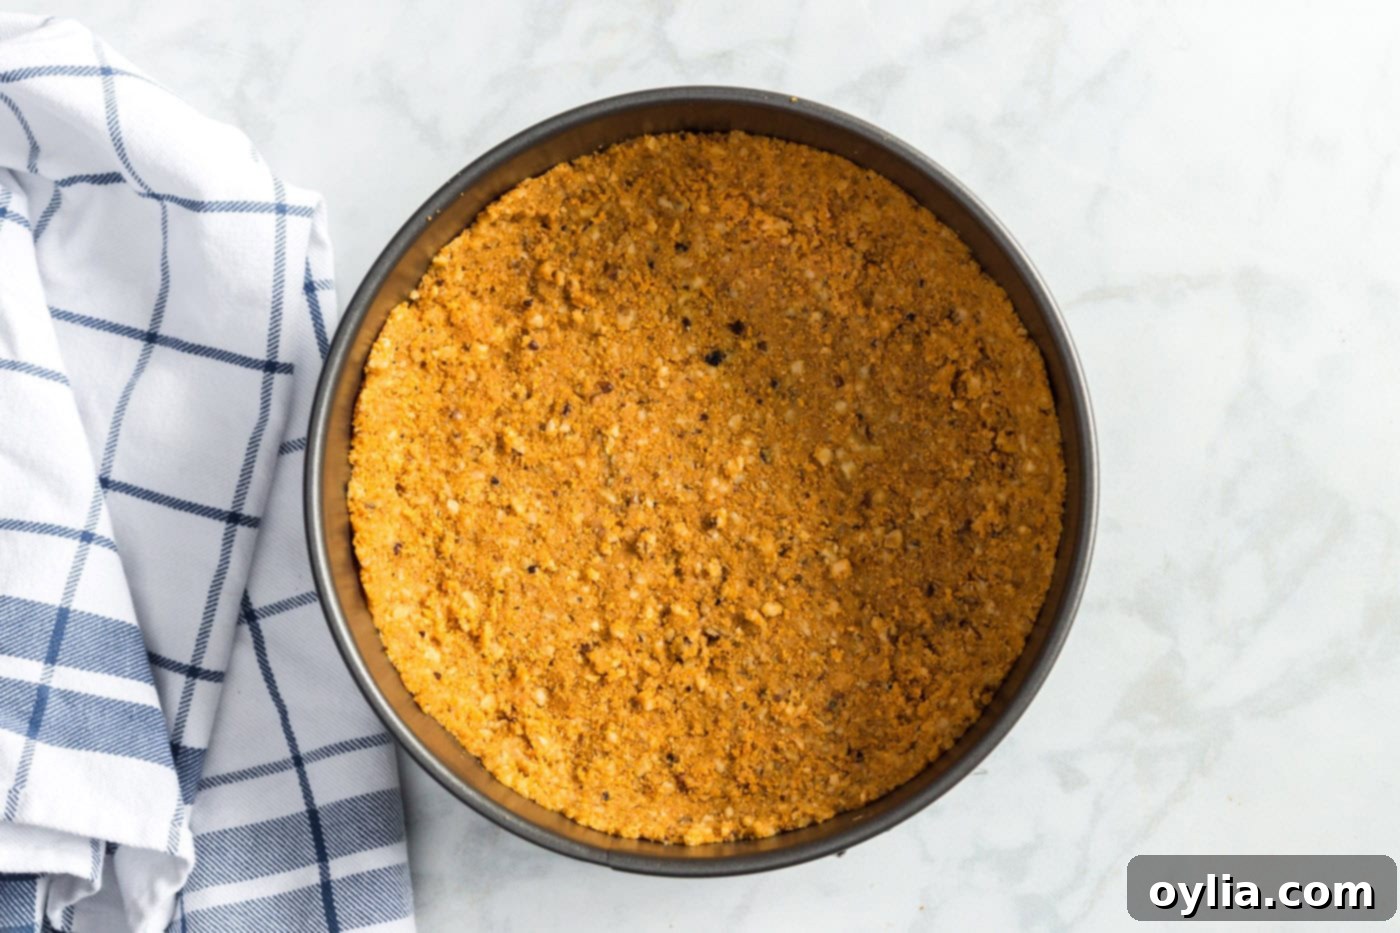
- Prepare the Crust: Begin by preheating your oven to 350 degrees F (175°C). In a medium-sized bowl, use a fork to thoroughly combine the graham cracker crumbs, finely chopped walnuts, melted and cooled butter, and 1/4 cup of the sugar. This mixture should resemble wet sand. Firmly press this mixture onto the bottom and up the sides of a 9-inch springform pan, extending to within 1 1/2 inches of the top edge. Ensure the crust is compact and even for a stable base.


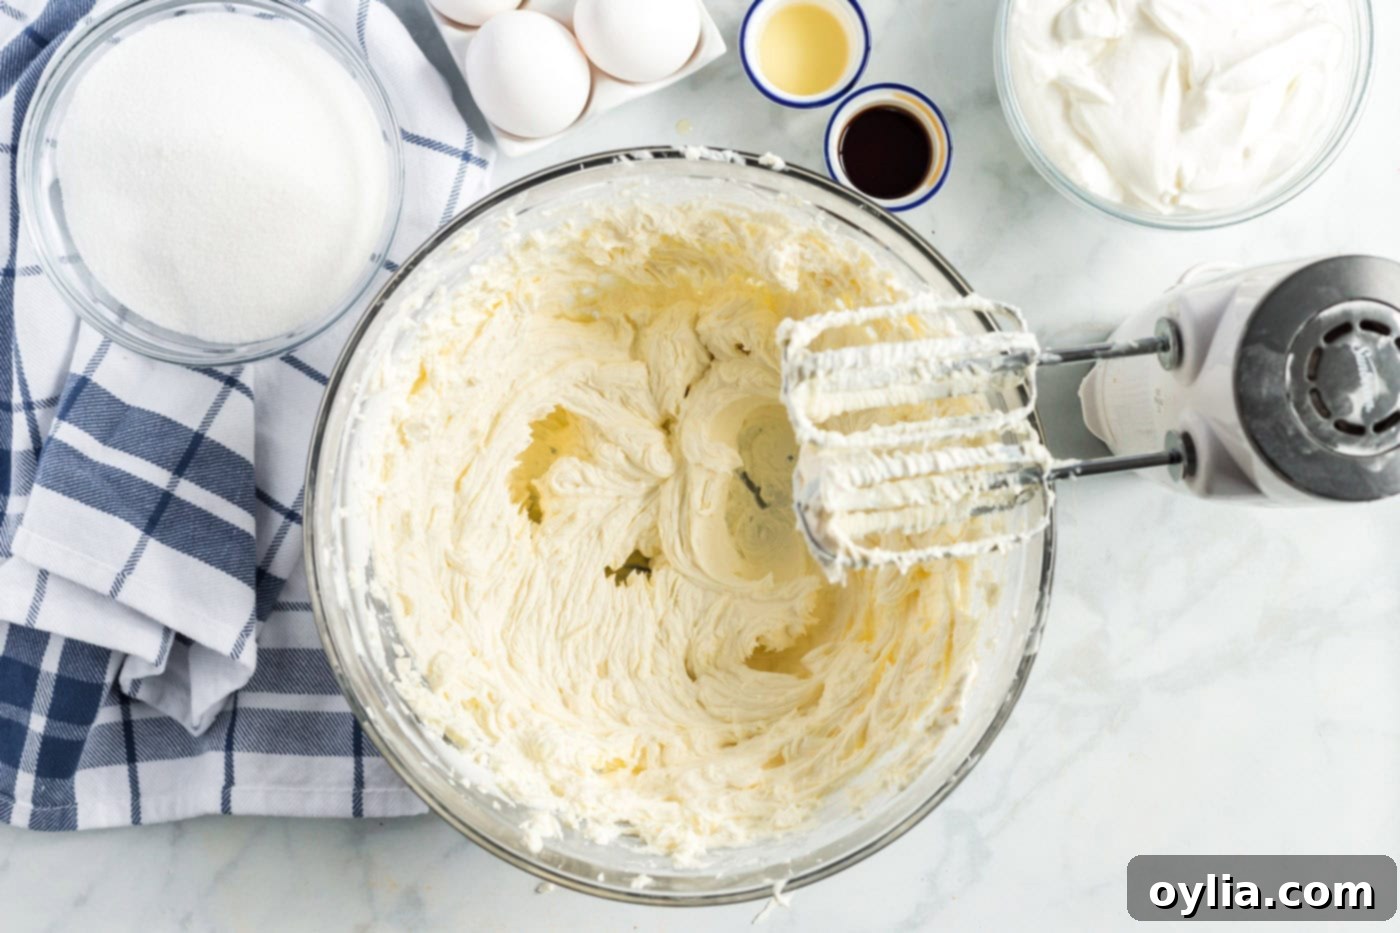
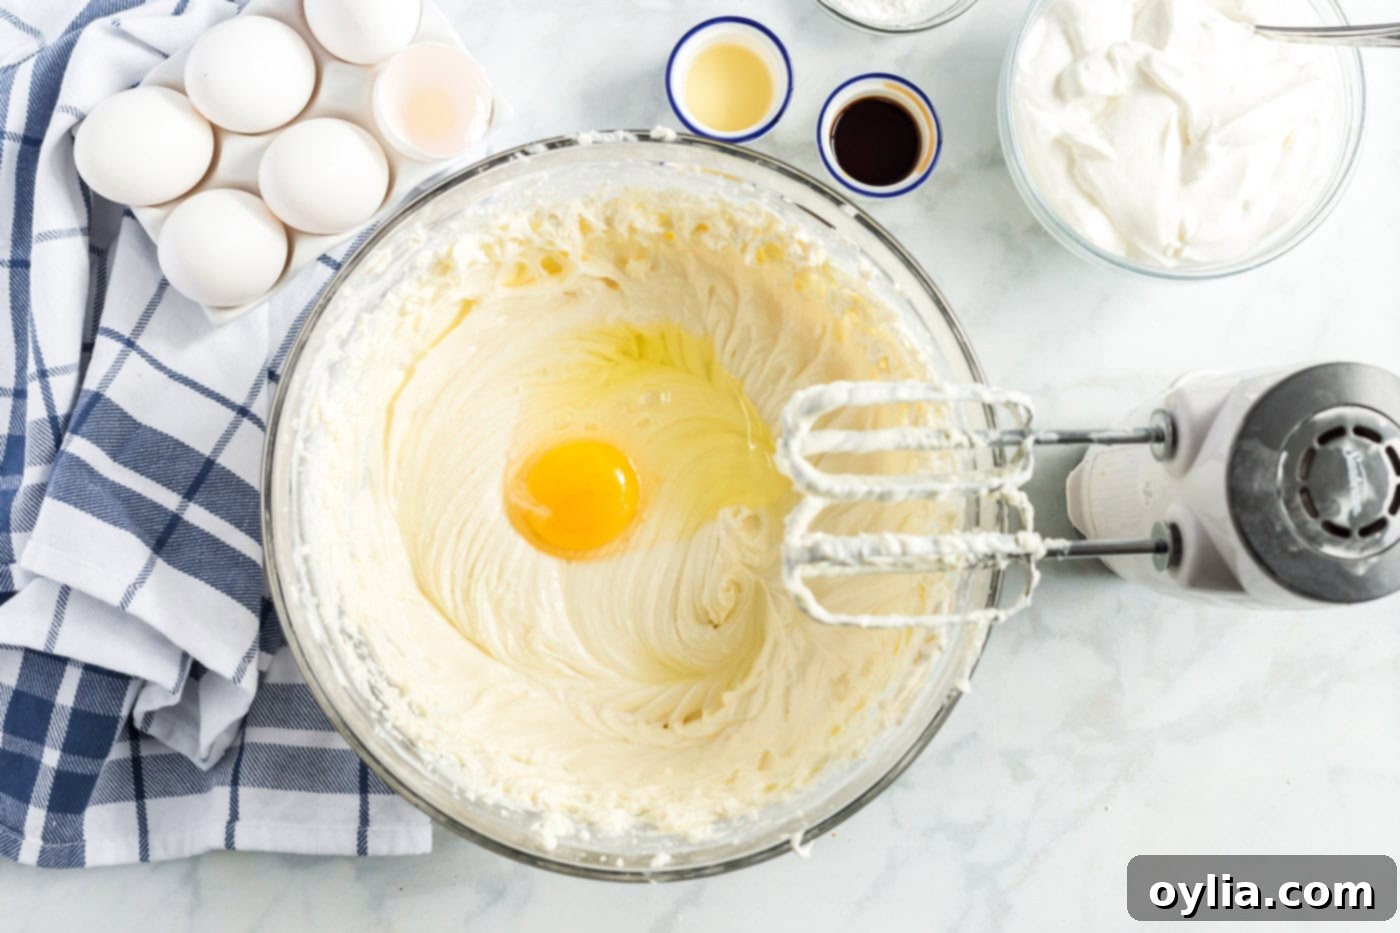
- Mix the Cheesecake Batter: In a large mixing bowl, using an electric mixer set to medium speed, beat the room-temperature cream cheese until it is completely smooth and creamy, with no lumps. Gradually add 1 1/2 cups of sugar, beating slowly until fully incorporated. Reduce the mixer speed to low. Beat in the eggs, one at a time, mixing just until each egg is combined before adding the next. Over-beating the eggs can incorporate too much air, which can cause the cheesecake to puff up and then crack as it cools. Finally, beat in the sour cream, cornstarch, lemon juice, and vanilla extract until just combined. Increase the speed to medium and beat for three minutes to ensure everything is perfectly smooth and blended.


- Prepare for the Water Bath: For the most professional results, a water bath (Bain-Marie) is highly recommended. This gentle baking method ensures an even bake, a silky-smooth texture, and significantly reduces the risk of cracks on your cheesecake’s surface. To prepare, wrap the bottom of your springform pan completely with two layers of heavy-duty aluminum foil to prevent any water from seeping in.
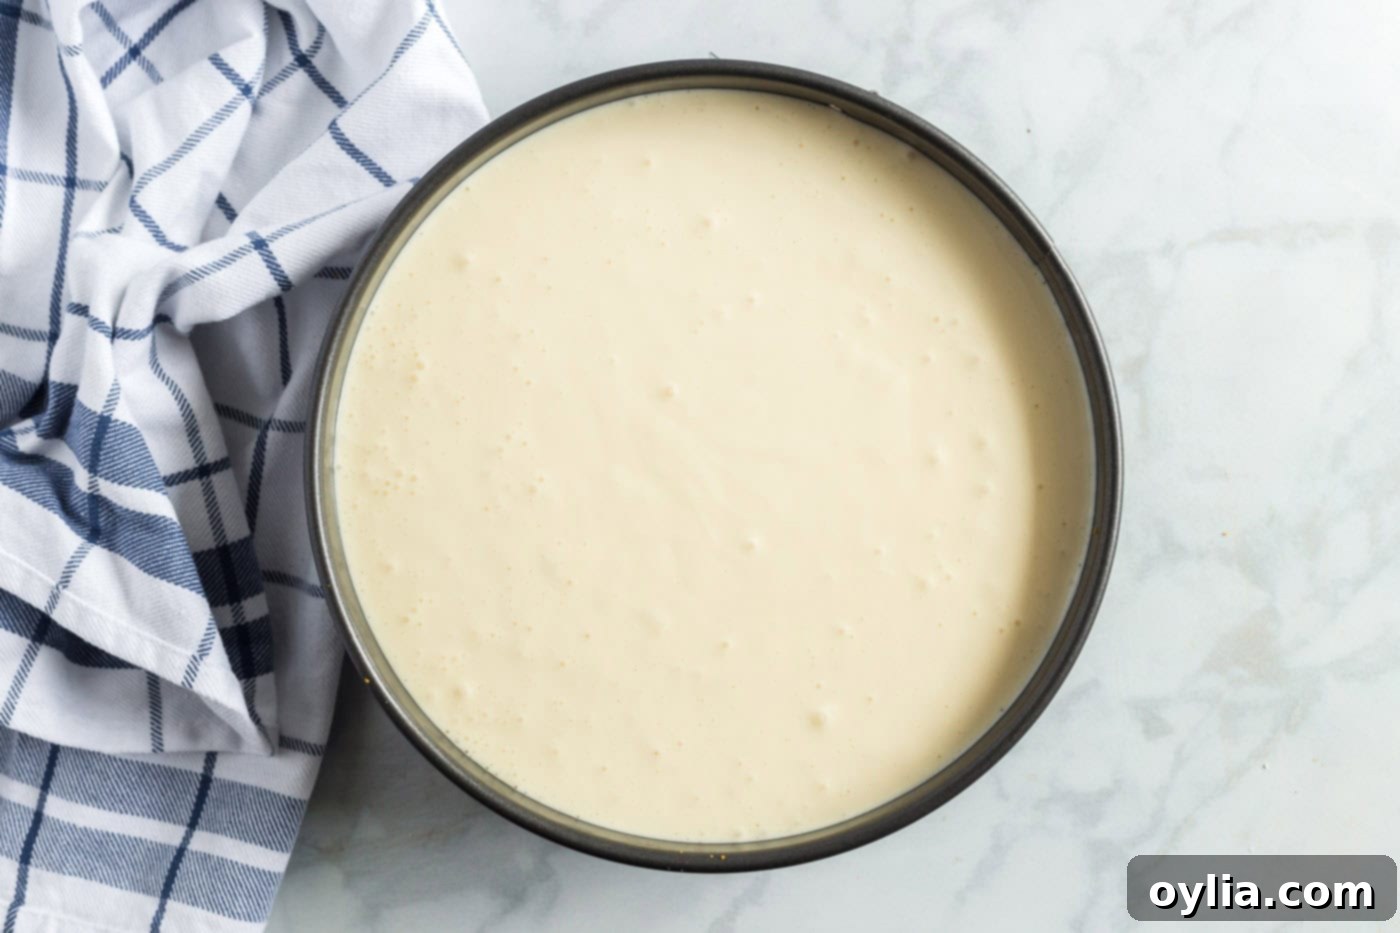
- Bake the Cheesecake: Carefully pour the prepared cheesecake mixture into the foil-wrapped springform pan. Place the springform pan in the center of a larger roasting pan. Gently add a couple of inches of hot water to the roasting pan, ensuring the water level comes about halfway up the sides of the springform pan, but without touching the foil-wrapped top edge. Carefully transfer the entire roasting pan with the cheesecake into your preheated oven. Bake for approximately 1 hour, or until the edges are lightly browned and the center jiggles only slightly when gently shaken. The residual heat will continue to cook the center as it cools.

- Cool Gradually: Once baked, turn off the oven and partially open the oven door. Leave the cheesecake inside the warm oven for an additional 30 minutes. This gradual cooling prevents drastic temperature changes that can cause the cheesecake to crack. Remove from the oven and carefully lift the springform pan out of the water bath. Cool the cheesecake completely in its pan on a wire rack at room temperature.
- Chill Thoroughly: Once cooled to room temperature, cover the springform pan tightly with plastic wrap. Transfer the cheesecake to the refrigerator and chill for a minimum of 2 hours, though overnight chilling is highly recommended for the best flavor development and firmest texture. This crucial step allows the cheesecake to set properly.
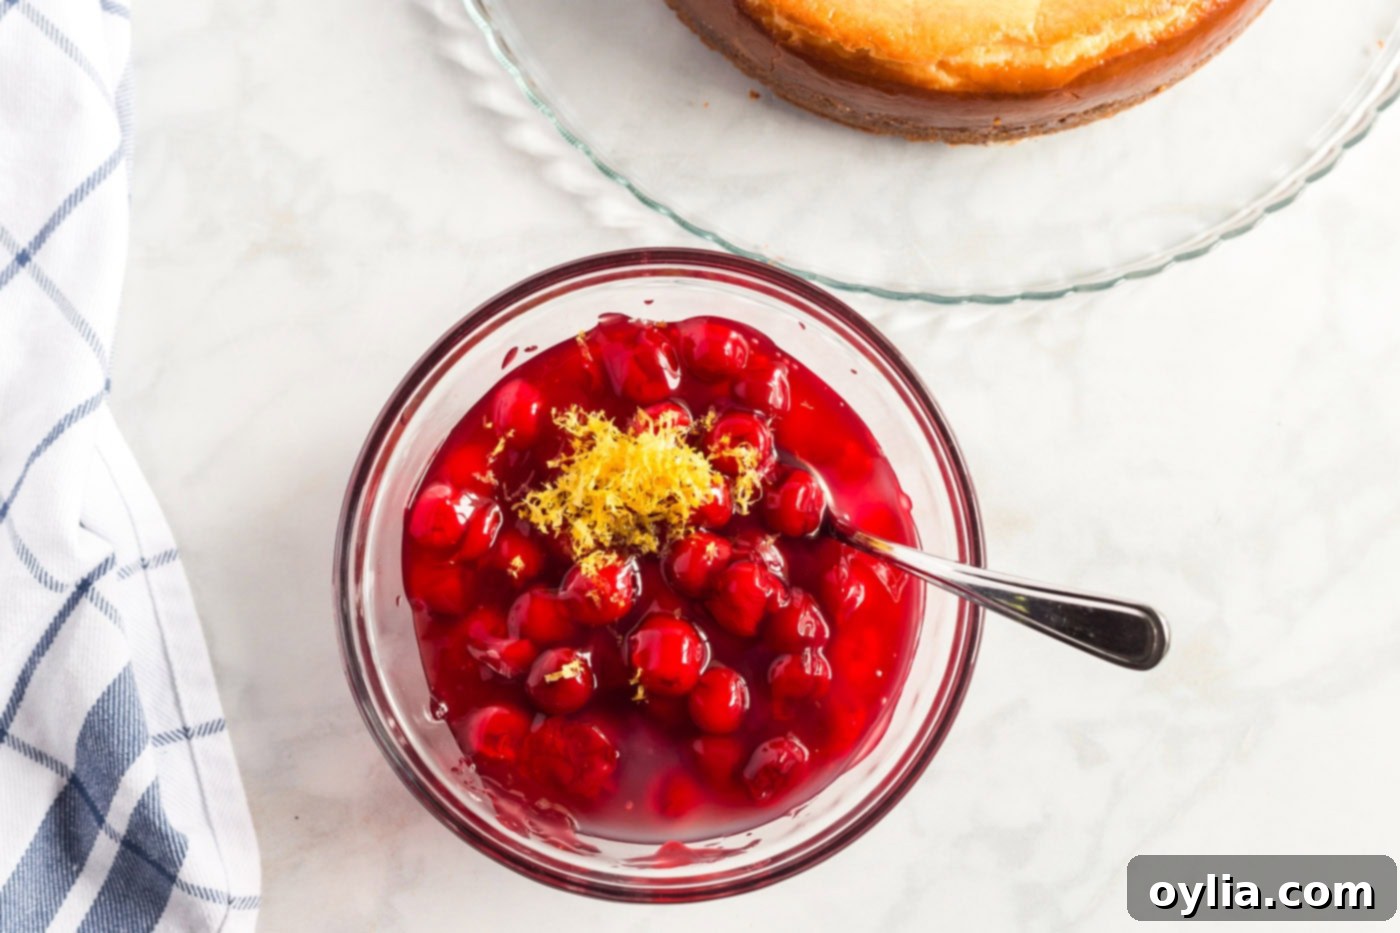
- Serve with Topping: To serve, carefully remove the outer ring of the springform pan. Use a large, thin spatula to gently loosen the cake from the bottom of the pan, then slide it onto your serving plate. In a small bowl, mix together the cherry pie filling, grated lemon peel, and additional lemon juice for the topping. Spoon this vibrant cherry topping evenly over the chilled cheesecake.

Frequently Asked Questions & Expert Tips for Cheesecake Success
A water bath, also known as a Bain-Marie, is a crucial technique for baking cheesecakes, ensuring a perfectly smooth and crack-free result. You start by wrapping the bottom of your springform pan with heavy-duty aluminum foil to prevent any water from seeping in. After pouring the cheesecake mixture into the springform pan, you place this pan into the center of a larger roasting pan. The roasting pan should be spacious enough to accommodate the springform pan with some room around it, and its sides should be a few inches high. You then add about two inches of water to the roasting pan, creating a steamy environment in the oven. The steam acts as a buffer, regulating the temperature and ensuring the cheesecake bakes gently and evenly. This prevents the top from drying out and forming a crust too quickly, which is a primary cause of cracking. It also promotes a wonderfully creamy, custard-like texture throughout the cheesecake.
To keep your cheesecake fresh and delicious, store any leftovers, covered tightly with plastic wrap or aluminum foil, in the refrigerator for 5-7 days. If the cheesecake is topped with cherry filling, it’s best to store it with the topping already applied. If you prefer, you can store the cheesecake and topping separately and combine just before serving.
Yes, this cherry cheesecake freezes beautifully! You can freeze it either whole or in individual slices. For the best results, I highly recommend reserving the cherry topping and adding it just before you plan to serve. To freeze, ensure the fully cooled cheesecake is thoroughly wrapped. First, wrap it a couple of times with plastic wrap, then follow with a layer of heavy-duty aluminum foil. This double layer protects against freezer burn. It can be frozen for up to 1 month. To thaw, simply transfer the wrapped cheesecake from the freezer to the refrigerator and let it thaw overnight. Once thawed, add your fresh cherry topping and serve.
Absolutely! This cherry cheesecake is an excellent make-ahead dessert, perfect for entertaining or holiday meals. You can prepare, bake, and cool the cheesecake, then store it in the refrigerator for 1-2 days in advance of serving. Just be sure to wrap it tightly with plastic wrap or aluminum foil to maintain its freshness and prevent it from absorbing any refrigerator odors. Add the cherry topping just before you’re ready to serve for the best presentation and texture.
Cracks are a common concern for cheesecake bakers, but they are preventable! Here are the key tips:
- Room Temperature Ingredients: Ensure all cold ingredients (cream cheese, eggs, sour cream) are at room temperature. This helps them combine smoothly without overmixing.
- Do Not Overmix: Beat the cream cheese until smooth, then add sugar. Once the eggs are added, mix on low speed just until combined. Overmixing, especially after adding eggs, incorporates too much air, causing the cheesecake to rise rapidly and then crack as it falls.
- Use a Water Bath: As explained above, a water bath provides a moist, even heat environment, which is crucial for gentle baking and preventing cracks.
- Gradual Cooling: Do not remove the cheesecake from the oven immediately after baking. Turn off the oven, prop the door open slightly, and let the cheesecake cool gradually inside for at least 30 minutes. Sudden temperature changes are a major cause of cracking.
- Don’t Overbake: Bake just until the edges are set, but the center still has a slight jiggle. The cheesecake will continue to set as it cools.
The best way to tell if a cheesecake is done is by observing its center. The edges should appear set and slightly puffed, but the very center (about a 2-inch diameter) should still have a slight “jiggle” when you gently shake the pan. If the entire cheesecake is firm and doesn’t jiggle, it’s likely overbaked. It will continue to firm up considerably as it cools in the oven and then chills in the refrigerator.
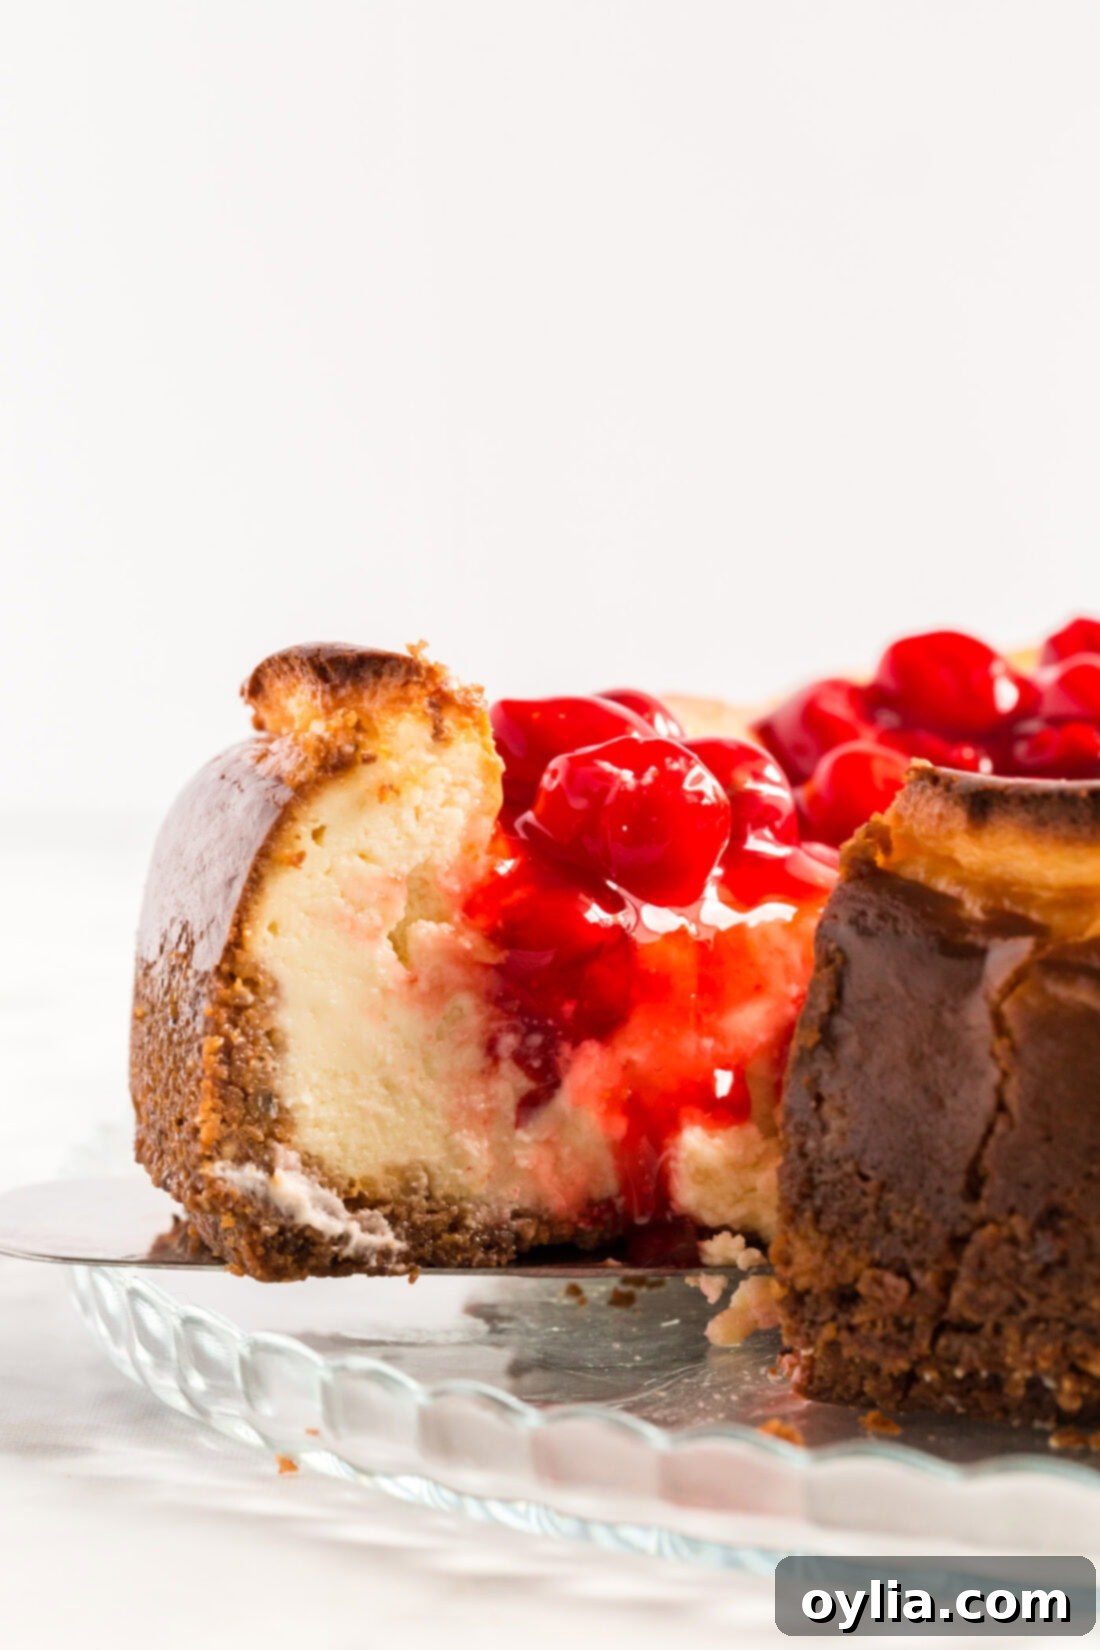
Serving Suggestions for Your Cherry Cheesecake
This classic baked cherry cheesecake is truly a showstopper on its own, but a few simple additions can make it even more special. It’s best served well-chilled, allowing the flavors to meld and the texture to firm up beautifully. I personally find a slice of this rich, tangy cheesecake to be the perfect companion to a warm cup of freshly brewed coffee or a soothing cup of herbal tea.
Consider garnishing each slice with a dollop of fresh whipped cream or a sprinkle of shaved dark chocolate for an elegant touch. For an extra burst of fresh fruit flavor, scatter a few fresh cherries (pitted, of course!) on top alongside the pie filling, especially when cherries are in season. The contrast of the cool, creamy cheesecake, the sweet-tart cherry filling, and an extra fresh element is simply divine.
Variations for the Cheesecake Lover:
While this recipe shines as a cherry cheesecake, it also provides an incredible foundation for countless other fruit-topped variations. You can easily swap the cherry pie filling for a different fruit, transforming the dessert entirely:
- Blueberry Bliss: Use a blueberry pie filling for a burst of sweet and slightly tart berry flavor.
- Strawberry Sensation: A classic choice, strawberry pie filling offers a universally loved sweetness.
- Blackberry Delight: For a more intense, darker berry flavor, opt for blackberry pie filling.
- Peach Perfection: In the summer months, a peach pie filling can offer a delightful, sun-kissed sweetness.
Remember, while the base remains the same, changing the topping means it would no longer be a “cherry” cheesecake – but it’s an excellent way to explore and enjoy this versatile recipe throughout the year with different seasonal fruits!
More Irresistible Cheesecake Recipes to Try
If you’ve fallen in love with this cherry cheesecake, you’ll be thrilled to discover more of our delightful cheesecake creations. Each recipe offers a unique flavor profile and experience, from classic favorites to innovative twists. Explore these other cheesecake masterpieces:
- Tiramisu Cheesecake: A sophisticated fusion of Italian dessert and classic cheesecake.
- Strawberry Swirl Cheesecake: Beautiful and delicious with ribbons of fresh strawberry.
- Salted Caramel Cheesecake: The perfect balance of sweet and salty indulgence.
- English Trifle Cheesecake: A creative dessert combining two beloved classics.
- No Bake Mini Cheesecakes: For those times when you need a quick, easy, and adorable treat.
I pour my heart into baking and cooking, and I love sharing my kitchen adventures with all of you! Remembering to come back each day for new recipes can be tough, which is why I offer a convenient newsletter every time a new recipe posts. Simply subscribe today and start receiving your free daily recipes directly to your inbox!
Cherry Cheesecake
IMPORTANT – There are often Frequently Asked Questions within the blog post that you may find helpful. Simply scroll back up to read them!
Print It
Rate It
Save ItSaved!
Course: Desserts
Cuisine: American
Ingredients
- 1 cup graham-cracker crumbs
- ½ cup California walnuts finely chopped
- ⅓ cup butter melted (cooled it to room temp)
- 1 ¾ cups sugar divided
- 24 oz cream cheese 3 (8-oz) pkgs
- 6 large eggs
- 2 cups sour cream
- 2 Tablespoons cornstarch
- 1 Tablespoons lemon juice
- 2 teaspoon vanilla extract
Cherry Topping
- 21 ounce can cherry pie filling
- 1 Tablespoons grated lemon peel
- ½ teaspoon lemon juice
Things You’ll Need
-
9″ springform pan
-
Electric mixer
-
roasting pan
-
Wire cooling racks
Before You Begin
What’s a Water Bath?
A water bath is essential for baking a perfectly smooth, crack-free cheesecake. You start by wrapping the bottom of your springform pan with two layers of heavy-duty foil to prevent any water from entering. Once the cheesecake mixture is in the springform pan, you’ll place this pan into the center of a larger roasting pan.
The roasting pan should be large enough to comfortably hold the springform pan with some space around it, and its sides should be at least a few inches high. Carefully add about two inches of hot water to the roasting pan, ensuring the water level comes about halfway up the sides of the springform pan. This creates a steamy environment in your oven, allowing the cheesecake to bake gently and evenly, which prevents the top from drying out and cracking, resulting in that signature silky texture.
Instructions
-
Preheat oven to 350 degrees F (175°C). In a medium bowl, use a fork to thoroughly mix the graham cracker crumbs, finely chopped California walnuts, melted and cooled butter, and 1/4 cup sugar until well combined. Press this mixture firmly and evenly onto the bottom and around the side of a 9″ x 3″ springform pan, extending the crust to within 1 1/2″ of the pan’s top edge.1 cup graham-cracker crumbs, 1/2 cup California walnuts, 1/3 cup butter
-
In a large bowl, using an electric mixer at medium speed, beat the room-temperature cream cheese until it is smooth and lump-free. Slowly beat in 1 1/2 cups sugar until fully incorporated. Reduce the mixer speed to low. Beat in the 6 large eggs, one at a time, mixing just until each egg is blended before adding the next. This prevents over-aeration. Finally, at low speed, beat in the 2 cups sour cream, 2 Tablespoons cornstarch, 1 Tablespoon lemon juice, and 2 teaspoons vanilla extract until just combined. Increase the speed to medium and beat for three minutes to ensure a perfectly smooth batter.24 oz cream cheese, 6 large eggs, 2 cups sour cream, 2 Tablespoons cornstarch, 1 Tablespoons lemon juice, 2 teaspoon vanilla extract
-
Prepare for a water bath to gently bake the cheesecake and prevent cracks. Wrap the bottom of the springform pan thoroughly with two layers of heavy-duty aluminum foil to create a waterproof seal.
-
Carefully pour the cheesecake mixture into the foil-wrapped springform pan. Place the cheesecake pan in the center of a larger roasting pan. Gently add a couple of inches of hot water to the roasting pan, ensuring the water level comes about halfway up the sides of the springform pan. Carefully place the entire roasting pan into the preheated oven and bake for 1 hour, or until the edges are lightly browned and the center still has a slight jiggle.
-
Once baked, turn off the oven and open the door partially to allow for gradual cooling. Leave the cheesecake in the oven for 30 minutes. After this, remove the cheesecake from the oven and carefully lift it out of the water bath. Cool the cheesecake completely in its pan on a wire rack at room temperature.
-
Once cooled to room temperature, cover the pan tightly with plastic wrap and chill the cheesecake in the refrigerator for at least 2 hours. For the best flavor and texture, chilling overnight is highly recommended.
-
To serve: Once thoroughly chilled, carefully remove the side of the springform pan. Using a large, thin spatula, gently loosen the cake from the pan bottom and slide it onto your serving plate.
-
In a small bowl, mix together all the cherry topping ingredients: the 21 ounce can cherry pie filling, 1 Tablespoon grated lemon peel, and 1/2 teaspoon lemon juice. Spoon this delicious cherry topping evenly over the entire cheesecake just before serving.21 ounce can cherry pie filling, 1 Tablespoons grated lemon peel, 1/2 teaspoon lemon juice
Expert Tips & FAQs
- Storage: Store leftover cheesecake, covered tightly, in the refrigerator for 5-7 days.
- Freezing: You can freeze this cherry cheesecake either whole or in slices. For optimal freshness, I recommend reserving the cherry topping to add just before serving. To freeze, wrap the fully cooled cheesecake first in a couple of layers of plastic wrap, followed by a layer of aluminum foil. This helps prevent freezer burn. It can be frozen for up to 1 month. Thaw the cheesecake in the refrigerator overnight before serving.
- Make Ahead: This is an ideal dessert for making ahead of time. You can prepare, bake, and store the cheesecake in the refrigerator 1-2 days in advance. Be sure to wrap it tightly with plastic wrap or aluminum foil. Always add the cherry topping just before serving for the freshest look and taste.
- Room Temperature Ingredients: Always use room temperature cream cheese, eggs, and sour cream. This is crucial for a smooth batter that doesn’t clump and bakes evenly, significantly reducing the chance of cracks.
- Avoid Overmixing: Especially after adding the eggs, mix the batter only until just combined at low speed. Overmixing incorporates too much air, which can cause the cheesecake to puff up and then sink and crack as it cools.
Nutrition
Tried this Recipe? Pin it for Later!Follow on Pinterest @AmandasCookin or tag #AmandasCookin!
The recipes on this blog are tested with a conventional gas oven and gas stovetop. It’s important to note that some ovens, especially as they age, can cook and bake inconsistently. Using an inexpensive oven thermometer can assure you that your oven is truly heating to the proper temperature. If you use a toaster oven or countertop oven, please keep in mind that they may not distribute heat the same as a conventional full sized oven and you may need to adjust your cooking/baking times. In the case of recipes made with a pressure cooker, air fryer, slow cooker, or other appliance, a link to the appliances we use is listed within each respective recipe. For baking recipes where measurements are given by weight, please note that results may not be the same if cups are used instead, and we can’t guarantee success with that method.
This post was originally published here on September 23, 2008.
