Ultimate No-Bake Cherry Lush Dessert: Easy, Layered, and Refreshingly Delicious
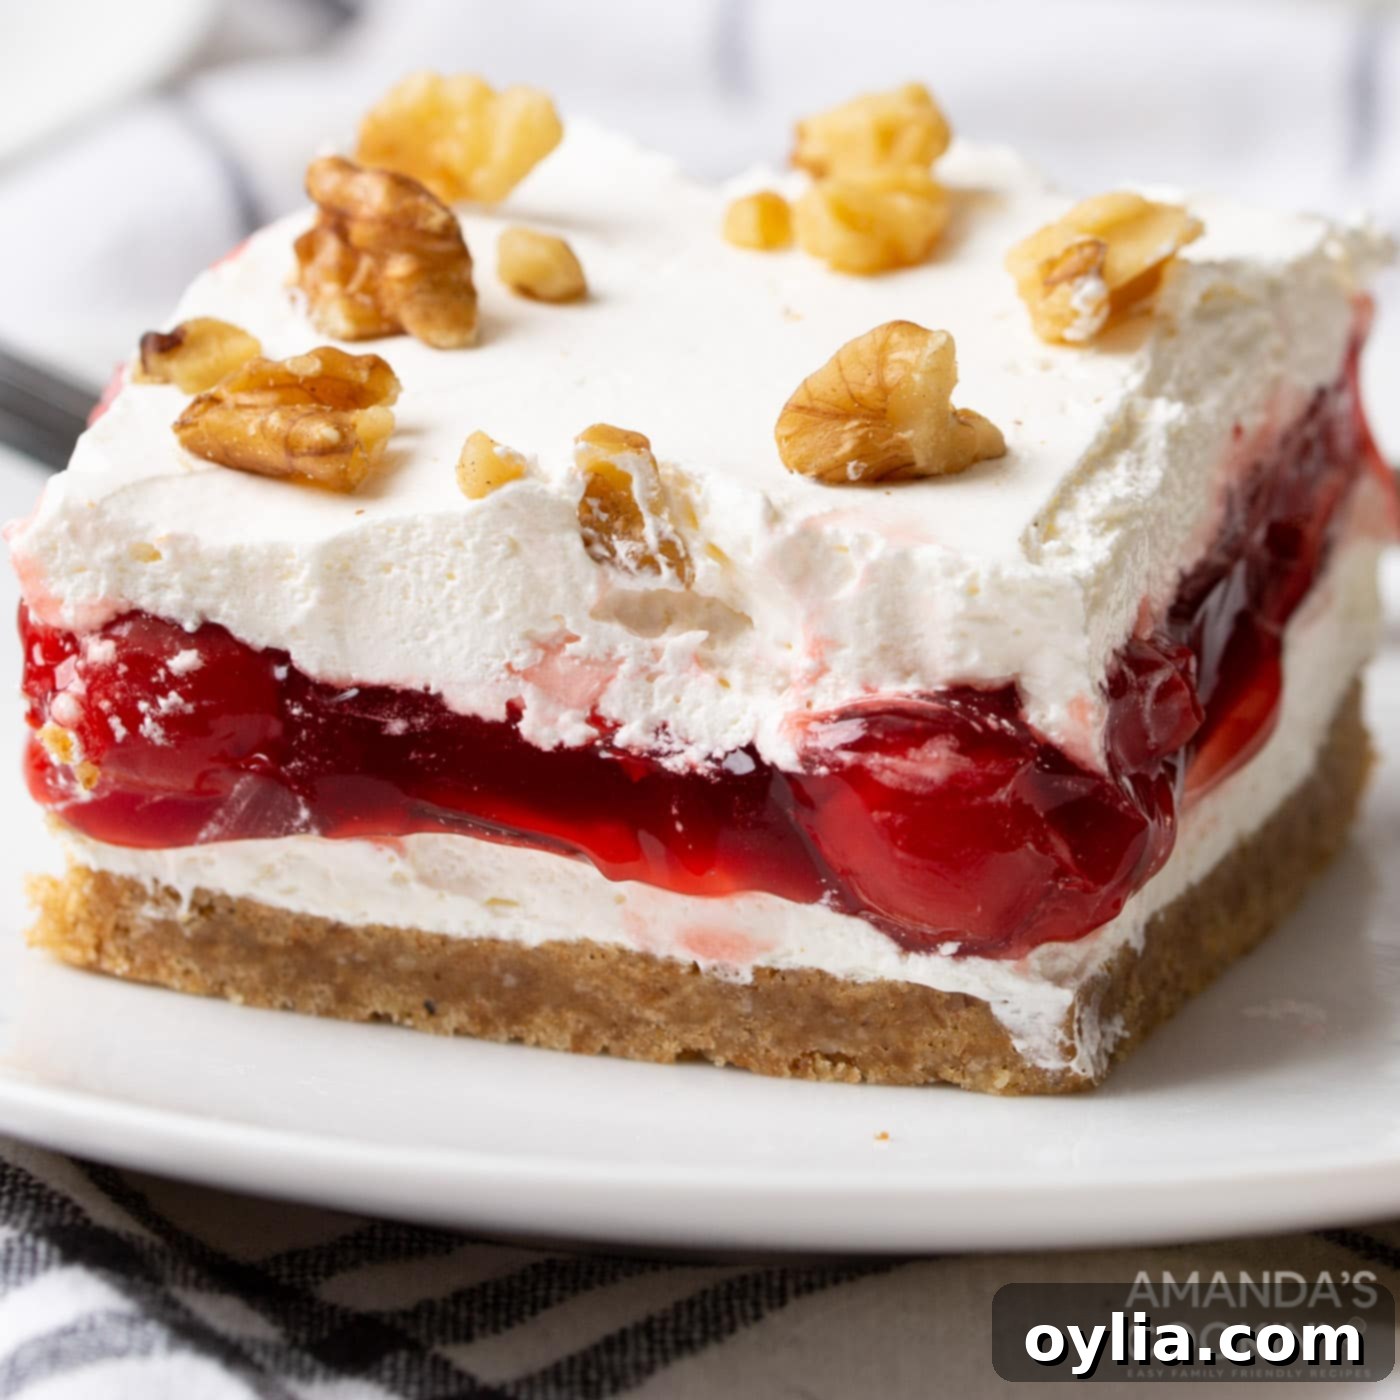
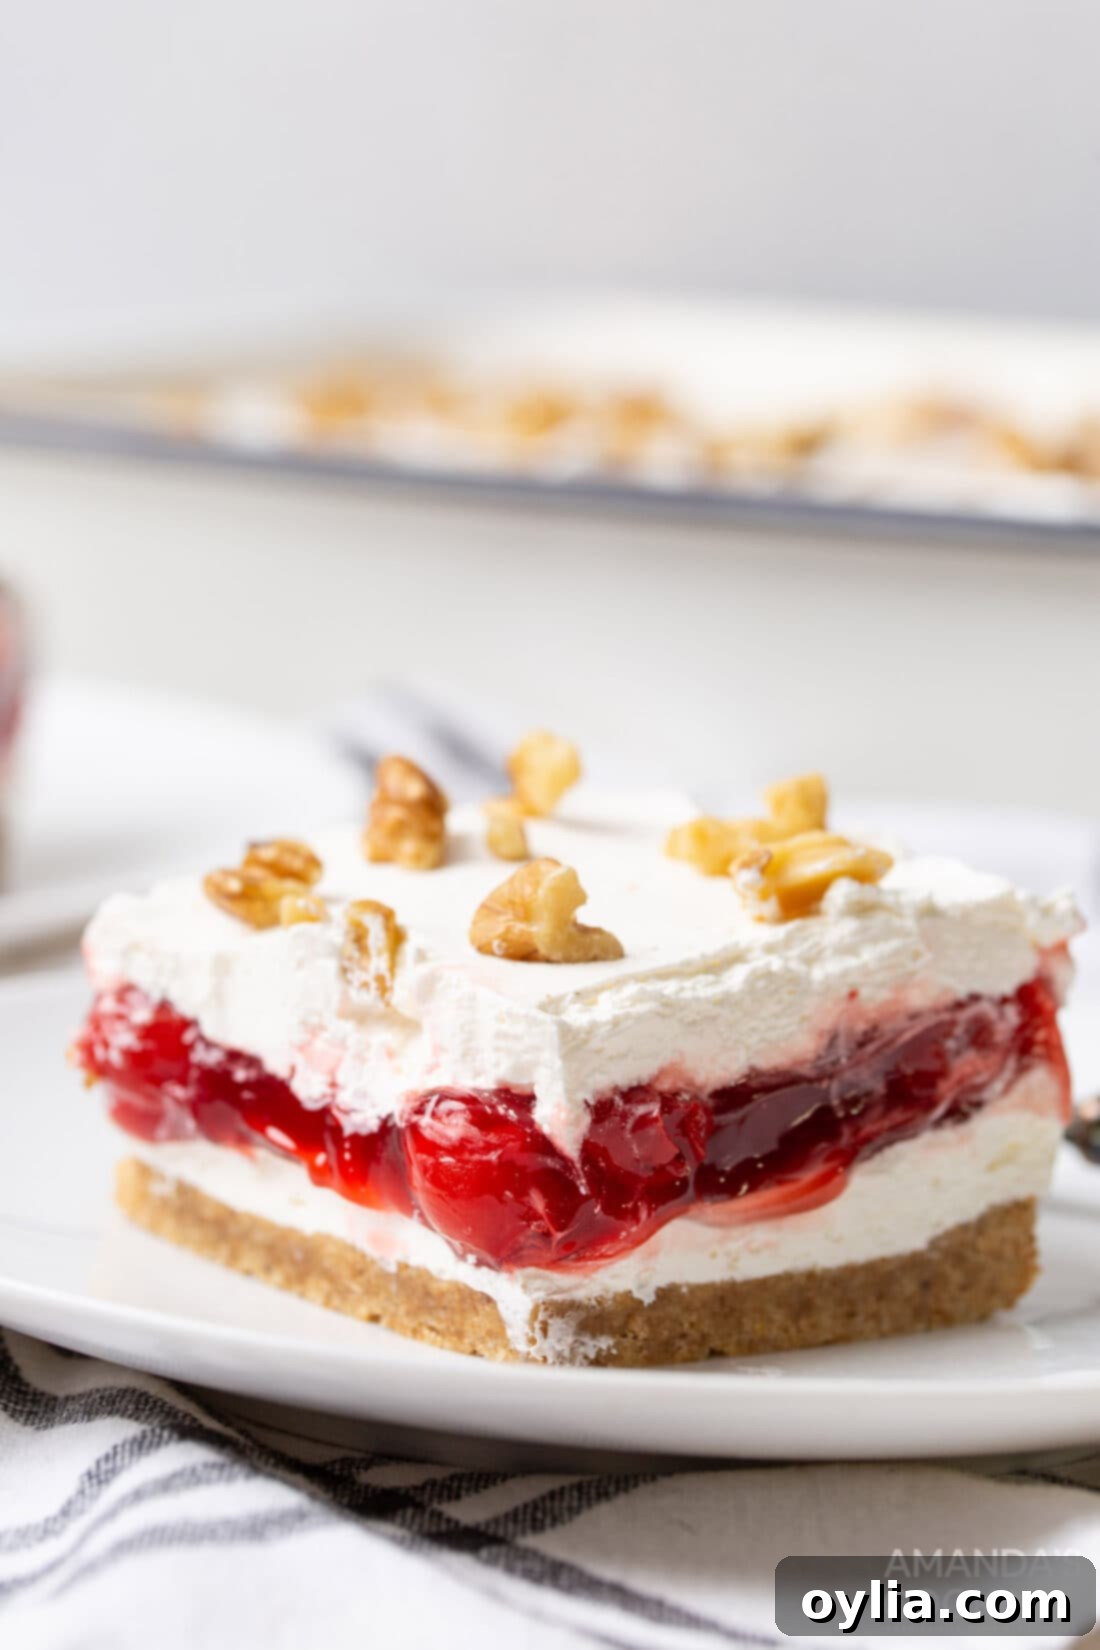
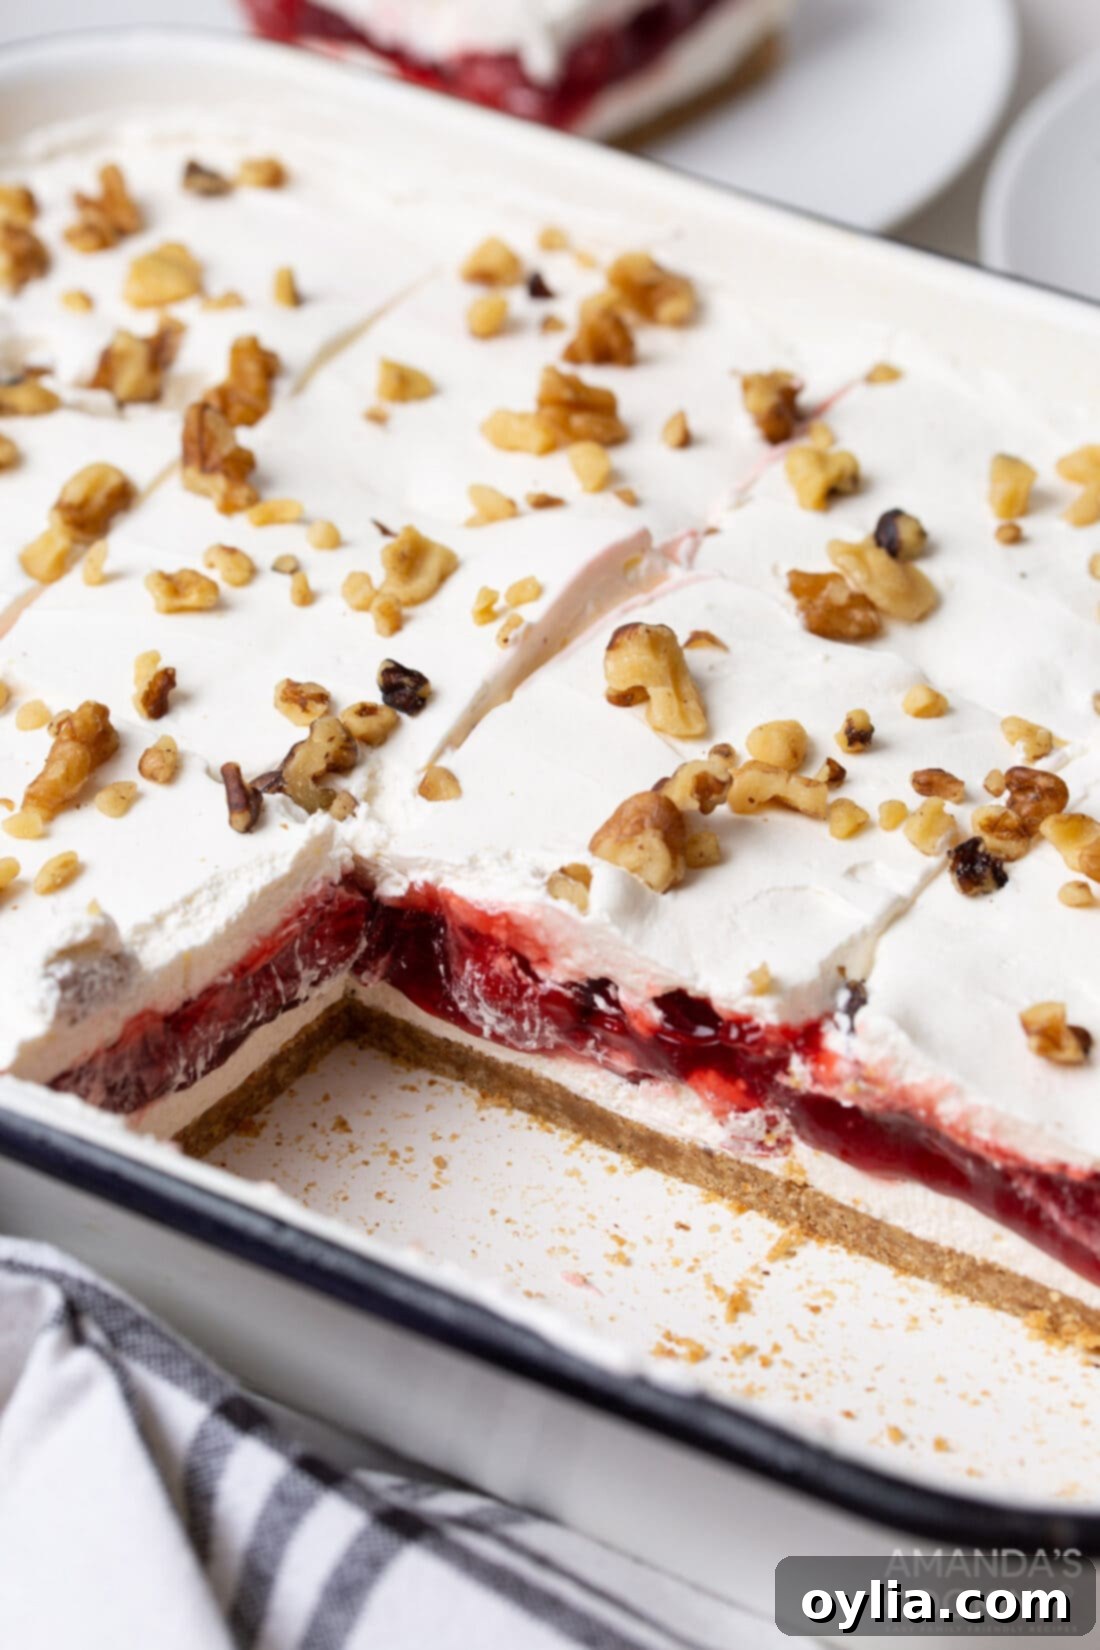
Prepare to fall in love with Cherry Lush, a truly delightful and incredibly easy-to-make dessert that perfectly captures the essence of summer. This layered masterpiece combines a buttery, nutty graham cracker and walnut crust, a rich and tangy cream cheese filling, sweet and vibrant cherry pie filling, all crowned with a light and fluffy Cool Whip topping. It’s a dessert that not only tastes incredible but also looks impressive, making it ideal for any occasion from casual family dinners to festive backyard barbecues.
Why This Cherry Lush Recipe is an Absolute Must-Try
This one-pan cherry lush dessert isn’t just a treat; it’s a revelation. It’s wonderfully light, incredibly fluffy, and bursting with a rich, “cherrylicious” cheesecake flavor that will have everyone asking for seconds. What sets this particular recipe apart is the thoughtful inclusion of walnuts in the crust. This simple addition elevates the dessert, introducing subtle hints of nutty goodness and an extra layer of texture with every single bite. The short bake time for the crust, around 8 minutes, is crucial for toasting those walnuts and graham crackers, intensifying their flavors and creating a perfectly stable base for the creamy layers to follow.
If you’re new to the world of “lush” desserts, you’re in for a delightful surprise. A lush dessert is a category of creamy, layered treats that typically feature a graham cracker crust, a luscious cream cheese layer, a flavored fruit filling (like our celebrated cherry or a refreshing blueberry lush), and a final topping of whipped cream or Cool Whip. Their versatility is boundless, allowing for endless flavor combinations and creative twists, making them a staple for potlucks, holidays, and any gathering where a crowd-pleasing dessert is desired.
Beyond its incredible taste and texture, this cherry lush recipe is almost entirely no-bake, simplifying your dessert preparations, especially during warmer months when turning on the oven is less appealing. The minimal baking required for the crust ensures it’s perfectly crisp without heating up your kitchen for long. This makes it an ideal make-ahead dessert, allowing you to assemble it in advance and simply chill until serving, leaving you more time to enjoy your company.
RELATED: If you adore cherry desserts, you might also like this classic recipe for Cherry Pie!
Essential Ingredients for Your Cherry Lush
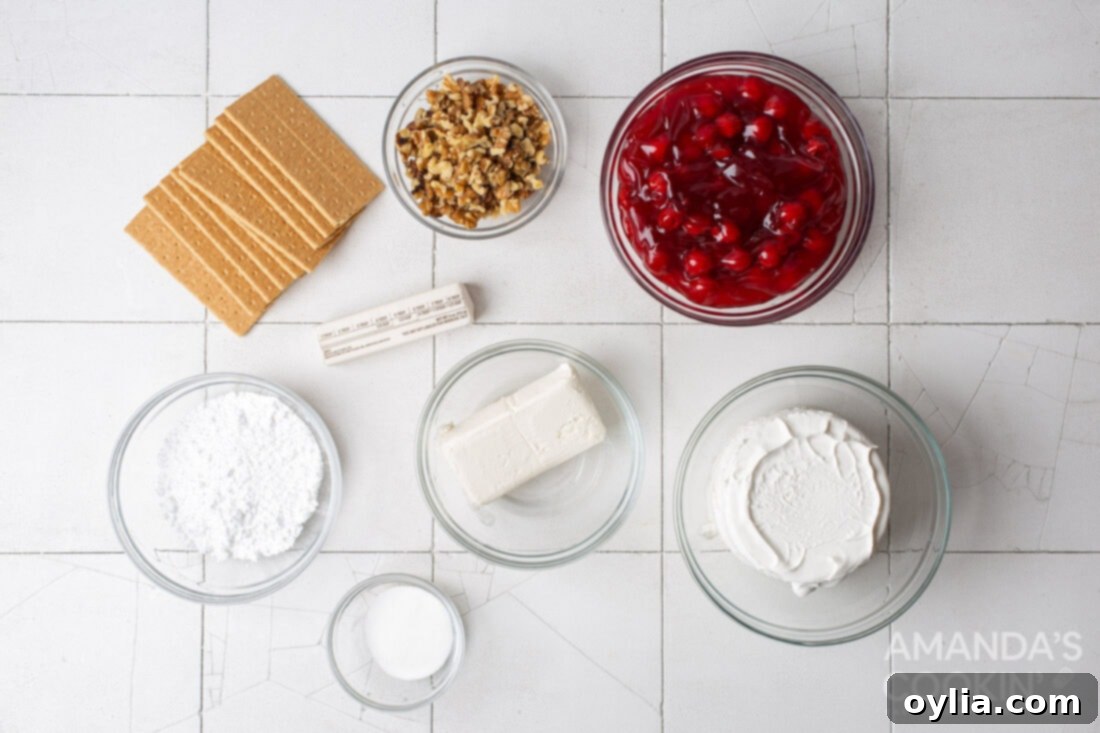
Gathering your ingredients is the first step to creating this delectable layered dessert. You’ll find a complete list of measurements, quantities, and detailed instructions in the printable recipe card at the very end of this post. However, here’s a general overview of what you’ll need to create this fantastic cherry lush:
Ingredient Spotlight: Tips & Substitutions
Crafting the perfect Cherry Lush means understanding each component and knowing how to adapt it to your preferences. Here’s a deeper look into the key ingredients and some helpful substitution suggestions:
The Golden Crust – Our signature crust is a delightful blend of crushed graham crackers and finely chopped walnuts. This combination offers a perfect balance of sweetness and a rich, toasted nutty flavor that truly elevates the dessert. However, if nuts aren’t to your liking or if you have dietary restrictions, you can easily omit the walnuts and use an equal amount of graham cracker crumbs, or simply increase the amount of graham crackers to compensate for the missing nuts. For an alternative flavor profile, consider using other crushed cookies like vanilla wafers for a classic, buttery taste, shortbread cookies for a delicate crunch, or even Biscoff cookies for a spiced European twist. Ensure the butter is fully melted and incorporated to create a firm, sliceable crust.
The Creamy Filling – This luscious, cheesecake-like layer is achieved with a simple yet effective mixture of softened cream cheese, powdered sugar, and Cool Whip. The secret to a perfectly smooth and lump-free cream cheese layer lies in using well-softened cream cheese. It should be at room temperature, almost spreadable, to ensure it blends seamlessly with the other ingredients. You can speed up the softening process by cutting the cream cheese into cubes and letting it sit on a plate for about 30 minutes at room temperature. While Cool Whip offers unparalleled stability and convenience, homemade whipped cream can certainly be used if you prefer. You’ll need approximately 3 cups of whipped cream, which usually translates to about 1.5 cups of heavy cream, whipped until stiff peaks form. To add stability to homemade whipped cream for a layered dessert, consider adding a teaspoon of cornstarch or cream of tartar while whipping. For a tangier flavor, a touch of lemon zest or a drop of vanilla extract can brighten this layer beautifully.
The Star: Cherry Pie Filling – The vibrant, sweet, and slightly tart cherry pie filling is what gives this dessert its signature flavor and eye-catching appeal. While store-bought cherry pie filling is incredibly convenient and works perfectly, for those who enjoy a homemade touch, our homemade cherry pie filling recipe is an excellent option that allows you to control the sweetness and texture. Feel free to use your favorite brand of canned pie filling; just ensure it’s a good quality one. If you’re feeling adventurous or want to customize the flavor, this layer is also highly adaptable to other fruit pie fillings like strawberry, blueberry, peach, or even pineapple for a tropical twist.
The Cloud-Like Topping – The final touch is a generous layer of Cool Whip, which provides a light, airy contrast to the rich layers below. If you opt for homemade whipped cream here, ensure it’s well-chilled and whipped just before assembling the top layer for optimal freshness and texture. As mentioned for the cream cheese layer, stabilizers can be helpful if you plan to keep the dessert for longer. Garnishing this top layer with fresh cherries, a sprinkle of chopped walnuts, or even some finely crushed graham cracker crumbs adds both visual appeal and an extra layer of flavor and texture.
Step-by-Step: Crafting Your Cherry Lush
These step-by-step photos and instructions are designed to help you visualize each stage of making this delightful recipe. For the printable version, complete with precise measurements and comprehensive instructions, simply Jump to Recipe at the bottom of this post.
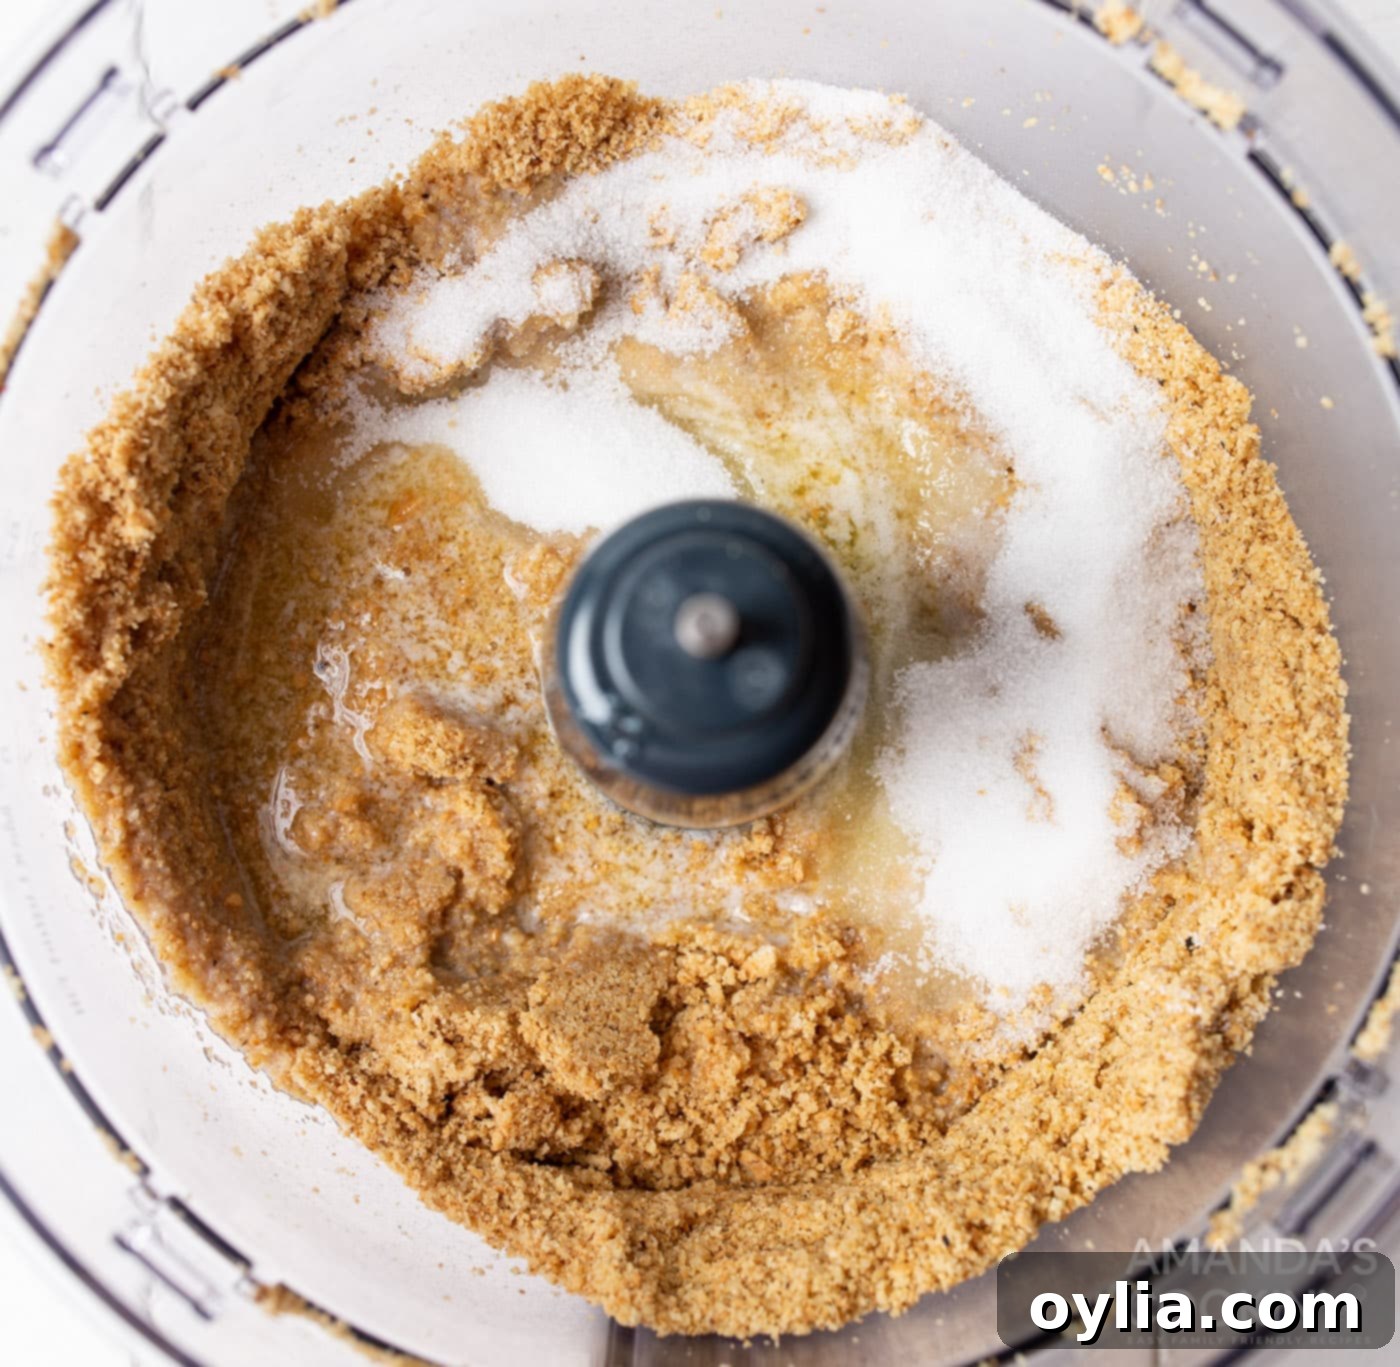
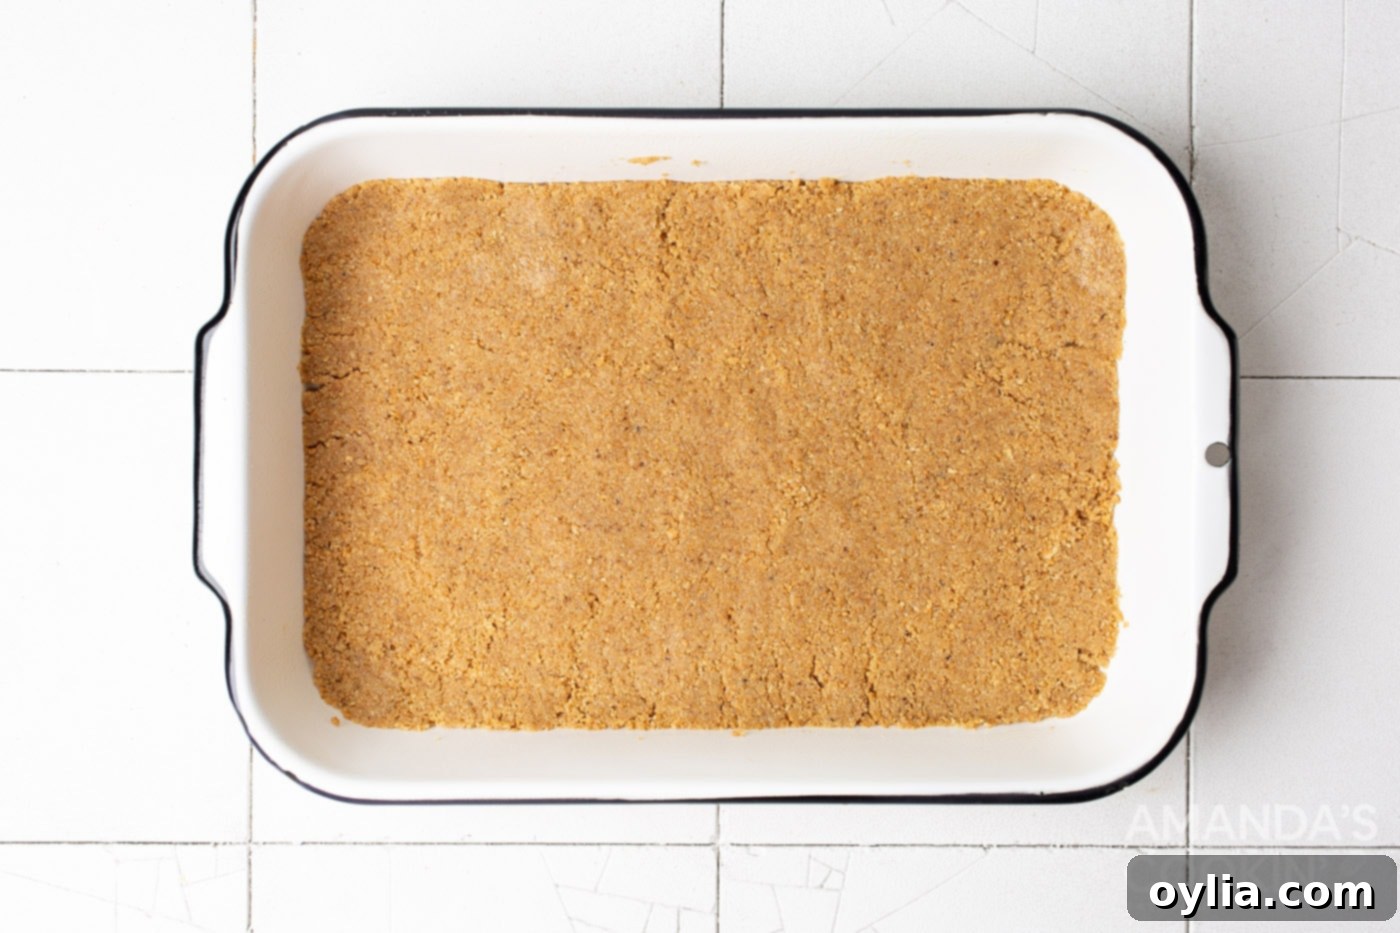
- Prepare the Walnut Graham Cracker Crust: Begin by preheating your oven to 350°F (175°C). In a food processor, combine the graham crackers and walnuts. Pulse until they are finely chopped and resemble coarse crumbs. Add the melted butter and granulated sugar, then process again until the mixture is well combined and moist. Press this mixture firmly and evenly into the bottom of a greased 13×9 inch baking pan. This firm pressing helps create a stable crust that won’t crumble when sliced. Bake for 8 minutes to toast the nuts and graham crackers, enhancing their flavor. Once baked, remove from the oven and let it cool completely on a wire rack before proceeding. A fully cooled crust is essential to prevent the cream cheese layer from melting.


- Create the Cream Cheese Layer: In a large mixing bowl, using an electric mixer, beat the well-softened cream cheese and powdered sugar together until the mixture is completely smooth and free of lumps. This is where room temperature cream cheese truly shines! Gently beat in about 1 cup of Cool Whip into the cream cheese mixture until fully incorporated, which further helps eliminate any small lumps and creates a lighter texture. Then, carefully fold in the remaining whipped topping from the first container of Cool Whip (the one you took 1 cup from) using a spatula. This folding technique helps maintain the airiness of the whipped topping. Spread this creamy, dreamy mixture evenly over the cooled graham cracker crust.
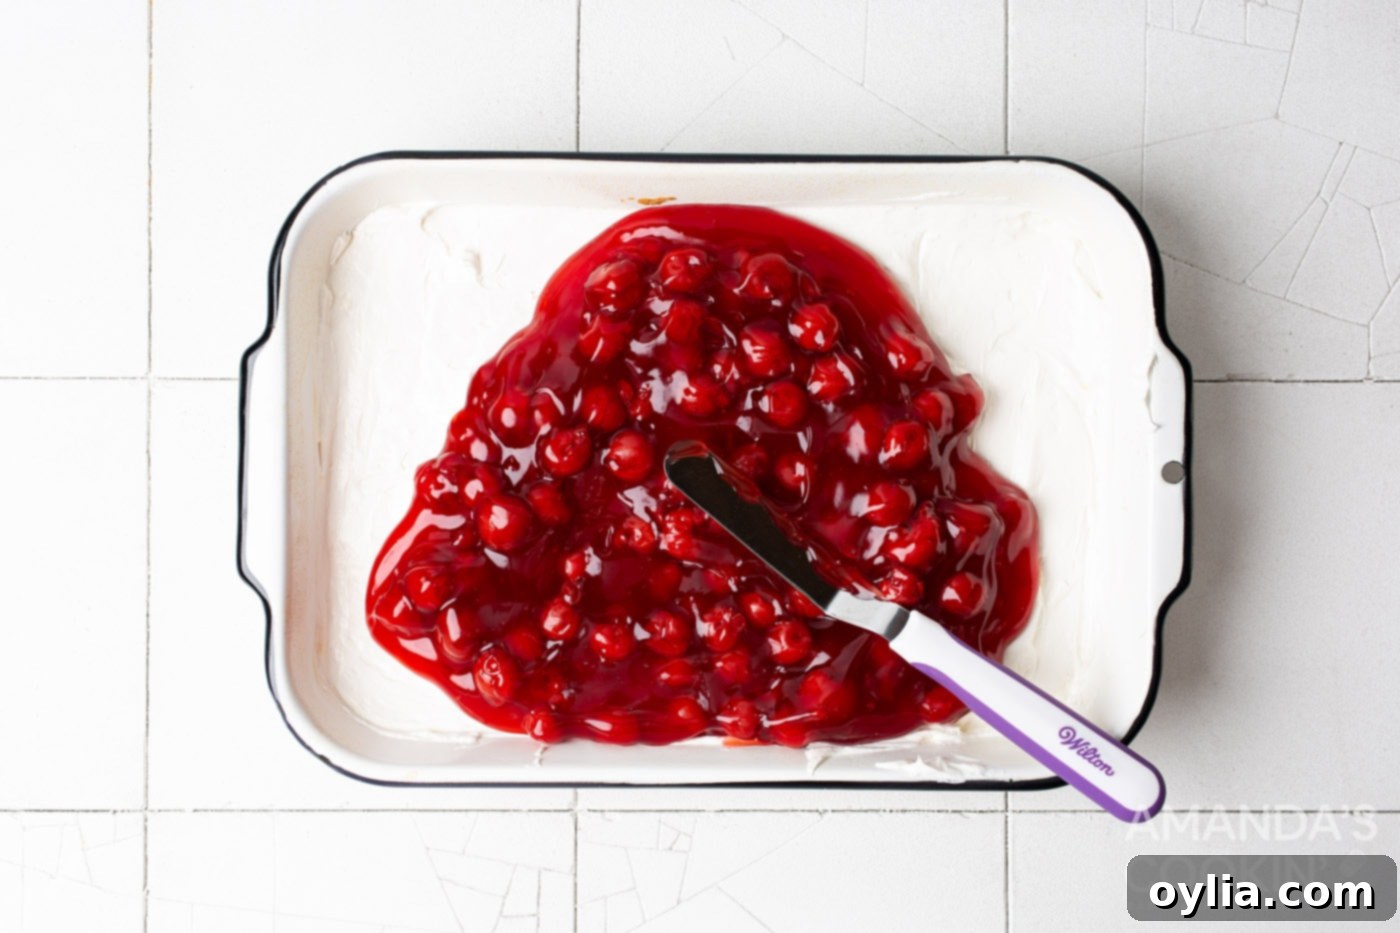
- Add the Cherry Pie Filling: Spoon the cherry pie filling over the cream cheese layer, spreading it out into an even, vibrant layer. Be gentle to avoid disturbing the cream cheese layer underneath.

- Top and Chill: Finally, gently spread the contents of the second tub of Cool Whip over the cherry pie filling, creating a beautiful, cloud-like top layer. For an extra touch of elegance and flavor, garnish with chopped walnuts, fresh cherries, or a light sprinkle of graham cracker crumbs if desired. Cover the pan tightly with plastic wrap and refrigerate for at least 2 hours. For best results and optimal setting of all layers and flavor melding, chilling overnight is highly recommended.
Frequently Asked Questions & Expert Tips for Success
To maintain its freshness and delightful texture, store your cherry lush dessert in an airtight container or tightly covered with plastic wrap in the refrigerator. It will keep beautifully for up to 3-4 days. After this period, the whipped topping may start to lose its firmness and “break down,” becoming watery. Always ensure it’s well-sealed to prevent it from absorbing any odors from your refrigerator.
Yes, you can absolutely freeze cherry lush, making it an excellent option for long-term storage or preparing well in advance! However, there’s a small nuance regarding the Cool Whip topping. The Cool Whip that’s mixed into the cream cheese layer will freeze and thaw perfectly. The top layer of Cool Whip, when frozen on its own, tends to become a bit watery upon thawing. For the best results, we recommend making the dessert up to the cherry pie filling layer and then freezing it. Be sure to place it in an airtight freezer-safe container or wrap it tightly with multiple layers of plastic wrap and aluminum foil to prevent freezer burn. When you’re ready to serve, remove it from the freezer and let it thaw in the refrigerator overnight. Once thawed, add a fresh layer of Cool Whip topping and any desired garnishes just before serving.
This is one of the biggest advantages of lush desserts! Cherry Lush is an excellent make-ahead dessert. The recipe requires a minimum of 2 hours of chill time for the layers to set and the flavors to meld beautifully. However, it can be prepared a full day in advance and will still be incredibly delicious, often tasting even better as the flavors have more time to deepen and combine. This makes it a perfect choice for entertaining, allowing you to focus on other preparations on the day of your event.
Absolutely! This recipe is wonderfully versatile and adaptable to your favorite fruit flavors. While cherry is a classic, feel free to substitute the cherry pie filling with any other flavor you prefer. Popular choices include blueberry, strawberry, peach, apple, or even a tropical pineapple pie filling. Each will create a unique and equally delicious “lush” dessert. The possibilities are truly endless!
A 13×9 inch (approx. 3-quart) baking dish is ideal for this recipe, yielding about 15 servings. If you don’t have one, you can use a slightly smaller rectangular pan or a large square pan (like an 11×11 or 12×12 inch). Keep in mind that a smaller pan will result in thicker layers and potentially require a longer chilling time to set completely. Avoid using a much larger pan, as the layers will be too thin. You could also make individual servings in small dessert cups for a fancy presentation.
For beautifully neat slices, there are a couple of tricks. First, ensure the dessert is thoroughly chilled – ideally overnight. Before slicing, run a sharp, thin knife under hot water, wipe it clean, and then make your cut. Repeat this process for each slice, cleaning the knife between cuts to prevent dragging layers and ensure clean edges.
Perfect Serving Suggestions for Cherry Lush
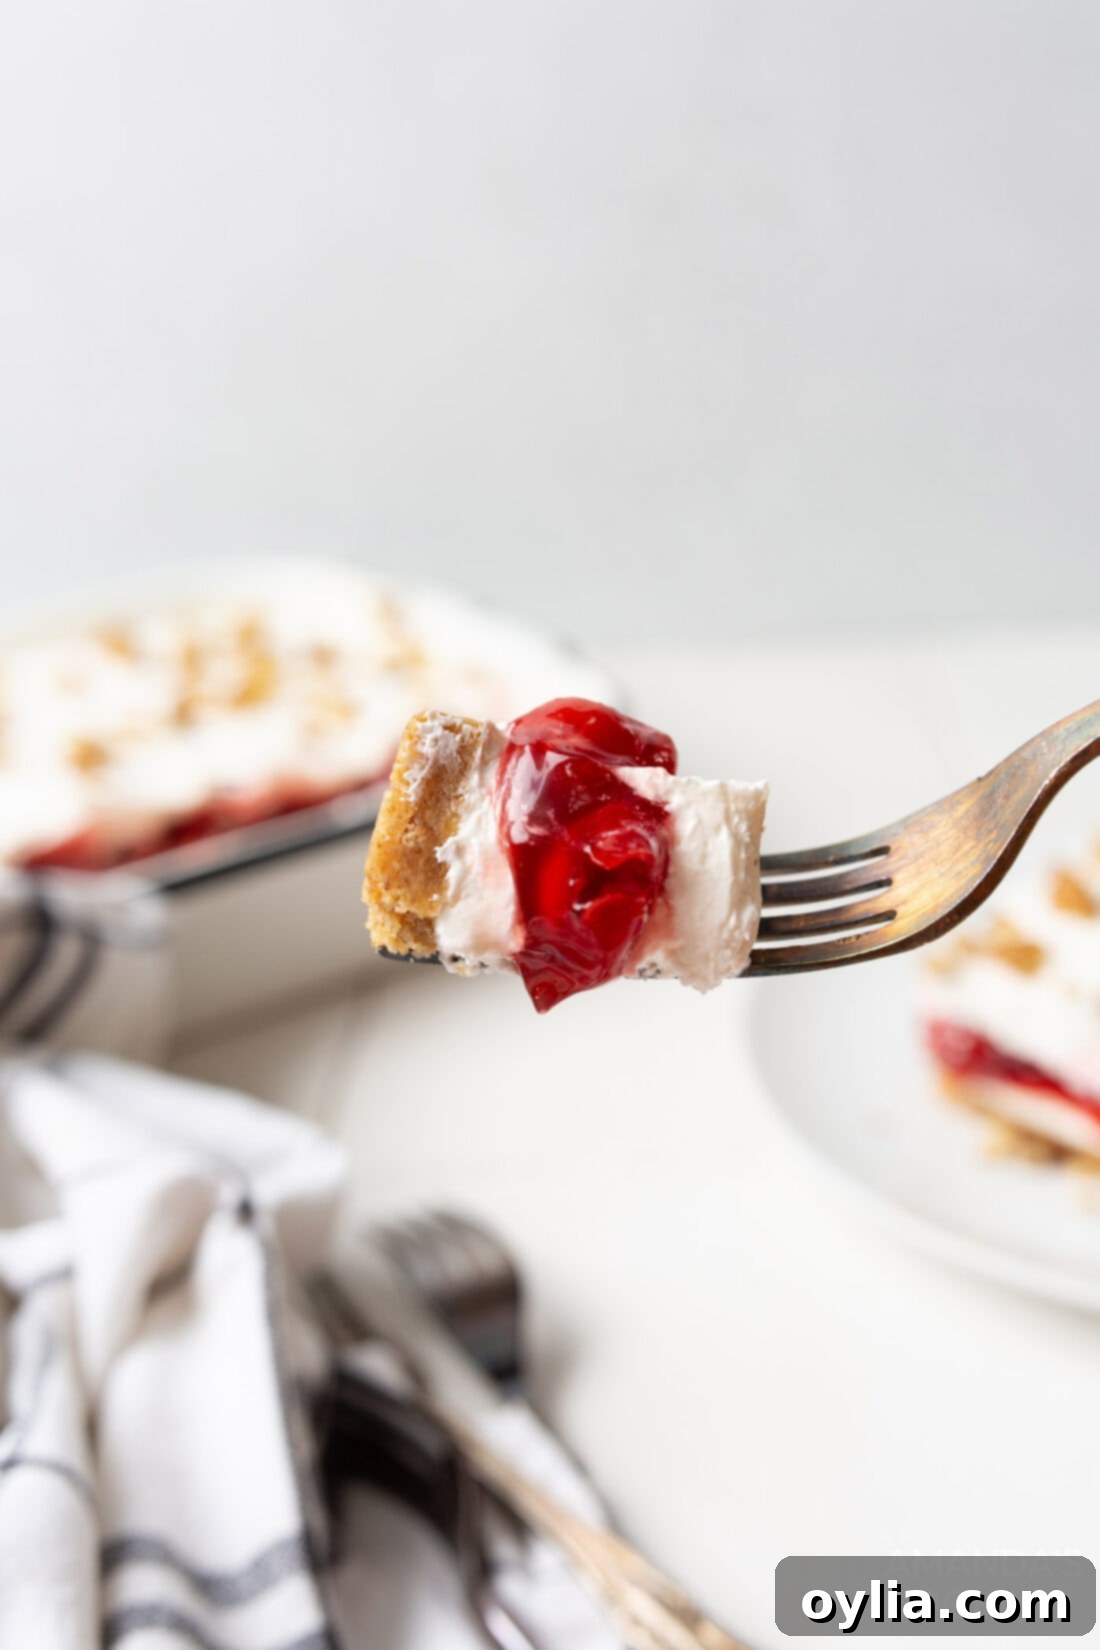
This Cherry Lush is a showstopper that’s perfect for a wide array of occasions. Serve it at your next casual summer BBQ, bring it as a guaranteed hit to a potluck, or make it the sweet finale to a special family dinner. For an extra touch of elegance and flavor, consider topping each serving with a few fresh, pitted cherries, a sprinkle of finely chopped walnuts for added crunch, or a dusting of crushed graham cracker crumbs to tie back to the crust. A small dollop of extra whipped cream on the side is always a welcome addition!
Explore More Delicious Lush Dessert Recipes
If you’ve fallen in love with the ease and deliciousness of Cherry Lush, you’ll be thrilled to discover the wide world of other “lush” desserts. Each offers a unique flavor profile while maintaining that irresistible layered structure. Don’t miss out on these fantastic variations:
- Lemon Lush: A bright and zesty twist.
- Mocha Lush: For the coffee and chocolate lovers.
- Pistachio Lush: A unique and colorful option.
- Blueberry Delight: Another fruity favorite.
- Banana Cream Lush: A classic comfort dessert.
- Coconut Cream Lush: A tropical escape in every bite.
I absolutely adore baking and cooking, and my greatest joy is sharing my kitchen experiences and delicious recipes with all of you! Remembering to come back each day for new inspiration can be tough, which is why I offer a convenient newsletter every time a new recipe posts. Simply subscribe today and start receiving your free daily recipes directly in your inbox!
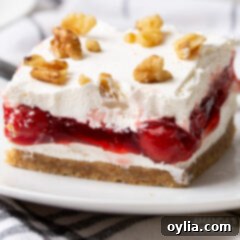
Cherry Lush
One-pan cherry lush dessert is light, fluffy, and full of cherrylicious cheesecake flavor!
IMPORTANT – There are often Frequently Asked Questions within the blog post that you may find helpful. Simply scroll back up to read them!
Pin It
Rate It
Course: Dessert
Cuisine: American
Servings: 15 servings
Total Time: 2 hrs 28 mins
Calories: 395 cal
Author: Amanda Davis
Ingredients
- 4.8 oz graham crackers (9 crackers, 1 sleeve)
- 1 cup walnuts
- ½ cup butter, melted
- 2 tablespoons granulated sugar
- 8 oz cream cheese, well softened
- 1 cup powdered sugar
- 16 oz Cool Whip (2 (8-oz) tubs, divided)
- 42 oz cherry pie filling (2 (21-oz) cans)
- ½ cup walnuts, chopped, for topping (optional)
Things You’ll Need
- 13×9 baking dish
- Food processor
- Hand mixer
Before You Begin (Notes)
- Allow your cream cheese to come to room temperature before mixing. This will soften it and help avoid lumps in your batter. To do so, cut the cream cheese into cubes and separate them on a plate, allowing them to sit at room temperature for 30 minutes.
- Store tightly covered in the refrigerator for 3-4 days.
Instructions
- Preheat oven to 350°F. In a food processor, blend the graham crackers and walnuts until finely chopped. Add in the butter and sugar until well combined and press into the bottom of a greased 13×9 pan. Bake for 8 minutes and let cool completely.
- In a large bowl, beat cream cheese and powdered sugar until smooth. Beat in about 1 cup of Cool Whip so there are no lumps. Fold in the remaining whipped topping from the container of Cool Whip you took 1 cup from. Spread the cream cheese mixture over the crust.
- Add the cherry pie filling in an even layer. Top with the other tub of Cool Whip. Garnish with chopped walnuts if desired.
- Cover and chill for at least 2 hours or overnight.
Nutrition
Serving: 1 slice | Calories: 395cal | Carbohydrates: 49g | Protein: 5g | Fat: 21g | Saturated Fat: 9g | Polyunsaturated Fat: 6g | Monounsaturated Fat: 5g | Trans Fat: 1g | Cholesterol: 38mg | Sodium: 199mg | Potassium: 207mg | Fiber: 2g | Sugar: 17g | Vitamin A: 610IU | Vitamin C: 3mg | Calcium: 77mg | Iron: 1mg
Follow on Pinterest @AmandasCookin or tag #AmandasCookin!
The recipes on this blog are tested with a conventional gas oven and gas stovetop. It’s important to note that some ovens, especially as they age, can cook and bake inconsistently. Using an inexpensive oven thermometer can assure you that your oven is truly heating to the proper temperature. If you use a toaster oven or countertop oven, please keep in mind that they may not distribute heat the same as a conventional full sized oven and you may need to adjust your cooking/baking times. In the case of recipes made with a pressure cooker, air fryer, slow cooker, or other appliance, a link to the appliances we use is listed within each respective recipe. For baking recipes where measurements are given by weight, please note that results may not be the same if cups are used instead, and we can’t guarantee success with that method.
