Easy Homemade Chocolate Truffles: Decadent 4-Ingredient Recipe with Silky Ganache
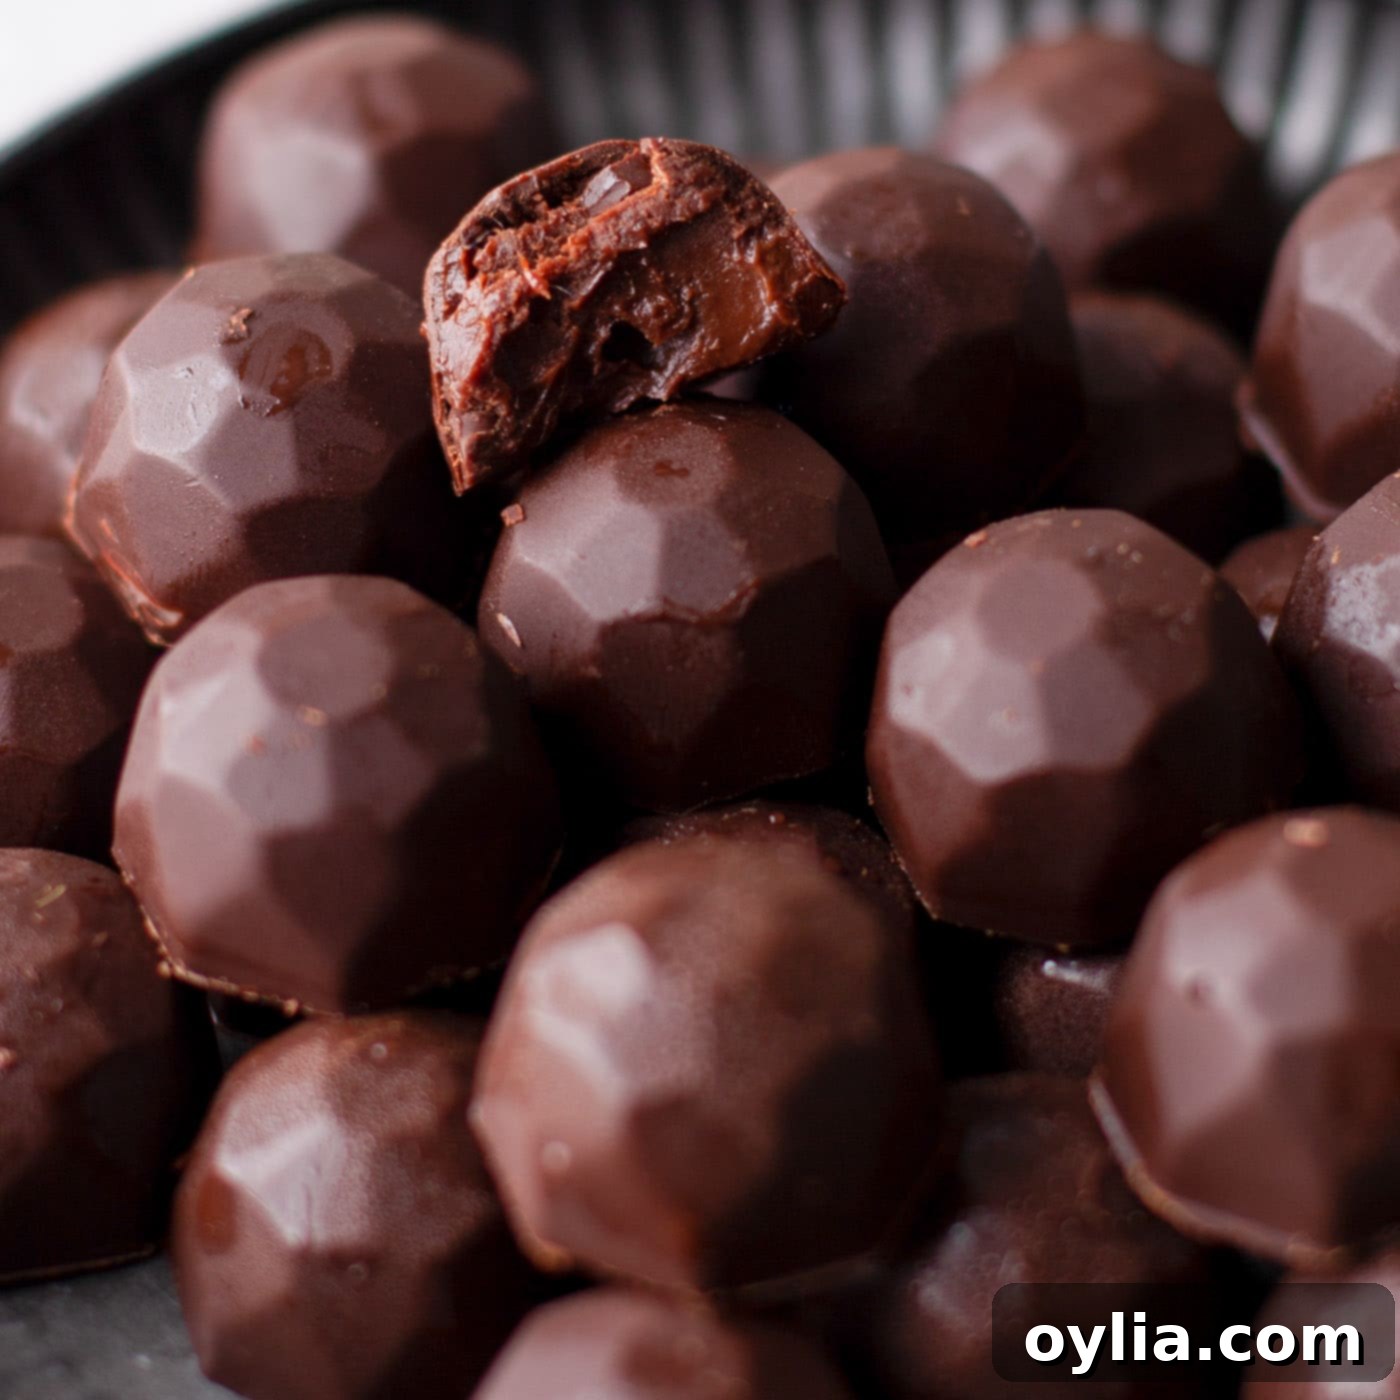
Prepare to be enchanted by these exceptionally rich and decadent chocolate truffles, crafted with an astonishingly simple list of just four ingredients. Each bite reveals a luxurious, silky smooth chocolate ganache, encased within a perfectly crisp, shiny chocolate shell. Forget store-bought; these homemade delights are not only easy to make but guarantee a melt-in-your-mouth experience that will impress even the most discerning chocolate connoisseur.
Why This Easy Chocolate Truffle Recipe Is a Must-Try
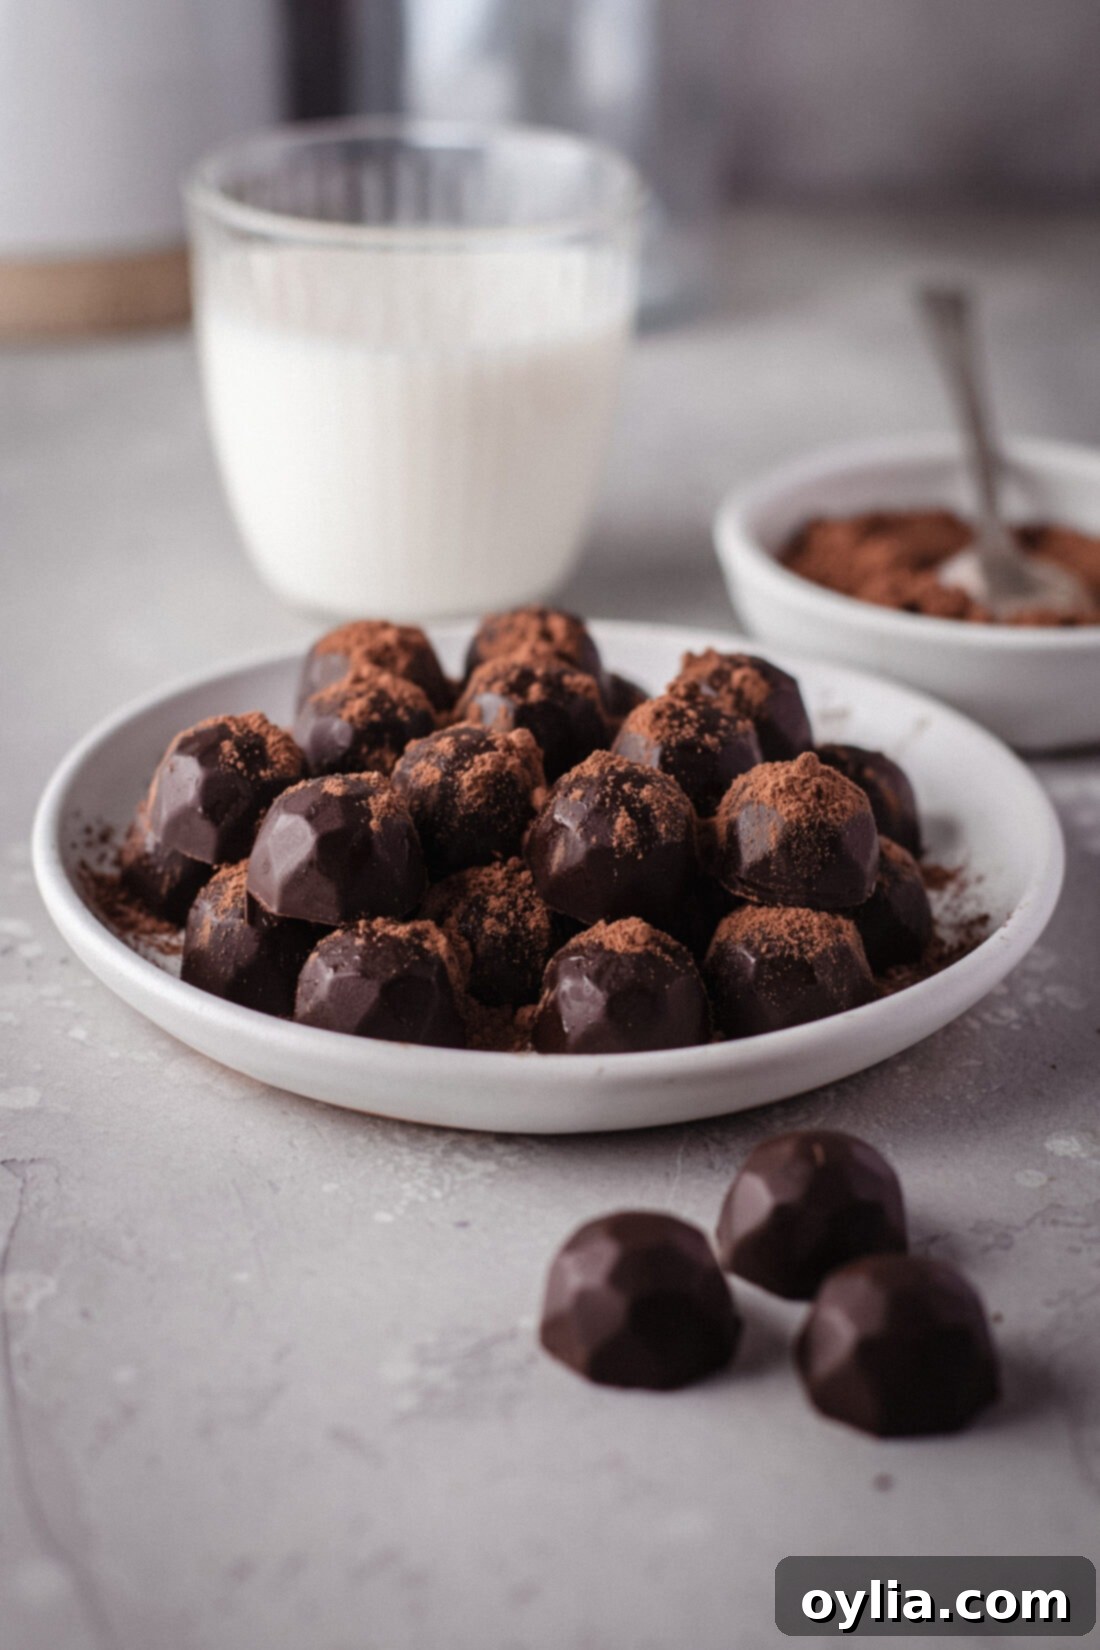
These homemade chocolate truffles are designed to make a truly grand entrance, whether presented on a dessert platter or gifted in a beautiful box. Their stunning, candy-like exterior, coupled with the luscious ganache filling and a delicate dusting of cocoa powder, creates a dessert that’s as visually appealing as it is delicious. Truffles, in all their glorious varieties – be it rolled in finely chopped nuts, classic cocoa powder, or artfully topped with extra chocolate like our popular mocha truffles – are universally adored for their indulgent nature. This particular recipe stands out for its simplicity and the professional finish it achieves.
The secret to achieving that coveted, beautifully shiny and crisp chocolate shell lies in utilizing a polycarbonate chocolate mold. This specialized tool allows the chocolate coating to harden perfectly, creating a thin, elegant outer layer that contrasts wonderfully with the soft, smooth chocolate ganache center. The process might sound intricate, but it’s surprisingly straightforward, making these impressive treats accessible to home bakers of all skill levels. Once you bite into one, you’ll discover that these easy chocolate truffles are not only magnificent to behold but also melt effortlessly in your mouth, leaving behind a rich, satisfying chocolate flavor that lingers delightfully.
Beyond their aesthetic appeal, the beauty of this recipe lies in its minimal ingredient list. With just four core components, you create a complex flavor profile and a luxurious texture that belies its simple origins. This makes it an ideal choice for busy holidays, last-minute gifts, or simply when you crave a gourmet chocolate experience without spending hours in the kitchen. Homemade truffles offer a level of freshness and customization that store-bought options simply can’t match, allowing you to control the quality of ingredients and even experiment with various toppings and flavor infusions.
Essential Ingredients for Decadent Chocolate Truffles
Crafting these exquisite chocolate truffles requires only four key ingredients, proving that extraordinary flavor doesn’t always demand a lengthy list. For precise measurements and step-by-step instructions, you’ll find a printable recipe card complete with all details at the very end of this comprehensive guide. Here’s a closer look at the magic behind each component:
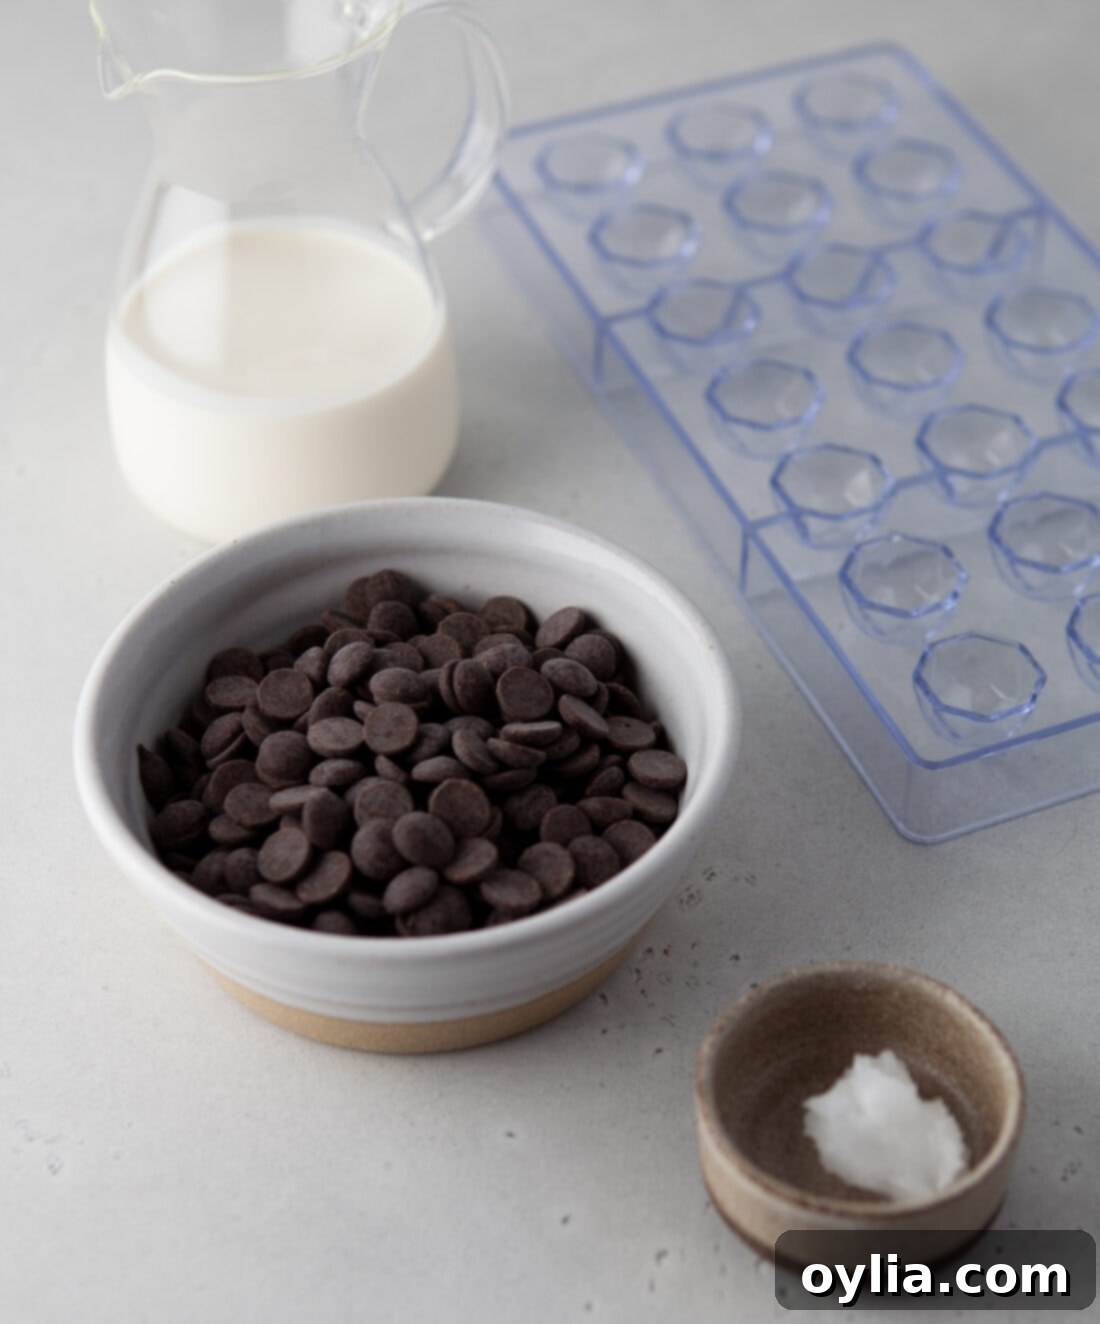
Ingredient Insight & Substitution Suggestions
- Whipping Cream: This is the foundation of our luscious ganache. Use heavy whipping cream (with at least 36% fat content) for the richest, creamiest, and most stable ganache. Do not substitute with lighter creams or milk, as they lack the fat necessary for the proper texture and will result in a runny ganache.
- Semi-Sweet Chocolate Chips: The star of our truffles! Semi-sweet chocolate provides a balanced sweetness that’s broadly appealing. For a deeper, more intense chocolate flavor, you can easily substitute with **dark chocolate chips** (70% cocoa or higher) if preferred. If you lean towards a sweeter truffle, milk chocolate chips can be used, but note that the ganache might be slightly softer due to milk chocolate’s higher sugar and lower cocoa butter content. Always opt for good quality chocolate chips or finely chopped chocolate bars for the best results, as this will significantly impact the flavor and texture of your truffles.
- Coconut Oil: Our secret ingredient for the perfect chocolate coating! A small amount of coconut oil, when mixed with melted chocolate for the outer shell, helps create a smoother, shinier finish and contributes to that delightful melt-in-your-mouth texture. It makes the chocolate more fluid for easier molding and prevents the coating from being overly brittle. Refined coconut oil is typically preferred as it has a neutral flavor, but unrefined (virgin) coconut oil can be used if you enjoy a subtle coconut note. There isn’t a direct substitute that provides the exact same properties, but a tiny amount of vegetable shortening could be tried in a pinch, though the shine might not be as pronounced.
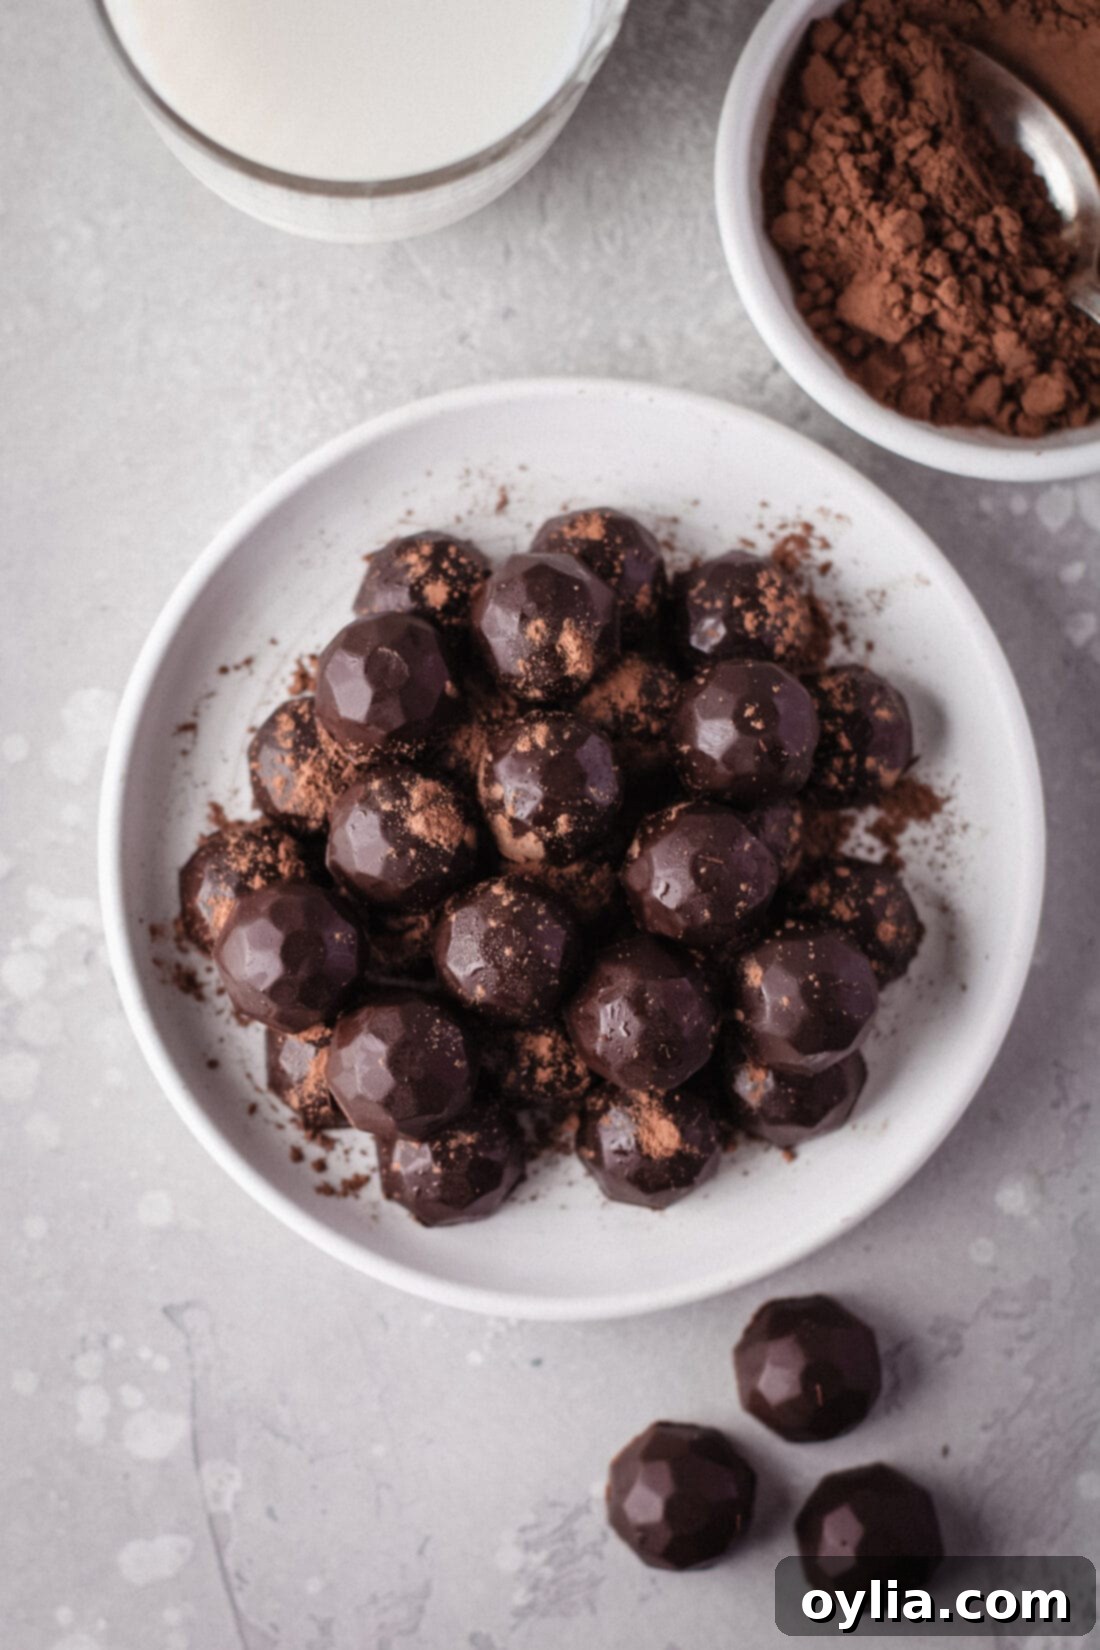
- Cocoa Powder: Used as a classic garnish for dusting the finished truffles. Unsweetened cocoa powder adds a beautiful visual contrast and a hint of bittersweetness that perfectly complements the rich chocolate within. You can also experiment with other garnishes like finely chopped nuts (pistachios, pecans, almonds), shredded coconut, sprinkles, or a drizzle of contrasting white chocolate.
Essential Equipment You’ll Need:
To ensure a smooth truffle-making process and achieve that professional finish, having the right tools on hand is essential:
- Polycarbonate Chocolate Mold: As mentioned, this is key for the beautiful shell. Its rigid structure and smooth surface ensure easy release and a glossy finish.
- Small Saucepan: For heating the whipping cream.
- Heatproof Bowls: For melting chocolate and mixing ganache.
- Whisk or Spatula: For stirring.
- Piping Bag or Squeeze Bottle: Crucial for neatly filling the molds with ganache and sealing them with the coating. A heavy-duty ziplock bag with a snipped corner can also work.
- Rubber Spatula or Bench Scraper: For scraping excess chocolate from the mold.
- Parchment Paper: For catching excess chocolate and easy cleanup.
Mastering Homemade Chocolate Truffles: A Step-by-Step Guide
These step-by-step photos and detailed instructions are provided to help you visualize each stage of making these delicious chocolate truffles. For a convenient printable version of this recipe, complete with precise measurements and full instructions, simply Jump to Recipe at the bottom of this post.
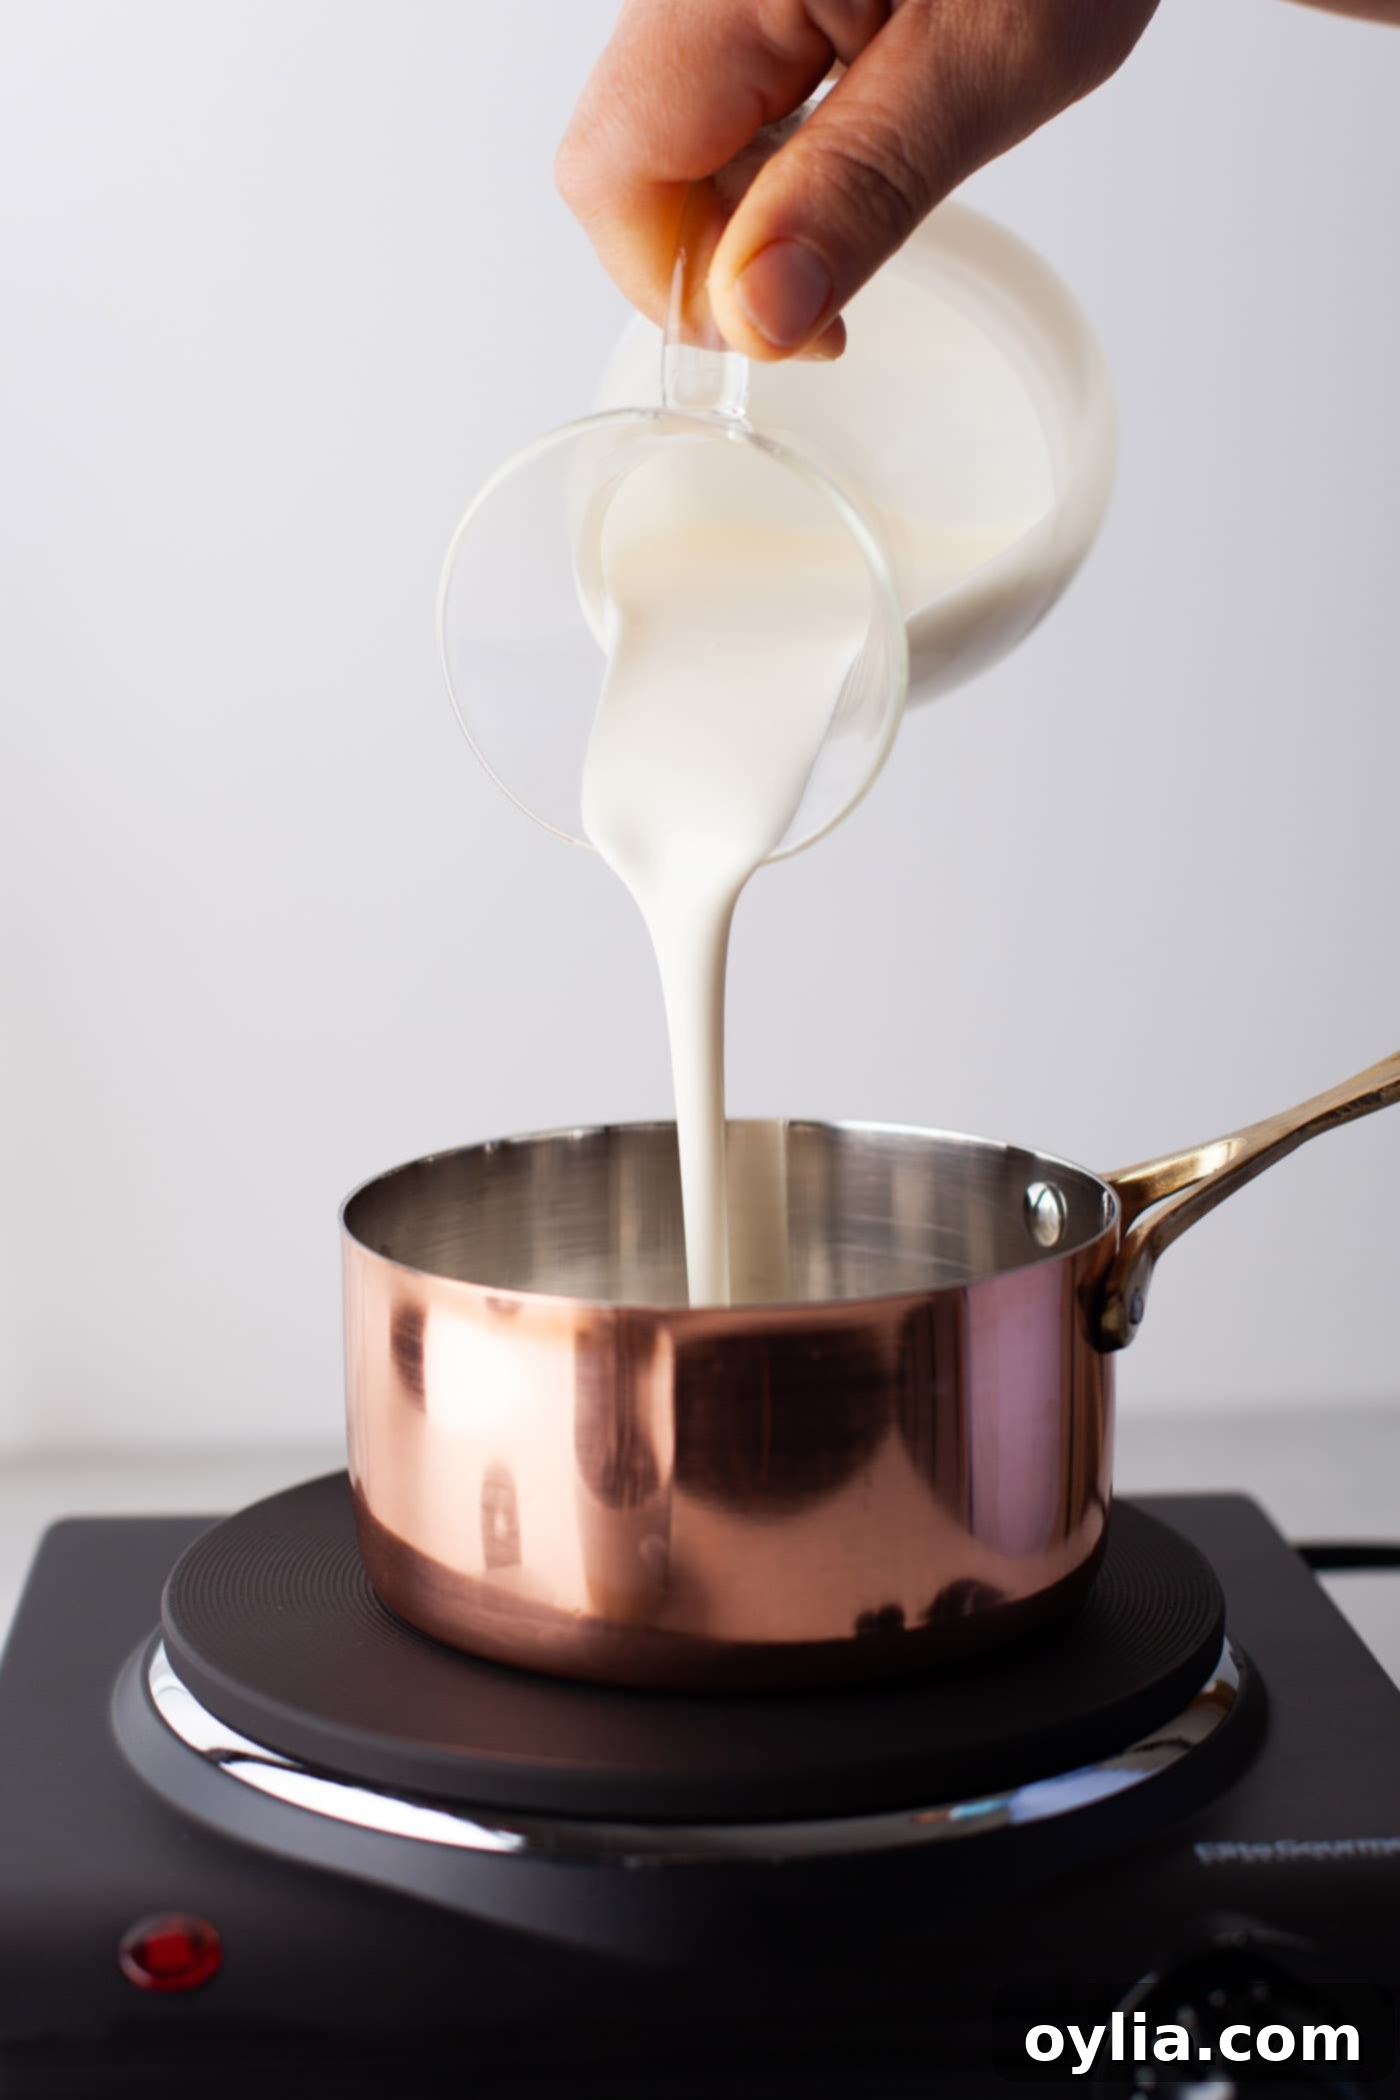
- Prepare the Ganache Base: In a small saucepan, gently heat the whipping cream over high heat. Watch it very carefully, and remove it from the heat just before it reaches a rolling boil – you should see small bubbles forming around the edges, but it shouldn’t be vigorously boiling. This prevents scorching the cream and ensures a smooth ganache.

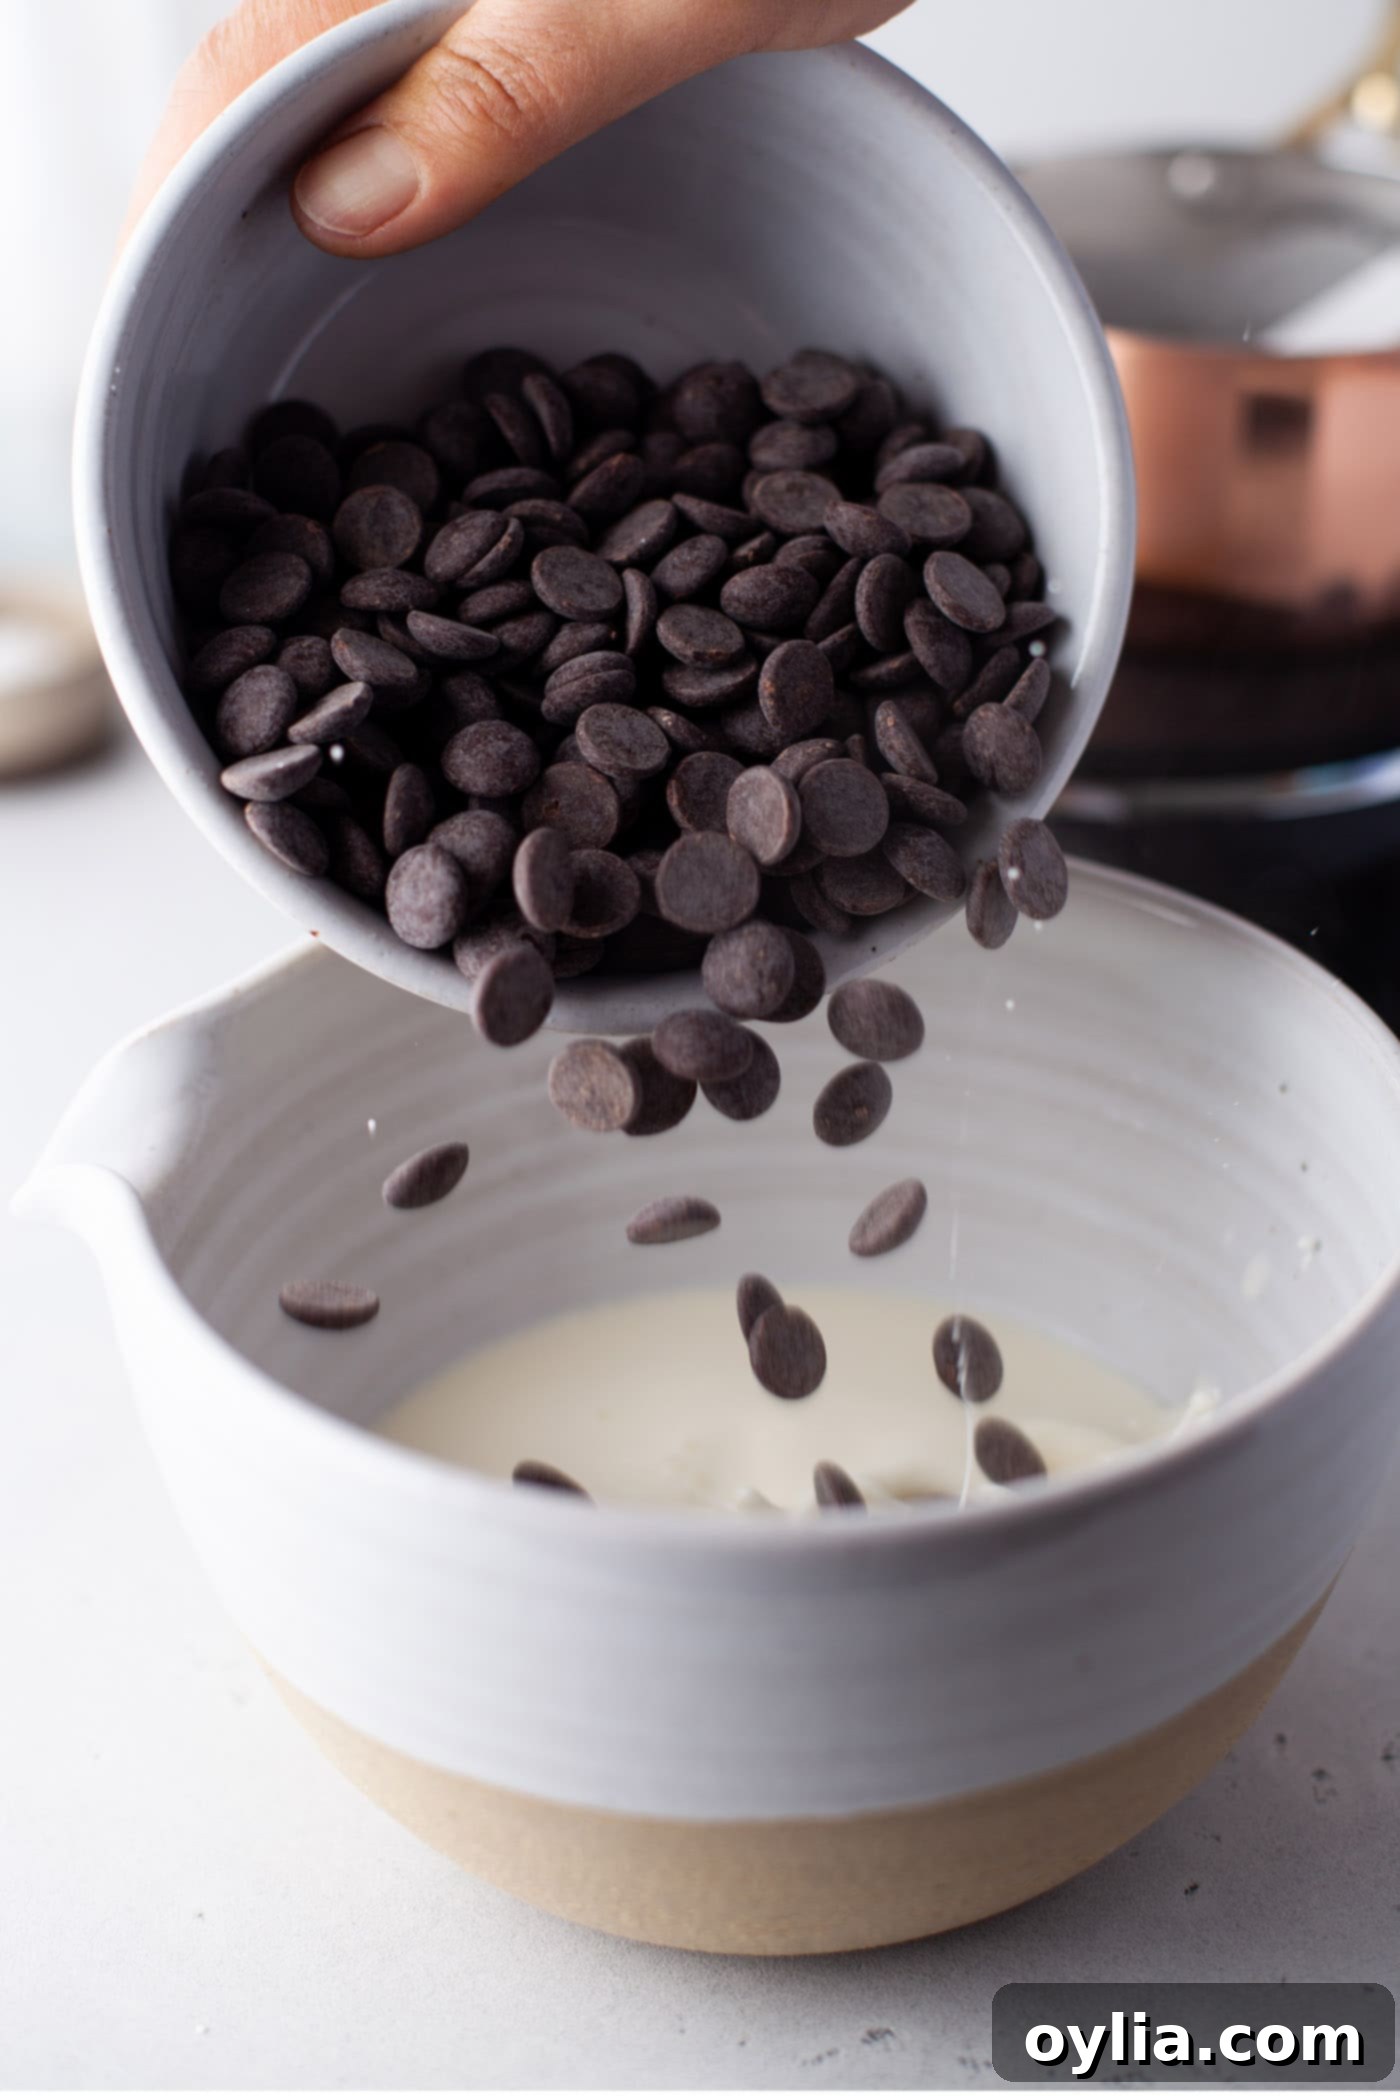
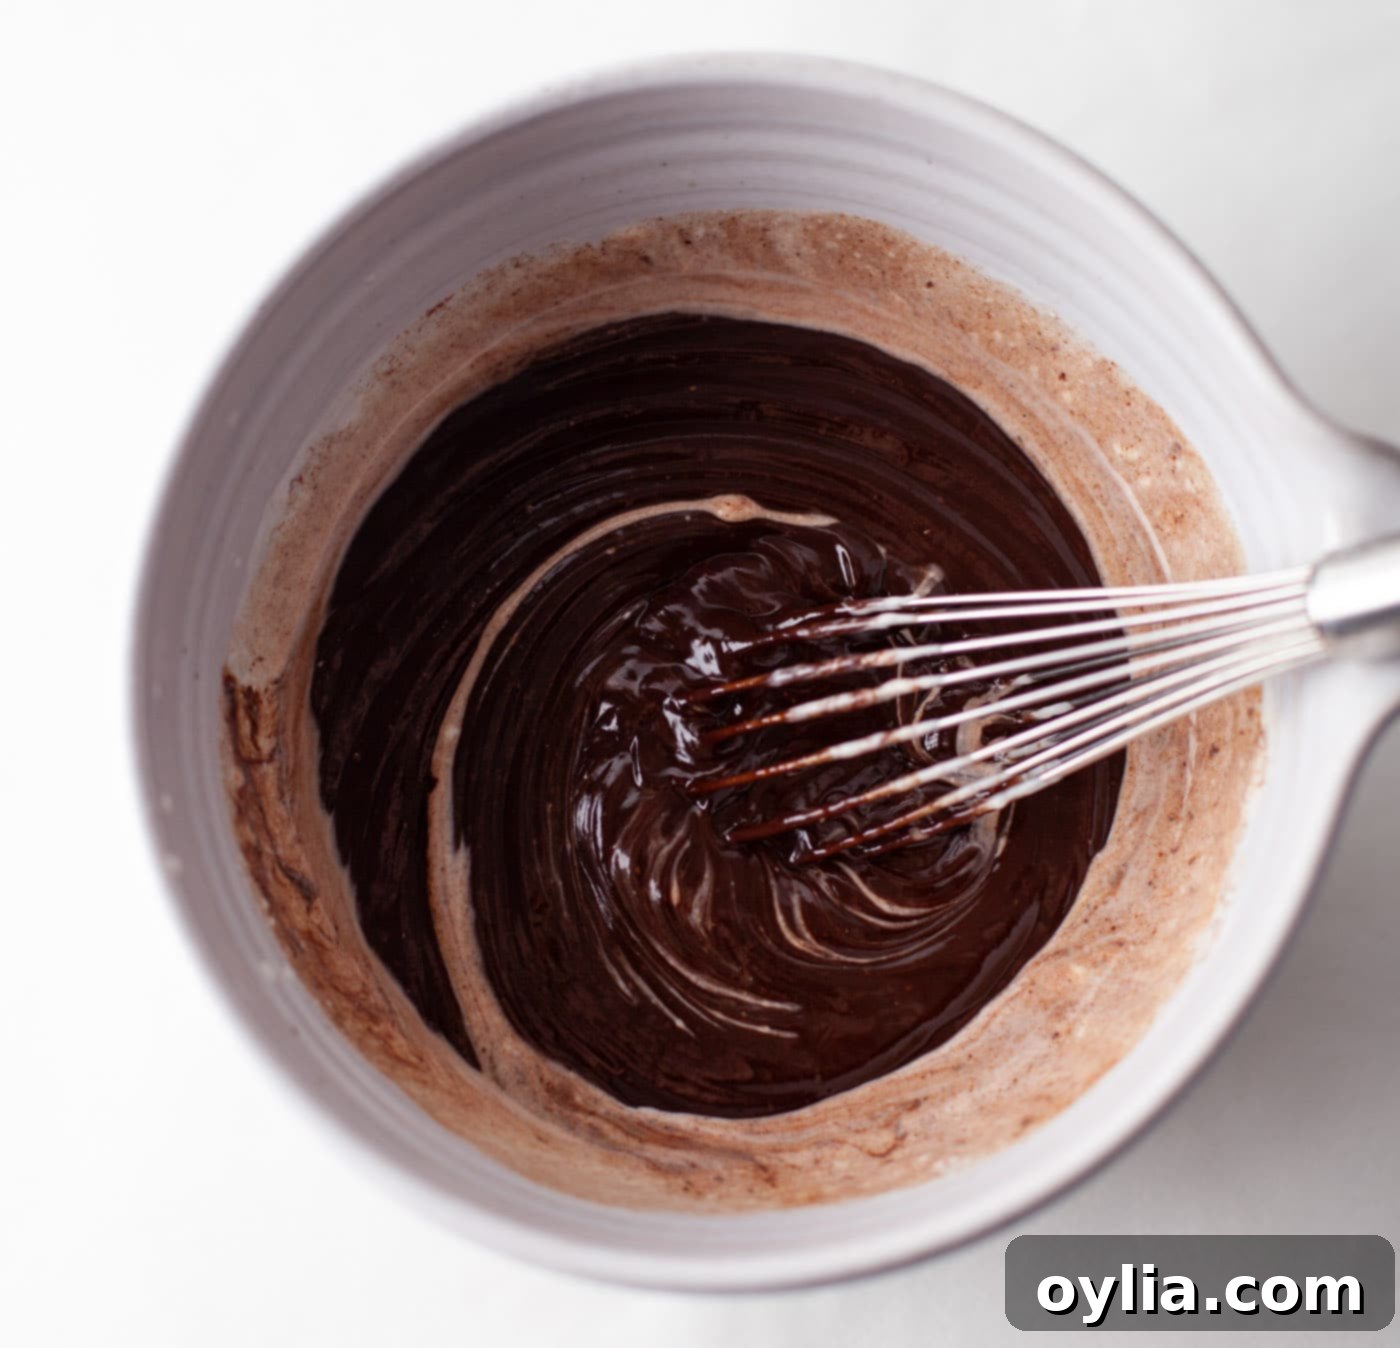
- Infuse the Chocolate: Immediately pour the hot cream over your semi-sweet chocolate chips in a heatproof bowl. Do not stir yet! Allow the mixture to sit undisturbed for 5 to 10 minutes. This crucial tempering step allows the hot cream to gently melt the chocolate chips, resulting in a perfectly smooth and uniform ganache. After the resting period, stir the mixture gently from the center outwards until it is completely combined and velvety smooth. Avoid vigorous whisking, which can incorporate too much air.


- Chill the Ganache: Cover the bowl of ganache with plastic wrap, pressing it directly onto the surface to prevent a skin from forming. Place it in the refrigerator for approximately 25 to 30 minutes, or until it has thickened to a pipeable consistency – it should be firm enough to hold its shape but still soft enough to easily flow through a piping bag. Do not over-chill, as it will become too hard to pipe.
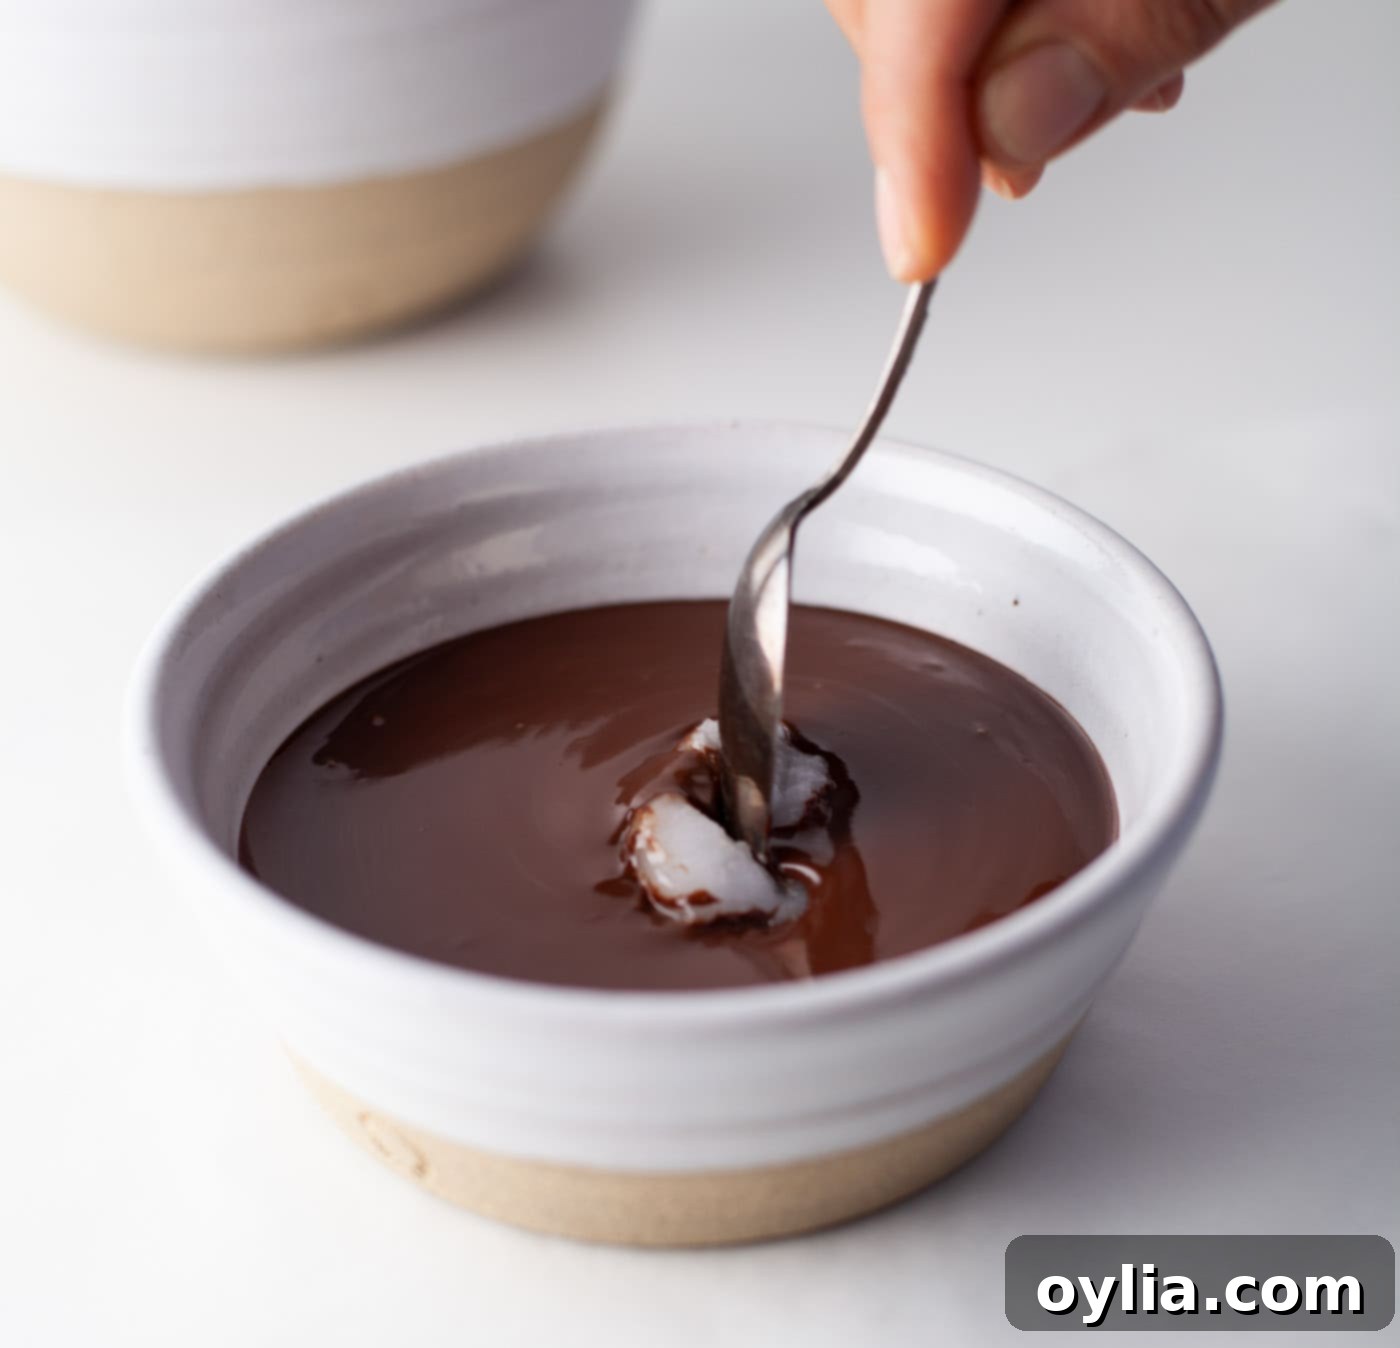
- Prepare the Chocolate Coating: While the ganache chills, prepare your chocolate coating. Melt the additional semi-sweet chocolate chips in a separate microwave-safe bowl. Heat in 20-second intervals, stirring well after each interval, until the chocolate is completely melted and smooth. Be careful not to overheat. Once melted, add the coconut oil and stir until it’s fully incorporated. Ensure the oil melts smoothly into the chocolate, leaving no lumps behind. This mixture will provide the beautiful, shiny shell for your truffles.

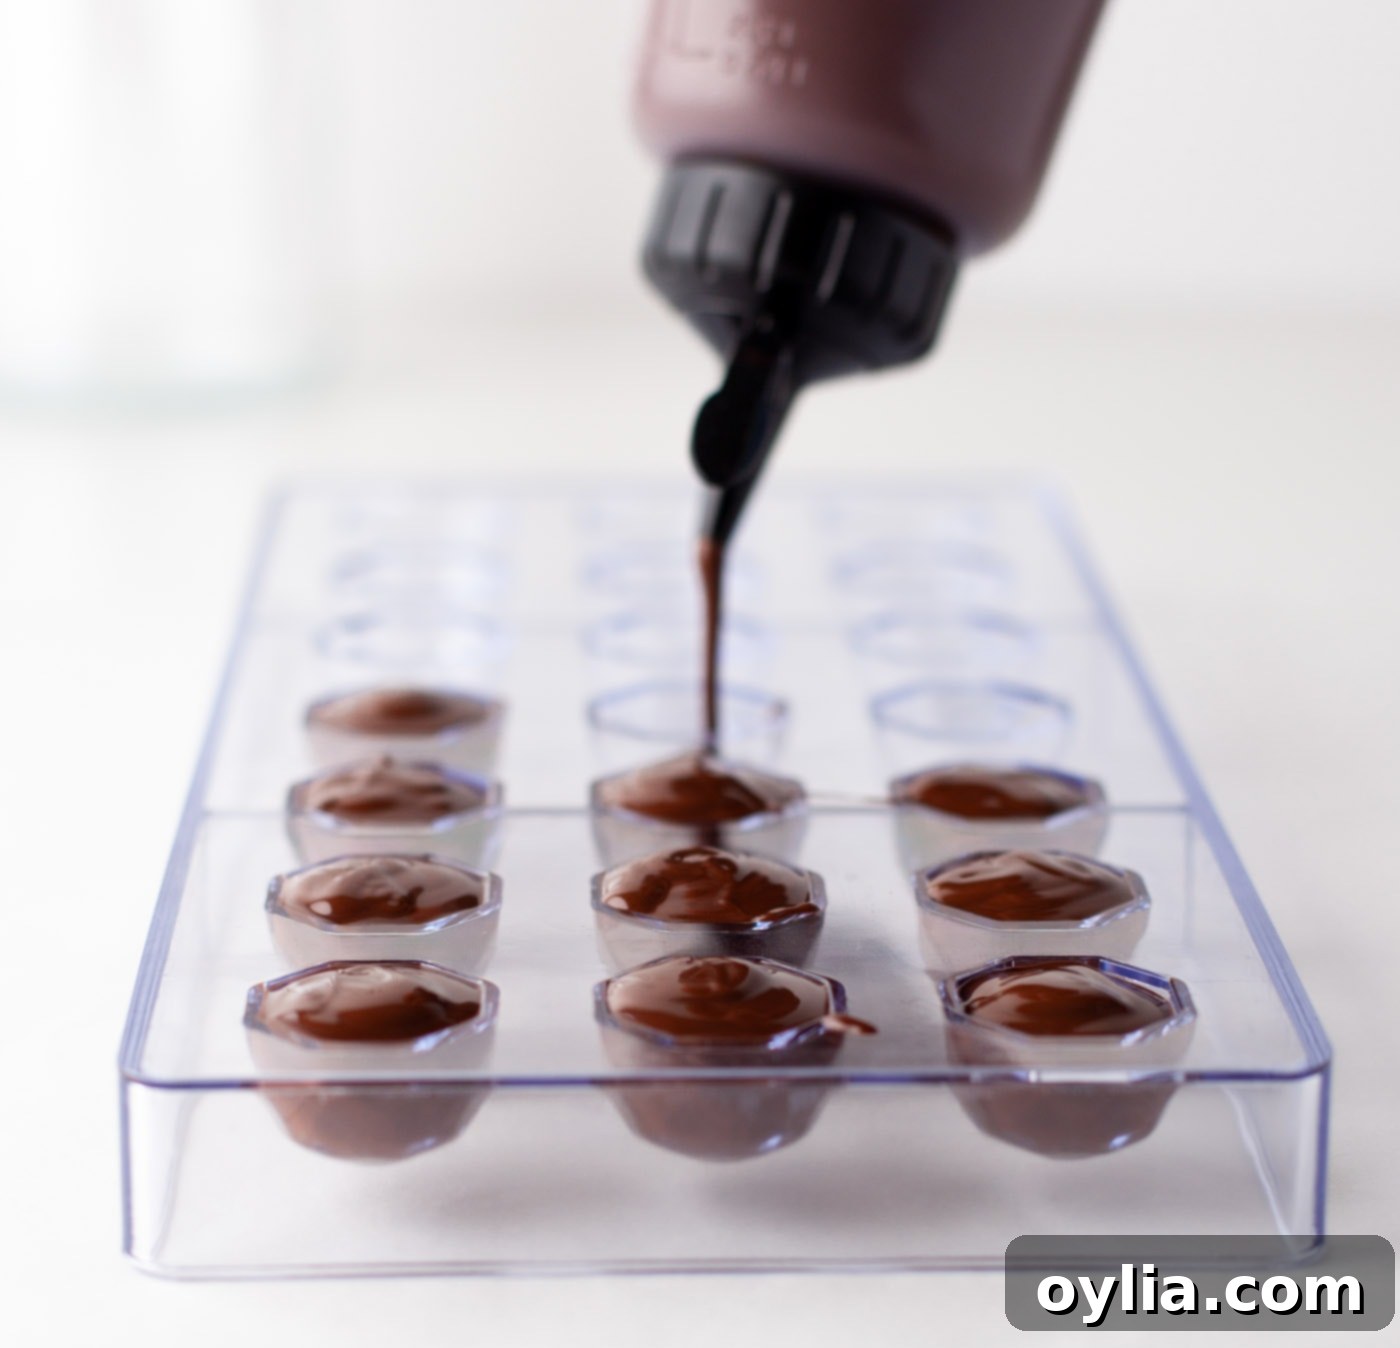
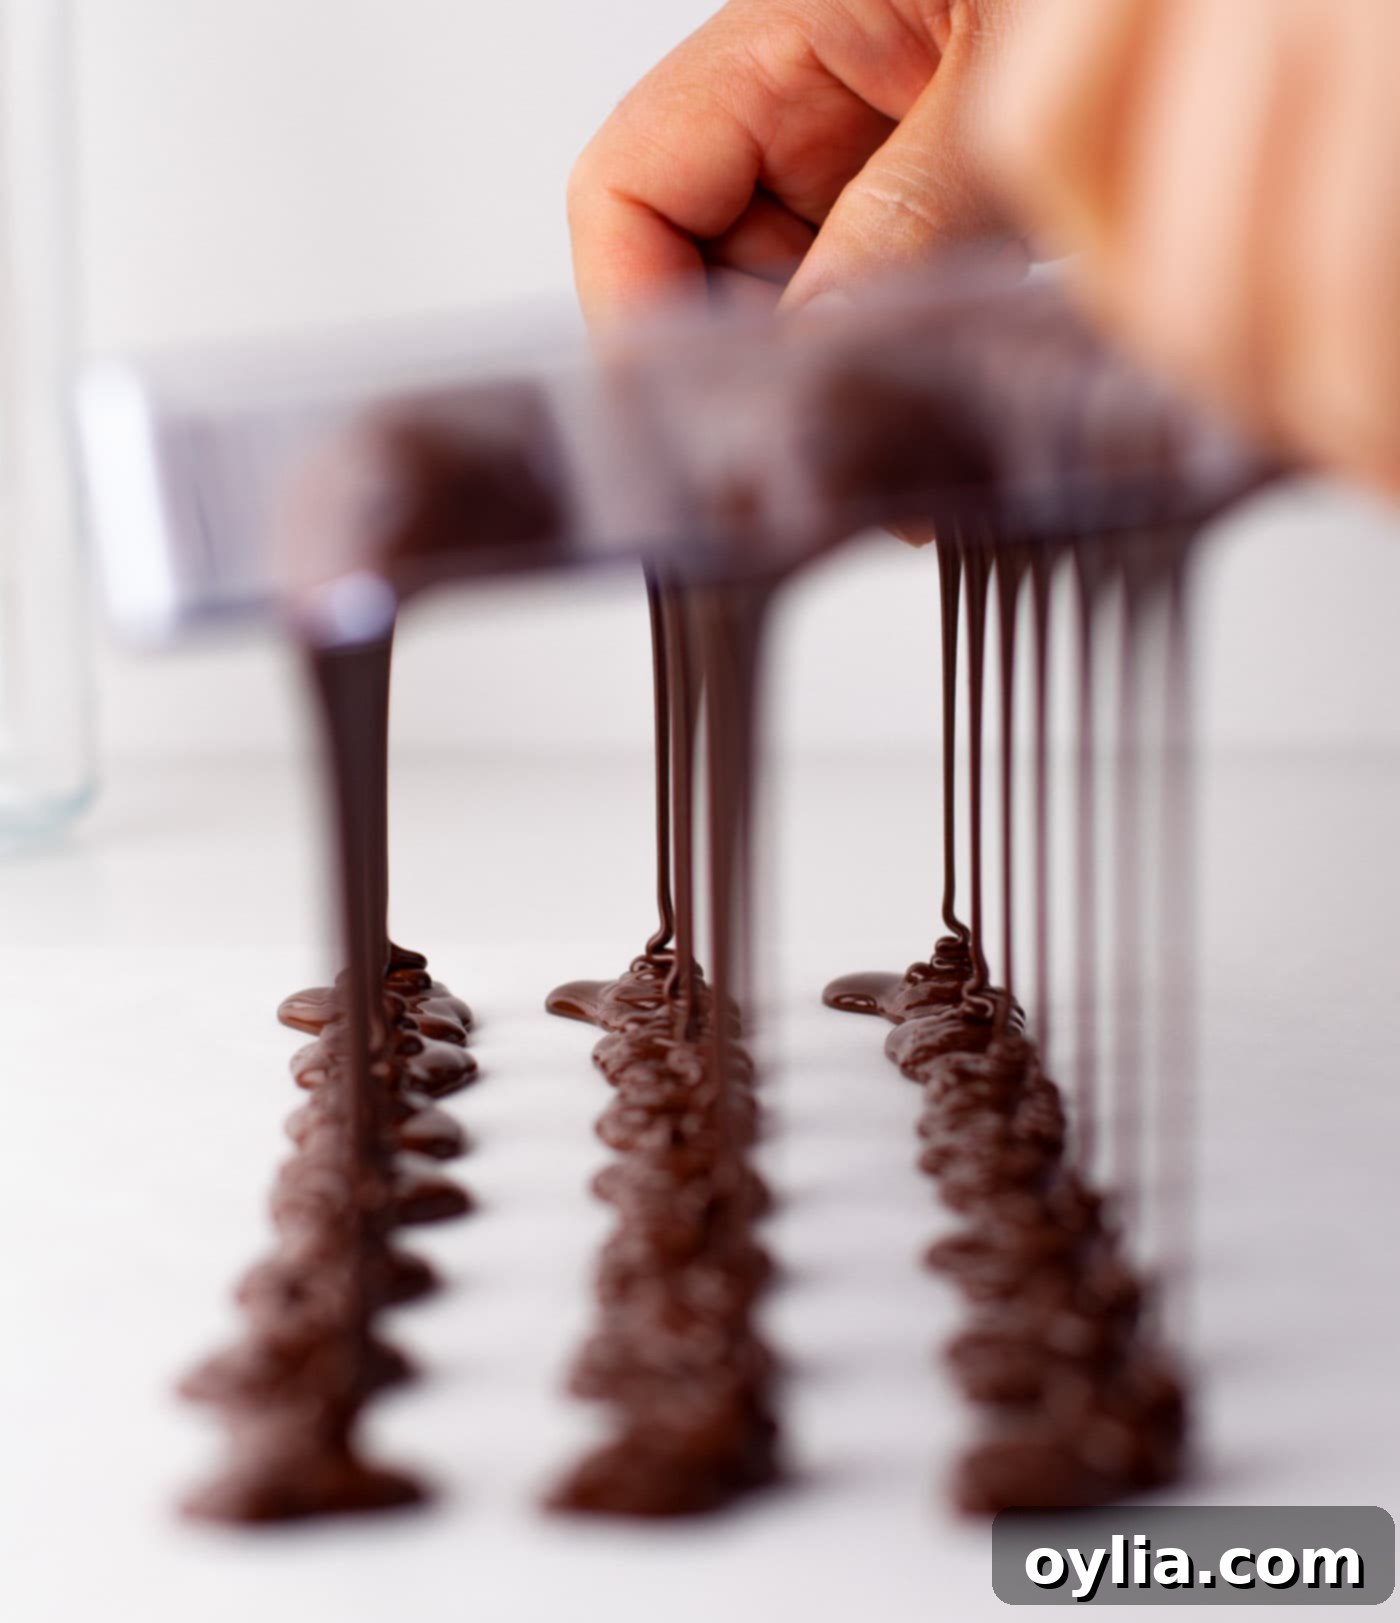
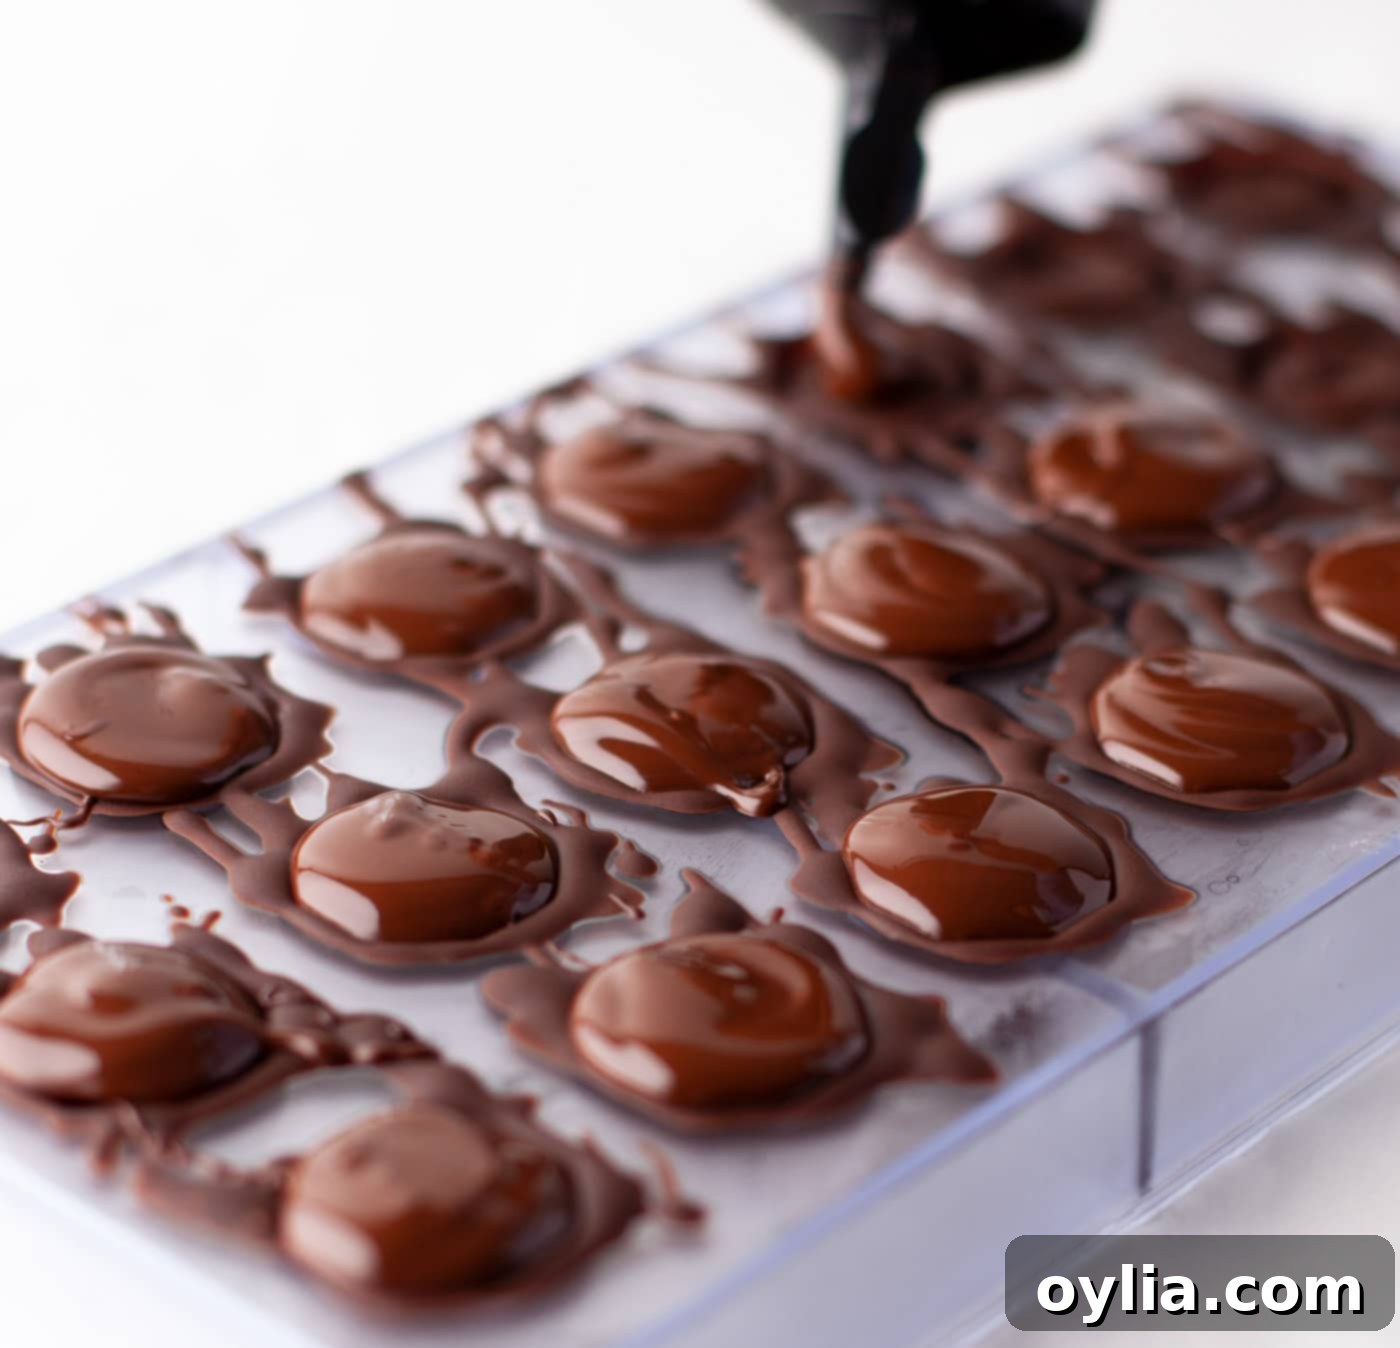
- Mold the Chocolate Shells: Using your chosen polycarbonate chocolate mold, fill each cavity generously with the melted chocolate coating. For precision and minimal mess, I highly recommend using a piping bag, a squeeze bottle, or even a sturdy ziptop bag with a small corner snipped off. Once filled, immediately turn the mold upside down over a piece of parchment paper. Tap it gently to allow the excess chocolate to drip out, leaving a thin, even layer of chocolate coating inside each cavity. Now, turn the mold right-side up and let the chocolate set for a little while, until the ganache is ready. This thin shell is what gives the truffles their delicate crunch.


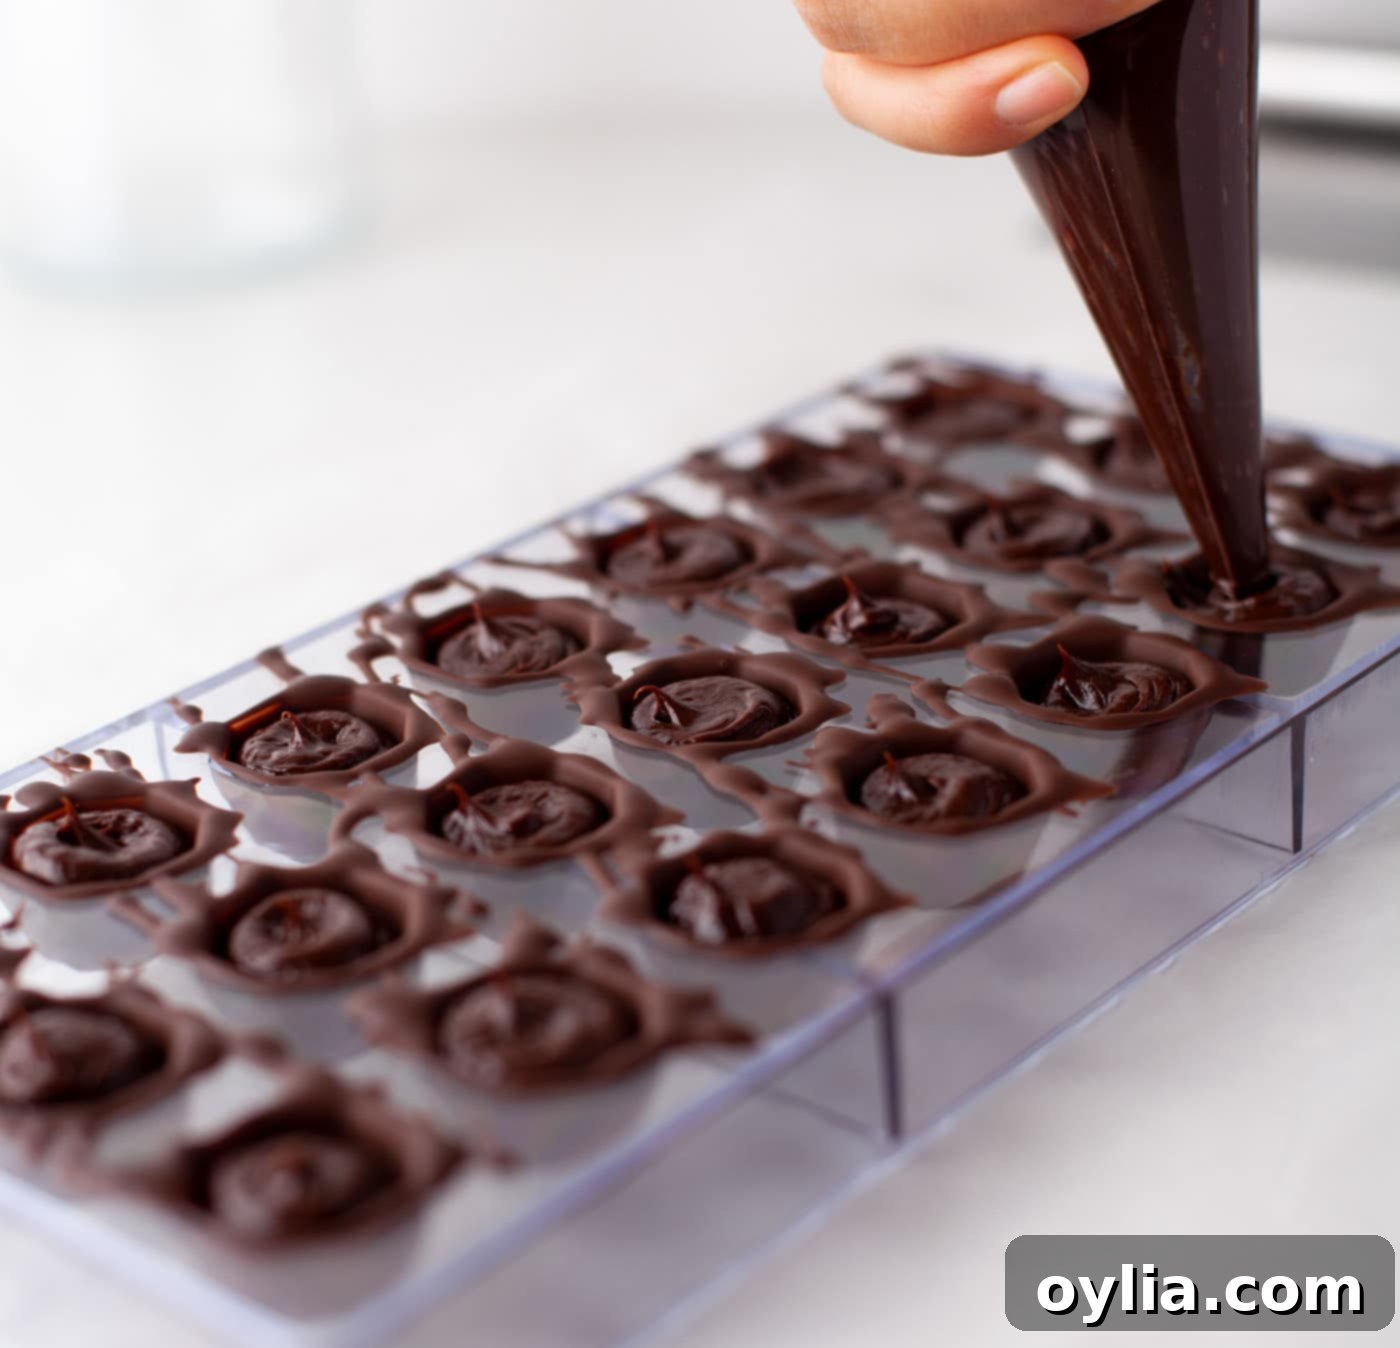
- Fill with Ganache: Transfer your chilled ganache into a clean piping bag. Carefully pipe the ganache filling into each chocolate-lined mold cavity, filling them approximately 3/4 full. Leave a small space at the top for the final chocolate seal. Allow the filled molds to sit for about 10 minutes at room temperature, which helps the ganache slightly set and ensures better adhesion with the sealing chocolate.

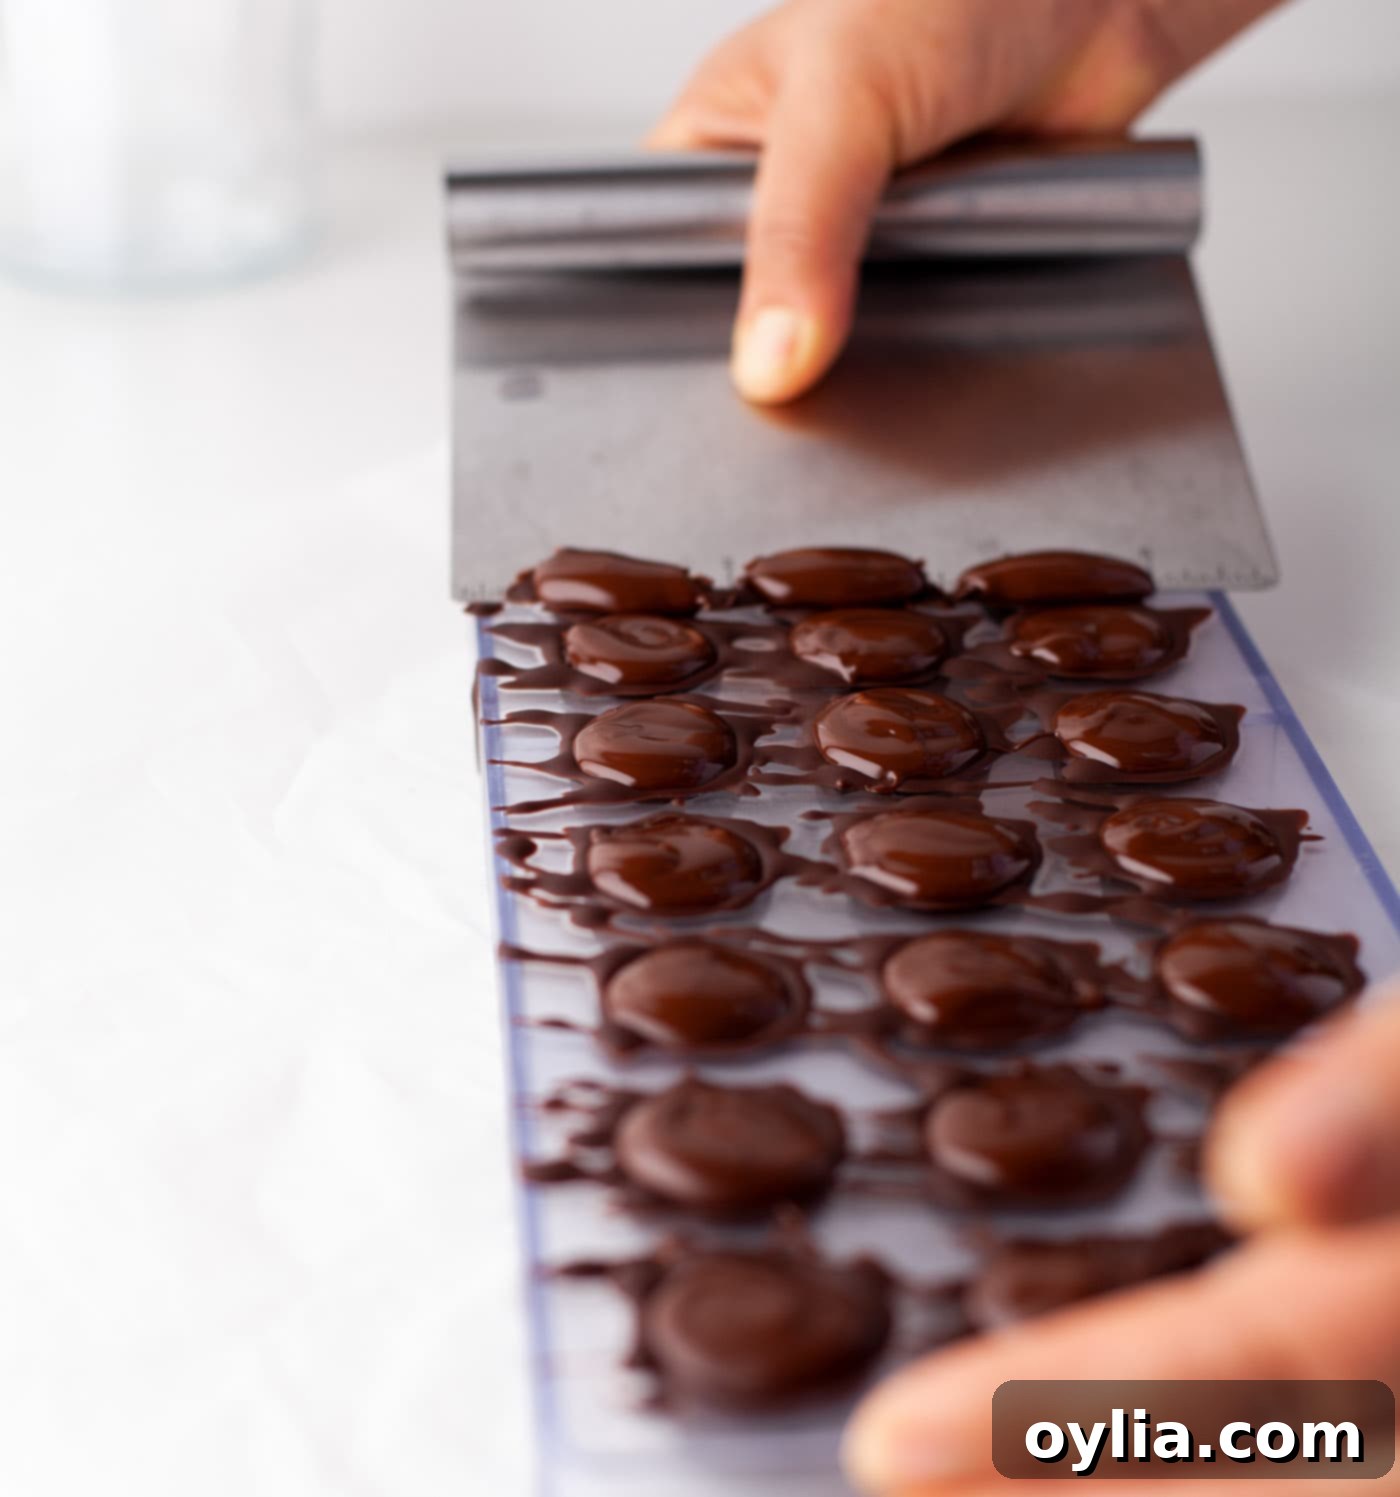
- Seal and Chill: After the 10-minute resting period for the ganache, add a bit more of your melted chocolate coating on top of each cavity to seal the truffles. Immediately use a rubber spatula or bench scraper to firmly and cleanly scrape the top of the mold, removing any excess chocolate and creating a flat, professional bottom for your truffles. This also ensures a proper seal.


- Final Set & Garnish: Place the filled and sealed molds into the freezer for 30 to 45 minutes, or until the truffles are completely hardened and easily release from the mold. Once firm, gently pop them out of the mold. For a classic garnish, dust the tops of your truffles with unsweetened cocoa powder just before serving. You can also get creative with other toppings!
Frequently Asked Questions & Expert Tips for Perfect Chocolate Truffles
For this specific recipe, we strongly suggest using a polycarbonate chocolate mold. The ganache filling we’ve created is designed to be silky and soft, making it unlikely to hold a perfectly round shape on its own if you were to just roll it. The mold is crucial for achieving that beautiful, crisp shell and preventing the ganache from becoming sticky or losing its shape. While some truffle recipes involve rolling a firmer ganache, this one is specifically optimized for the molded technique to deliver the best results.
To maintain their freshness and delicate texture, store your homemade truffles in an airtight container in the refrigerator for up to 2 weeks. This also helps keep the chocolate coating firm and prevents it from becoming sticky. While they can be kept at room temperature for around 4 days, especially in a cool environment, be aware that the chocolate coating may become slightly soft and sticky to the touch, and the ganache might be too soft. For the best experience, bring them to room temperature for about 10-15 minutes before serving to allow the flavors to fully develop.
Absolutely! While the recipe calls for semi-sweet chocolate chips for a balanced flavor, feel free to experiment. You can substitute with dark chocolate chips for a more intense, less sweet truffle. If you prefer a sweeter, milder truffle, milk chocolate chips can be used for both the ganache and coating. Just be aware that milk chocolate typically has a lower melting point and a softer set, so the ganache might be a bit softer, and you might need to chill it slightly longer. Always use good quality chocolate for the best flavor and texture.
The possibilities are endless! Once your ganache is made and cooled slightly (before chilling), you can stir in a variety of flavorings:
- Extracts: A few drops of vanilla extract, peppermint extract, almond extract, or orange extract.
- Liqueurs: A tablespoon or two of Kahlúa, Grand Marnier, Bailey’s Irish Cream, rum, or your favorite coffee liqueur.
- Spices: A pinch of cinnamon, chili powder, or instant espresso powder for a mocha kick.
- Zest: Finely grated orange or lemon zest for a bright, citrusy note.
Always add flavorings gradually and taste as you go to achieve your desired intensity.
A dull chocolate coating can happen for a few reasons. The most common cause is overheating the chocolate when melting, which can cause it to “bloom” or crystallize incorrectly. Ensure you melt chocolate gently, preferably in short bursts in the microwave, stirring frequently, or using a double boiler. The addition of coconut oil in this recipe helps with shine, so make sure it’s fully incorporated. Also, ensure your molds are perfectly clean and dry before use. Finally, proper chilling and then allowing the truffles to come to a slightly cooler room temperature before dusting can help maintain the shine.
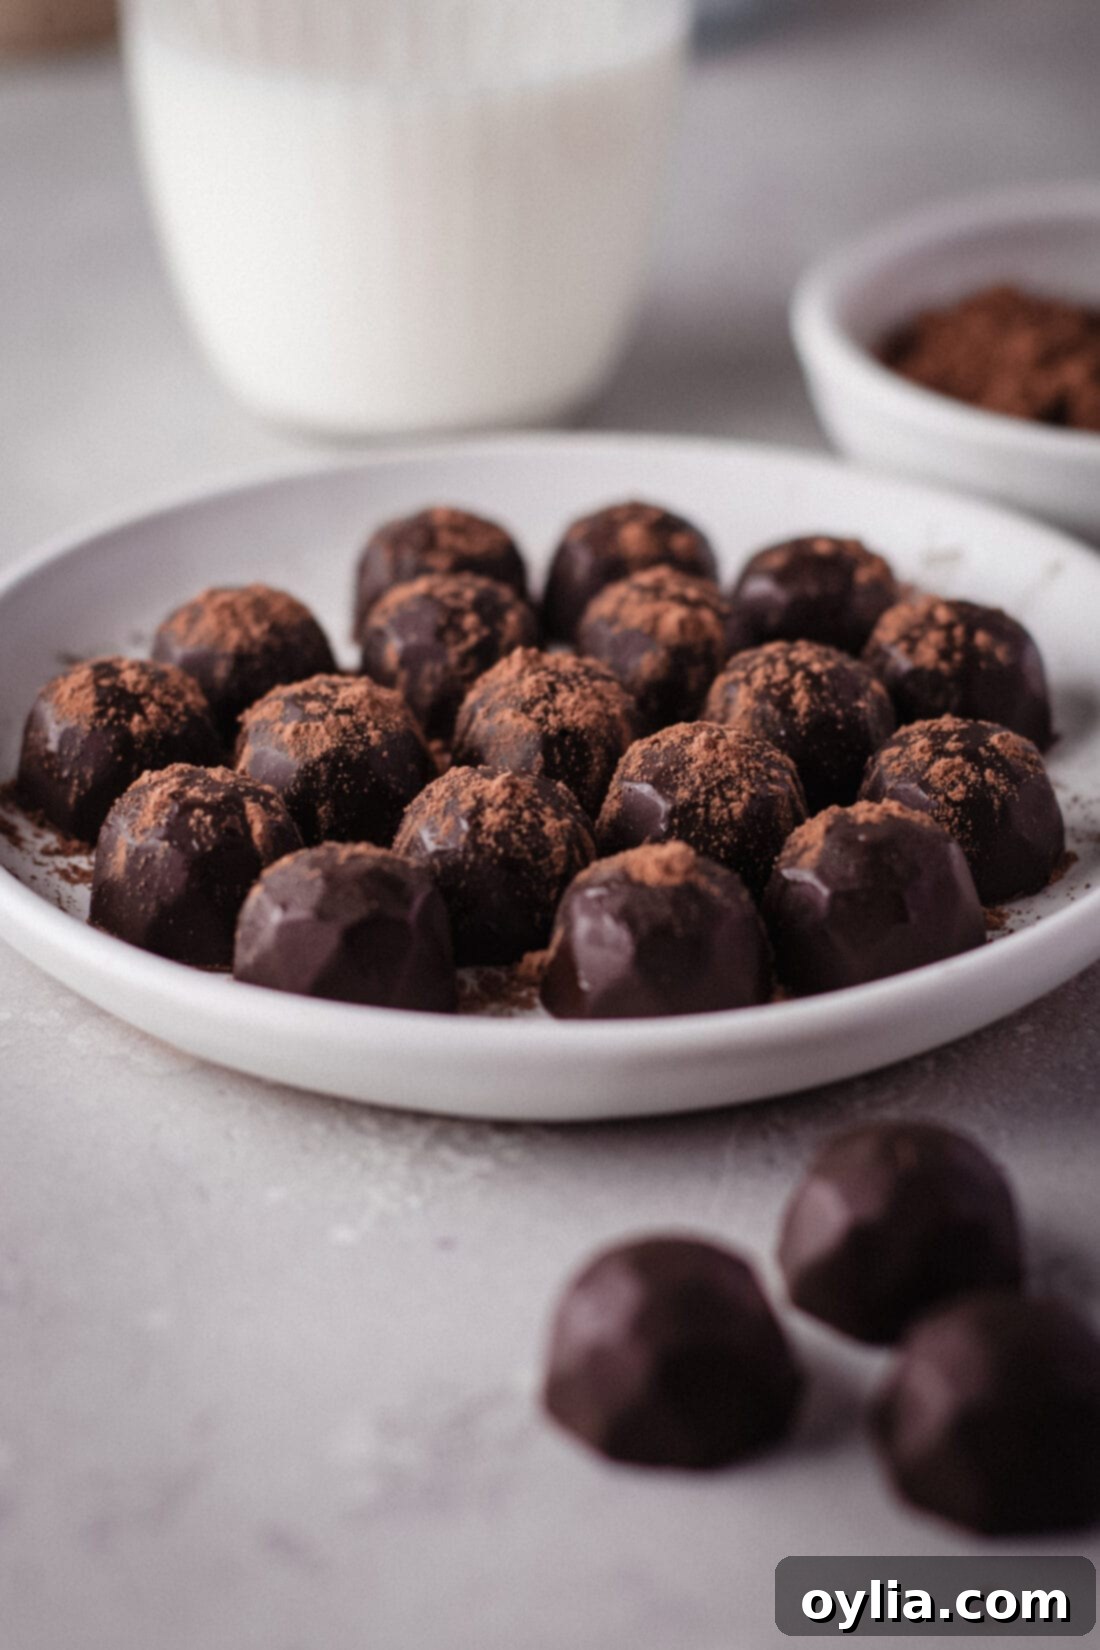
Elegant Serving & Gifting Ideas for Your Chocolate Truffles
These homemade chocolate truffles are so versatile, they’re perfect for almost any occasion. Here are a few ideas to elevate your serving and gifting:
- Gift Giving: If you’re looking to present these exquisite chocolate truffles as a gift, wrap them individually in small cellophane bags tied with a festive ribbon or arrange them neatly in an elegant candy box. Consider placing them in mini cupcake liners within the box for added charm and protection. Always advise the recipient to refrigerate them to maintain their perfect texture and prevent melting, especially if they won’t be consumed immediately. They make wonderful hostess gifts, holiday treats, or thoughtful tokens for friends and family.
- Dessert Platter: Arrange your truffles on a beautiful dessert platter alongside other small treats like fresh berries, shortbread cookies, or macarons. Their rich appearance makes them a focal point.
- Coffee & Tea Pairing: These truffles are a divine accompaniment to a freshly brewed cup of coffee, a rich espresso, or even a soothing cup of black tea. The slight bitterness of the beverages complements the sweetness of the chocolate beautifully.
- After-Dinner Treat: Serve them as a sophisticated conclusion to a meal, perhaps with a glass of port wine, a dessert liqueur, or a sparkling wine.
- Special Occasions: Whether it’s a birthday, anniversary, or a holiday gathering, these truffles add a touch of gourmet elegance that will surely be appreciated.
Explore More Delicious Homemade Candy Recipes
If you’ve enjoyed making these delightful chocolate truffles, you’re in for a treat! Our kitchen is filled with more easy-to-follow recipes for homemade candies that are sure to satisfy your sweet tooth and impress your loved ones. From classic confections to unique delights, there’s always something new to create. Dive into our collection and discover your next favorite homemade treat:
- Potato Candy
- Candied Pecans
- Saltine Toffee
- Chocolate Turtles
- Microwave Caramels
- Marbled Mocha Hot Cocoa Bombs
Each of these recipes is crafted with simplicity and deliciousness in mind, ensuring a rewarding experience for every home cook.
I love to bake and cook and share my kitchen experience with all of you! Remembering to come back each day can be tough, that’s why I offer a convenient newsletter every time a new recipe posts. Simply subscribe and start receiving your free daily recipes!
Chocolate Truffles
IMPORTANT – There are often Frequently Asked Questions within the blog post that you may find helpful. Simply scroll back up to read them!
Print It
Pin It
Rate It
Save ItSaved!
Ingredients
Ganache Filling
- 1 cup whipping cream
- 1 ¼ cup semi-sweet chocolate chips
Chocolate Coating
- ½ Tbsp coconut oil
- 1 cup semi-sweet chocolate chips
- cocoa powder dusted, for garnish
Things You’ll Need
-
Polycarbonate Chocolate Mold
-
Saucepan
-
Piping bag
Before You Begin
- Store the truffles in the refrigerator for up to 2 weeks.
- You may substitute with dark chocolate chips if preferred.
Instructions
-
Heat cream in a saucepan over high heat and remove it just before it is boiling.
-
Add the chocolate chips and allow the mixture to temper for 5 to 10 minutes. Stir until combined.
-
Place in the refrigerator for 25 to 30 minutes until thickened.
-
In the meantime, melt the chocolate for the coating in the microwave at 20 second intervals until completely melted. Add the coconut oil and mix. Make sure the oil melts smoothly and that there are no lumps.
-
Fill the mold with the melted chocolate coating. I recommend using a piping bag, squeeze bottle, or a ziptop bag with the edge snipped off for this. Turn the mold upside down above some parchment paper, until the excess chocolate has dripped out. Now turn the mold how it normally sits for a little while so the chocolate can set until the ganache is ready.
-
Add the ganache filling into each mold filling them 3⁄4 full with a piping bag and let it sit about 10 minutes before sealing.
-
After 10 minutes add a bit more chocolate coating to seal. Immediately, scrape the mold to remove the excess chocolate on top. Place in the freezer for 30 – 45 minutes or until they are hardened. For extra garnish, you can use cocoa powder on top of the truffles.
Nutrition
The recipes on this blog are tested with a conventional gas oven and gas stovetop. It’s important to note that some ovens, especially as they age, can cook and bake inconsistently. Using an inexpensive oven thermometer can assure you that your oven is truly heating to the proper temperature. If you use a toaster oven or countertop oven, please keep in mind that they may not distribute heat the same as a conventional full sized oven and you may need to adjust your cooking/baking times. In the case of recipes made with a pressure cooker, air fryer, slow cooker, or other appliance, a link to the appliances we use is listed within each respective recipe. For baking recipes where measurements are given by weight, please note that results may not be the same if cups are used instead, and we can’t guarantee success with that method.
