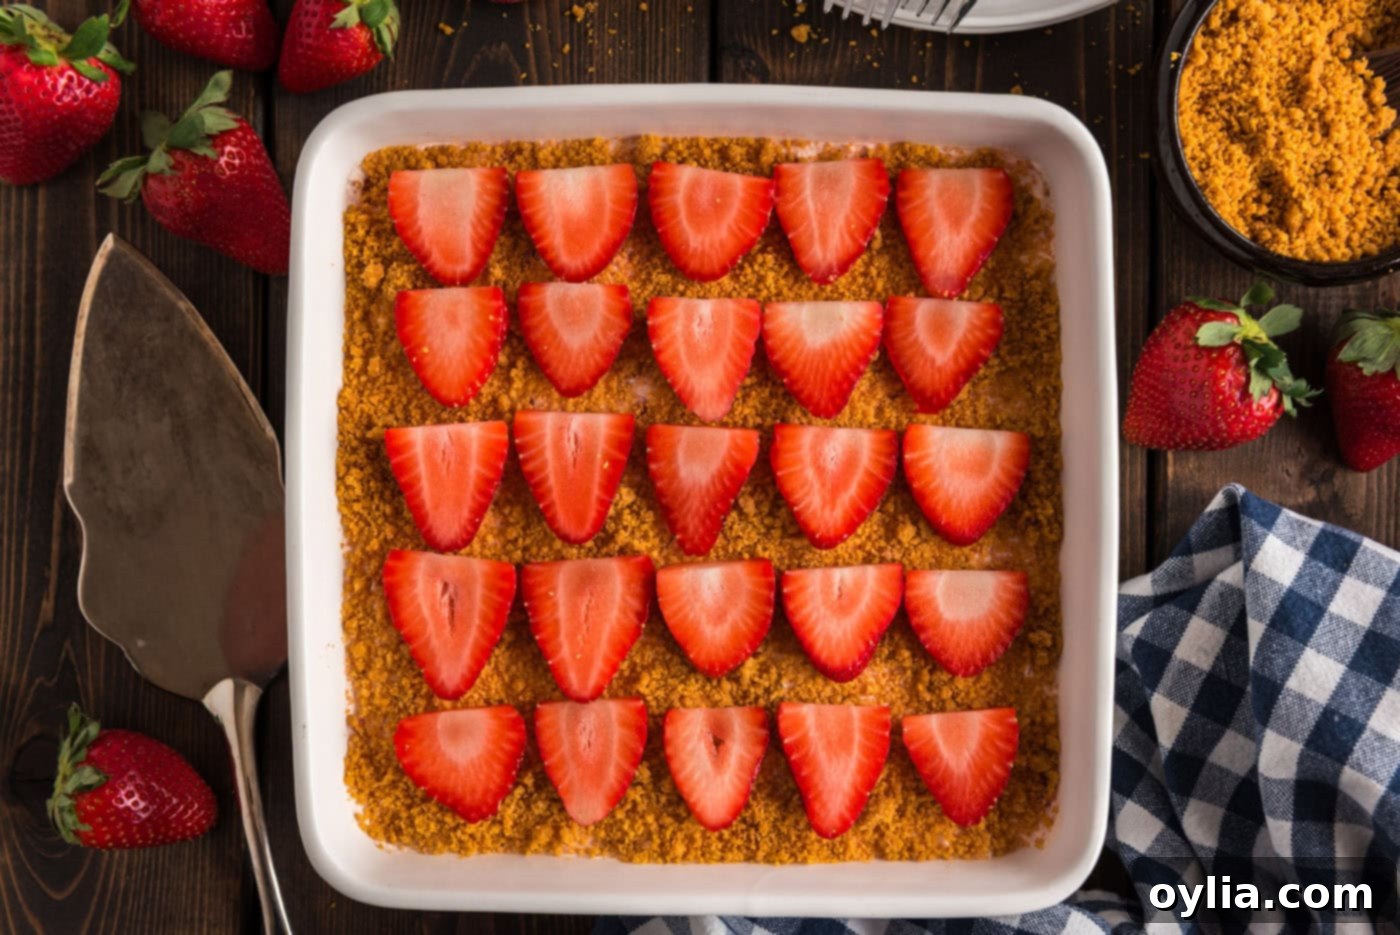
Irresistible Strawberry Dream Dessert: Your Ultimate No-Bake Summer Treat
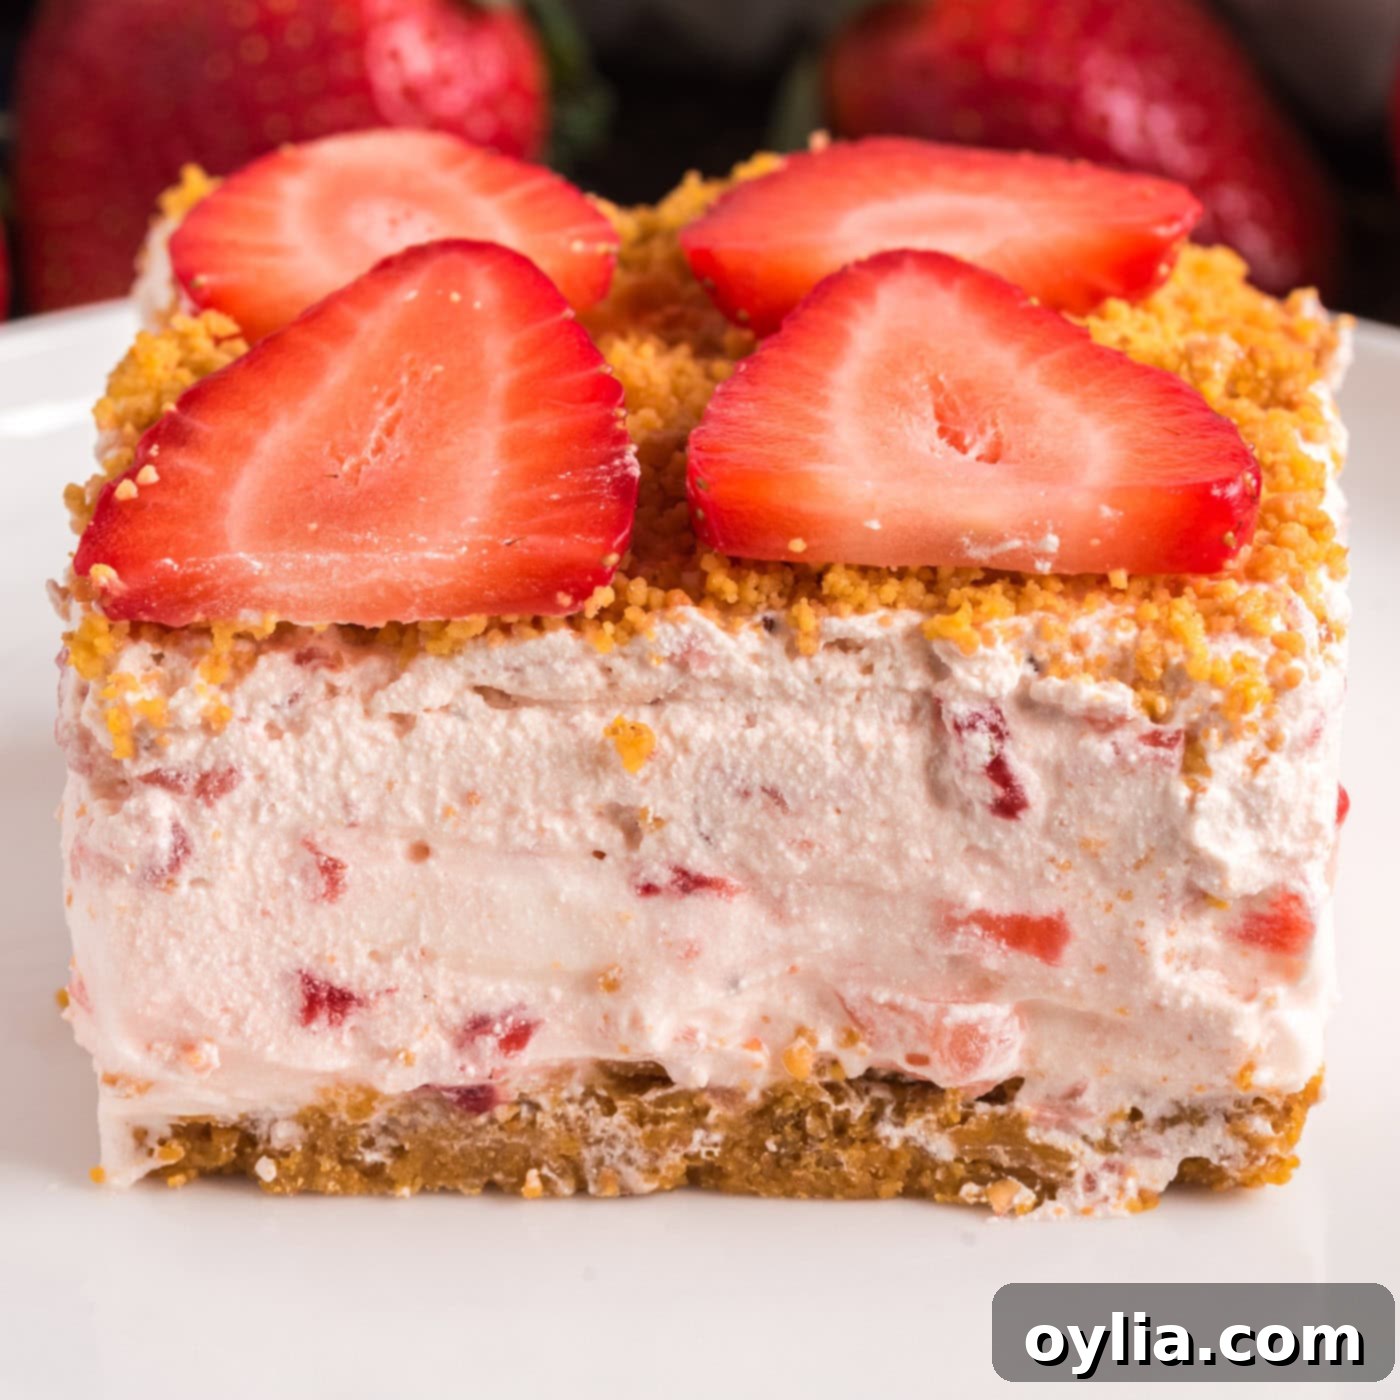
Prepare to fall in love with the ultimate summer indulgence: our Strawberry Dream Dessert! This exquisite treat combines a rich, creamy filling, bursting with the freshness of sweet strawberries, all nestled atop a perfectly buttery graham cracker crust. Whether you prefer a classic baked crust or a convenient no-bake option for those scorching summer days, this recipe has you covered. It’s a dessert that not only looks stunning with its vibrant red and white layers but also delivers an unforgettable taste experience that will leave everyone dreaming of strawberries.
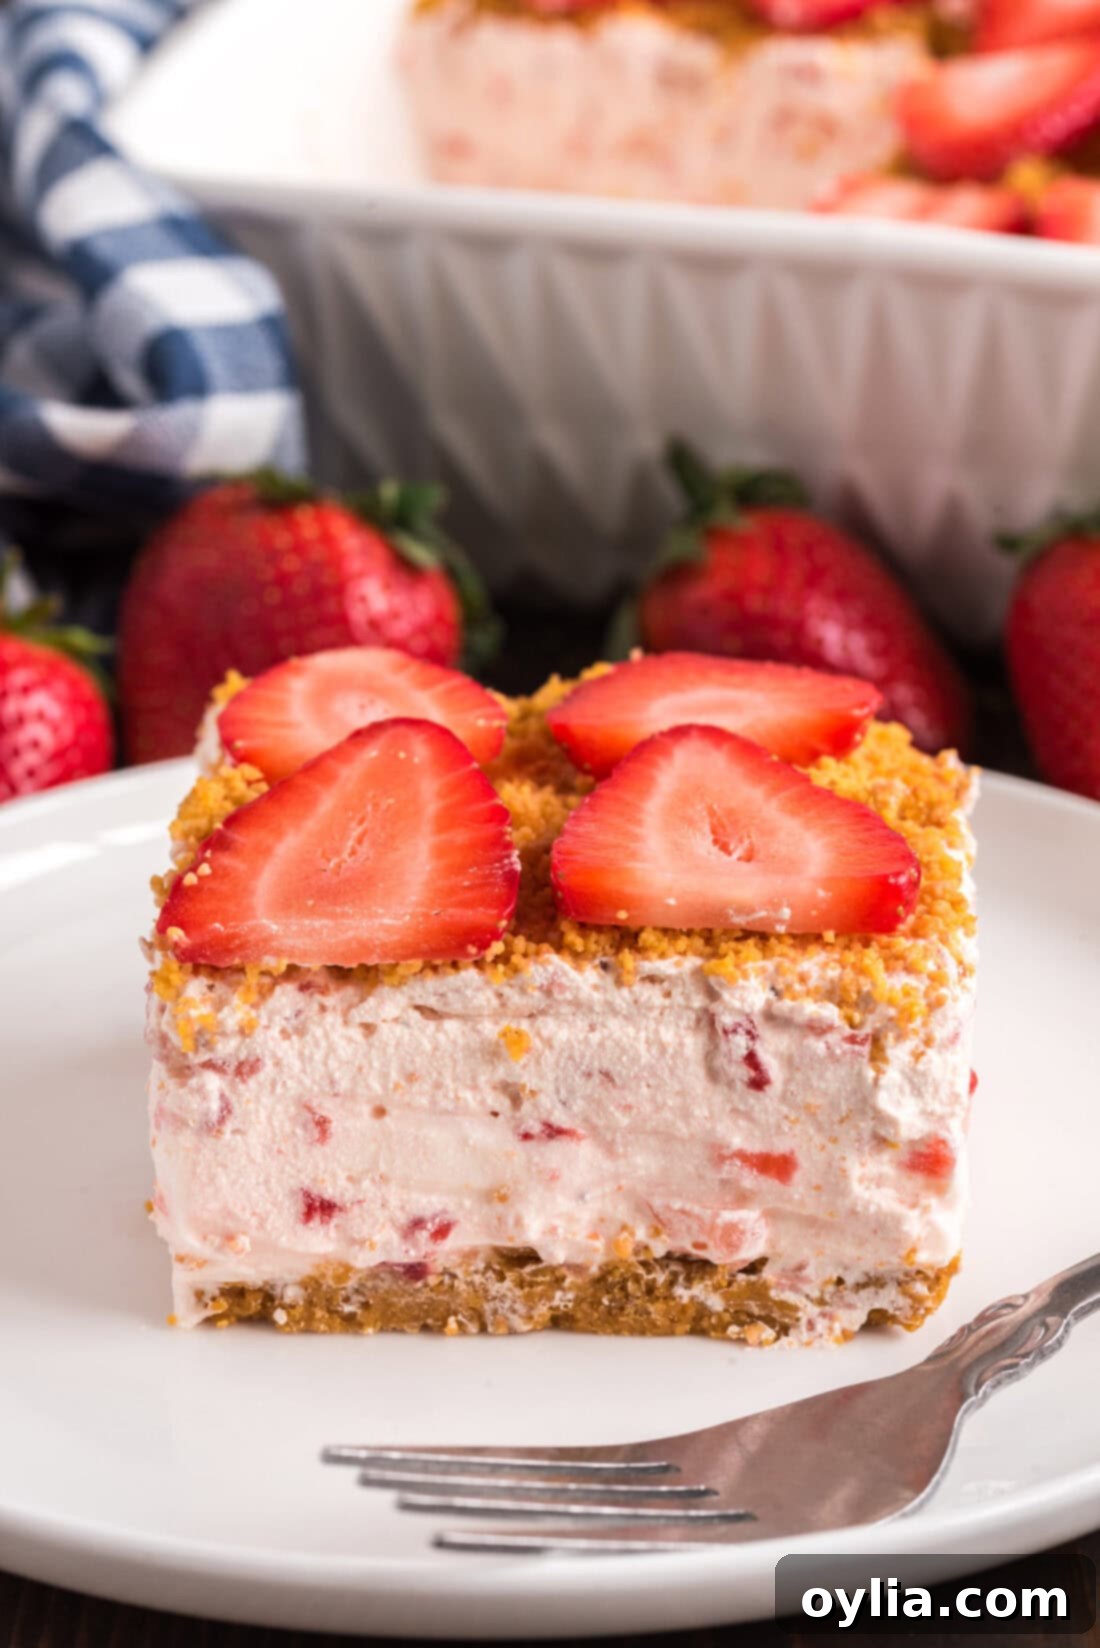
Why This Strawberry Dream Dessert Will Be Your New Favorite
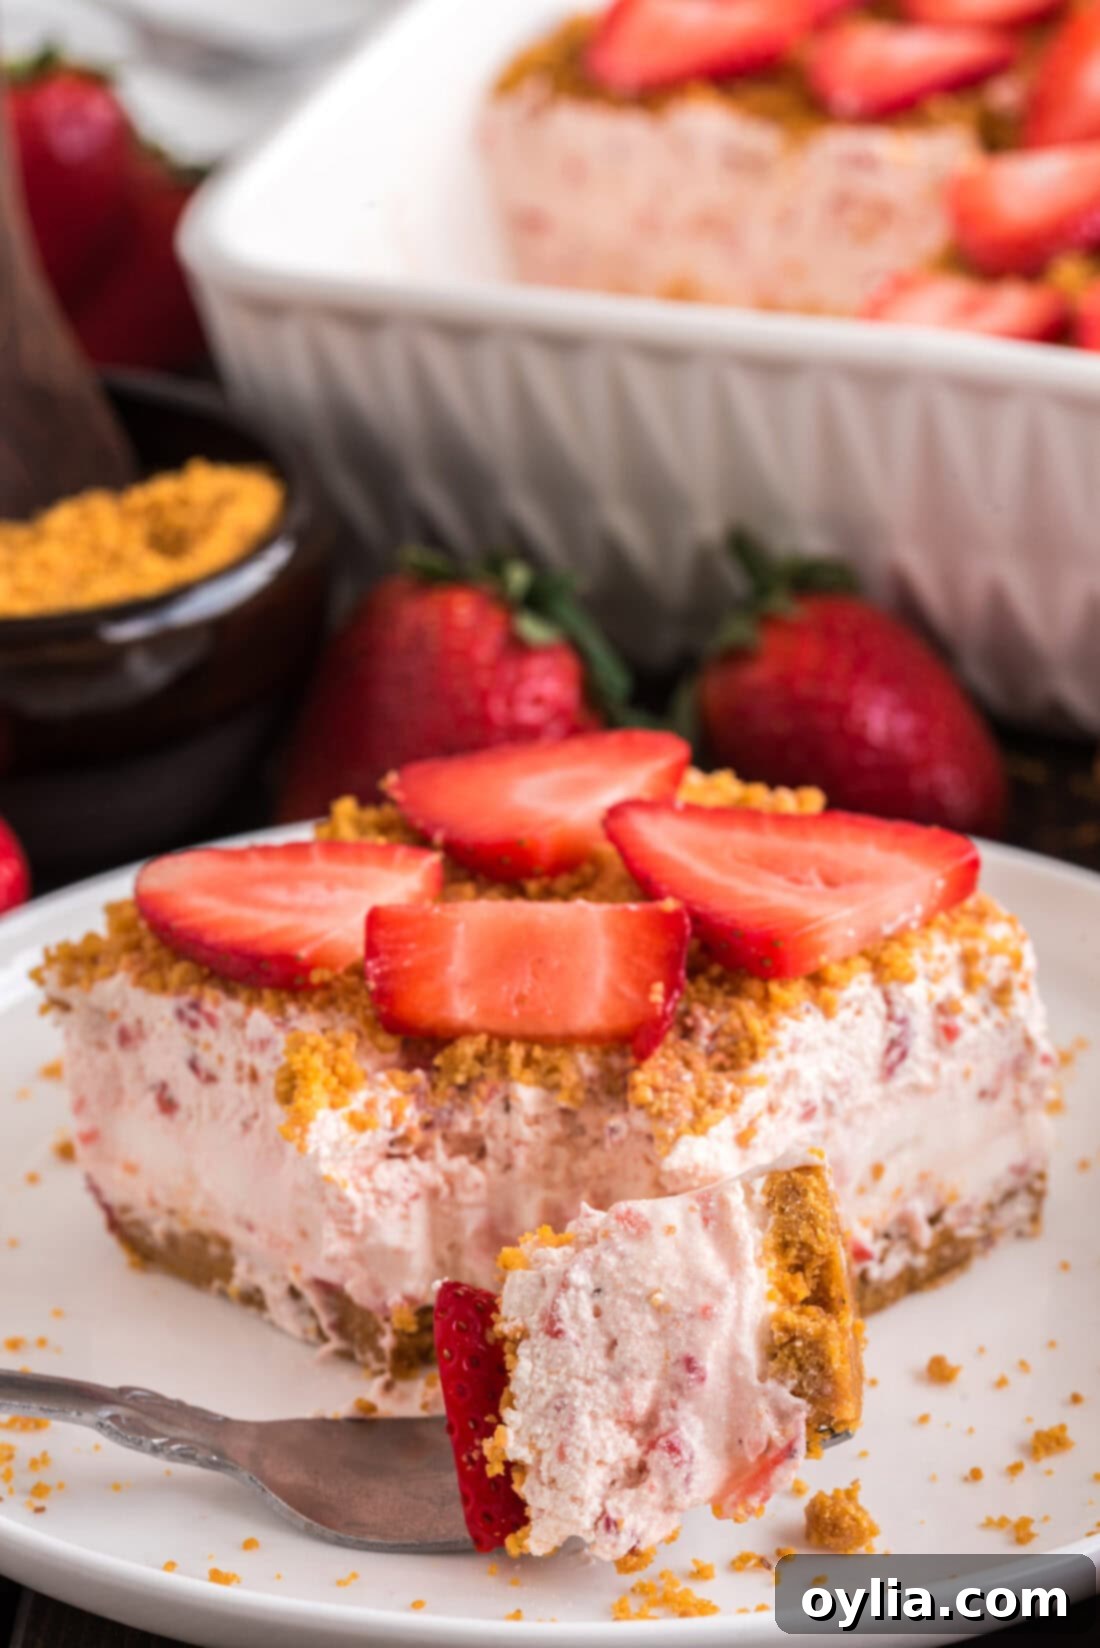
Much like its popular cousin, the Pineapple Dream Dessert, this Strawberry Dream Dessert is a true showstopper. What makes it so special? It’s a delightful blend of simplicity and sophistication. The dessert boasts a lush, airy, and light texture, making it the quintessential treat for warm weather. Every bite offers a refreshing burst of strawberry flavor perfectly complemented by the rich, smooth creaminess of the filling.
This recipe truly shines for its straightforward preparation. You can whip up this dreamy dessert in approximately 25 minutes, not including the essential chill time. Its success lies in using simple, readily available ingredients: powdered sugar, butter, cream cheese, Cool Whip, and, of course, an abundance of fresh, juicy strawberries. The foundation is a classic graham cracker crust, which we typically bake for a crisp texture, but we’ve thoughtfully included a no-bake option for those days when turning on the oven is simply out of the question. Get ready to create a dessert that will impress without the stress!
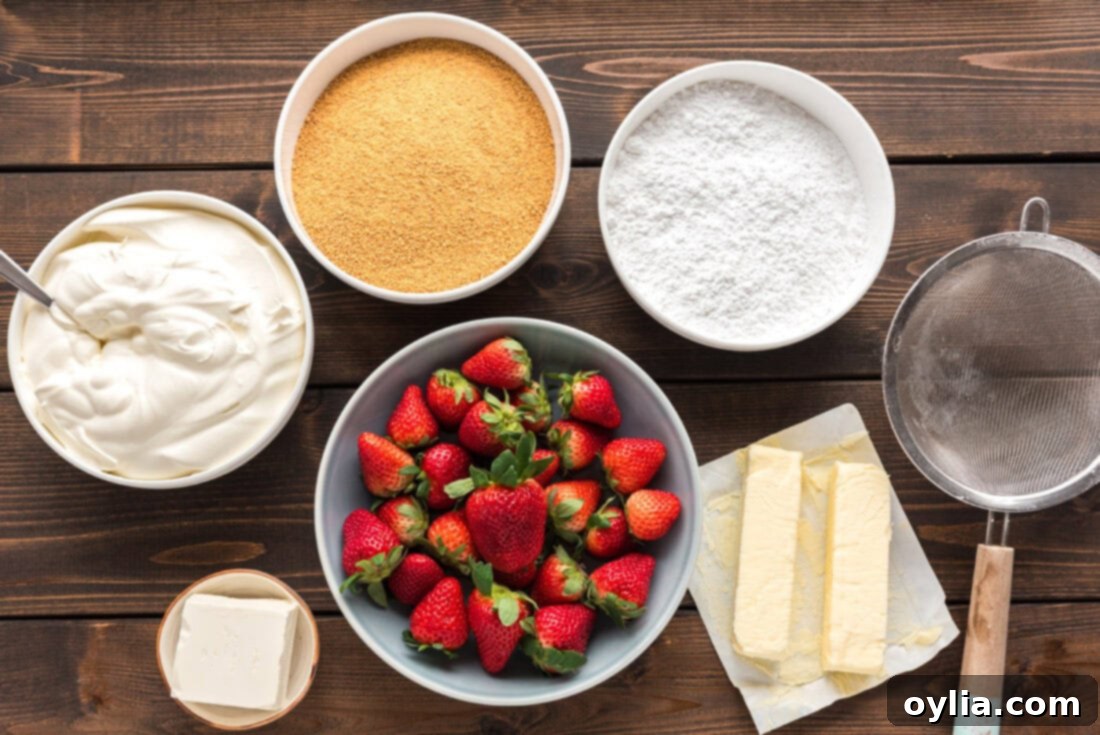
Gather Your Ingredients for This Dreamy Dessert
To embark on your Strawberry Dream Dessert journey, you’ll need a handful of fresh and pantry staples. Find the complete list of measurements, specific ingredients, and detailed instructions in the printable recipe card located towards the end of this post. For now, let’s take a look at the key components that make this dessert so special.
Ingredient Breakdown & Expert Substitution Tips
Understanding each ingredient’s role and knowing a few tricks can elevate your dessert from good to absolutely divine. Here’s a detailed look at the core components:
The Perfect Graham Cracker Crust
CRUST – The foundation of our Strawberry Dream Dessert is a crisp, buttery graham cracker crust. While a food processor or blender can quickly turn graham crackers into fine crumbs, don’t feel limited. For a simple and satisfying alternative, place two sleeves of graham crackers in a gallon-sized zipper plastic bag and crush them thoroughly with a rolling pin. This method is just as effective and sometimes even more fun! You’ll combine these crumbs with melted butter, creating a cohesive mixture that forms the base. Remember to reserve some crumbs for a delightful topping later.
Fresh Strawberries: The Star of the Show
STRAWBERRIES – For the most vibrant flavor and ideal texture in this dessert, fresh, plump strawberries are absolutely essential. Their natural sweetness and slight tartness provide the perfect balance to the creamy layers. We strongly advise against using frozen strawberries directly, as they tend to release excessive liquid upon thawing, which can compromise the dessert’s consistency. If frozen strawberries are your only option, be sure to thaw them completely and thoroughly pat them dry to remove as much moisture as possible before use. Instead of finely chopping, a quick pulse in a food processor or blender will break the strawberries into chunks, releasing just the right amount of their delicious juice and maximizing that amazing berry flavor throughout the filling.
Creamy Indulgence: Cream Cheese and Cool Whip
- Cream Cheese: Opt for full-fat cream cheese, softened to room temperature. This ensures a smooth, lump-free mixture when beaten with butter and powdered sugar, creating that irresistible creamy layer.
- Cool Whip: This provides the light, airy texture that truly makes this a “dream” dessert. While homemade whipped cream can be substituted, Cool Whip offers a stable, consistent texture that holds up beautifully, especially when chilled.
- Unsalted Butter & Powdered Sugar: These staples work together to create the rich, sweet base for the creamy filling, with powdered sugar dissolving seamlessly for a silky-smooth texture.
Crafting Your Delicious Strawberry Dream Dessert: A Step-by-Step Guide
These step-by-step photos and detailed instructions are provided to help you visualize each stage of making this incredible dessert. For a printable version of this recipe, complete with precise measurements and comprehensive instructions, please Jump to the Recipe Card at the bottom of the page.
- Prepare the Oven and Crust Ingredients: Begin by preheating your oven to 300°F (150°C). Melt the butter for the crust in the microwave and set it aside to cool slightly. In a bowl, combine the graham cracker crumbs with the cooled melted butter. Toss them together until the crumbs are evenly moistened and incorporated. This creates a cohesive mixture for your crust.
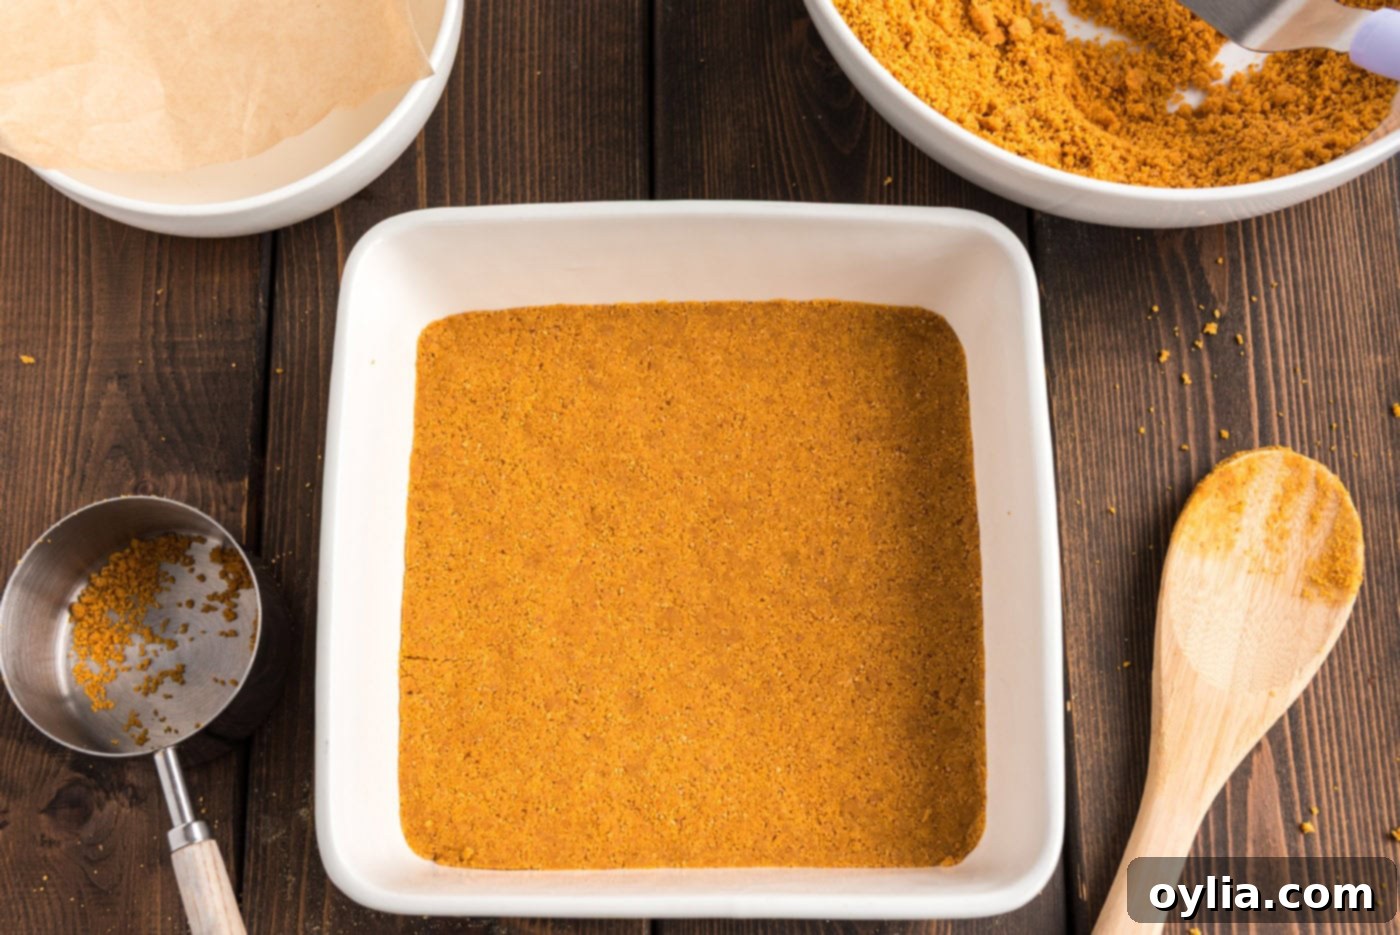
- Form and Bake the Crust: Firmly but gently press about 2 cups of this crumb mixture into the bottom of a 9×9 square baking pan. Ensure an even layer. Bake this crust for 8-10 minutes until lightly golden and fragrant. Once baked, remove the pan from the oven and place it on a wire rack to cool completely. Don’t forget to reserve any remaining crumb mixture – it will be used later as a delightful topping!

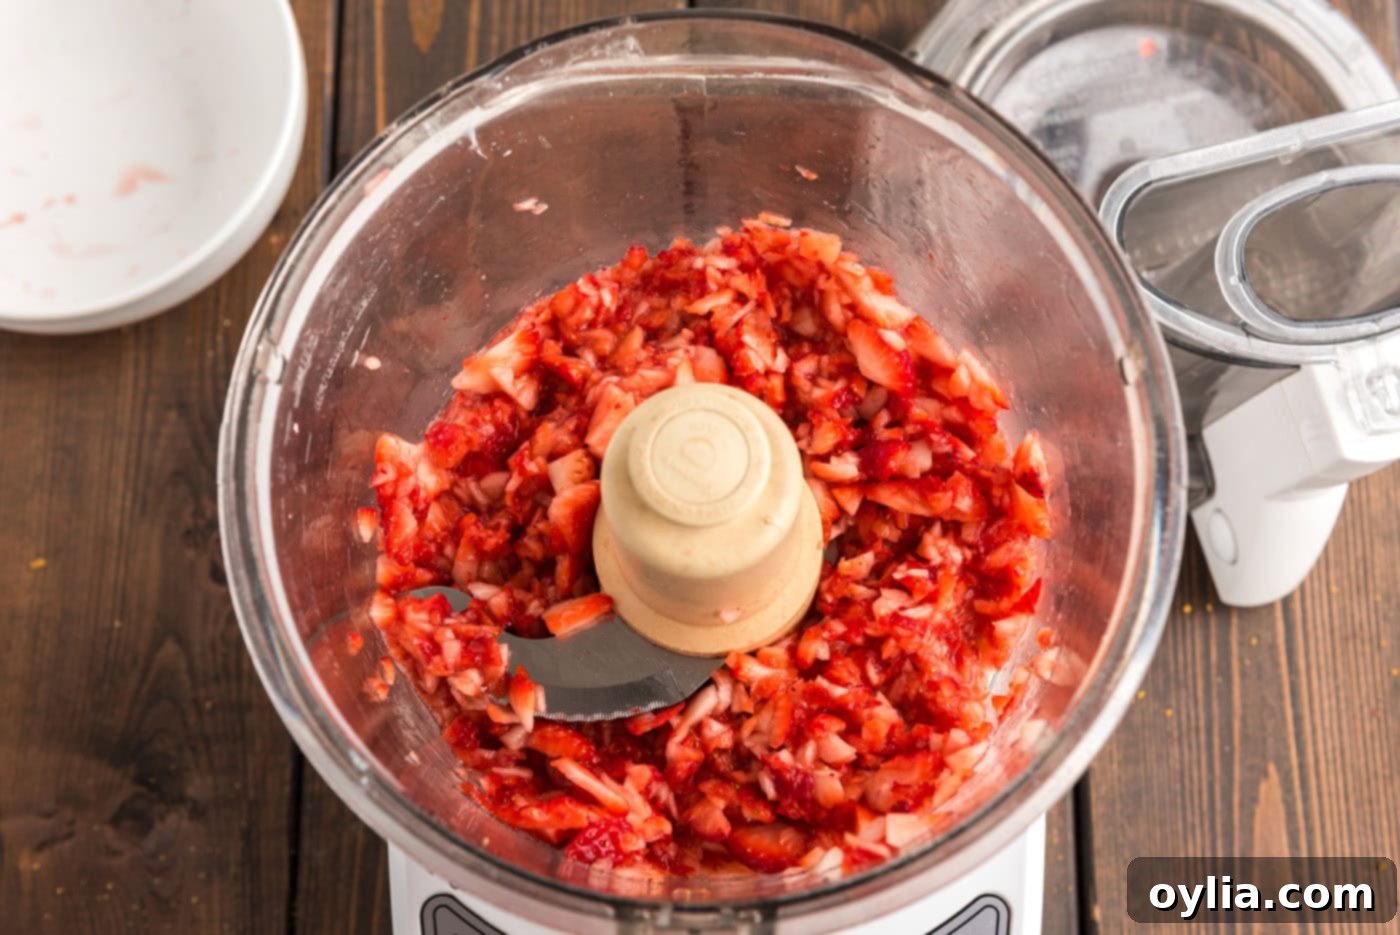
- Prepare the Strawberries: While the crust cools, prepare your fresh strawberries. Place the hulled and halved strawberries into a blender or food processor. Pulse them a few times – just enough to break them into chunky pieces, not a smooth puree. This preserves some texture and ensures juicy bursts of strawberry in every bite.

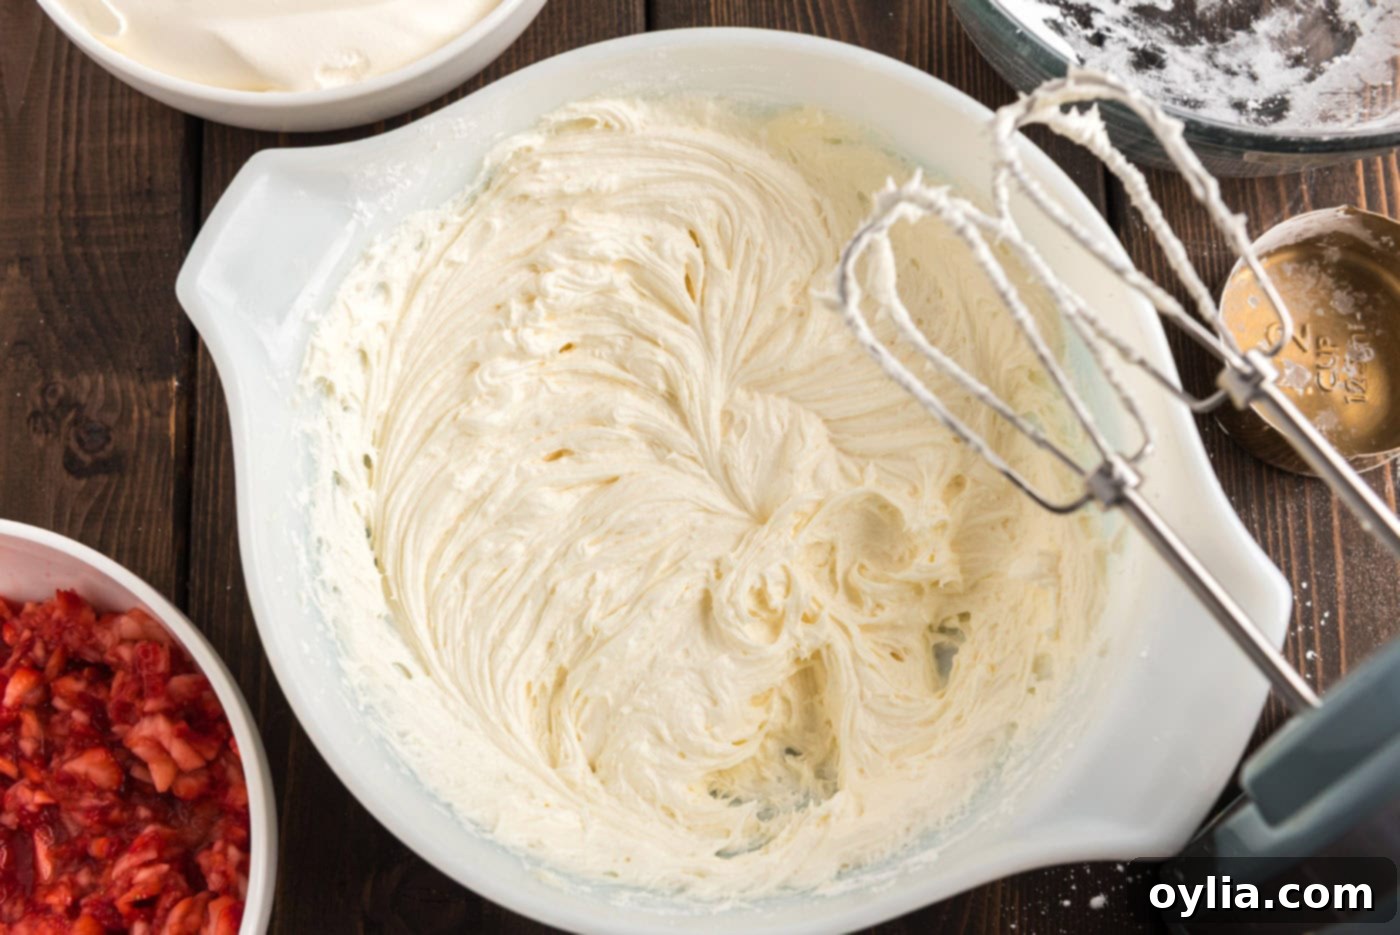
- Create the Cream Cheese Layer: In a large mixing bowl, using an electric mixer, beat the softened cream cheese and butter together until the mixture is light, fluffy, and perfectly creamy. Gradually add the powdered sugar, one cup at a time, on low speed until it’s fully incorporated. Once all the sugar is added, increase the mixer speed to medium-high and beat for about a minute to ensure everything is well combined and airy.

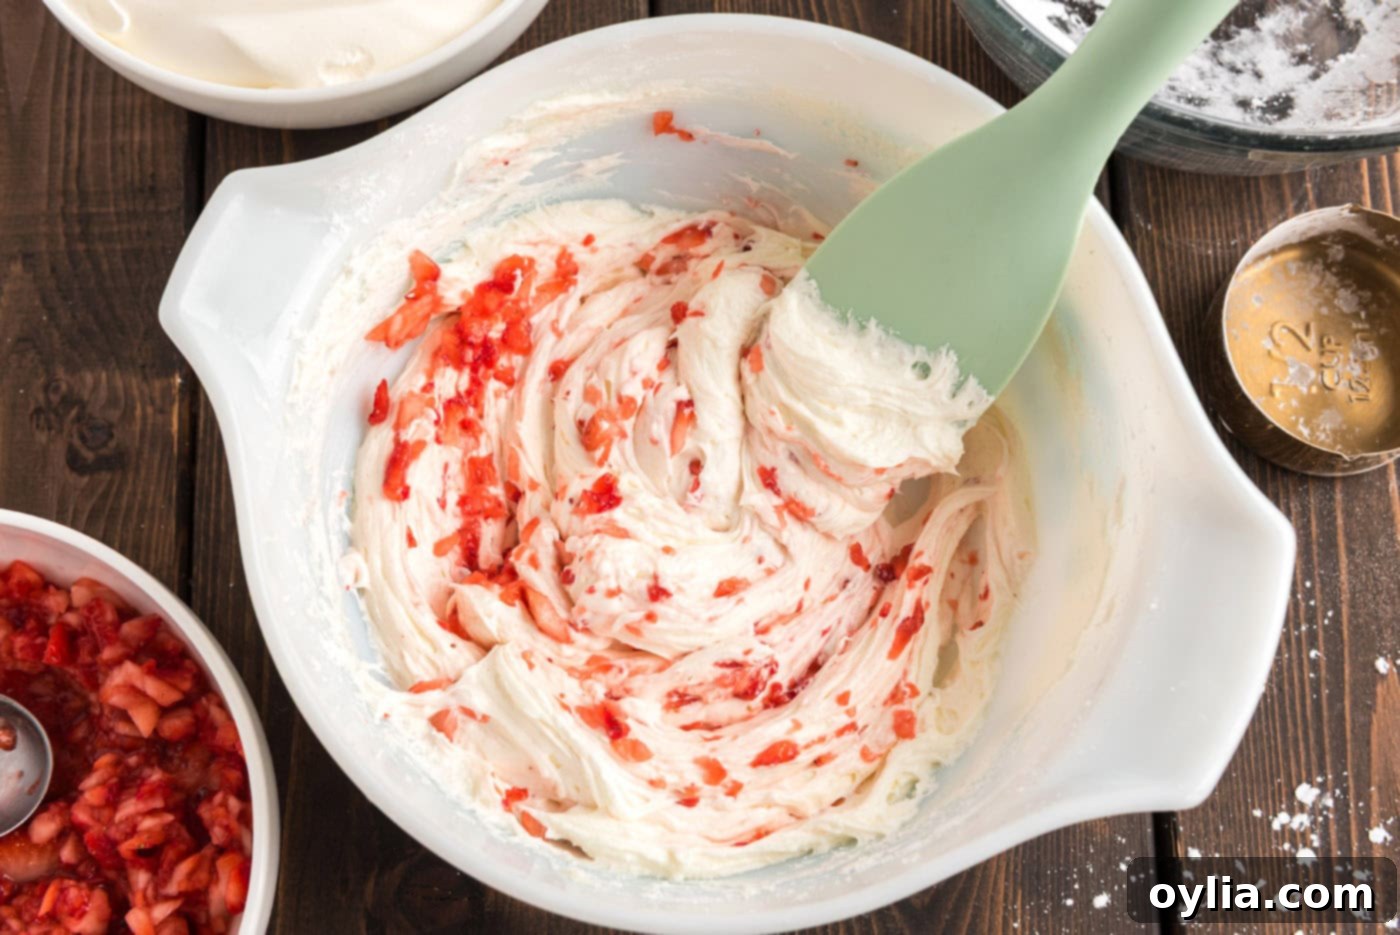
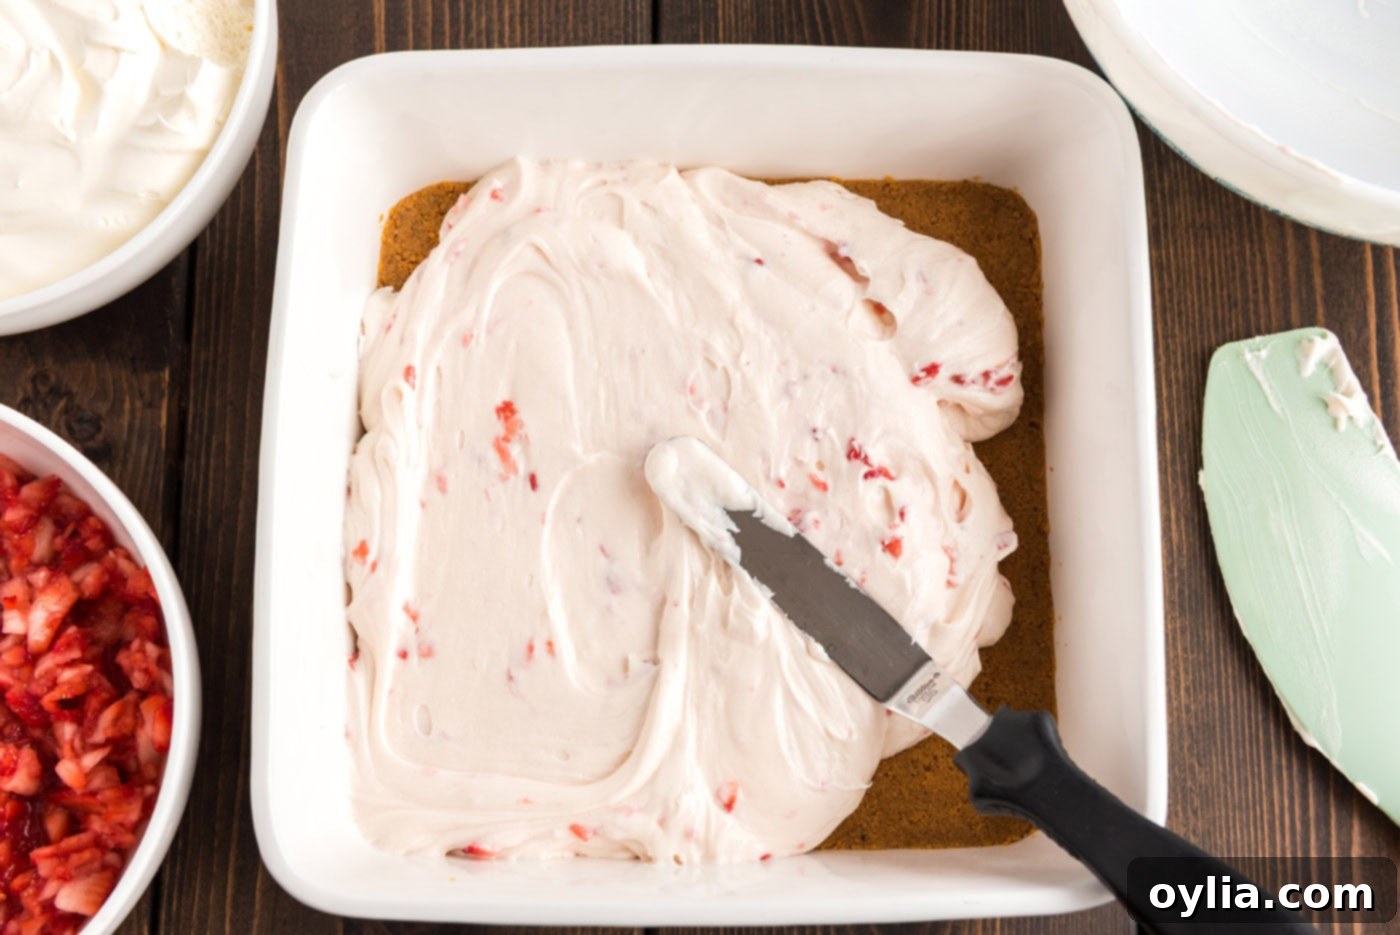
- Assemble the Cream Cheese Layer: Take a generous heaping tablespoon of your prepared strawberry chunks and gently fold them into the cream cheese mixture using a rubber spatula. This infuses the first creamy layer with subtle strawberry flavor. Carefully spread this strawberry cream cheese mixture evenly over your cooled graham cracker crust.


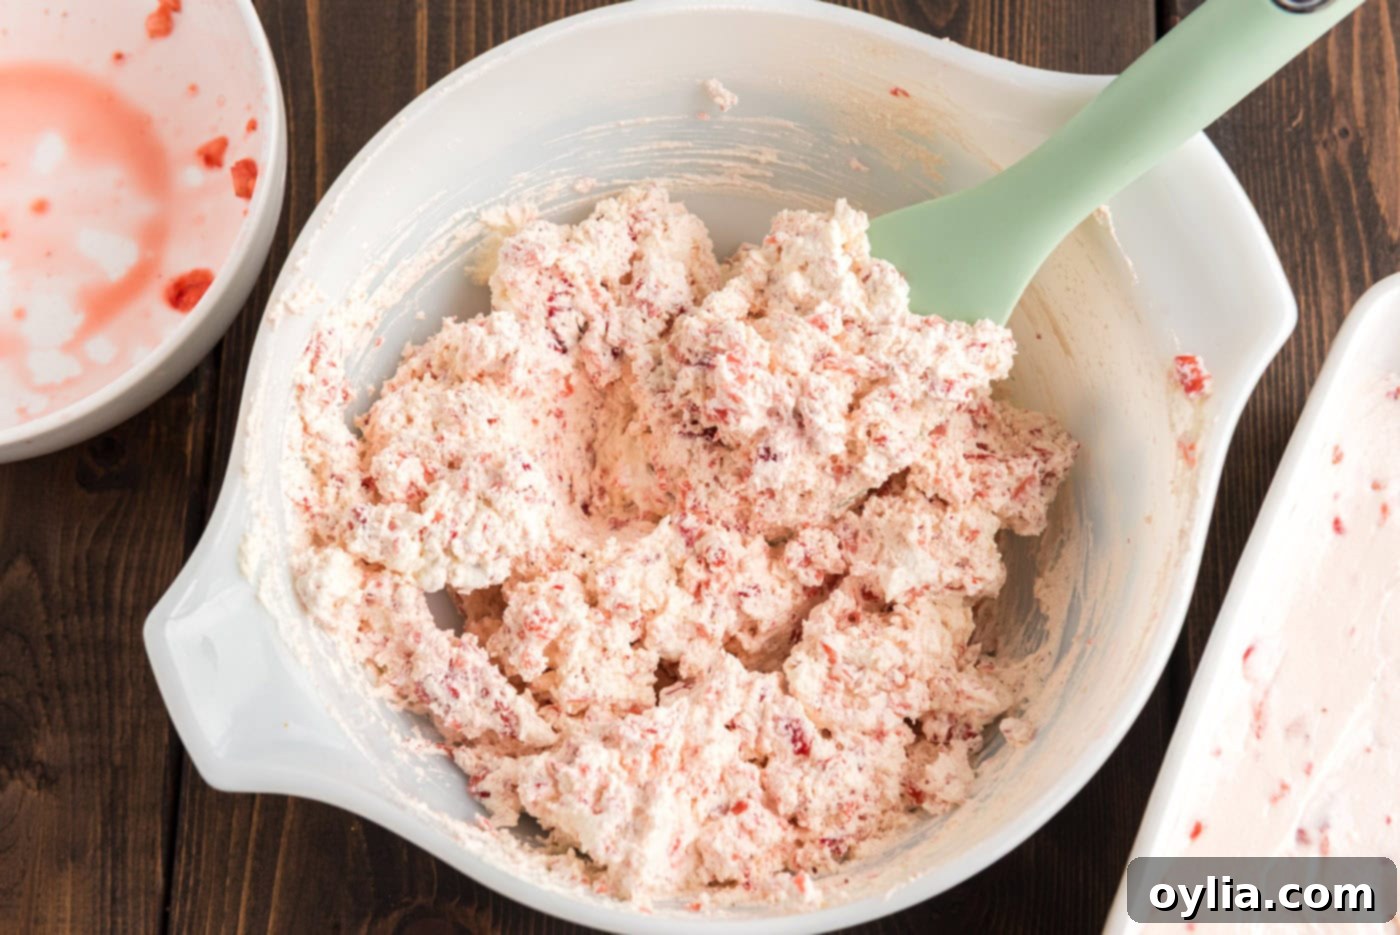
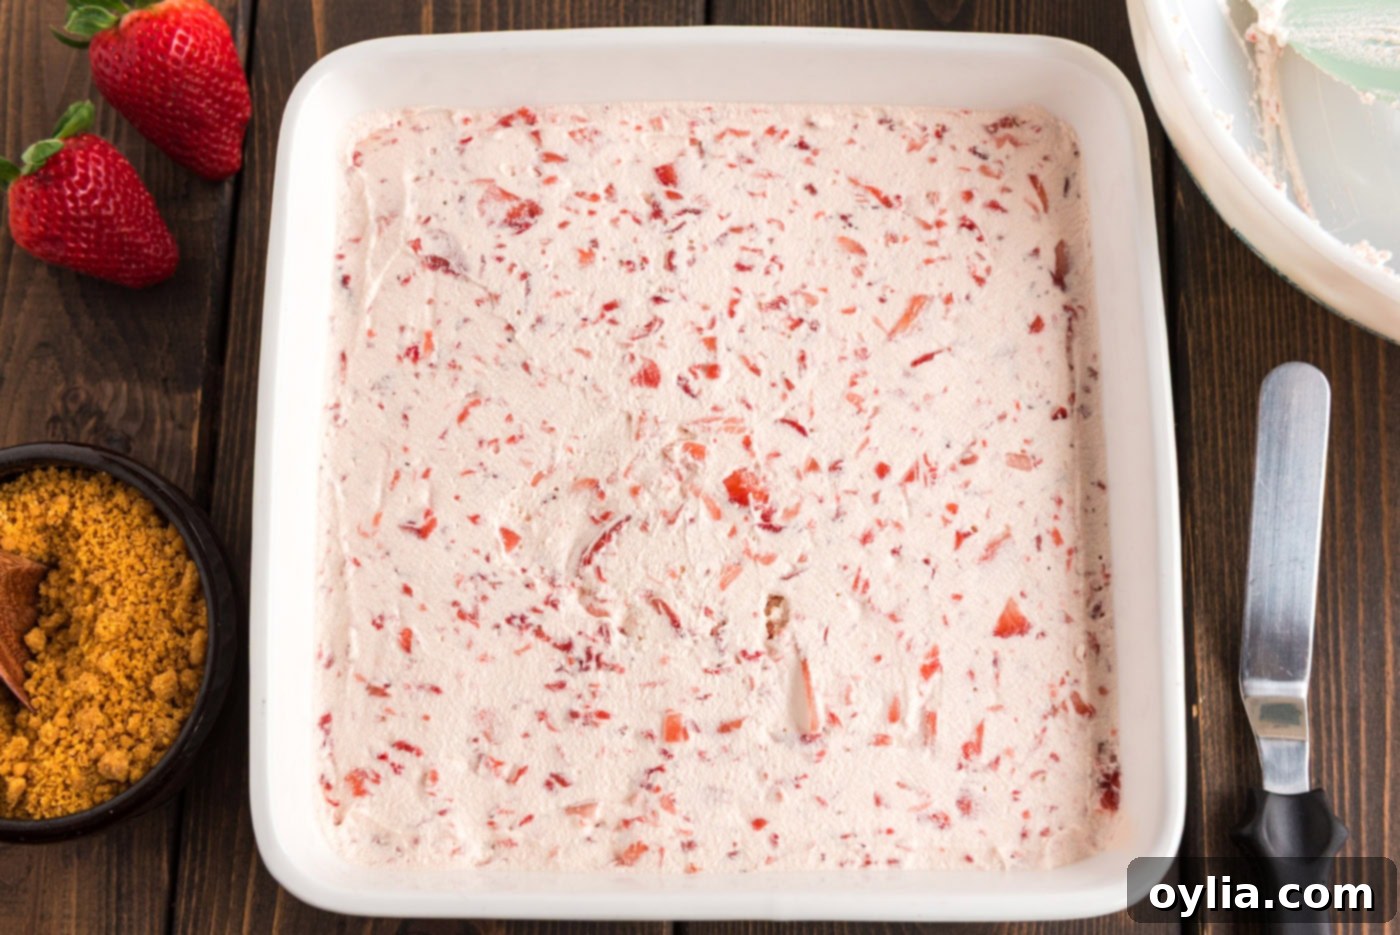
- Add the Cool Whip Layer: Gently fold the remaining strawberry chunks into the Cool Whip. This creates a light and fluffy topping dotted with delicious strawberry pieces. Carefully spread this strawberry Cool Whip mixture evenly over the cream cheese layer, making sure to reach all edges.


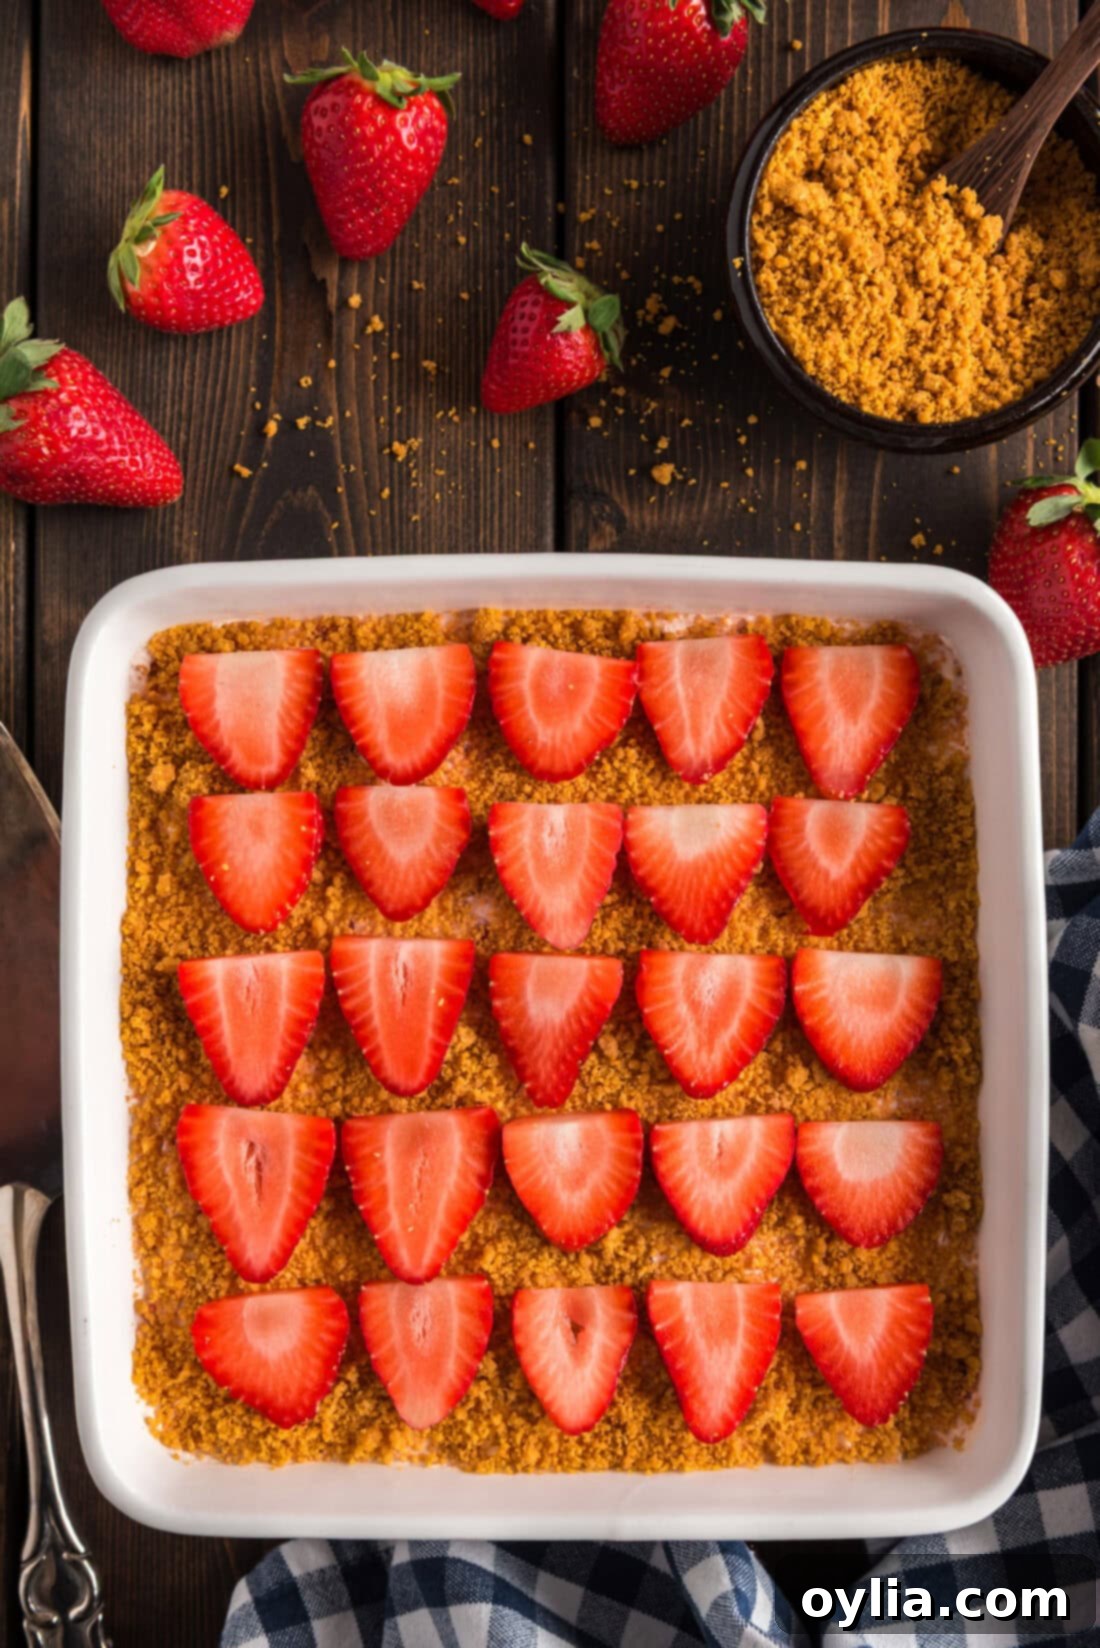
- Garnish and Chill: Sprinkle the reserved graham cracker crumbs over the Cool Whip layer. You might not use all of them, so adjust to your preference for crunch. For an extra touch of elegance and fresh flavor, you can optionally top with additional thinly sliced fresh strawberries.

- Refrigerate: This step is crucial! Cover the dessert and refrigerate it for at least 4 hours. For the best possible set and flavor development, chilling it overnight is highly recommended. This allows all the layers to firm up beautifully, making it easy to slice and serve.
Frequently Asked Questions & Expert Tips for Success
This recipe is designed for a 9×9 square baking pan. While a metal pan works perfectly fine for baking the crust, a glass or ceramic pan with a lid is often a more aesthetically pleasing choice, especially since you’ll likely be serving the dessert directly from the pan. The visual appeal of the layers through a glass pan can be quite striking. If you’re looking to feed a larger crowd, you can easily double this recipe and prepare it in a 13×9 inch pan, which yields more servings.
Absolutely, making this dessert ahead of time is not only possible but highly recommended! It’s suggested to prepare it at least four hours in advance to allow all the layers to properly set and flavors to meld beautifully in the refrigerator. For the best results and a firmer set, you can even prep it up to a full day ahead and store it, covered, in the fridge. However, a little expert tip: if you plan to garnish the top with fresh sliced strawberries, it’s best to hold off until about an hour or so before serving. Even when covered, sliced strawberries can sometimes begin to look a little dried out or lose their vibrant freshness if they sit in the refrigerator overnight. Adding them last minute ensures they look their absolute best!
To keep your Strawberry Dream Dessert fresh and delicious, store it covered with plastic wrap or an airtight lid. It should be kept in the refrigerator and will remain delightful for up to 4 days. This makes it an excellent make-ahead option for parties and gatherings!
Yes, this strawberry dream dessert freezes wonderfully, allowing you to enjoy it much later! To freeze the entire dessert, first, place the pan (uncovered, without foil or plastic wrap) in the freezer for a couple of hours. This ‘flash freezing’ step helps harden the dessert. Once firm, remove it from the freezer and immediately press a layer of plastic wrap directly onto the surface of the dessert, ensuring it touches the top to prevent air exposure. Then, wrap the entire pan completely with aluminum foil. It can be frozen for up to 3 months. To serve, simply thaw it overnight in the refrigerator.
For individual pieces, arrange the slices on a baking sheet, spaced slightly apart so they don’t touch. Flash freeze them until solid. Once frozen, remove them and wrap each piece individually with plastic wrap. You can then place these wrapped pieces into a freezer bag for added protection. When you’re ready to enjoy, remove a piece from the freezer and unwrap it immediately. Allow it to thaw in the refrigerator or at room temperature. It’s crucial to unwrap it *before* it thaws, as the plastic wrap might stick to the dessert otherwise.
While Cool Whip offers unparalleled stability for this layered dessert, you can certainly use homemade whipped cream for a richer, more natural flavor. If opting for homemade, ensure it’s whipped to stiff peaks and consider adding a stabilizer (like a small amount of powdered sugar and cornstarch, or unflavored gelatin) to help it hold its structure better, especially during the long chill time. The texture might be slightly less firm than with Cool Whip, but the taste will be exquisite.
Delightful Serving Suggestions & Creative Variations
Our Strawberry Dream Dessert is inherently beautiful, making it a perfect centerpiece. We recommend keeping the garnish simple yet elegant, as suggested in the recipe, using extra crushed graham crackers and a few artfully sliced fresh strawberries on top. This enhances both the texture and visual appeal. For a slightly different presentation, consider layering the very top with an additional dollop of Cool Whip (or homemade whipped cream) and a sprinkle of finely chopped strawberries. This dessert is a fantastic addition to any potluck, BBQ, or summer gathering. Always serve it chilled for the most refreshing experience. Enjoy every single dreamy bite!
Looking to switch things up? Consider adding a thin layer of strawberry glaze over the Cool Whip before chilling, or a drizzle of white chocolate. For an adult twist, a splash of strawberry liqueur in the fruit mixture can add a sophisticated depth of flavor.
Discover More Irresistible Strawberry Recipes
If you’ve fallen in love with the magic of strawberries in dessert, you’re in luck! Here are some other fantastic strawberry recipes that are sure to please:
- Strawberry Lasagna: Layers of creamy goodness with a refreshing strawberry twist.
- Strawberry Icebox Cake: A simple, no-bake delight perfect for a quick cool-down.
- Strawberry Jello Pretzel Salad: The perfect sweet and salty combination everyone loves.
- No Bake Strawberry Cheesecake Bars: All the cheesecake flavor without turning on the oven.
I absolutely adore spending time in the kitchen, crafting delicious recipes and sharing my culinary experiences with all of you! To make sure you never miss out on a new creation, I offer a convenient newsletter that delivers a fresh recipe directly to your inbox every time one posts. Simply subscribe today and start receiving your free daily recipes!
Strawberry Dream Dessert
IMPORTANT – There are often Frequently Asked Questions within the blog post that you may find helpful. Simply scroll back up to read them!
Print It
Pin It
Rate It
Save ItSaved!
Course: Desserts
Cuisine: American
Ingredients
CRUST
- ½ cup unsalted butter for crust. 115g, melted
- 2 ½ cups graham cracker crumbs 2 sleeves. 362g, crushed finely
FILLING
- 2 cups fresh strawberries hulled and halved. 330g
- 4 ounces cream cheese softened. 115g
- ½ cup unsalted butter softened (for filling). 115g
- 2 cups powdered sugar sifted. 300g
- 8 ounces Cool Whip 1 container, thawed
Optional Garnish
- sliced strawberries
- graham cracker crumbs
Things You’ll Need
-
Square baking pan 9×9 inches. metal, glass, or ceramic
-
Food processor or blender for crushing graham crackers and pulsing strawberries
-
Electric mixer
-
Rubber spatula
Before You Begin & Expert Notes
- NO-BAKE CRUST OPTION – For a fantastic no-bake version, simply combine the graham cracker crumbs and melted butter as instructed. Instead of baking, press the mixture firmly into your pan and then place it directly into the refrigerator. Allow the crust to chill for at least 20 minutes; this time lets the butter solidify and effectively bind the crumbs together. While a no-bake crust might not be quite as firm as a baked one, especially after sitting out, the taste and overall deliciousness remain equally impressive!
- This recipe perfectly fits a 9×9 square baking pan. A metal or glass pan is suitable, but a glass or ceramic pan with a lid offers a more elegant presentation for serving. If you’re hosting a larger gathering, you can easily double the ingredients and use a 13×9 inch pan to make more servings.
- To prepare the graham cracker crumbs, you can use a food processor or a blender for speed and consistency. Alternatively, an equally effective and often more satisfying method is to place two sleeves of graham crackers in a sturdy gallon-sized zipper plastic bag and crush them using a rolling pin until they form fine crumbs.
- For optimal flavor and texture, always use fresh, plump strawberries for this dessert. Frozen strawberries contain a higher water content and will release too much liquid as they thaw, which can make the dessert watery and affect its set. If you absolutely must use frozen strawberries, thaw them completely first and then meticulously pat them dry with paper towels to remove all excess moisture before incorporating them into the recipe.
Instructions
-
Preheat oven to 300°F (150°C).
MAKE THE CRUST
-
Melt butter in the microwave and allow to cool. Combine the graham cracker crumbs and melted butter, tossing until well incorporated. Press 2 cups of the crumb mixture firmly but gently into a 9×9 inch square pan and bake for 8-10 minutes. Transfer to a wire rack to cool completely. Reserve any remaining crumbs for topping later.1/2 cup unsalted butter, 2 1/2 cups graham cracker crumbs
MAKE THE FILLING
-
Place the hulled and halved fresh strawberries into a blender or food processor. Pulse a few times, just enough to break them into chunky pieces, retaining some texture.2 cups fresh strawberries
-
In a large bowl, beat the softened cream cheese and softened unsalted butter together until smooth, light, and creamy using an electric mixer. Reduce the mixer speed to low and gradually add the sifted powdered sugar, one cup at a time, until fully incorporated. Once all sugar is added, increase speed and beat well for approximately one minute to ensure an airy texture.4 ounces cream cheese, 1/2 cup unsalted butter, 2 cups powdered sugar
-
Gently fold a heaping tablespoon of the strawberry chunks into the cream cheese mixture using a rubber spatula. Spread this creamy strawberry-infused layer evenly over the cooled graham cracker crust.
-
In a separate bowl, fold the remaining strawberry chunks into the thawed Cool Whip. Carefully spread this mixture as the final layer on top of the cream cheese mixture. Sprinkle the reserved graham cracker crumb mixture on top (use as much or as little as you prefer). For an optional touch, garnish with extra fresh sliced strawberries.8 ounces Cool Whip
-
Cover the dessert and refrigerate for a minimum of 4 hours, or ideally, overnight, to allow all layers to set beautifully and flavors to fully develop.
More Expert Tips & Troubleshooting
- FREEZING THE ENTIRE DESSERT – For optimal freezing, I always recommend a “flash freeze” first, then wrap. To do this, place the assembled dessert (in its pan, uncovered without any foil or plastic wrap) into the freezer for a couple of hours until it is firm and hardened. Once firm, remove from the freezer and immediately place a layer of plastic wrap directly onto the surface of the dessert, pressing it gently to ensure it touches the top and minimizes air exposure. Then, wrap the entire pan completely with heavy-duty aluminum foil. This method helps prevent freezer burn.
- FREEZING INDIVIDUAL PORTIONS – If you prefer to freeze individual pieces for convenient single servings, first slice the chilled dessert into your desired portions. Arrange these pieces on a baking sheet, ensuring they are slightly spaced apart so they do not touch. Flash freeze them until they are completely solid. Once frozen, remove them from the baking sheet and wrap each piece individually tightly with plastic wrap. You can then place these wrapped, frozen pieces into a larger freezer bag or an airtight container for long-term storage.
- CONSUMING FROZEN DESSERT – To enjoy your frozen Strawberry Dream Dessert, remove it from the freezer and unwrap it immediately. Allow it to thaw in the refrigerator for several hours or at room temperature for about 30-60 minutes, depending on the size of the piece. It is crucial to unwrap the dessert *before* it begins to thaw; otherwise, the plastic wrap may stick to the dessert, making it difficult to remove without damaging the layers.
- For a No-Bake Crust: If you’re skipping the oven, make sure your butter is well melted and thoroughly mixed with the graham cracker crumbs. Press it down very firmly into the pan. A good 20-30 minute chill time in the fridge will help it set, though it won’t be as firm as a baked crust.
- Smooth Cream Cheese: Always use room temperature cream cheese and butter for the filling. This is key to achieving a perfectly smooth, lump-free cream cheese layer. If your cream cheese is cold, it will be difficult to beat into a creamy consistency.
Nutrition Information
Tried this Recipe? Pin it for Later!Follow on Pinterest @AmandasCookin or tag #AmandasCookin!
The recipes on this blog are tested with a conventional gas oven and gas stovetop. It’s important to note that some ovens, especially as they age, can cook and bake inconsistently. Using an inexpensive oven thermometer can assure you that your oven is truly heating to the proper temperature. If you use a toaster oven or countertop oven, please keep in mind that they may not distribute heat the same as a conventional full sized oven and you may need to adjust your cooking/baking times. In the case of recipes made with a pressure cooker, air fryer, slow cooker, or other appliance, a link to the appliances we use is listed within each respective recipe. For baking recipes where measurements are given by weight, please note that results may not be the same if cups are used instead, and we can’t guarantee success with that method.
This post was originally published on this blog on Jun 22, 2017 and has since been updated with new photos, expanded instructions, and expert tips to enhance your baking experience.
