Indulge in Dreamy Creaminess: The Best Homemade White Chocolate Ice Cream Recipe
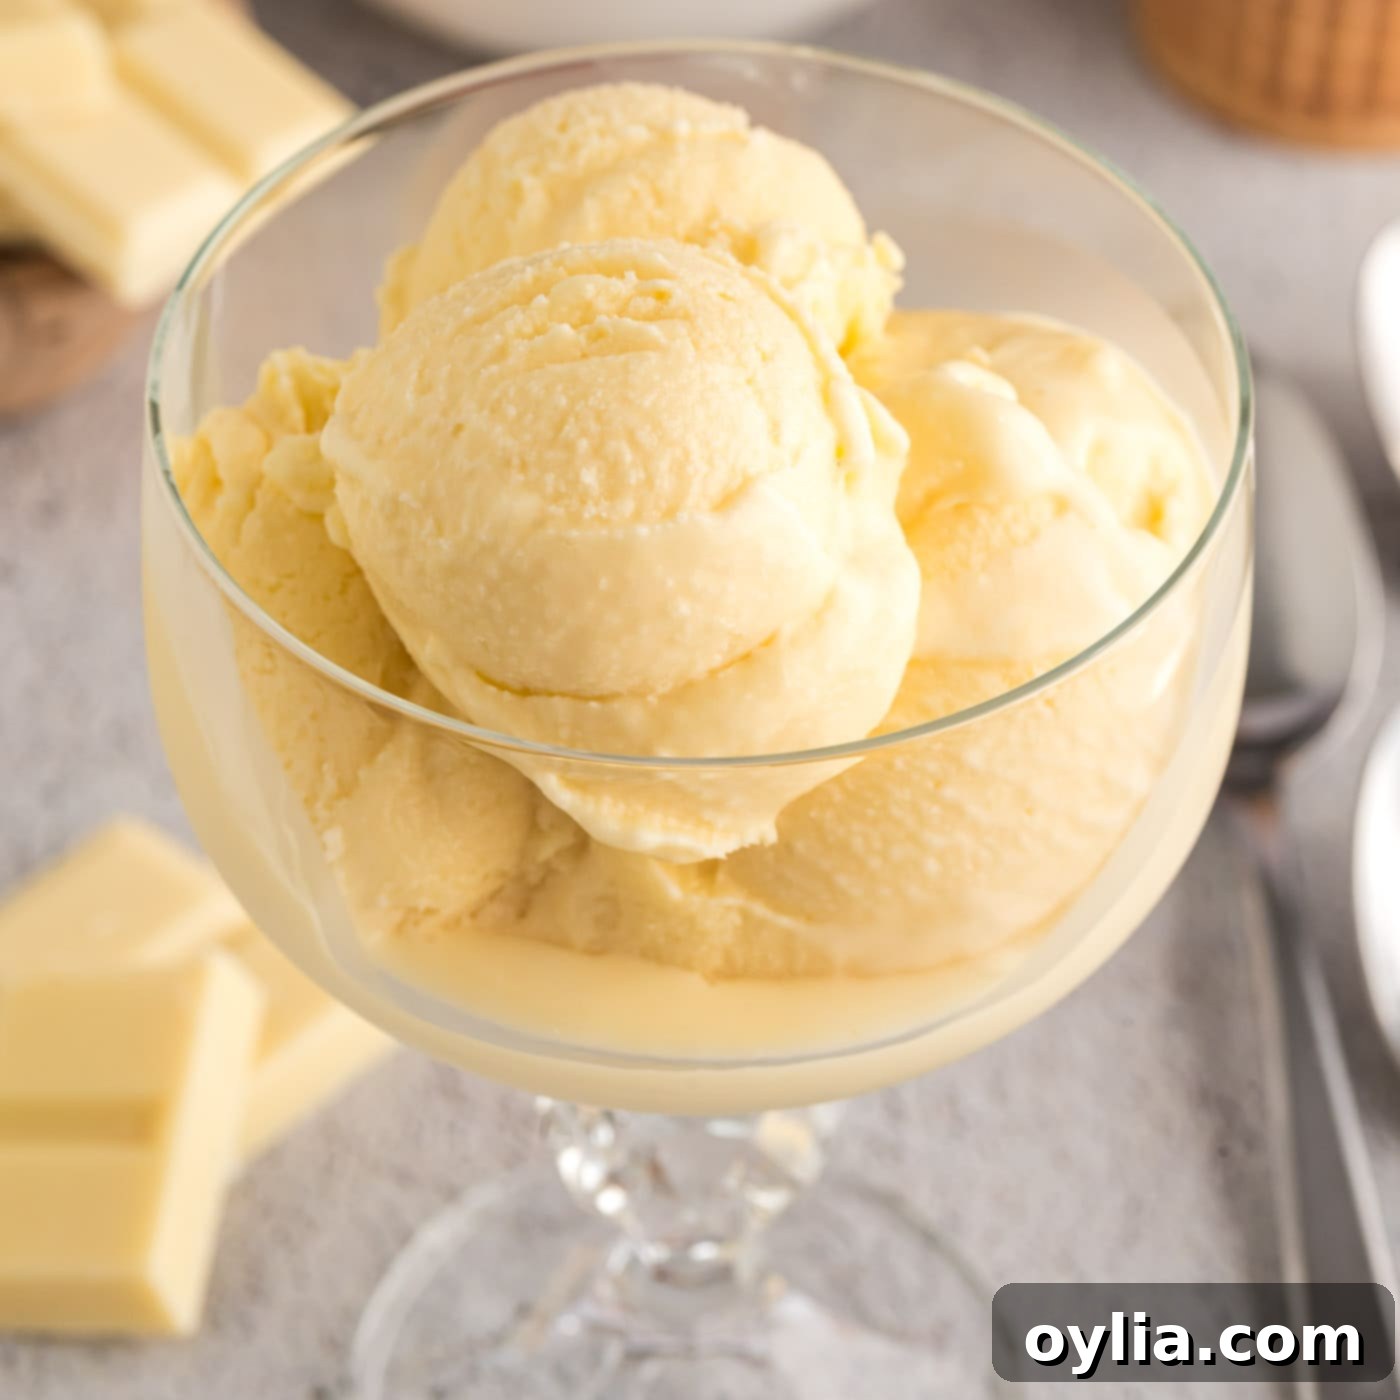
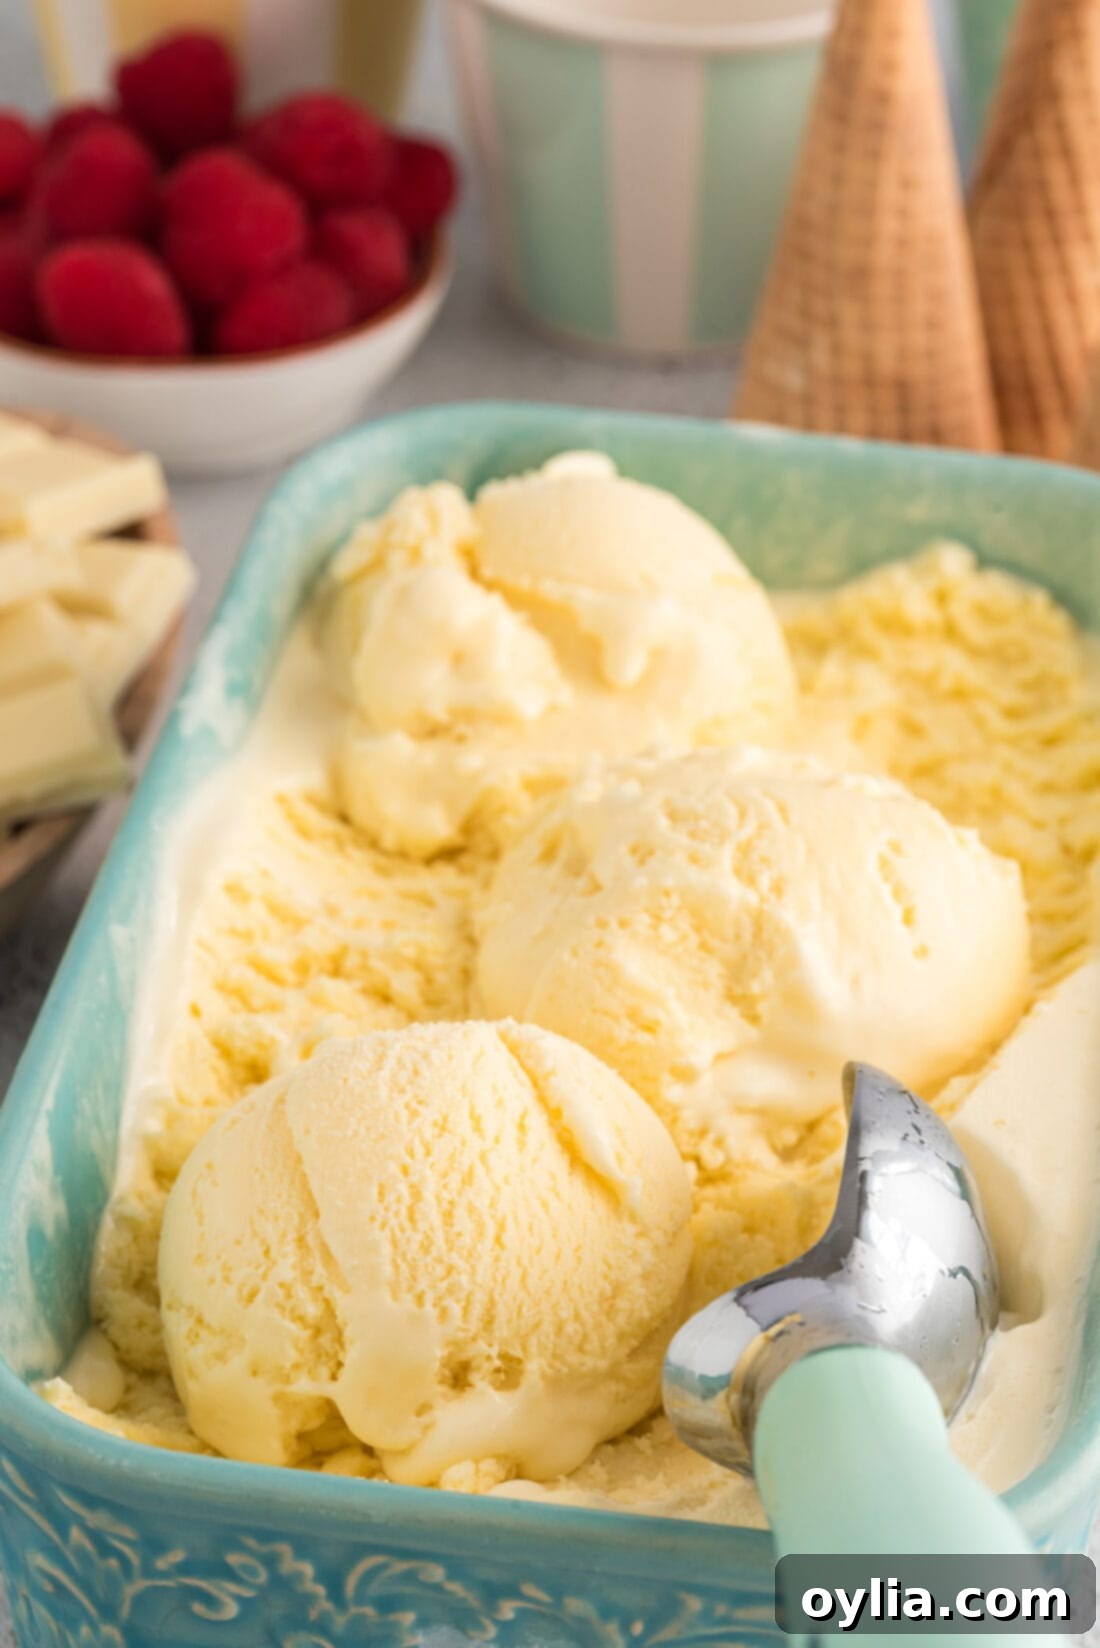
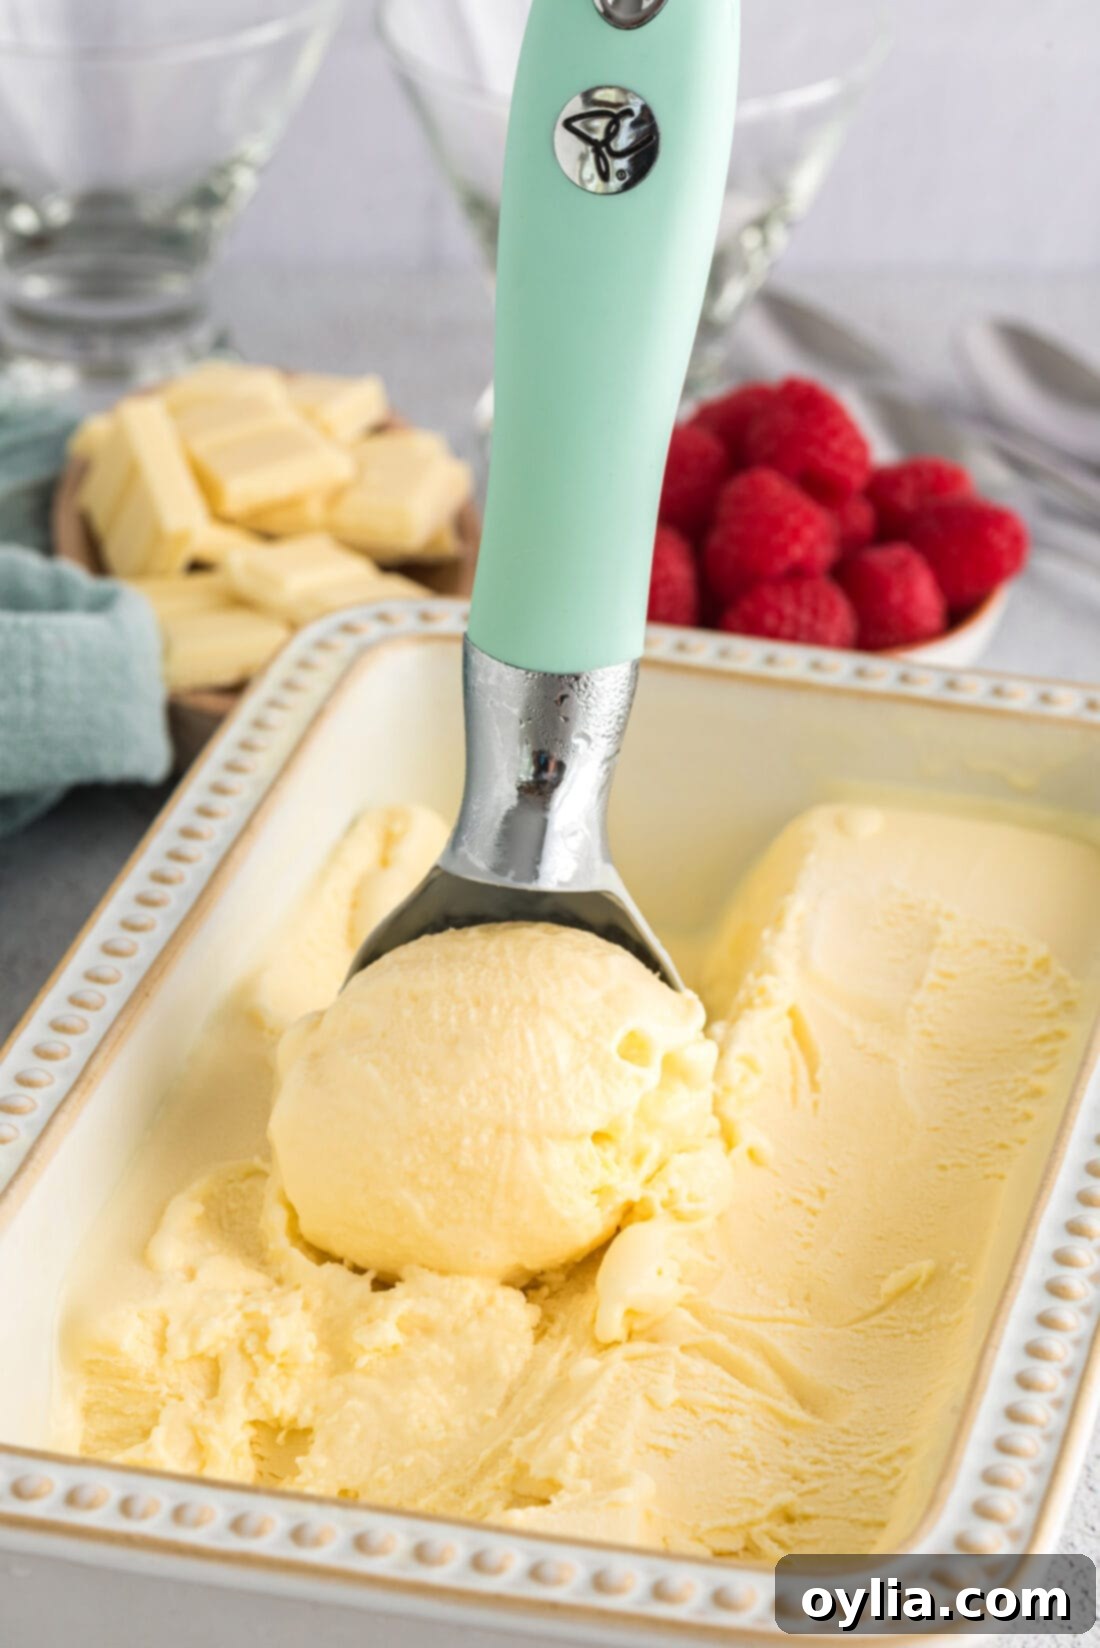
Prepare to elevate your dessert experience with this incredibly rich and creamy white chocolate ice cream. It’s truly what dreams are made of, offering smooth scoops and an utterly delightful flavor. This winning recipe boasts easy preparation and requires only 6 essential ingredients, making it accessible for any home cook eager to create a luxurious treat. Say goodbye to store-bought ice cream and hello to a homemade delight that will captivate your taste buds!
Why This White Chocolate Ice Cream Recipe Is a Must-Try
This exceptional white chocolate ice cream recipe relies on an ice cream maker to achieve its signature dreamy and creamy texture. The churning process introduces air while simultaneously freezing the mixture, preventing the formation of large ice crystals and resulting in that wonderfully smooth consistency we all crave. It’s a delightful departure from your everyday chocolate ice cream, offering a unique sweetness and milky flavor profile that truly stands out.
My journey with this recipe began back in 2009 when I first discovered it in David Lebovitz’s acclaimed book, The Perfect Scoop. Known for his meticulous approach to ice cream making and dessert creation, Lebovitz’s recipes are consistently reliable and deliver outstanding results. From the moment I tried it, I knew this would be a staple in my kitchen. Fast forward to today, and it remains a cherished favorite, a testament to its timeless appeal and irresistible flavor. We simply adore this recipe, and I’m confident you will too!
Key Ingredients for Perfect White Chocolate Ice Cream
While you can find all exact measurements, ingredients, and detailed instructions in the printable recipe card at the end of this post, let’s dive into the essential components that make this white chocolate ice cream so extraordinary. Each ingredient plays a crucial role in achieving the desired flavor and creamy texture.
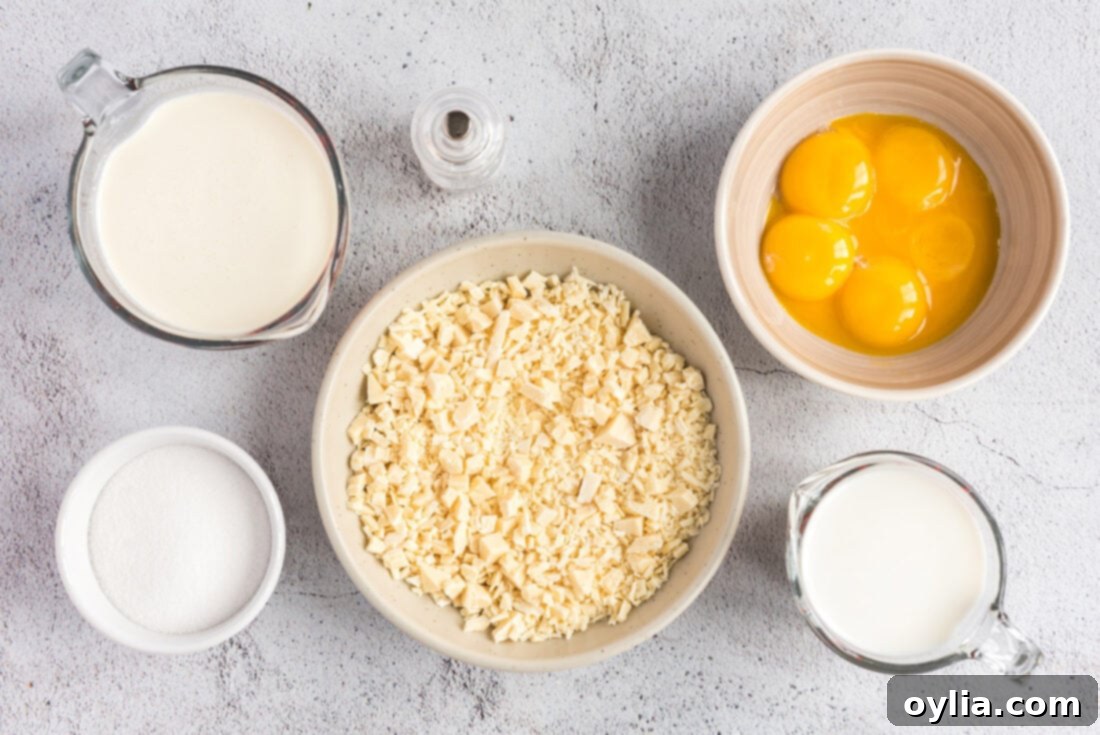
Ingredient Breakdown & Expert Substitution Tips
- WHITE CHOCOLATE: The star of the show! You don’t necessarily need to use an artisanal, expensive white chocolate for this recipe, though you certainly can for an extra gourmet touch. I’ve found excellent results using standard white chocolate baker’s squares. The key is using real white chocolate, which contains cocoa butter, not just white confectionary coating. Good quality white chocolate will melt more smoothly and contribute to the overall luxurious mouthfeel. Finely chopping your white chocolate ensures it melts quickly and evenly when the warm custard is poured over it.
- HEAVY CREAM: This is arguably the most critical ingredient for achieving that signature creamy, smooth ice cream texture. Ice cream’s lusciousness comes directly from its fat content, and heavy cream delivers precisely that. The fat molecules interfere with the formation of large ice crystals during freezing, resulting in a velvety smooth scoop every time. While you might be tempted to substitute milk or a lower-fat cream, I strongly advise against it for this recipe. Doing so will inevitably lead to a less smooth, icier, and less rich finished product. Stick to heavy cream for the best results, though feel free to experiment with the type of cream for other recipes once you’ve mastered this one.
- WHOLE MILK: Whole milk provides the liquid base for our custard, complementing the richness of the heavy cream without making the ice cream excessively heavy. Its fat content also contributes to the overall creaminess.
- GRANULATED SUGAR: Beyond sweetness, sugar plays a vital role in the texture of ice cream. It lowers the freezing point of the mixture, preventing it from freezing solid and allowing it to remain scoopable. It also contributes to the smooth mouthfeel.
- EGG YOLKS: These are essential for creating the rich custard base (crème anglaise) that gives this ice cream its incredibly smooth and stable texture. Egg yolks are natural emulsifiers, helping to bind the fat and water in the mixture, preventing ice crystals and ensuring a silky consistency. They also add a beautiful pale yellow hue and contribute significantly to the overall richness.
- PINCH OF SALT: A small amount of salt enhances all the other flavors, particularly the sweetness of the white chocolate. It balances the taste, preventing the ice cream from being overly sweet and adding depth.
Crafting Your Homemade White Chocolate Ice Cream: A Step-by-Step Guide
These step-by-step photos and instructions are here to help you visualize how to make this recipe with ease. For a convenient printable version of this recipe, complete with precise measurements and full instructions, you can Jump to Recipe at the bottom of this page.
-
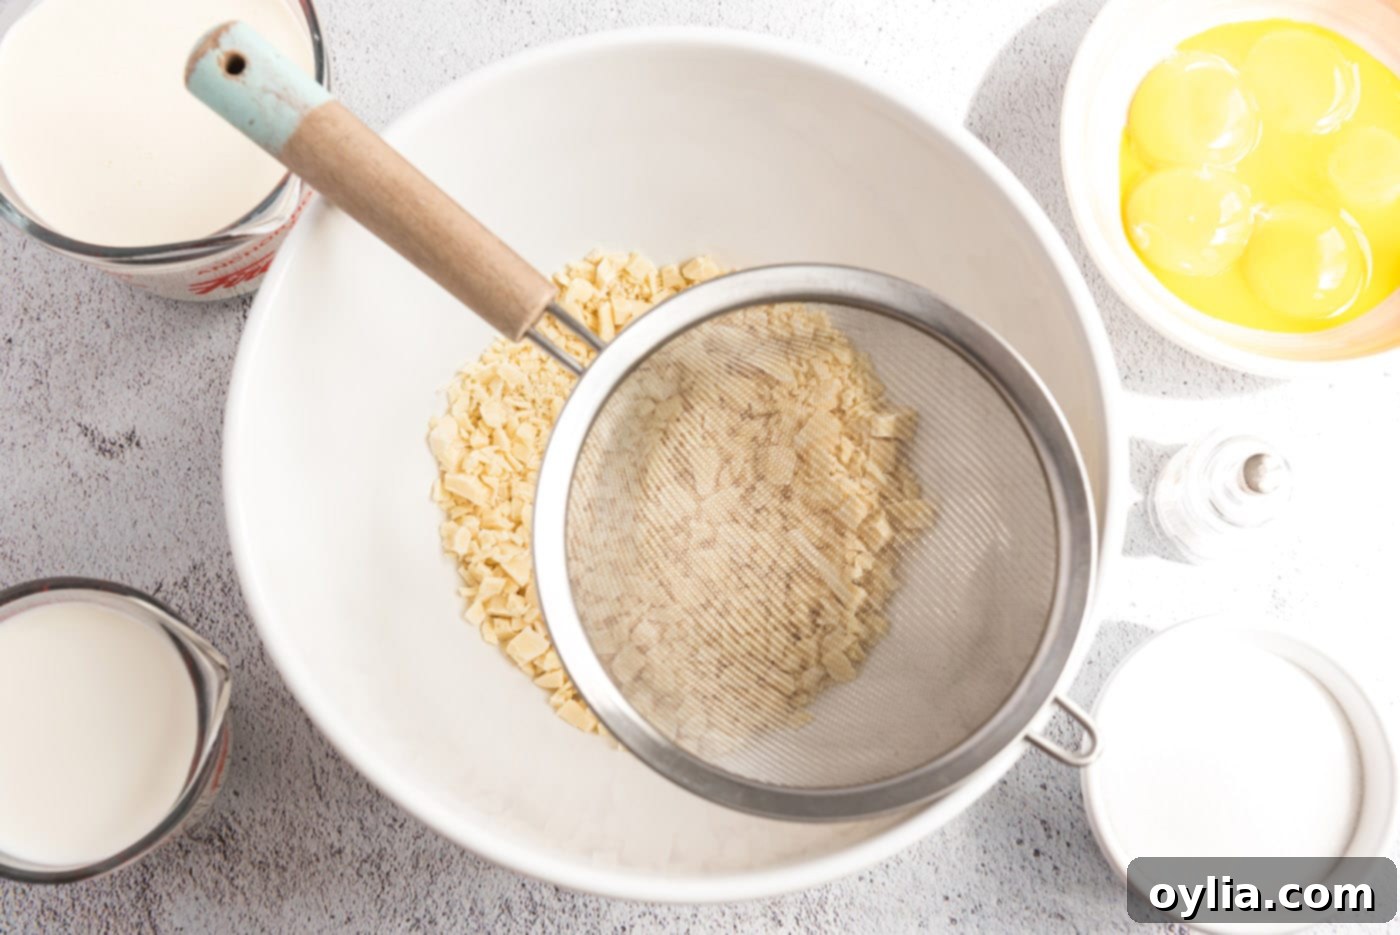
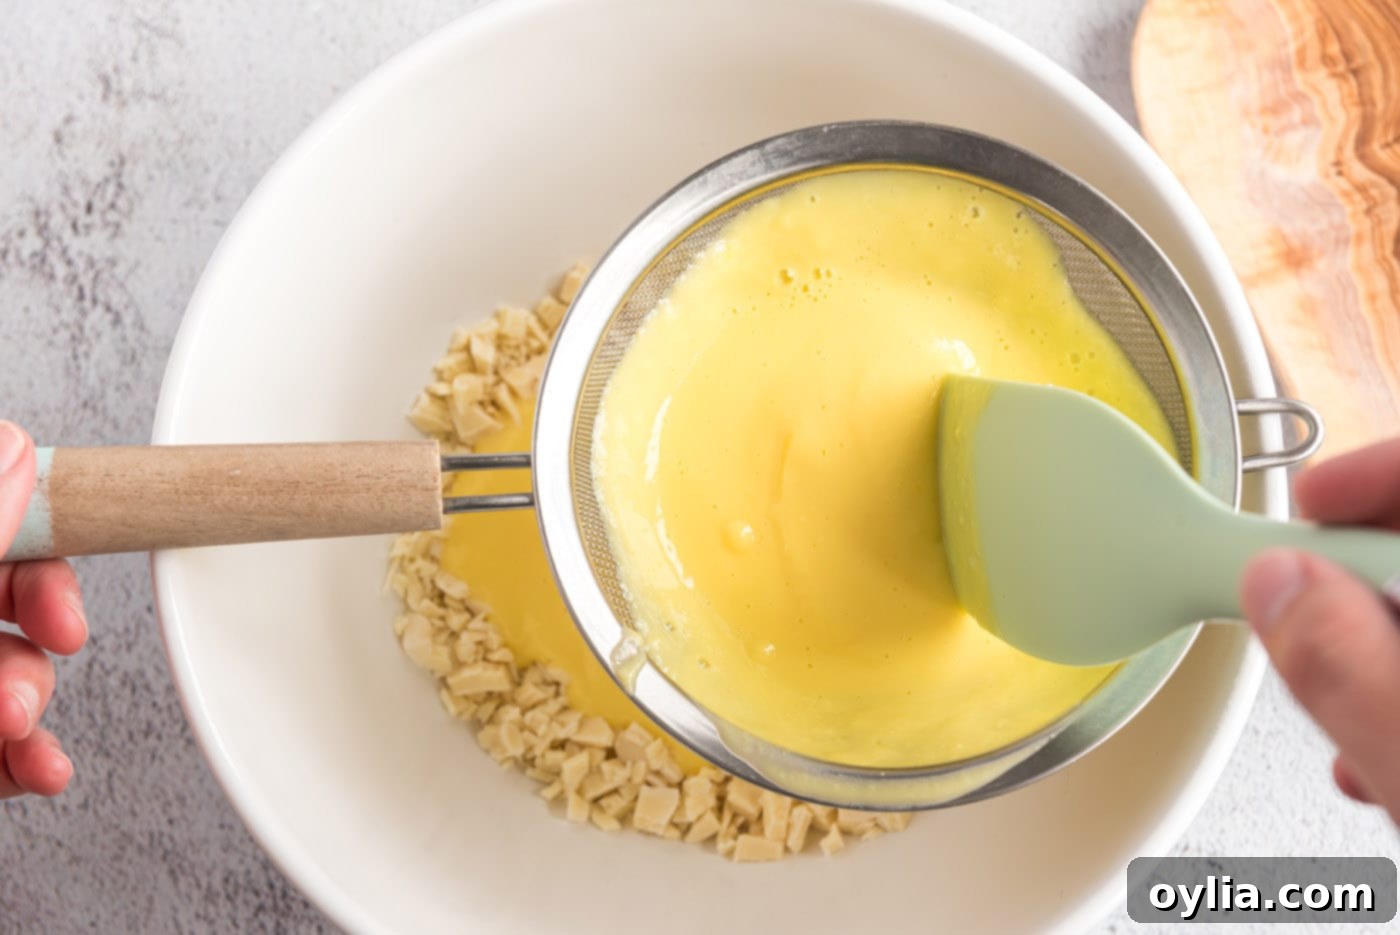
Prepare the White Chocolate: Begin by finely chopping your white chocolate pieces. This ensures that the chocolate melts quickly and evenly when the warm custard is added. Place the chopped white chocolate in a large, heatproof bowl. Then, set a fine mesh strainer directly over the top of this bowl. This setup allows you to immediately strain the hot custard over the chocolate, catching any small bits of cooked egg and ensuring an incredibly smooth final mixture.

-
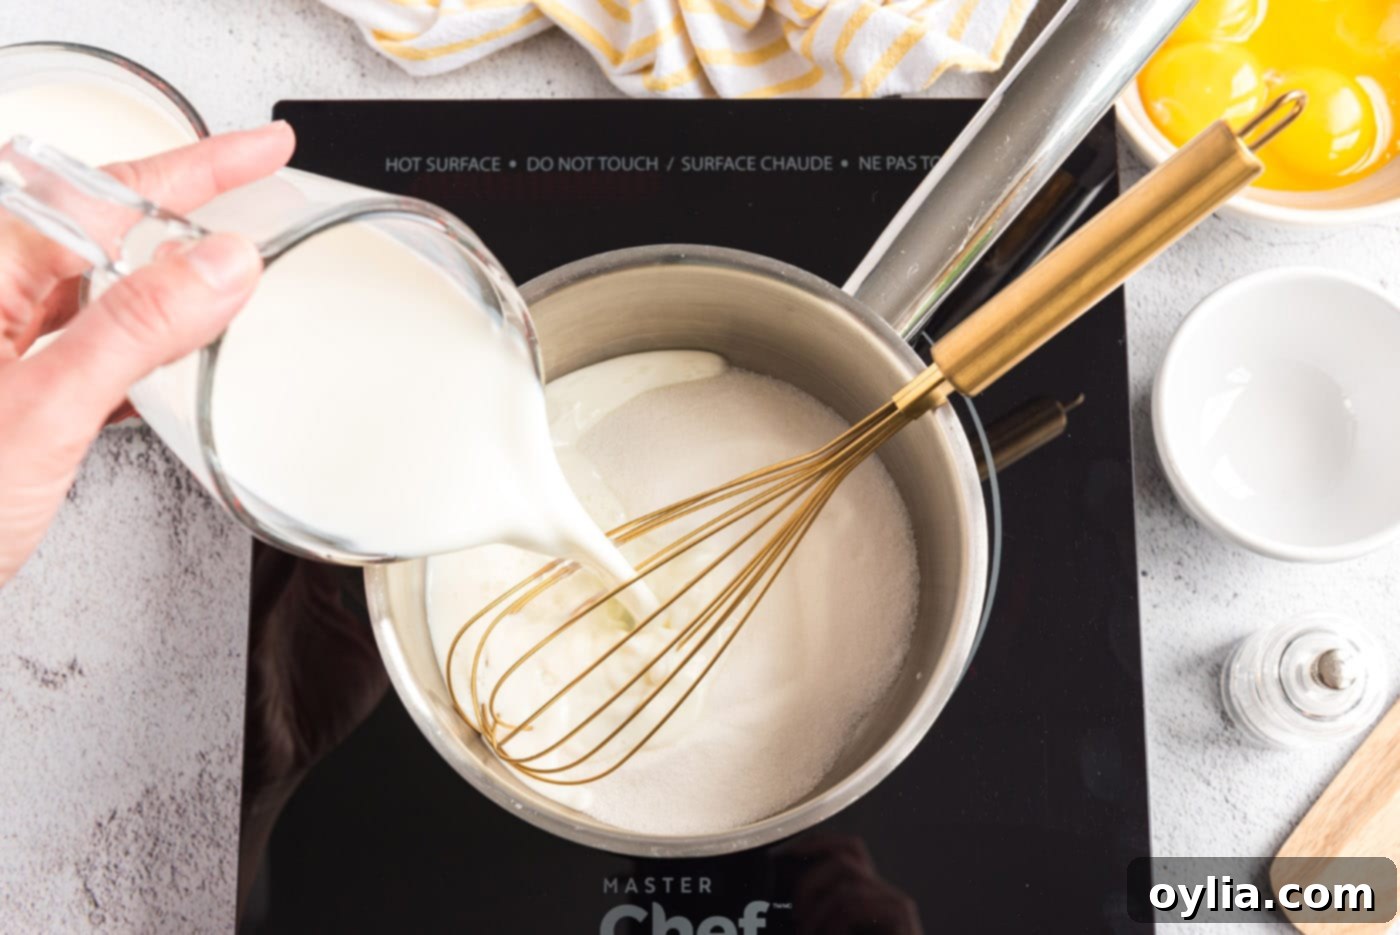
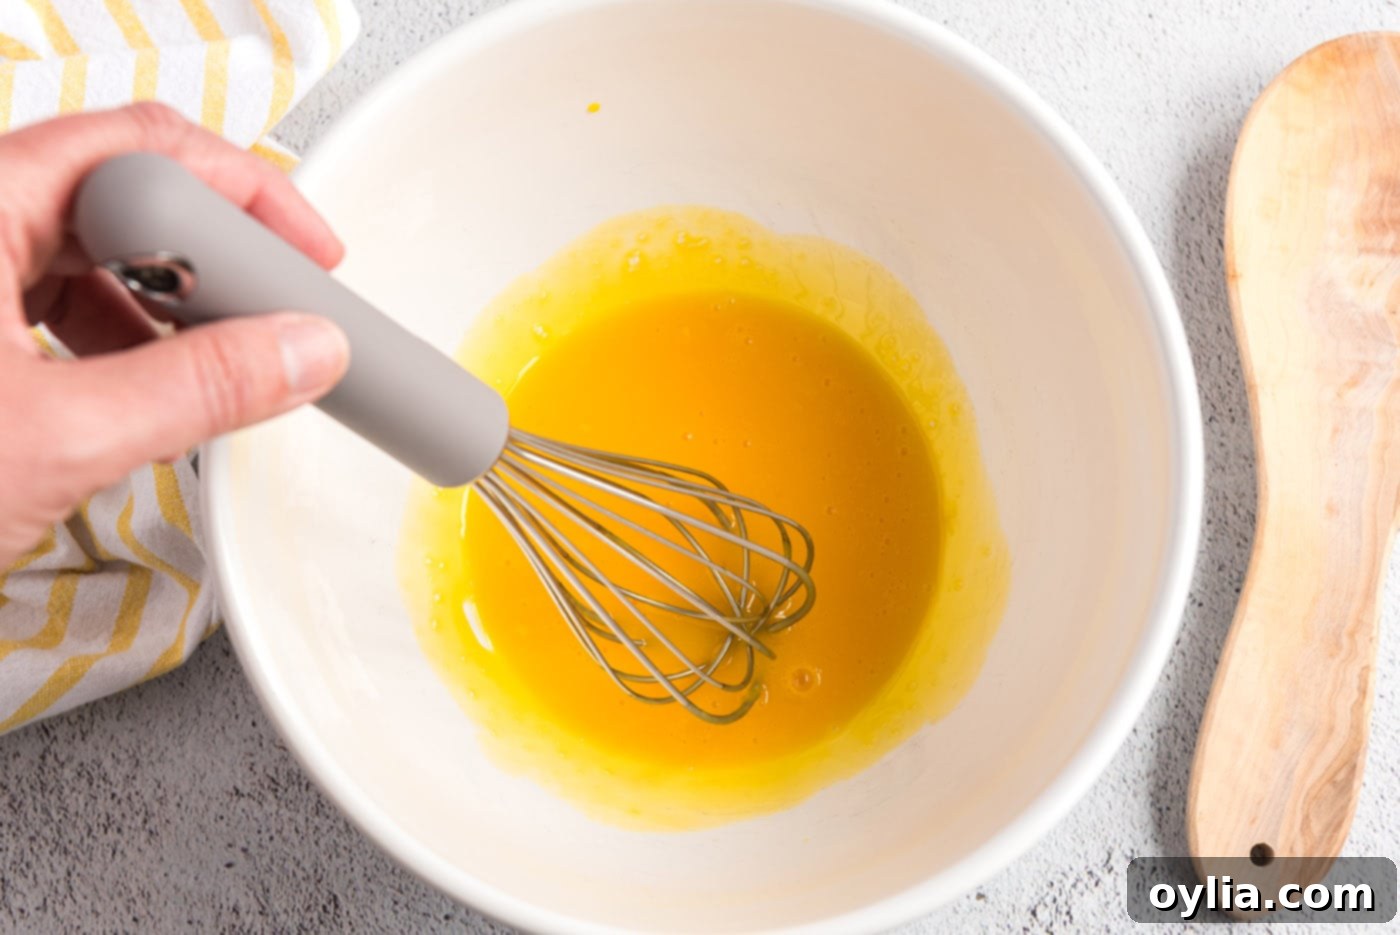
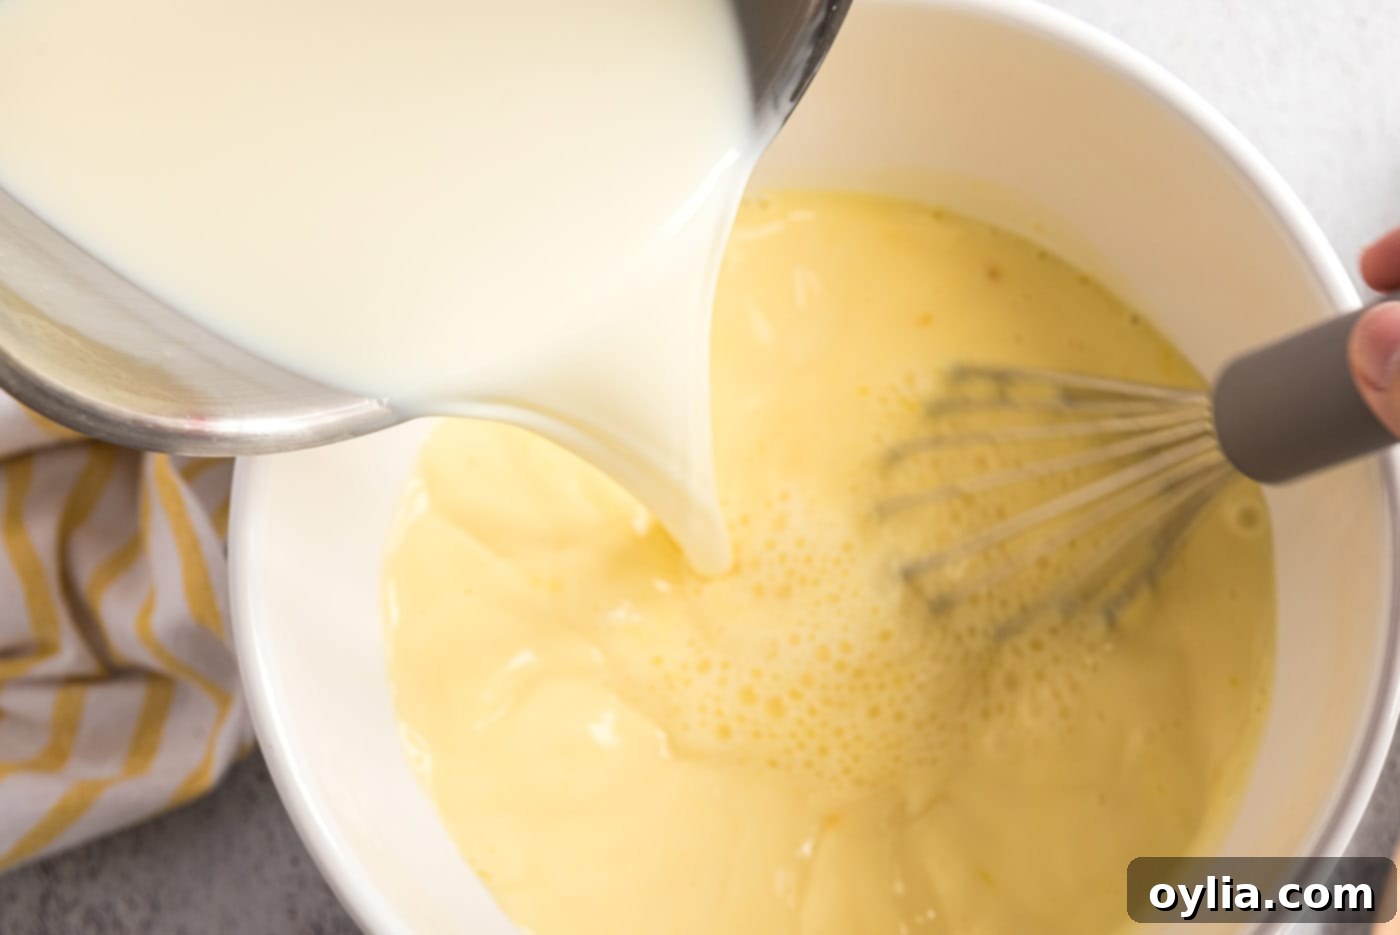
Begin the Custard Base: In a medium saucepan, gently warm the whole milk, granulated sugar, and a pinch of salt over medium-low heat until the sugar dissolves and the mixture is warm but not boiling. In a separate medium bowl, vigorously whisk together the egg yolks until they are lightened in color and slightly thickened. This process of whisking prepares them for tempering. To temper the egg yolks, slowly pour about a third of the warm milk mixture into the whisked egg yolks, whisking constantly and thoroughly. This gradually raises the temperature of the yolks without scrambling them. Once tempered, scrape the warmed egg yolk mixture back into the saucepan with the remaining milk mixture.


-
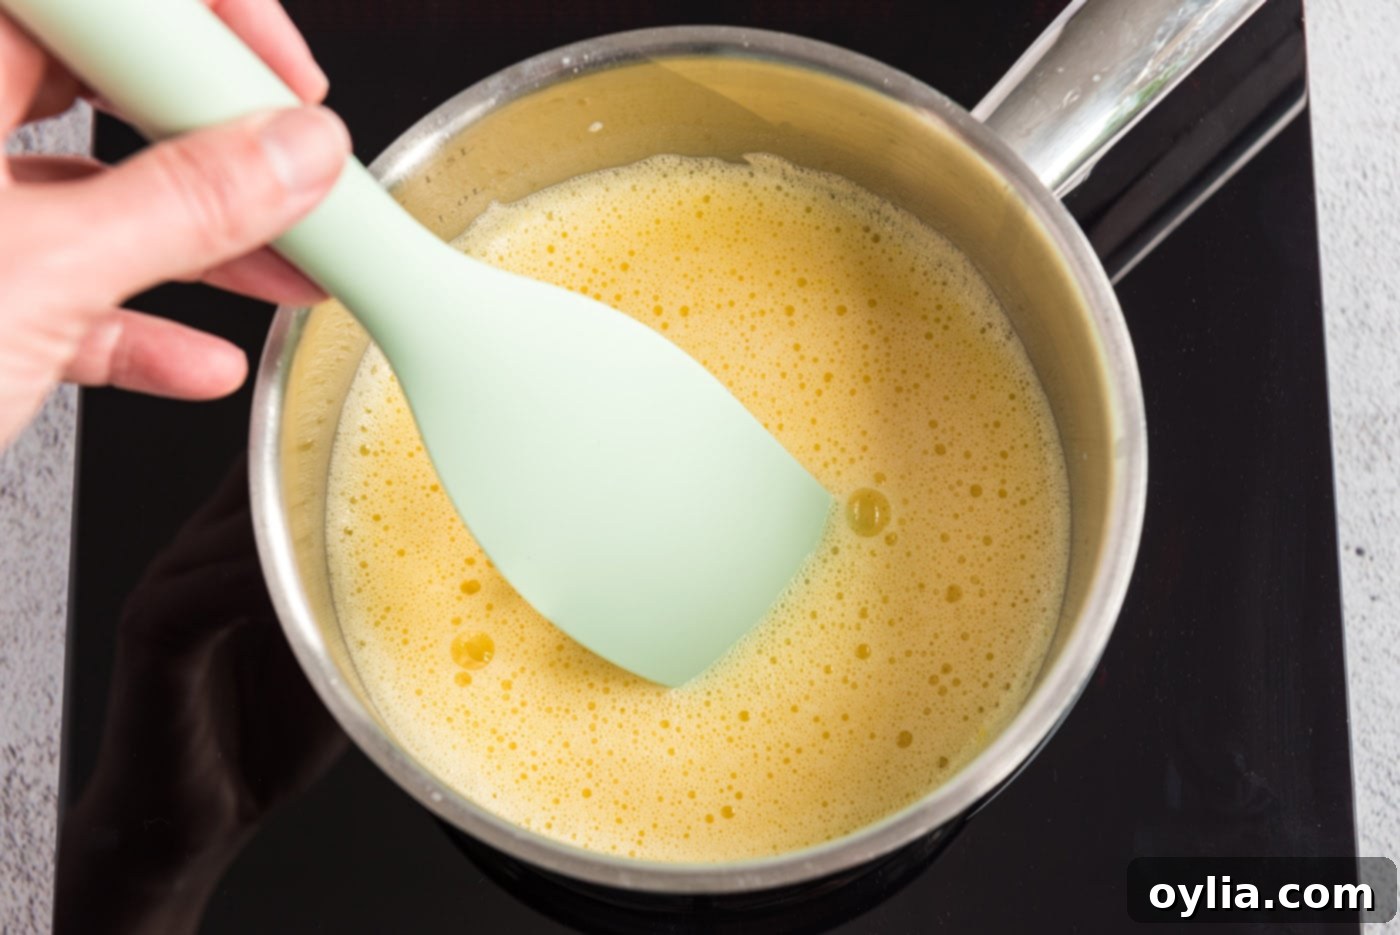
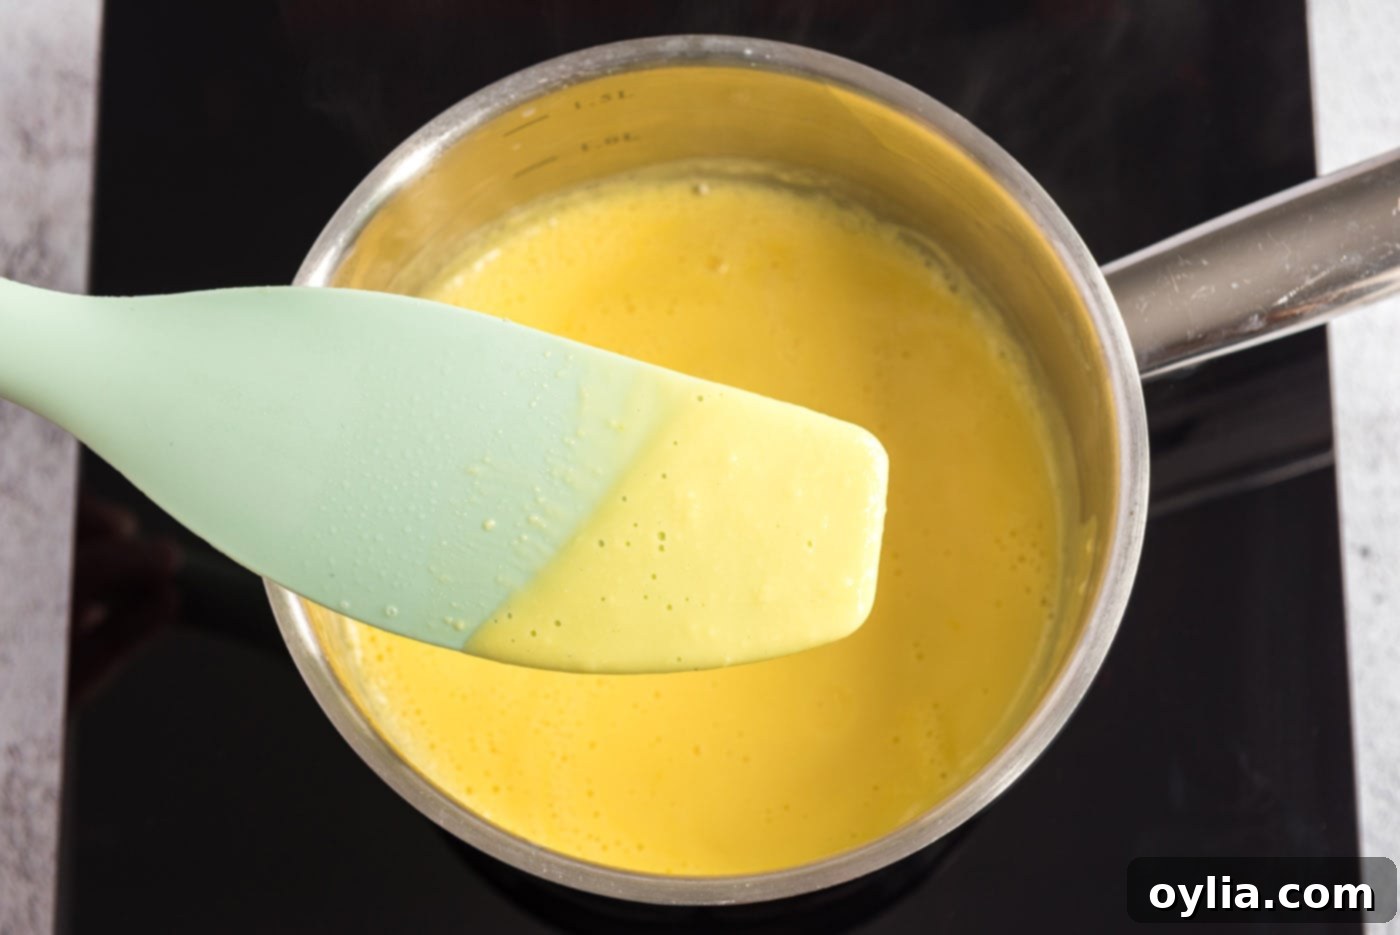
Thicken the Custard: Return the saucepan to medium heat. Stir the mixture constantly with a heatproof spatula, making sure to scrape the bottom of the pan to prevent scorching. Continue stirring until the mixture thickens beautifully and coats the back of your spatula. A good test is to run your finger across the spatula; if the line holds without the custard running back together, it’s ready (this is known as the “nappe” stage). This thickening step is crucial for developing the rich, creamy texture of the ice cream base.


-
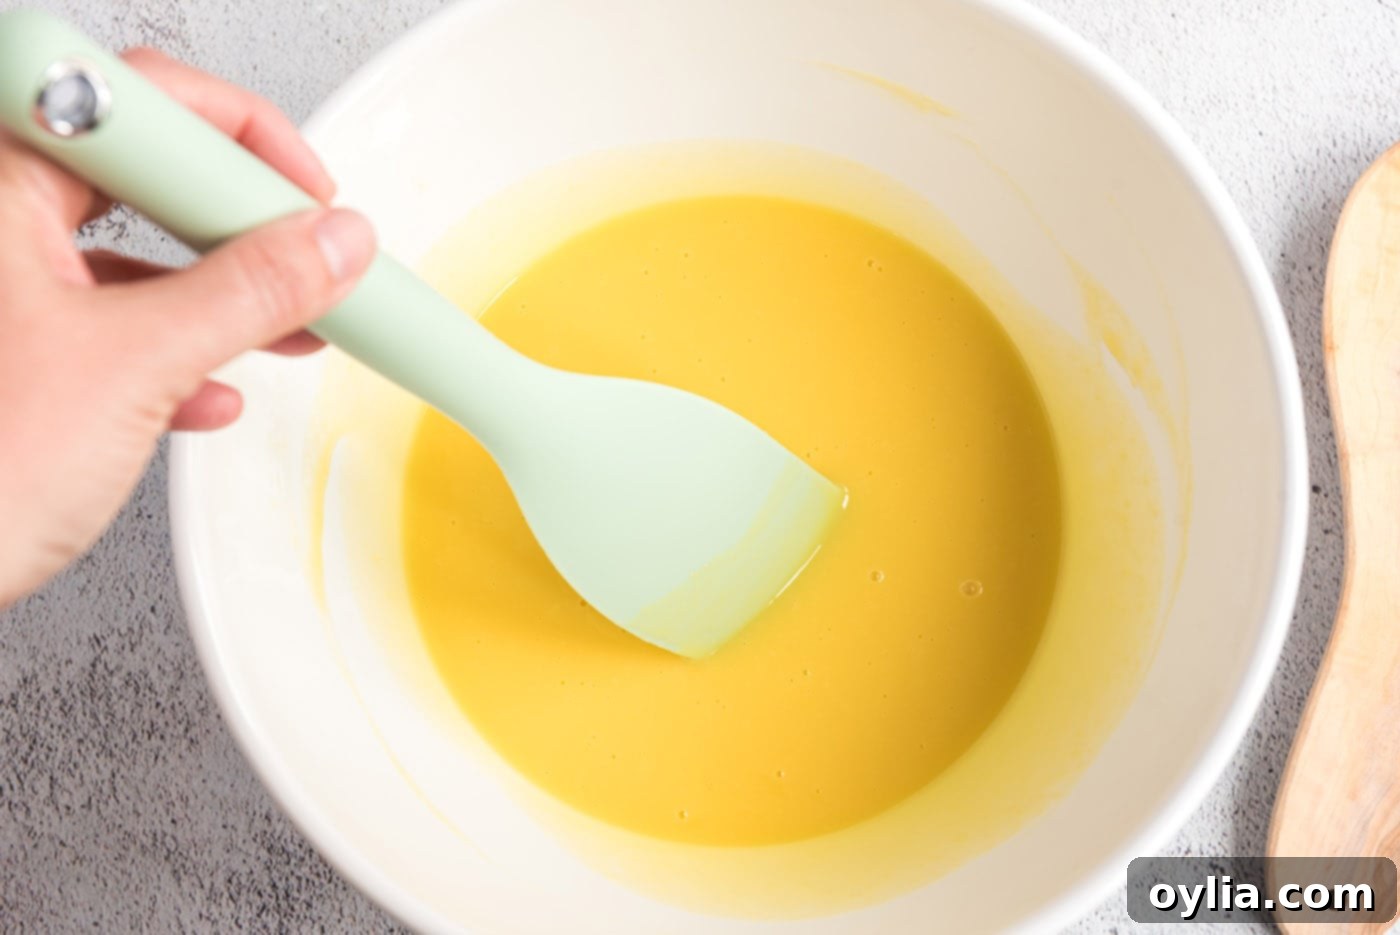
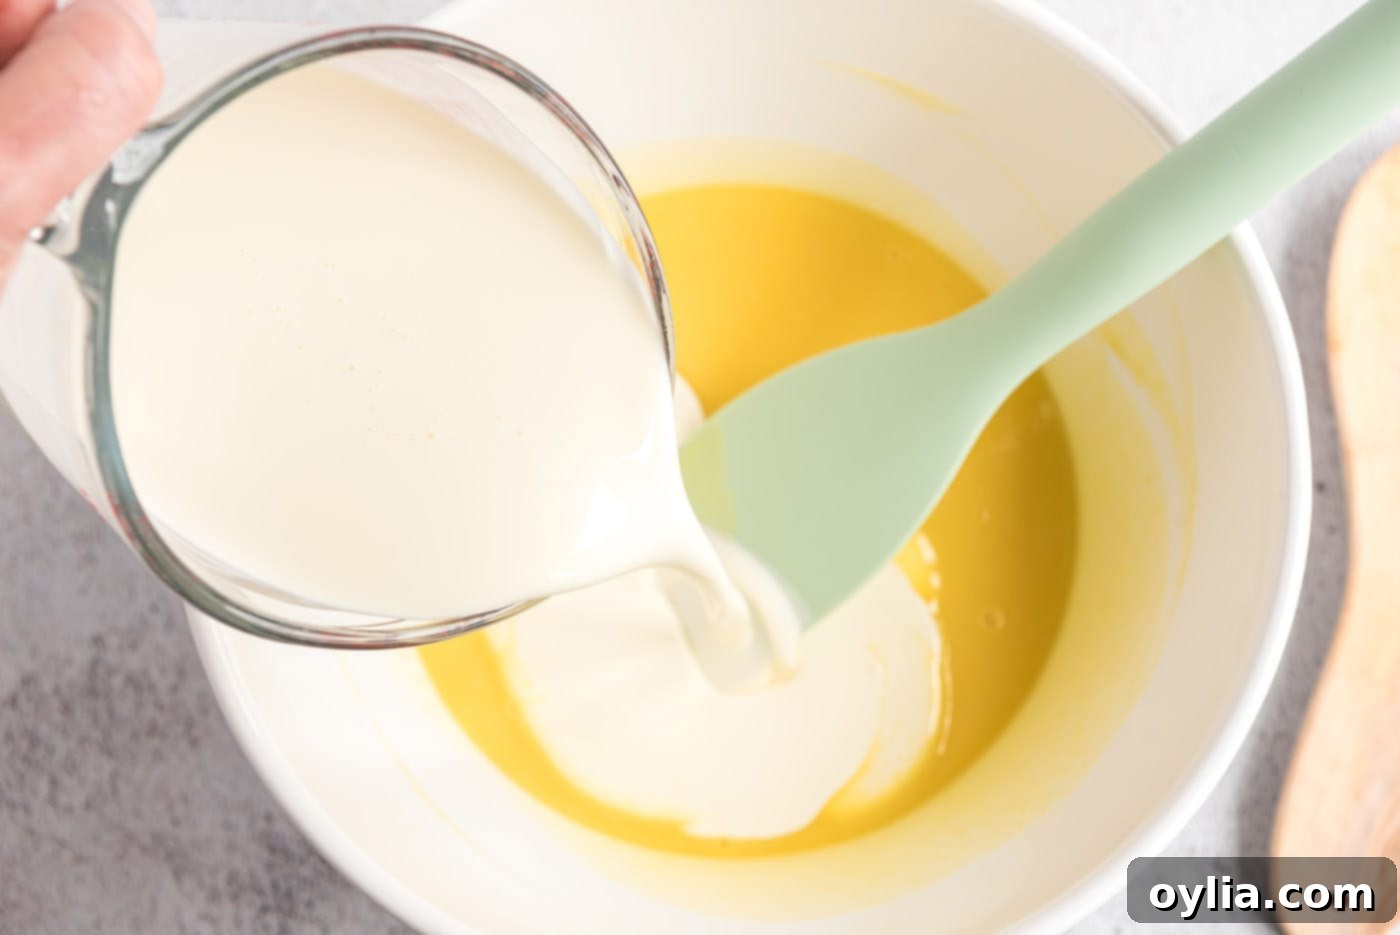
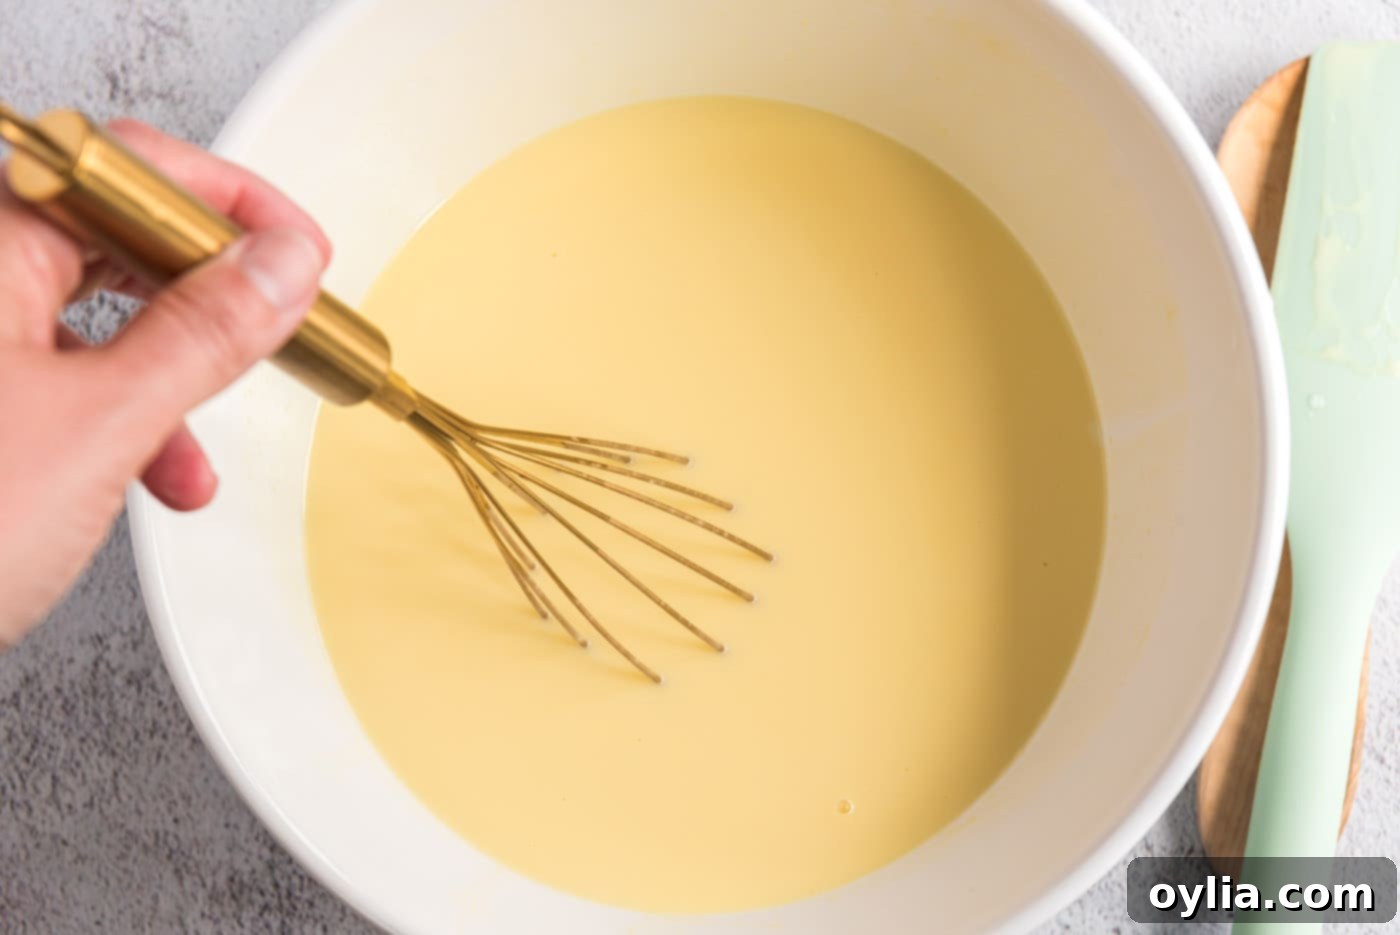
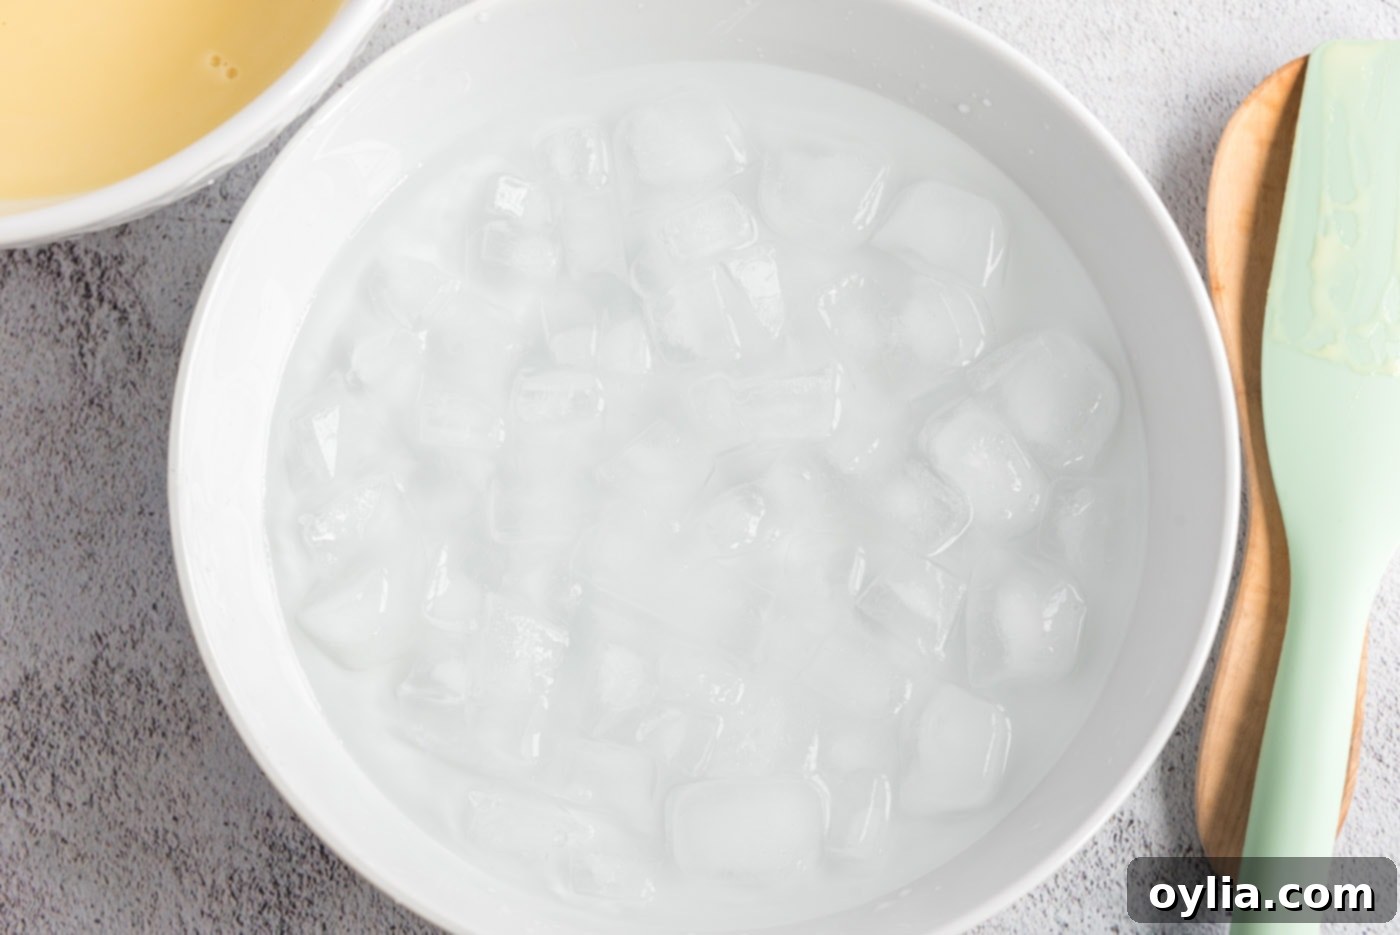
Melt and Cool: Immediately pour the hot custard through the prepared strainer over the chopped white chocolate in the large bowl. This action serves two purposes: filtering out any potential cooked egg bits and initiating the melting of the white chocolate. Stir continuously until the white chocolate is completely melted and the entire mixture is smooth and homogenous. Next, stir in the cold heavy cream. The cold cream helps to rapidly cool down the hot mixture. To further accelerate cooling and prevent any bacterial growth, set the bowl over an ice bath (a larger bowl filled with ice and a little water) and stir until the mixture is thoroughly cooled down. This rapid cooling also helps to create a better texture in the final ice cream.


-
Chill for Perfection: Once cooled, cover the ice cream mixture (the base) with plastic wrap, pressing it directly onto the surface to prevent a skin from forming. Chill the mixture thoroughly in the refrigerator for at least 4 hours, or preferably overnight. Proper chilling is paramount for two reasons: it allows the flavors to meld and deepen, and it ensures the mixture is cold enough for your ice cream maker to churn it efficiently and create the best possible texture, reducing the likelihood of icy results.

-
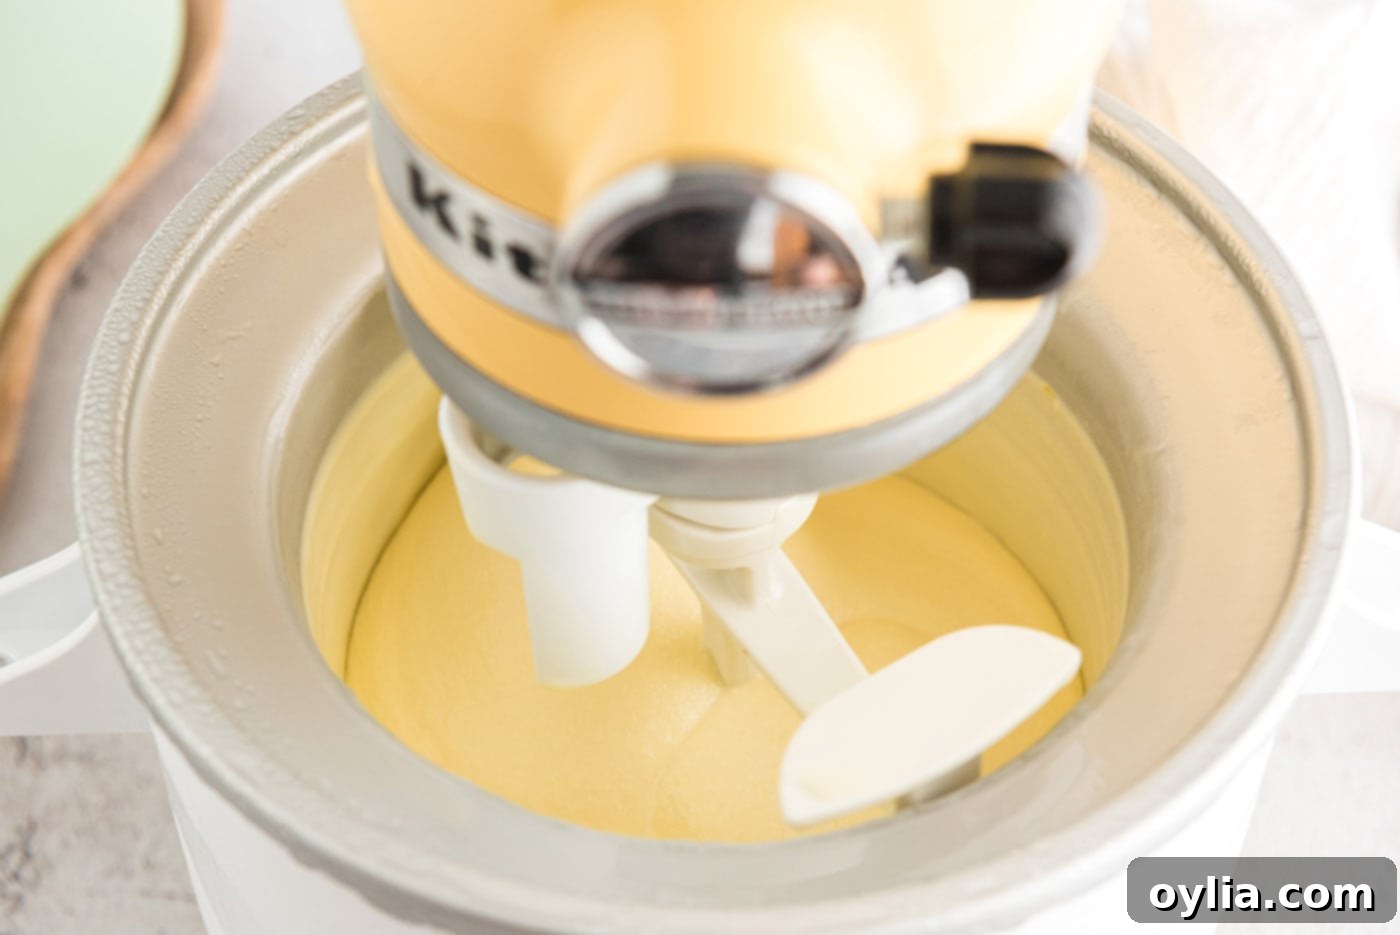
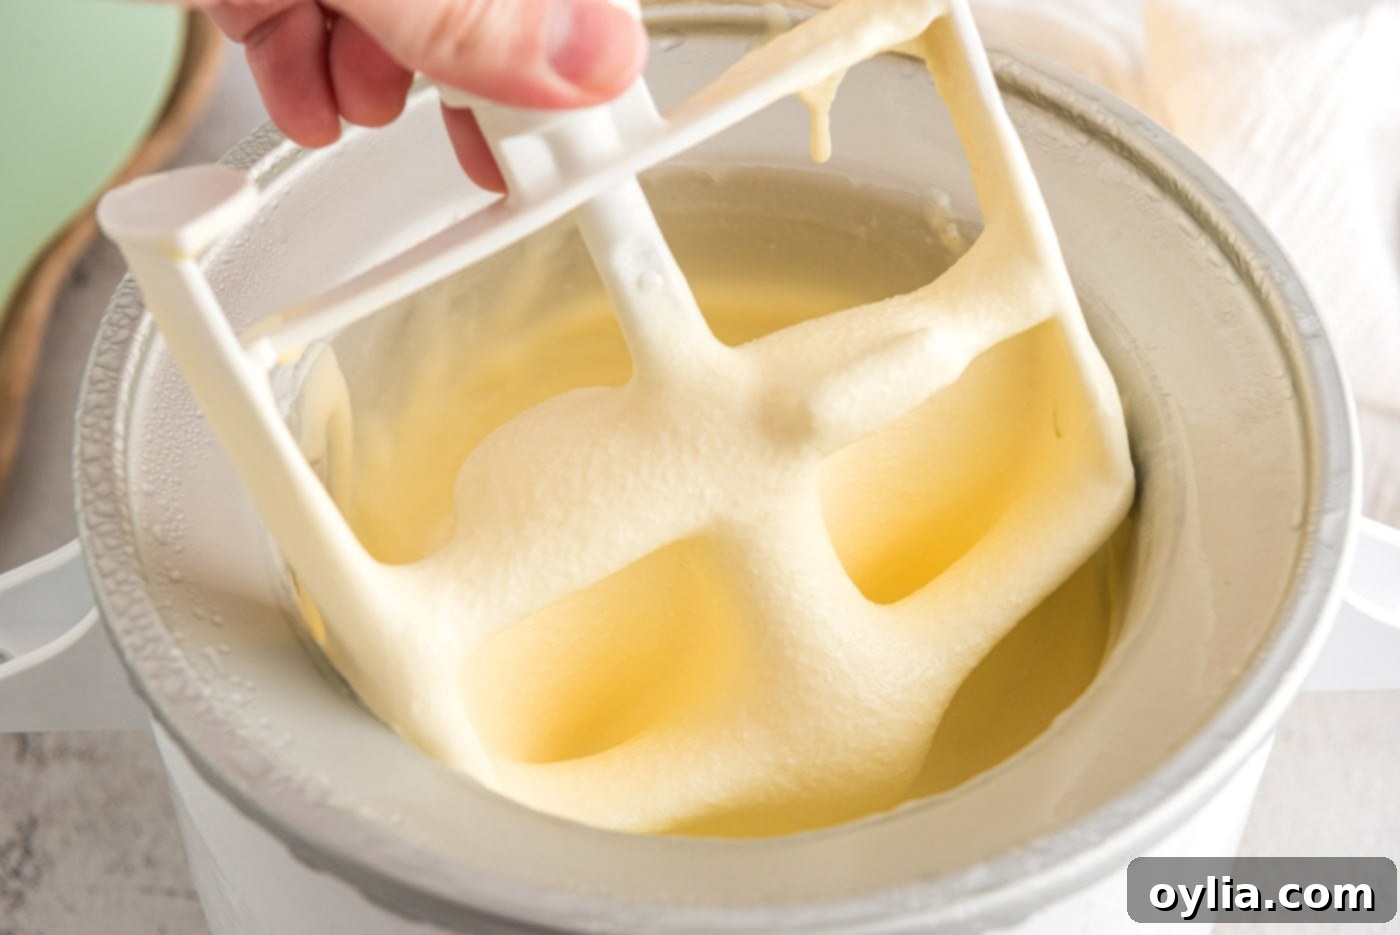
Churn and Freeze: Once the mixture is thoroughly chilled, pour it into your ice cream maker. Follow the manufacturer’s instructions for churning. This usually takes about 20-30 minutes, during which the mixture will thicken and expand, becoming a soft-serve consistency. The churning process is what incorporates air into the base, making it light and fluffy, and preventing large ice crystals from forming. For a firmer ice cream, transfer the churned mixture to an airtight container and freeze for at least 4 hours, or until solid enough for scooping. Enjoy your homemade masterpiece!


Frequently Asked Questions & Expert Tips for Success
White chocolate ice cream offers a distinctly milky sweet and incredibly creamy flavor profile. It shares similarities with classic vanilla ice cream but presents a richer, more profound milky and buttery taste, characteristic of genuine white chocolate. If you’re a fan of white chocolate-coated treats, you will undoubtedly adore the nuanced and comforting sweetness of this ice cream. It’s a delightful experience that truly stands on its own.
When stored properly in an airtight container within the freezer, your homemade white chocolate ice cream will maintain its best quality for up to 2 weeks. The shelf life of homemade ice cream is generally shorter compared to commercial varieties because it lacks the preservatives found in store-bought options. To prevent freezer burn and maintain optimal texture, press a piece of parchment paper directly onto the surface of the ice cream before sealing the container.
This particular recipe is designed for use with an ice cream maker, as the churning process is crucial for its creamy texture. While there are “no-churn” ice cream recipes that typically involve whipped cream and condensed milk, this rich custard-based recipe relies on churning to prevent large ice crystals from forming. For the best, smoothest result with this recipe, an ice cream maker is highly recommended.
Icy ice cream can often be attributed to insufficient fat content, not enough sugar (which lowers the freezing point), or not chilling the base thoroughly enough before churning. Ensure you use heavy cream as specified and chill your custard base for at least 4 hours, or ideally overnight, before churning. Also, make sure your ice cream maker bowl is completely frozen if it’s a freezer-bowl type.
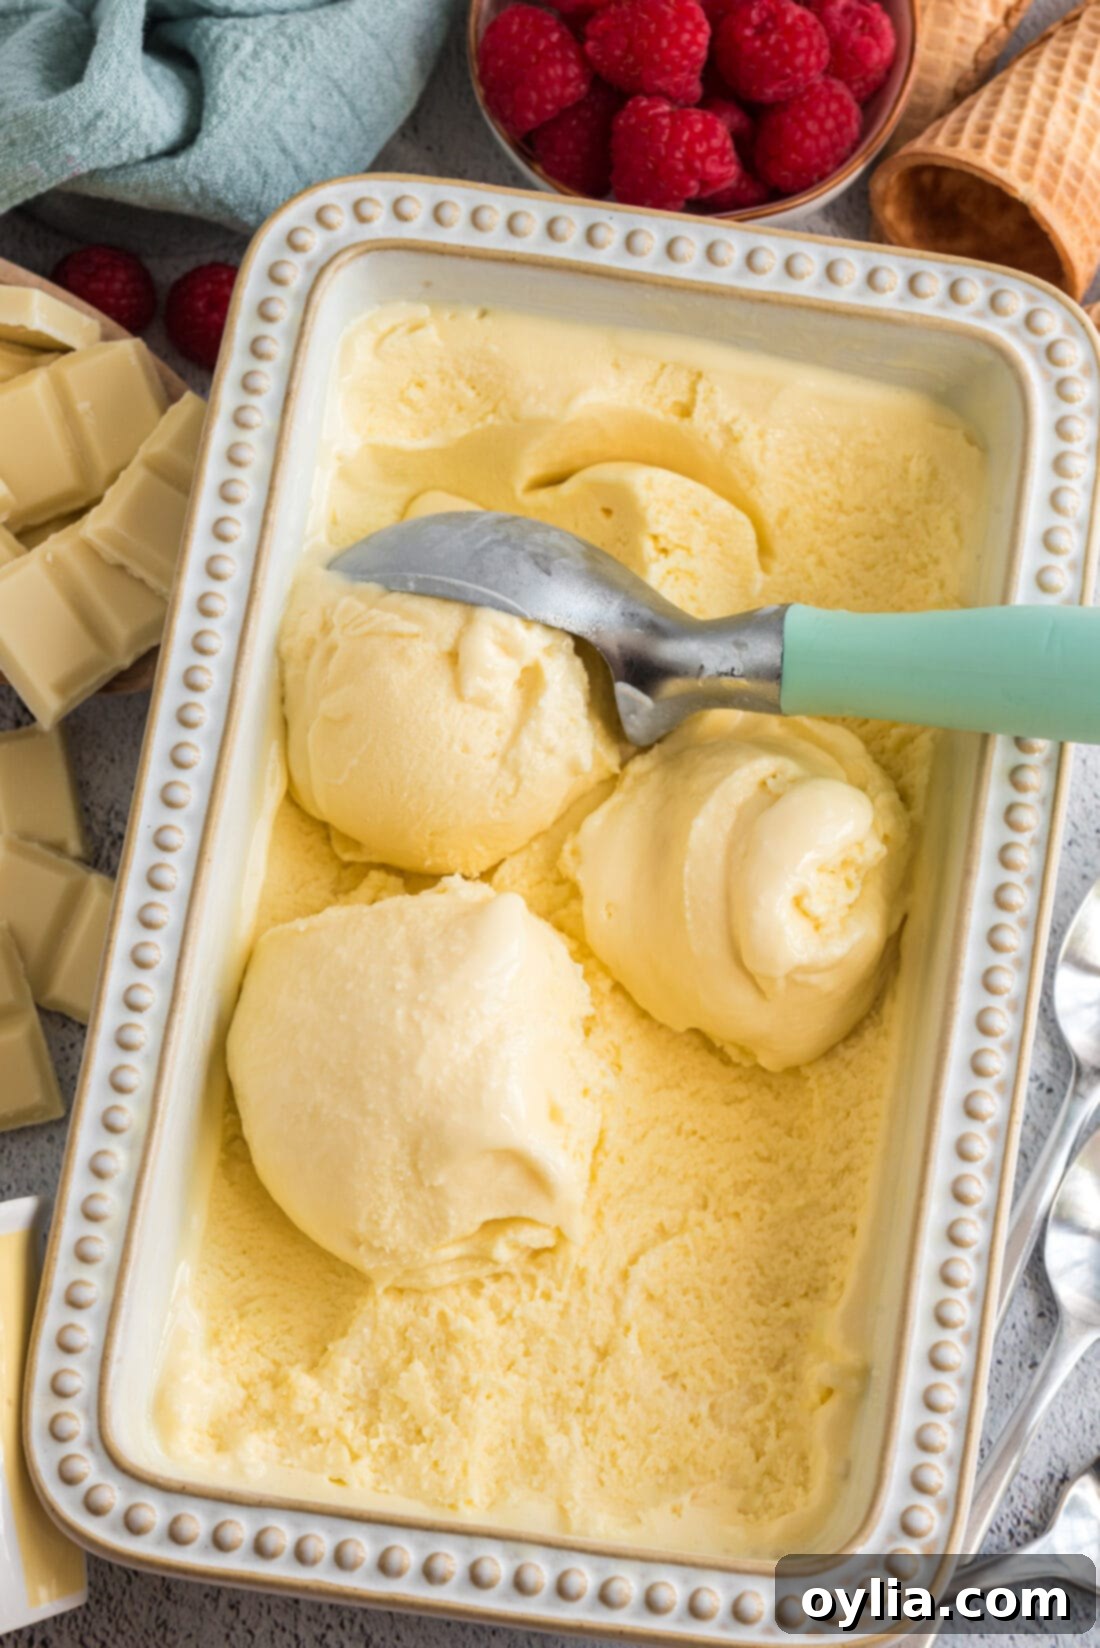
Delicious Serving Suggestions for White Chocolate Ice Cream
White chocolate ice cream serves as an exquisite canvas for a myriad of delightful additions and toppings. Its delicate sweetness pairs beautifully with a variety of flavors, allowing you to customize your dessert experience. Consider drizzling it with a vibrant strawberry, luscious raspberry, or rich cherry syrup for a burst of fruity contrast. Fresh berries like plump blueberries, juicy blackberries, sweet raspberries, and sliced strawberries also make fantastic, refreshing additions, adding both color and a touch of tartness. For those who love a textural crunch, try topping it with mini chocolate chips, crushed vanilla wafers, or crumbled bits of your favorite cake or fudgy brownie. You could also create an elegant sundae with warm caramel sauce and toasted nuts, or simply enjoy it scooped alongside a slice of apple pie or a warm fruit crumble. The possibilities are truly endless for this versatile and delicious frozen treat!
Explore More Irresistible Ice Cream Recipes
If you loved making this white chocolate ice cream, you’re in for a treat! We have a fantastic collection of other homemade ice cream recipes that are just as delightful. Expand your frozen dessert repertoire with these incredible options:
- Easy No-Churn Ice Cream
- Classic Rocky Road Ice Cream
- Refreshing Mint Chocolate Chip Ice Cream
- Decadent Nutella Swirl Cheesecake Ice Cream
- Rich Peanut Butter Chocolate Chip Ice Cream
- Ultimate Homemade Chocolate Ice Cream
I absolutely love to bake and cook, and sharing my kitchen experiences with all of you brings me immense joy! Remembering to come back each day for new recipes can be tough amidst a busy schedule, which is why I offer a convenient newsletter delivered straight to your inbox every time a new recipe is posted. Simply subscribe today and start receiving your free daily recipes, ensuring you never miss out on a delicious creation!
White Chocolate Ice Cream
IMPORTANT – There are often Frequently Asked Questions within the blog post that you may find helpful. Simply scroll back up to read them!
Print It
Pin It
Rate It
Save ItSaved!
Ingredients
- 8 ounces white chocolate finely chopped
- 1 cup whole milk
- ⅔ cup granulated sugar
- pinch of salt
- 5 large egg yolks
- 2 cups heavy whipping cream
Things You’ll Need
-
Fine mesh strainer
-
Saucepan
-
Rubber spatula
-
Mixing bowls
-
Ice cream maker
Before You Begin
- Ice cream gets its creamy texture from its fat content. Therefore, if you substitute milk for the heavy cream, the texture of the finished ice cream will be less smooth and rich. I would suggest sticking to heavy cream for this recipe, but you can experiment if you wish.
- Homemade white chocolate ice cream will last for up to 2 weeks if stored properly in an air-tight container kept in the freezer. The shelf life of homemade ice cream is shorter compared to store-bought because there are no preservatives.
- You don’t have to use fancy white chocolate for this recipe, but you certainly can if you want. I used white chocolate baker’s squares and it came out beautifully.
Instructions
-
Put the chocolate pieces in a large bowl and set a mesh strainer over the top.
-
Warm the milk, sugar, and salt in a medium saucepan. In a separate medium bowl whisk together the egg yolks.
-
Slowly pour the warm milk into the egg yolks, whisking constantly, then scrape the warmed egg yolks back into the saucepan.
-
Stir the mixture constantly over medium heat with a heatproof spatula, scraping the bottom as you stir, until the mixture thickens and coats the spatula.
-
Pour the custard through the strainer over the white chocolate. Stir until the white chocolate is completely melted and the mixture is smooth, then stir in the cream. Stir until cool over an ice bath.
-
Chill the mixture thoroughly in the refrigerator, then freeze it in your ice cream maker according to the manufacturer’s instructions.
Nutrition
The recipes on this blog are tested with a conventional gas oven and gas stovetop. It’s important to note that some ovens, especially as they age, can cook and bake inconsistently. Using an inexpensive oven thermometer can assure you that your oven is truly heating to the proper temperature. If you use a toaster oven or countertop oven, please keep in mind that they may not distribute heat the same as a conventional full sized oven and you may need to adjust your cooking/baking times. In the case of recipes made with a pressure cooker, air fryer, slow cooker, or other appliance, a link to the appliances we use is listed within each respective recipe. For baking recipes where measurements are given by weight, please note that results may not be the same if cups are used instead, and we can’t guarantee success with that method.
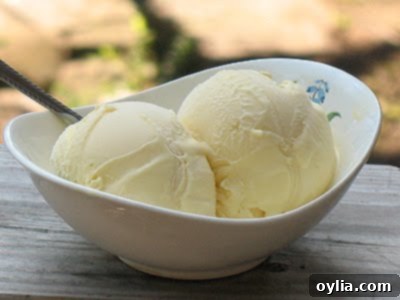
This post originally appeared here on Sep. 17th, 2009 and has since been updated with new photos and expert tips to enhance your cooking experience. You may recognize this beloved recipe from its original appearance, showcased in the photo below. We’ve refined and refreshed the content to bring you an even better guide to your favorite white chocolate ice cream!
